reserve
Senior Member
   
Member since: July 2012
Si vis pacem para bellum
Posts: 2,372
Jul 11, 2012 9:11:45 GMT -5
Jul 11, 2012 9:11:45 GMT -5
|
Post by reserve on Oct 15, 2023 18:02:29 GMT -5
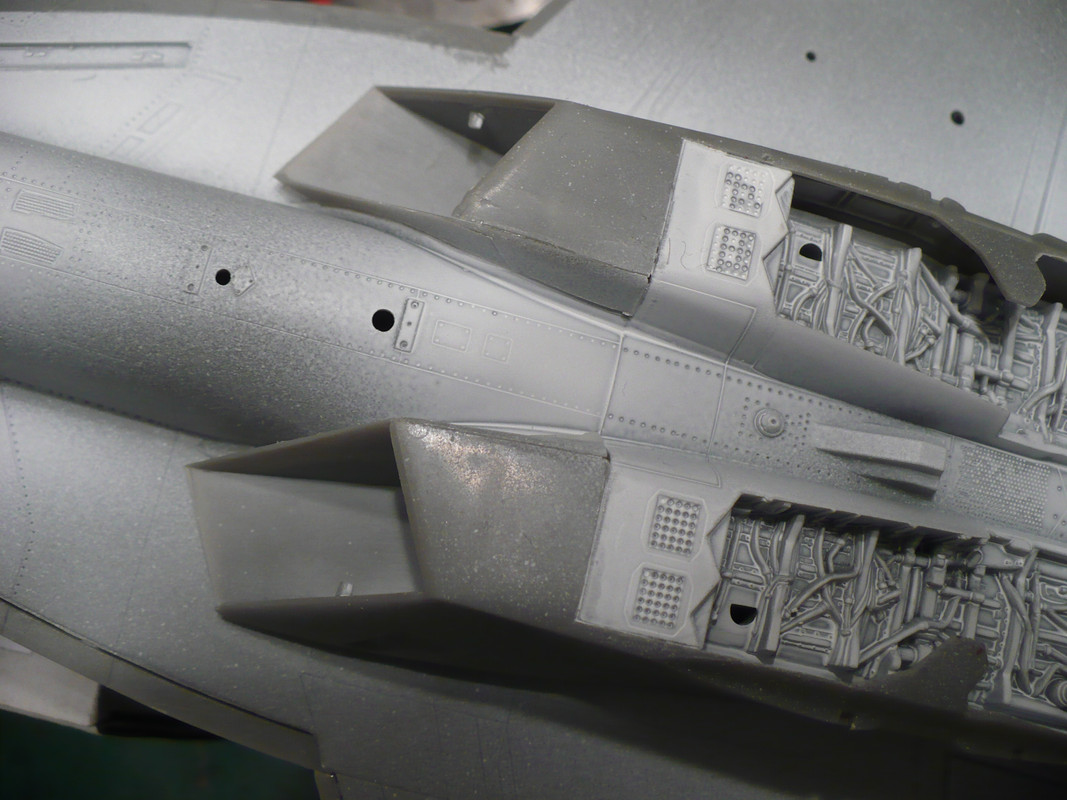
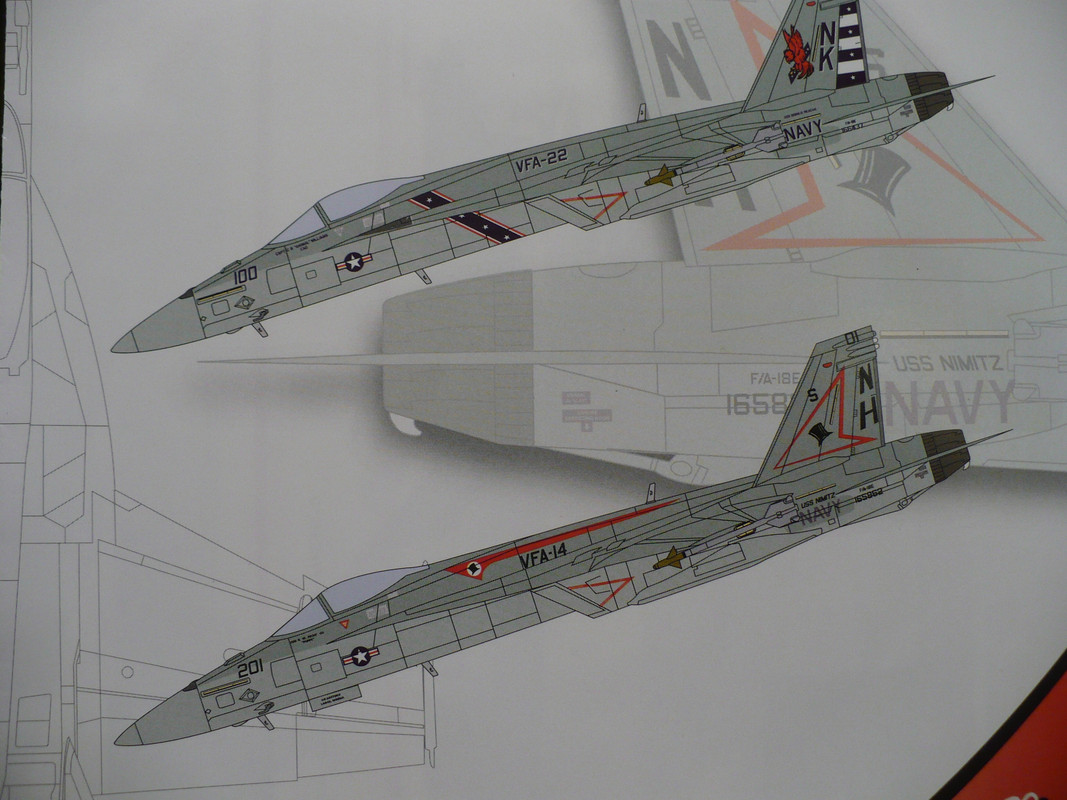
As said elsewhere this is Mike's fault. In reality I did one of these awhile back and wanted to revisit the kit so here is I, workin' on 'nuther one Worst part's over, nose assembly and fuselage halves. They are somewhat troublesome  I remembered the cockpit on the last one being kind of blah so I decided to snazz it up a bit with some AM   Intake fit was pretty good this time, had to fill and file for days last time  I'll not be finishing it as Maverick's bird. Instead I got some Carcal AM decals for VMF 22 and another I disremember right now, not sure which but I got time to decide |
|
|
|
Post by 406 Silverado on Oct 15, 2023 18:13:11 GMT -5
This'll be fun to follow Mark. Looks like Revell made some improvements since the last time you visited this kit. Good progress in that pit with the IP and details. It's hard to believe that this is a Revell kit.  |
|
reserve
Senior Member
   
Member since: July 2012
Si vis pacem para bellum
Posts: 2,372
Jul 11, 2012 9:11:45 GMT -5
Jul 11, 2012 9:11:45 GMT -5
|
Post by reserve on Oct 15, 2023 18:20:38 GMT -5
Nah, the kit's not really been improved but I recall problems from the last time and cooked up some sneaky tricks to alleviate them some
|
|
stikpusher
Forum Moderator      May '23 Showcased Model Awarded
Member since: April 2023
Living The Dream
Posts: 4,115 
MSC Staff
|
Post by stikpusher on Oct 15, 2023 19:52:33 GMT -5
It's all about learning from the past. Very nice start on this one.
|
|
TJ
Senior Member
    June '23 Showcased Model Awarded
Member since: May 2023
Posts: 2,155
May 14, 2023 18:18:36 GMT -5
May 14, 2023 18:18:36 GMT -5
|
Post by TJ on Oct 16, 2023 4:47:36 GMT -5
I'll be watching this. I've got two of these in the stash
|
|
handiabled
Administrator      Apr '23 Showcased Build Awarded
Member since: February 2023
Posts: 4,384 
MSC Staff
|
Post by handiabled on Oct 16, 2023 8:34:23 GMT -5
The office looks great! Having a previous build under your belt helps with the shortcomings of a kit for sure
|
|
|
|
Post by Medicman71 on Oct 16, 2023 17:13:37 GMT -5
It's not my fault!! The pit looks awesome! Wish I had known about the cockpit details for mine.
|
|
reserve
Senior Member
   
Member since: July 2012
Si vis pacem para bellum
Posts: 2,372
Jul 11, 2012 9:11:45 GMT -5
Jul 11, 2012 9:11:45 GMT -5
|
Post by reserve on Oct 16, 2023 18:47:24 GMT -5
Thanks gents
Mike I found these at Sprue Brothers while looking for a canopy mask set
|
|
reserve
Senior Member
   
Member since: July 2012
Si vis pacem para bellum
Posts: 2,372
Jul 11, 2012 9:11:45 GMT -5
Jul 11, 2012 9:11:45 GMT -5
|
Post by reserve on Oct 19, 2023 20:37:49 GMT -5
Getting the underside completed. The parts need vigorous cleanup but look decent when done...except the main landing gear which suffers from very soft molding. I looked into AM replacements but the only ones I could find were a metal set that looked worse than the kit parts so the originals it'll be. I remember from the old build you can't see them over well anyway.  Underwing loadout. Revell gives you AIM-120's that are not the best so I will replace them with Hasegawa Mavericks on the wings. The same weapons set provided replacement Sidewinders since the kit ones were really not so great. The bombs, however, were very nice so I'll use them.  This blob is supposed to be the gunsight/HUD. I can't bring myself to use it.  so I'll make an attempt to scratch one that's at least plausible looking. So far not too bad |
|
|
|
Post by deafpanzer on Oct 20, 2023 10:10:31 GMT -5
Everything looks great especially the cockpit!!! Catching up here…
|
|
|
|
Post by Medicman71 on Oct 25, 2023 14:08:23 GMT -5
Very nice! It's looking great!
|
|
themongoose
Full Member
   June '24 & Oct '24 MoM Winner
Member since: April 2023
Model of the Month Winner-June 2024
Posts: 622
Apr 1, 2023 21:17:56 GMT -5
Apr 1, 2023 21:17:56 GMT -5
|
Post by themongoose on Oct 27, 2023 5:25:54 GMT -5
Sure looking good. Those main wheel bays have a good quantity of detail to them, more than I've seen in some 1/32 versions! Can’t wait to see some paint 👍
|
|
|
|
Post by 406 Silverado on Oct 27, 2023 5:43:40 GMT -5
Looking good so far Mark. That's surprising for such a mainstream kit to not have any aftermarket landing gear sets available. Looks like you're making your way through things well on it in any case.
|
|
|
|
Post by Steve Zuleski on Oct 27, 2023 7:18:54 GMT -5
Excellent, Mark. But, hey, isn't hunting season fast approaching? I'd hate to see a rush job on this beauty.
|
|
mz3
Full Member
  
Member since: October 2012
Posts: 647
Oct 14, 2012 21:09:43 GMT -5
Oct 14, 2012 21:09:43 GMT -5
|
Post by mz3 on Oct 29, 2023 9:45:45 GMT -5
This kit looks much better then Revell's top gun maverick tomcat. That thing is awful!
|
|
reserve
Senior Member
   
Member since: July 2012
Si vis pacem para bellum
Posts: 2,372
Jul 11, 2012 9:11:45 GMT -5
Jul 11, 2012 9:11:45 GMT -5
|
Post by reserve on Oct 29, 2023 12:28:30 GMT -5
Thanks gents
Z already started. Got my pronghorn two weeks ago and a whitetail last weekend. All that's left is Elk which I probably won't go after as I don't care for them, I think they taste funny.
MZ3 this particular kit is a strange combo of pretty good and pretty awful. No other way to describe it.
Scratching an HUD for this proved to be beyond my ability but an outfit called Flying Leathernecks makes a 3D printed replacement for Hasegawa. I got one and it would work except I broke it with my clumsy mitts so another's on the way. Soon's it gets here I can start moving forward again
|
|
stikpusher
Forum Moderator      May '23 Showcased Model Awarded
Member since: April 2023
Living The Dream
Posts: 4,115 
MSC Staff
|
Post by stikpusher on Oct 29, 2023 13:56:14 GMT -5
This kit looks much better than Revell's top gun maverick tomcat. That thing is awful! Well in all honesty, the Revell Top Gun Maverick Tomcat was an old Monogram mold and is from the late 70’s I want to say. Yeah it’s had some updates to the mold, but the basic ones are quite well worn at this point. |
|
mz3
Full Member
  
Member since: October 2012
Posts: 647
Oct 14, 2012 21:09:43 GMT -5
Oct 14, 2012 21:09:43 GMT -5
|
Post by mz3 on Oct 29, 2023 14:14:37 GMT -5
This kit looks much better than Revell's top gun maverick tomcat. That thing is awful! Well in all honesty, the Revell Top Gun Maverick Tomcat was an old Monogram mold and is from the late 70’s I want to say. Yeah it’s had some updates to the mold, but the basic ones are quite well worn at this point. Not to mention it only comes with Maverick. No Goose. The instructions have steps to attach parts that don't come in the kit. It's the first time I felt like I got ripped off by buying a model. |
|
reserve
Senior Member
   
Member since: July 2012
Si vis pacem para bellum
Posts: 2,372
Jul 11, 2012 9:11:45 GMT -5
Jul 11, 2012 9:11:45 GMT -5
|
Post by reserve on Nov 5, 2023 17:46:15 GMT -5
Came out of the house the other day and this captured my attention; just seemed unusual  Finally got the HUD installed. 'Twas a struggle, it broke on me three times. It would have been much easier if I'd planned better and done this before the fuselage was assembled so that's on me   Tammy Flat Black undercoat. Shows a few seams I need to rework  It's gonna get Tammy Sky Grey on the bottom and Tammy Dark Sea Grey on top. Might start on that tonight...or not. A finger or two of single malt sounds better |
|
|
|
Post by Medicman71 on Nov 6, 2023 11:00:38 GMT -5
It looks great! How much trouble did you have with the nose area?
|
|
reserve
Senior Member
   
Member since: July 2012
Si vis pacem para bellum
Posts: 2,372
Jul 11, 2012 9:11:45 GMT -5
Jul 11, 2012 9:11:45 GMT -5
|
Post by reserve on Nov 9, 2023 19:26:30 GMT -5
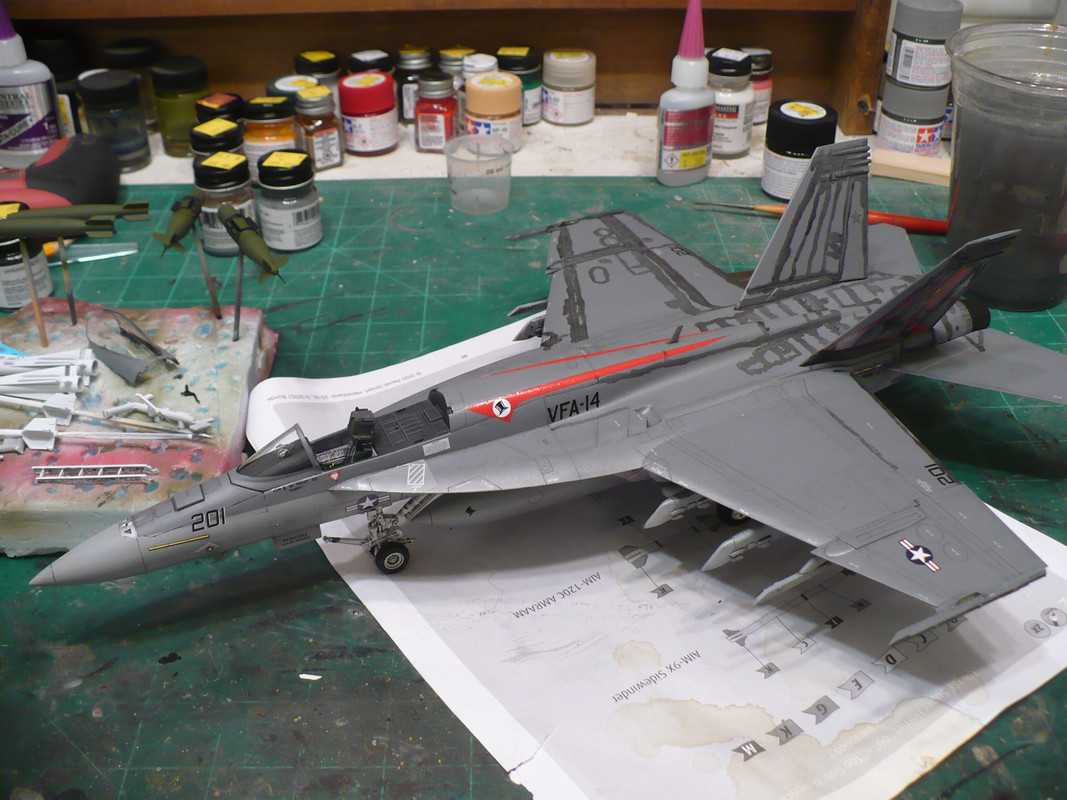
Thanks Mike. Having been thru this before I cut off the alignment pins and flat sanded the nose halves. The top and bottom panels were an awful fit so I did some thinning and several relief cuts on them which helped some. Once the assembly was dry I sanded the rough off the seams with some 400 grit, then filled said seams with my new favorite Vallejo acrylic putty. After giving the putty enough time to skin up on the surface I wiped the seams down with a damp Q-tip which restored the lines. I should have done this a second time, oh well perhaps the next one. Base paint at last  Nose closeup, I still need to mask off and paint the little natural metal area on top. I used Flying Leathernecks canopy masks on this since Eduard ones were not available. They are a vinyl material instead of tape, therfore stiffer and harder to line up right. I had a bit of lift on the left lower windscreen that I missed and got some paint where it don't belong which annoyed me mightily. Don't know what to do about it, perhaps I'll just live with it as it's not overly bad. Maybe I can weather it like a tank  I'll decal this as a plane from VFA-14 as I like the look  Tanks sure are easier to decal there seems to be an awful lot of them for this  Still lots to do but I'm closer now |
|
|
|
Post by Medicman71 on Nov 10, 2023 12:52:31 GMT -5
If you used acrylics, you can usually use a toothpick and gently scrape away the paint on the windscreen.
Nice work on the painting.
|
|
|
|
Post by 406 Silverado on Nov 10, 2023 13:34:07 GMT -5
This sure is some good progress, Mark. I was trying to find the seams that you mentioned needing re-working when you had it all black and I couldn't see the areas you were referencing. After seeing it all in grey I'm figuring that you might've been talking about that area right in front of the cockpit?
I hear you on the vinyl masks too. Not my fave either but if that's all that's available then we use what we gotta use right?
I do like the VFA-14 scheme that you'll be going with.
|
|
|
|
Post by deafpanzer on Nov 10, 2023 17:44:48 GMT -5
Mark, your Hornet is looking real good! Can't wait to see next update with decals on... it is when the planes look so lively!
|
|
reserve
Senior Member
   
Member since: July 2012
Si vis pacem para bellum
Posts: 2,372
Jul 11, 2012 9:11:45 GMT -5
Jul 11, 2012 9:11:45 GMT -5
|
Post by reserve on Nov 16, 2023 11:15:11 GMT -5
Thanks blokes
Mike the toothpick idea worked quite well thanks
Joe yeah the canopy line should not be so strong
Andy this'll be soon BUT
I got CAM aftermarket decals for this and began applying them a couple days ago. Now, Armor modeling does not perpare one for the large, long, and sometimes spindly decals present in aircraft. This means I'm not very good at AC decals yet, and I also ran into a problem...the CAM decals are very fragile. Perhaps they're old, perhaps my techniqe is bad, but once they're down they're down and if you try to adjust them they disintigrate. I've lost a few finding this out, and being I've already spent twice the cost of the kit on AM the results are gonna be what they be 'cause I'm not gonna spend thirty bucks on another decal set. Ha another learning curve!!
Should have pictures of results soon
|
|
|
|
Post by tcoat on Nov 16, 2023 12:04:54 GMT -5
Thanks blokes Mike the toothpick idea worked quite well thanks Joe yeah the canopy line should not be so strong Andy this'll be soon BUT I got CAM aftermarket decals for this and began applying them a couple days ago. Now, Armor modeling does not perpare one for the large, long, and sometimes spindly decals present in aircraft. This means I'm not very good at AC decals yet, and I also ran into a problem...the CAM decals are very fragile. Perhaps they're old, perhaps my techniqe is bad, but once they're down they're down and if you try to adjust them they disintigrate. I've lost a few finding this out, and being I've already spent twice the cost of the kit on AM the results are gonna be what they be 'cause I'm not gonna spend thirty bucks on another decal set. Ha another learning curve!! Should have pictures of results soon I generally cut the long decals down to more manageable lengths and then just splice them together on the model. Usually works much better. |
|
reserve
Senior Member
   
Member since: July 2012
Si vis pacem para bellum
Posts: 2,372
Jul 11, 2012 9:11:45 GMT -5
Jul 11, 2012 9:11:45 GMT -5
|
Post by reserve on Nov 16, 2023 17:03:09 GMT -5
Good idea sir altho it won't work here. I'll be sure to try it on future projects tho
|
|
|
|
Post by 406 Silverado on Nov 17, 2023 6:47:09 GMT -5
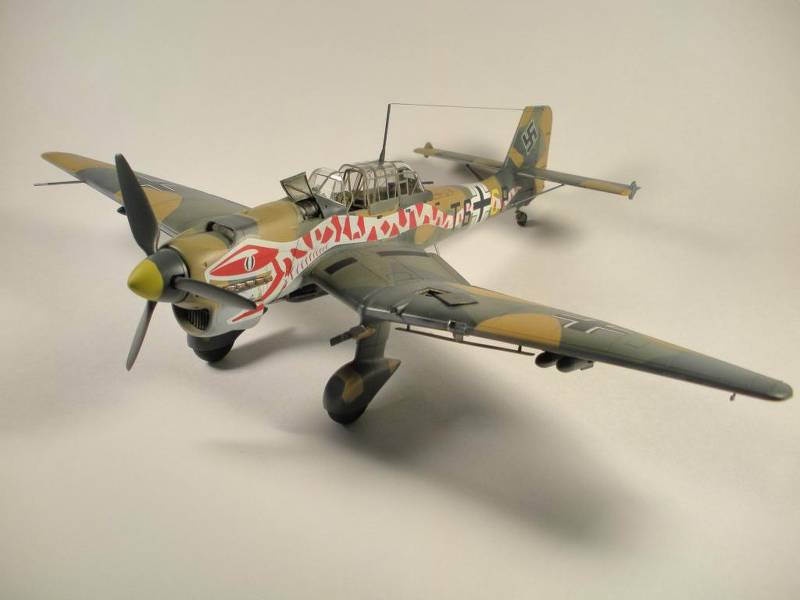
Thanks blokes Mike the toothpick idea worked quite well thanks Joe yeah the canopy line should not be so strong Andy this'll be soon BUT I got CAM aftermarket decals for this and began applying them a couple days ago. Now, Armor modeling does not perpare one for the large, long, and sometimes spindly decals present in aircraft. This means I'm not very good at AC decals yet, and I also ran into a problem...the CAM decals are very fragile. Perhaps they're old, perhaps my techniqe is bad, but once they're down they're down and if you try to adjust them they disintigrate. I've lost a few finding this out, and being I've already spent twice the cost of the kit on AM the results are gonna be what they be 'cause I'm not gonna spend thirty bucks on another decal set. Ha another learning curve!! Should have pictures of results soon I'll be looking forward to seeing the recovery efforts Mark. I know all too well what you're saying about the long decals. I found this out with my Stuka. This.....was a pain in the   |
|
reserve
Senior Member
   
Member since: July 2012
Si vis pacem para bellum
Posts: 2,372
Jul 11, 2012 9:11:45 GMT -5
Jul 11, 2012 9:11:45 GMT -5
|
Post by reserve on Nov 19, 2023 8:21:56 GMT -5
Close to the end now Flory's Black Wash done over about two thirds of the model. Mostly I just smear the whole thing but Revell's panel lines on this one are very shallow and great care is needed when removing the excess lest it all come up so the less put down the better  Decals quite shiny despite a squirt of semi-gloss clearcoat. Might have to hit them with some flatcoat  Final parts to be attached; the canopy will go on dead last  Because of the decal failure this is gonna have to be a one sided model...I'll display it in a corner somewhere that no one can look around to the other side This has really ruined my attitude in regard to AM decals, I'll not be purchasing any more of them as this failure has argurably spoiled the model |
|
|
|
Post by deafpanzer on Nov 19, 2023 8:54:51 GMT -5
Sorry to read about the decal mishap. Buddies at local club often warn me that some AM decals are not worth the money but there are some good ones out there so I need to ask around before I purchase one cause I can't remember which ones are good. Your hornet is looking great and I look forward to see it armed next!
|
|