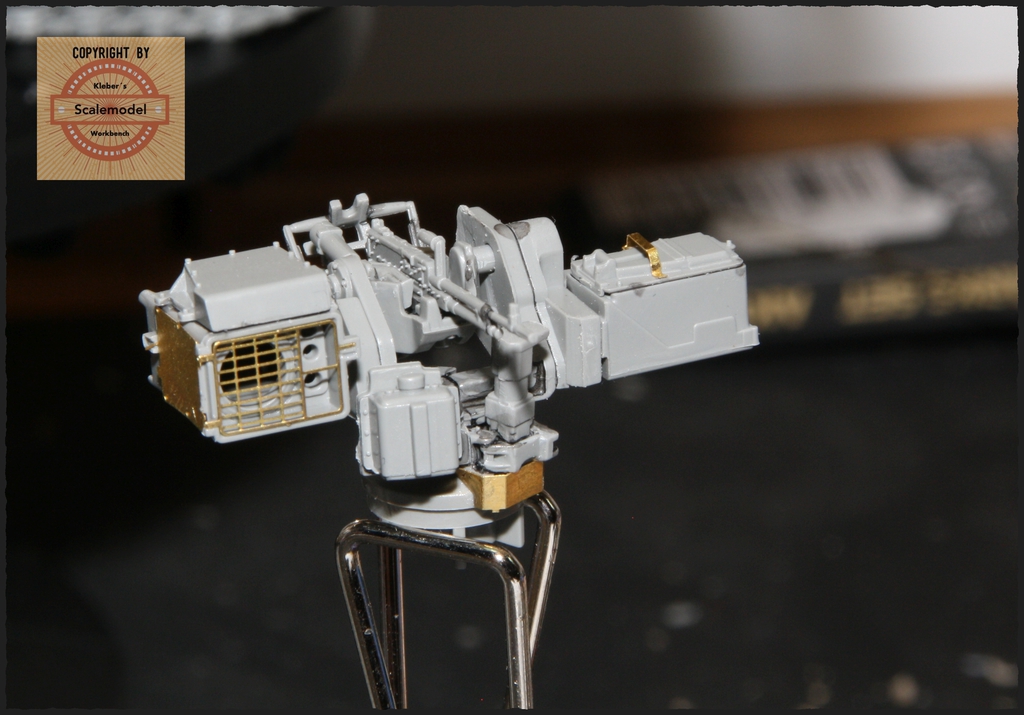
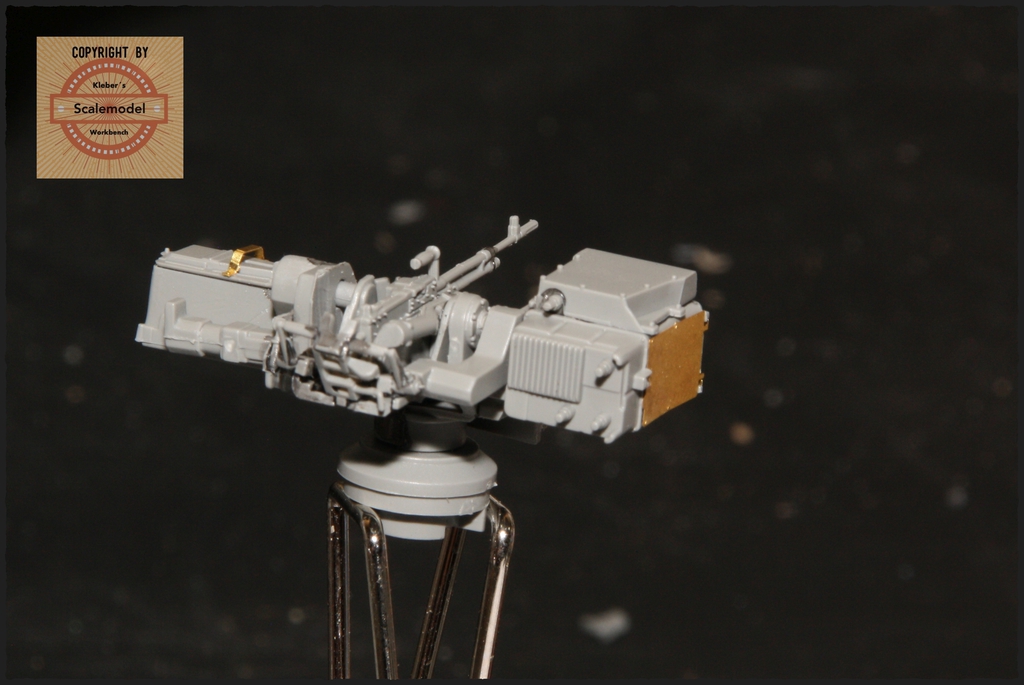
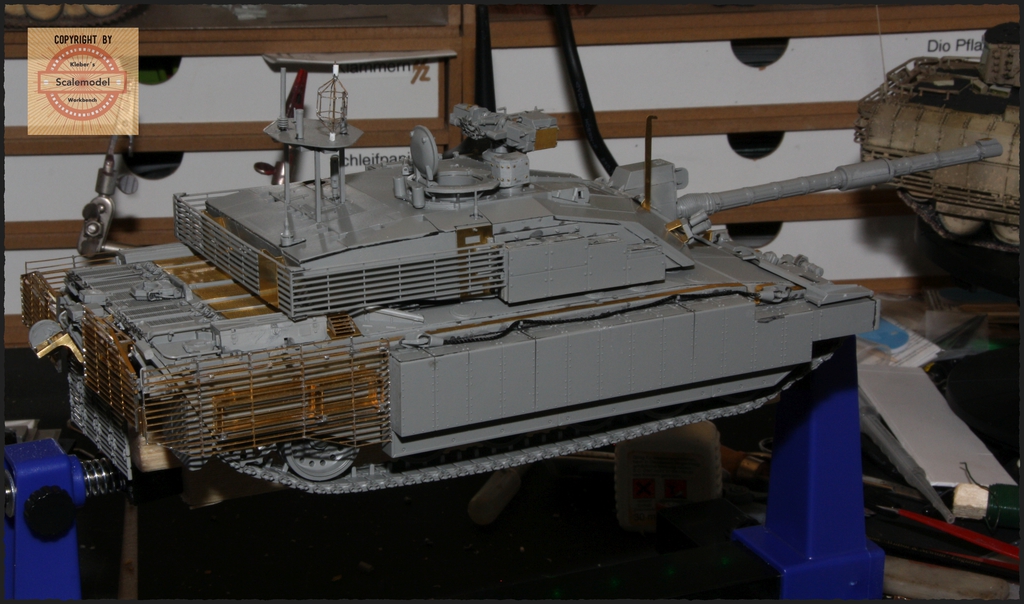
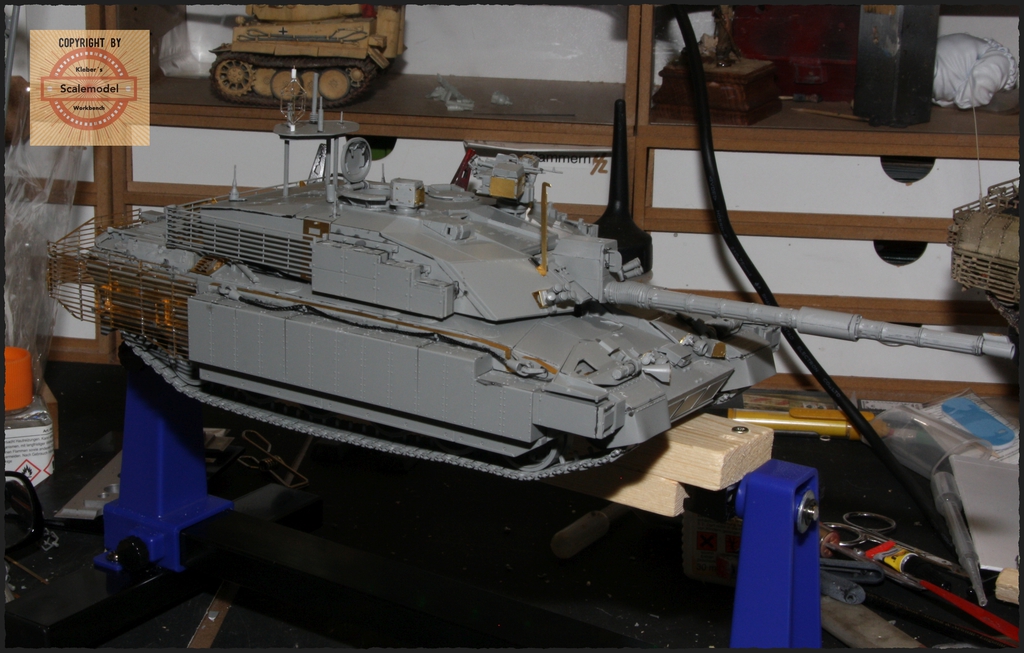
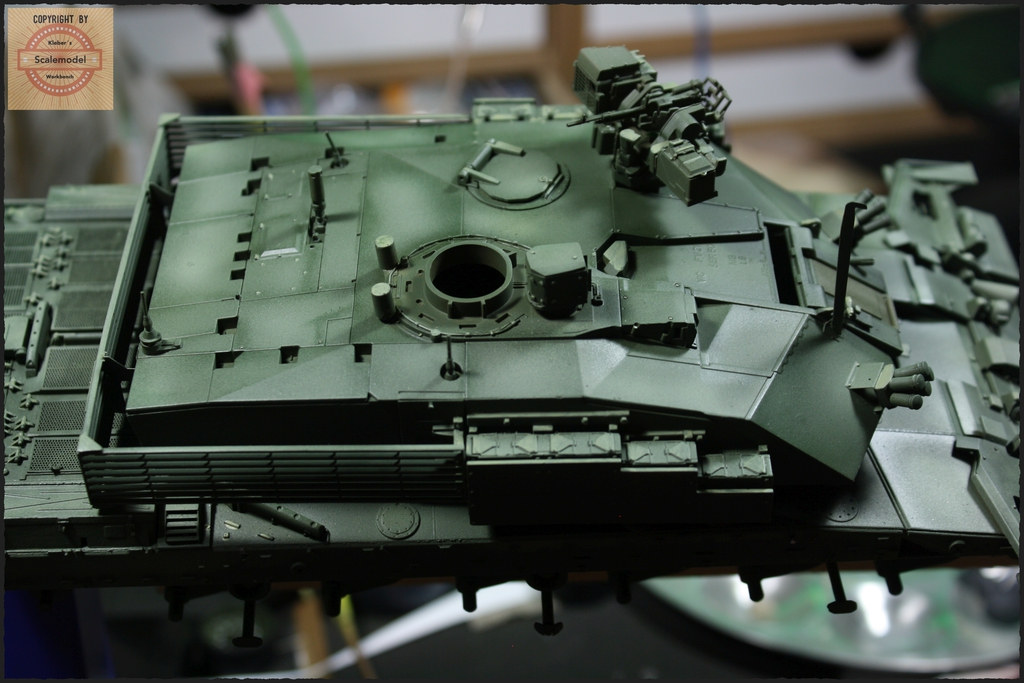
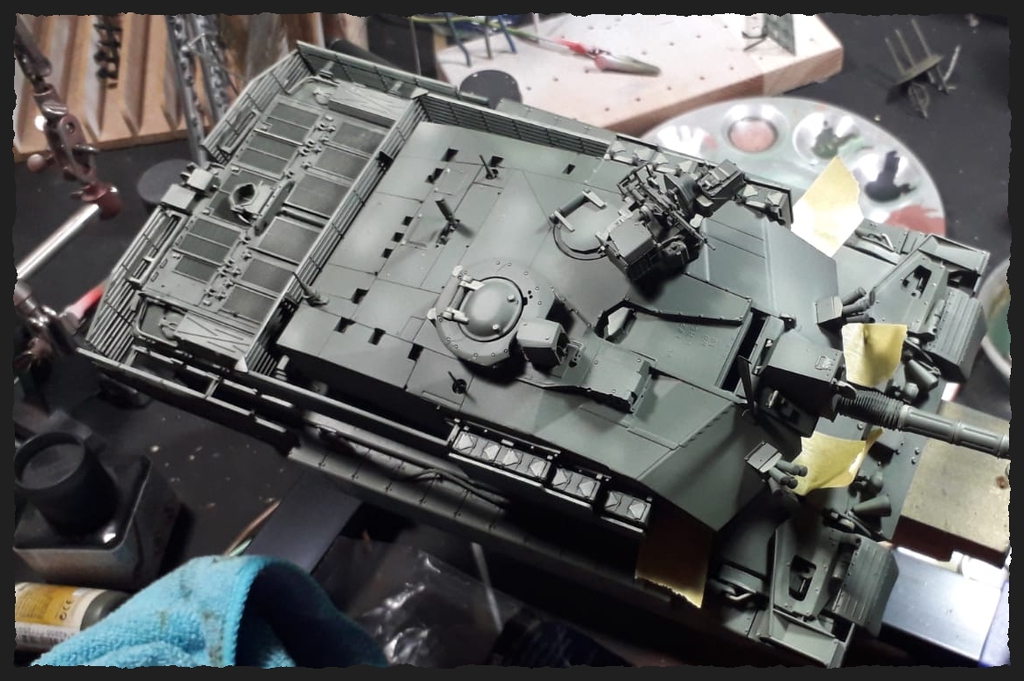
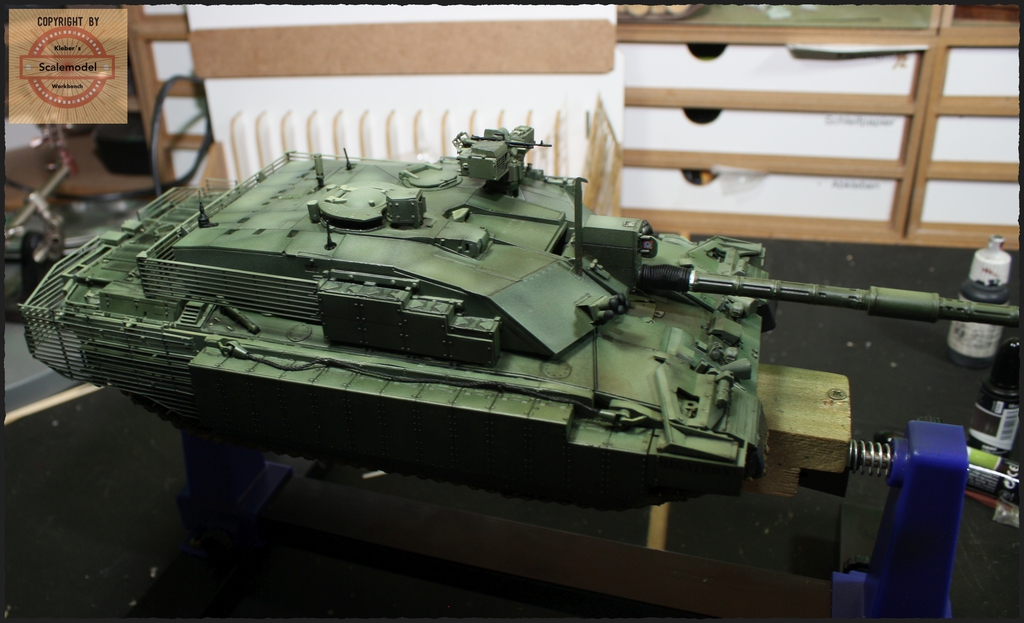
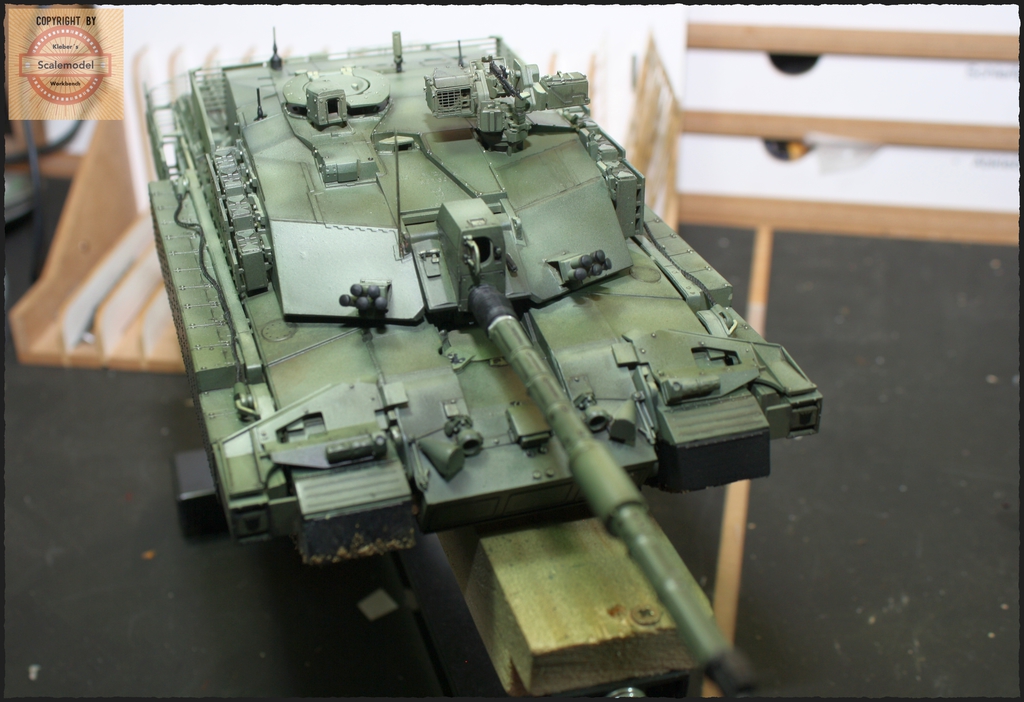
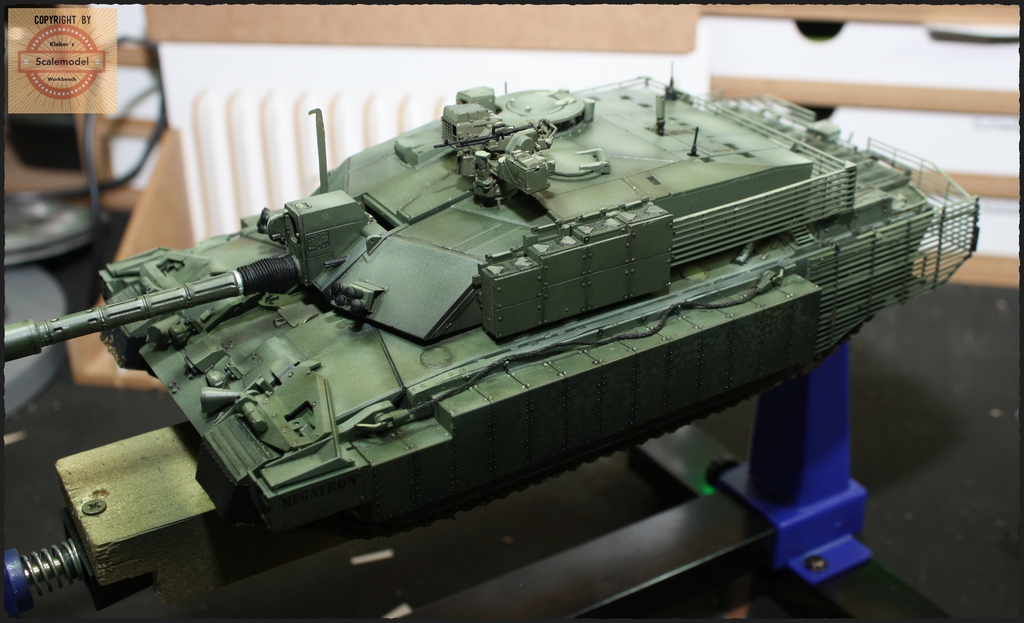
Challenger 2 TES, Rye Field Models, 1/35
Dec 6, 2023 14:55:02 GMT -5
deafpanzer, chromdome35, and 3 more like this
Post by roland66 on Dec 6, 2023 14:55:02 GMT -5
Hello everyone,
I don't want to withhold this build report from you either. Built in the middle of 2020. Since I translated the construction report with DeepL, I leave it in the time of 2020.
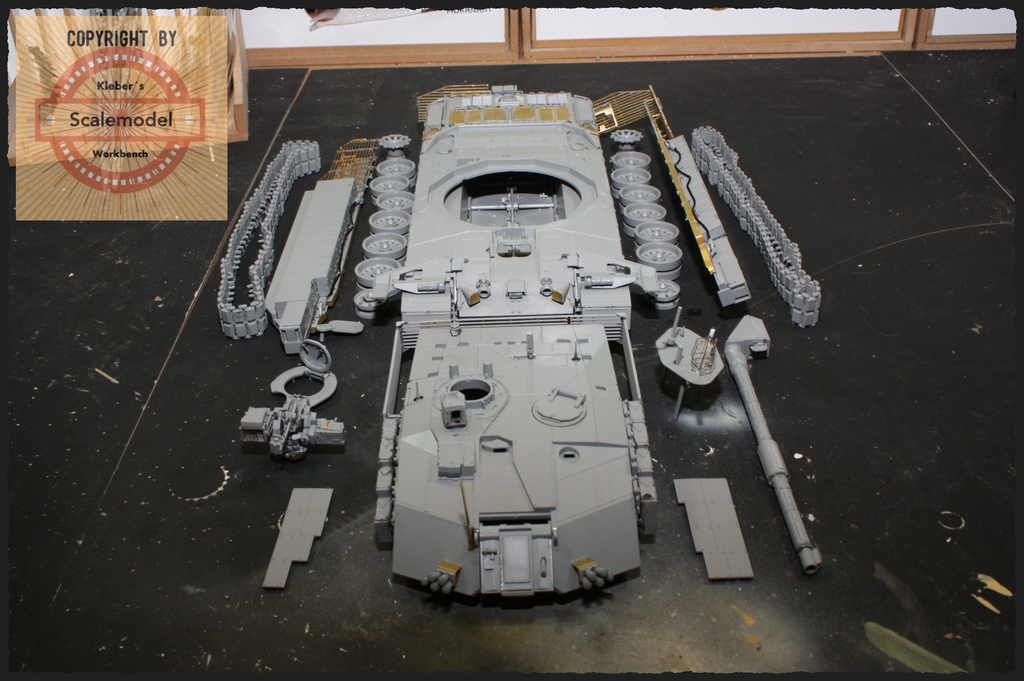
Rye Fields Challenger 2 TES will be built in 1/35th The kit is quite fresh, so here we go. The kit comes with Rye Field's own accessory set for the Slat-Armor.
And since moving pictures are nice to look at, here is a video.

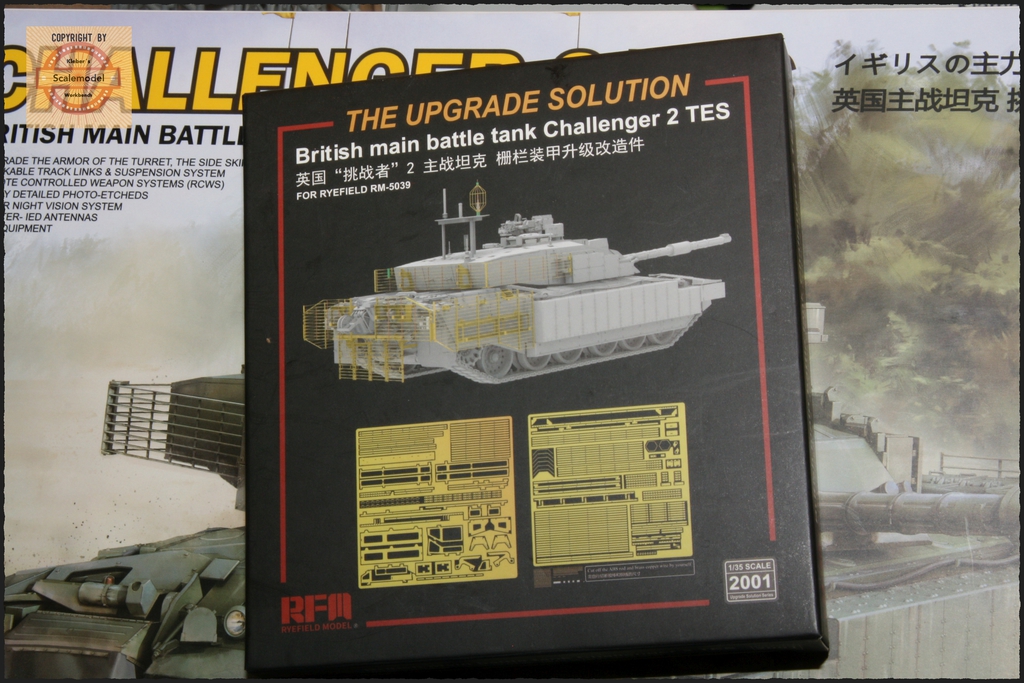
This thing actually fits well together.
What bothers me are some ultra-thick sprues and mold parting lines with a slight offset. Especially with the two F casting sprues. You have to rework even the smallest parts. And this is sometimes difficult due to the offset.
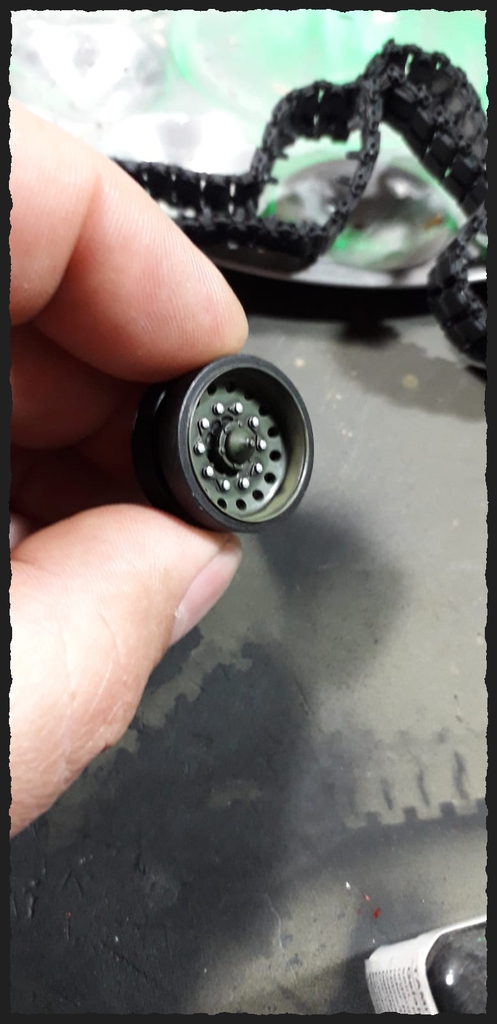
The chains are easy to work with, but they are supposed to click together. They are far from that, the parts don't even hold together for 0.1 seconds. Nothing works without glue.
Despite everything, and if you glue carefully, the chain remains fully movable.
The number of chain links (87) per side is wrong, 79 links are exactly right.
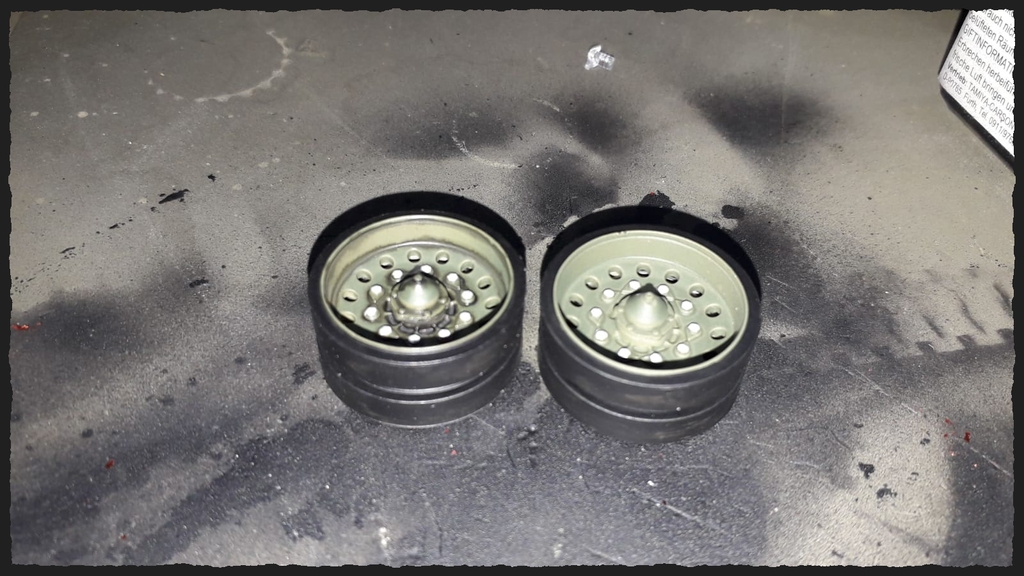
And if you take a look inside the tub. The ejectors leave half of the chain in place, which isn't so bad, but that's also on the inside of the wheels, inside the headlights, etc. It's just annoying. It's just annoying.
Contrary to the instructions, I started with the tracks, which went quite quickly with the enclosed building aid. Well, you have to glue, but a chain is put together in 1.5 hours.
Then I continued as normal with the building instructions. You can convert the undercarriage to be movable, remove a few lugs on the steering knuckles and you're done.
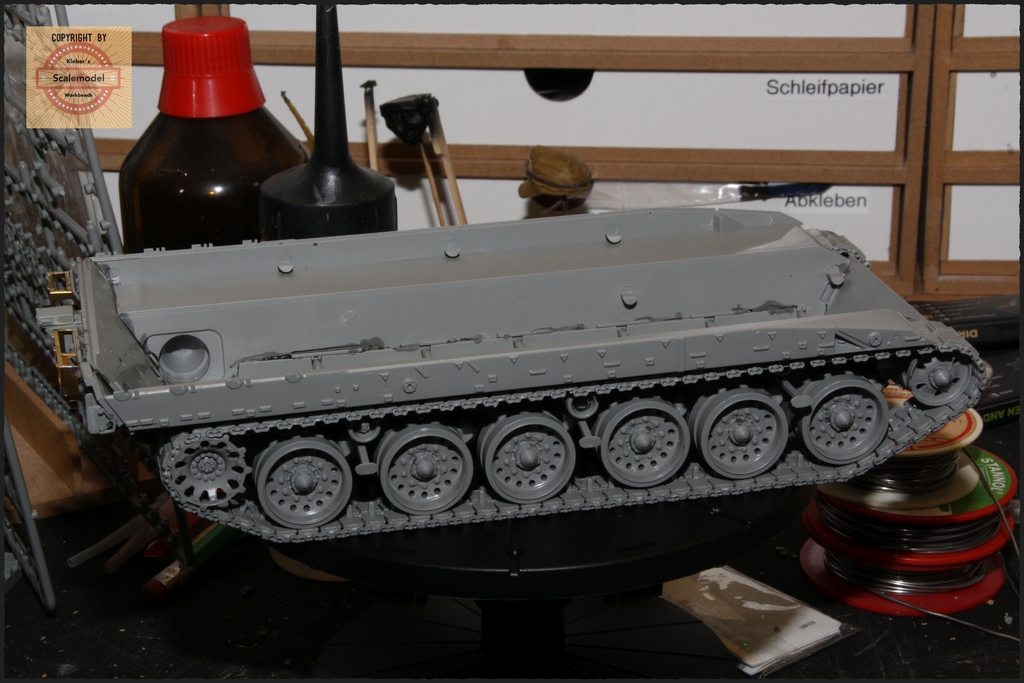
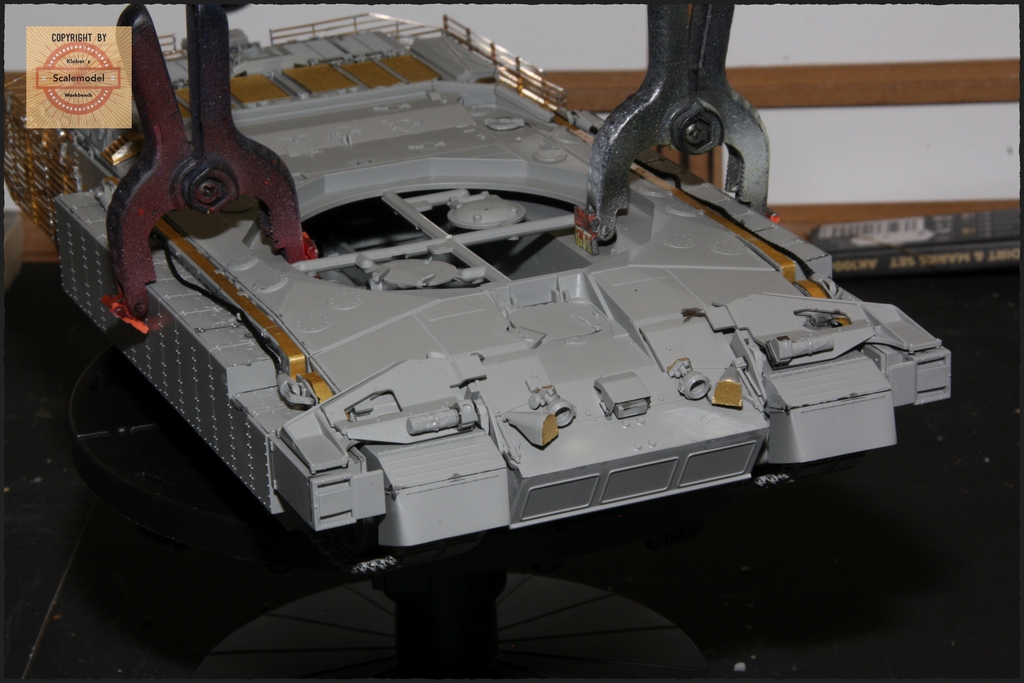
Then I continued with the first etched parts. These are included in the kit, the slat armor will be added later.
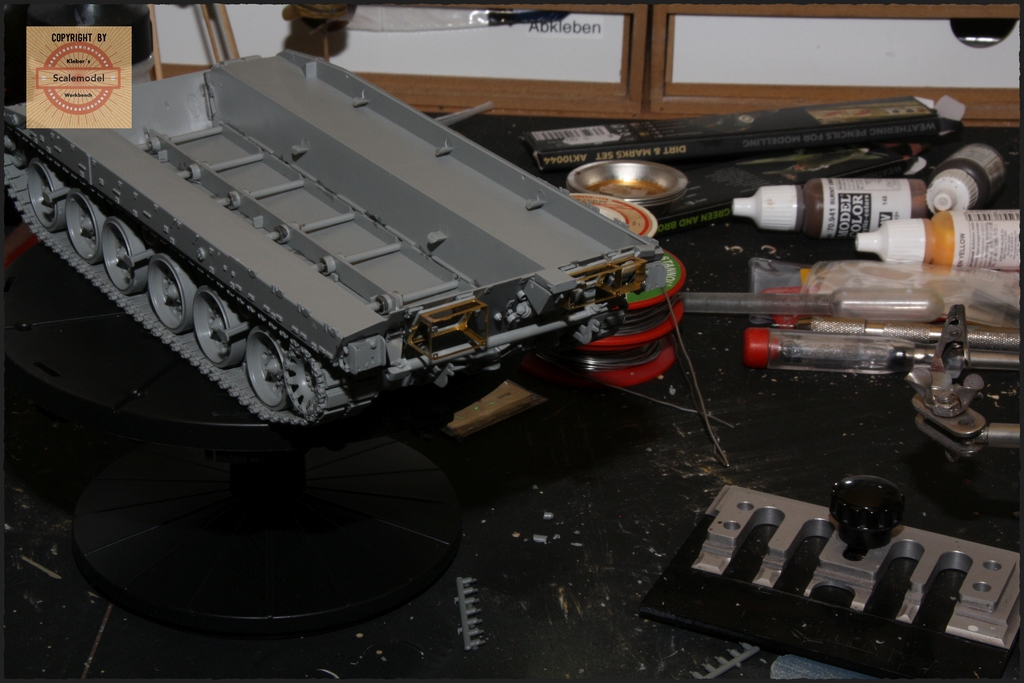
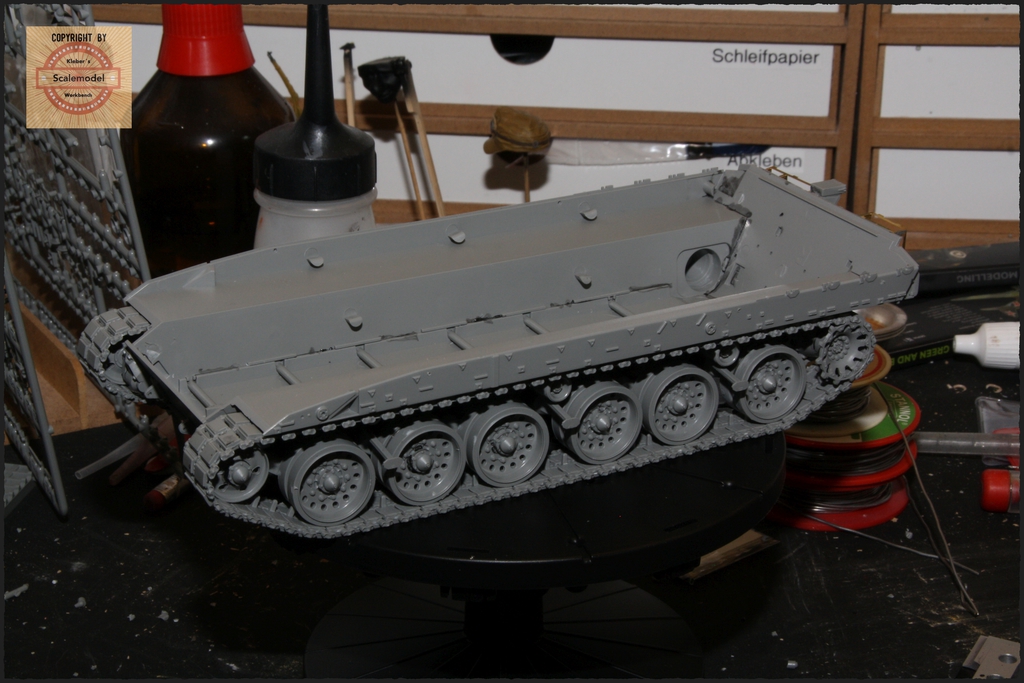
The work of the week before last, soldering, soldering and soldering again. How quickly you forget how to do it.
The etched parts on the side armor are included in the kit.
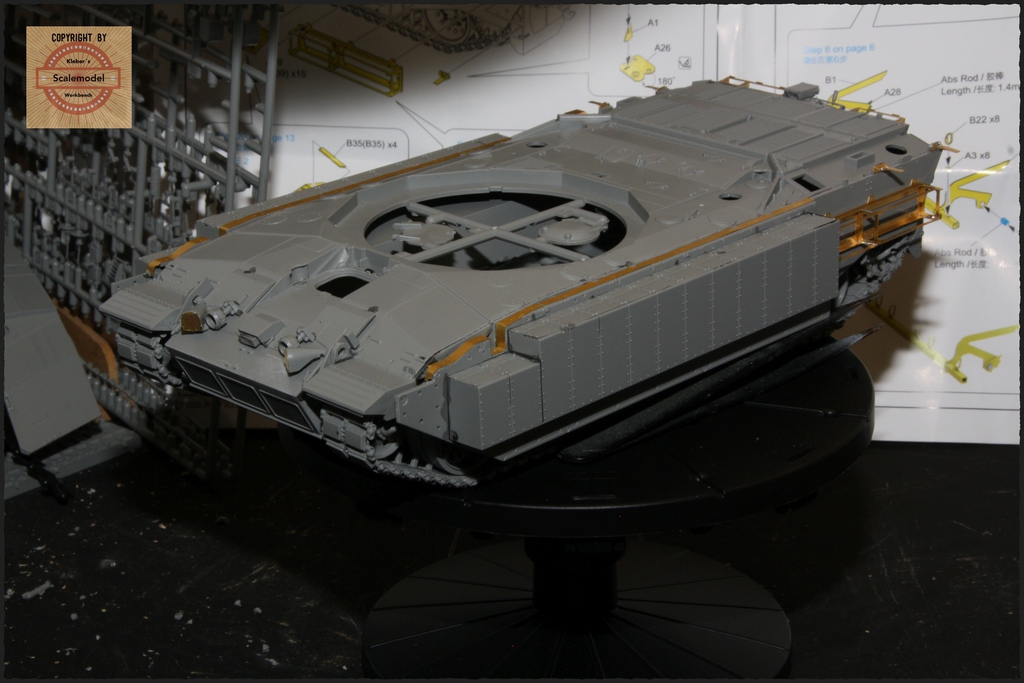
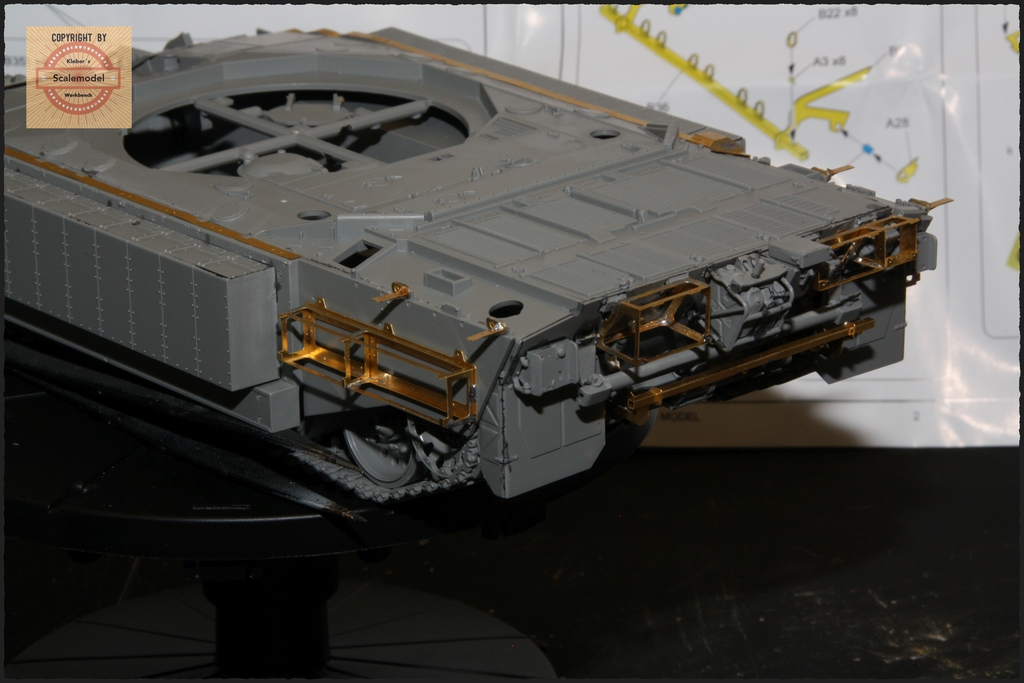
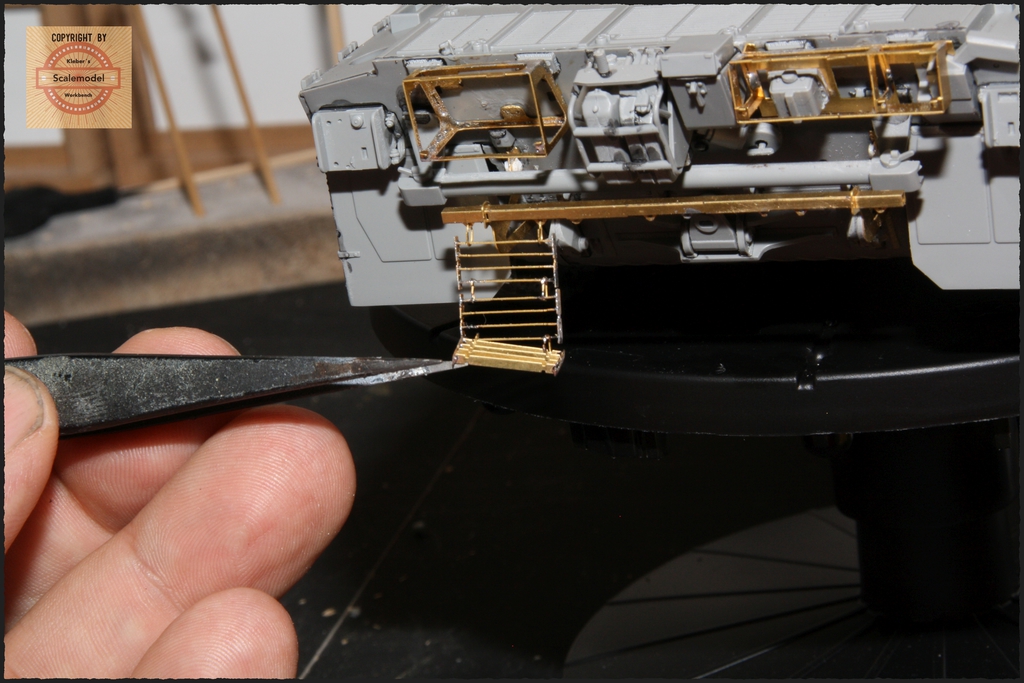
The brackets for the side slat armor and the rear bar are from the accessory kit. The rear, upper, brackets,
which I had already fitted before, have been replaced by those from the accessory kit. They simply look better.


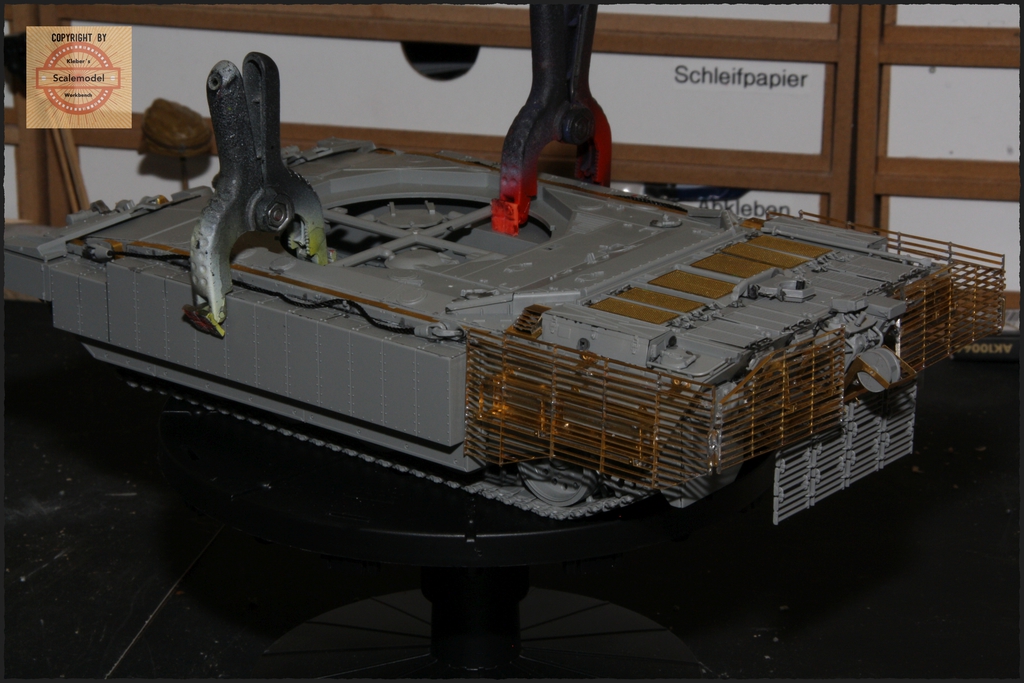
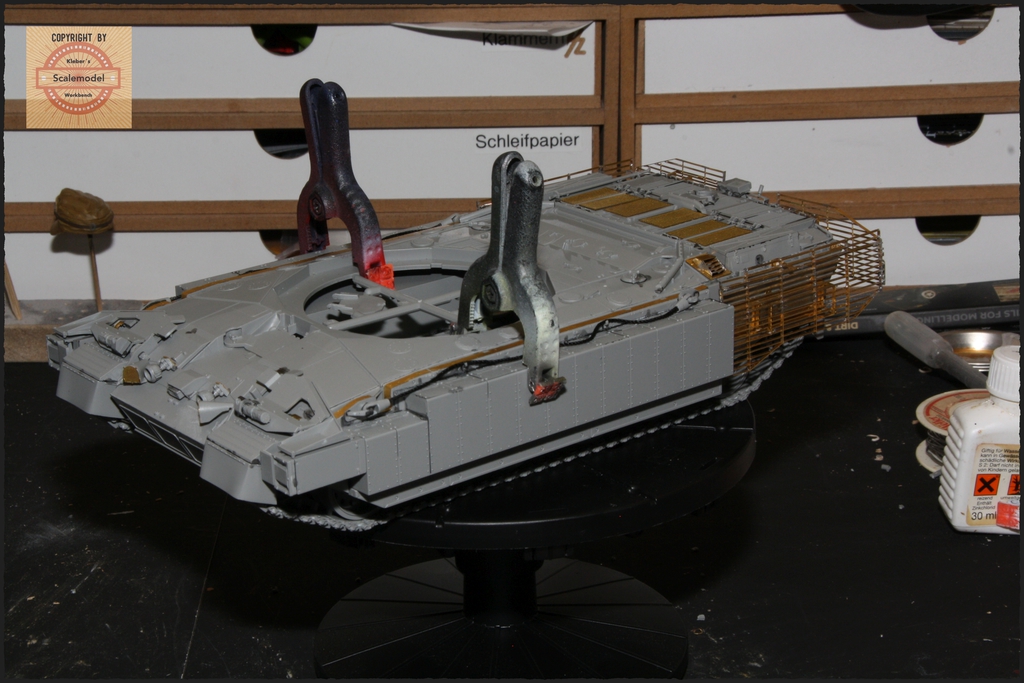
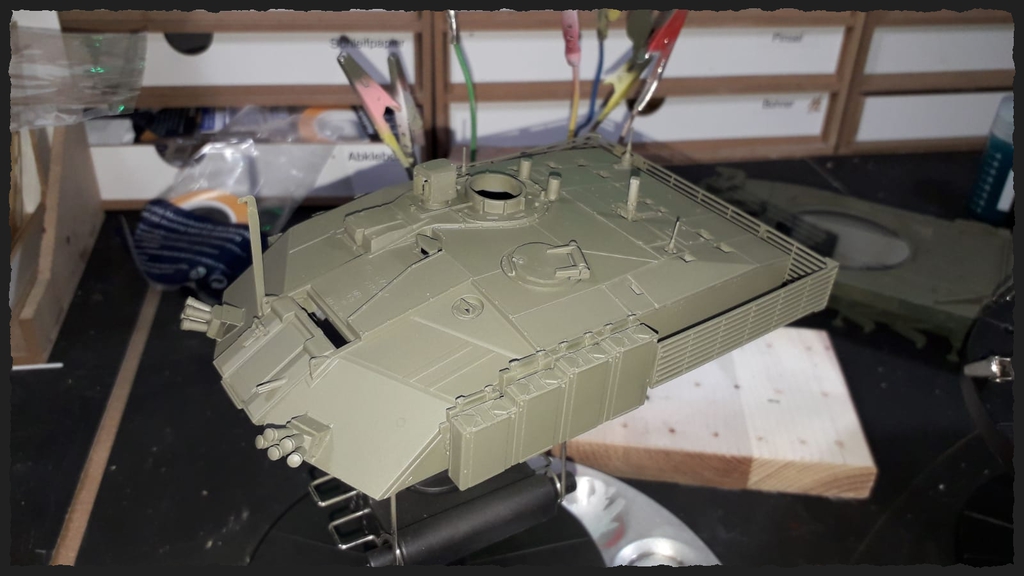
This week I have been working on the side grilles. I had first glued the etched parts with superglue.
Unfortunately, the glue kept coming off. So I unpacked the soldering iron again and soldered many parts.
You have to be careful when building, the instructions show the exploded view of the left side, right next to it a picture of the finished side.
Only, this is the right side, very confusing. Despite the fact that I was so careful, I used the correct numbers for the sides,
25,000 times, I ended up with the right-hand side partially upside down.
Either Rye Field had etched the creases incorrectly, or I had a not-so-bright day on my part. In some cases I had to
solder joints again and redo them.
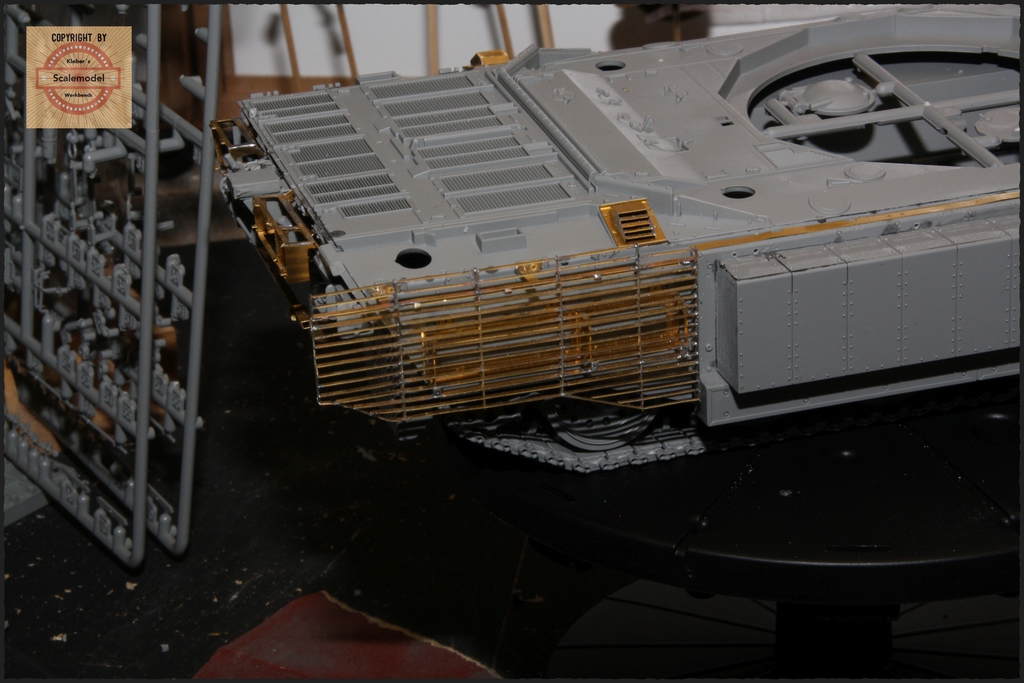

So, that's the current state of affairs, next I'll deal with the rear grilles. Here I'm going to resort to soldering.
I don't want to withhold this build report from you either. Built in the middle of 2020. Since I translated the construction report with DeepL, I leave it in the time of 2020.
Rye Fields Challenger 2 TES will be built in 1/35th The kit is quite fresh, so here we go. The kit comes with Rye Field's own accessory set for the Slat-Armor.
And since moving pictures are nice to look at, here is a video.


This thing actually fits well together.
What bothers me are some ultra-thick sprues and mold parting lines with a slight offset. Especially with the two F casting sprues. You have to rework even the smallest parts. And this is sometimes difficult due to the offset.
The chains are easy to work with, but they are supposed to click together. They are far from that, the parts don't even hold together for 0.1 seconds. Nothing works without glue.
Despite everything, and if you glue carefully, the chain remains fully movable.
The number of chain links (87) per side is wrong, 79 links are exactly right.
And if you take a look inside the tub. The ejectors leave half of the chain in place, which isn't so bad, but that's also on the inside of the wheels, inside the headlights, etc. It's just annoying. It's just annoying.
Contrary to the instructions, I started with the tracks, which went quite quickly with the enclosed building aid. Well, you have to glue, but a chain is put together in 1.5 hours.
Then I continued as normal with the building instructions. You can convert the undercarriage to be movable, remove a few lugs on the steering knuckles and you're done.

Then I continued with the first etched parts. These are included in the kit, the slat armor will be added later.


The work of the week before last, soldering, soldering and soldering again. How quickly you forget how to do it.
The etched parts on the side armor are included in the kit.


The brackets for the side slat armor and the rear bar are from the accessory kit. The rear, upper, brackets,
which I had already fitted before, have been replaced by those from the accessory kit. They simply look better.


This week I have been working on the side grilles. I had first glued the etched parts with superglue.
Unfortunately, the glue kept coming off. So I unpacked the soldering iron again and soldered many parts.
You have to be careful when building, the instructions show the exploded view of the left side, right next to it a picture of the finished side.
Only, this is the right side, very confusing. Despite the fact that I was so careful, I used the correct numbers for the sides,
25,000 times, I ended up with the right-hand side partially upside down.
Either Rye Field had etched the creases incorrectly, or I had a not-so-bright day on my part. In some cases I had to
solder joints again and redo them.


So, that's the current state of affairs, next I'll deal with the rear grilles. Here I'm going to resort to soldering.


