goofy62
Junior Member

Member since: January 2024
Posts: 41 
|
Post by goofy62 on Jan 10, 2024 13:02:50 GMT -5
Now that I have introduced myself with one of my finished projects, (The 1964 Pontiac Bonneville convertible) I will begin to bore you with my next long and drawn out project, an old, derelict 1964 Pontiac Lemans convertible annual that I picked up in a small antique shop many years ago for $12.00.
Short of deciding to do a '64 GTO, this will round out my '64 Pontiac stable, as I've already completed the '64 Bonneville, along with a '64 Grand Prix.
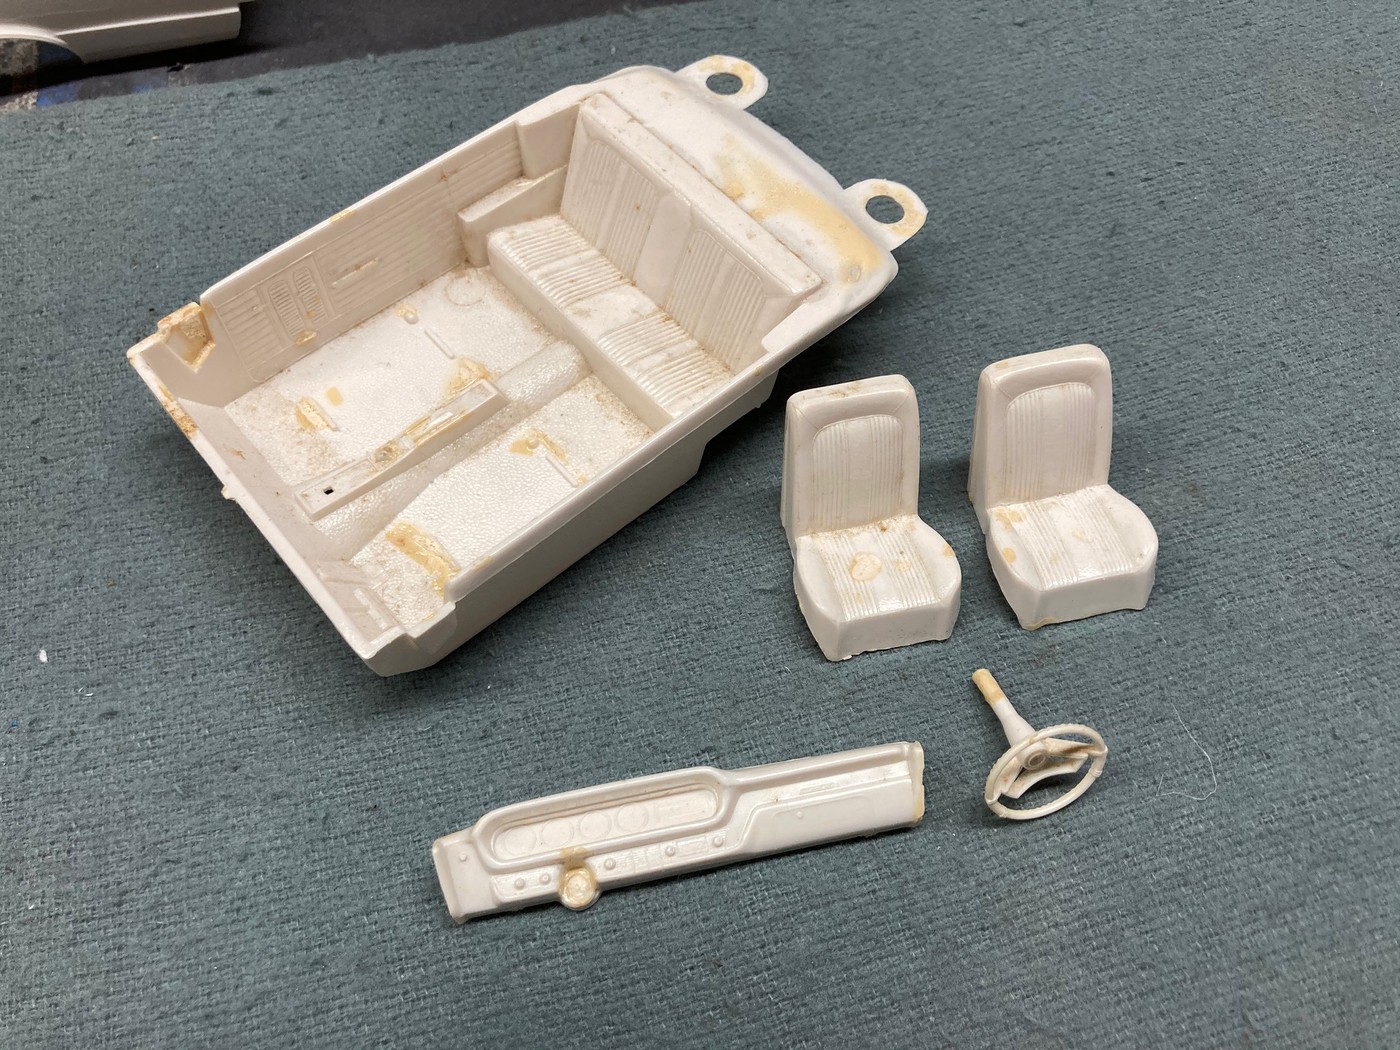
This will also be a full detail project, utilizing a chassis, engine bay and engine swap, as well as a completely re-vamped interior, and all of the little details that I can muster.
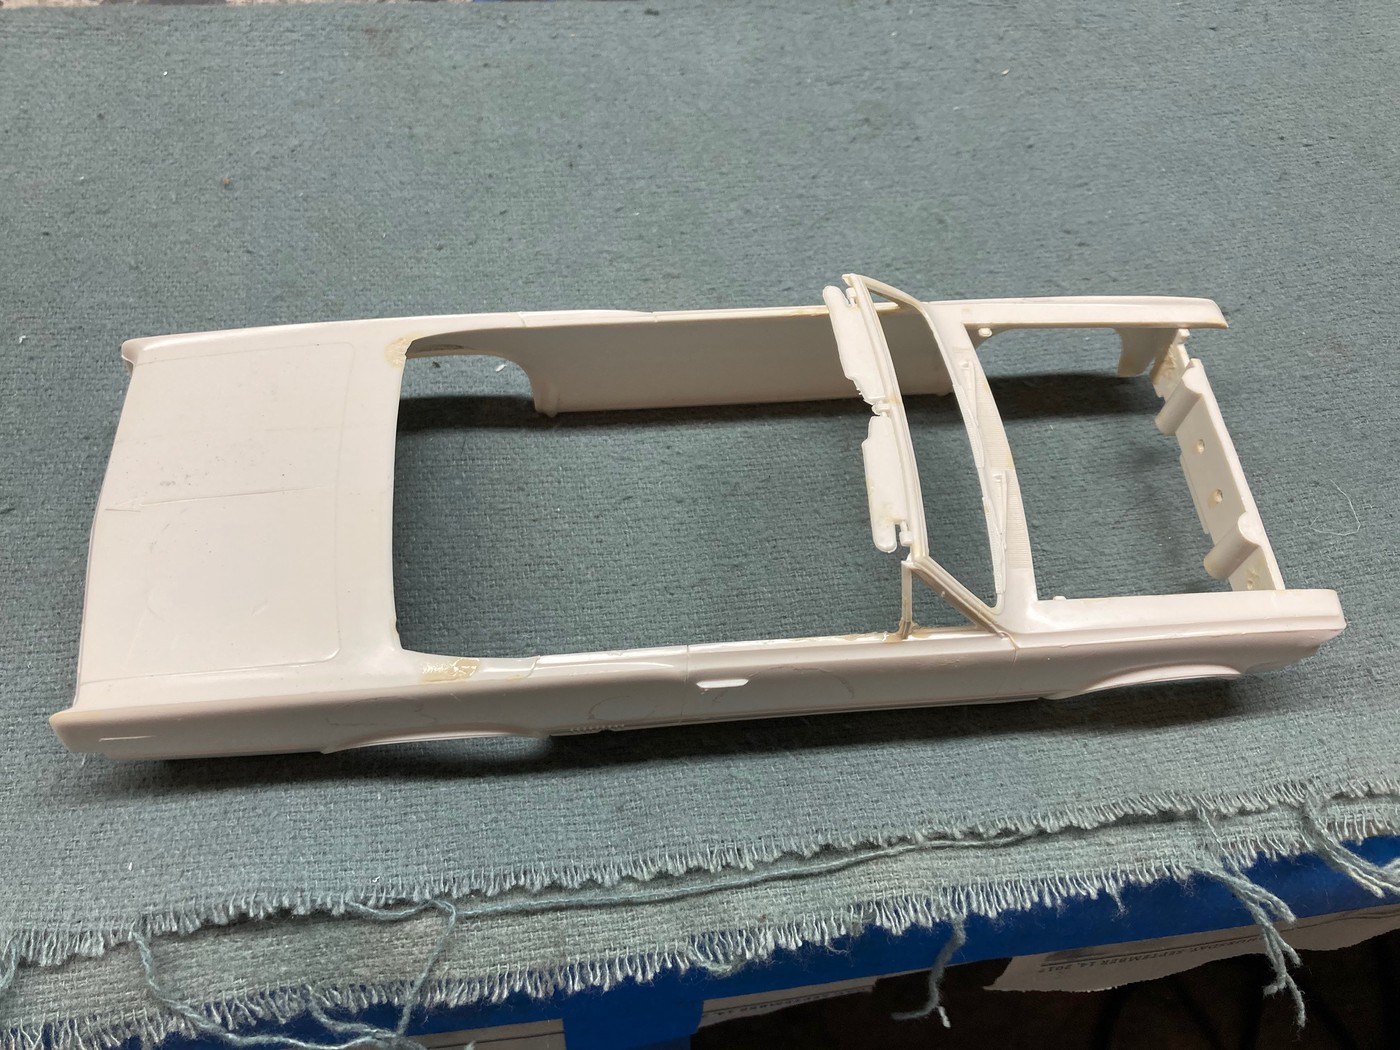
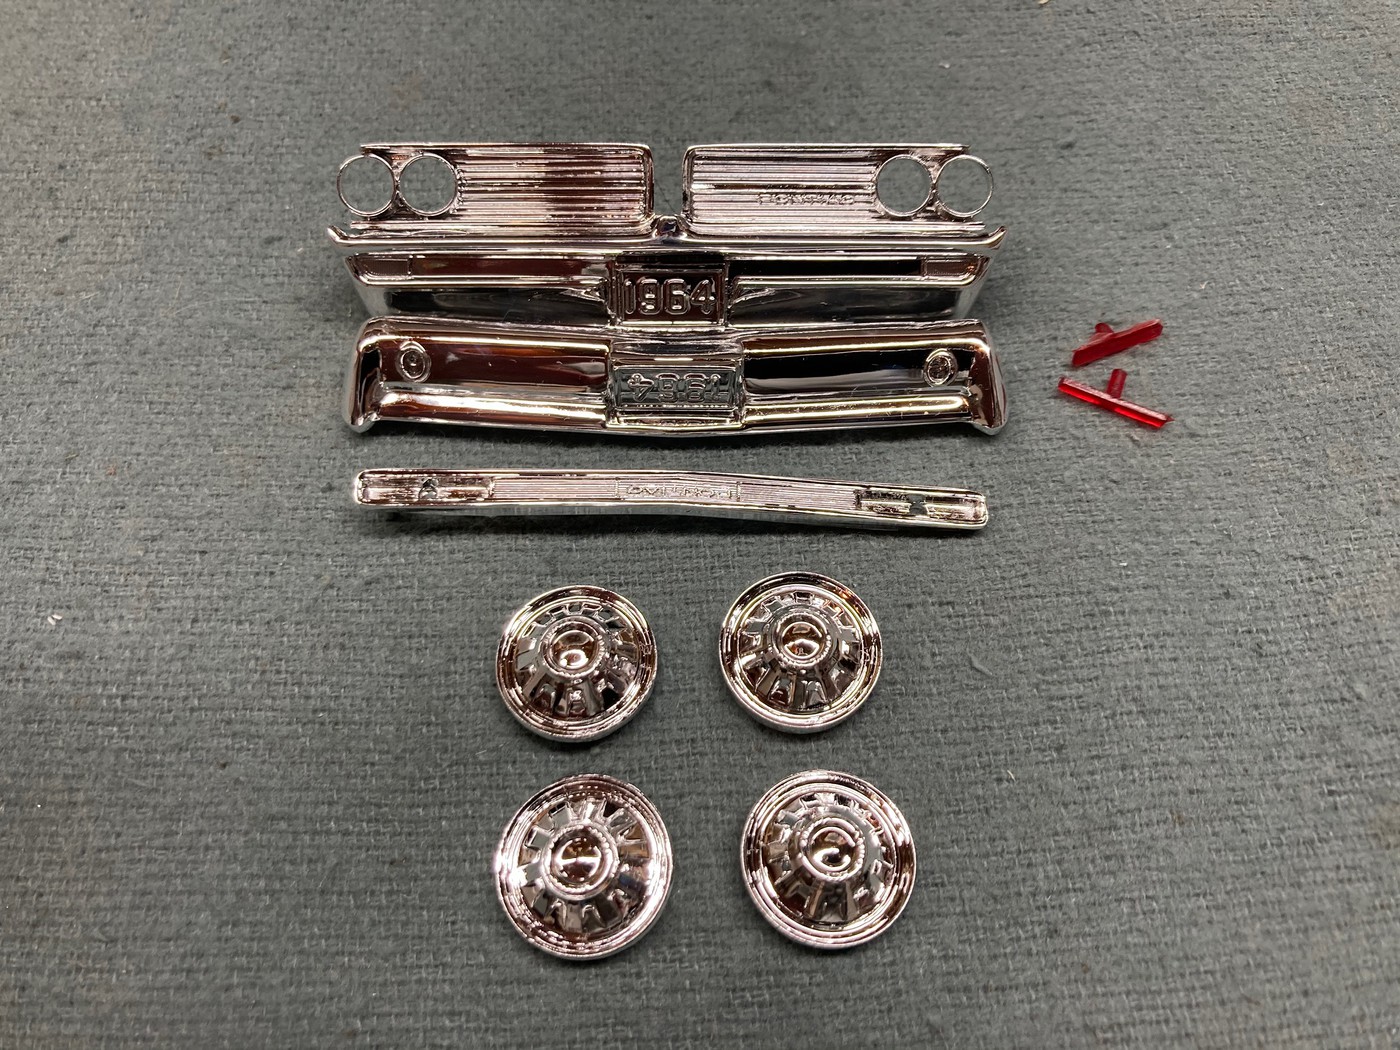
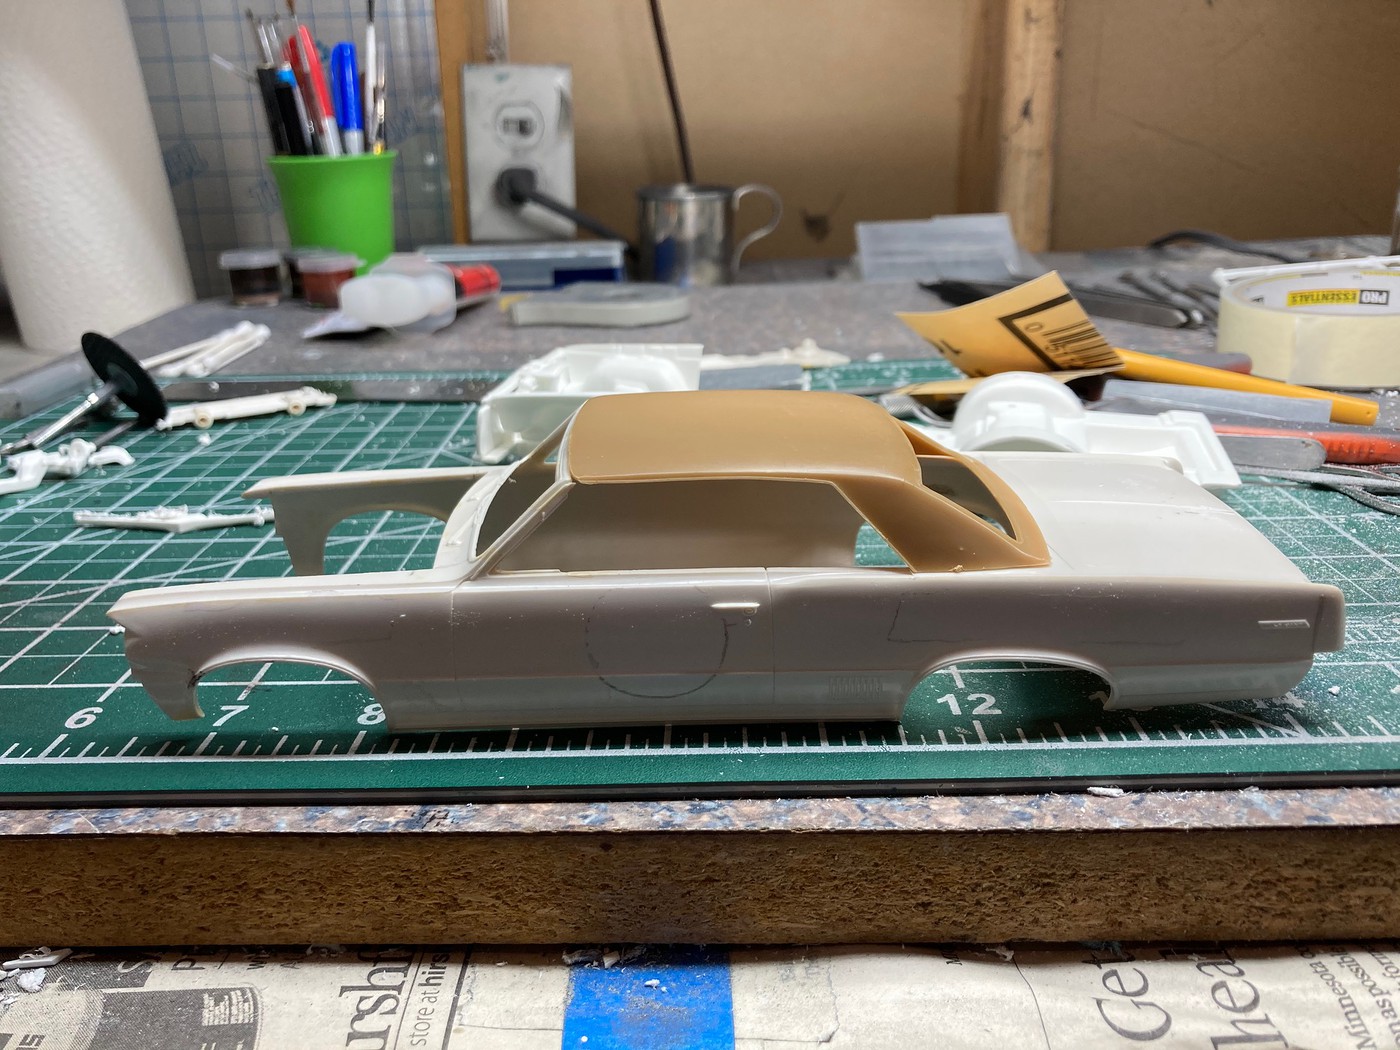
This is my starting point.
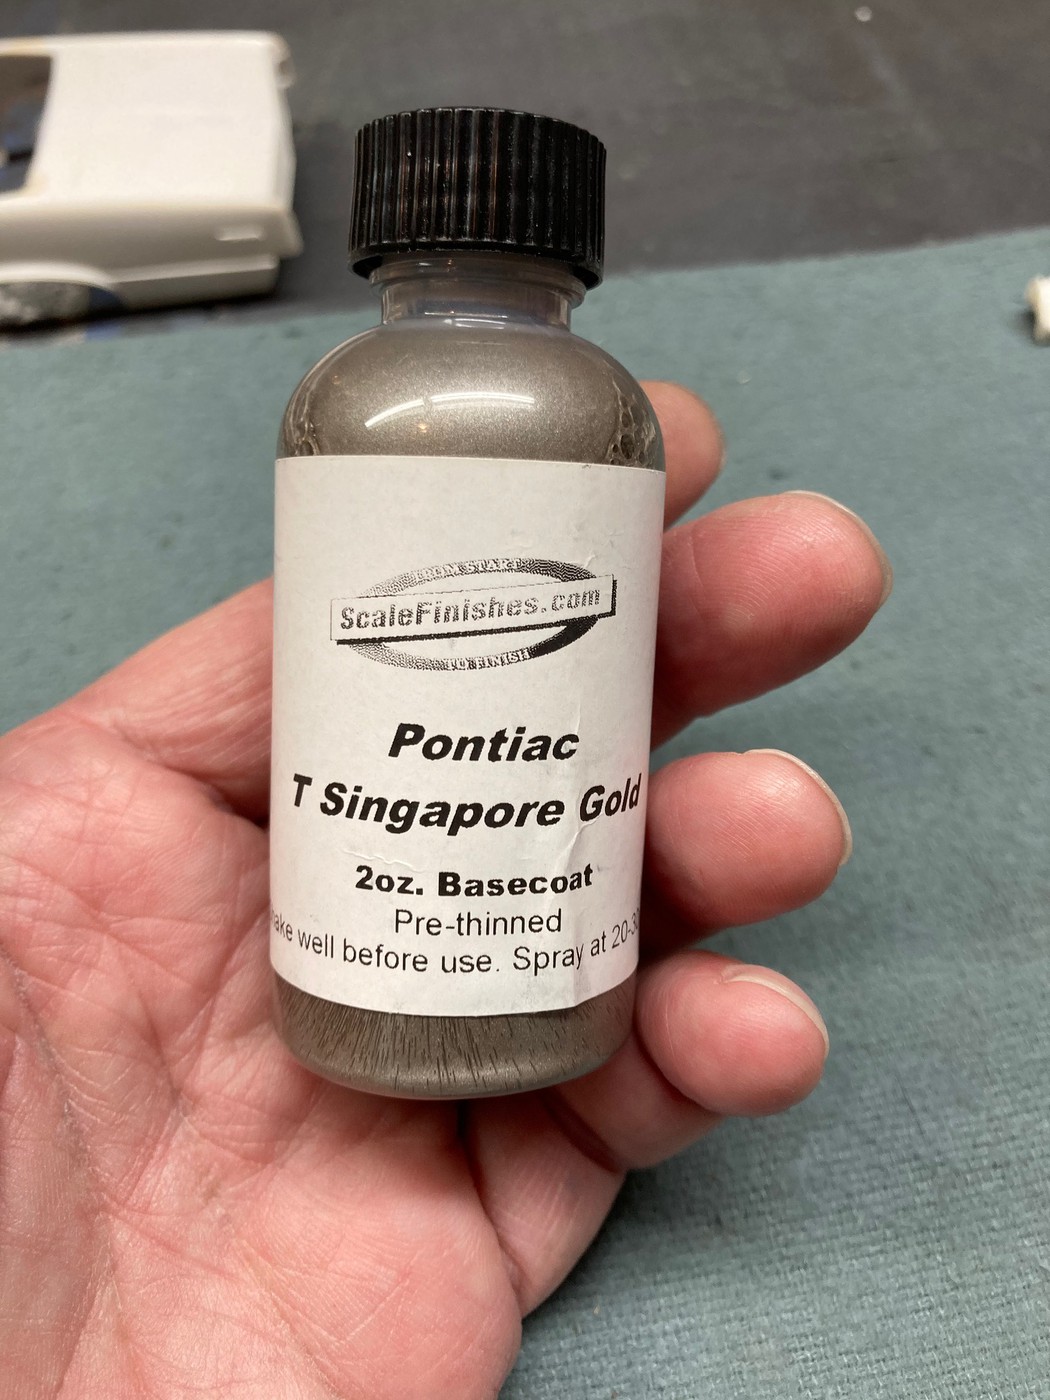
The chrome parts were re-plated some years ago after the head lights were drilled out for replacement, and the color will be correct '64 Pontiac "Singapore Gold" from Scale Finishes.
Steve
|
|
goofy62
Junior Member
Member since: January 2024
Posts: 41
|
Post by goofy62 on Jan 10, 2024 13:21:38 GMT -5
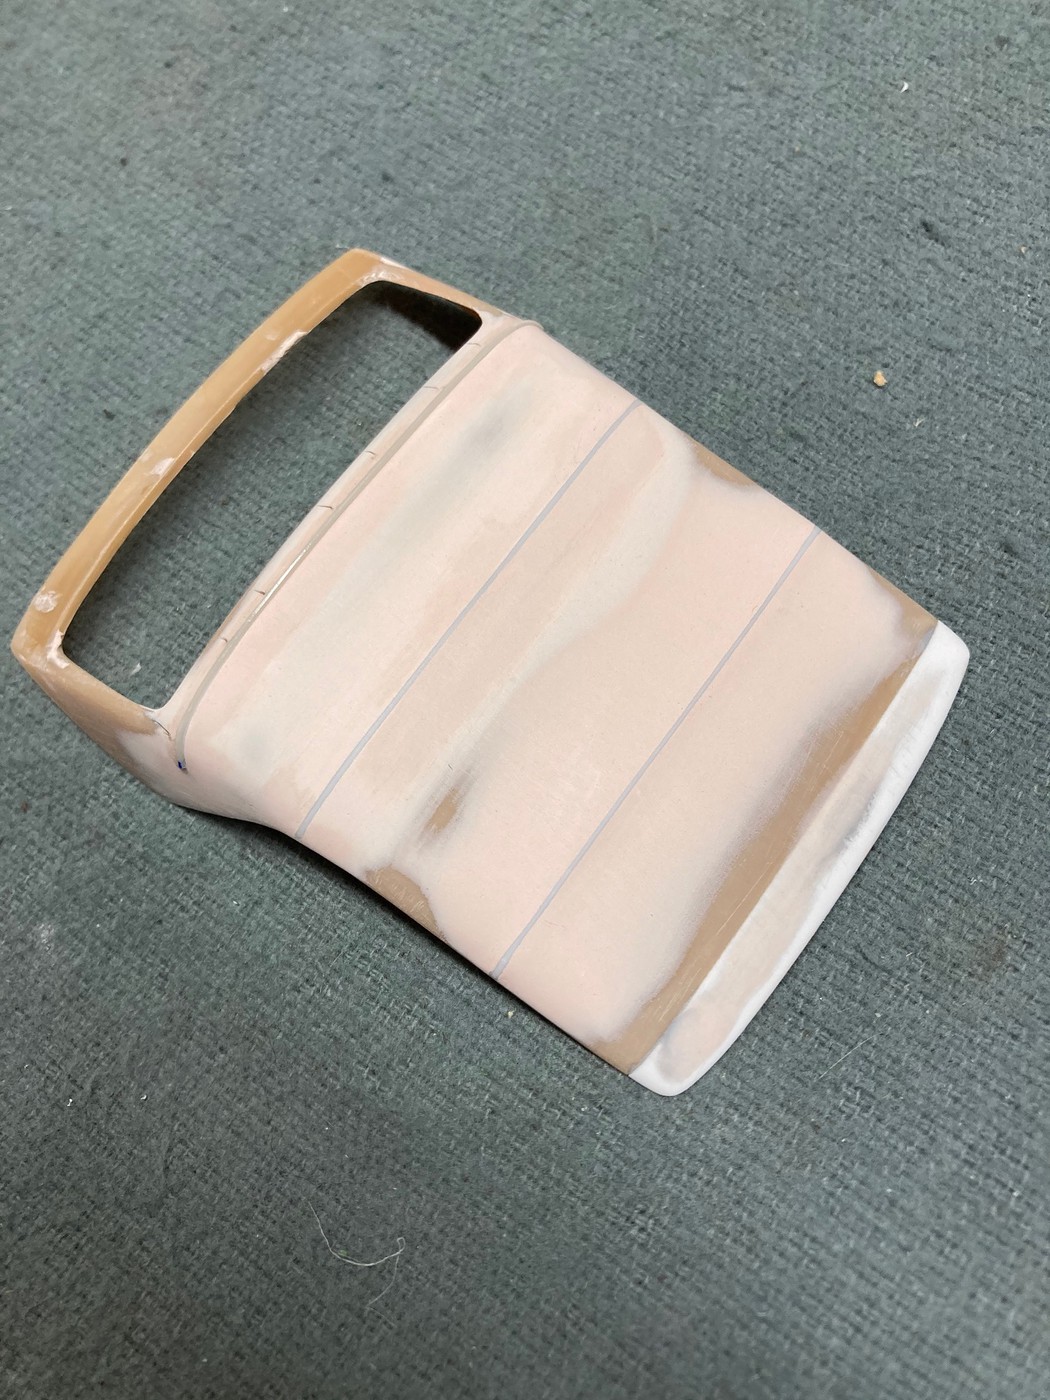
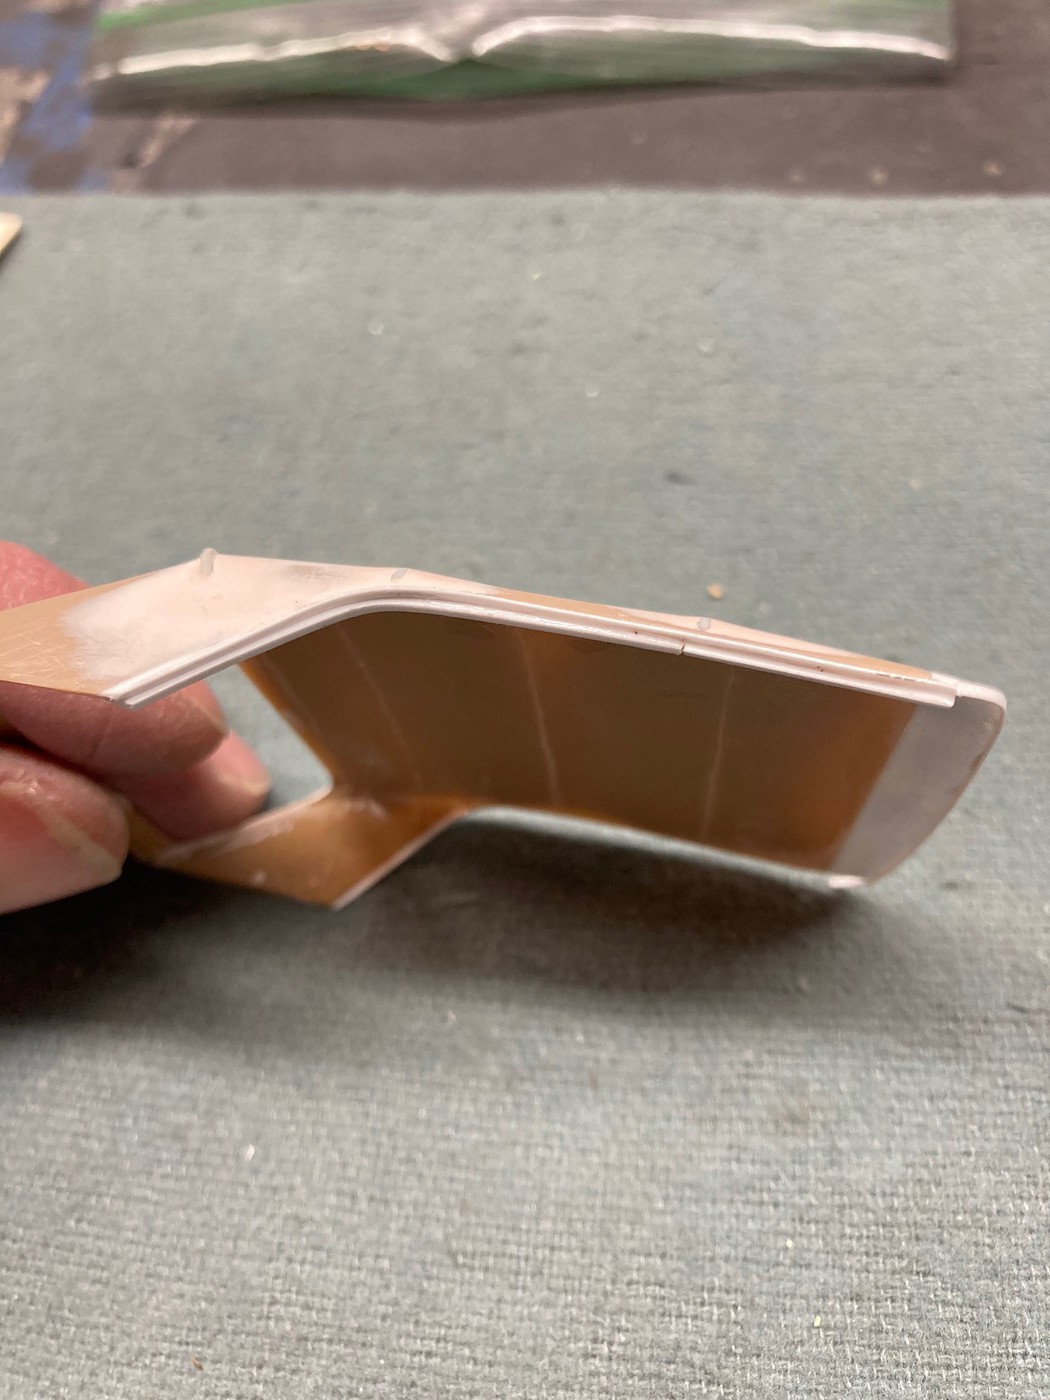
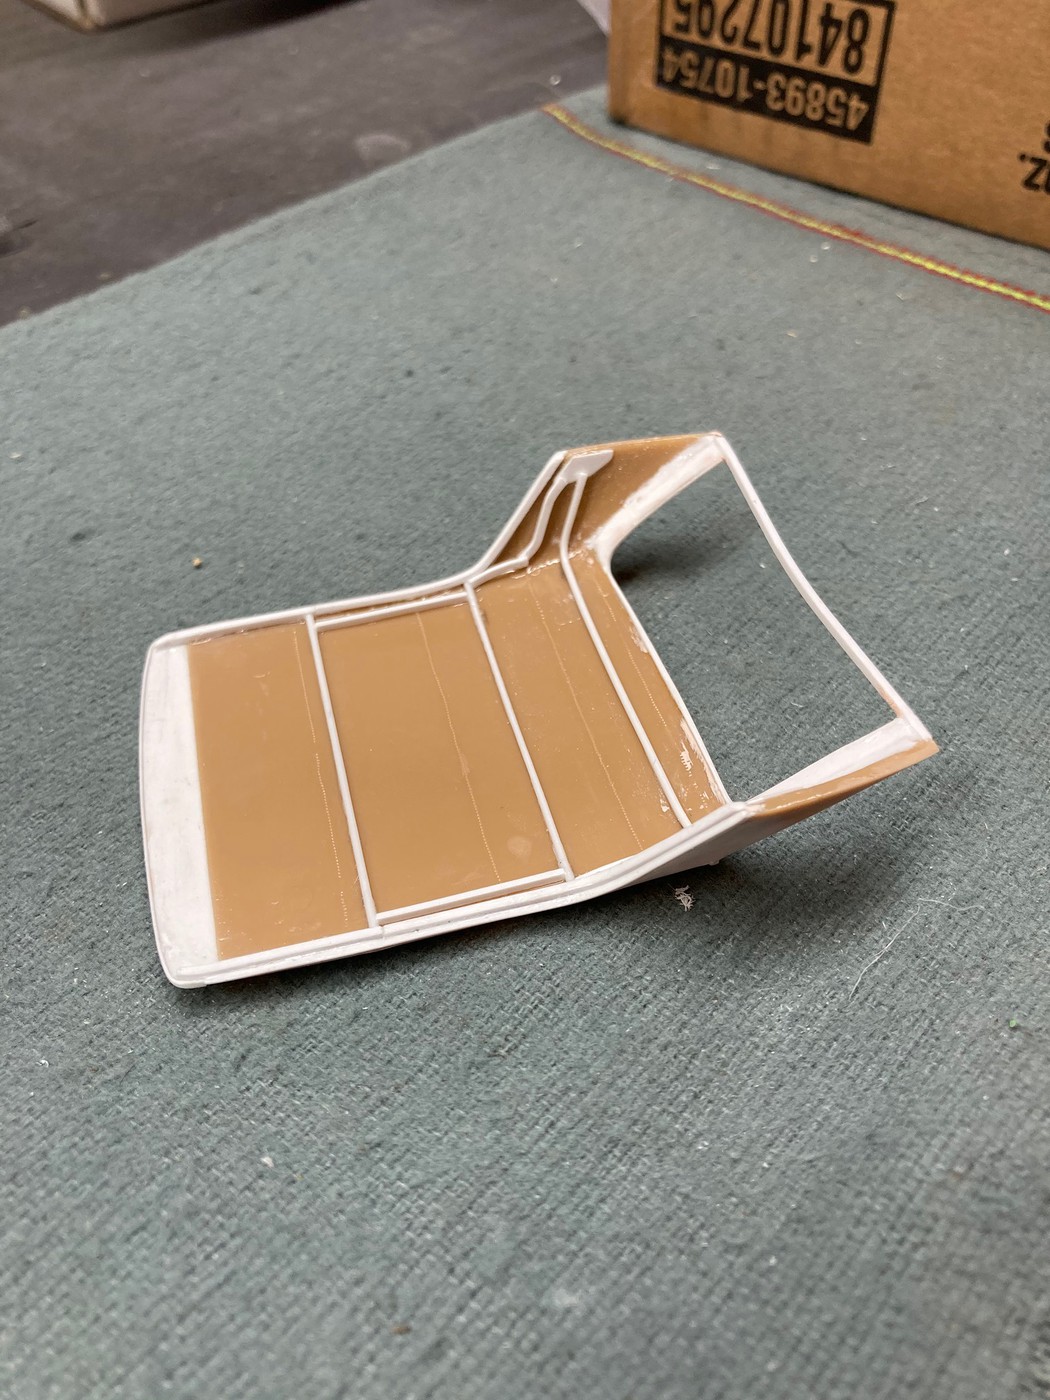
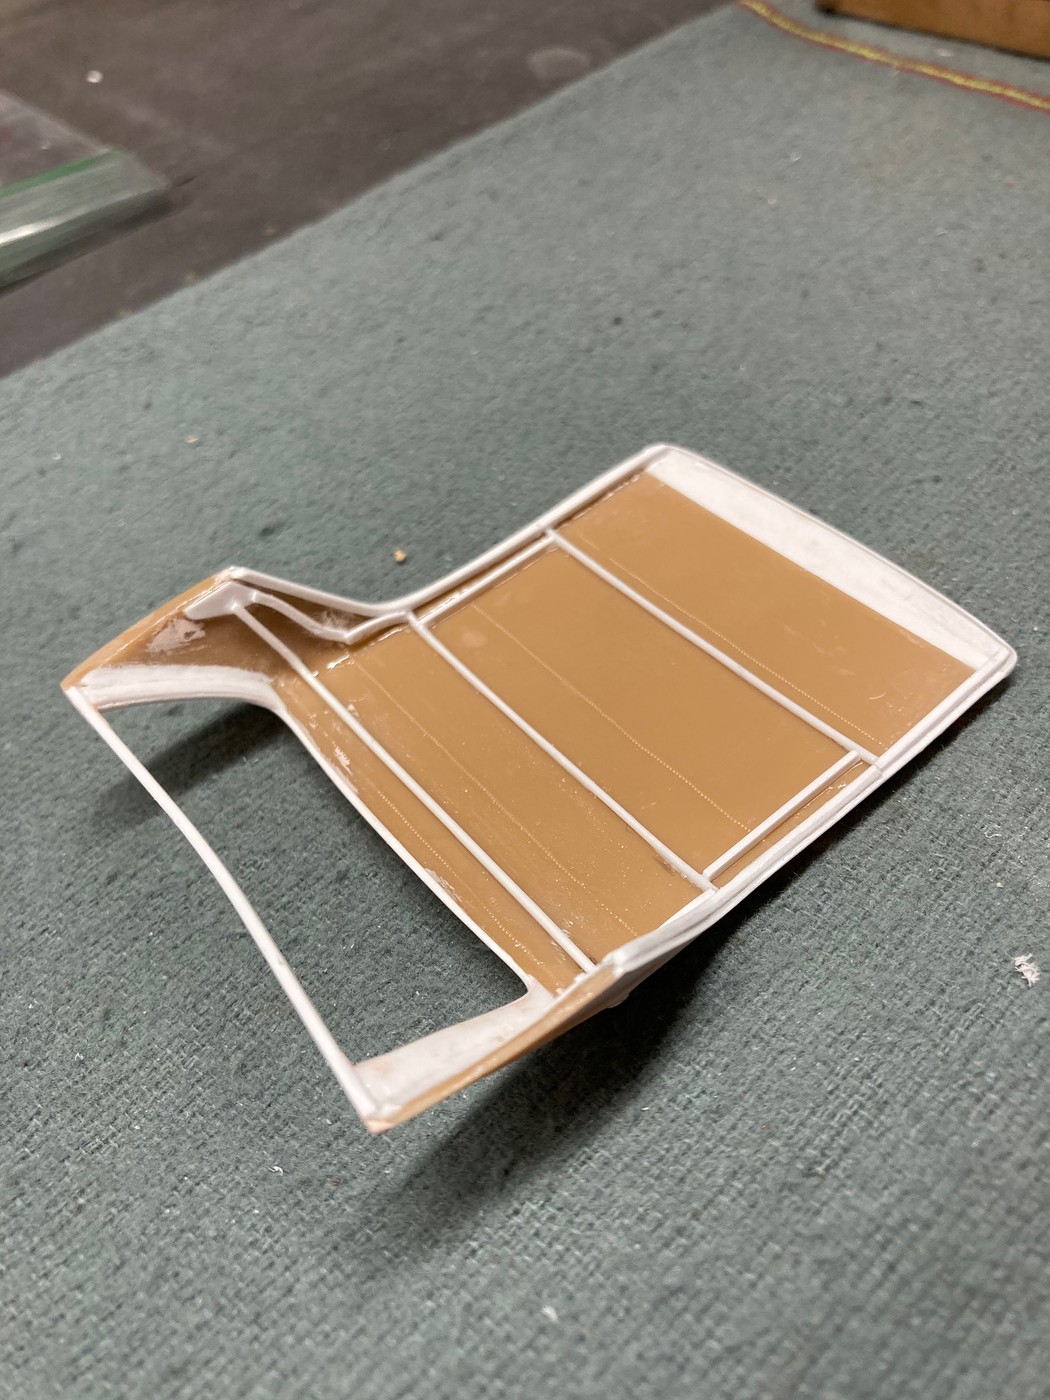
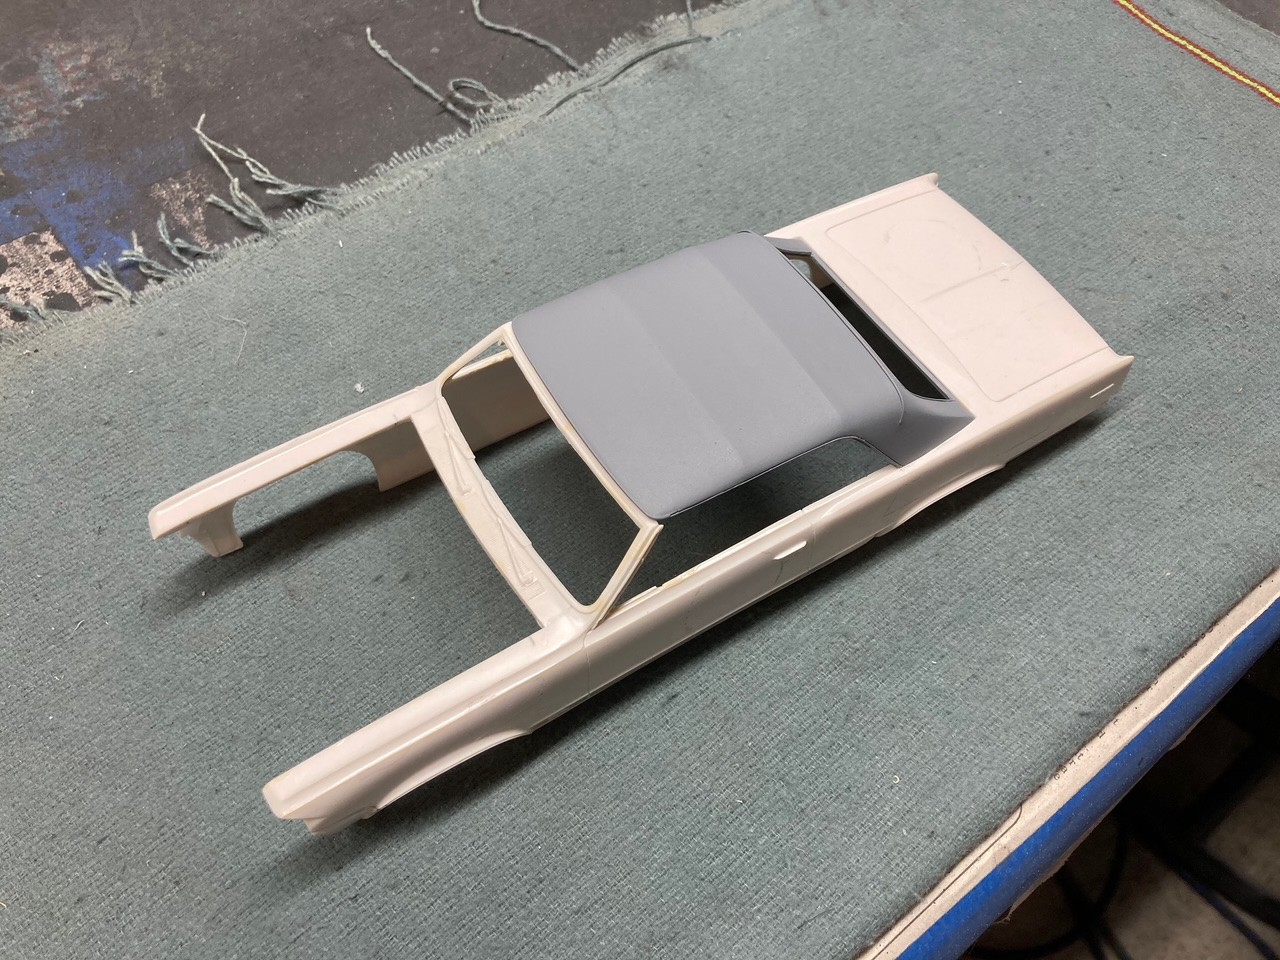
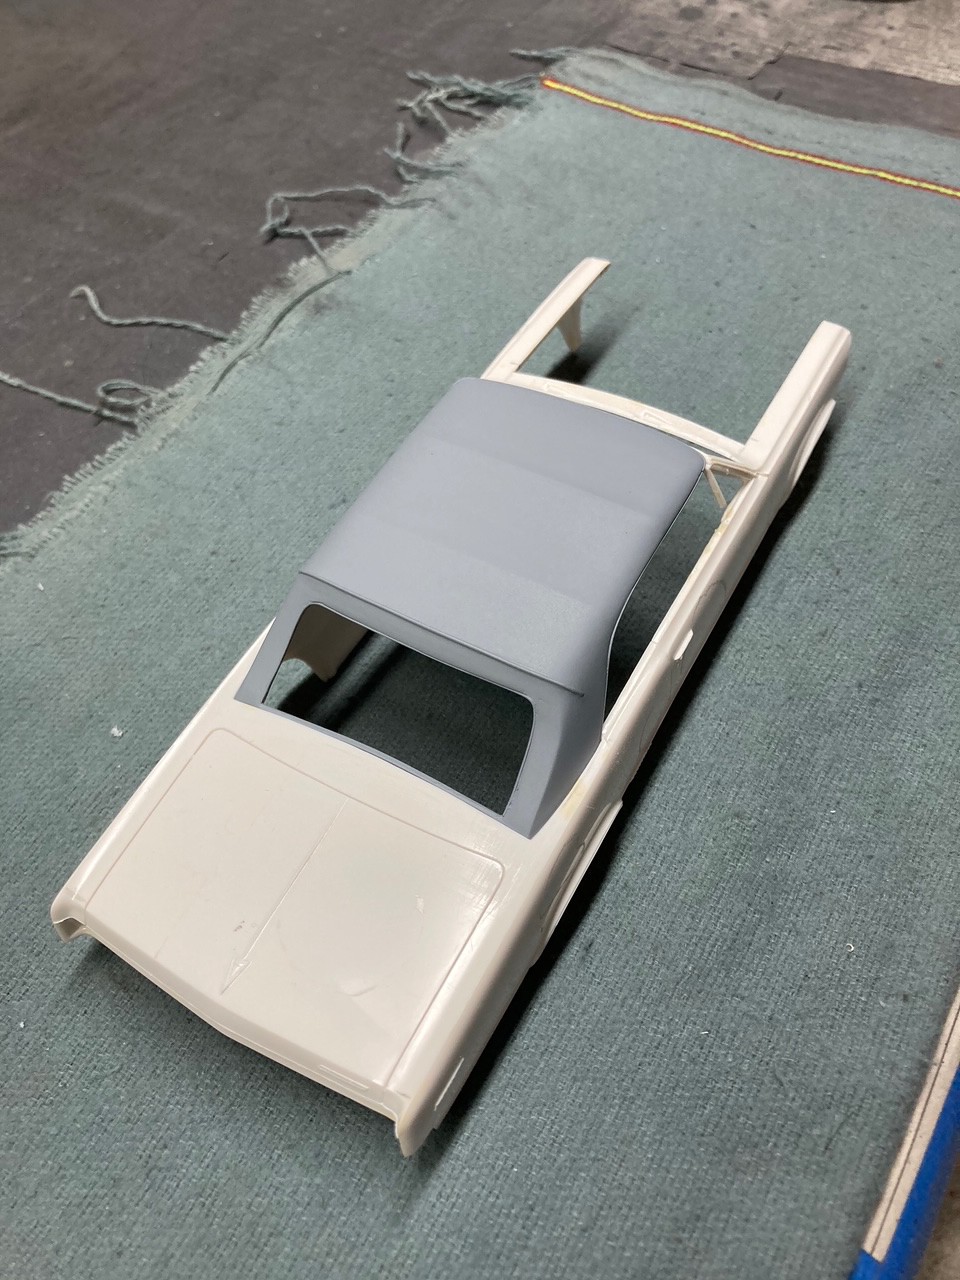
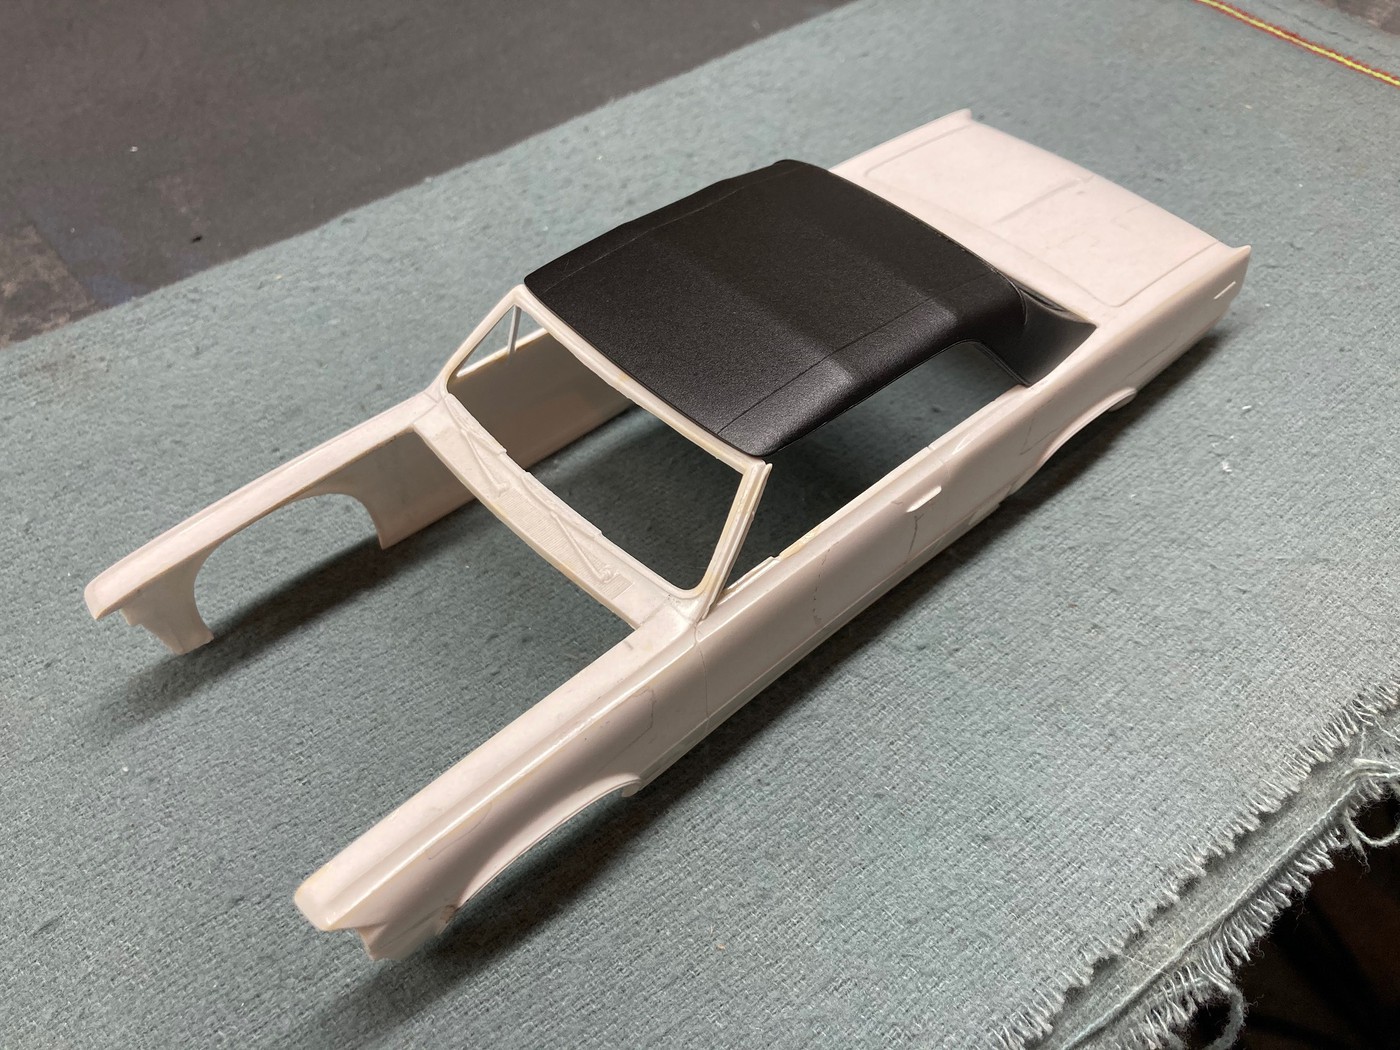
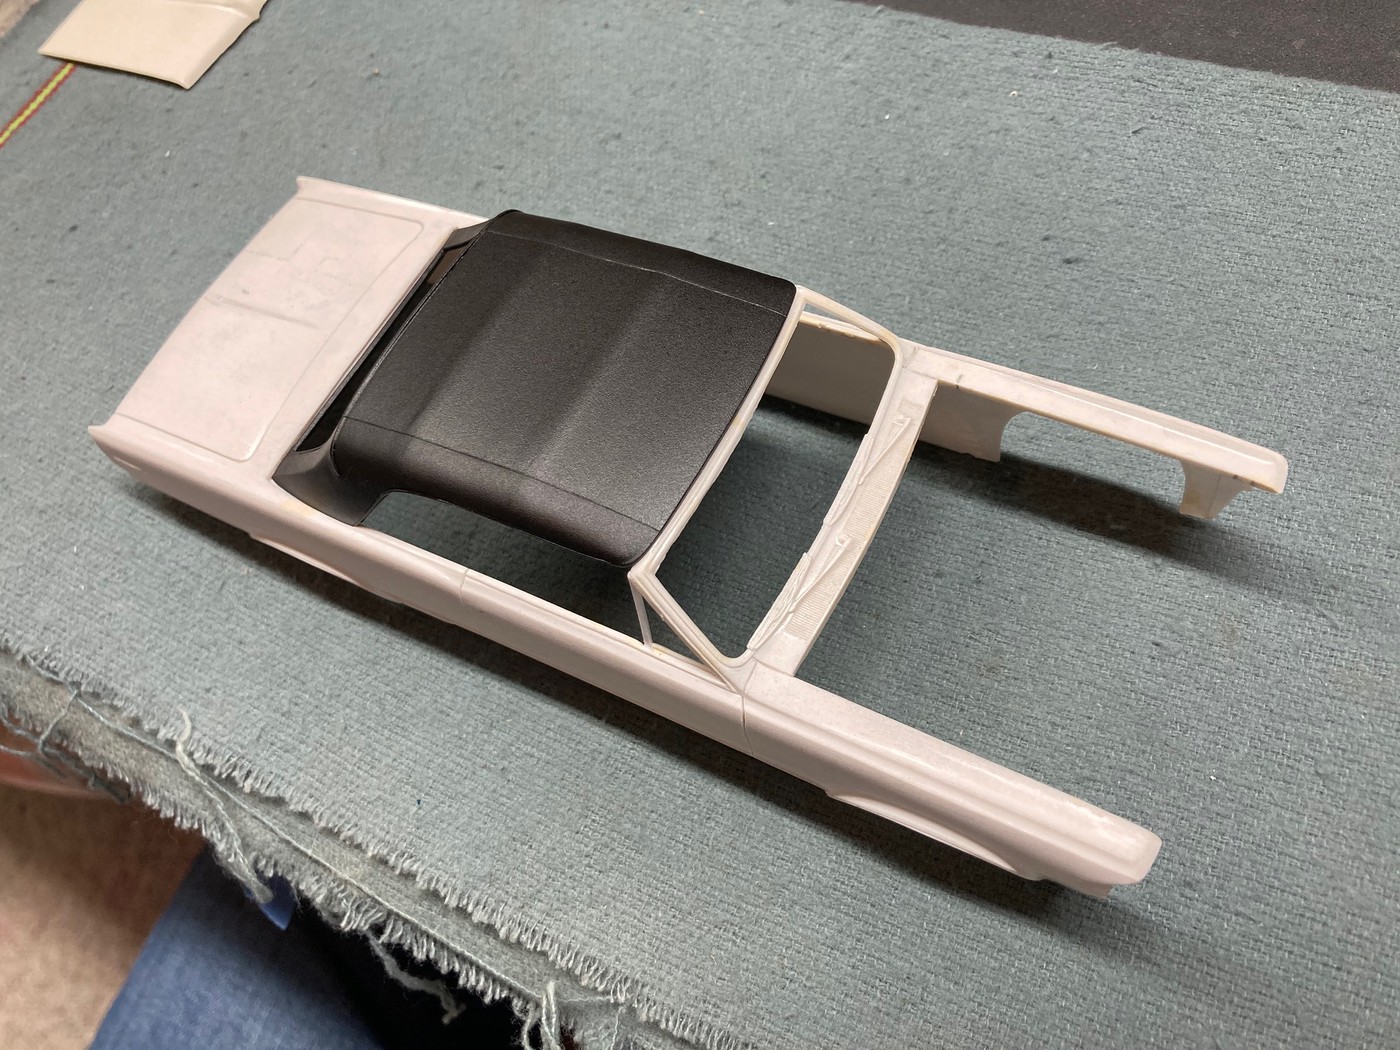
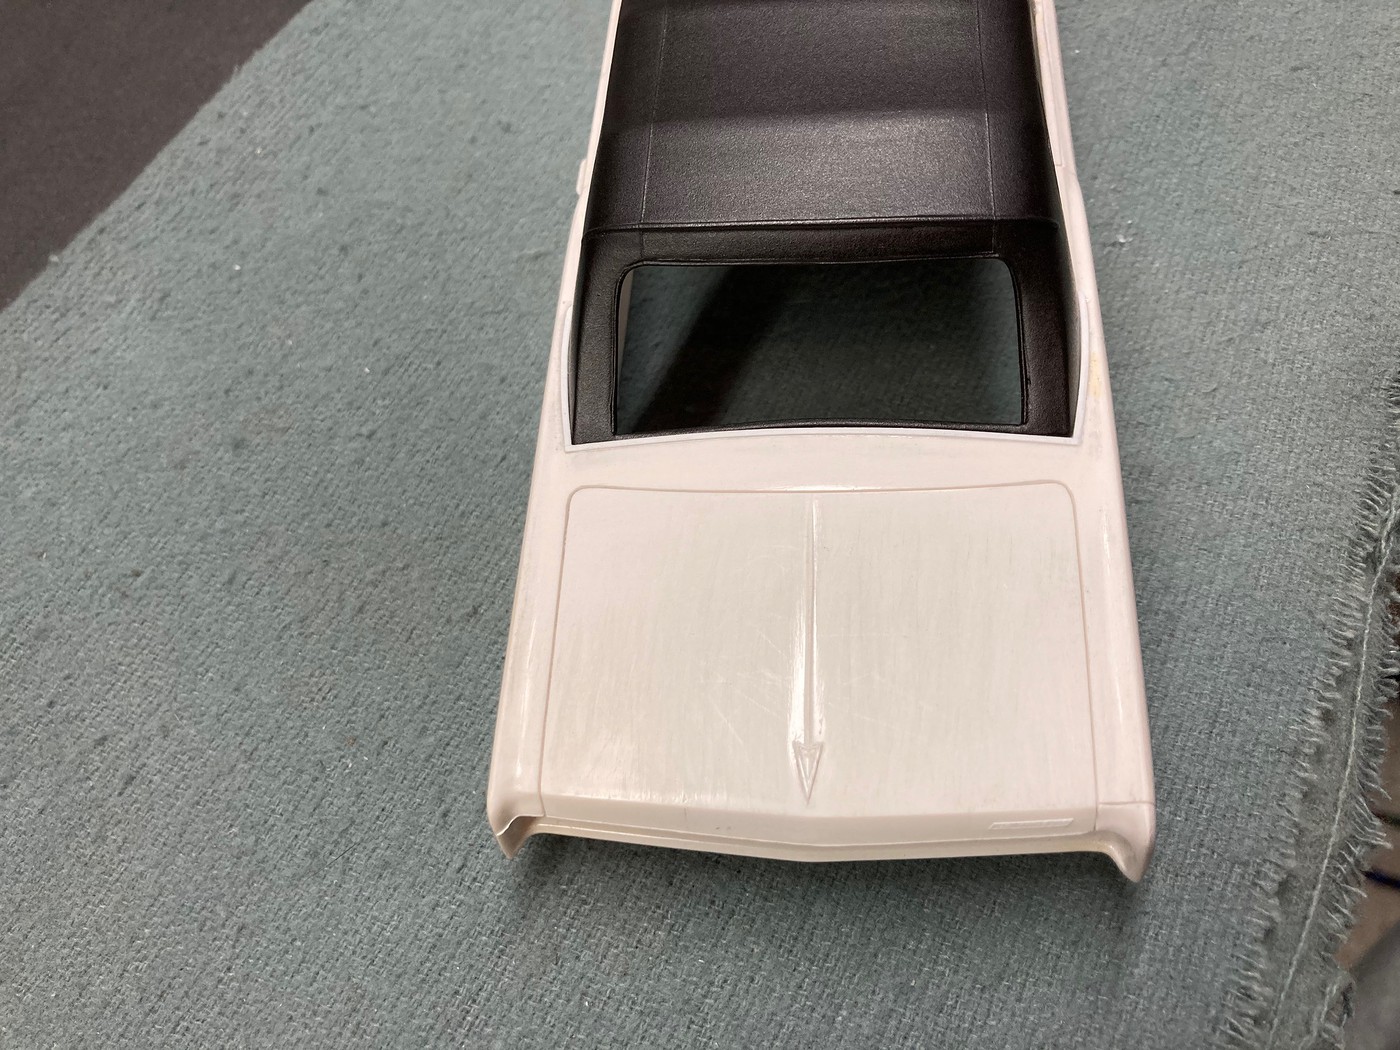
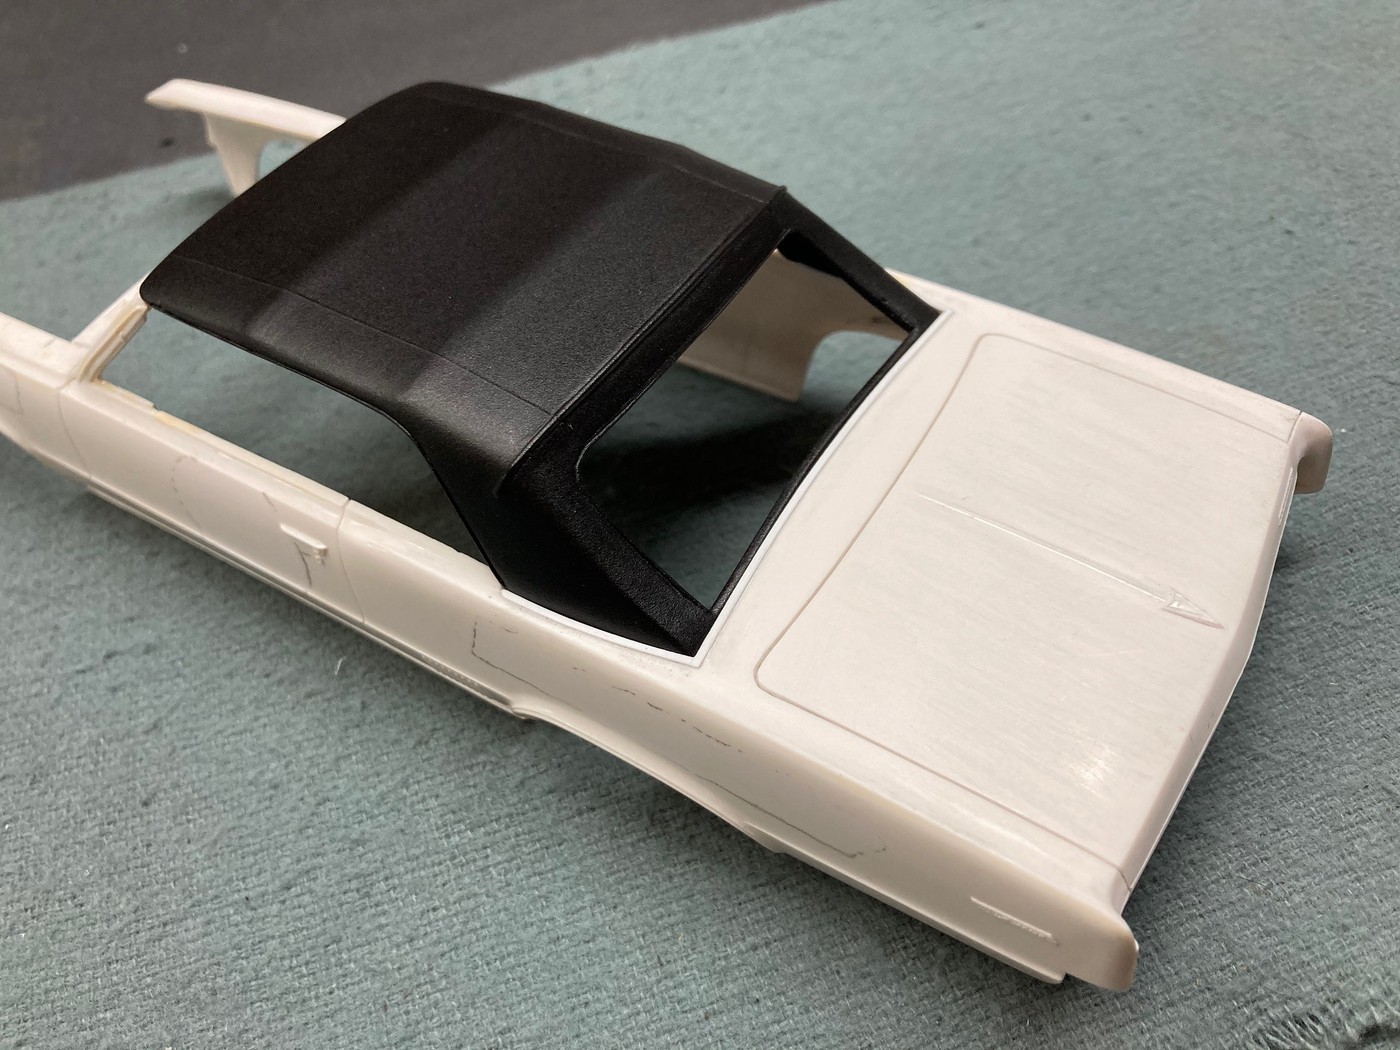
My first task, other than looking for chassis parts for replacing the originals, was to try my hand at creating a convertible up top for this project.
I've always liked the look of a convertible with the top in the up position, so I've began trying to come up with removable up tops for my convertible projects.
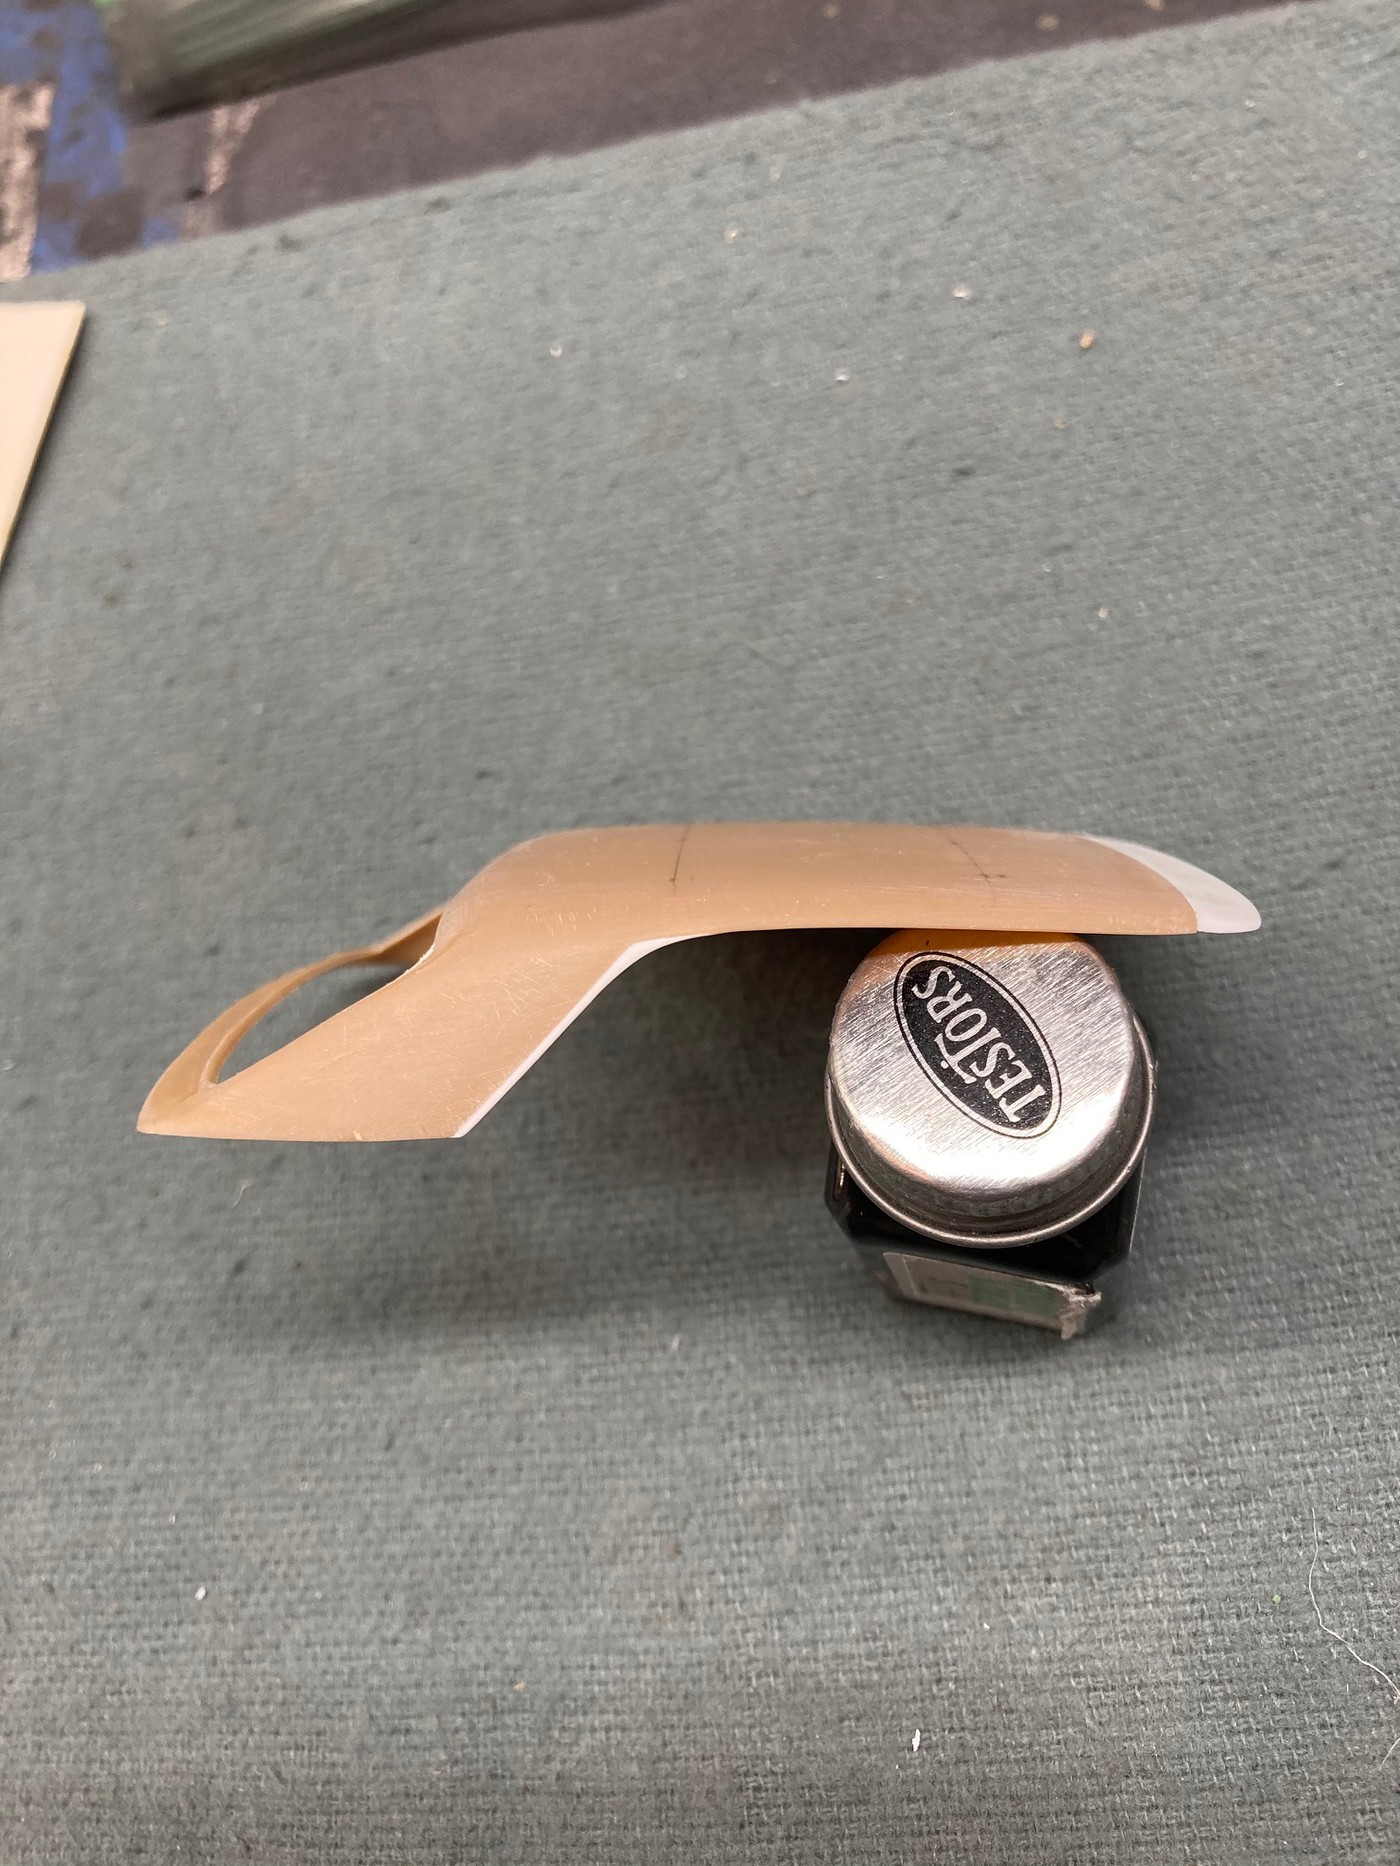
There is a top available for this body style from the Polar Lights '64 GTO model, but upon inspection, I found it to be clunky looking and toy like, not to mention too tall in the rear, at least to my eye.
So I decided to try to modify the optional hard top from the AMT 1965 GTO to see if I could get something a little more acceptable.
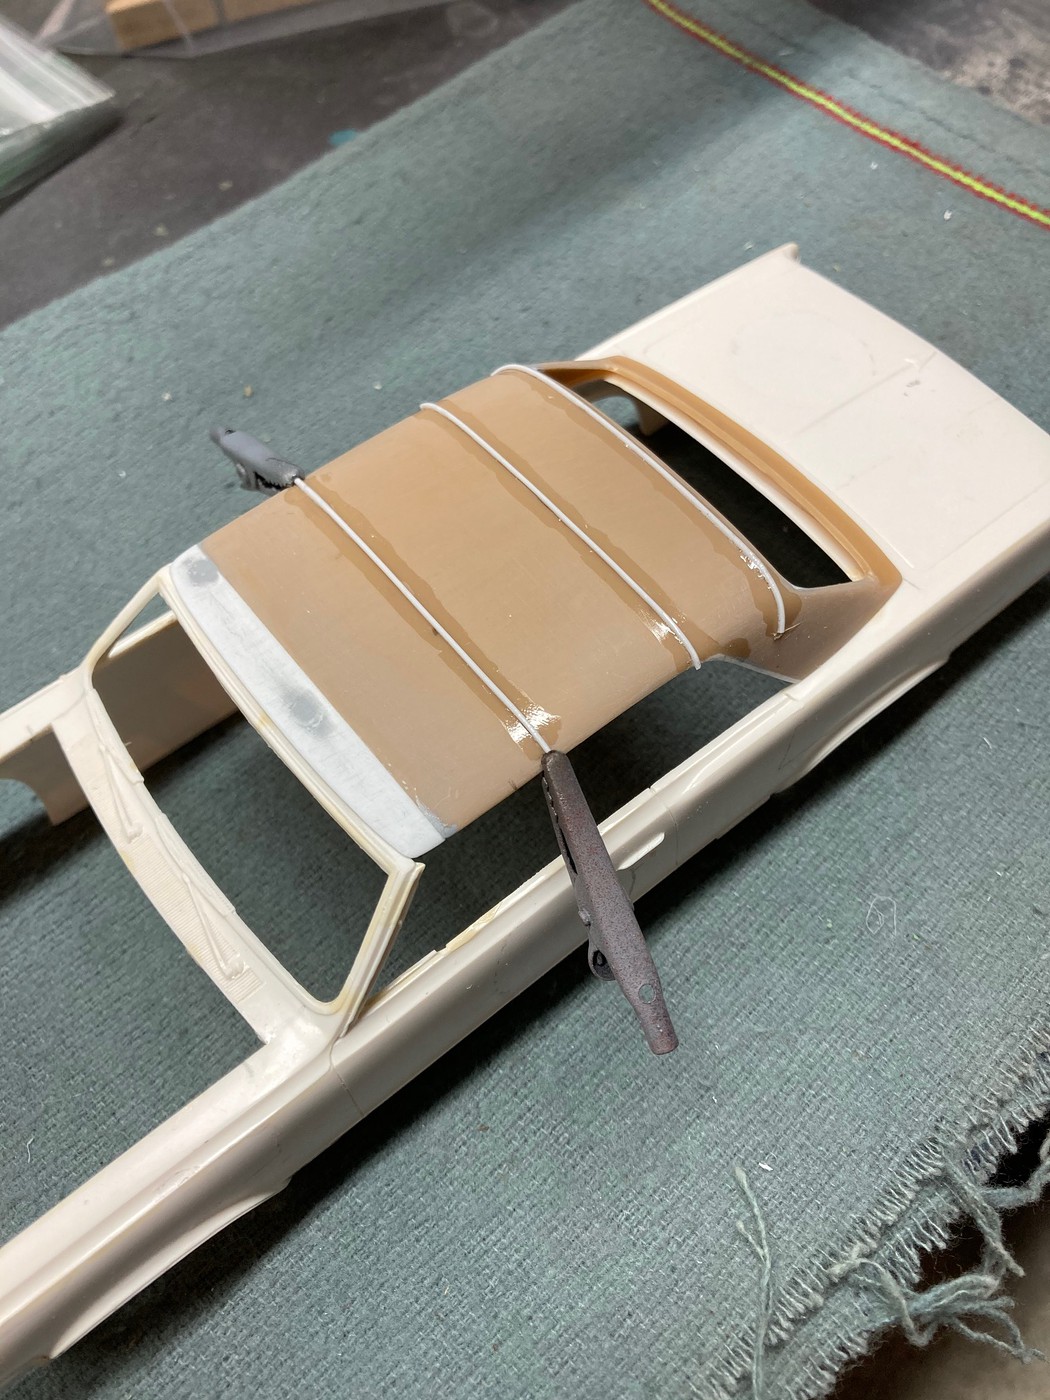
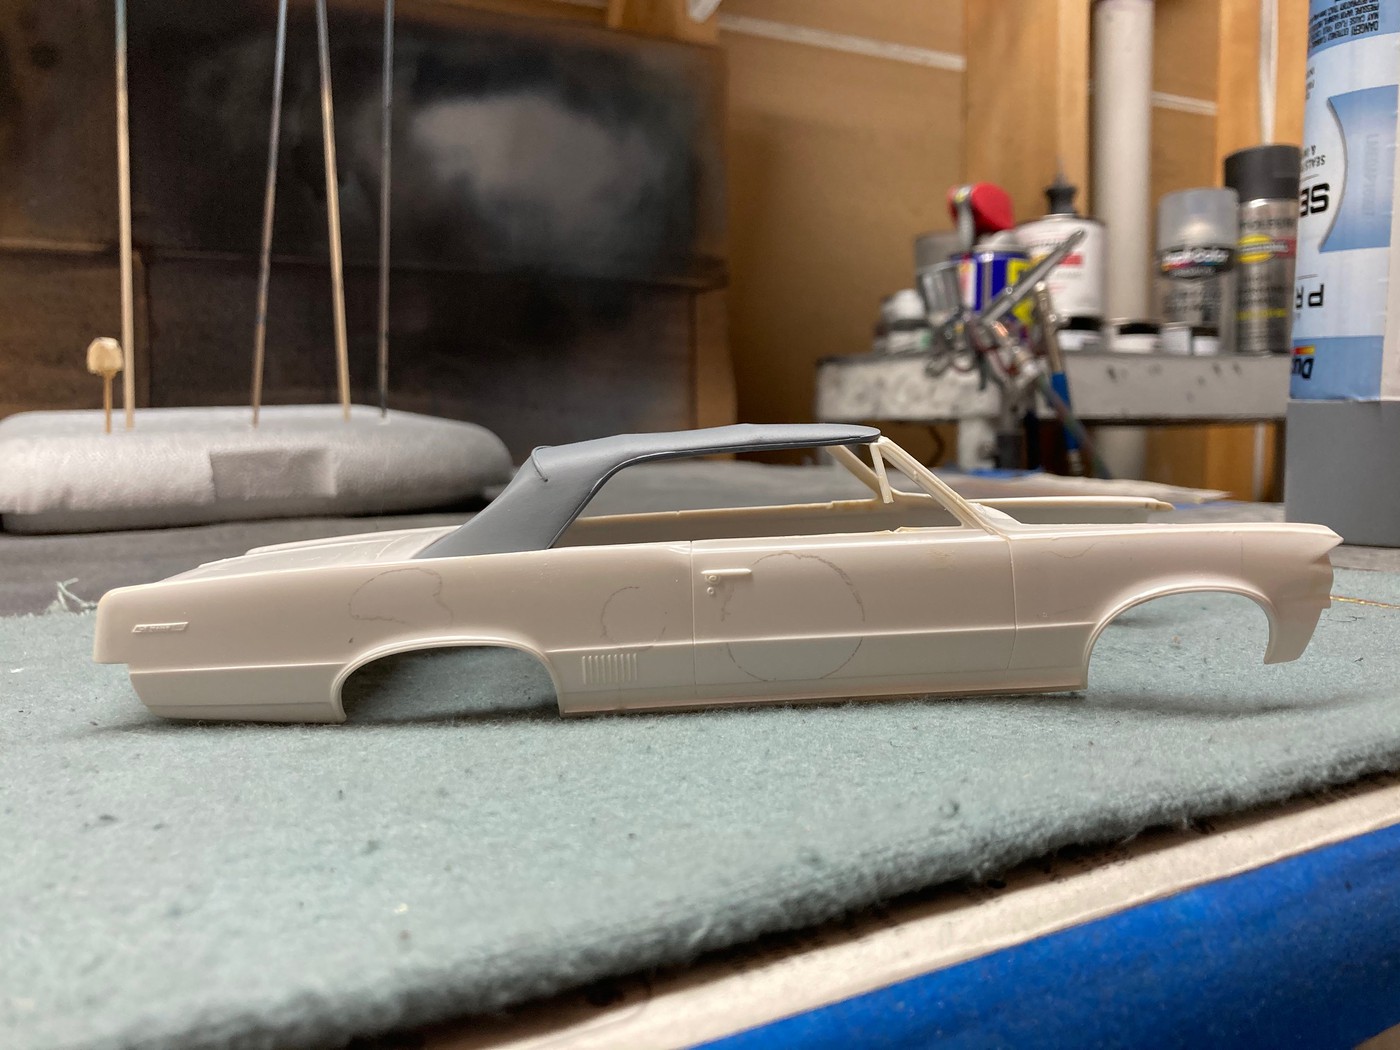
It turned out pretty well I feel, although not perfect, but I like it a whole lot better than he Polar Lights top.
Once the top was finished to my satisfaction, and the fit to the body perfected, I added the boot trim to the body.
Steve
|
|
70 STING
Full Member

Member since: April 2023
Posts: 487
Apr 10, 2023 11:44:31 GMT -5
Apr 10, 2023 11:44:31 GMT -5
|
Post by 70 STING on Jan 10, 2024 13:44:19 GMT -5
Jeepers… there’s more effort put into that roof than some builders put into an entire kit.
Excellent work!
|
|
goofy62
Junior Member
Member since: January 2024
Posts: 41
|
Post by goofy62 on Jan 10, 2024 13:46:14 GMT -5
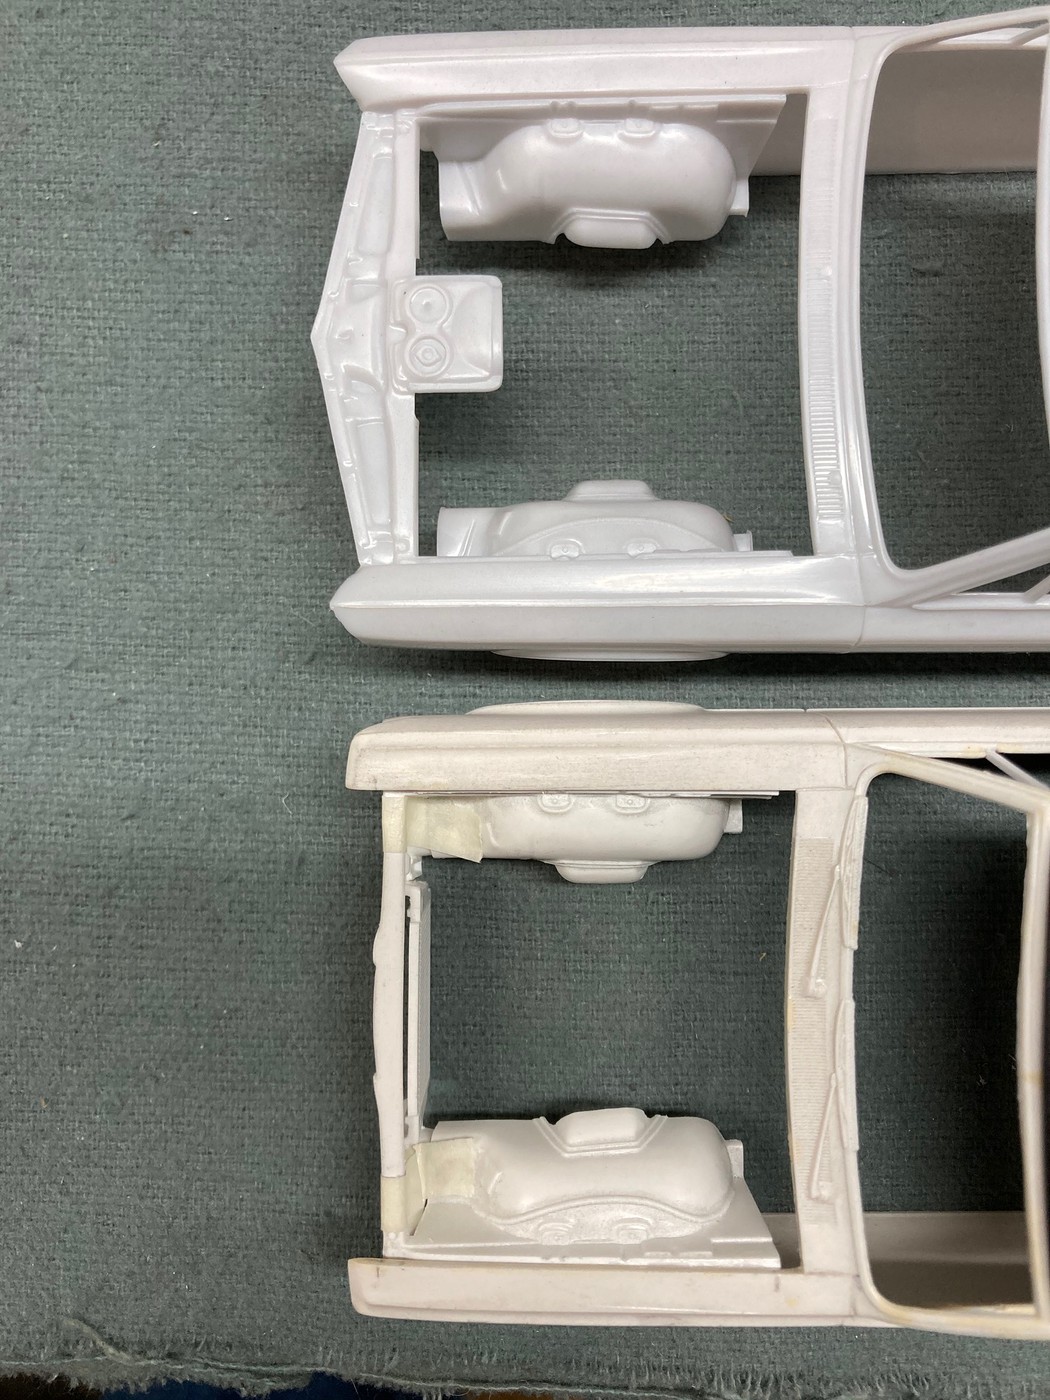
After digging through my stash to find an acceptable chassis to swap into the '64, I decided on the Revell '66 GTO's.
The '66 GTO engine bay appeared to be the most detailed, so I decided to go with that.
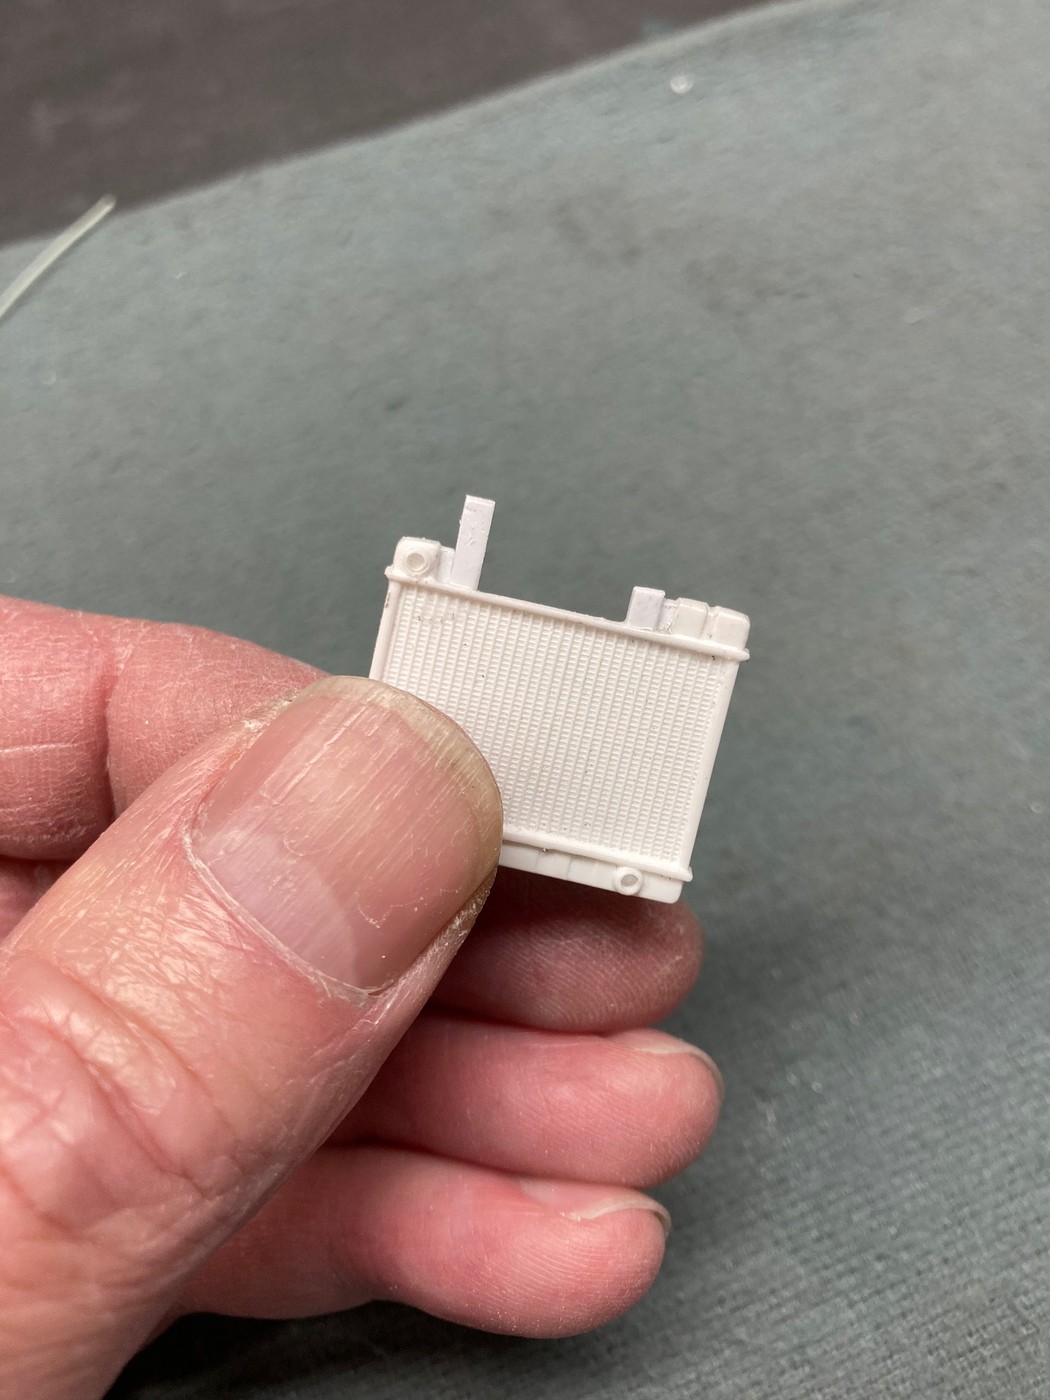
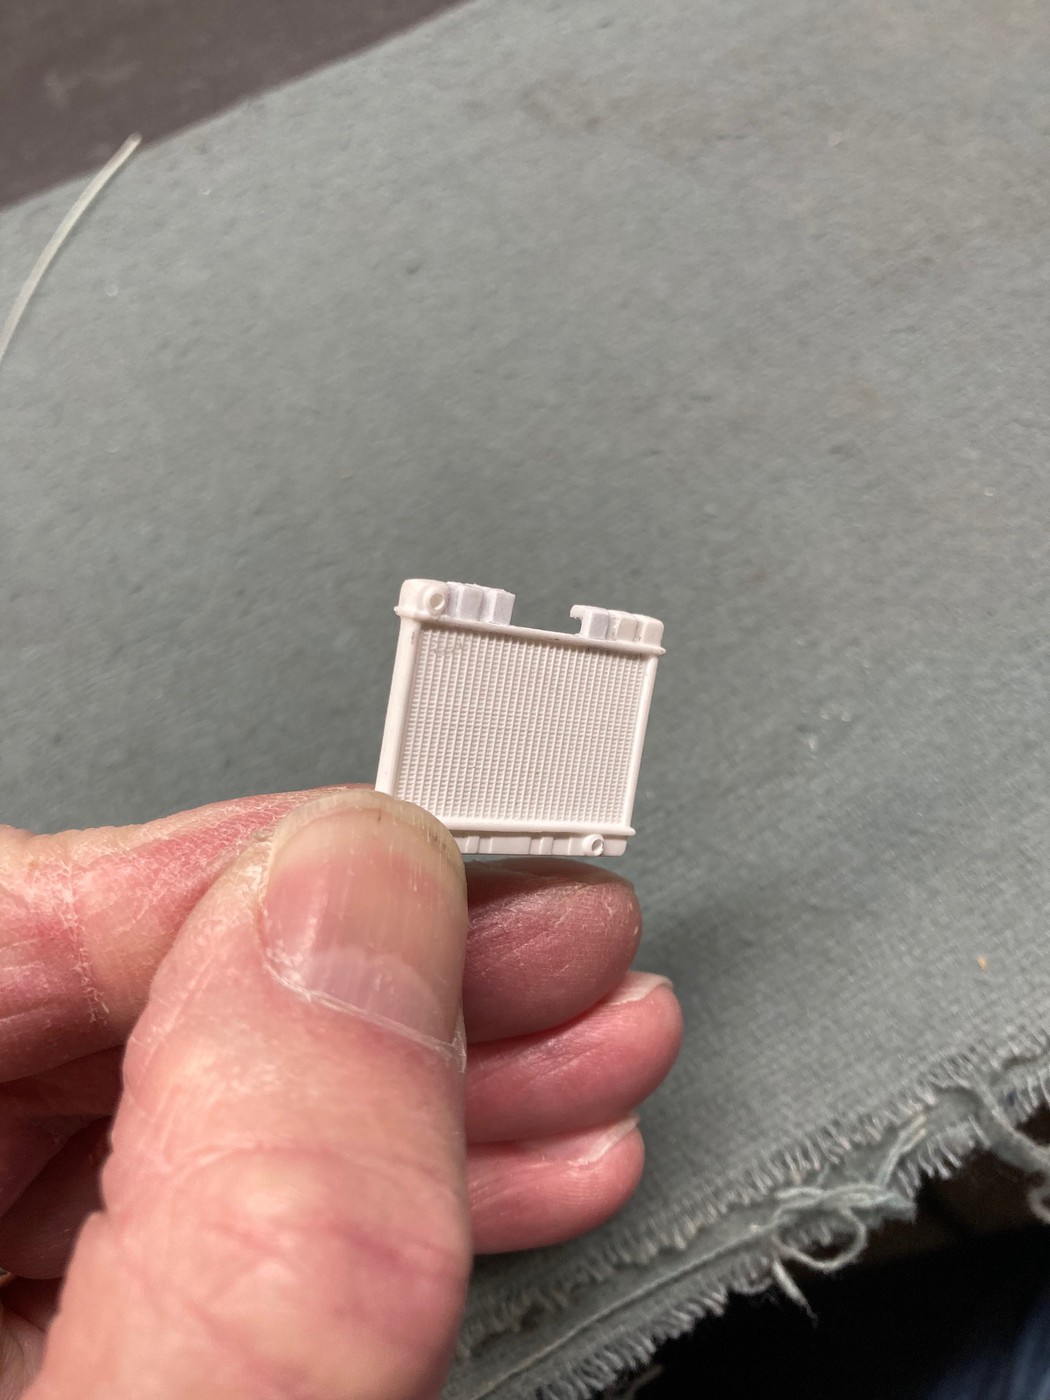
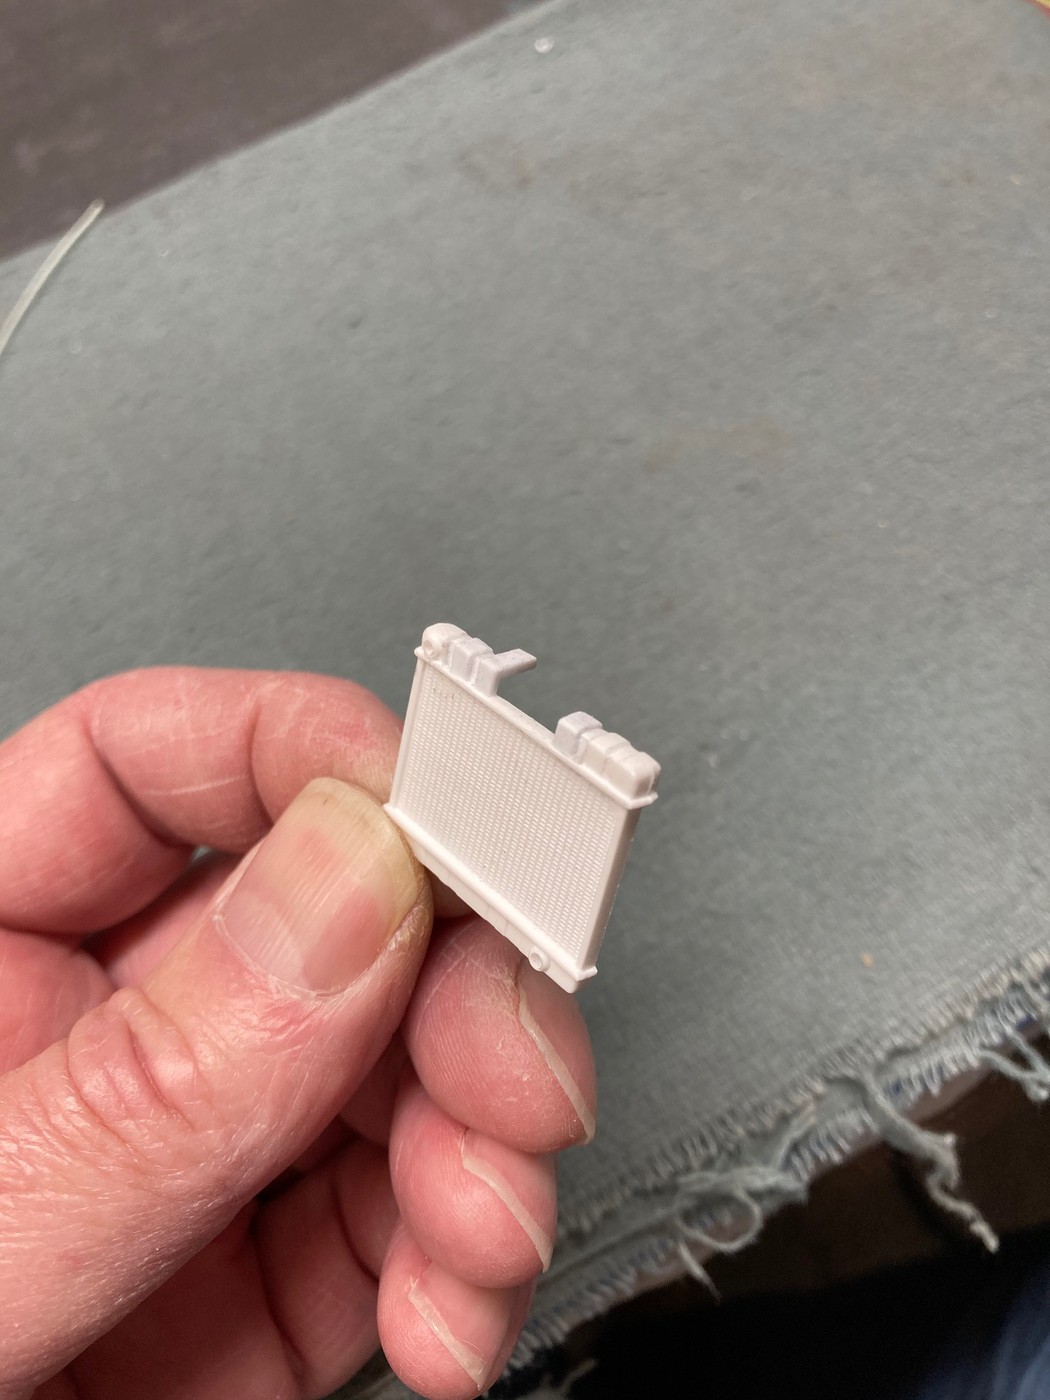
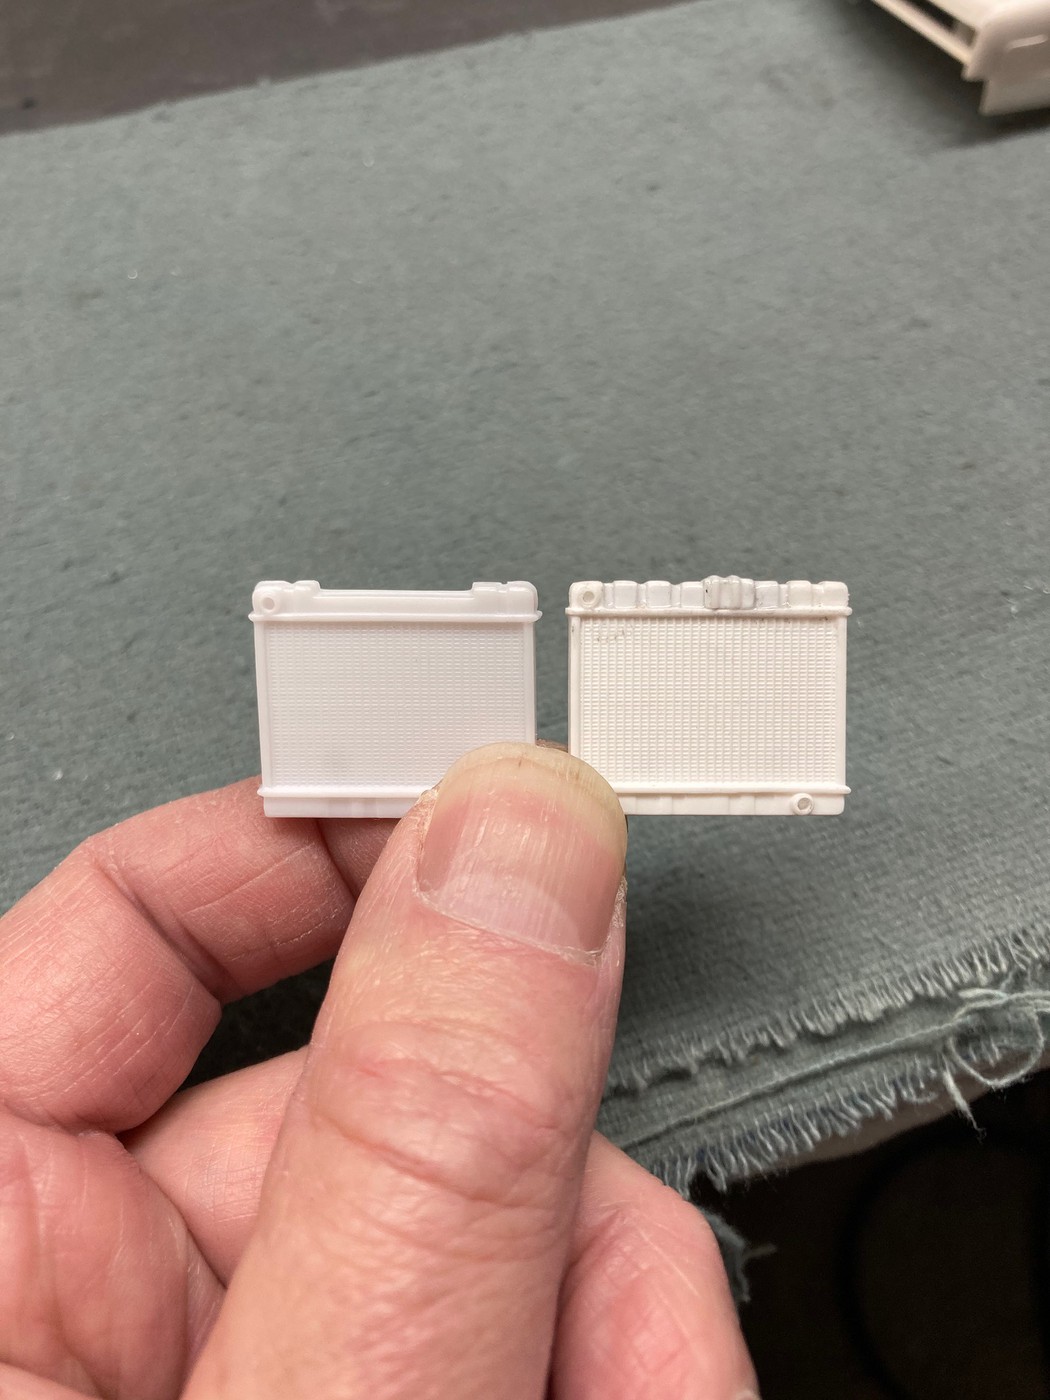
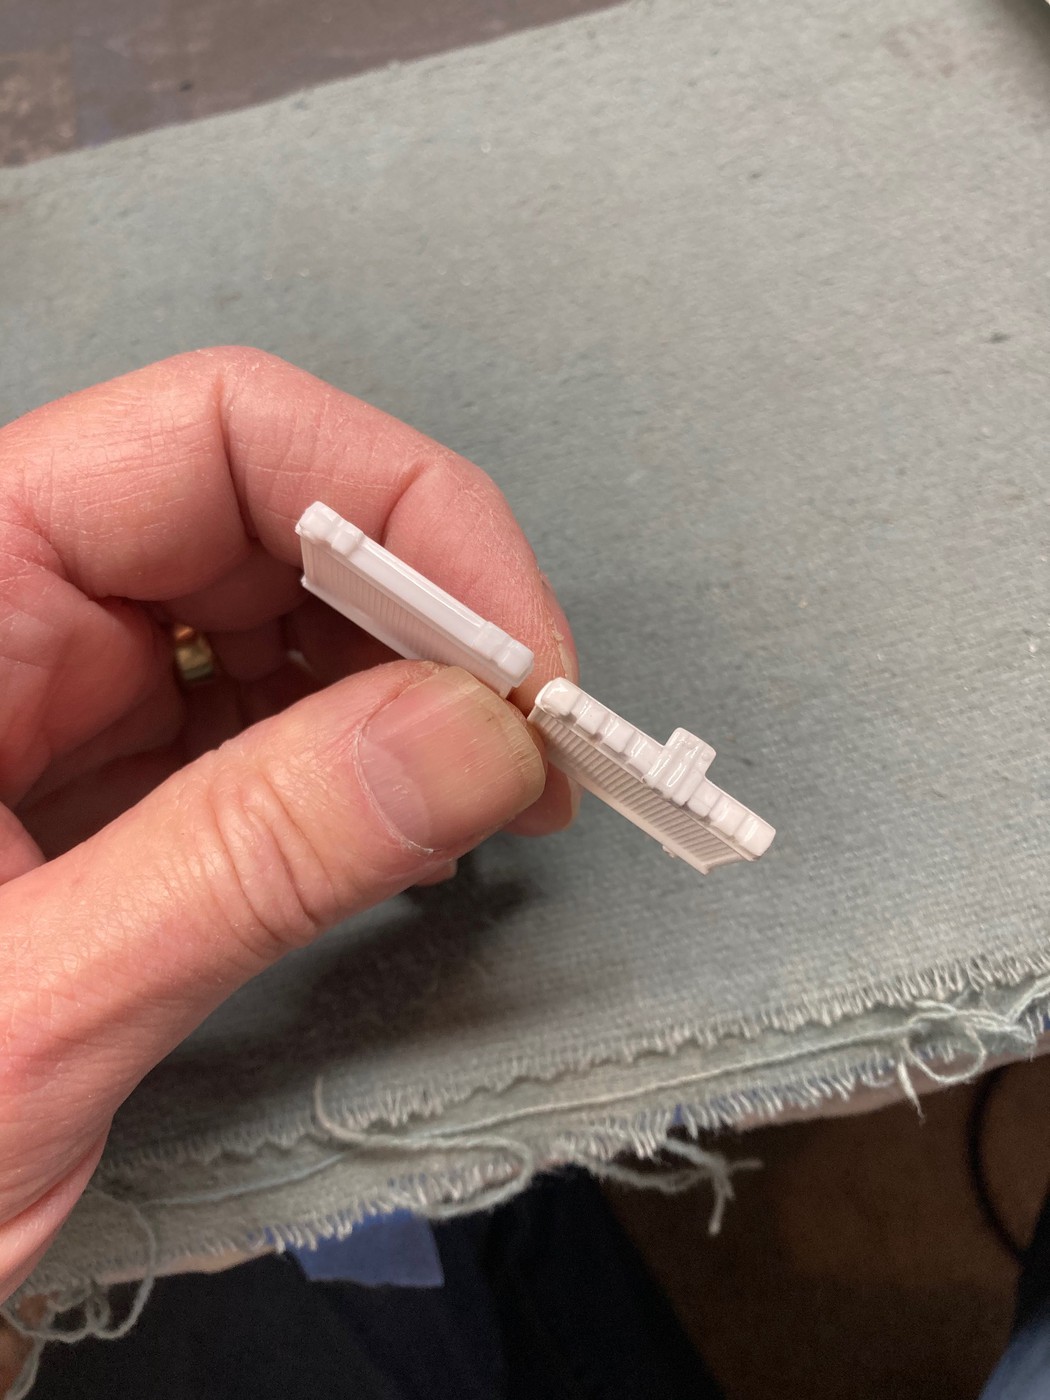
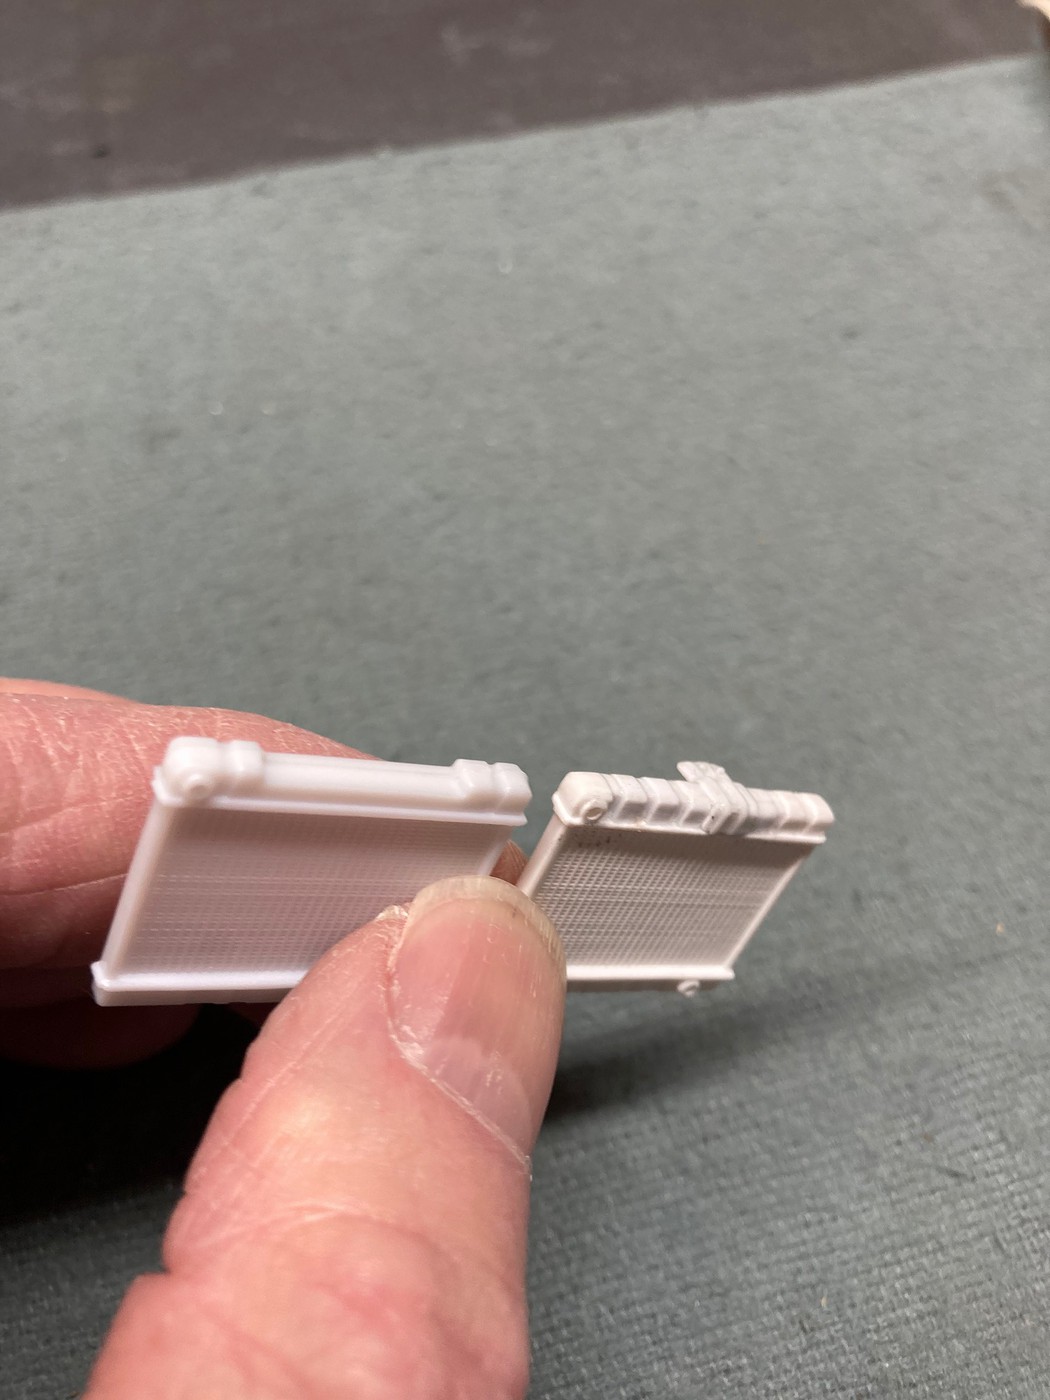
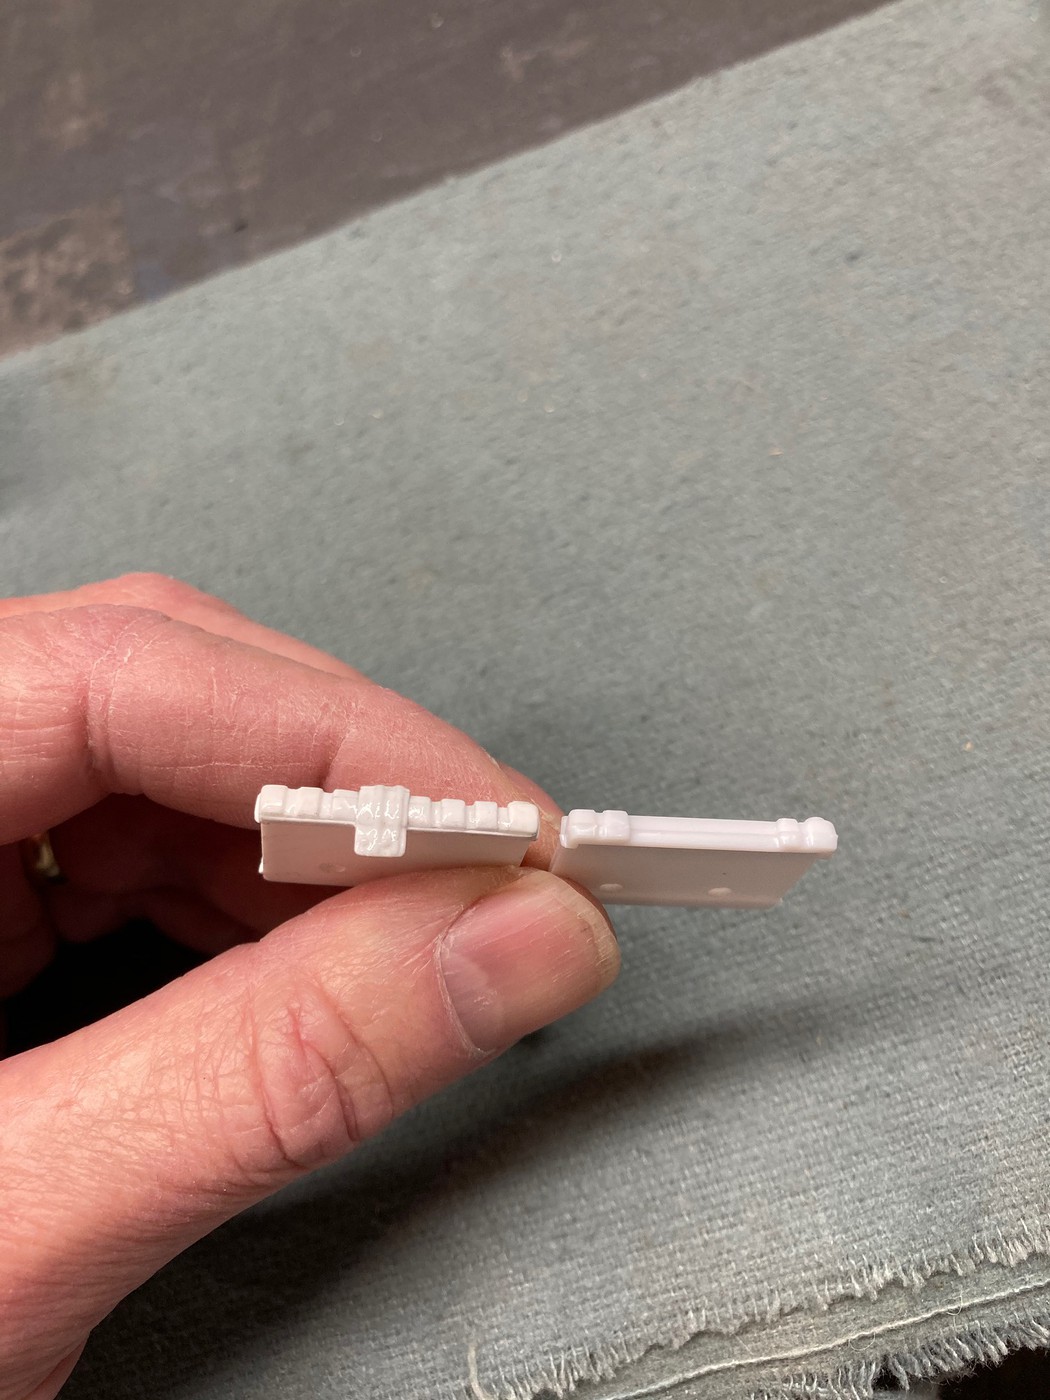
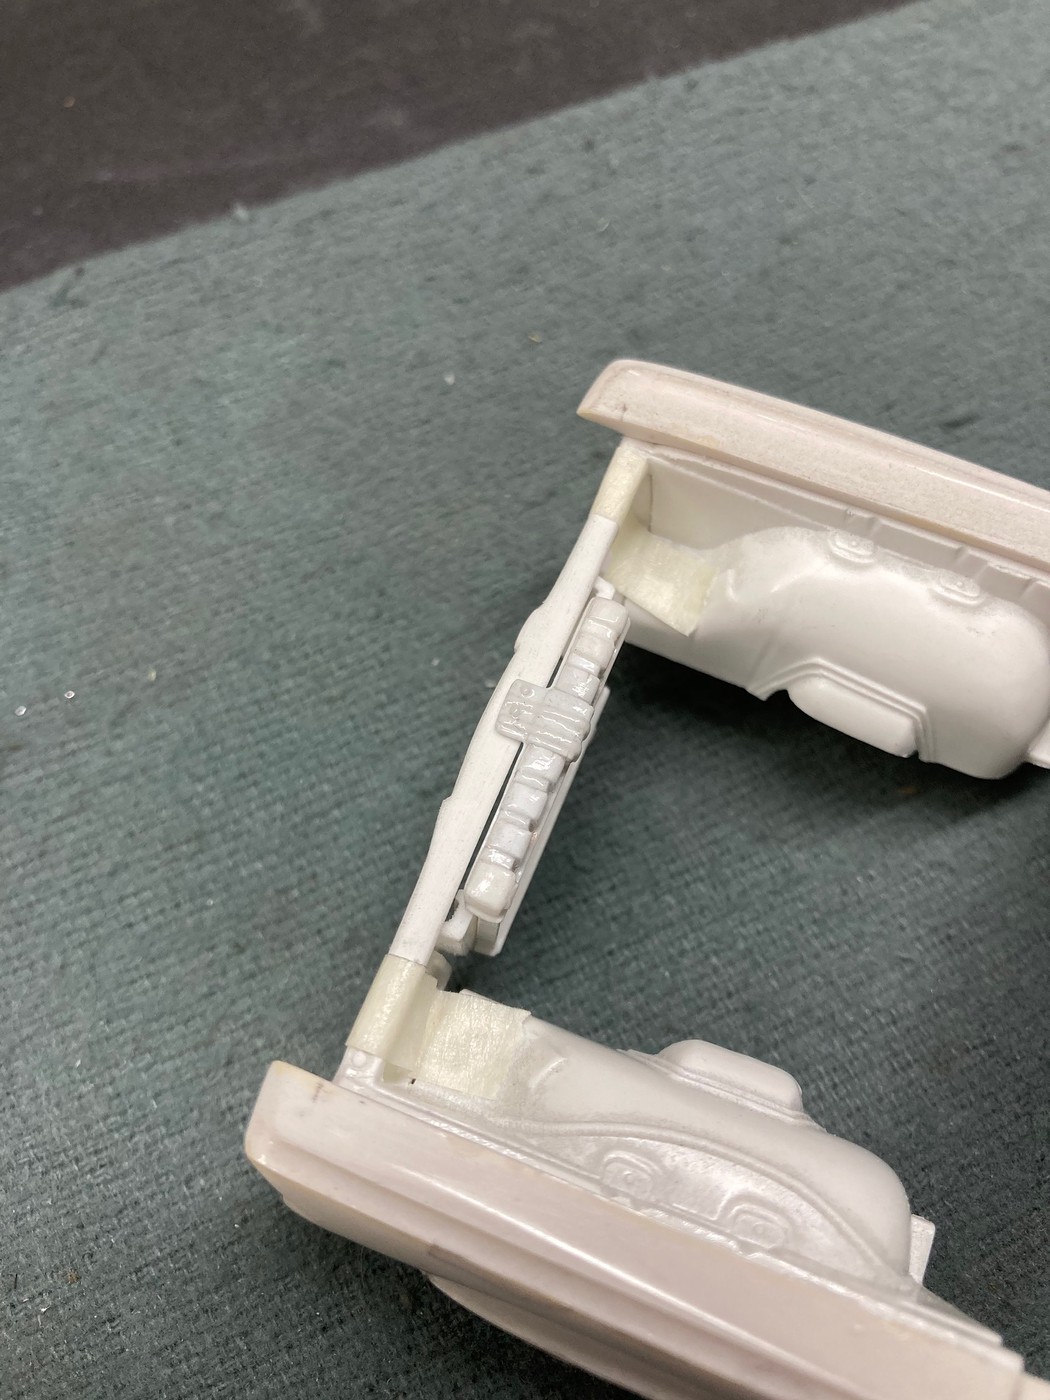
One discovery that I did make that needed correction was that the '66's fan guard was not correct for the '64 and needed to be removed.
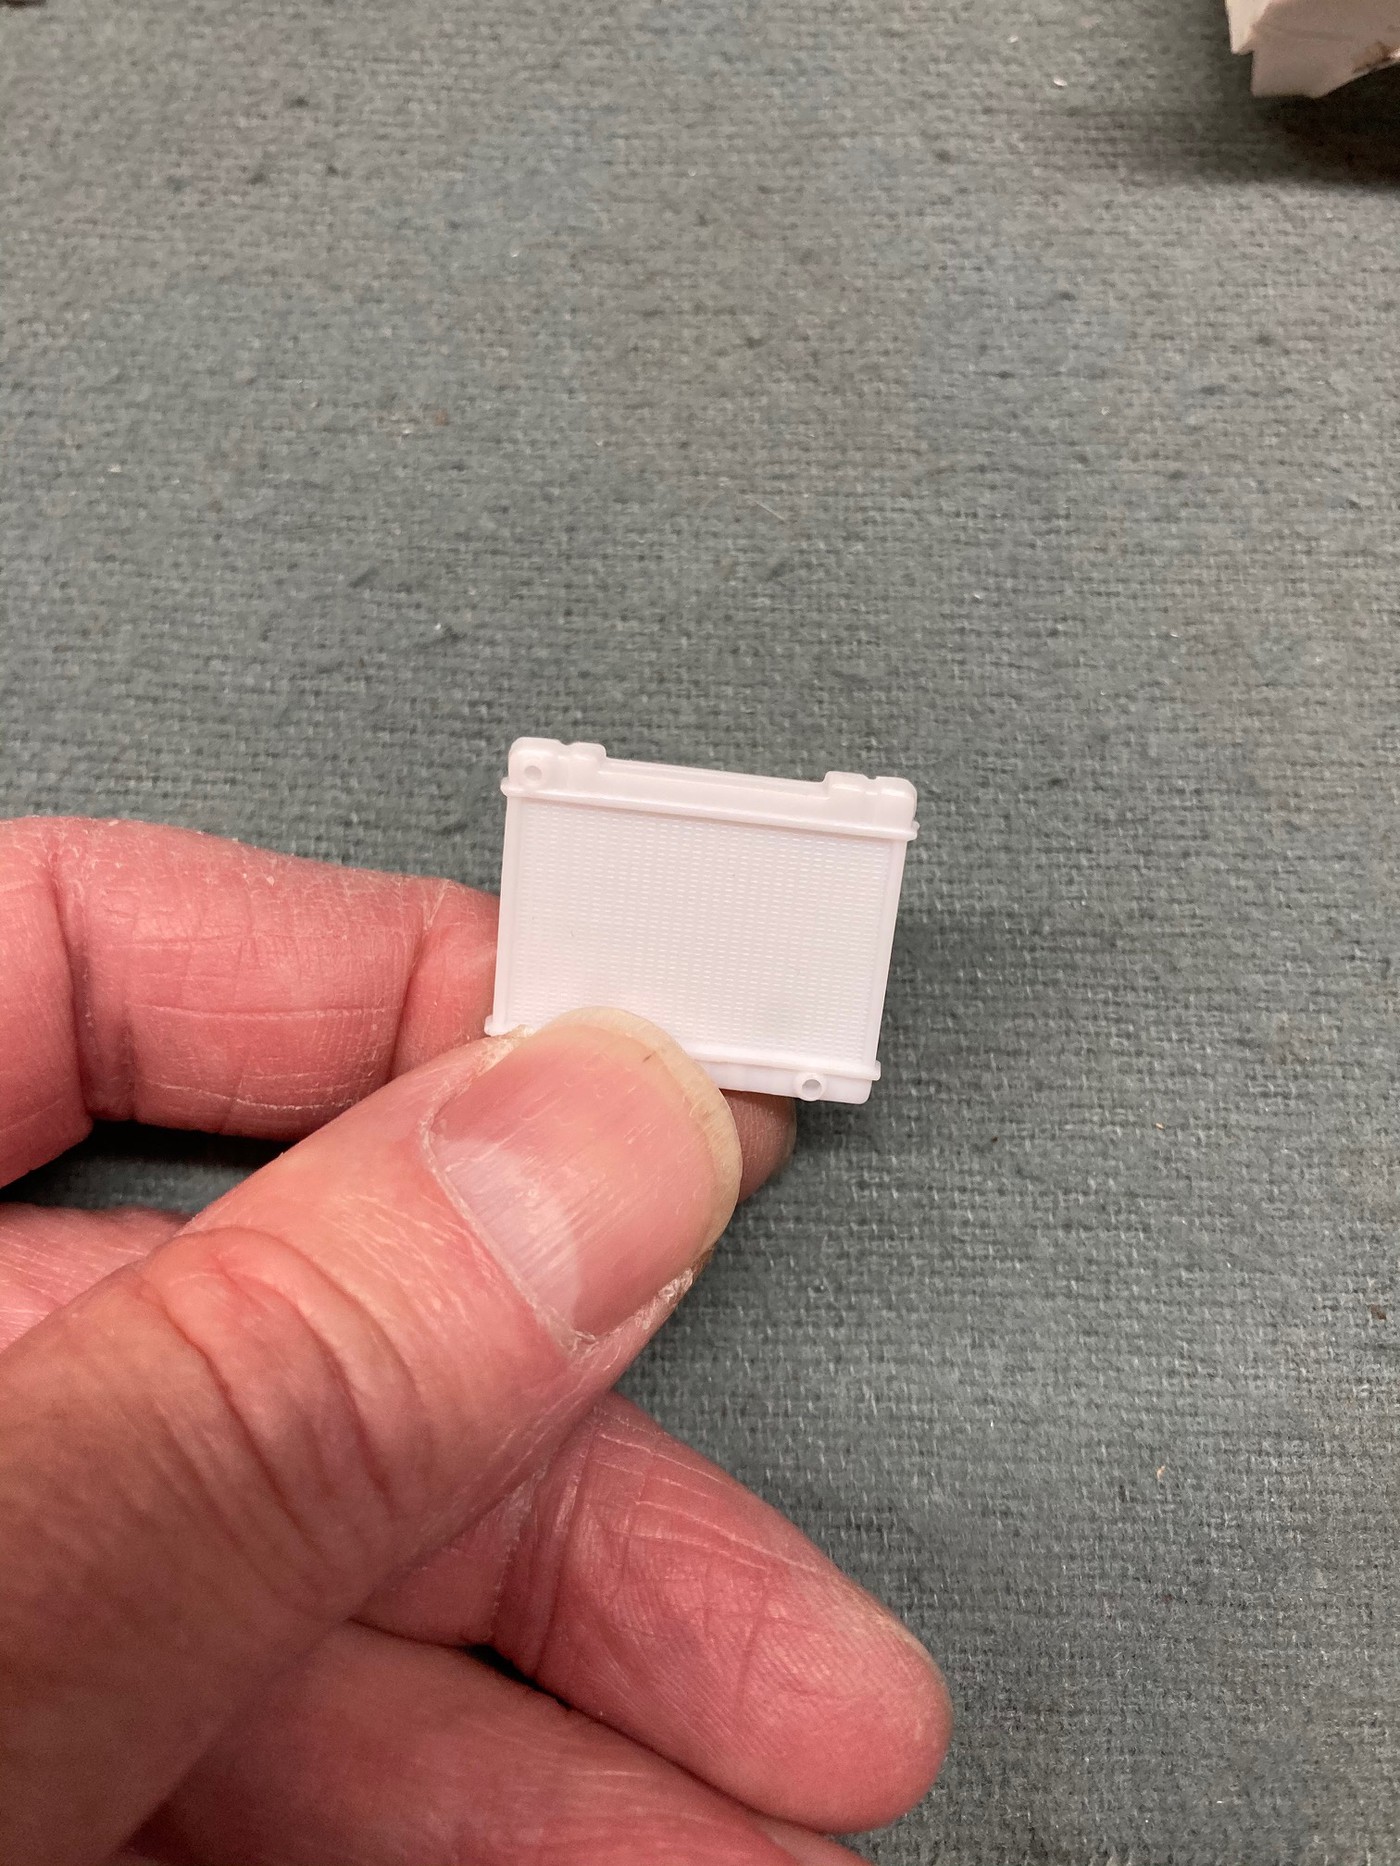
Upon removal of the guard, it became apparent that the radiator, which was notched at the upper tank to fit with the guard was going to need some attention.
I searched my stash to no avail to find a replacement upper radiator tank that I could use in conjunction with the '66 engine bay parts that I found acceptable, it was beginning to look like I was going to have to modify what I had, so I got into the shop and went to work.
I'll be able to determine for certain whether or not I am content with the mods once I get some primer on the radiator.
Steve
|
|
goofy62
Junior Member
Member since: January 2024
Posts: 41
|
Post by goofy62 on Jan 10, 2024 13:51:26 GMT -5
Jeepers… there’s more effort put into that roof than some builders put into an entire kit. Excellent work!
Thanks!
I really enjoyed doing it, and I suppose that you could say that it's one of those things that you'll never know if you can do until you make the attempt.
Steve
|
|
|
|
Post by 406 Silverado on Jan 10, 2024 14:08:02 GMT -5
Jeepers… there’s more effort put into that roof than some builders put into an entire kit. Excellent work!
Thanks!
I really enjoyed doing it, and I suppose that you could say that it's one of those things that you'll never know if you can do until you make the attempt.
Steve
Man this is gonna be great to follow Steve. I've learned a TON from watching your builds through the years bud. I'll be bookmarking this one..... |
|
project510
Full Member
Member since: August 2023
Posts: 698
Aug 15, 2023 21:56:18 GMT -5
Aug 15, 2023 21:56:18 GMT -5
|
Post by project510 on Jan 10, 2024 14:54:24 GMT -5
Uhm yea.. BOOKMARKED. Nice work!
|
|
brandonk
Full Member
Member since: May 2023
Posts: 646
May 14, 2023 13:45:45 GMT -5
May 14, 2023 13:45:45 GMT -5
|
Post by brandonk on Jan 10, 2024 14:59:08 GMT -5
Certainly puttin' in the effort. Watching...
|
|
TJ
Full Member
Member since: May 2023
Posts: 1,356
May 14, 2023 18:18:36 GMT -5
May 14, 2023 18:18:36 GMT -5
|
Post by TJ on Jan 10, 2024 18:15:04 GMT -5
That top looks awesome. I'm in for the GTO class
|
|
|
|
Post by kyledehart5 on Jan 10, 2024 21:18:15 GMT -5
This is truly astonishing. What an incredible start to your project here. Amazing work
|
|
jeaton01
Full Member
Member since: October 2013
Posts: 937
|
Post by jeaton01 on Jan 11, 2024 1:18:41 GMT -5
Love that convertible top!
|
|
brandonk
Full Member
Member since: May 2023
Posts: 646
May 14, 2023 13:45:45 GMT -5
May 14, 2023 13:45:45 GMT -5
|
Post by brandonk on Jan 11, 2024 11:06:30 GMT -5
My dad owned a 64 GTO in Singapore Gold. I have the kit and the exact paint you do. I will be curious to see how it looks on a the model. Hoping to paint his this summer.
|
|
noname
Full Member
March 2012 / April 2013 MoM Winner
Member since: January 2012
I like building models
Posts: 720
Jan 29, 2012 9:24:03 GMT -5
Jan 29, 2012 9:24:03 GMT -5
|
Post by noname on Jan 16, 2024 22:13:00 GMT -5
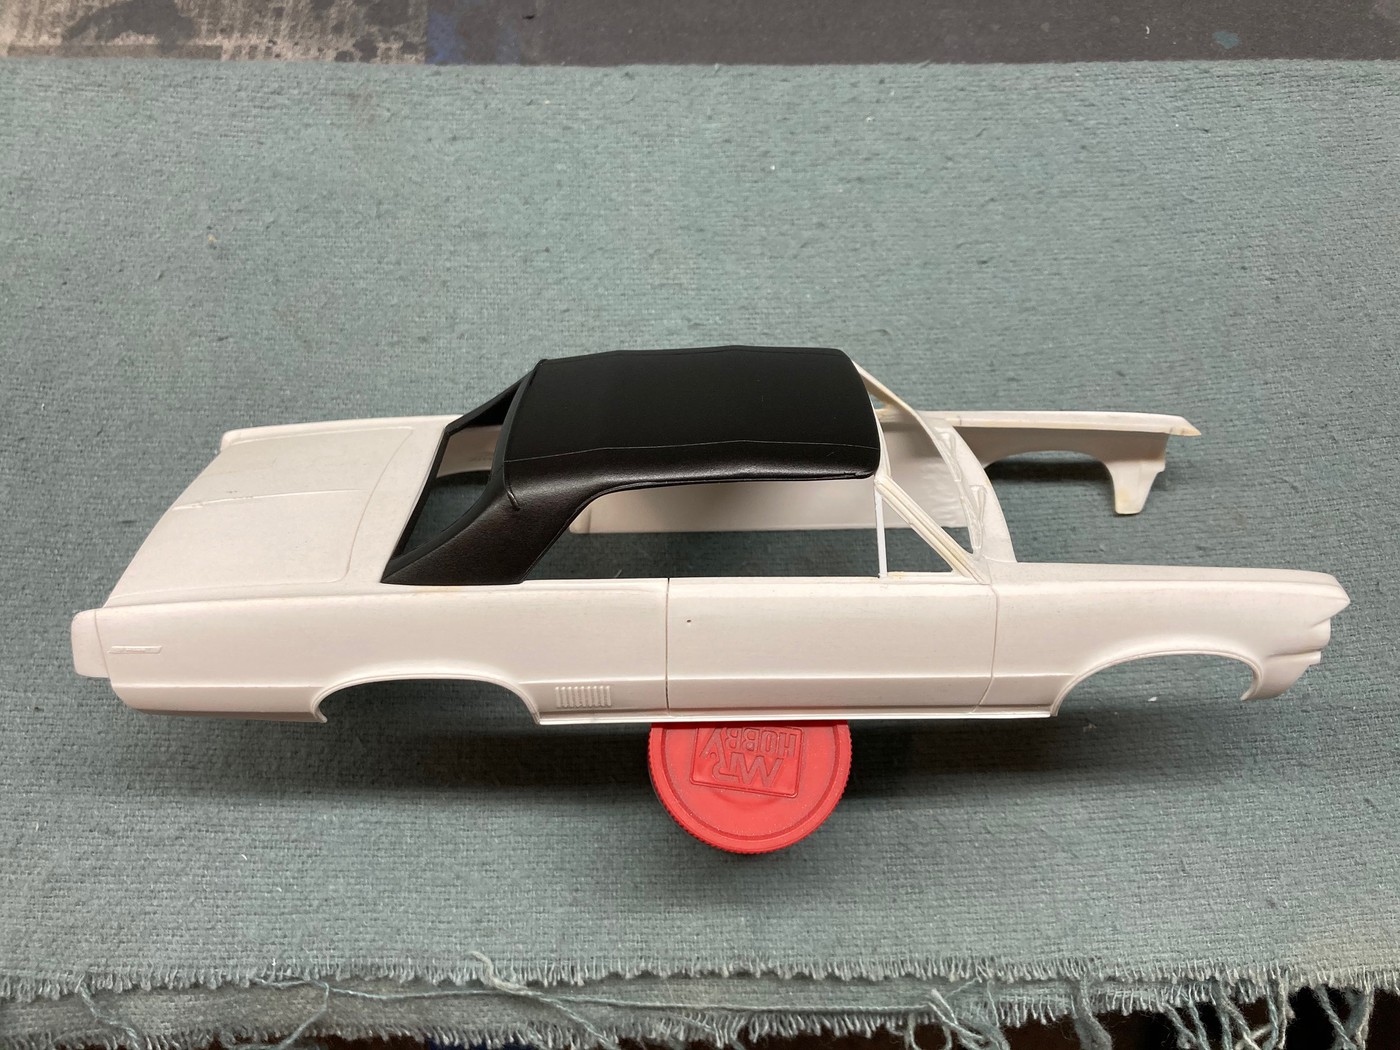
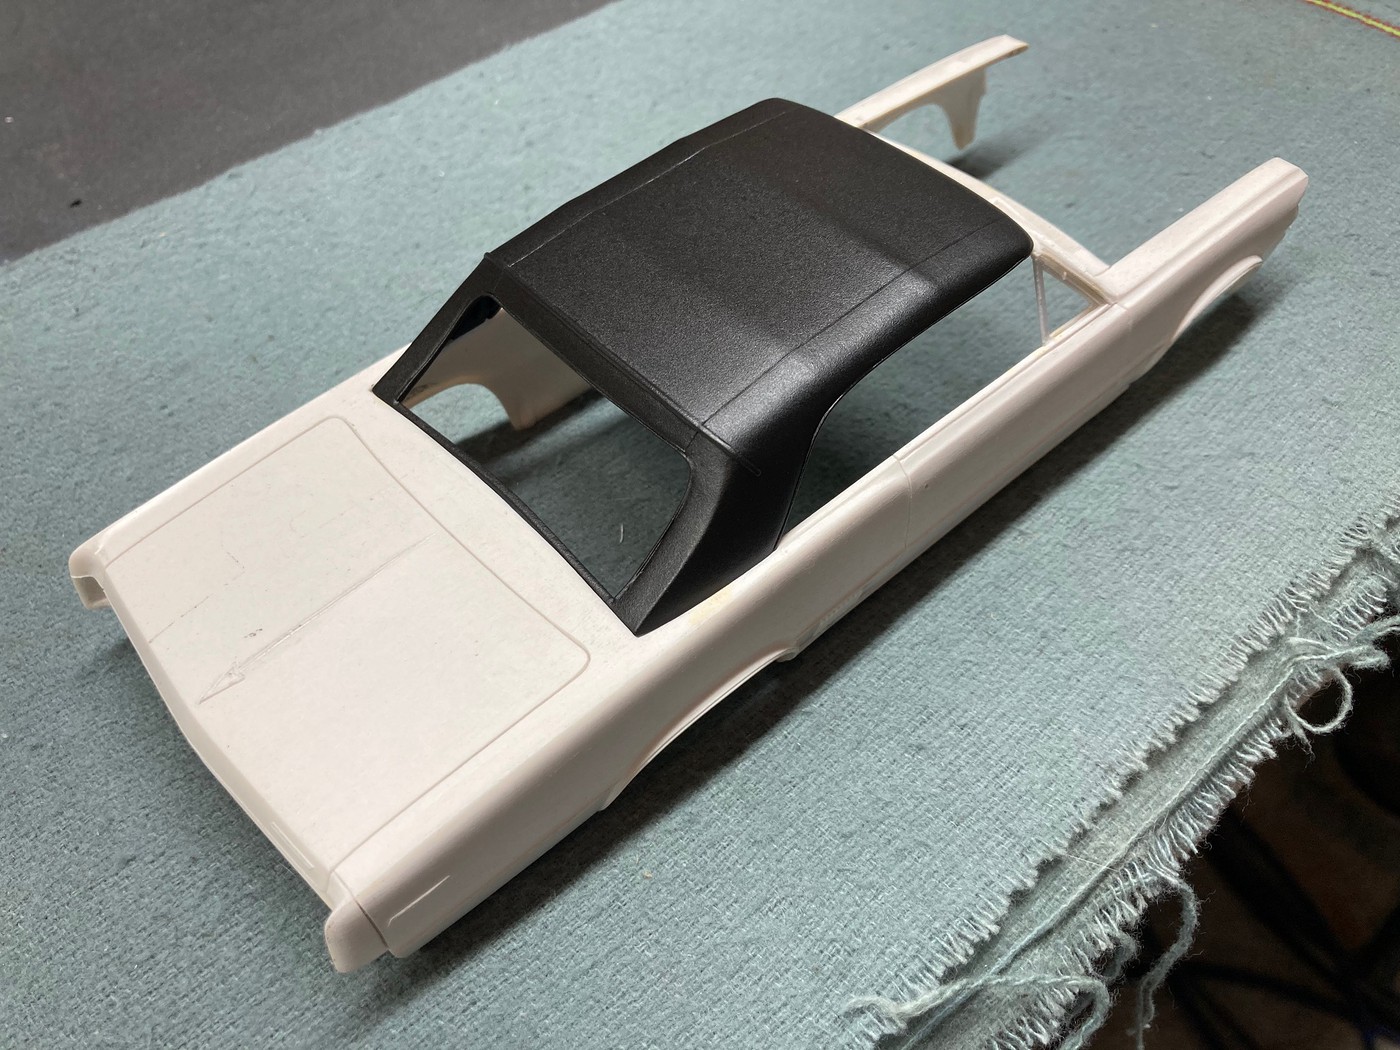
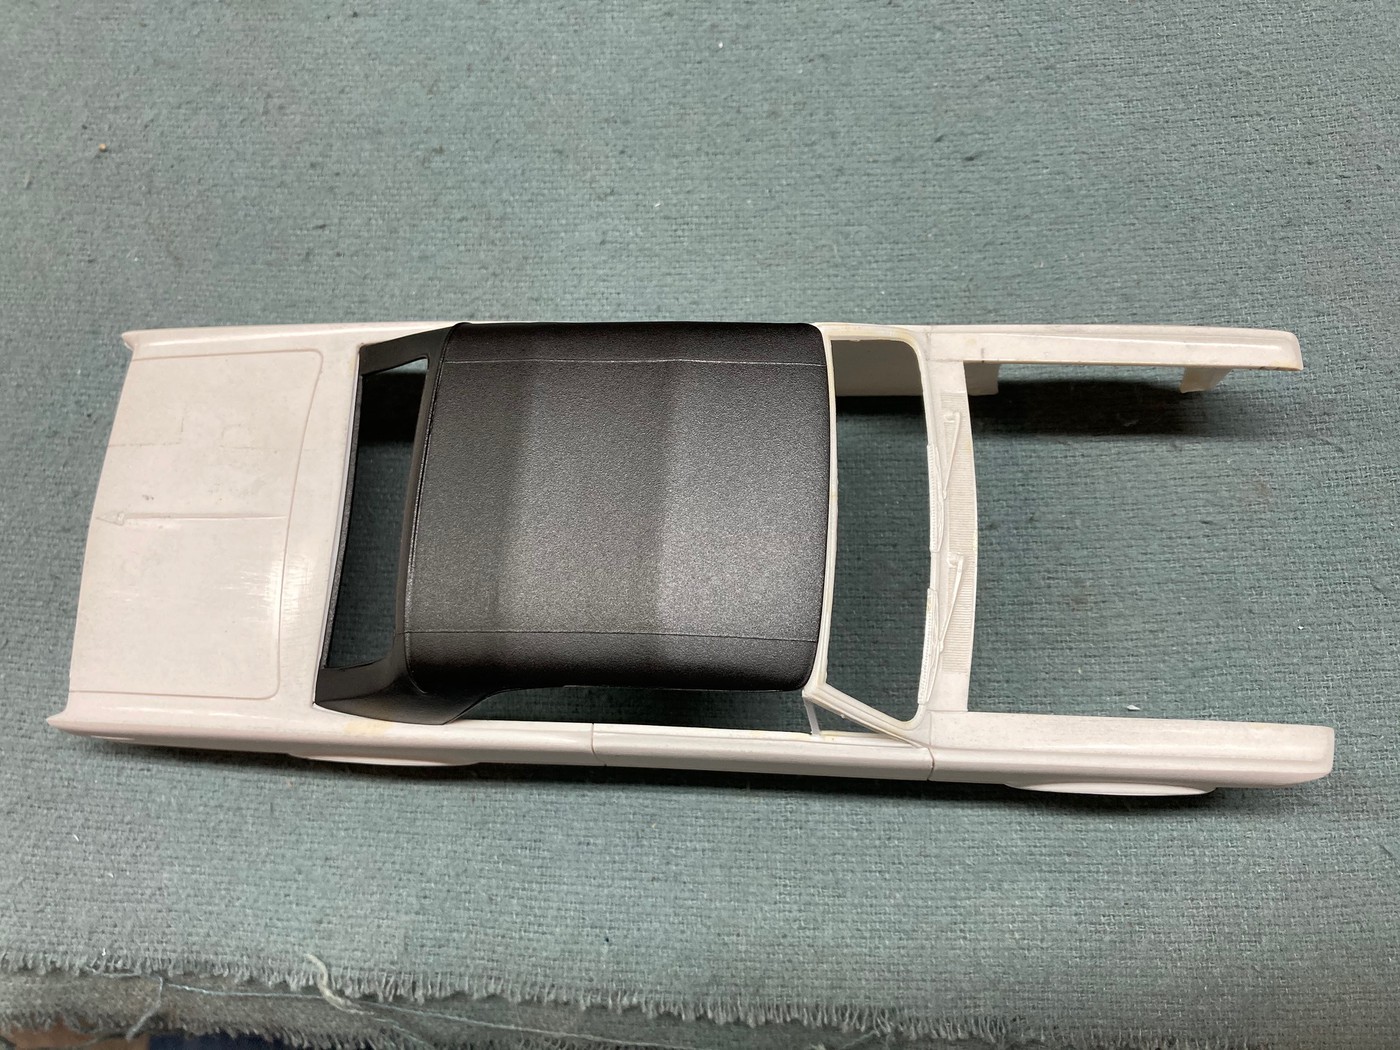
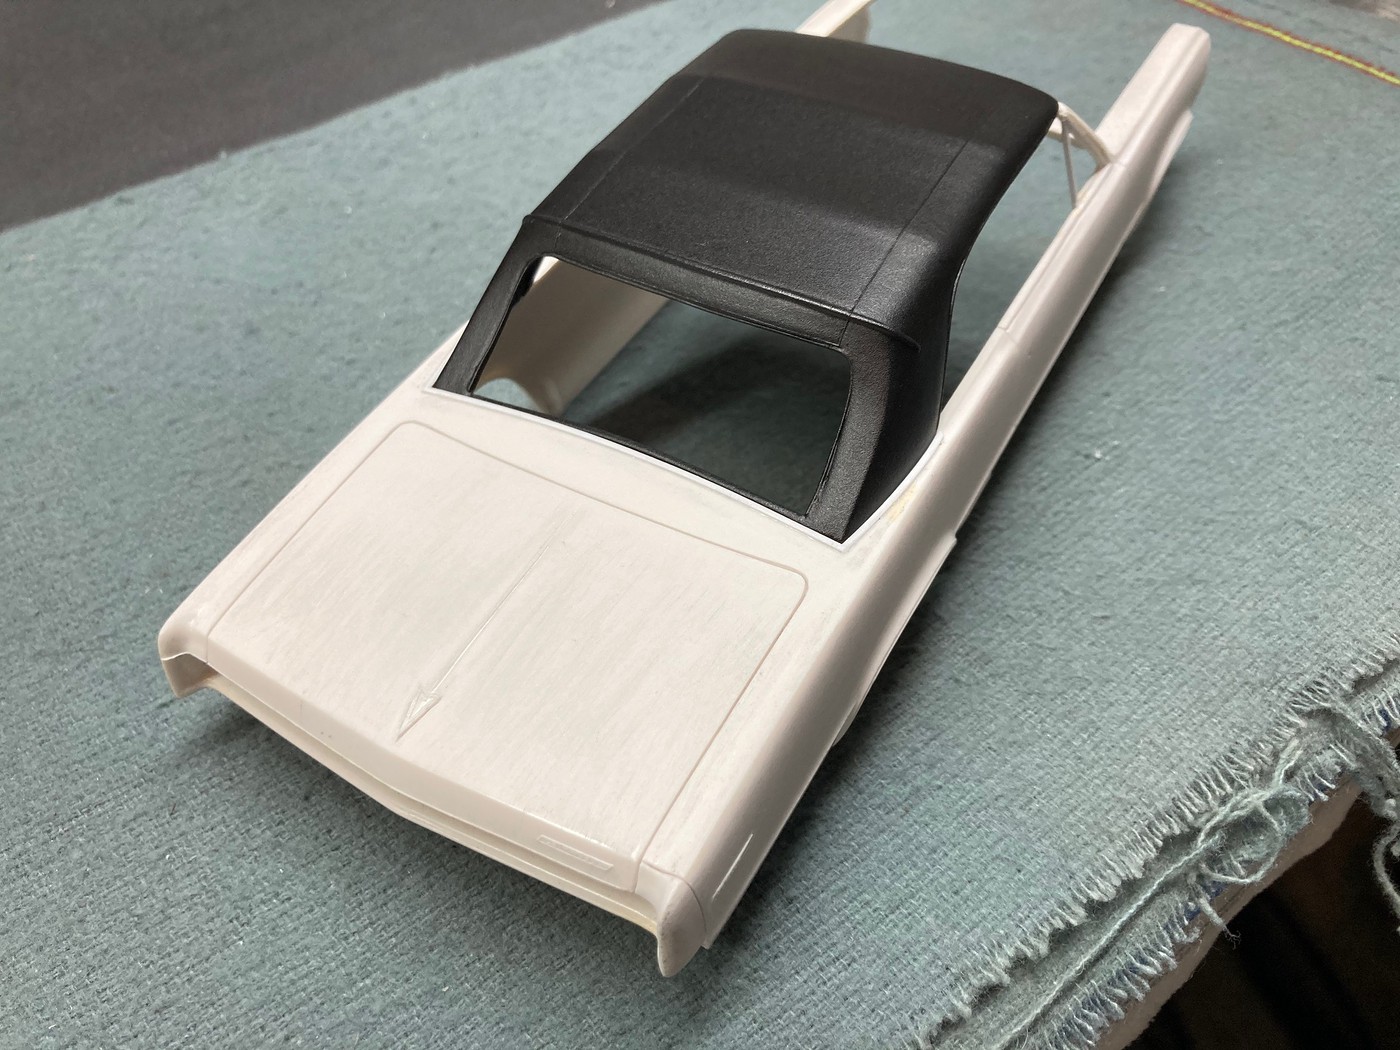
That roof looks very realistic. What paint method did you use to replicate the vinyl?
|
|
goofy62
Junior Member
Member since: January 2024
Posts: 41
|
Post by goofy62 on Jan 17, 2024 12:22:05 GMT -5
That roof looks very realistic. What paint method did you use to replicate the vinyl?
Just a light mist coat of black primer shot from the distance of a couple of feet away to create a fine orange peel texture.
|
|
|
|
Post by kyledehart5 on Jan 17, 2024 16:58:39 GMT -5
That roof looks very realistic. What paint method did you use to replicate the vinyl?
Just a light mist coat of black primer shot from the distance of a couple of feet away to create a fine orange peel texture.
Simple, but effective. I like this too. Used it on the replica build of my father-in-law’s camaro. |
|
noname
Full Member
March 2012 / April 2013 MoM Winner
Member since: January 2012
I like building models
Posts: 720
Jan 29, 2012 9:24:03 GMT -5
Jan 29, 2012 9:24:03 GMT -5
|
Post by noname on Jan 17, 2024 20:50:36 GMT -5
Ya its not just the paint but the sag in the top that looks right.
|
|
mrversatile
Full Member
Member since: January 2013
Posts: 630
Jan 20, 2013 10:52:24 GMT -5
Jan 20, 2013 10:52:24 GMT -5
|
Post by mrversatile on Jan 18, 2024 10:42:25 GMT -5
I am here Steve and found a seat in the second row. Carry on, sir, I am looking forward to more.
|
|
handiabled
Community Relations Moderator 
Member since: February 2023
Posts: 2,471
MSC Staff
|
Post by handiabled on Jan 18, 2024 10:51:19 GMT -5
Bookmarked! This build will be a masterclass in car mods, the convertible top looks amazing!
|
|
goofy62
Junior Member
Member since: January 2024
Posts: 41
|
Post by goofy62 on Mar 28, 2024 11:04:35 GMT -5
Been some time since I've really sat down and done any work on this project, but I've hopefully begun getting back into the swing of it.
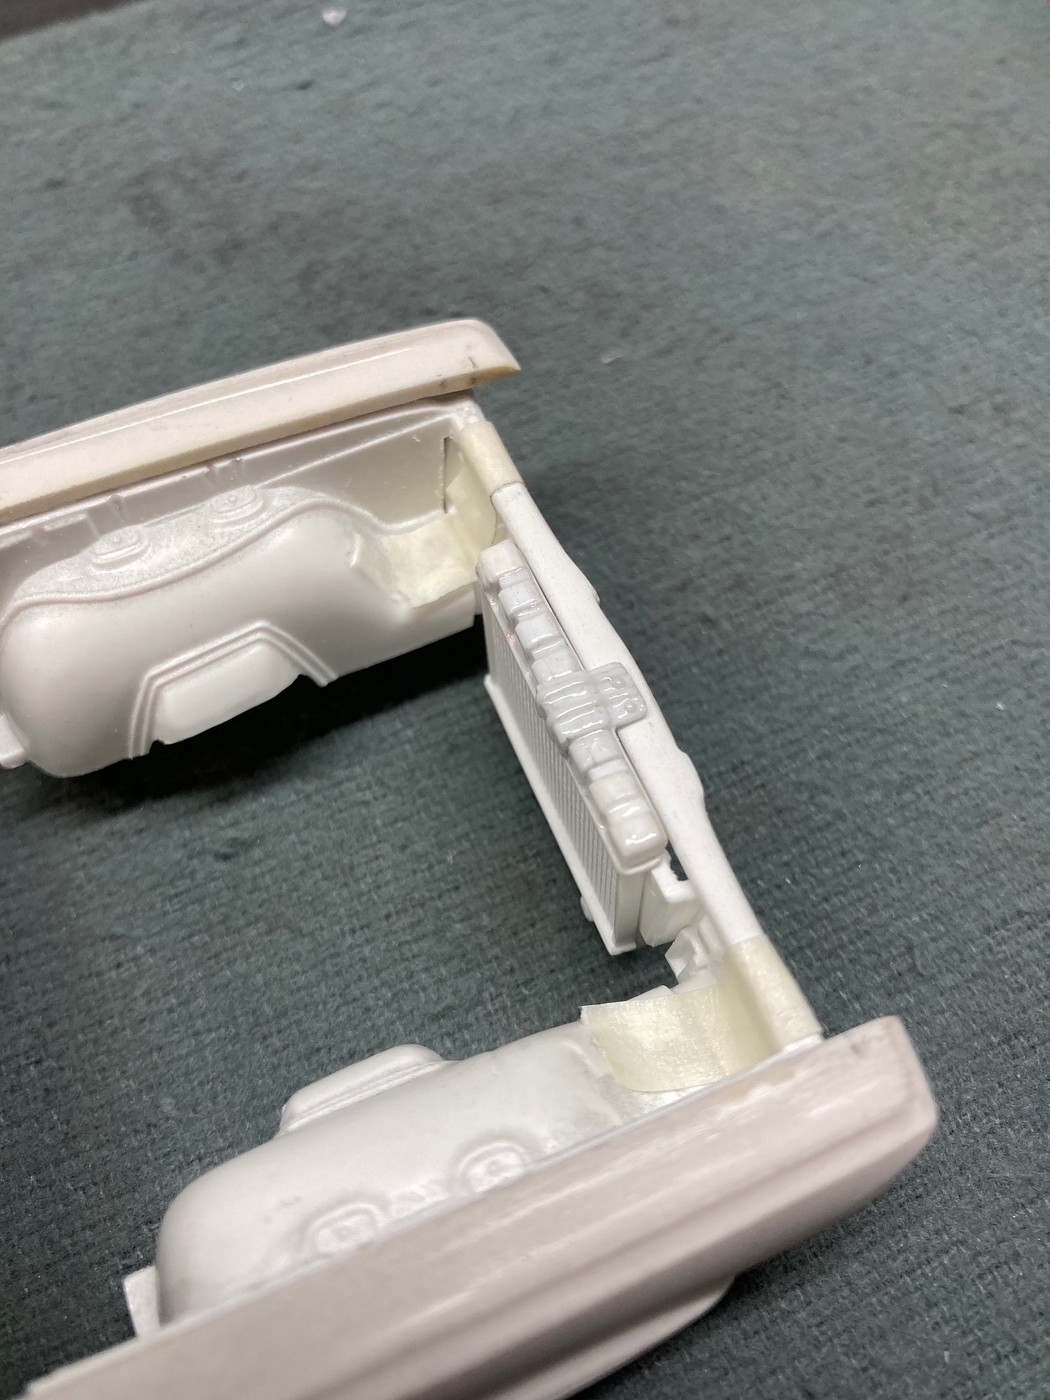
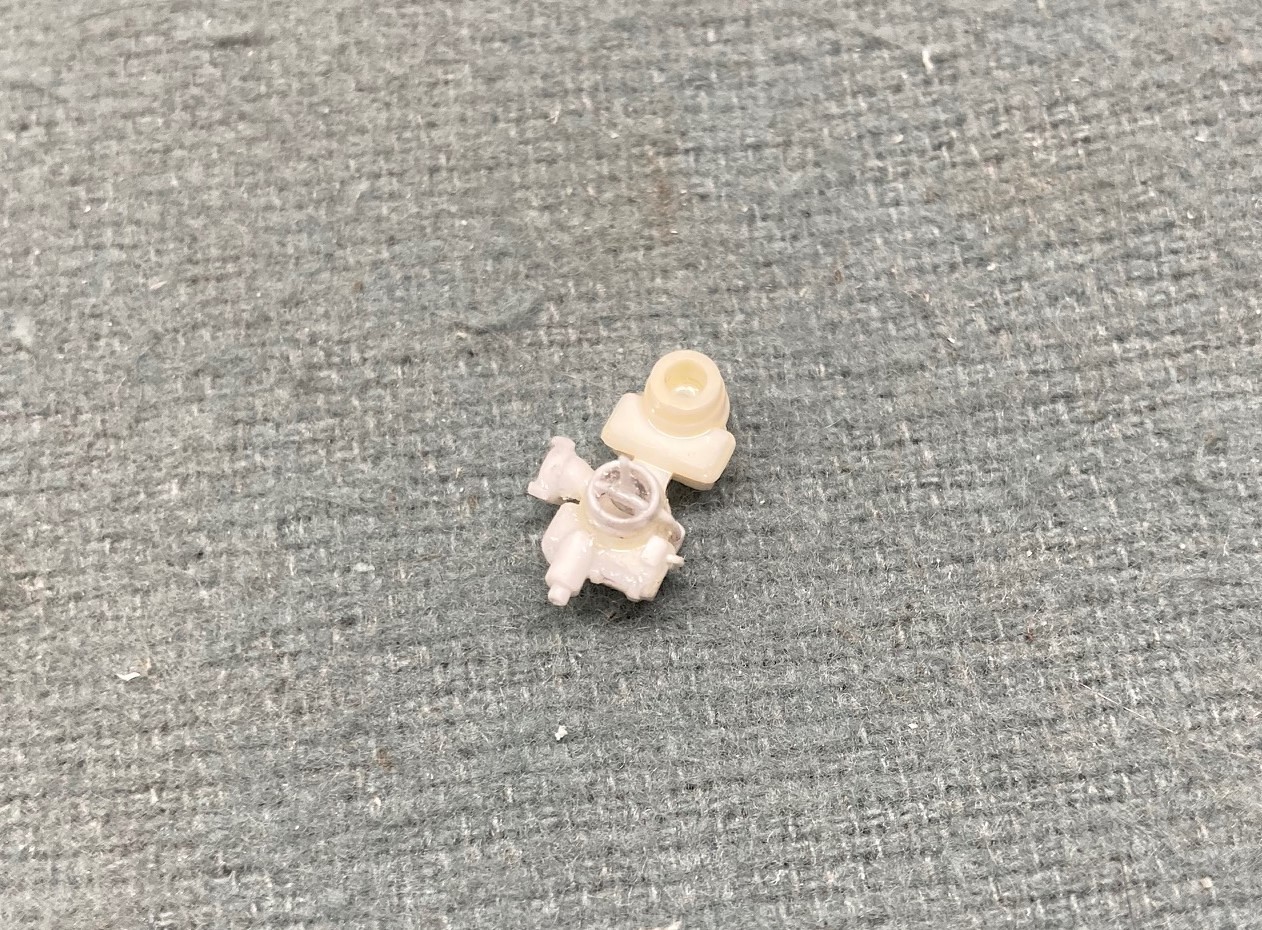
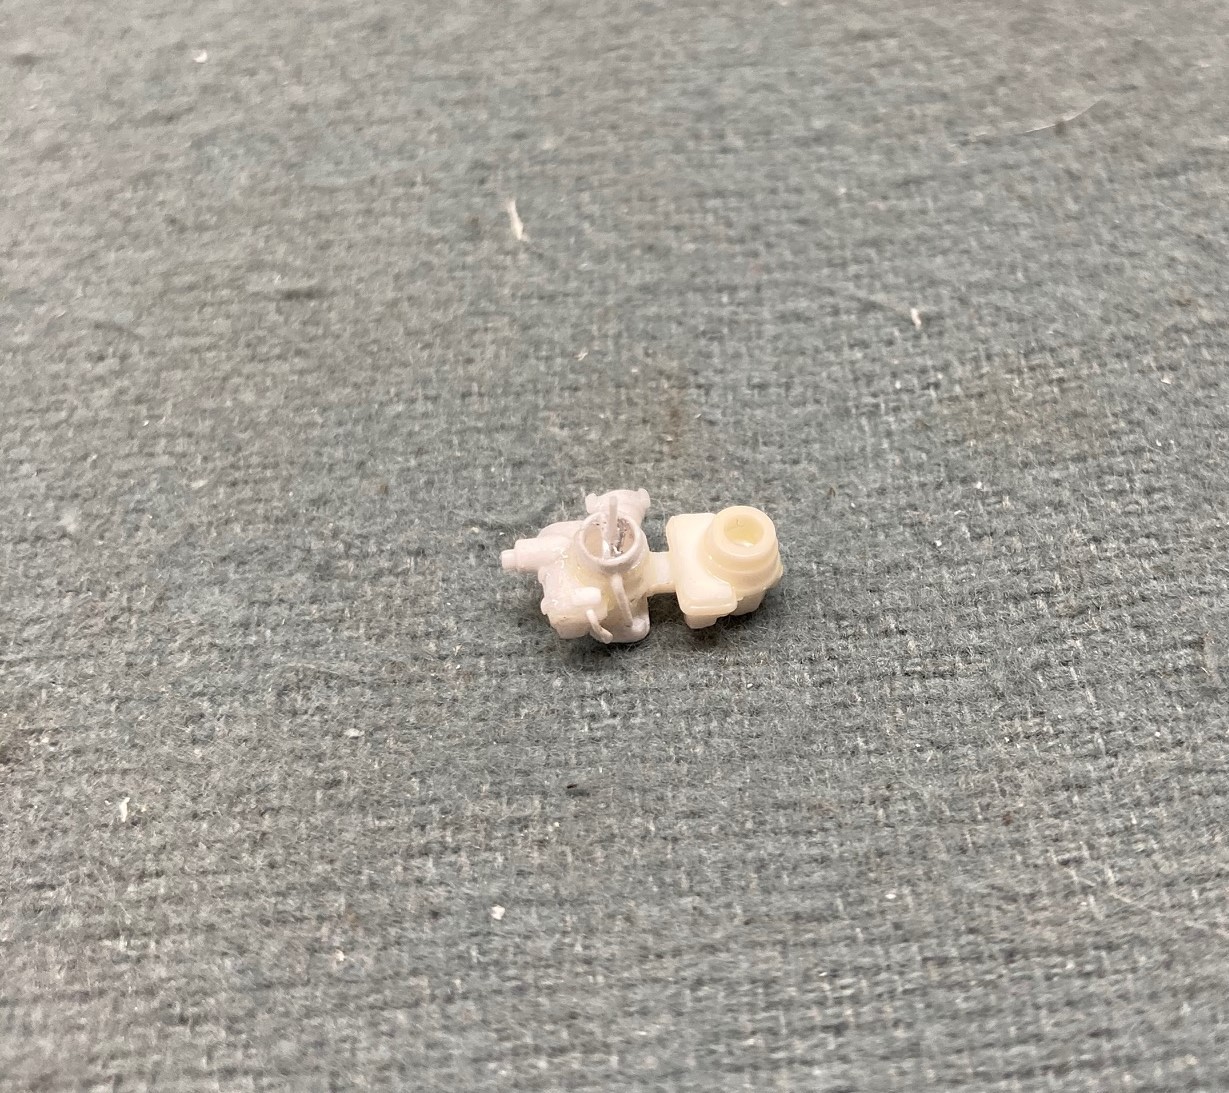
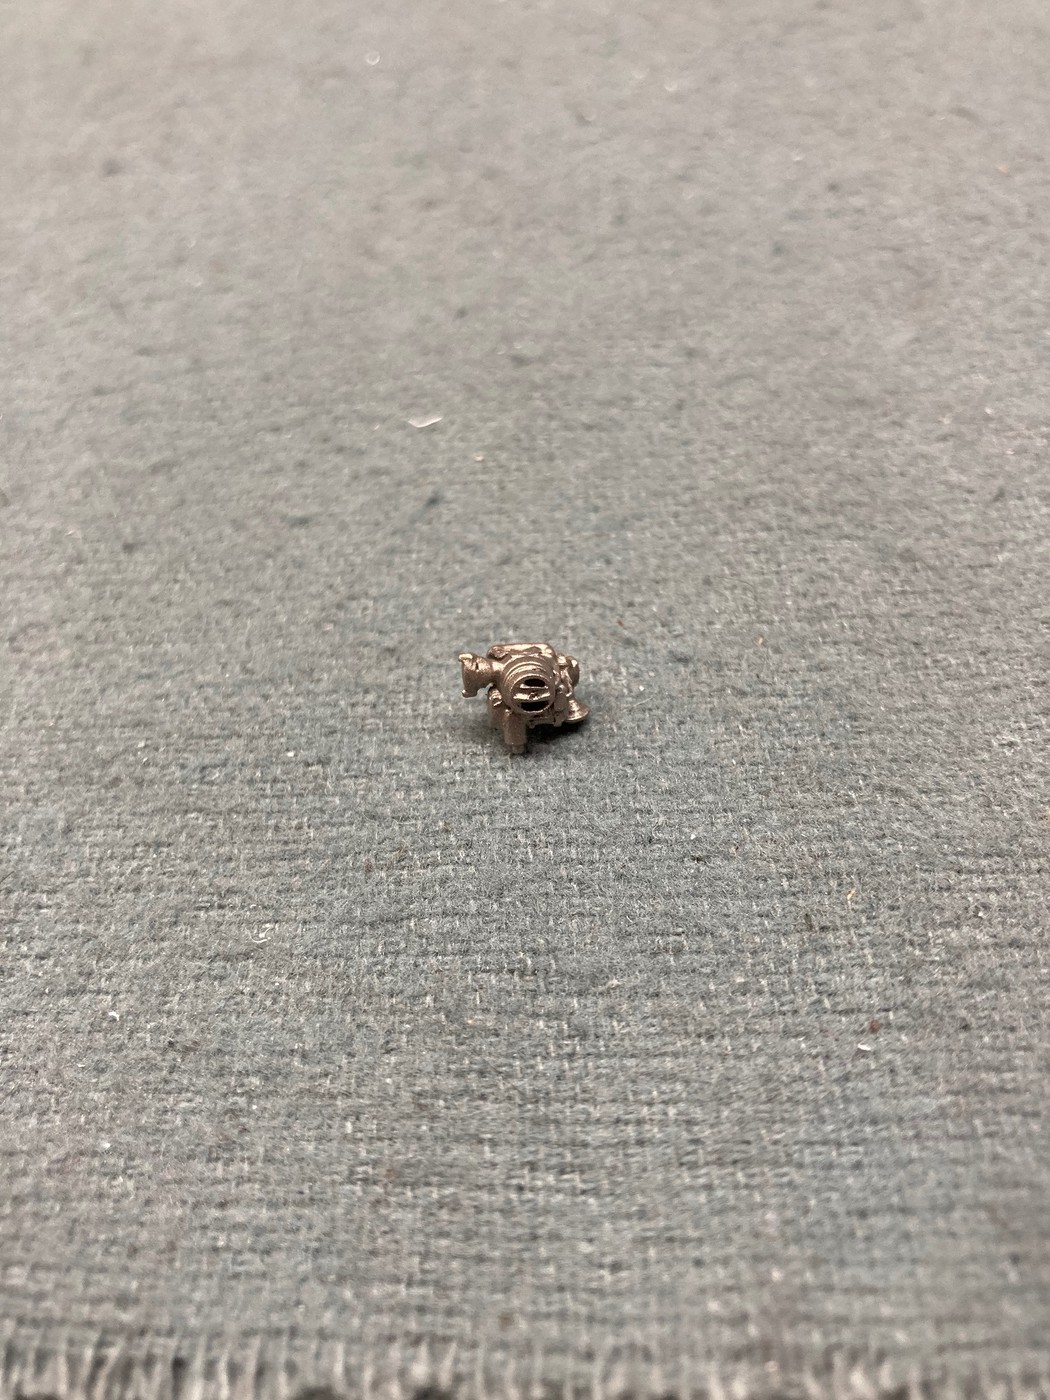
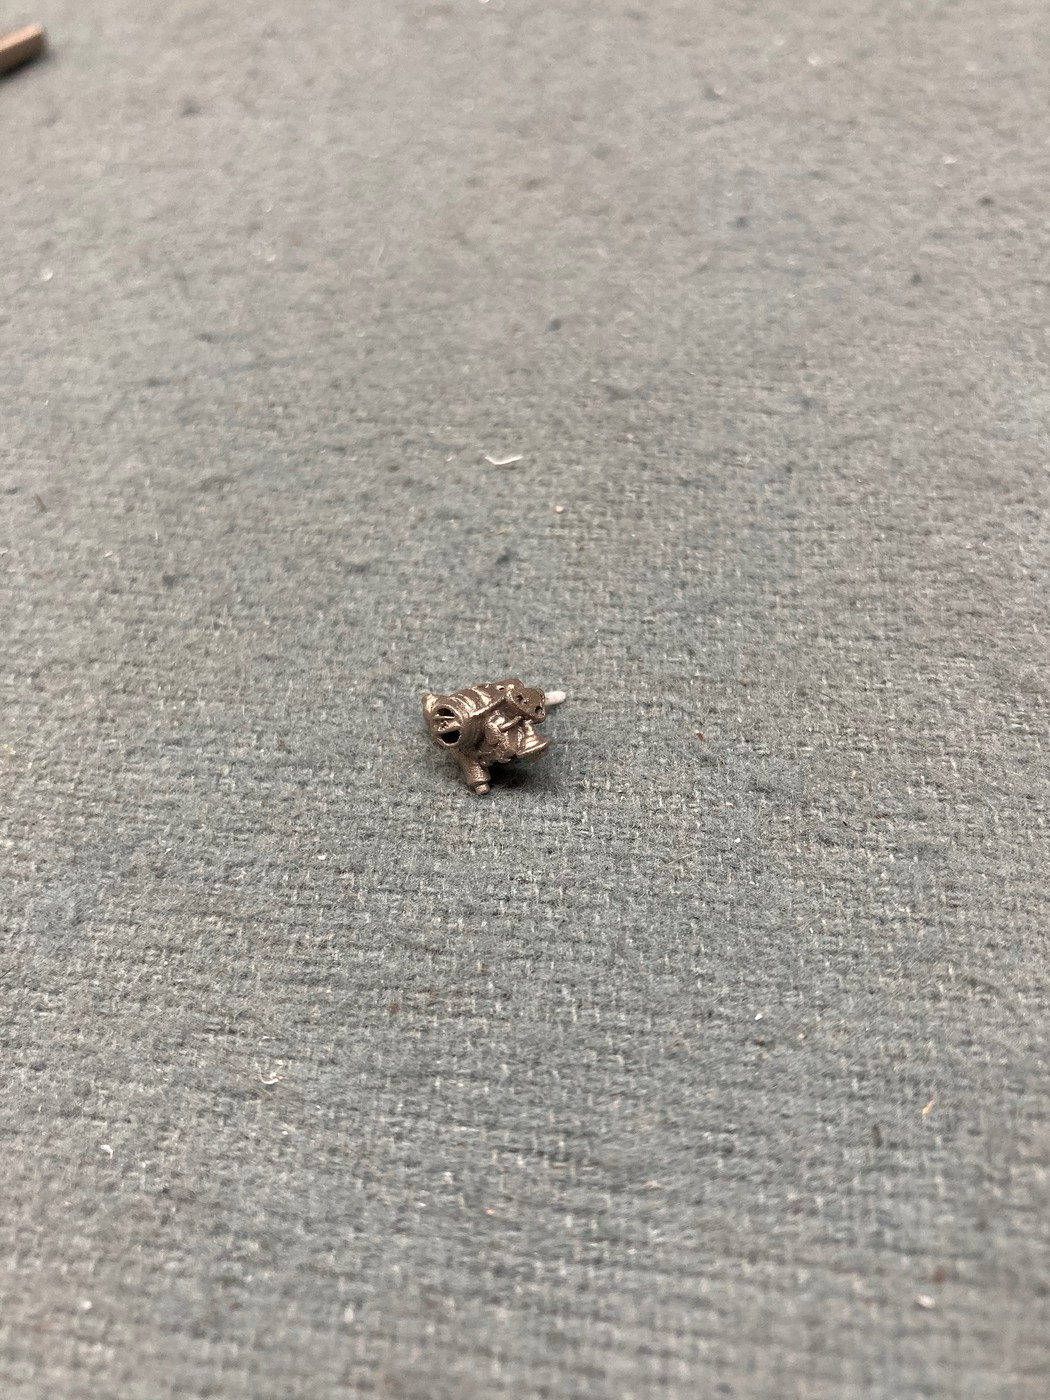
I've decided that I'm going to do a representation of a 326 2-barrel for the engine in this car, which means that some modifications are required to reach the goal of a 2-bbl carb and intake.
I have a 4-bbl intake from the Revell '68 Firebird kit on the way courtesy of a member of a forum that I belong to, to try to change into a 2-bbl intake, and I've begun gussying up a center carb from the Revell '66 GTO tri-power set up to represent a 2-bbl.
It's not perfect, but I believe that with a bit more detail painting, and some basic weathering, it should at least be palatable.
Steve
|
|
|
|
Post by 406 Silverado on Mar 28, 2024 14:38:56 GMT -5
Some mighty fine and convincing work Steve. I like the idea of a 2 bbl carburetor instead of the typical 4bbl carb found on most cars and trucks. It's amazing what can be done with kit parts if a little imagination is used. Fantastic work bud and great to see you on this one again.  |
|
handiabled
Community Relations Moderator
Member since: February 2023
Posts: 2,471
MSC Staff
|
Post by handiabled on Mar 29, 2024 1:41:29 GMT -5
The carb looks fantastic! It's great to see this build again!
|
|
TJ
Full Member
Member since: May 2023
Posts: 1,356
May 14, 2023 18:18:36 GMT -5
May 14, 2023 18:18:36 GMT -5
|
Post by TJ on Mar 29, 2024 3:49:52 GMT -5
Oh man...that 2-bbl looks fantastic
|
|
buddho
Forum Moderator 
Member since: February 2019
Posts: 1,086
MSC Staff
|
Post by buddho on Mar 29, 2024 6:29:42 GMT -5
This is gonna be a beauty. Looking awfully good already. Love those 60s,70s convertibles
|
|
|
|
Post by kyledehart5 on Mar 29, 2024 20:27:24 GMT -5
Really incredible work on this. Glad to see you back on it.
|
|