roland66
Full Member
  
Member since: January 2013
at the workbench
Posts: 286
Jan 6, 2013 16:15:14 GMT -5
Jan 6, 2013 16:15:14 GMT -5
|
Post by roland66 on Jan 29, 2024 9:45:39 GMT -5
Hello everyone, Mengs Merkava 4/4 LIC, I don't know yet if I will use the mine roller. In addition 3 PE sets from ET Models, a Friul, a few worn wheels and a few walls from diodump and a figure from Def Models. I will try to rework the anti-slip areas with the AK texture. I'm also missing the tube from Panzerart, let's see if I can get that, and I've already got the antenna feet from FC Modeltrends.  |
|
roland66
Full Member
  
Member since: January 2013
at the workbench
Posts: 286
Jan 6, 2013 16:15:14 GMT -5
Jan 6, 2013 16:15:14 GMT -5
|
Post by roland66 on Jan 29, 2024 9:48:08 GMT -5
Let's go...... I started the Merkava 4 kit at the weekend.  The undercarriage is complex to build, but looks good. 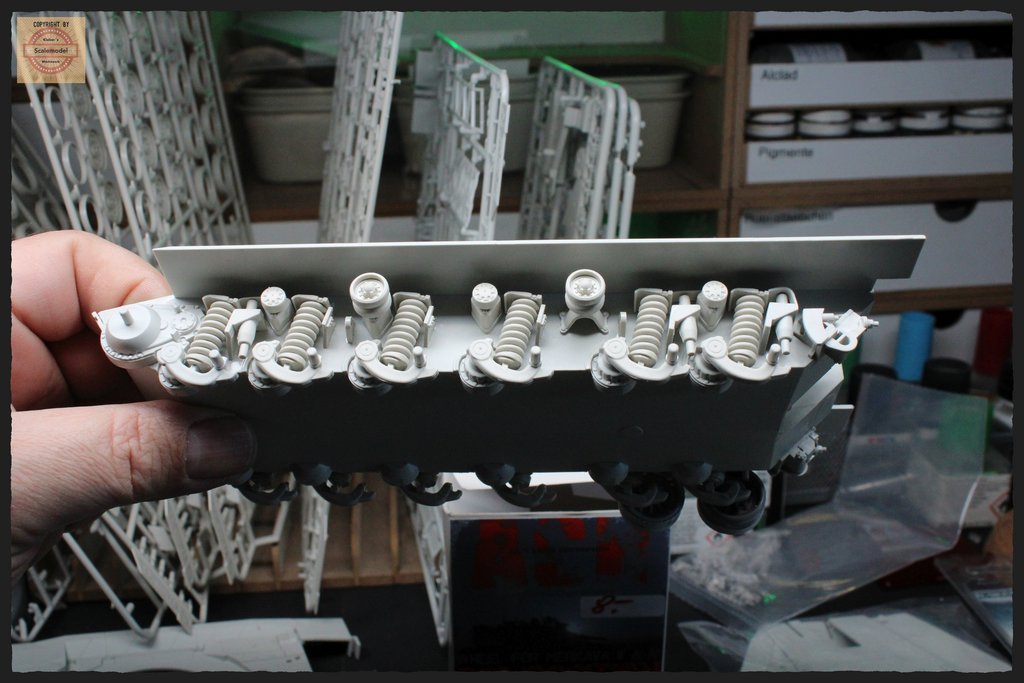 Suspended 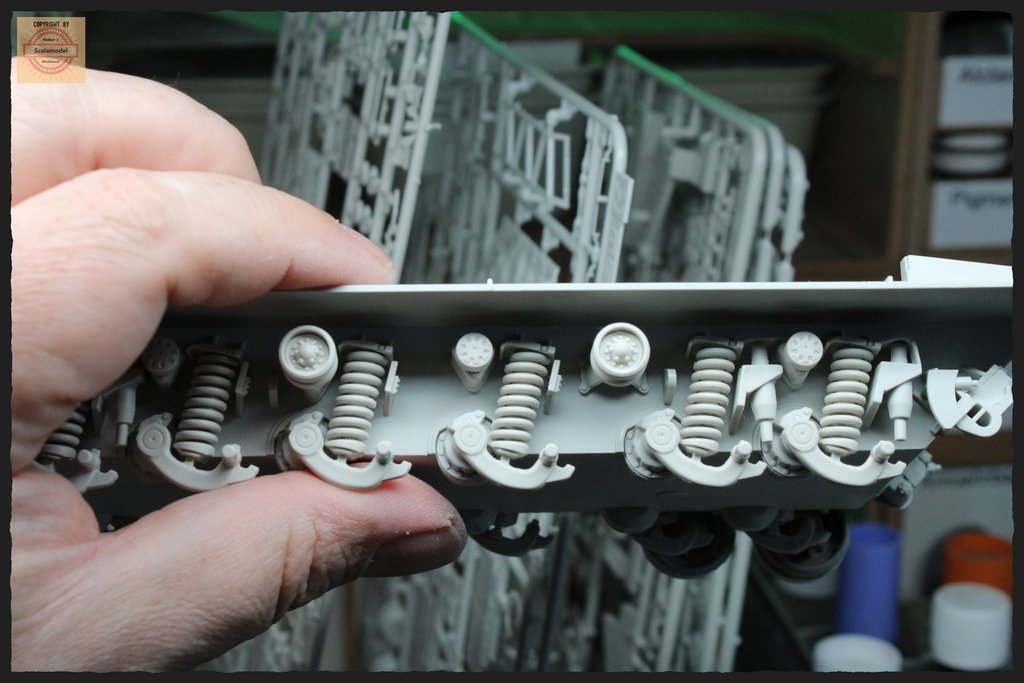 sprung in 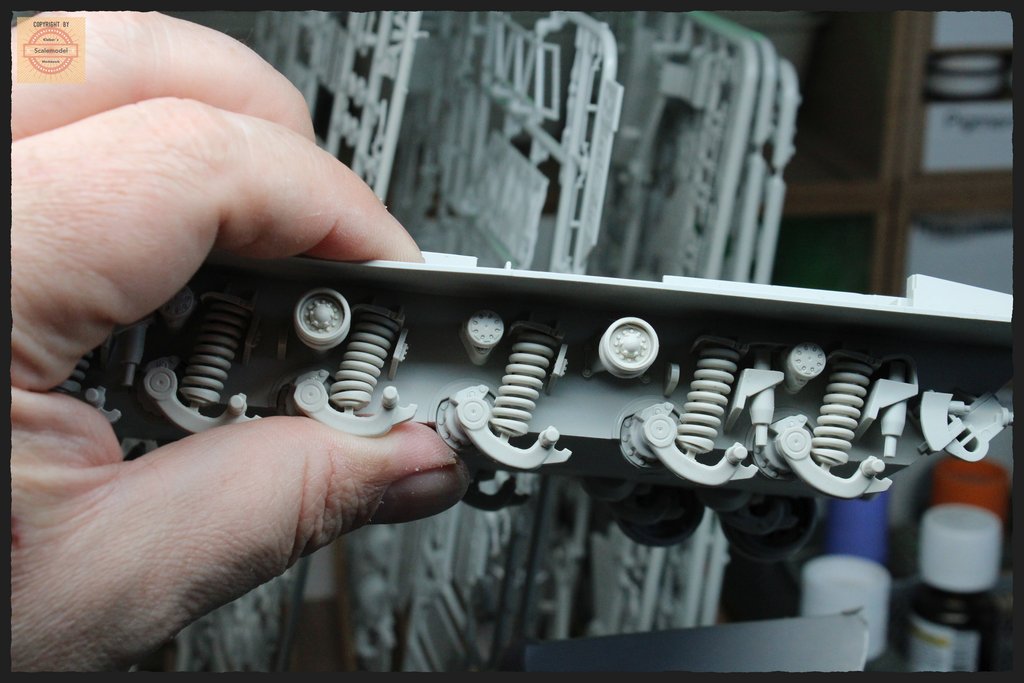 The resin wheels from ASR are really recommended, a lot of work, but good.... 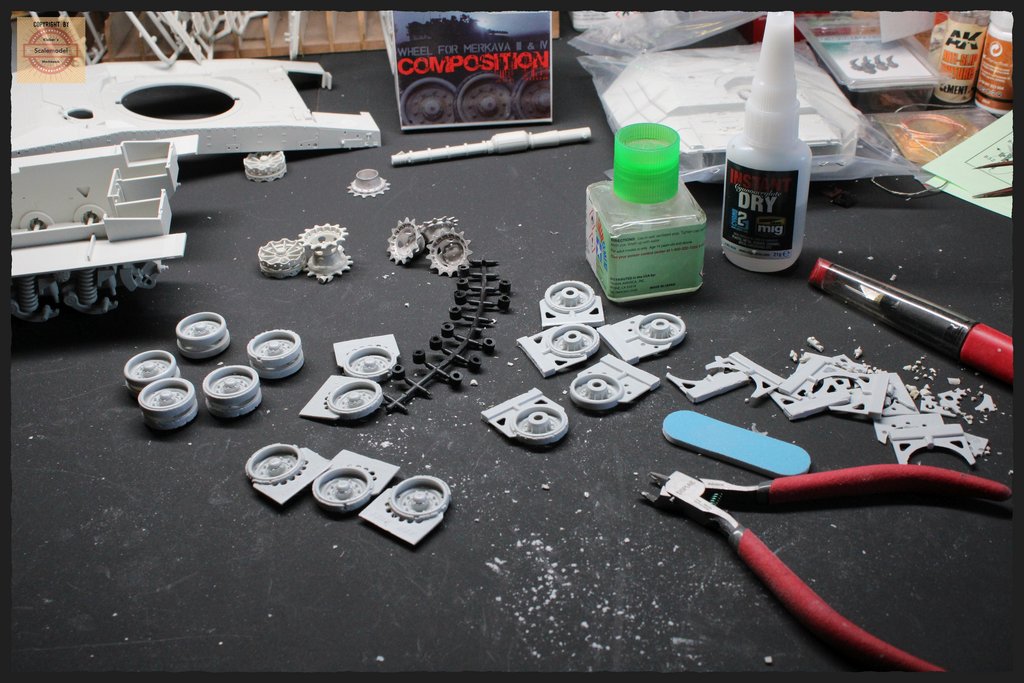 With rubber, without rubber, broken rubber, inside, outside, you can swap as you like. See for yourself.... There are sets with only broken wheels, or completely without rubber, or healthy wheels, or like the set here, a mix of all of them. 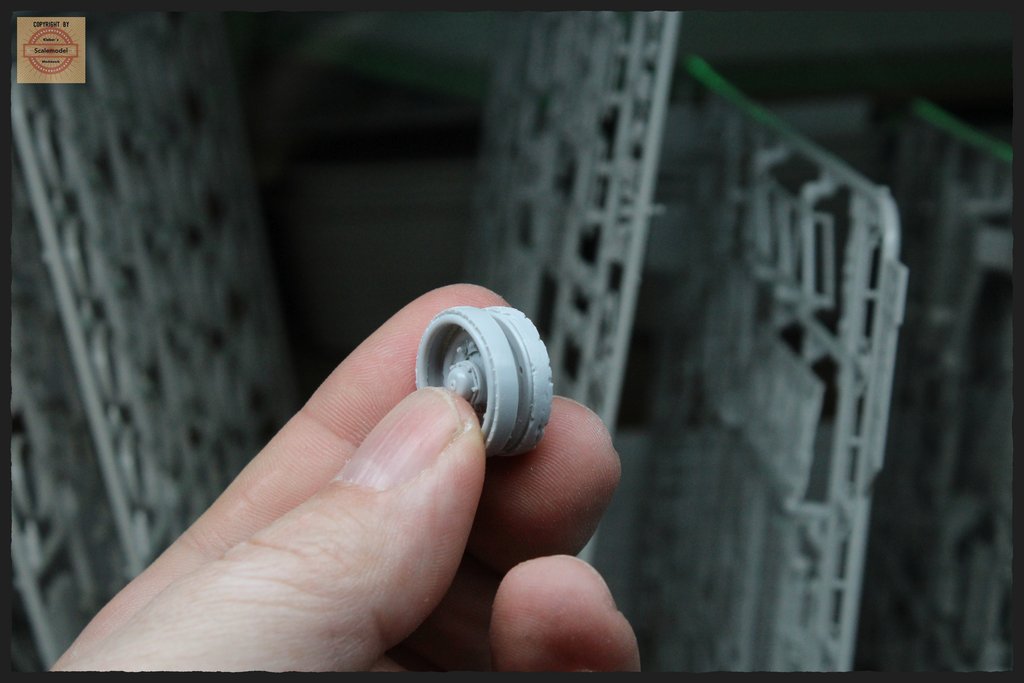  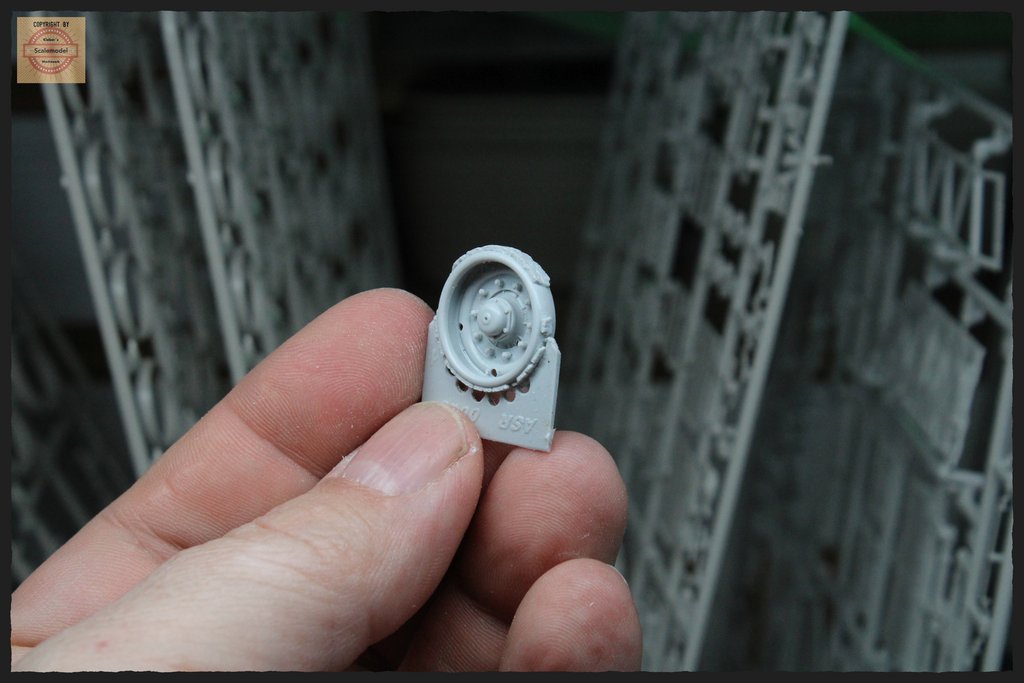 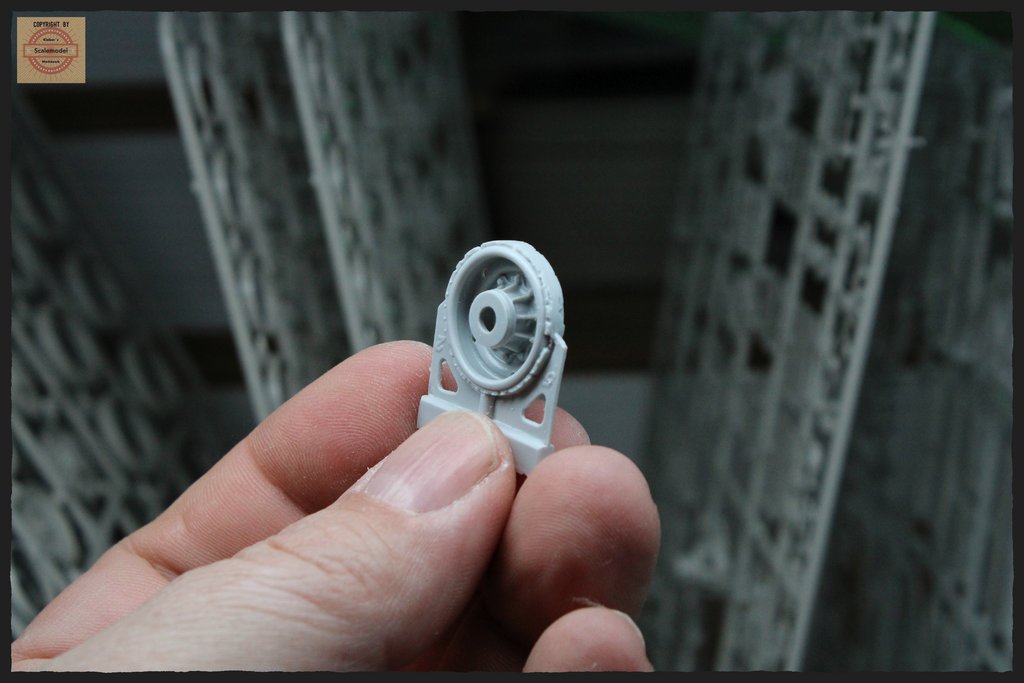 Thanks for watching..... |
|
|
|
Post by Leon on Jan 29, 2024 11:07:37 GMT -5
WOW... That is a lot of nice stuff there Roland! I'll be following this closely.
|
|
|
|
Post by 406 Silverado on Jan 29, 2024 11:31:03 GMT -5
Very impressive aftermarket accessories and just a cool subject to begin with Roland!! It’s gonna be fun watching you build an armor subject bro.
|
|
|
|
|
|
Post by deafpanzer on Feb 2, 2024 9:54:00 GMT -5
Holy smokes!!! This is a MUST for me to follow your build. Bookmarked! Good luck
|
|
brandonk
Full Member
   Jan '24 Showcased Model Awarded
Member since: May 2023
Posts: 1,299
May 14, 2023 13:45:45 GMT -5
May 14, 2023 13:45:45 GMT -5
|
Post by brandonk on Feb 2, 2024 10:15:13 GMT -5
Holy smokes!!! This is a MUST for me to follow your build. Bookmarked! Good luck Agreed. It's gonna take a hot minute just to soak in all that AM he's gonna use. WOW !! |
|
handiabled
Administrator      Apr '23 Showcased Build Awarded
Member since: February 2023
Posts: 4,475 
MSC Staff
|
Post by handiabled on Feb 2, 2024 11:32:31 GMT -5
Bookmarked!
|
|
lyle
Forum Moderator     
Member since: May 2013
On the sunny side of the dirt
Posts: 1,655 
MSC Staff
|
Post by lyle on Feb 2, 2024 19:12:41 GMT -5
Oh my, this should be good!
|
|
|
|
Post by rbaer on Feb 2, 2024 20:01:41 GMT -5
That work bench is way too neat....
Watching too, gotta love a Merk.
|
|
roland66
Full Member
  
Member since: January 2013
at the workbench
Posts: 286
Jan 6, 2013 16:15:14 GMT -5
Jan 6, 2013 16:15:14 GMT -5
|
Post by roland66 on Feb 3, 2024 7:08:24 GMT -5
That work bench is way too neat.... Uh, no...... It looks devastating on the left and right........  Hello everyone, the weekly update. I started with the chain and the rest of the resin wheels. The Friul was quickly built in the evening while watching TV. It fitted wonderfully. You have to be careful with the inner wheels, 2 were cast quite thin and had to be reinforced. The polycaps from the kit fit perfectly, as if they were made for the wheels. 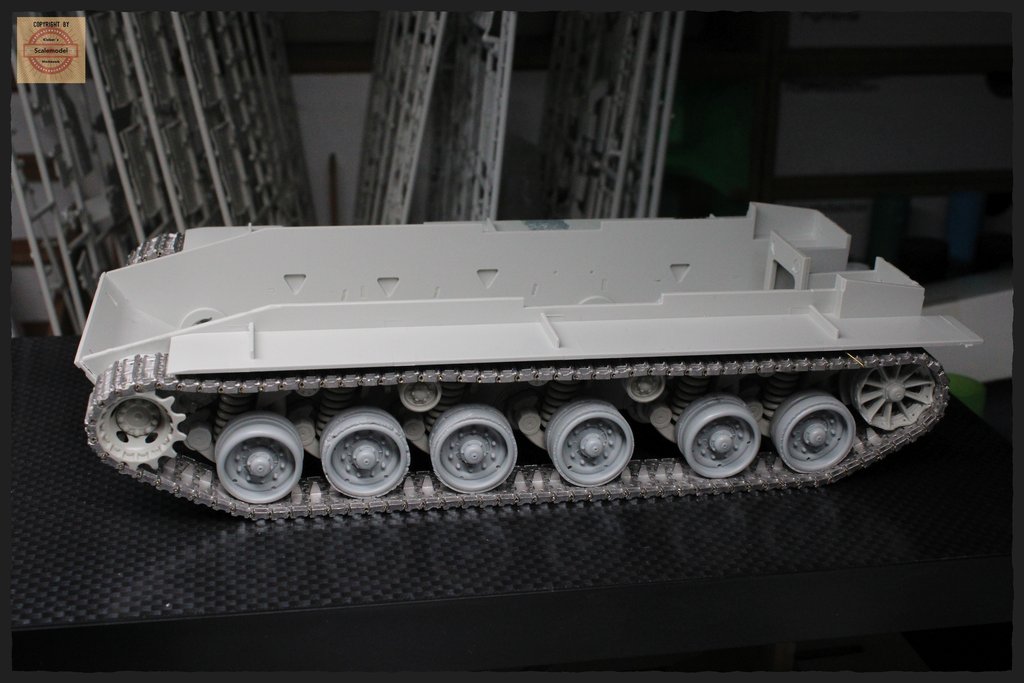 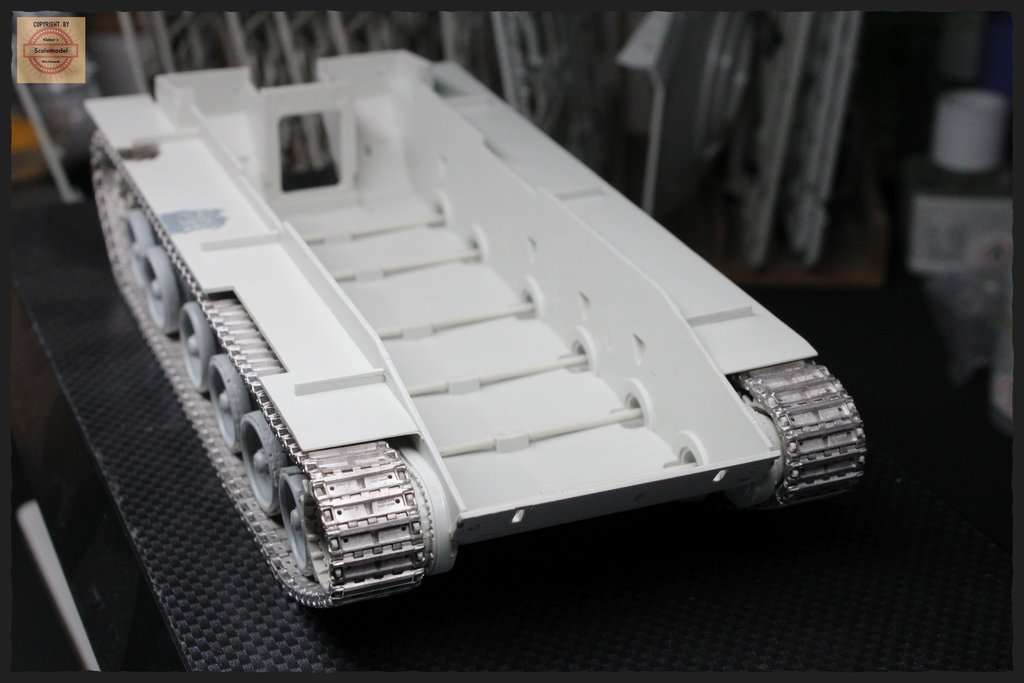 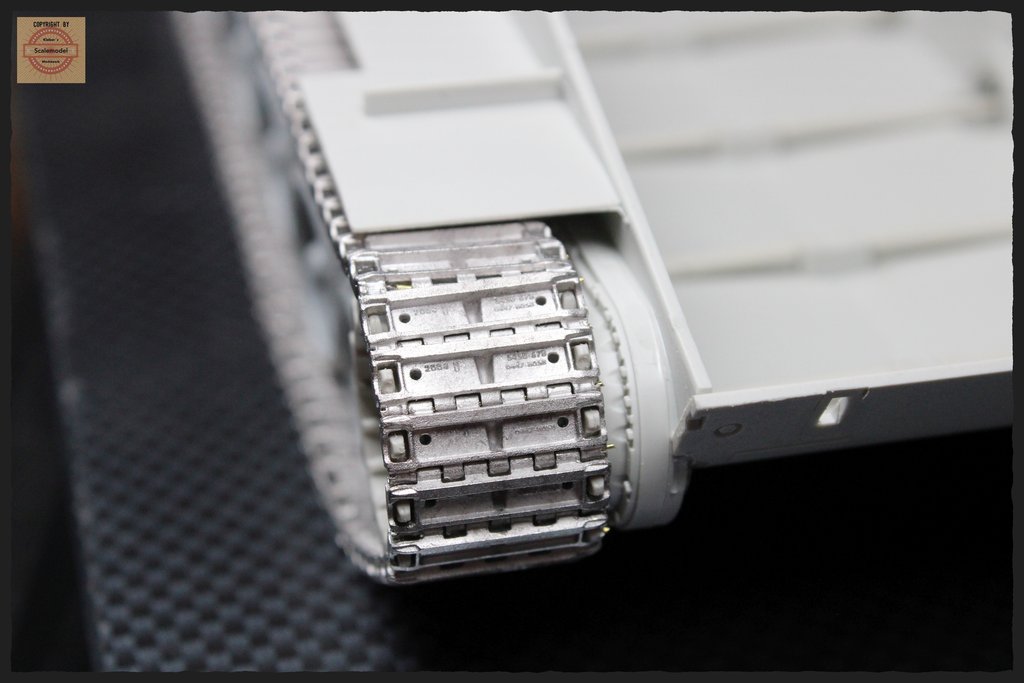 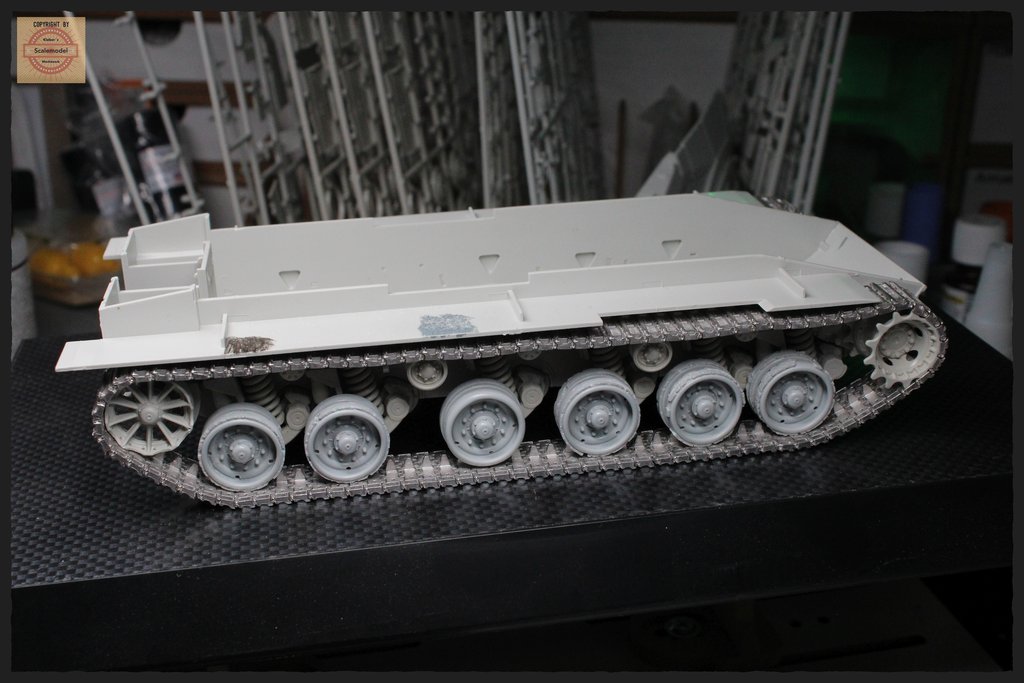 Suspension also fits. 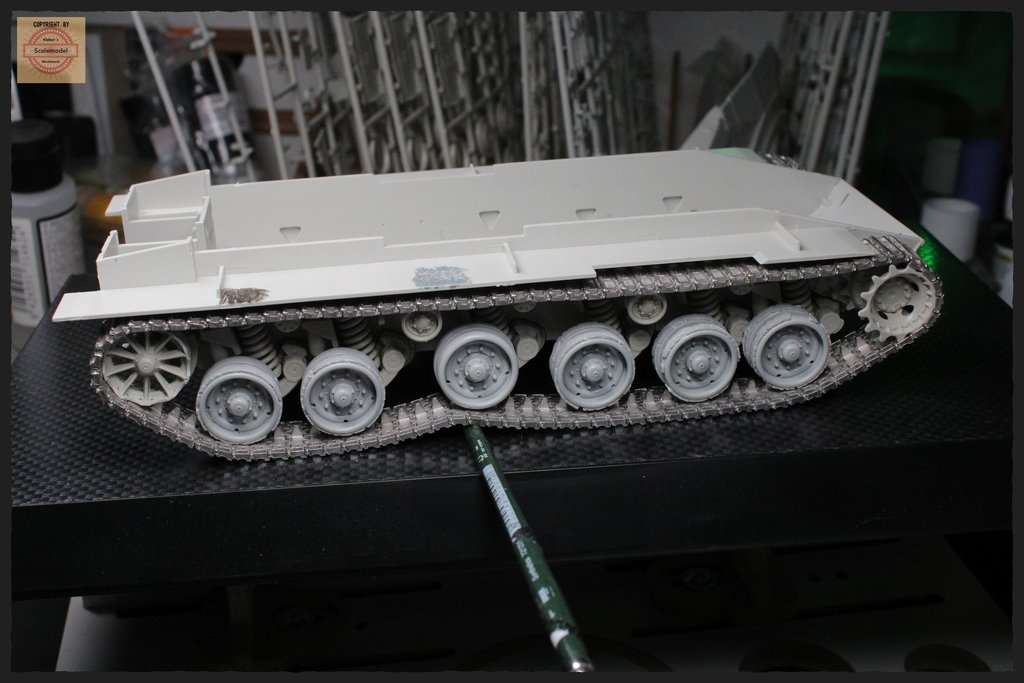 Then it was time to reproduce the anti-slip lining. Basically, the pad is well reproduced in the kit, but it could be better. AK's Anti-Slip was used. It's a good thing that I tried the product on the lower hull beforehand. The AK glue attacks the Meng plastic badly. A later correction is not possible. The stuff smells like Tamiya Extra Thin. So I experimented a bit and had the best result with Vallejo Model Color paint. Apply carefully with the brush and the AK powder into the wet paint, done. The color makes it easier to see where you don't want any to go, better than with the clear glue. And, for me, the decisive advantage is that the surface is not affected and, if something goes wrong, you can rub it off with a toothpick. And then start all over again. 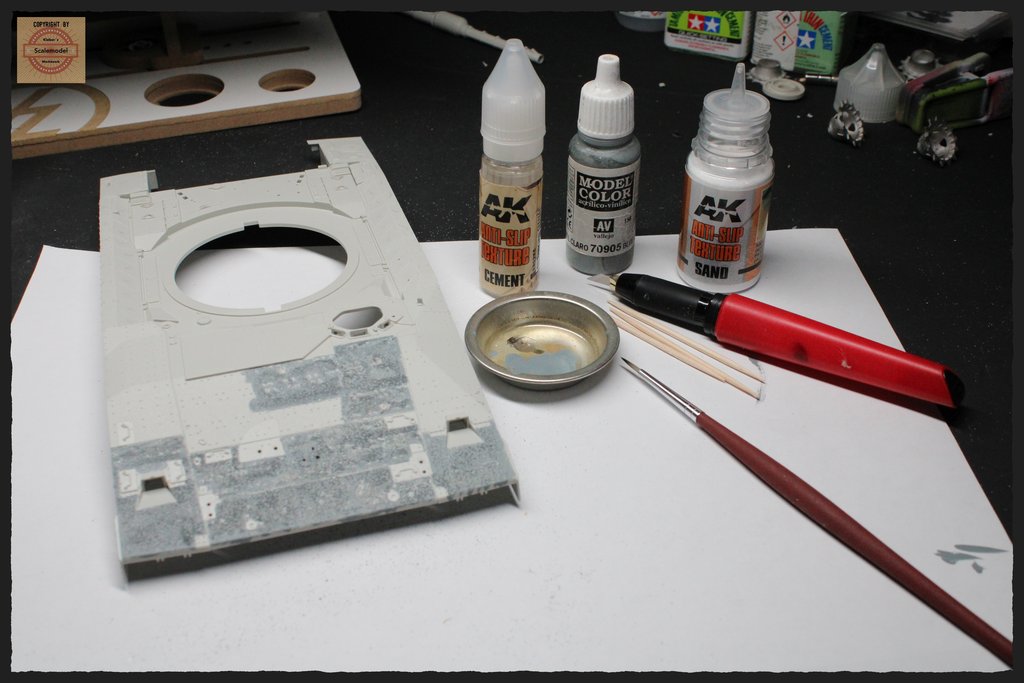 I think the result is convincing. 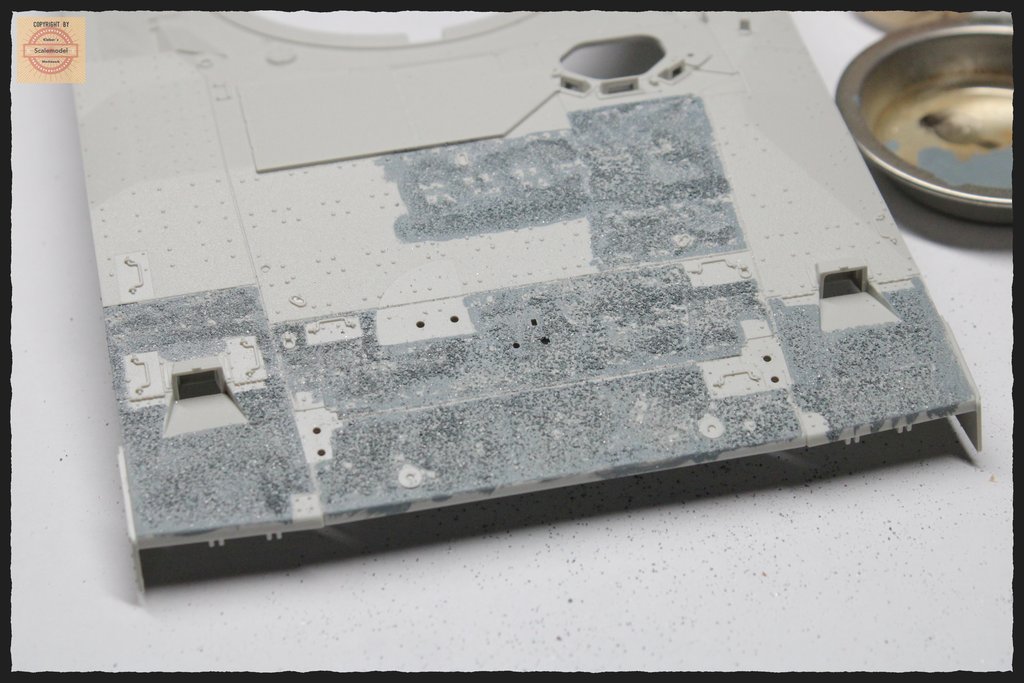 The etched parts set also includes the handles. I decided against them because the handles are flat. The molded ones are so nicely represented, that there is no advantage. |
|
lyle
Forum Moderator     
Member since: May 2013
On the sunny side of the dirt
Posts: 1,655 
MSC Staff
|
Post by lyle on Feb 3, 2024 9:42:22 GMT -5
Nice.
|
|
handiabled
Administrator      Apr '23 Showcased Build Awarded
Member since: February 2023
Posts: 4,475 
MSC Staff
|
Post by handiabled on Feb 3, 2024 9:52:19 GMT -5
Good catch on the AK anti-slip. The Friul tracks weren't too fiddly and went together with no drama?
|
|
roland66
Full Member
  
Member since: January 2013
at the workbench
Posts: 286
Jan 6, 2013 16:15:14 GMT -5
Jan 6, 2013 16:15:14 GMT -5
|
Post by roland66 on Feb 3, 2024 10:14:41 GMT -5
Hi,
the Friul fit without fiddling, 2 links had to be drilled out. All the other 186 fitted together. No problem at all.
|
|
roland66
Full Member
  
Member since: January 2013
at the workbench
Posts: 286
Jan 6, 2013 16:15:14 GMT -5
Jan 6, 2013 16:15:14 GMT -5
|
Post by roland66 on Feb 16, 2024 10:50:44 GMT -5
The weekly update, At the beginning I was still working on the rest of the lower hull. The tools are still missing, peanuts to the side skirts. 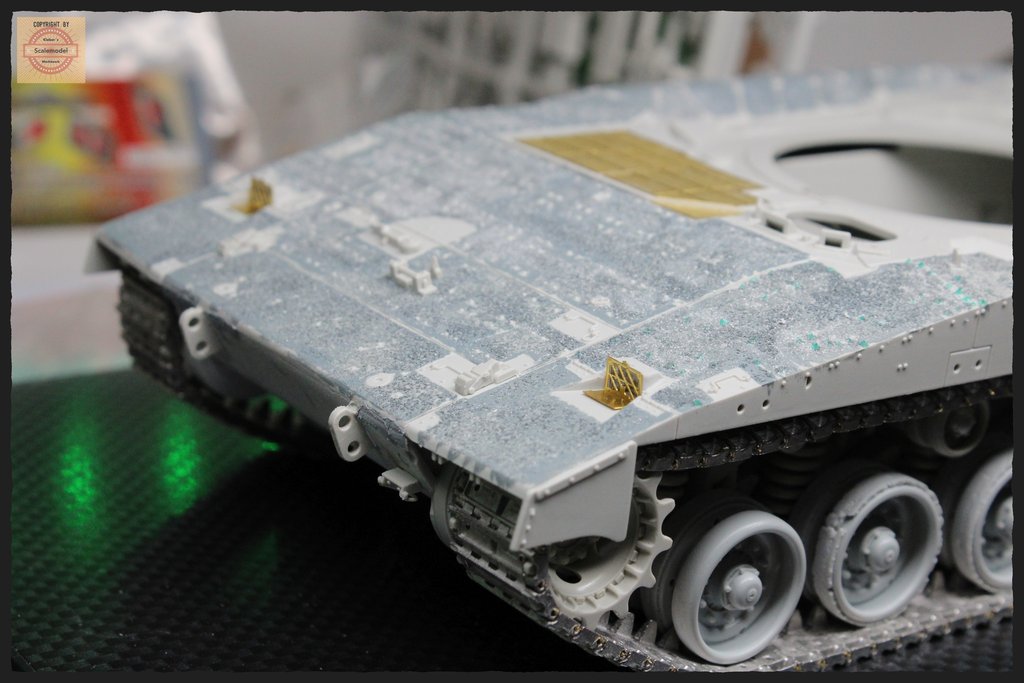 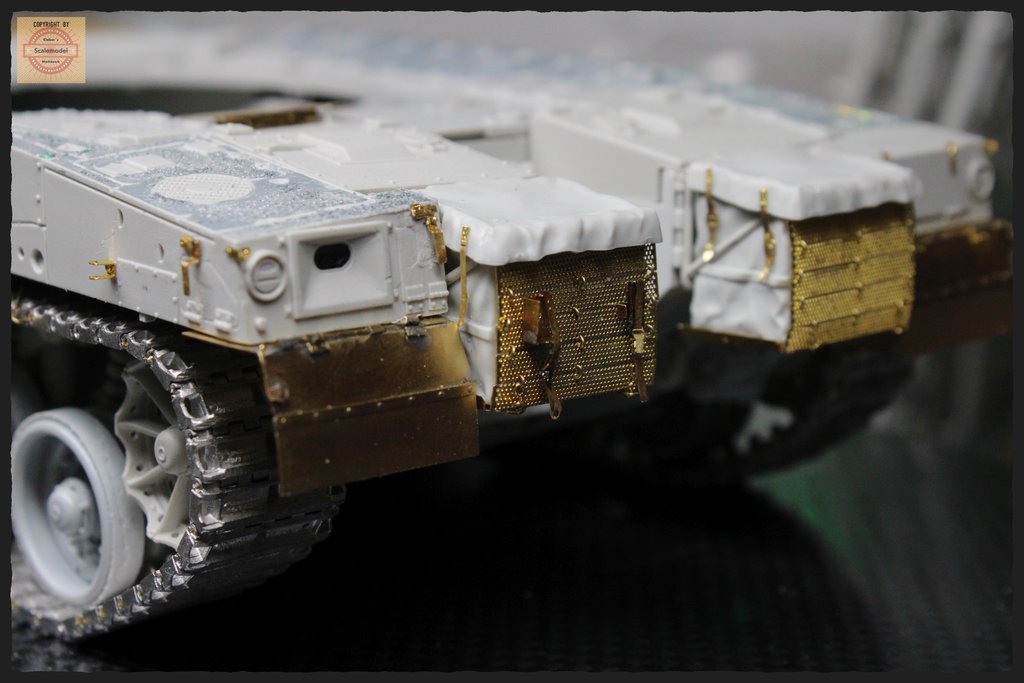 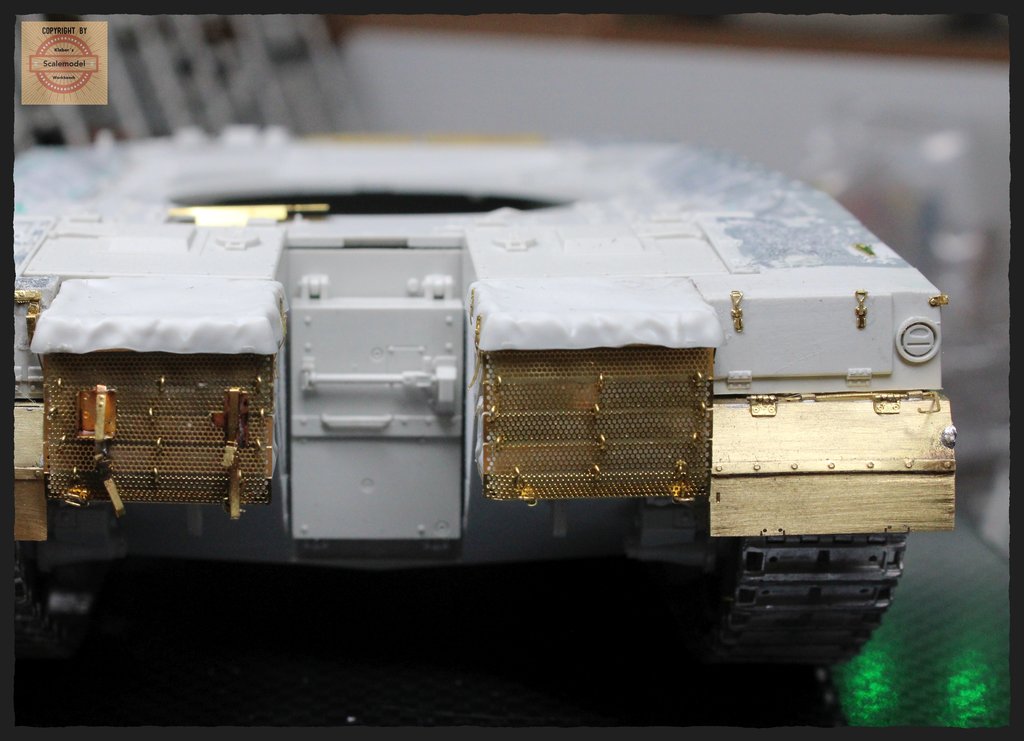 I started the side skirts on Tuesday, today is Friday and a total of 5 hours of work later. It took me 2 hours to understand how best to fold the pieces. There are 10 of each piece, 5 on the left with brackets for the tow rope, 5 on the right without. All the individual parts are then put together to form spring assemblies, like leaf springs. I will probably rivet most of the parts together, like the original. Another problem is the 40 spacers for the side skits. 3mm long, 1mm thick round material. They all have to be the same length and at right angles. Here I first had to use my swarm knowledge. The solution is a brass tube with a diameter of 1.1 mm. More on this later.  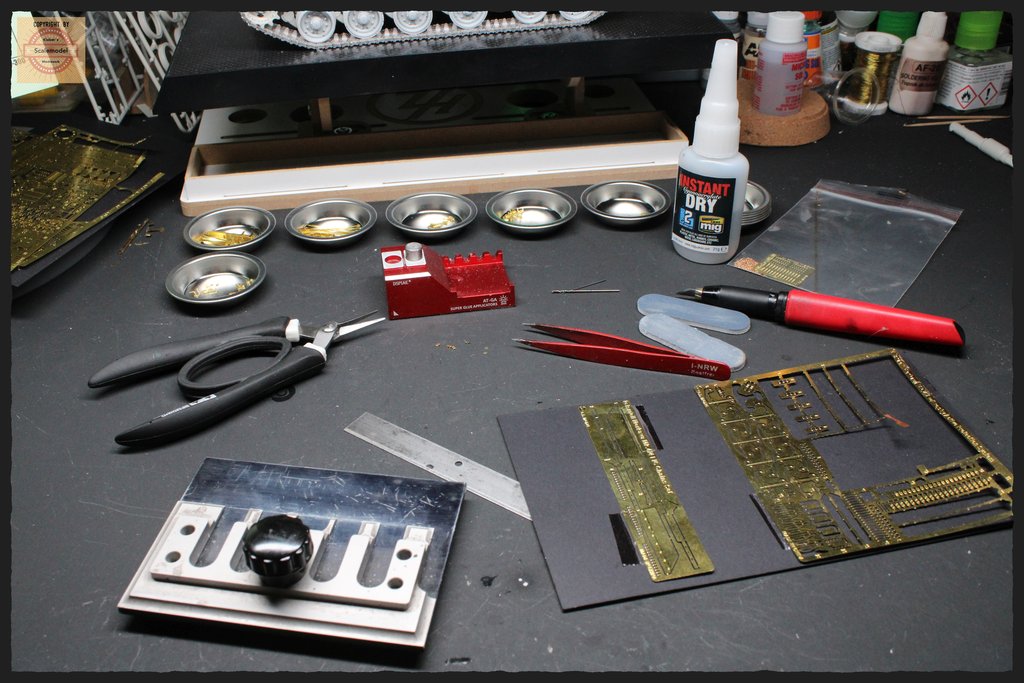 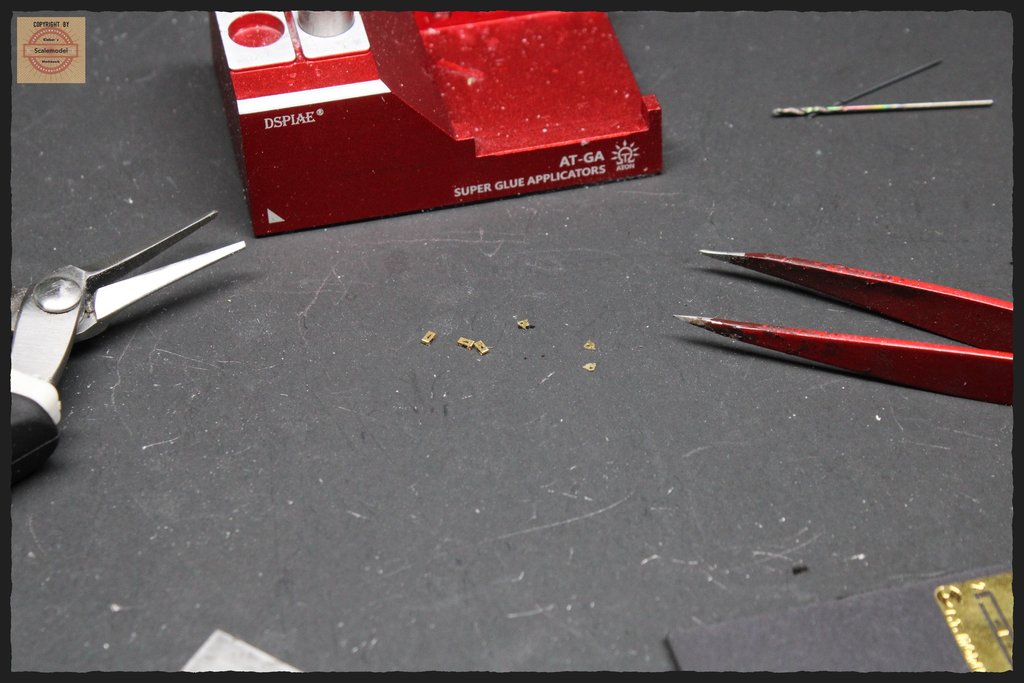 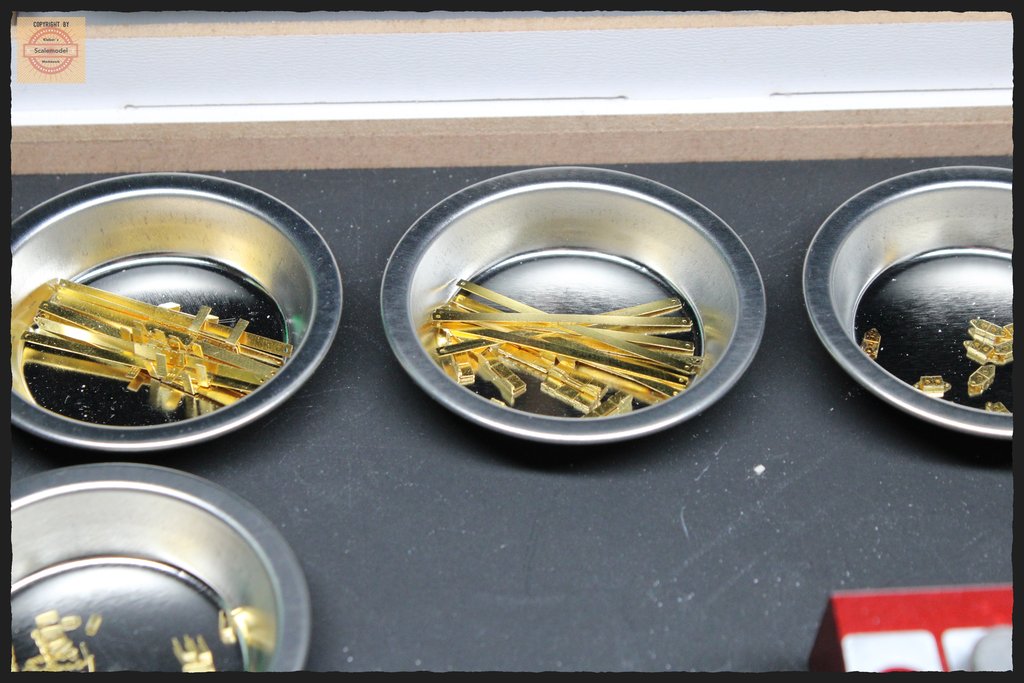 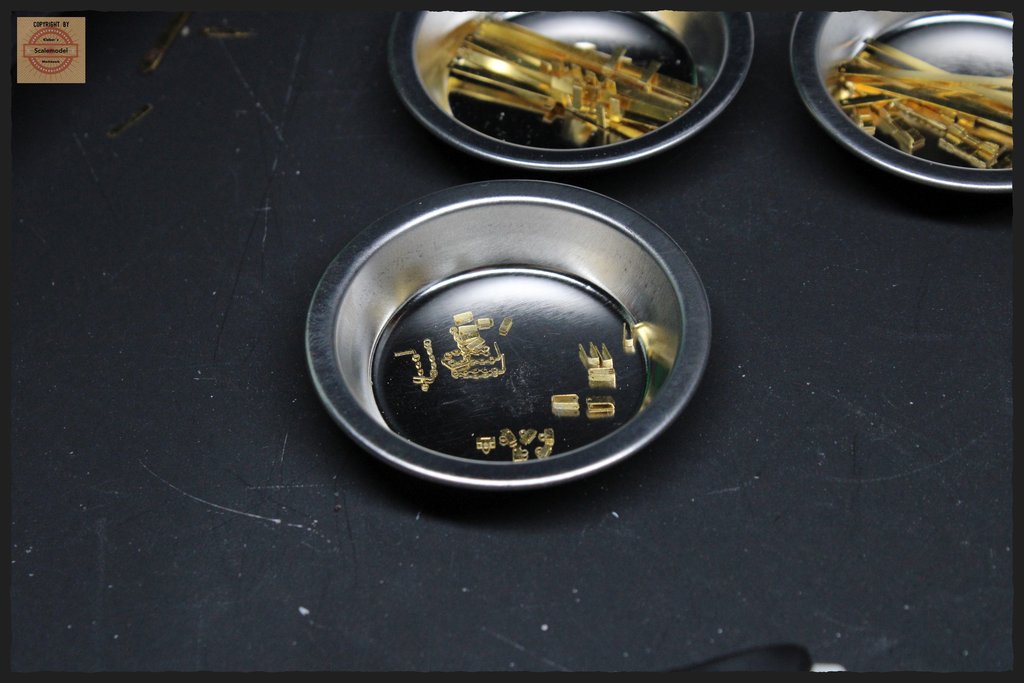 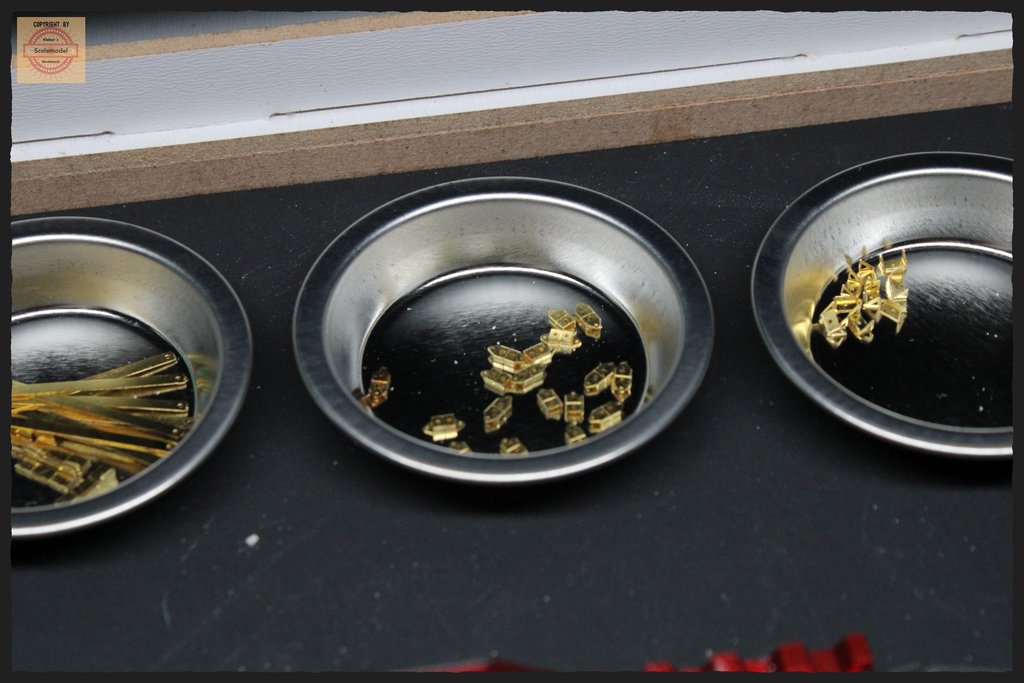 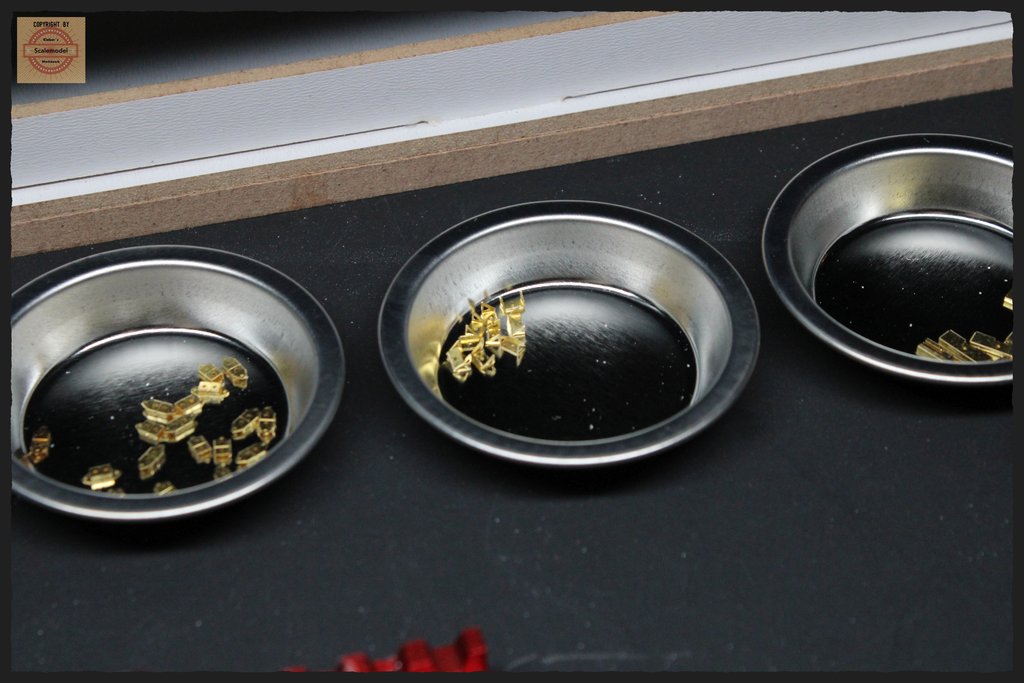 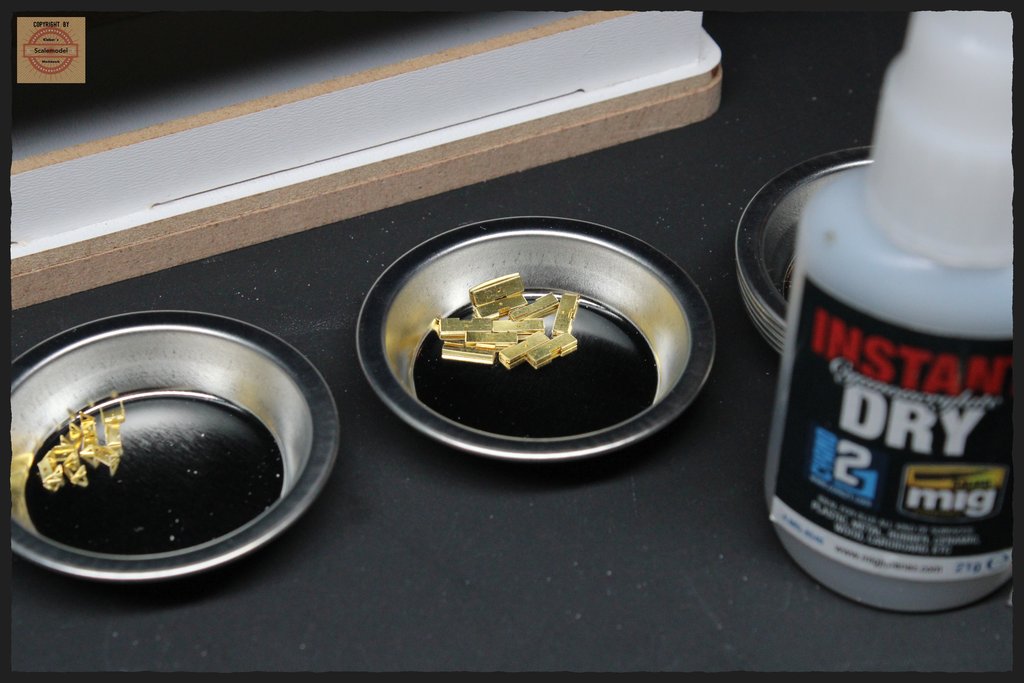 Continue........... Thanks for watching. |
|
|
|
Post by tcoat on Feb 16, 2024 11:03:25 GMT -5
|
|
|
|
Post by kyledehart5 on Feb 16, 2024 11:25:25 GMT -5
Oh boy. This is some intricate work going one. Nicely done.
|
|
handiabled
Administrator      Apr '23 Showcased Build Awarded
Member since: February 2023
Posts: 4,475 
MSC Staff
|
Post by handiabled on Feb 16, 2024 11:43:03 GMT -5
That is a TON of pe to bend!! It makes my eyes feel the strain just thinking about doing all of that!
|
|
brandonk
Full Member
   Jan '24 Showcased Model Awarded
Member since: May 2023
Posts: 1,299
May 14, 2023 13:45:45 GMT -5
May 14, 2023 13:45:45 GMT -5
|
Post by brandonk on Feb 16, 2024 13:36:31 GMT -5
|
|
reserve
Senior Member
   
Member since: July 2012
Si vis pacem para bellum
Posts: 2,373
Jul 11, 2012 9:11:45 GMT -5
Jul 11, 2012 9:11:45 GMT -5
|
Post by reserve on Feb 16, 2024 13:52:57 GMT -5
Looks like a good kit, most impressive AM work. To me that much PE would be the stuff of nightmares
|
|
|
|
Post by deafpanzer on Feb 17, 2024 15:10:45 GMT -5
Stunning PE work! Now I wonder where I can find those cool metal trays because they looks pretty useful for small pieces!!!
|
|
roland66
Full Member
  
Member since: January 2013
at the workbench
Posts: 286
Jan 6, 2013 16:15:14 GMT -5
Jan 6, 2013 16:15:14 GMT -5
|
Post by roland66 on Feb 17, 2024 16:09:46 GMT -5
Hi Andy,
Gunze D-175, Mr. Paint Tray. 10 pcs, ~ 3€/$.
@ all, Thank you very much.
|
|
|
|
Post by Medicman71 on Feb 22, 2024 14:33:00 GMT -5
Very cool! And here I thought I was crazy with the PE.
|
|
roland66
Full Member
  
Member since: January 2013
at the workbench
Posts: 286
Jan 6, 2013 16:15:14 GMT -5
Jan 6, 2013 16:15:14 GMT -5
|
Post by roland66 on Feb 26, 2024 13:12:24 GMT -5
|
|
ossie262
Full Member
   July '24 Showcased Build Awarded
Member since: January 2015
Posts: 320
Jan 3, 2015 15:31:27 GMT -5
Jan 3, 2015 15:31:27 GMT -5
|
Post by ossie262 on Feb 26, 2024 14:29:11 GMT -5
hi
well must say that's a heap of etch and well done patience is a virtue looks like you have lots.
I must admit when I built mine many moons ago I used legends and desert eagle stuff but a lot of it not available now.
well done . I be watching this one
Ossie
|
|
|
|
Post by chromdome35 on Feb 26, 2024 15:08:09 GMT -5
Thats some beautiful photo etch work, great job!
Have the instructions for the etch been clear? I hate when they just give a vague picture and no guidance.
|
|
roland66
Full Member
  
Member since: January 2013
at the workbench
Posts: 286
Jan 6, 2013 16:15:14 GMT -5
Jan 6, 2013 16:15:14 GMT -5
|
Post by roland66 on Feb 28, 2024 14:35:27 GMT -5
The instructions are ok, you need a bit of experience to understand what to fold how and what to fold first. However, the instructions sometimes give the wrong numbers. With the leaf springs, for example, you are supposed to rivet the ends together and then a shackle each end with a chain link.
Then you make the 5 suspensions with the leaf springs together, which is realy work. And then? Everything is too long and doesn't fit on the side armor. Great..... If you look at the pictures on the ET-Model homepage, they haven't fitted it either. They can't get it right either.
|
|
|
|
Post by Leon on Feb 29, 2024 6:36:19 GMT -5
That is some very impressive PE work Roland! Looks really good.
|
|
lyle
Forum Moderator     
Member since: May 2013
On the sunny side of the dirt
Posts: 1,655 
MSC Staff
|
Post by lyle on Feb 29, 2024 6:55:15 GMT -5
That is a maxing work. The PE alone is stunning. Wow.
|
|
handiabled
Administrator      Apr '23 Showcased Build Awarded
Member since: February 2023
Posts: 4,475 
MSC Staff
|
Post by handiabled on Mar 2, 2024 2:56:52 GMT -5
Outstanding work with adding all of the photo etch!
|
|