|
|
Post by chromdome35 on Mar 10, 2024 1:20:49 GMT -5
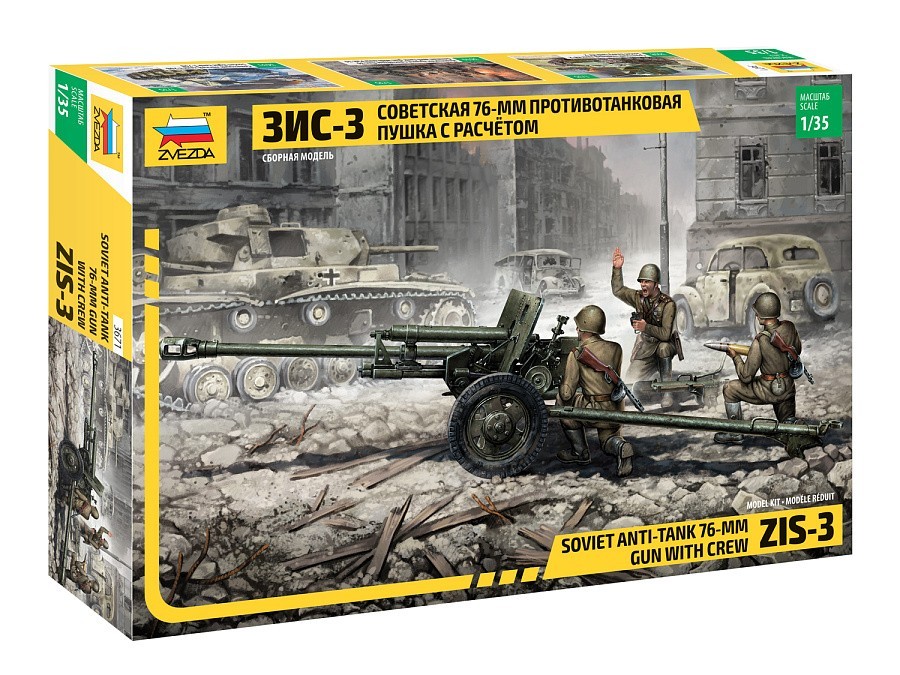
While trying to decide what to build next, I pulled this little Soviet T20 Armored Tractor off the shelf opened the box and decided to crank this one out. This has been a super easy build and the parts have fit together perfectly. I was able to assemble this (other than the tracks) in the back half of today. The only downfall to this kit is the tracks are individual links that have to be glued together with no pins. Assembly of the tracks is all that's left from a build standpoint, and that's what I have planned for Sunday. The kit is  I didn't take many pics while building it, but here are a few The seats are sitting unglued so I can paint them before I install them     I'm going to paint this in Russian green, with brown leather seats. I haven't decided on weathering yet... Thanks for looking. |
|
|
|
Post by kyledehart5 on Mar 10, 2024 8:19:54 GMT -5
Super cool little build. Nice choice.
|
|
|
|
Post by 406 Silverado on Mar 10, 2024 8:28:08 GMT -5
While trying to decide what to build next, I pulled this little Soviet T20 Armored Tractor off the shelf opened the box and decided to crank this one out. This has been a super easy build and the parts have fit together perfectly. I was able to assemble this (other than the tracks) in the back half of today. The only downfall to this kit is the tracks are individual links that have to be glued together with no pins. Assembly of the tracks is all that's left from a build standpoint, and that's what I have planned for Sunday. I didn't take many pics while building it, but here are a few The seats are sitting unglued so I can paint them before I install them I'm going to paint this in Russian green, with brown leather seats. I haven't decided on weathering yet... Thanks for looking. Cool!!!! I'll be watching this one Brian. |
|
handiabled
Administrator      Apr '23 Showcased Build Awarded
Member since: February 2023
Posts: 4,400 
MSC Staff
|
Post by handiabled on Mar 10, 2024 9:00:07 GMT -5
I'll be on board with this one. (I can hear my wife's voice in my head asking if you are including the cat on the box art)
|
|
|
|
Post by deafpanzer on Mar 10, 2024 9:44:07 GMT -5
That's nice little tractor you got!!! Pulling my chair over here too.
|
|
|
|
Post by tcoat on Mar 10, 2024 10:19:53 GMT -5
Fun little build and at least there are not one million track links. But the question now is... What is it going to tow?
|
|
|
|
Post by chromdome35 on Mar 10, 2024 11:53:45 GMT -5
Fun little build and at least there are not one million track links. But the question now is... What is it going to tow? Good question, I think it should be a small anti-tank or anti-aircraft gun, neither of which I currently have in my stash. Oh darn I'll have to buy another kit, the horror. |
|
|
|
Post by chromdome35 on Mar 10, 2024 12:07:51 GMT -5
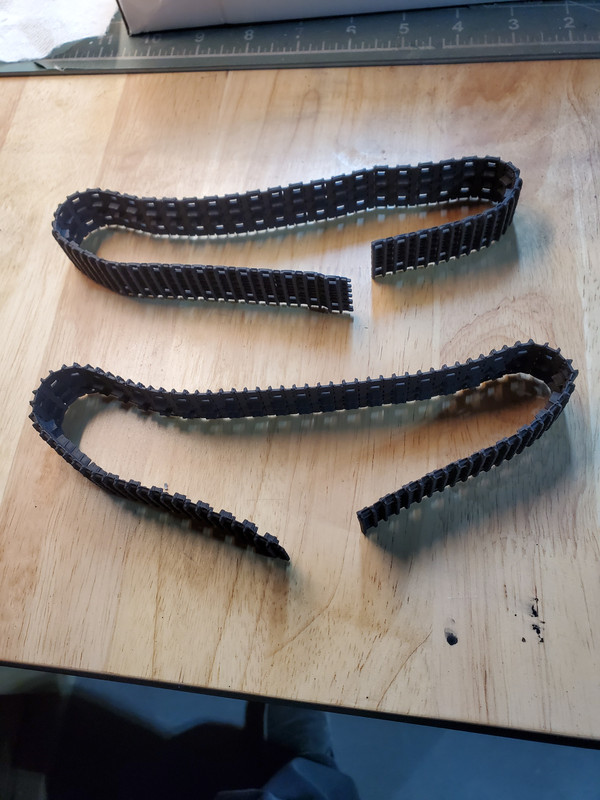
This little tractor kit has individual track links, 84 per side, for a total of 168 links. Each link has 3 connection points to the sprue, for a total of 504 spots to sand. I'm also unclear on how to get a sag in the tracks across the return rollers if the track links have to be glued together individually. I've never built tracks like this before, does anyone have any tips/tricks for doing these?   |
|
|
|
Post by tcoat on Mar 10, 2024 12:19:02 GMT -5
Fun little build and at least there are not one million track links. But the question now is... What is it going to tow? Good question, I think it should be a small anti-tank or anti-aircraft gun, neither of which I currently have in my stash. Oh darn I'll have to buy another kit, the horror.  |
|
|
|
Post by kyledehart5 on Mar 10, 2024 16:51:09 GMT -5
Fun little build and at least there are not one million track links. But the question now is... What is it going to tow? Good question, I think it should be a small anti-tank or anti-aircraft gun, neither of which I currently have in my stash. Oh darn I'll have to buy another kit, the horror. My heart bleeds for you. |
|
|
|
Post by tcoat on Mar 10, 2024 17:00:30 GMT -5
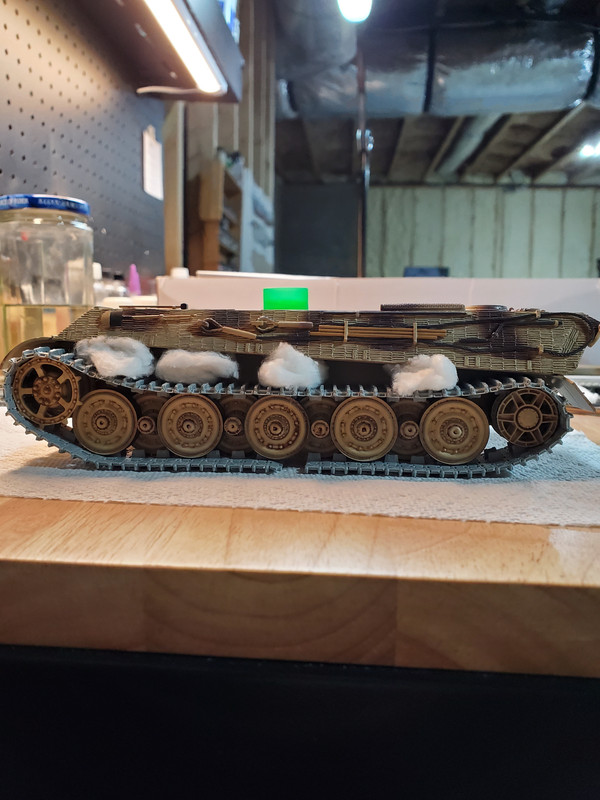
This little tractor kit has individual track links, 84 per side, for a total of 168 links. Each link has 3 connection points to the sprue, for a total of 504 spots to sand. I'm also unclear on how to get a sag in the tracks across the return rollers if the track links have to be glued together individually. I've never built tracks like this before, does anyone have any tips/tricks for doing these?   Missed this question before. It will actually go easier than you think. Just clean up all the links then used extra thing cement to glue them together in runs for the top, bottom and the drive and idler wheels. There is loads of working time to get get the sag by pushing hem into place before the run dries. |
|
Tojo72
Forum Moderator      Sept '24 Showcased Model Awarded
Member since: November 2012
Posts: 5,322
Member is Online
MSC Staff
|
Post by Tojo72 on Mar 10, 2024 17:25:10 GMT -5
Here's the way I handle my plastic indies,I glue them all together with Tamiya Extra Thin keeping them straight with two rulers.  I wait 25 minutes the flex them around the running gear  After drying overnite,I remove them  Paint and weather  And return to tank and close them up. |
|
|
|
Post by chromdome35 on Mar 10, 2024 17:31:37 GMT -5
I've started on them. I am getting there very slowly. I got about half of them removed from the sprue and cleaned up, and have assembled the first lower run. I've had to quit for a while, the eyestrain got too bad. My GodHand Magnifying Head Loupe works really well but it wears my eyes out after a couple of hours of continuous use.
I found that using Tamiya tape turned upside down really helped the assembly process. The tape holds the links in place while I assemble and glue them.
|
|
|
|
Post by chromdome35 on Mar 10, 2024 17:36:16 GMT -5
Here's the way I handle my plastic indies,I glue them all together with Tamiya Extra Thin keeping them straight with two rulers. I wait 25 minutes the flex them around the running gear After drying overnite,I remove them Paint and weather And return to tank and close them up. Thank you for sharing your process, much appreciated! I am basically doing the same thing other than the addition of the upside down tape. These links are tiny at 6mm in width. Because they are so small, they weigh nothing and move with a strong breath. The upside-down tape trick saved this kit from never being finished. |
|
Tojo72
Forum Moderator      Sept '24 Showcased Model Awarded
Member since: November 2012
Posts: 5,322
Member is Online
MSC Staff
|
Post by Tojo72 on Mar 10, 2024 17:44:11 GMT -5
Your process with the tape will be good if I ever tackle the DAK Panzer I tracks I got in my stash
|
|
stikpusher
Forum Moderator      May '23 Showcased Model Awarded
Member since: April 2023
Living The Dream
Posts: 4,120 
MSC Staff
|
Post by stikpusher on Mar 10, 2024 18:41:22 GMT -5
Lots of little track links! Yikes!  |
|
|
|
Post by dupes on Mar 10, 2024 22:08:58 GMT -5
Heyyyyy...this doesn't look like a Fledermaus!
84 links per side. And they're tiny. Hats off to you, good luck, godspeed, etc (Tojo's tutorial above is spot on).
|
|
|
|
Post by chromdome35 on Mar 10, 2024 23:01:03 GMT -5
Here is what I came up with to make this much easier. One strip of Tamiya tape sticky side up One strip of Tamiya tape on each end of the sticky tape to hold it down One strip of Tamiya tape along the bottom edge of the upside-down tape to hold the side down One small straight edge overlapping the sticky side-up tape, which holds the straight edge in place and prevents it from moving Works great!!  I completed one side of the tracks using the above setup and Tony's method. The other side will go much quicker now that I know how to do this.  |
|
|
|
Post by kyledehart5 on Mar 11, 2024 0:24:27 GMT -5
Nice work and nice use of the techniques. Looks great!
|
|
Tojo72
Forum Moderator      Sept '24 Showcased Model Awarded
Member since: November 2012
Posts: 5,322
Member is Online
MSC Staff
|
Post by Tojo72 on Mar 11, 2024 6:18:20 GMT -5
Excellent result,probably 1/3 the size of the KT links I demonstrated with,a real challenge for you
|
|
|
|
Post by Tobi on Mar 11, 2024 11:09:20 GMT -5
These small tractors were also a common sight as Beute in Wehrmacht use.
|
|
|
|
Post by chromdome35 on Mar 11, 2024 11:13:04 GMT -5
These small tractors were also a common sight as Beute in Wehrmacht use. Tobi what does "As Beute" mean? I'm not familiar with that term. |
|
|
|
Post by tcoat on Mar 11, 2024 11:22:43 GMT -5
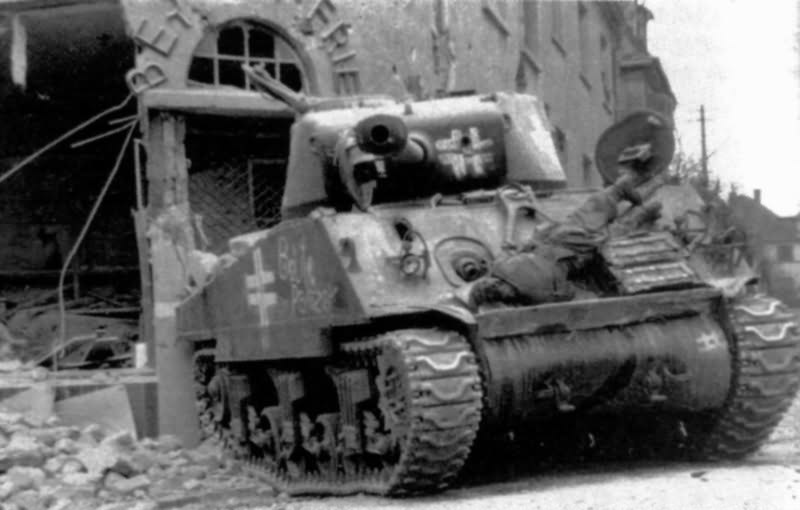
These small tractors were also a common sight as Beute in Wehrmacht use. Tobi what does "As Beute" mean? I'm not familiar with that term. Captured, or in German literally "booty" Beute Sherman  |
|
|
|
Post by Tobi on Mar 11, 2024 11:23:24 GMT -5
"Beutepanzer" and "Beutefahrzeug" is the German term for captured tanks and vehicles, put into German service. The German word "Beute" in this context would mean loot. Another meaning is prey.
|
|
|
|
Post by chromdome35 on Mar 11, 2024 11:34:43 GMT -5
Thank you for the explanation.
The kit does include suggested colors and decals for displaying the model as Beute.
|
|
|
|
Post by tcoat on Mar 11, 2024 11:41:08 GMT -5
Thank you for the explanation. The kit does include suggested colors and decals for displaying the model as Beute.  |
|
|
|
Post by chromdome35 on Mar 11, 2024 21:23:28 GMT -5
|
|
stikpusher
Forum Moderator      May '23 Showcased Model Awarded
Member since: April 2023
Living The Dream
Posts: 4,120 
MSC Staff
|
Post by stikpusher on Mar 12, 2024 1:23:10 GMT -5
Oh man that looks really good! You cam start some basic painting anytime now…
|
|
handiabled
Administrator      Apr '23 Showcased Build Awarded
Member since: February 2023
Posts: 4,400 
MSC Staff
|
Post by handiabled on Mar 12, 2024 1:32:22 GMT -5
The tracks turned out terrific!
|
|
|
|
Post by chromdome35 on Mar 17, 2024 16:42:28 GMT -5
|
|