lyle
Forum Moderator     
Member since: May 2013
On the sunny side of the dirt
Posts: 1,644 
MSC Staff
|
Post by lyle on Apr 4, 2024 9:05:53 GMT -5
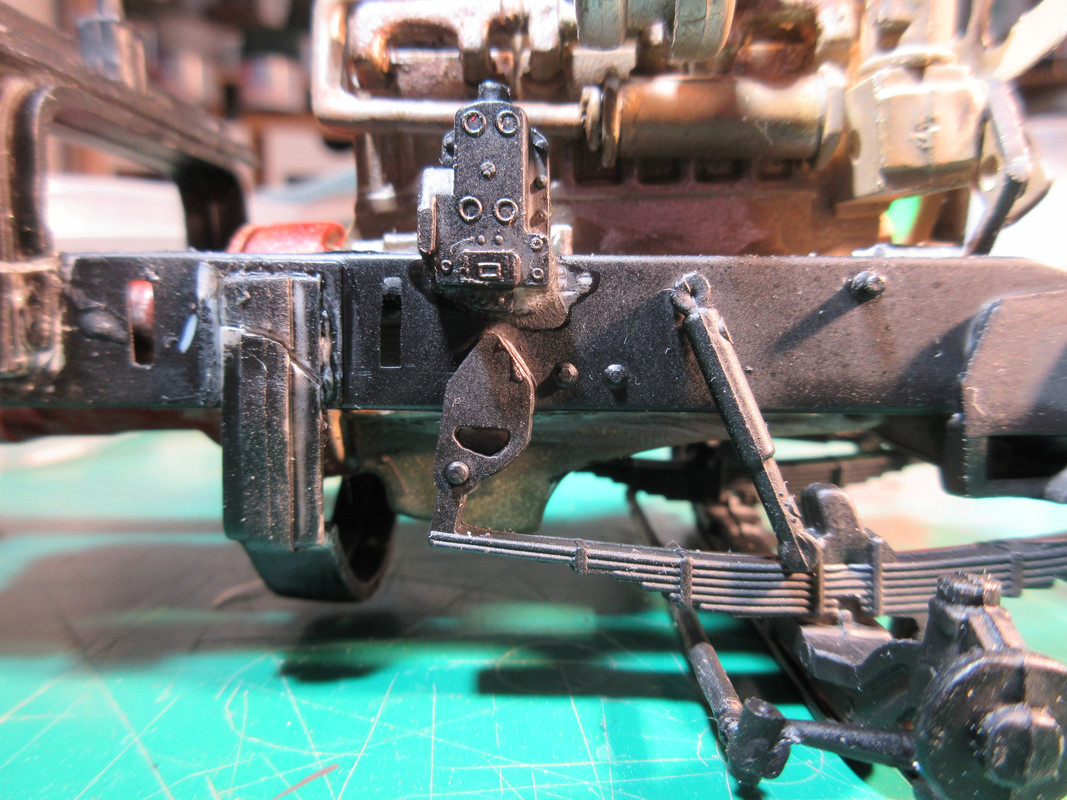
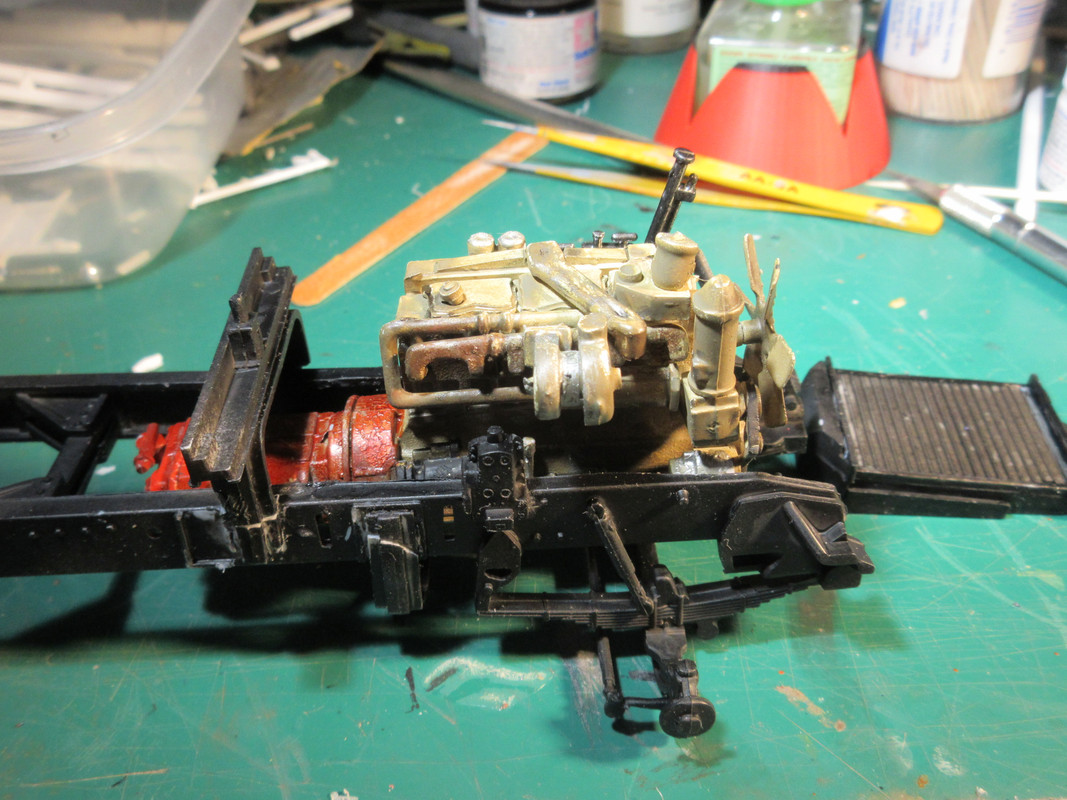
Ahh, the K-123...Soviet sub masquerading as a Kenworth. Great disguise. Anyway, a typical Round 2 AMT re-pop. Kit number is AMT687/06 and as they proudly tell you, it is a "highly detailed 1/25" kit. 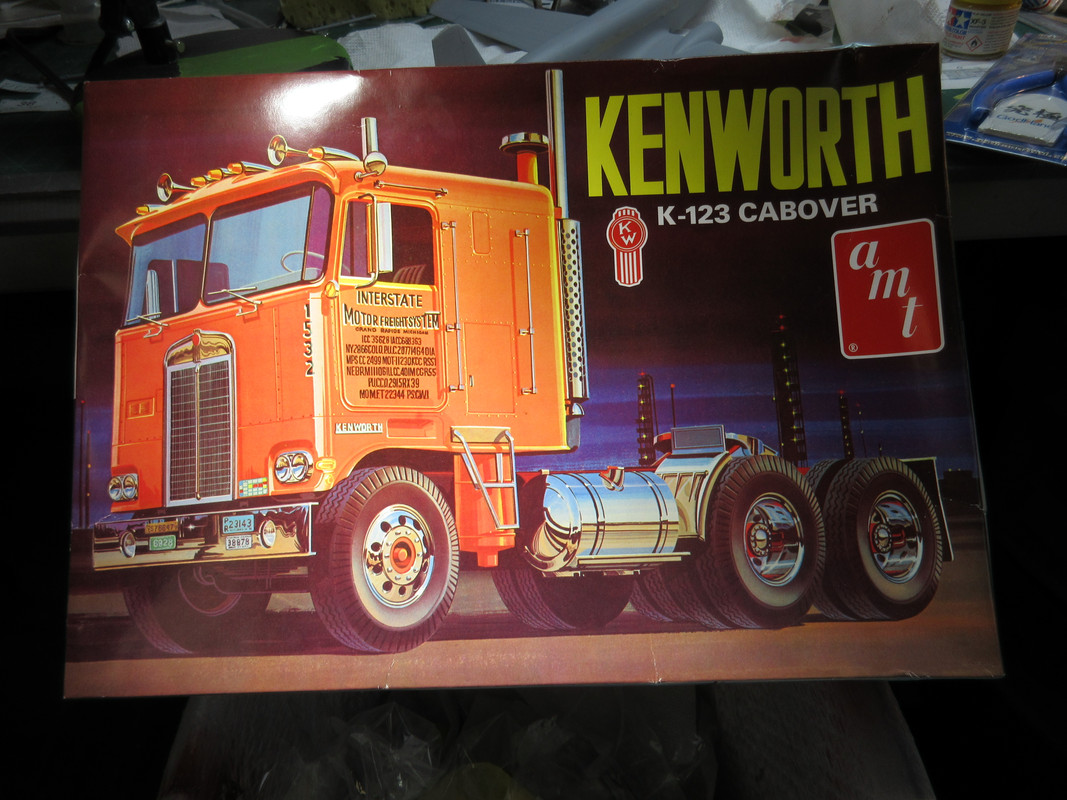 I did start this one as a way to keep the CH-54 "on deck" for a bit longer. Whyy? I don't know. I like trucks. The chrome is way over the top....two large sprues and 1 small sprue. Soaked some of it in bleach (that normally works) for 24 hours and nothing. Of course, none of the parts are numbered. Well a few are like the cross braces on the chassis so that you can determine the upper and lower parts. But, that is it for the most part. The sprues are not numbered, nor is anything on the handy-dandy map on the bottom of the box. Geez, Louise....spend a buck and put it on your stellar instructions. Many parts look like blobs, especially the smaller chromed ones. Some I simply could not locate. For those I simply cut nubs from a piece of sprue and there you go....instant part. To say that these molds could use some freshening up would be an understatement. "San Andreas Fault" sized mold seam lines, a lot of ejector marks and less than crisp parts in a lot of cases. The chassis rails are a tad warped, but so am I. Not terrible, though. Here is the engine. It is painted in Rustoleum Gloss Enamel in Almond. It is what the Tractor Supply store had, which was more than what I had. . . so that is what used. It took almost 48 hours to dry to my satisfaction. If anyone has a recommendation for a dehydrator or drying box, let me know, please. I still have to paint the belts and other accessories black, etc. 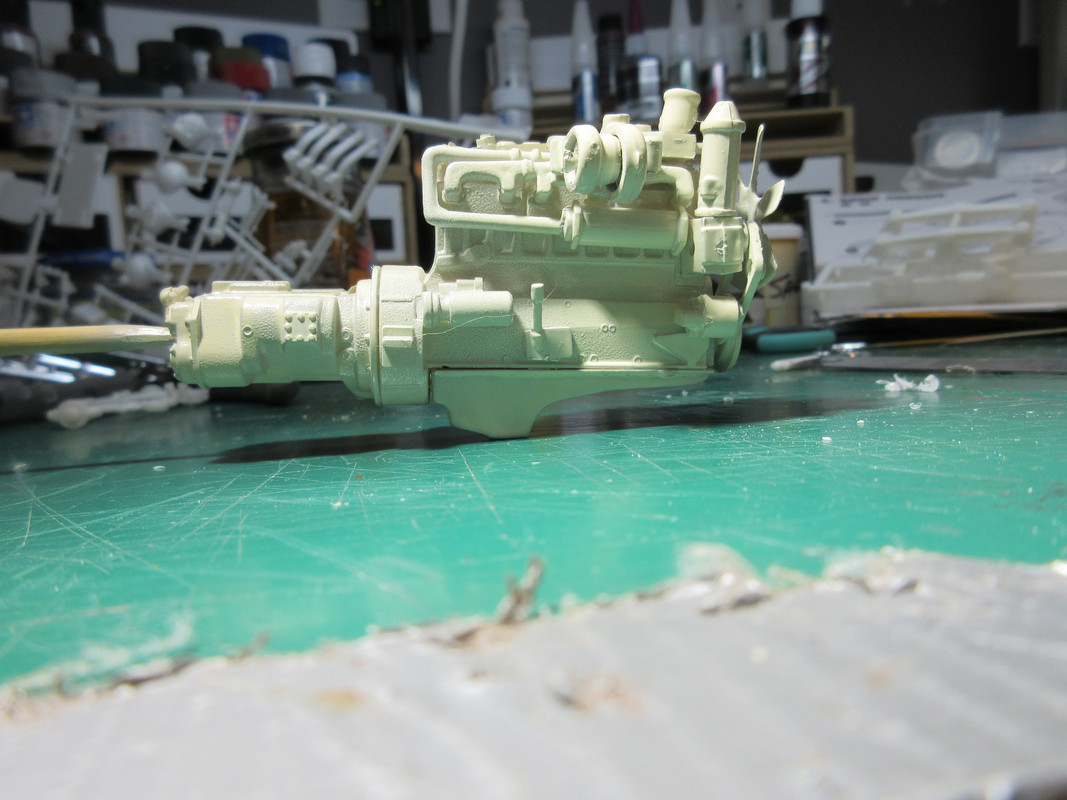 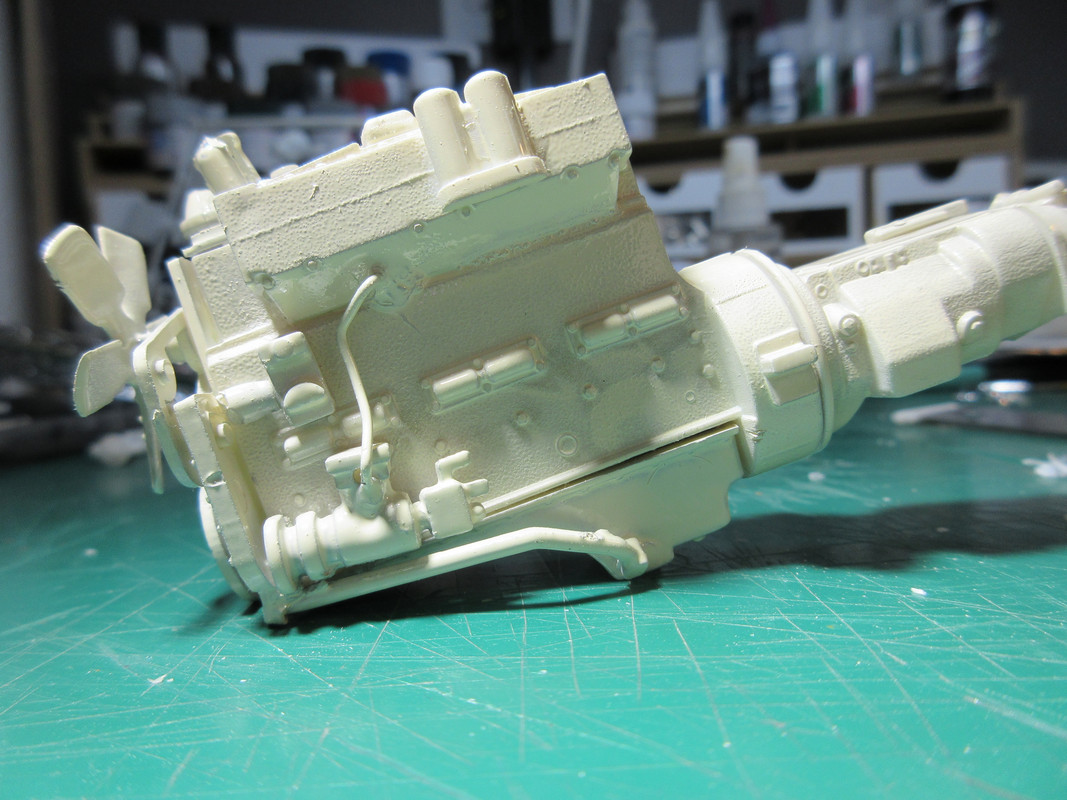  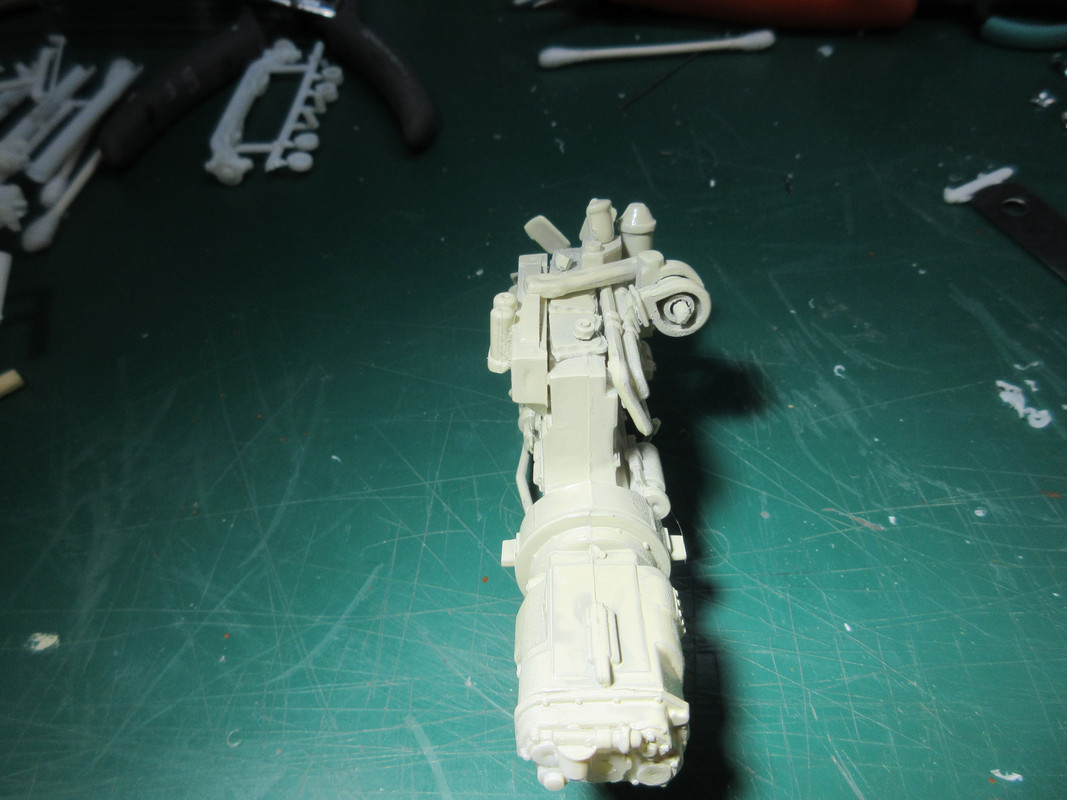 There are only somewhat vague references to where to place the cross members. If you guess correctly, things seem to fit pretty well. 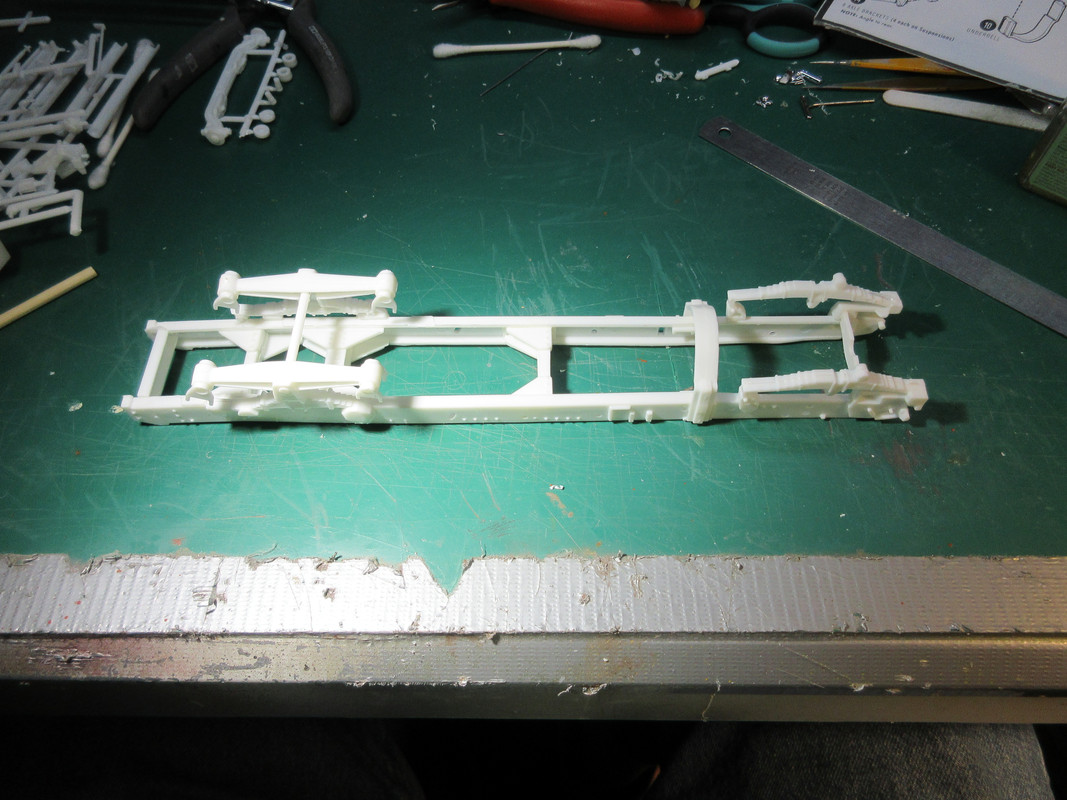 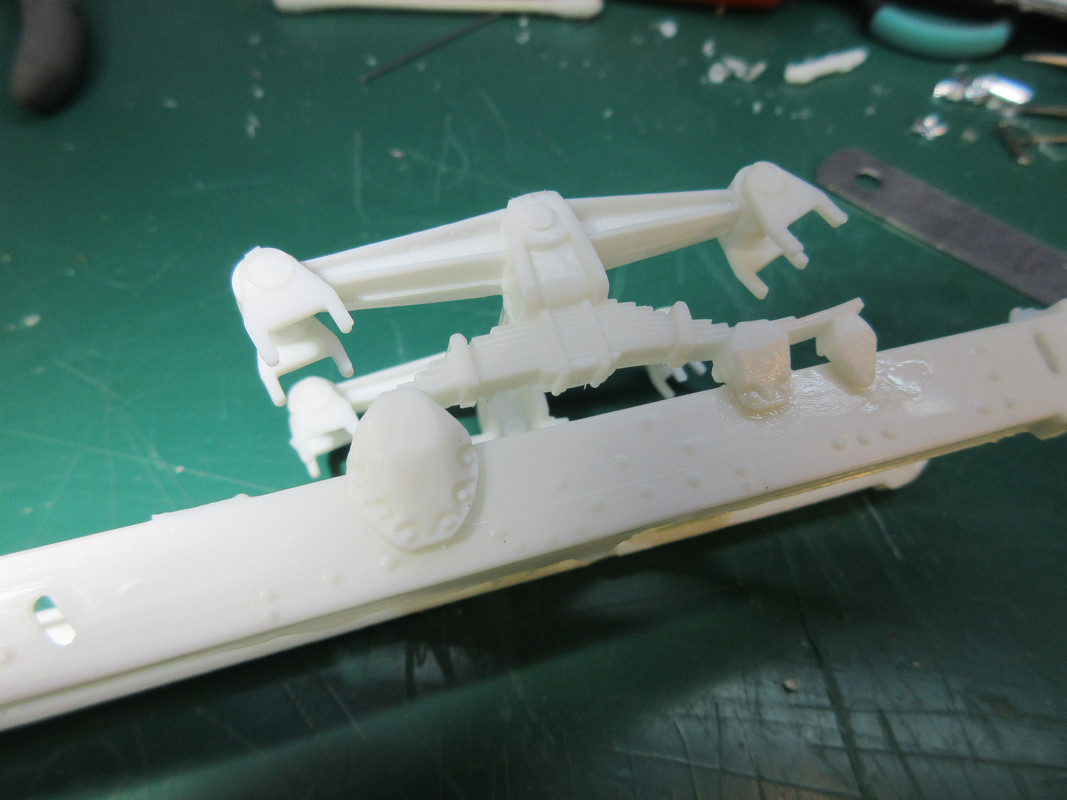 Okay, see these little U-shaped (upside down) brackets? Here is the helpful instruction 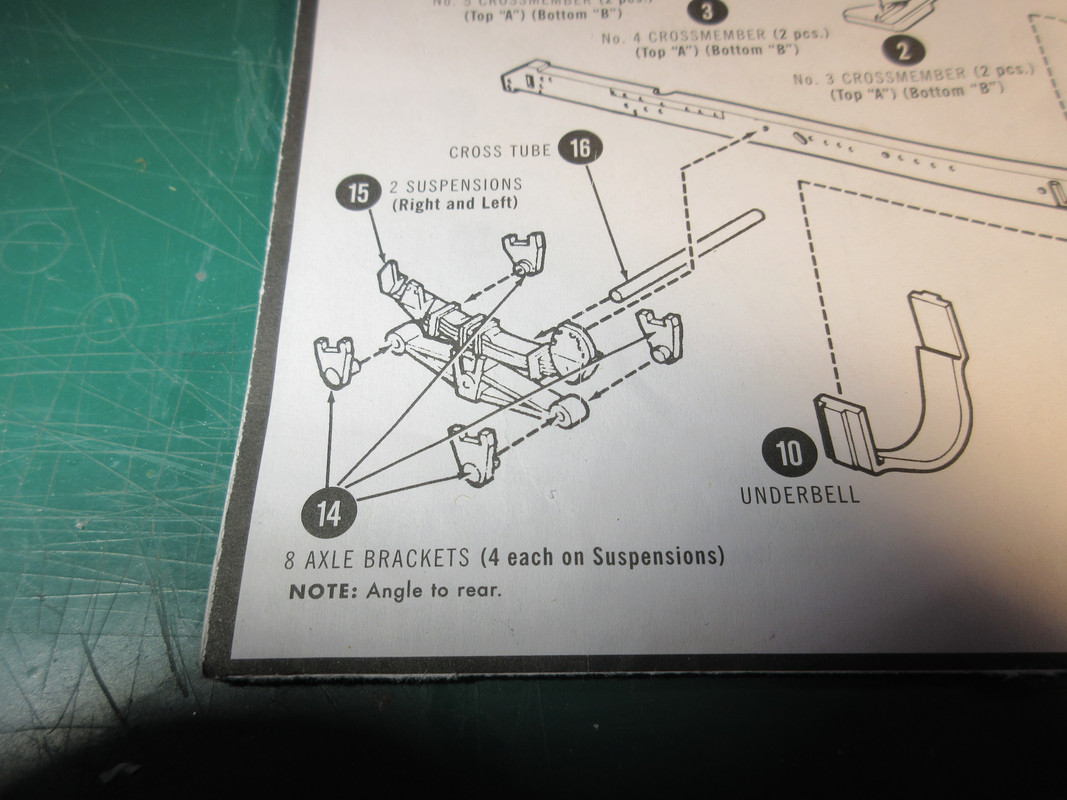 "8 angle brackets. NOTE: Angle to the rear." Uh, what angle? the entire bracket? is there an angled side that is rear facing? What? How hard would it have been to add a notch on the mounting hole and pin to get what you want? I did find a bit of guidance a couple of steps over. Looks like the front-facing side should be vertical. 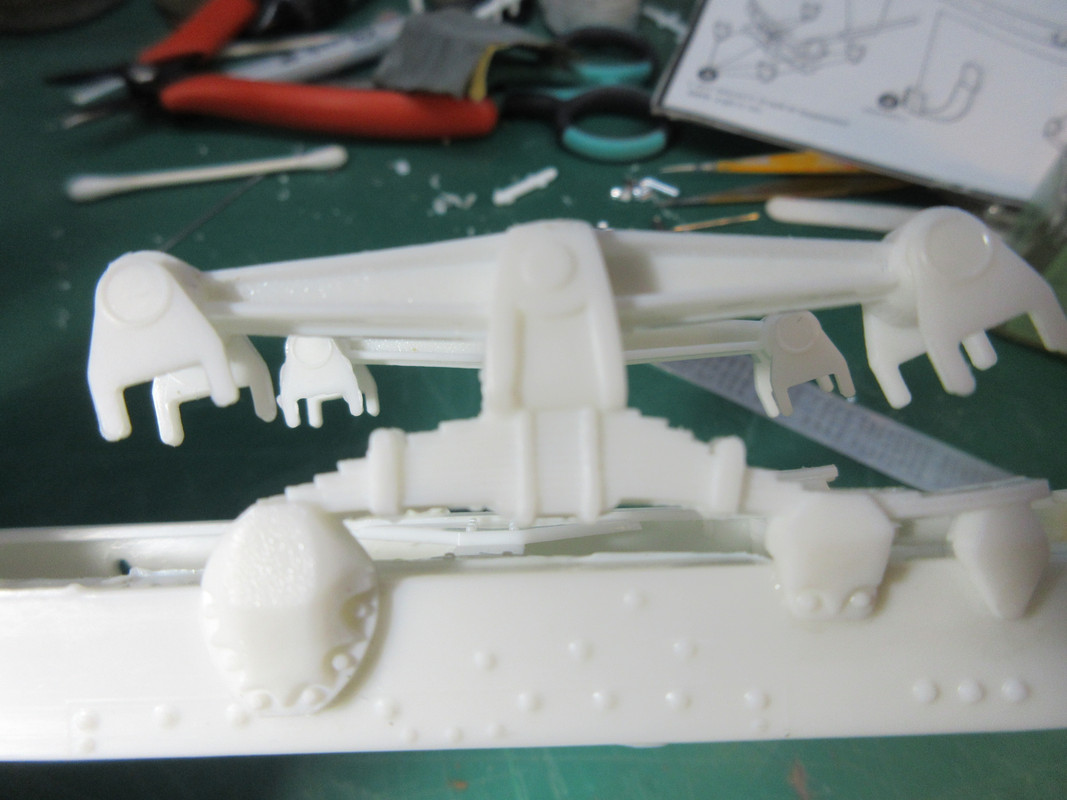 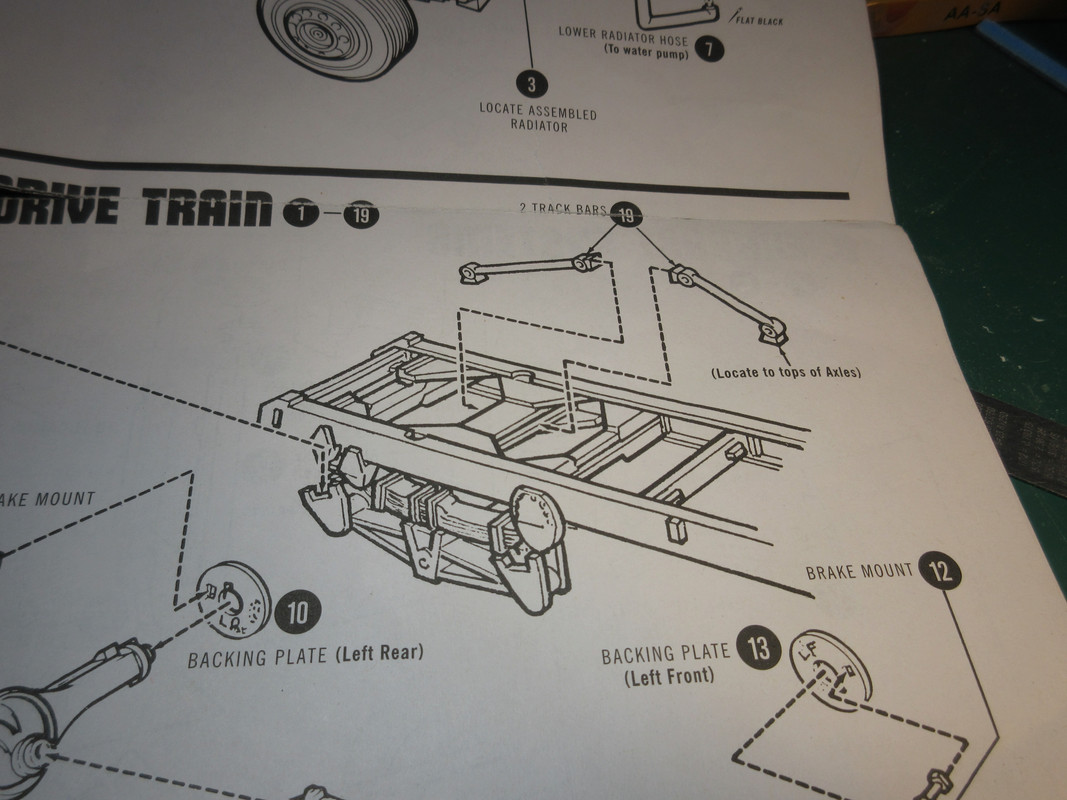 A little on the front end...Since the cav is supposed to tilt, there are two tube and shafts that provide that function. Glued up the tubes. let the dry and then reamed them out with a piece of wire that was the same size as the plastic. Now they actually slide. 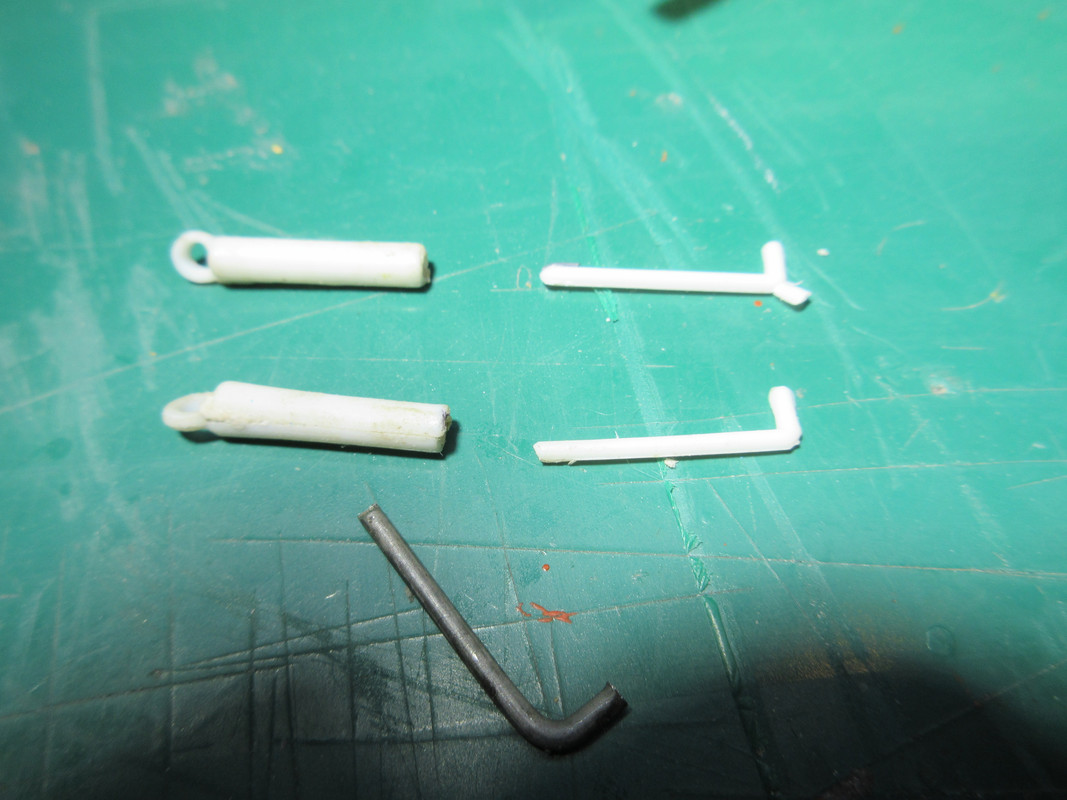 Front suspension and steering 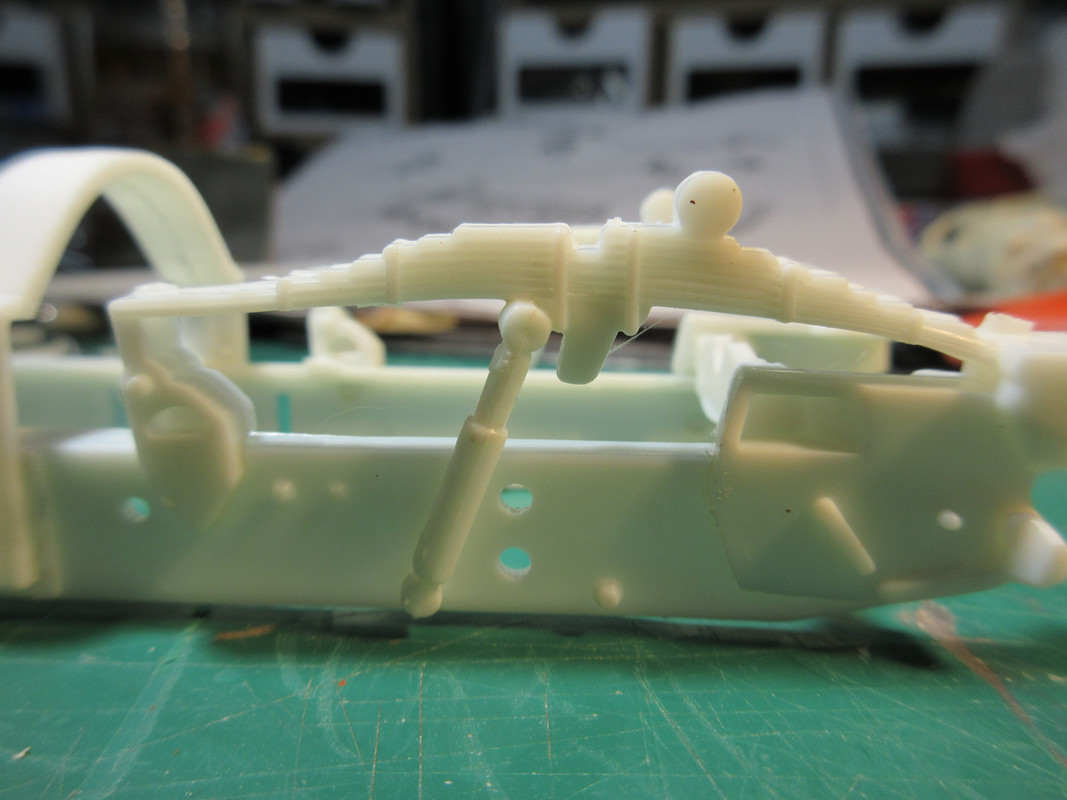  |
|
|
|
Post by 406 Silverado on Apr 4, 2024 11:58:03 GMT -5
lyle: Uh, what angle? the entire bracket? is there an angled side that is rear facing? What? How hard would it have been to add a notch on the mounting hole and pin to get what you want? I did find a bit of guidance a couple of steps over. Looks like the front-facing side should be vertical.The AMT instructions for these truck kits are VERY vague in locations, angles and orientation of parts. There is a LOT to figure out in terms of assembly and I've found that youtube as well as folks who have built similar kits are your friends on such matters. Looks like you're going together with this one rather nicely though.
|
|
|
|
Post by kyledehart5 on Apr 4, 2024 14:42:06 GMT -5
Good start on this ancient mess of plastic. The box art is beautiful and it’s a great looking cab over but man these are not easy builds. You are off to a wonderful start.
|
|
jeaton01
Full Member
   Sept '23 Showcased Model Awarded
Member since: October 2013
Posts: 1,278 
|
Post by jeaton01 on Apr 4, 2024 15:48:16 GMT -5
Most likely the reason for the angle to the rear is that the differentials should be angled up in front slightly. It's best if the engine, transmission, and differentials are all at the same angle. Drive shafts don't run smooth if all those angles aren't pretty close.
|
|
|
|
Post by tcoat on Apr 4, 2024 16:06:18 GMT -5
Ahhhh Early ‘70s AMT truck kits where boys became men!
|
|
|
|
Post by Leon on Apr 4, 2024 16:45:02 GMT -5
I built this kit years ago and hear you on placement of parts!
Have it mated up with a tanker trailer.
|
|
dean48ws
Full Member
   July '24 Showcased Model Awarded
Member since: October 2023
Posts: 322 
|
Post by dean48ws on Apr 4, 2024 17:30:21 GMT -5
Vague is a very generous description for these instructions!
As far as a drying cabinet goes, I have had an old fashioned exterior spot light mounted in a cupboard and wired to a dimmer switch. Just flick it on high while you paint, then adjust the brightness- heat until you think it won't melt the plastic. I have some skinny shelves halfway up the cupboard for small bits and hooks in the underside to hang sprues etc from.
My dad had 1 of those old clothes dryers, bit smaller than a refrigerator that he used on very low heat for model railway paint jobs.
|
|
|
|
Post by tcoat on Apr 4, 2024 17:39:29 GMT -5
|
|
dean48ws
Full Member
   July '24 Showcased Model Awarded
Member since: October 2023
Posts: 322 
|
Post by dean48ws on Apr 5, 2024 0:17:55 GMT -5
No, I haven't but that's a great idea. I'll look into that, many thanks. |
|
handiabled
Administrator      Apr '23 Showcased Build Awarded
Member since: February 2023
Posts: 4,388  Member is Online
MSC Staff
|
Post by handiabled on Apr 5, 2024 8:26:51 GMT -5
Bookmarked! I believe the axle/suspension question has been answered as the angle of drive shaft into the diff is critical in keeping vibration down.
|
|
lyle
Forum Moderator     
Member since: May 2013
On the sunny side of the dirt
Posts: 1,644 
MSC Staff
|
Post by lyle on Apr 5, 2024 8:47:20 GMT -5
Bookmarked! I believe the axle/suspension question has been answered as the angle of drive shaft into the diff is critical in keeping vibration down. I'd agree. I don't know what we would do without John's knowledge and help. A treasure to have. |
|
lyle
Forum Moderator     
Member since: May 2013
On the sunny side of the dirt
Posts: 1,644 
MSC Staff
|
Post by lyle on Apr 5, 2024 8:53:13 GMT -5
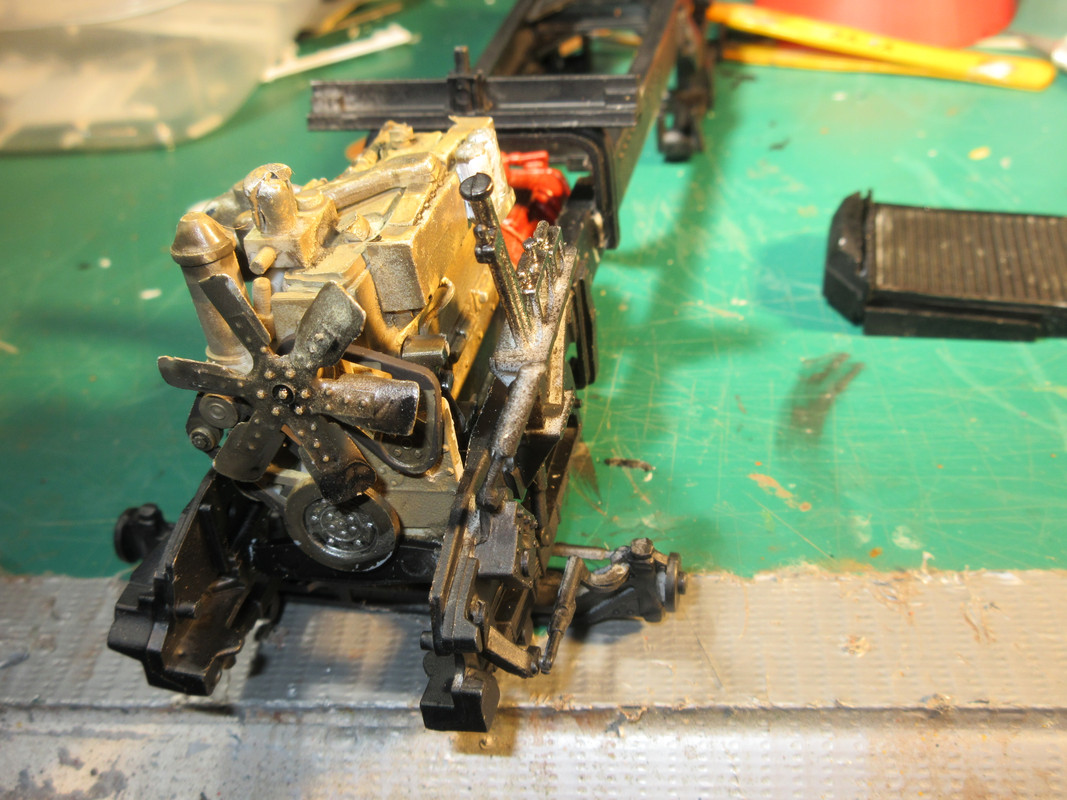
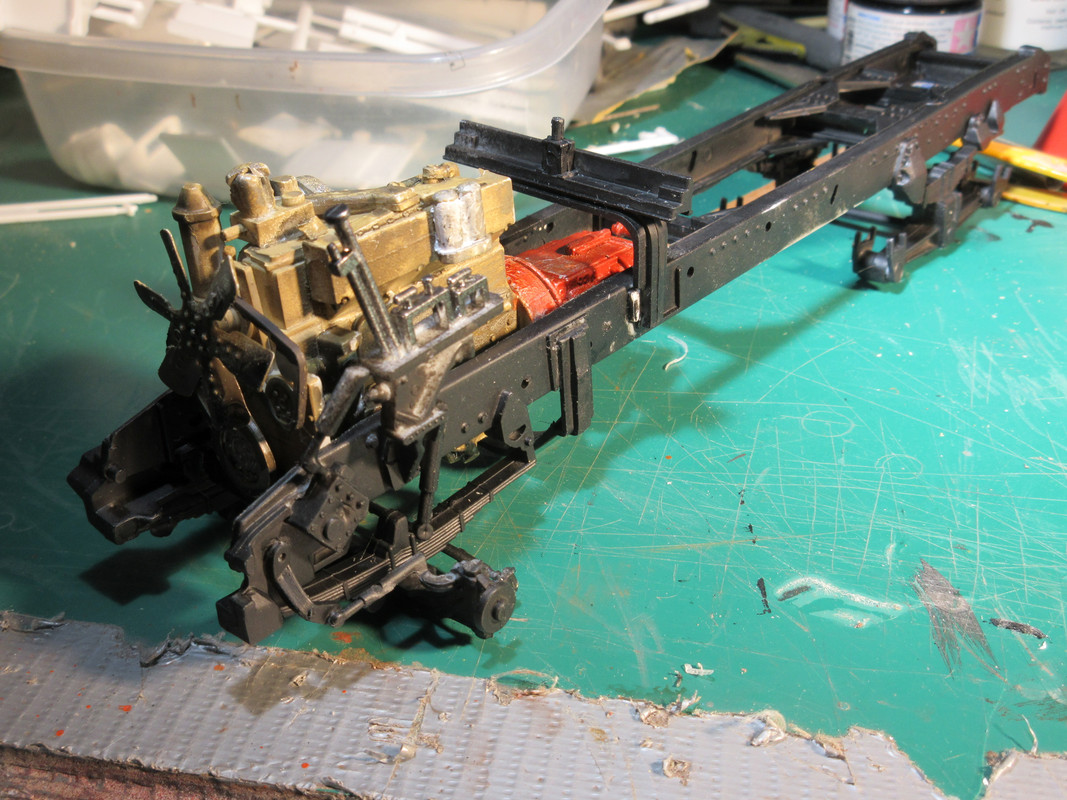
I will be shocked! Shocked, I tell you, if all this stuff fits as it should under the cab box. I finally found what I believe to be the parts I needed. If you squint and hold them just right, they sort of look like the instruction drawings. Locating these things is somewhat akin to an archaelogical dig.....untjil you clean them up and remove the flash, you don't know what you have...."Hmmm, what do we have here, Watson?". 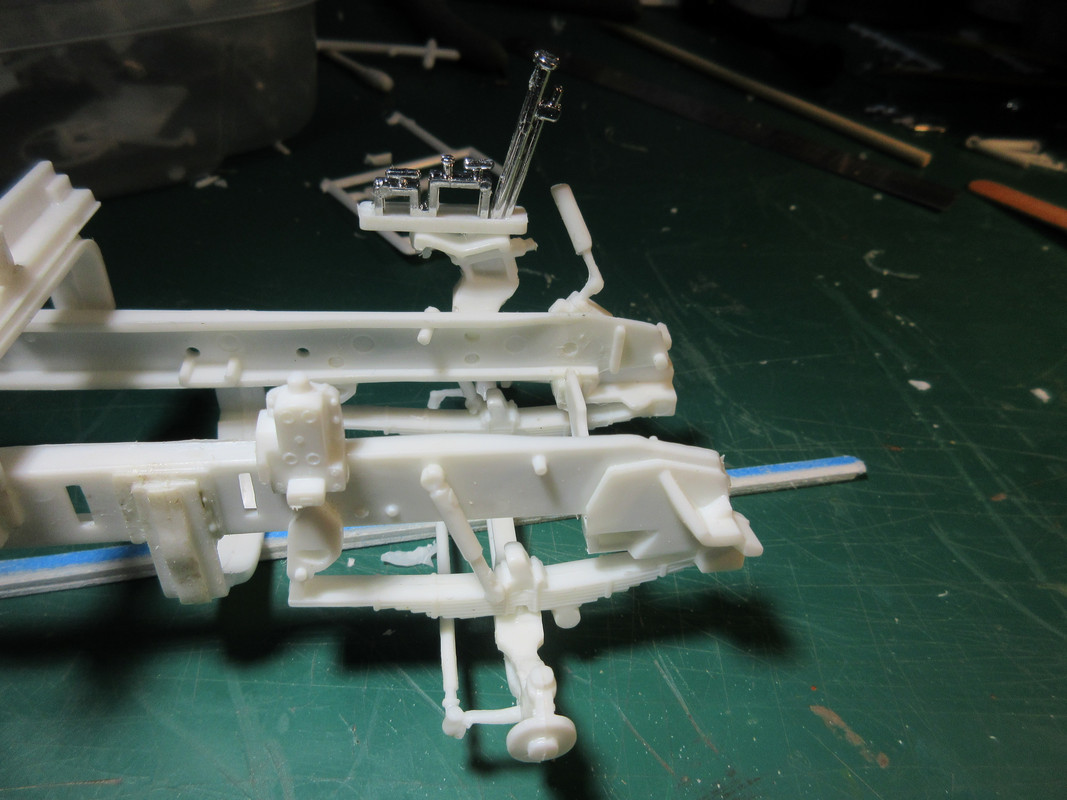 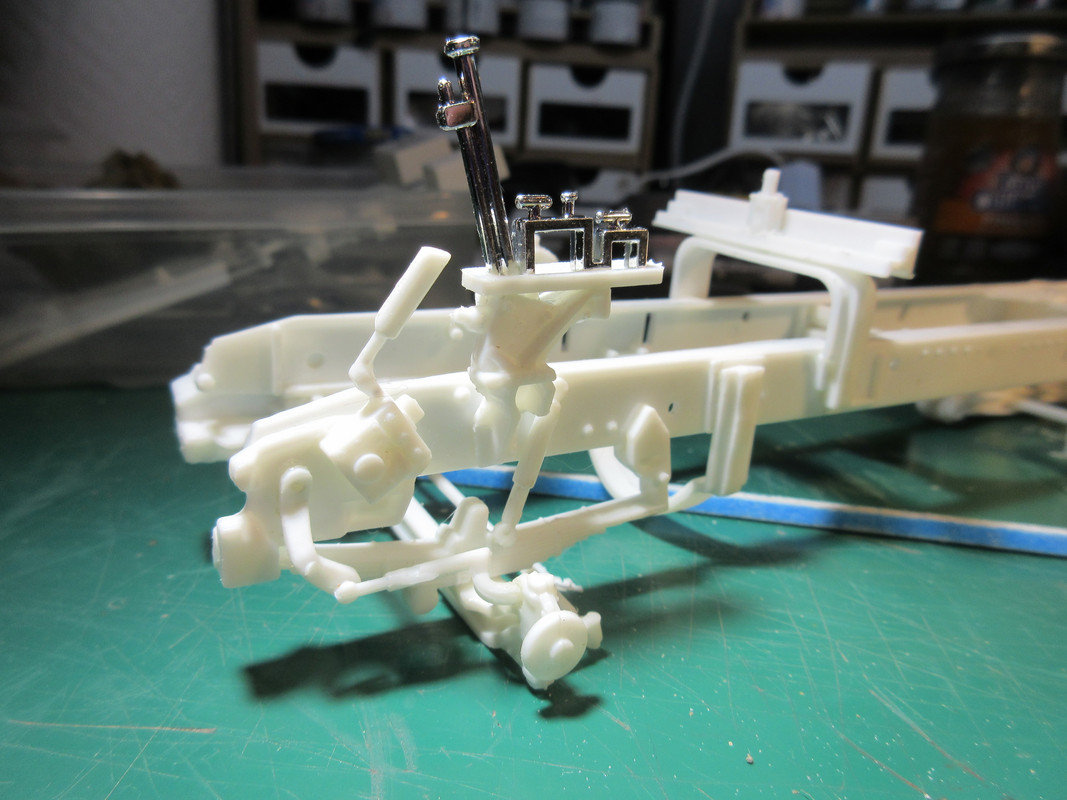 In what can best be described as a "Duh!" moment....I never thought to look for a Cummins Beige paint color. John Eaton provided a pic of the paint color and my Rustoleum was way, way off. Thank you John...Now, the only local place I could put hands on a can today was some 20 miles away at a truck parts store. I dd not want to go out for that. I have enough errands this afternoon. So, looking around, the Tamiya XF-46 Khaki looked much closer to the color on the picture. So, I used that. John, I hope it passes muster. 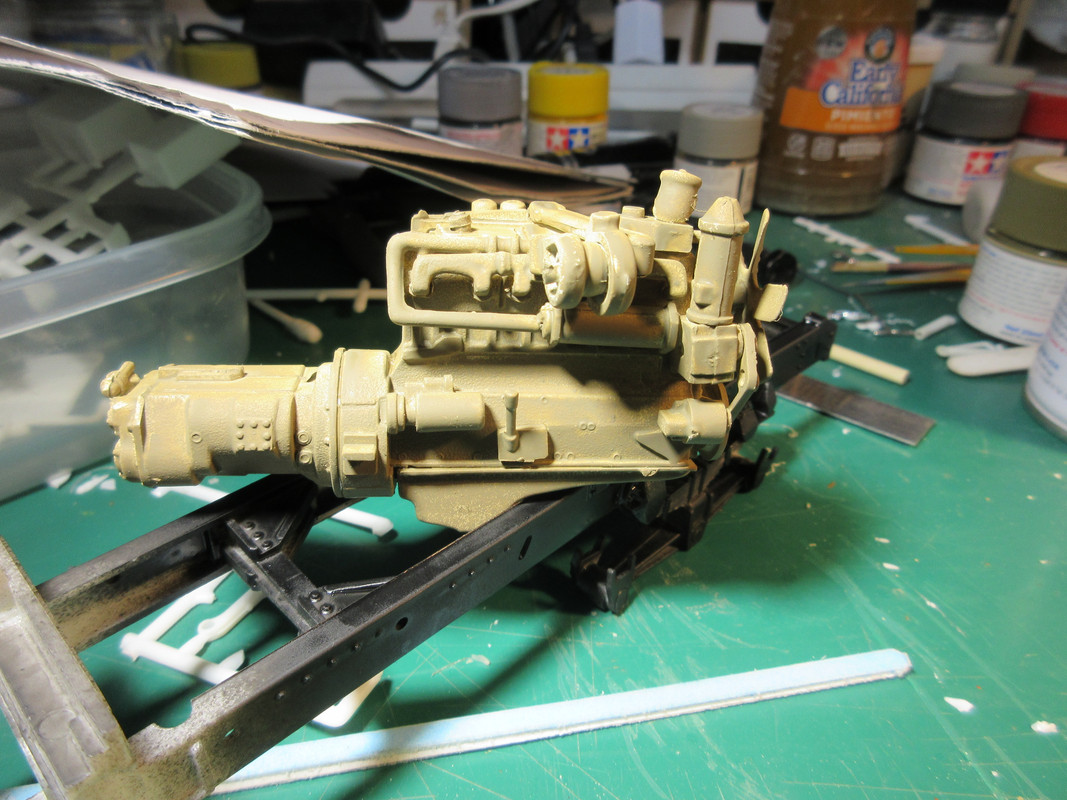 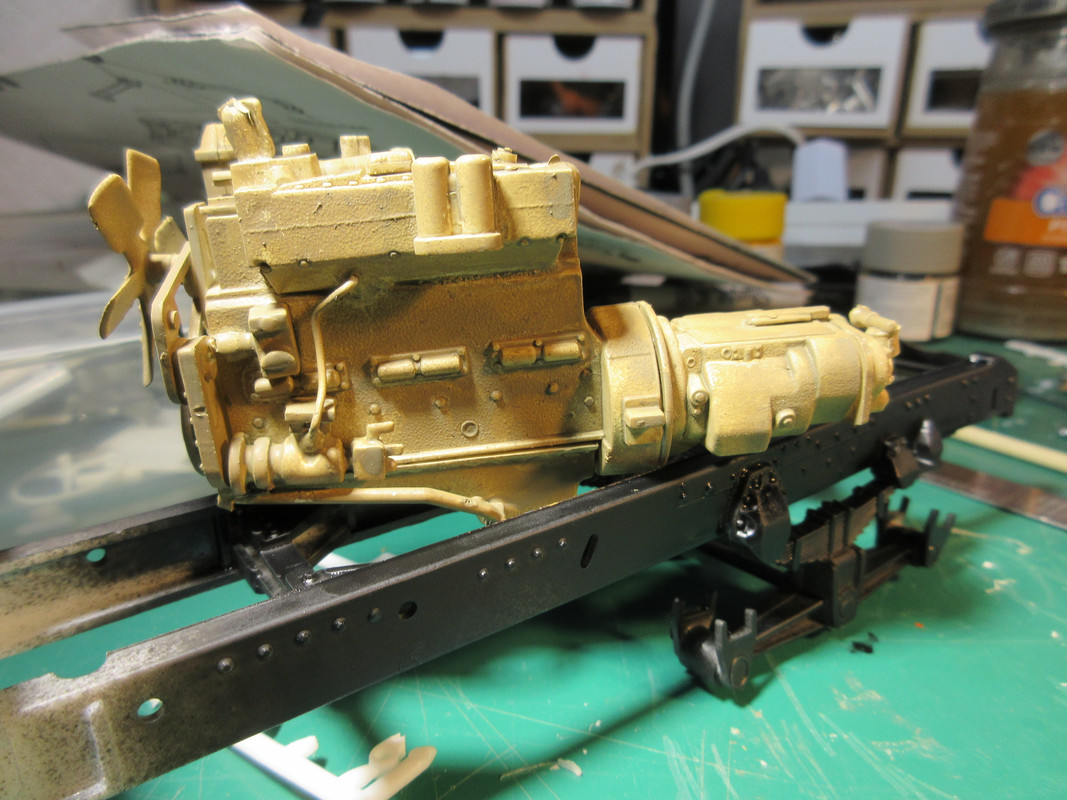 |
|
|
|
Post by tcoat on Apr 5, 2024 8:59:43 GMT -5
That looks about as close as you can get really.  |
|
lyle
Forum Moderator     
Member since: May 2013
On the sunny side of the dirt
Posts: 1,644 
MSC Staff
|
Post by lyle on Apr 5, 2024 9:22:03 GMT -5
That looks about as close as you can get really.  Thanks, tcoat. That does look like "close enough". |
|
|
|
Post by tcoat on Apr 5, 2024 9:48:43 GMT -5
That looks about as close as you can get really. Thanks, tcoat. That does look like "close enough". And just to complicate matters more don't forget that the bell housing and tranny would not be the engine colour. Most would be a sort of faded red   Or grey  |
|
|
|
Post by Steve Zuleski on Apr 5, 2024 12:18:20 GMT -5
Hey, Lyle, the only thing you're missing is the keys! Looks great from here!
|
|
|
|
Post by kyledehart5 on Apr 5, 2024 14:43:37 GMT -5
Looking good Lyle! The khaki is a good approximation of the Cummins beige. And I think a red transmission would be a nice contrast, if you decide to go that route. Either way I’m here to watch.
|
|
lyle
Forum Moderator     
Member since: May 2013
On the sunny side of the dirt
Posts: 1,644 
MSC Staff
|
Post by lyle on Apr 5, 2024 16:15:24 GMT -5
Hey, Lyle, the only thing you're missing is the keys! Looks great from here! To kind, Steve. Thank you! |
|
lyle
Forum Moderator     
Member since: May 2013
On the sunny side of the dirt
Posts: 1,644 
MSC Staff
|
Post by lyle on Apr 5, 2024 16:18:17 GMT -5
Looking good Lyle! The khaki is a good approximation of the Cummins beige. And I think a red transmission would be a nice contrast, if you decide to go that route. Either way I’m here to watch. Well, we will know more in a couple of days. I had already painted the transmission steel. Seeing this, I brushed some clear red over it. Looks sort of faded. Need to hit it with some dull coat. |
|
dean48ws
Full Member
   July '24 Showcased Model Awarded
Member since: October 2023
Posts: 322 
|
Post by dean48ws on Apr 5, 2024 16:20:17 GMT -5
In Oz, the Cummins beige was actually more of a Tamiya deck tan colour. Not sure if the era played a part in that or not. Dad had abigcam Cummins in an International built late 70's from memory. This looks good Lyle, you going to run the splitter lines up the gearstick?
|
|
lyle
Forum Moderator     
Member since: May 2013
On the sunny side of the dirt
Posts: 1,644 
MSC Staff
|
Post by lyle on Apr 5, 2024 16:22:42 GMT -5
In Oz, the Cummins beige was actually more of a Tamiya deck tan colour. Not sure if the era played a part in that or not. Dad had abigcam Cummins in an International built late 70's from memory. This looks good Lyle, you going to run the splitter lines up the gearstick? Got a picture? I’ll be lucky if I can get this in the chassis! |
|
dean48ws
Full Member
   July '24 Showcased Model Awarded
Member since: October 2023
Posts: 322 
|
Post by dean48ws on Apr 5, 2024 16:26:25 GMT -5
No, unfortunately, a small mishap with my phone and water! I'll see if I can find 1 though.
|
|
lyle
Forum Moderator     
Member since: May 2013
On the sunny side of the dirt
Posts: 1,644 
MSC Staff
|
Post by lyle on Apr 8, 2024 8:27:13 GMT -5
|
|
handiabled
Administrator      Apr '23 Showcased Build Awarded
Member since: February 2023
Posts: 4,388  Member is Online
MSC Staff
|
Post by handiabled on Apr 8, 2024 8:40:39 GMT -5
Looks great Lyle!
|
|
lyle
Forum Moderator     
Member since: May 2013
On the sunny side of the dirt
Posts: 1,644 
MSC Staff
|
Post by lyle on Apr 8, 2024 9:12:28 GMT -5
Thank you, Brent. I still can't see how it will all fit, though. Hammer on stand-by! |
|
ogrejohn
Full Member
   Oct '23 Showcased Model Awarded
Member since: June 2012
Go away or I shall taunt you a second time!
Posts: 1,302
Jun 1, 2012 17:33:59 GMT -5
Jun 1, 2012 17:33:59 GMT -5
|
Post by ogrejohn on Apr 8, 2024 9:34:51 GMT -5
Looks like you got it in there real good Lyle. Definitely looking good!
|
|
lyle
Forum Moderator     
Member since: May 2013
On the sunny side of the dirt
Posts: 1,644 
MSC Staff
|
Post by lyle on Apr 8, 2024 9:53:11 GMT -5
Looks like you got it in there real good Lyle. Definitely looking good! Hey, John! Oh it is in there. Just seems "iffy" to me. It did seat pretty well in place, but the radiator seems too close, but can't be moved out as it will interfere with the hinge pins for the cab. Just a fun day! Thank you for your kind words. |
|
jeaton01
Full Member
   Sept '23 Showcased Model Awarded
Member since: October 2013
Posts: 1,278 
|
Post by jeaton01 on Apr 8, 2024 12:09:30 GMT -5
In Oz, the Cummins beige was actually more of a Tamiya deck tan colour. Not sure if the era played a part in that or not. Dad had abigcam Cummins in an International built late 70's from memory. This looks good Lyle, you going to run the splitter lines up the gearstick? In the US before the Beige the color was Cummins Gold. Nowdays the current engines are red.
 |
|
|
|
Post by kyledehart5 on Apr 8, 2024 15:51:22 GMT -5
That all looks really good Lyle!!
|
|
lyle
Forum Moderator     
Member since: May 2013
On the sunny side of the dirt
Posts: 1,644 
MSC Staff
|
Post by lyle on Apr 8, 2024 17:03:14 GMT -5
In Oz, the Cummins beige was actually more of a Tamiya deck tan colour. Not sure if the era played a part in that or not. Dad had abigcam Cummins in an International built late 70's from memory. This looks good Lyle, you going to run the splitter lines up the gearstick? In the US before the Beige the color was Cummins Gold. Nowdays the current engines are red.
 Sweet Mother Machree! |
|


