danb.
Reviews member     March 2013 MoM Winner
Member since: November 2011
Posts: 2,808
Nov 17, 2011 9:22:52 GMT -5
Nov 17, 2011 9:22:52 GMT -5
|
Post by danb. on Dec 6, 2011 14:09:16 GMT -5
Hey boys does anyone have a sbs on painting raw steel or any links to some info on how to?. Is it easier to use acrylics or enamel matt? if anyone can help it would be greatly appreciated.
Dan B
|
|
zlikovac
Full Member
  
Member since: November 2011
Posts: 278
Nov 15, 2011 8:22:13 GMT -5
Nov 15, 2011 8:22:13 GMT -5
|
Post by zlikovac on Dec 7, 2011 13:30:26 GMT -5
My personal favorite, Martin Kovac. akinteractive.foroactivo.com/t82p15-1-48-stug-iii-b-g-in-soviet-serviceAnd explanation across " well, what can I say? I have no SBS pictures at the moment but I´ll be probably doing a small article in czech magazine Modelar about doing such textures with acrylics, so I could post some photos afterwards, but I´ll try to describe it to you. A couple of years back, when I was 17, I was trying to do such a surface using oils, but it didnt work well. A year ago I did the Czech Hetzer (just like Adam Wilder) using pigments. The results were cool, but I found it a little hard and time consuming. So this year I tried to do the whole effect with acrylics and I´m still experimenting with it. So, a good start is to spray the primed surface with some flat Tamiya colour. You should mix your own shade of steel - from light grey with a little blue to simply pure grey (dark or light). This is the base coat for the steel texture. Remember that the surface must be extremely matt. To give the surface some first signs of life, do some kind of fading with thinned, both dark and light grey Vallejo colours (any of those do the trick, as the effect will not be too visible once the texture is finished), and paint some runs in downward motion. You can also do some filtering if you´re not happy with the basic shade. Right then you take a large brush soaked in water, damp the sprayed panel and pick a smaller brush with thinned Vallejo colour German Cam. Blackbrown. This is the best colour for chips and also for making the steel "dirty". As long as the surface is wet, you can do very dramatic effects by touching the surface and letting the blackbrown colour spread on it. With this, you can do small and big stains simulating the mill scale and dirt collected in it. If you want less transparent layer, just use less thinned colour or less water when dampening the base colour. The surface must be just damp, not wet. Then take a piece of sponge and do the classic sponge method with the Blackbrown colour to make some chips and other inperfections in the surface. After these steps dryed (hairdryer makes the job faster), you can mix the rust tones. There are lots of authentic Vallejo rust colours, but I was mixing rust from Cavalry Brown and Sun Yellow (or something like that). Again, variety of shades is vital. I used range of colours from bright orange to almost pure Cavalry Brown. For the darkest rust shades, I added a little Burnt Umber to the mix. When rusting, you should start on edges of the panel, where the heat affects the surface. Then just make some irregular stains again (remember to have the surface damp). With less thinned paint and finer brush on dry surface, you can paint some small rusted spots and paint rusty streaks from them. Trying to splash the colour from a loaded brush with your finger is also a good way to add more depth to large rusty surface, but be careful not to overdo it. After the rusting done, a simple white pencil does a lot of job when painting the factory chalk marks. The last step was to paint burnt areas with a mix of black and brown oil colour and after that, with very fine brush, weld seams using Gunze silver color. The trick is, that on my KT, there are no modeled weld seams. They are just painted, but the contrast and the shiny colour does the bluff. Greasy stains done with AK Fresh mud are just a matter of taste (these aren´t actually stains caused by military use, these come from storage conditions or from lubricating the surface when drilling holes into the plate), such as polishing the surface with Gun Metal pigment and your fingertip. Hope it helps you and also hope I don ´t sound like I´m trying to look like |
|
danb.
Reviews member     March 2013 MoM Winner
Member since: November 2011
Posts: 2,808
Nov 17, 2011 9:22:52 GMT -5
Nov 17, 2011 9:22:52 GMT -5
|
Post by danb. on Dec 7, 2011 14:44:31 GMT -5
Thank you very much i have been searching the net for hours tying to find a how to on the subject i did see that king tiger on the AK forum thats what im aiming for i will have a try and post up the results many thanks again my freind, i cant wait to see them pictues from the magazine that would be very interesting
Dan B
|
|
zlikovac
Full Member
  
Member since: November 2011
Posts: 278
Nov 15, 2011 8:22:13 GMT -5
Nov 15, 2011 8:22:13 GMT -5
|
Post by zlikovac on Dec 7, 2011 14:47:44 GMT -5
Your welcome, my friend. I just sent mail to Martin, call him to join as.
|
|
danb.
Reviews member     March 2013 MoM Winner
Member since: November 2011
Posts: 2,808
Nov 17, 2011 9:22:52 GMT -5
Nov 17, 2011 9:22:52 GMT -5
|
Post by danb. on Dec 9, 2011 14:58:34 GMT -5
Has anyone else got any step by step guides as im finding it very difficult to get it right!!!!!
Dan B
|
|
danb.
Reviews member     March 2013 MoM Winner
Member since: November 2011
Posts: 2,808
Nov 17, 2011 9:22:52 GMT -5
Nov 17, 2011 9:22:52 GMT -5
|
Post by danb. on Dec 10, 2011 7:04:31 GMT -5
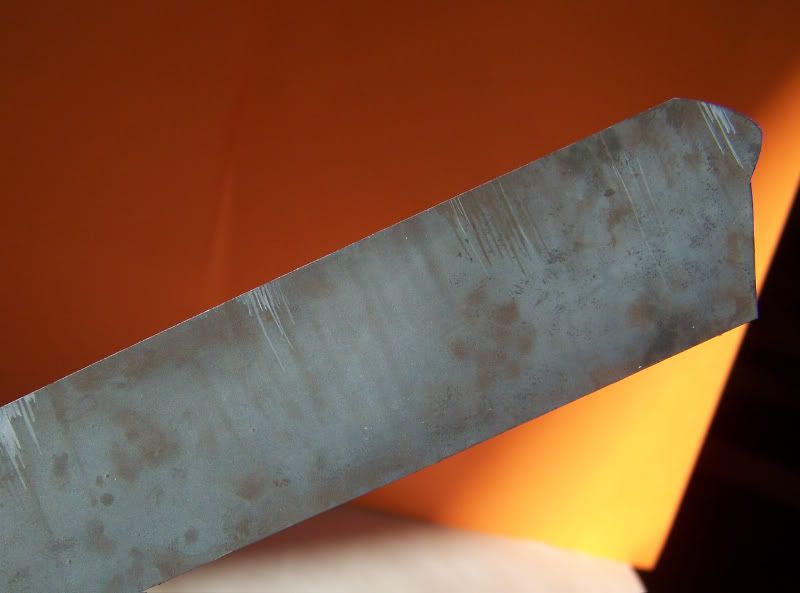
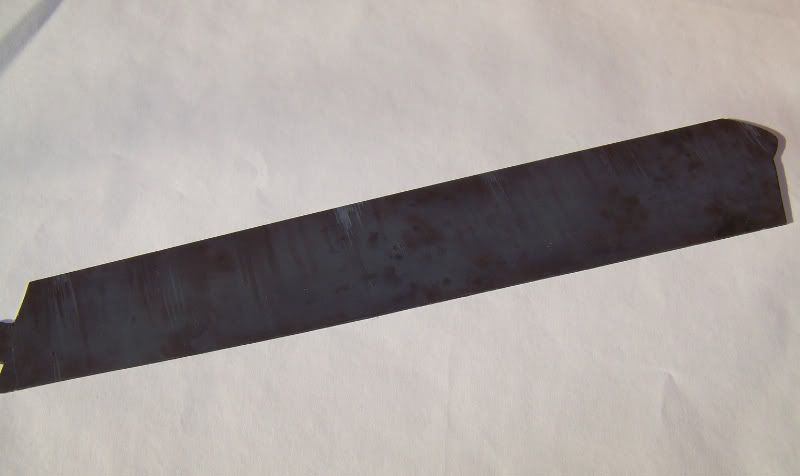
I am not sure if this thead is interesting many others but ive had a go at replicating some raw steel ive used plasticard cut it to the shape of a side plate of a KT and primed it in black then with white highlighted a few areas once dry i airbrushed a light coat of tamiya german grey then highlighted areas in tamiya neutral grey then followed the weathering suggestions earlier in this thread im not 100% sure i need to add blue into the mix next if anyone has any examples please share many thanks Dan B   |
|