2whl
Full Member
   August '24 MoM Winner
Member since: September 2023
Posts: 445
Sept 10, 2023 12:21:52 GMT -5
Sept 10, 2023 12:21:52 GMT -5
|
Post by 2whl on Jun 28, 2024 16:07:14 GMT -5
|
|
|
|
Post by kyledehart5 on Jun 28, 2024 16:19:14 GMT -5
Pole position Paul!! Can't wait.
|
|
handiabled
Administrator      Apr '23 Showcased Build Awarded
Member since: February 2023
Posts: 4,400 
MSC Staff
|
Post by handiabled on Jun 29, 2024 3:19:38 GMT -5
You have my full attention with this one!
|
|
sharp
Full Member
  
Member since: August 2023
Mike
Posts: 400 
|
Post by sharp on Jun 30, 2024 17:28:17 GMT -5
Looks like a very nice kit! I'll be watching this!
|
|
|
|
Post by keavdog on Jun 30, 2024 17:31:30 GMT -5
This will be fun to watch. Great subject.
|
|
|
|
Post by project510 on Jun 30, 2024 17:59:20 GMT -5
Another superb kit, of course. Cant wait to see another under glass worthy build!
|
|
|
|
Post by BattleScale Collectica Show on Jun 30, 2024 18:11:52 GMT -5
I'm looking forward to this too!
|
|
arcticwolf
Full Member
  
Member since: March 2024
Posts: 311
Mar 15, 2024 15:29:57 GMT -5
Mar 15, 2024 15:29:57 GMT -5
|
Post by arcticwolf on Jul 1, 2024 10:59:59 GMT -5
My favourite driver, and one of my favourite people. I will be studying this carefully, it will I'm sure be very useful info for something I have been planning to build for a long time.   |
|
2whl
Full Member
   August '24 MoM Winner
Member since: September 2023
Posts: 445
Sept 10, 2023 12:21:52 GMT -5
Sept 10, 2023 12:21:52 GMT -5
|
Post by 2whl on Jul 1, 2024 12:44:43 GMT -5
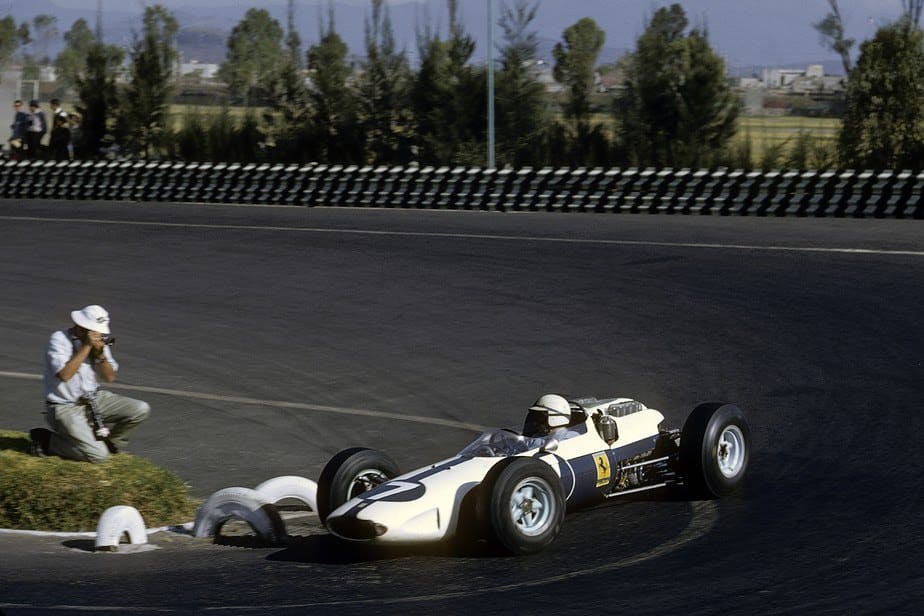 Pole position Paul!! Can't wait. Thanks Kyle. It looks like the grid is filling up You have my full attention with this one! Thanks Brent Looks like a very nice kit! I'll be watching this! Thanks Mike. MFH does a great job creating these muti-media kits This will be fun to watch. Great subject. Thanks John Another superb kit, of course. Cant wait to see another under glass worthy build! Thanks James I'm looking forward to this too! Thanks BSC My favourite driver, and one of my favourite people. I will be studying this carefully, it will I'm sure be very useful info for something I have been planning to build for a long time.   Thanks Paul. I can't wait to see what your plan is. Let me know if you want to study the instructions. They might help you in your project. First order of business was to get the main pieces cleaned up and holes drilled. Then I dry fit them to make sure everything was squared away. 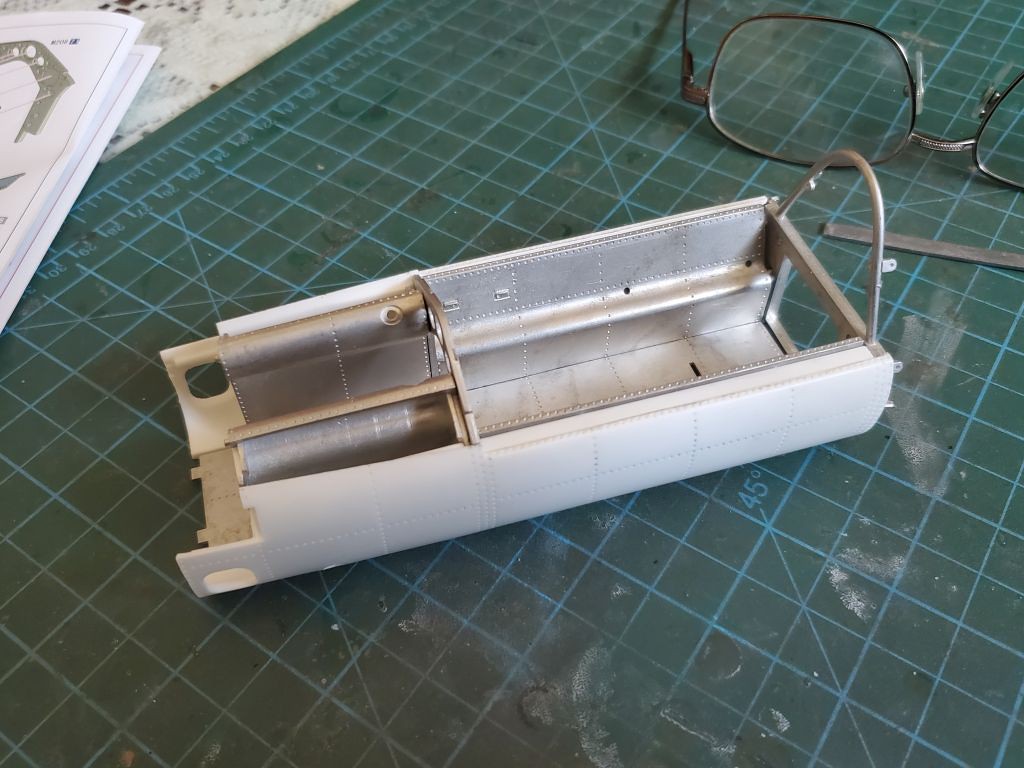 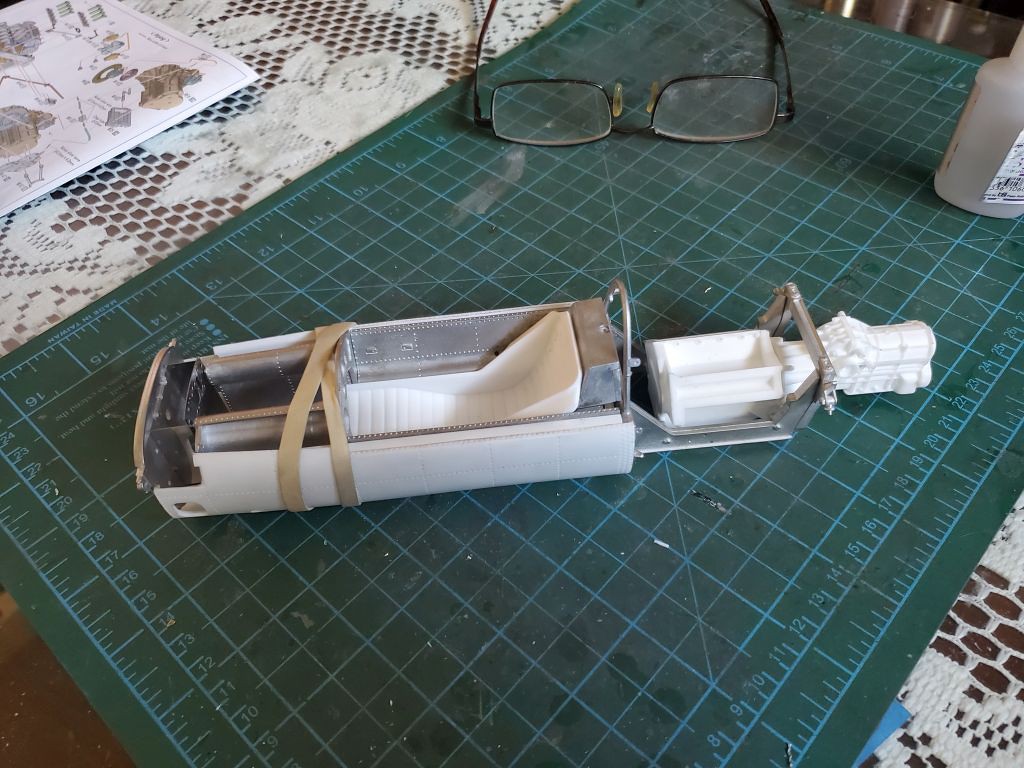 MFH calls for the chassis interior pieces to be polished. The piece on the left is untouched white metal. The piece on the right was sent through my polisher. 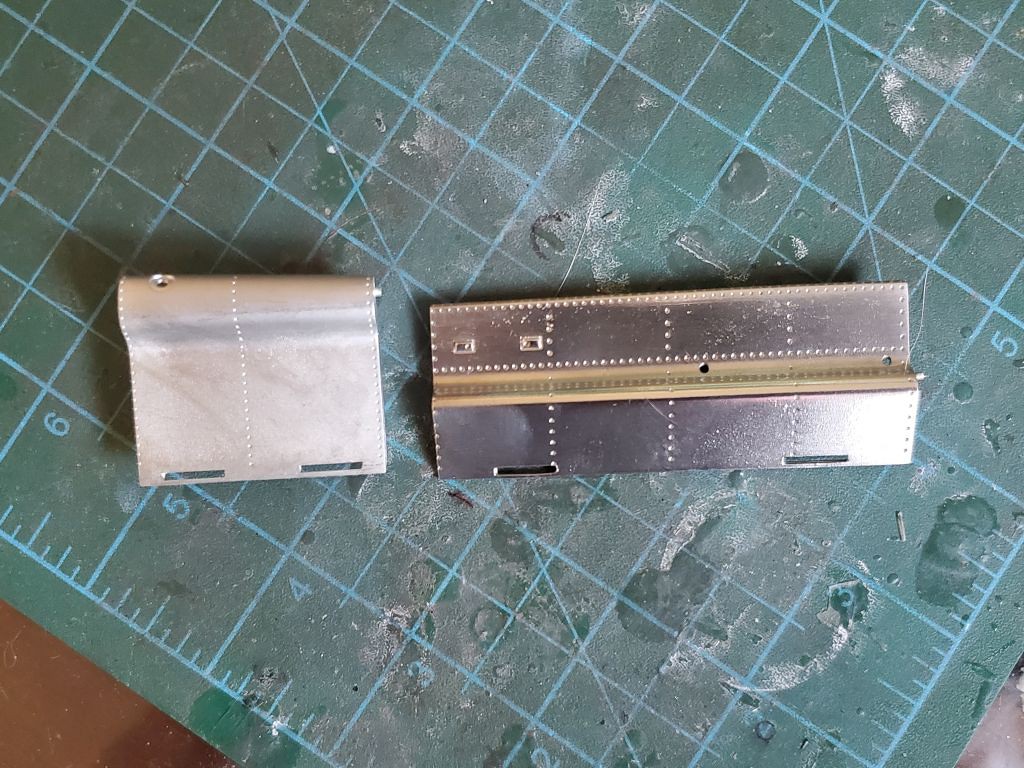 All of these pieces got sent through the polisher. To keep the damage down due to pieces hitting each other, the larger ones were done one at a time. 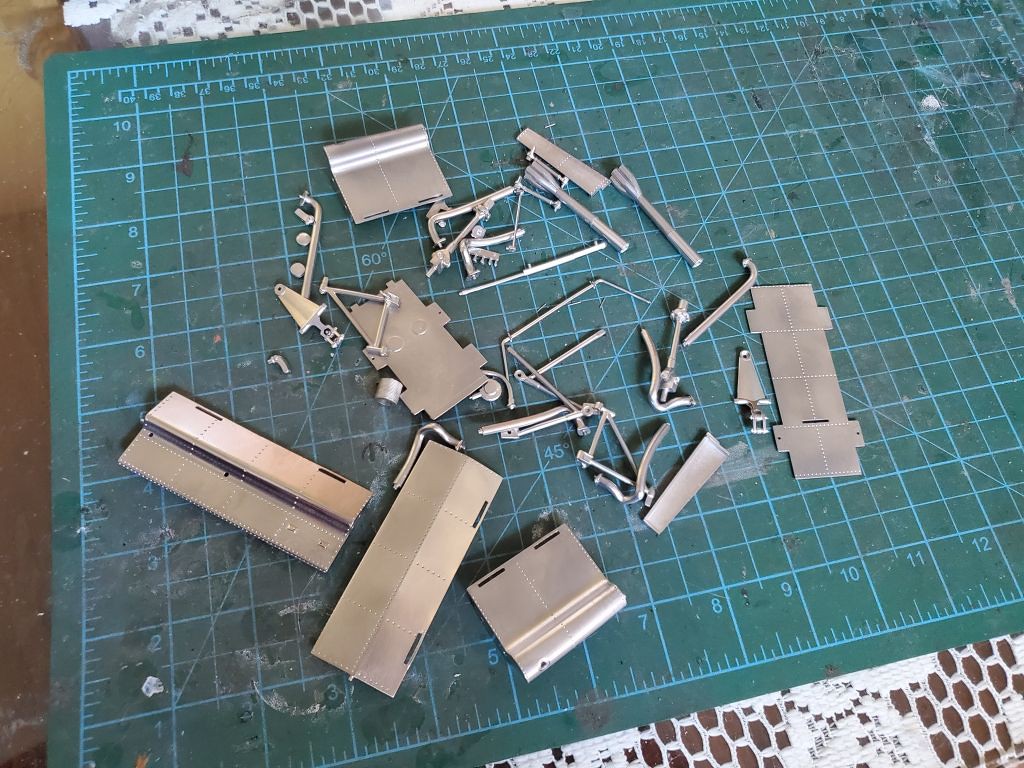 I just realized that some of you might not know what I'm talking about when I say I put pieces in the polisher. It's a machine that has magnets in the base which are spun around. The pieces to be polished are put in a plastic bowl with steel pins. The swirling action that results hammers the pins into the parts and gives them that shiny look. When I got the machine I decided that there where not enough pins for that large of a bowl, so I ordered more along with some burnishing compound. The fourth picture is of the machine in action. It creates quite a 'head'. I usually wait for the foam to subside to get the parts out. 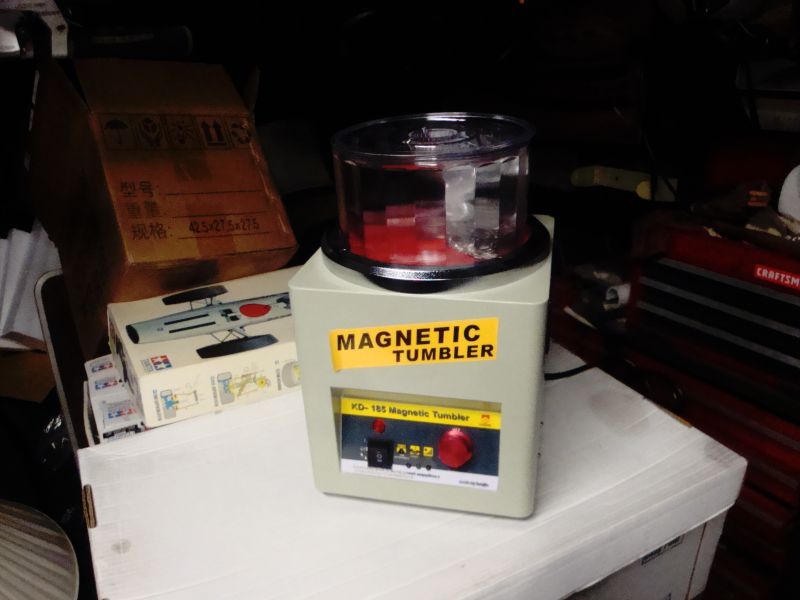 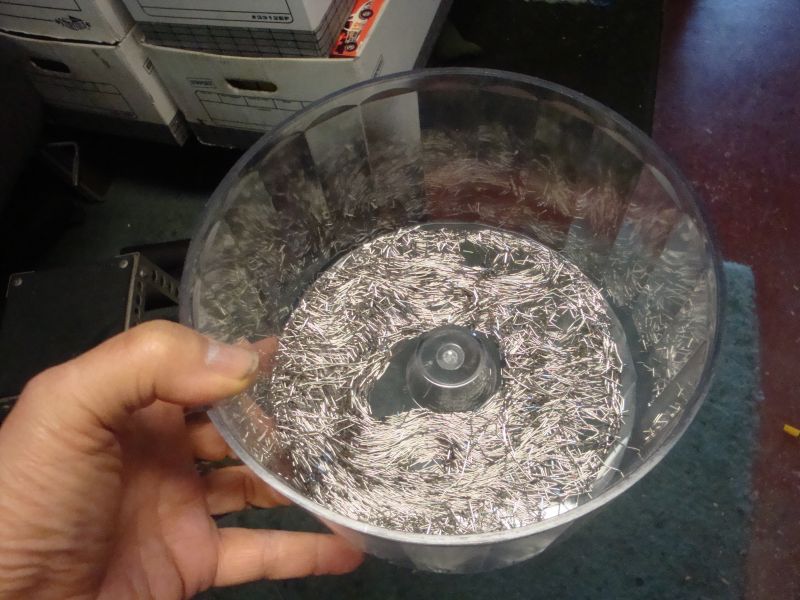 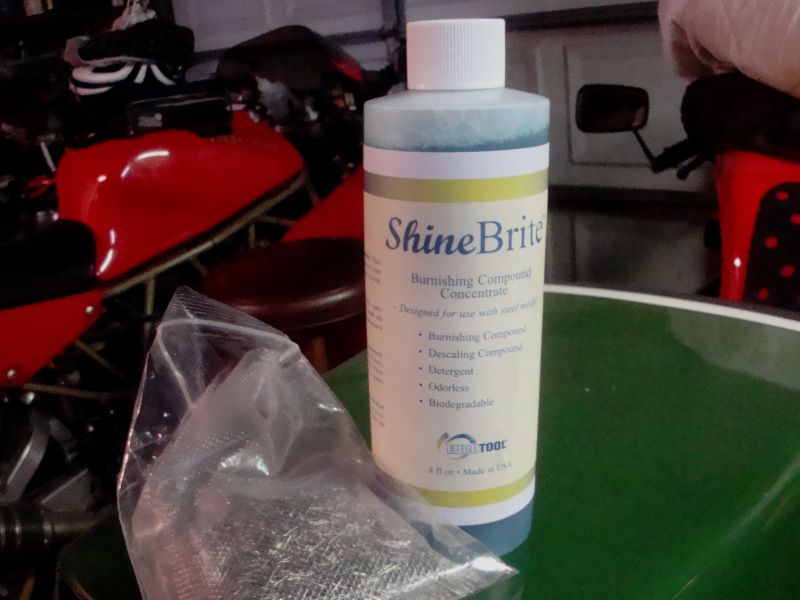 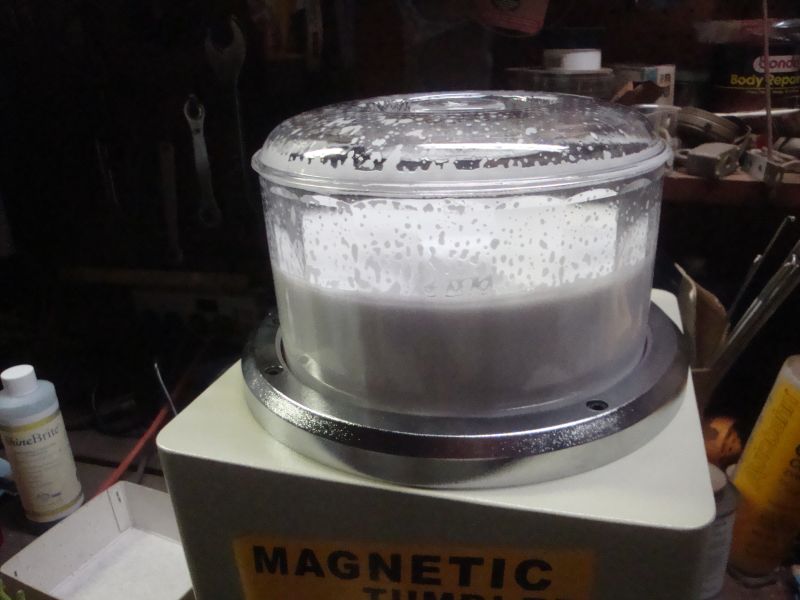 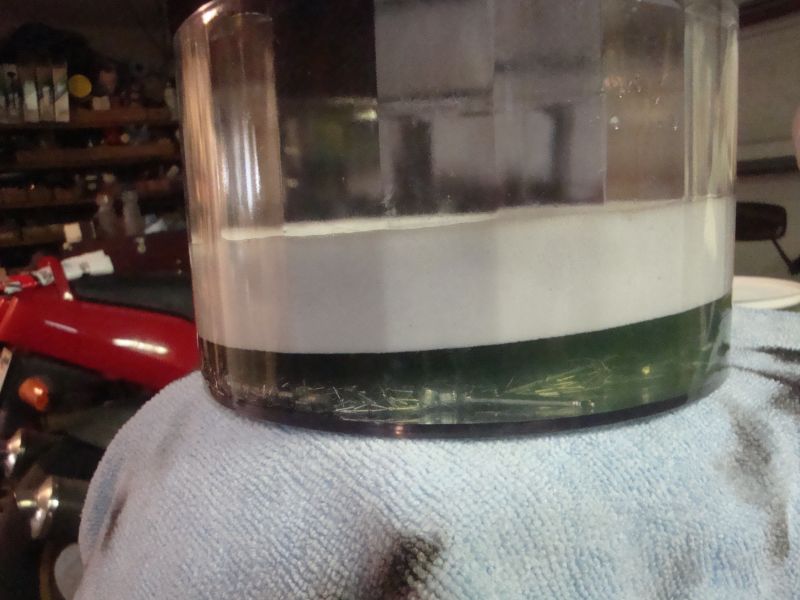 146 |
|
|
|
Post by project510 on Jul 1, 2024 12:50:50 GMT -5
Very interesting, thanks for sharing. Could you not produce the same result with a Dremel and some polishing compound? Your polishing machine means less manual labor, but I would be willing to guess the more expensive route haha. Very cool to see. Its like the tumbler polisher I got from Harbor Freight.
|
|
2whl
Full Member
   August '24 MoM Winner
Member since: September 2023
Posts: 445
Sept 10, 2023 12:21:52 GMT -5
Sept 10, 2023 12:21:52 GMT -5
|
Post by 2whl on Jul 1, 2024 12:58:09 GMT -5
Very interesting, thanks for sharing. Could you not produce the same result with a Dremel and some polishing compound? Your polishing machine means less manual labor, but I would be willing to guess the more expensive route haha. Very cool to see. Its like the tumbler polisher I got from Harbor Freight. James, the first MFH kit I did called for the interior parts to be polished just like this one. At that time, I was using a brass brush and #000 and #0000 steel wool, followed by Simichrome polish. But it was a time consuming job and very dirty. My fingers would be dark grey in no time at all. Then a friend who had a smaller machine brought it to a club meeting so I could see how it worked. I was sold on the idea and bought this polisher. 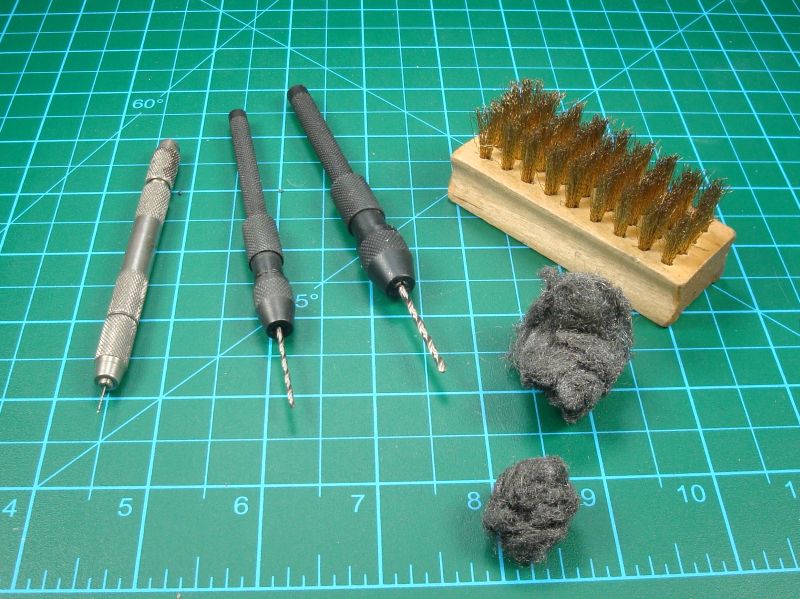 |
|
|
|
Post by project510 on Jul 1, 2024 13:12:48 GMT -5
Building as many of these kits as you do, I would have made the same investment!
|
|
|
|
Post by kyledehart5 on Jul 1, 2024 13:47:45 GMT -5
Nothing beats the polished metal look of polished metal. Lol. Cool to see the tumbler in action.
|
|
2whl
Full Member
   August '24 MoM Winner
Member since: September 2023
Posts: 445
Sept 10, 2023 12:21:52 GMT -5
Sept 10, 2023 12:21:52 GMT -5
|
Post by 2whl on Jul 3, 2024 12:13:53 GMT -5
|
|
chrissmith
Full Member
   Sept '24 Showcased Model Awarded
Member since: March 2024
Posts: 131
Mar 2, 2024 11:02:56 GMT -5
Mar 2, 2024 11:02:56 GMT -5
|
Post by chrissmith on Jul 3, 2024 14:19:29 GMT -5
Off to another fast start Paul….looking good, great explanation on the tumbler. Well worth the investment 😉
|
|
|
|
Post by Steve Zuleski on Jul 3, 2024 14:22:49 GMT -5
Wow, this is awesome. Bookmarked. That's a pretty penny for this kit, woof!
|
|
|
|
Post by kyledehart5 on Jul 3, 2024 20:10:22 GMT -5
Amazing work, as ever Paul. Engine is already shaping up nicely. Thanks for sharing your primer of choice too. That’s good information.
|
|
|
|
Post by 406 Silverado on Jul 6, 2024 9:32:51 GMT -5
This is going to be such a detailed out engine Paul. Looking forward to seeing the paint and detailing that you'll be adding to it.
|
|
jeaton01
Full Member
   Sept '23 Showcased Model Awarded
Member since: October 2013
Posts: 1,279  Member is Online
|
Post by jeaton01 on Jul 6, 2024 10:27:15 GMT -5
Great detail. You have the build process down!
|
|
|
|
Post by project510 on Jul 6, 2024 10:34:12 GMT -5
The engines on these kits look so real it makes you think if you add fuel and spark that they would start up haha.
|
|
2whl
Full Member
   August '24 MoM Winner
Member since: September 2023
Posts: 445
Sept 10, 2023 12:21:52 GMT -5
Sept 10, 2023 12:21:52 GMT -5
|
Post by 2whl on Jul 6, 2024 12:27:05 GMT -5
 Off to another fast start Paul….looking good, great explanation on the tumbler. Well worth the investment 😉 Thanks Chris. I think I had polished two cars before I got the tumbler. Couldn't be happier with the purchase. Wow, this is awesome. Bookmarked. That's a pretty penny for this kit, woof! Thanks Steve. It might be a pretty penny, but it's worth it. Amazing work, as ever Paul. Engine is already shaping up nicely. Thanks for sharing your primer of choice too. That’s good information. Thanks Kyle. It's amazing the products you can find to build models with when you go outside of the model industry. This is going to be such a detailed out engine Paul. Looking forward to seeing the paint and detailing that you'll be adding to it. Thanks Joe. Great detail. You have the build process down! Thanks John. It took me a couple of kits to get the steps of the process worked out. The engines on these kits look so real it makes you think if you add fuel and spark that they would start up haha. Thanks James. I'm still looking for 1/12th scale gasoline. I spent the last couple of days doing some painting. I got the fuselage bulkheads painted and also finished off the dash. Once that was done, I could assemble the interior of the monocoque.  The instructions call for the blue on the sides to be Tamiya TS-15. I did a spoon test. I actually looks like a closer match in person.  The sides where sprayed out of the can, and added to the chassis.   I also got the upper cowl painted and tried it out on the chassis.  The wheels are supposed to be a light blue. I started with the lightest blue Tamiya had in a spray. I thought it was too dark, so I custom mixed a lighter color using Tamiya's LP line of paint. It's their white with about 5 drops of blue.    336 |
|
|
|
Post by kyledehart5 on Jul 7, 2024 0:35:19 GMT -5
Perfect shade you created on those wheels Paul!! And I like the choice for the main blue too. This is going to be a real looker with this color combo. Unique too and you know I love that.
|
|
handiabled
Administrator      Apr '23 Showcased Build Awarded
Member since: February 2023
Posts: 4,400 
MSC Staff
|
Post by handiabled on Jul 7, 2024 2:08:57 GMT -5
Fantastic work! Love the engine and paint work! I have to claim ignorance on the polisher. I've not run across one of them before.
|
|
2whl
Full Member
   August '24 MoM Winner
Member since: September 2023
Posts: 445
Sept 10, 2023 12:21:52 GMT -5
Sept 10, 2023 12:21:52 GMT -5
|
Post by 2whl on Jul 7, 2024 18:37:15 GMT -5
 Perfect shade you created on those wheels Paul!! And I like the choice for the main blue too. This is going to be a real looker with this color combo. Unique too and you know I love that. Thanks Kyle. The reason I chose this livery was because it was a Ferrari that wasn't red. Fantastic work! Love the engine and paint work! I have to claim ignorance on the polisher. I've not run across one of them before. Thanks Brent. The only reason to know about the polisher is if you do a lot of white metal. Pretty much everyone I know who is a hard core MFH builder has one. I started out assembling the front bulkhead. Then I c/a'd it to the chassis and add the front uprights.      Before I started adding more to the engine, I got it's supports fitted.  418 |
|
buddho
Forum Moderator     
Member since: February 2019
Posts: 1,287 
MSC Staff
|
Post by buddho on Jul 7, 2024 19:16:18 GMT -5
This is gorgeous work...what a project!🤓
|
|
|
|
Post by kyledehart5 on Jul 8, 2024 5:43:40 GMT -5
Wow, just wow. The tub and suspension components are looking amazing. I love the shocks and springs.
|
|
2whl
Full Member
   August '24 MoM Winner
Member since: September 2023
Posts: 445
Sept 10, 2023 12:21:52 GMT -5
Sept 10, 2023 12:21:52 GMT -5
|
Post by 2whl on Jul 8, 2024 10:01:42 GMT -5
 This is gorgeous work...what a project!🤓 Thank you, Dan Wow, just wow. The tub and suspension components are looking amazing. I love the shocks and springs. Thanks Kyle. It's to bad that detail will be almost hidden. The fuel lines come out of the bottom of the injection pump and were a pain to install. I glued them to the engine, then placed the pump in place to see how long they needed to be. I must have taken the pump off and on a least a half a dozen times before I was satisfied. Once I had them the length I wanted, I glued the pump in place. Then I reached in with a pair of tweezers to put the lines into the pump     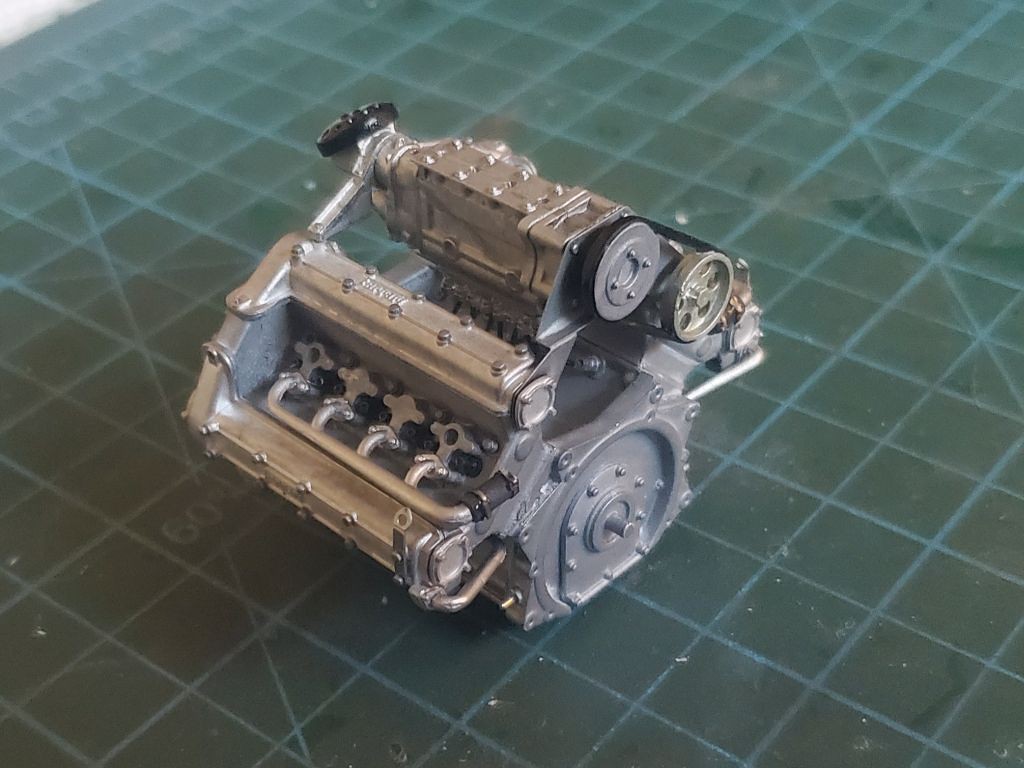 I also got a start on the trans.  470 |
|
|
|
Post by project510 on Jul 8, 2024 11:17:31 GMT -5
Incredible work as always. The engine details on these kits is such a joy to watch come together. Great work on the wheels, going with the LP paint was a great idea. It looks exactly like powder coated wheels of that era. Very cool.
|
|
2whl
Full Member
   August '24 MoM Winner
Member since: September 2023
Posts: 445
Sept 10, 2023 12:21:52 GMT -5
Sept 10, 2023 12:21:52 GMT -5
|
Post by 2whl on Jul 8, 2024 14:02:32 GMT -5
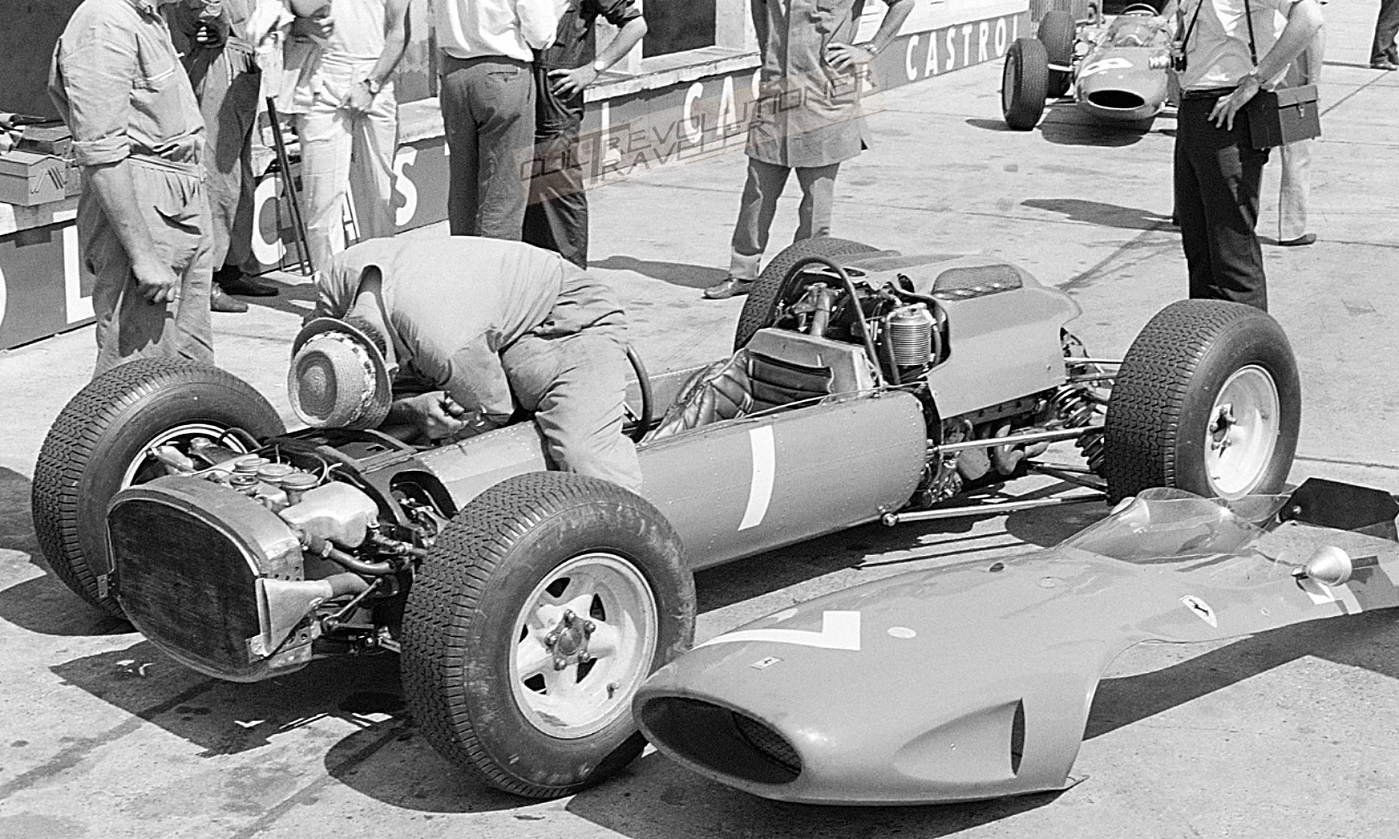 Incredible work as always. The engine details on these kits is such a joy to watch come together. Great work on the wheels, going with the LP paint was a great idea. It looks exactly like powder coated wheels of that era. Very cool. Thank you James. Then you should like this update.....the wheels/tires are finished.  I got most of the rest of the engine together. Now it's time to fight some spark plug wires.  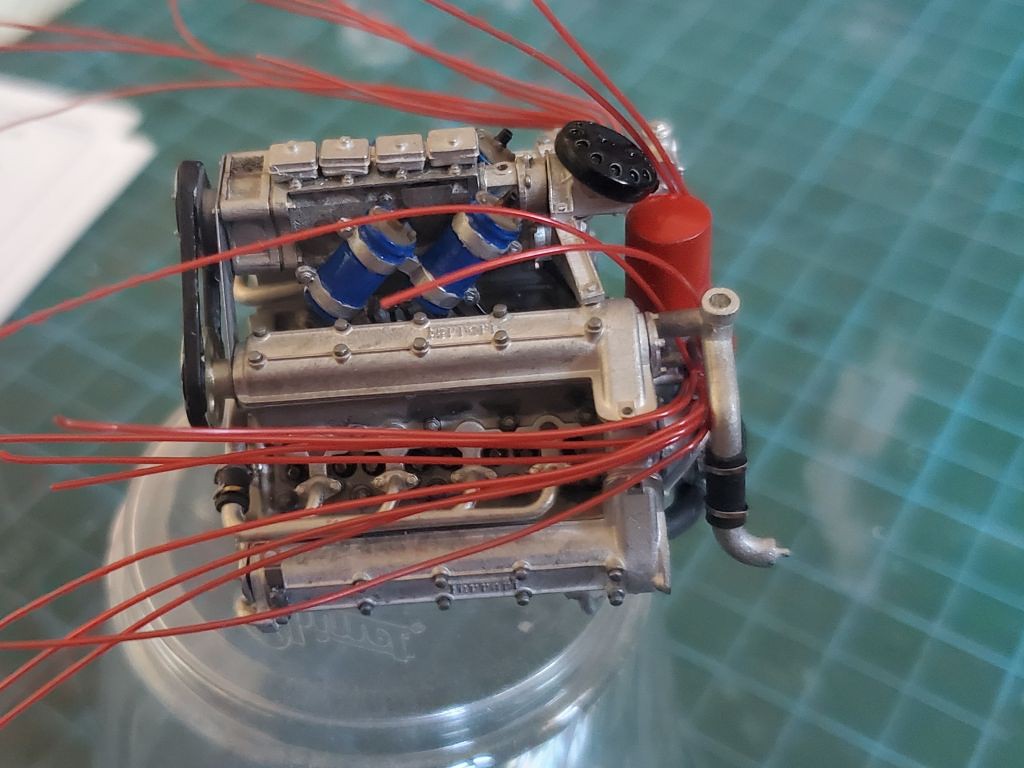  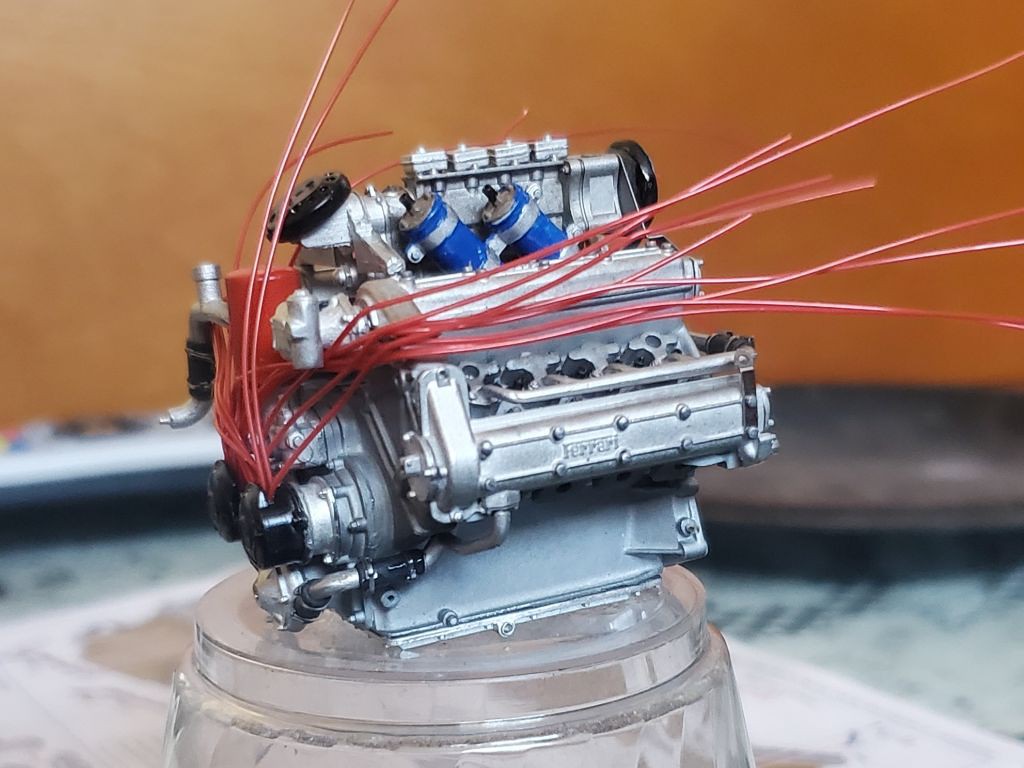 504 |
|
|
|
Post by deafpanzer on Jul 8, 2024 14:57:34 GMT -5
Great work on the engine!!
|
|