|
|
Post by tcoat on Oct 18, 2024 20:07:54 GMT -5
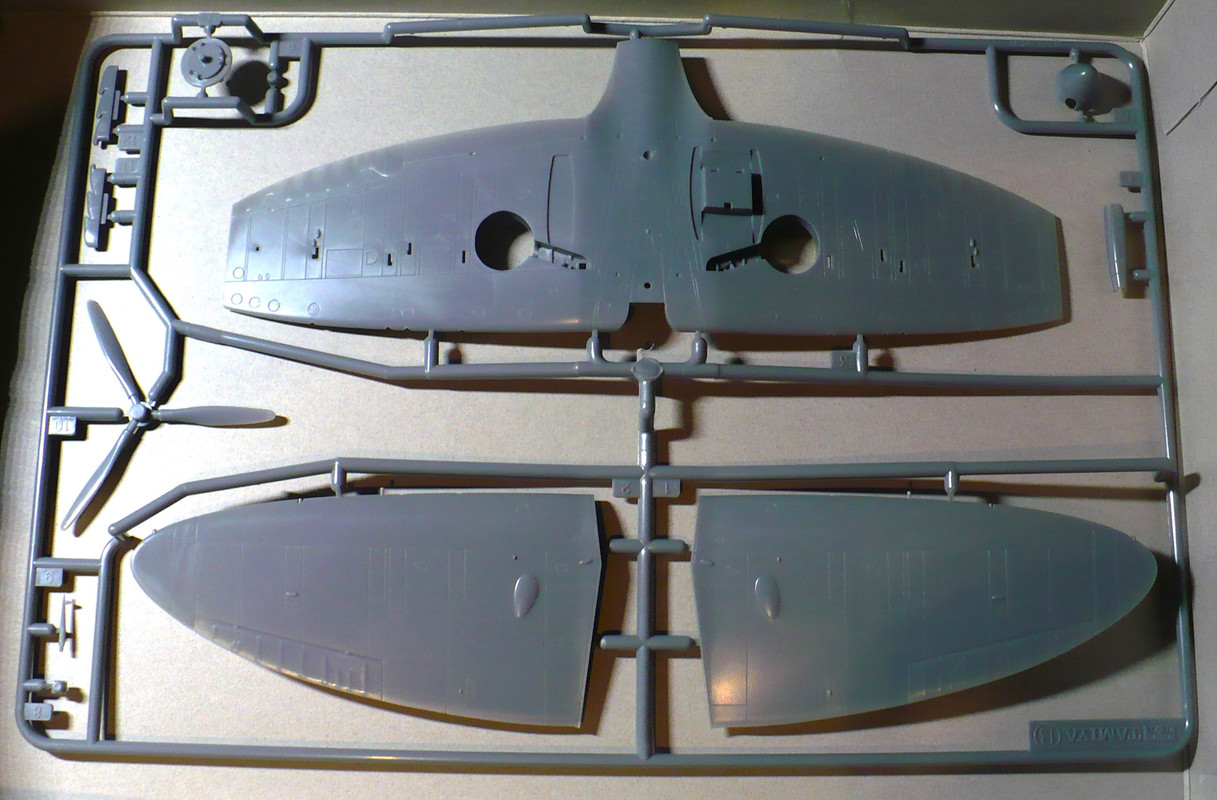
Slump breaker speed build of my $5 garage sale score. Won't be fancy, not much to it and paint will be all colours I have on hand that are "close enough". As the markings included in the kit are both testing squadrons then weathering will be minimal. No instructions were in the box to Scalemates to the rescue!  This is the original 1993 first issue of this kit so the sprues are pristine even by Tamiya standards.   Decals look fine for being 30+ years old but we will see how they actually work down the road.  |
|
crown r n7
Junior Member
  Aug '24 Showcased Model Awarded
Member since: March 2023
Posts: 53
Mar 1, 2023 9:12:09 GMT -5
Mar 1, 2023 9:12:09 GMT -5
|
Post by crown r n7 on Oct 18, 2024 20:19:06 GMT -5
That’s a nice kit goes together very well.
|
|
|
|
Post by tcoat on Oct 18, 2024 21:06:05 GMT -5
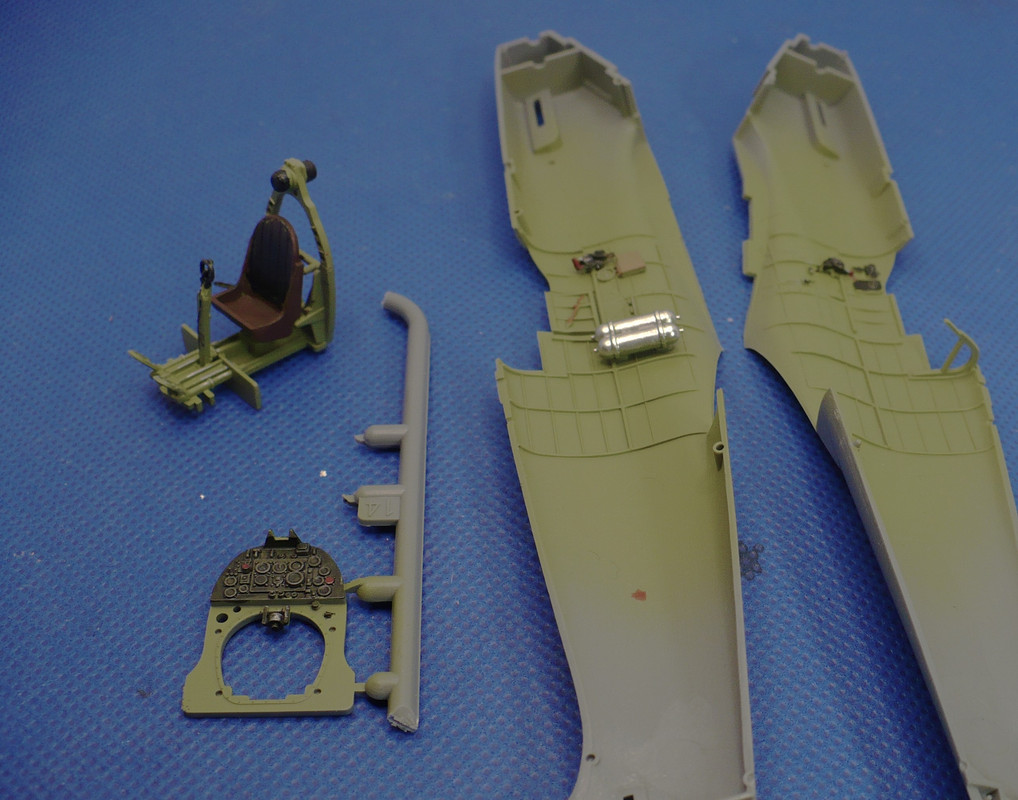
That’s a nice kit goes together very well. I'll say! cockpit all ready for paint.  |
|
|
|
Post by tcoat on Oct 18, 2024 22:00:47 GMT -5
Base paint on.  |
|
|
|
Post by tcoat on Oct 18, 2024 22:51:10 GMT -5
Detail paint done. Or at least as much as it is getting. Yes these are posted in real time as soon as a step is complete.  |
|
|
|
Post by tcoat on Oct 18, 2024 23:09:27 GMT -5
Tinted Future wash to add shadows and highlight details. Will tone down with a coat of flat clear.  |
|
|
|
Post by tcoat on Oct 18, 2024 23:47:11 GMT -5
All buttoned up with normal Tamiya perfect fit. Just needed a thin filler layer of Super Glue on the seam on the top of the nose.  |
|
handiabled
Administrator      Apr '23 Showcased Build Awarded
Member since: February 2023
Posts: 4,408 
MSC Staff
|
Post by handiabled on Oct 19, 2024 1:23:25 GMT -5
Wow what progress! I just bookmarked this and you are already this far. Office looks great! I'll be watching for more
|
|
TJ
Senior Member
    June '23 Showcased Model Awarded
Member since: May 2023
Posts: 2,165
May 14, 2023 18:18:36 GMT -5
May 14, 2023 18:18:36 GMT -5
|
Post by TJ on Oct 19, 2024 3:25:53 GMT -5
Quick progress. Were you in the room when the kit started to build itself?
|
|
|
|
Post by tcoat on Oct 19, 2024 8:04:42 GMT -5
Wow what progress! I just bookmarked this and you are already this far. Office looks great! I'll be watching for more Quick progress. Were you in the room when the kit started to build itself? Tamiya quality with an almost Aurora parts count means you can't go too far wrong. |
|
|
|
Post by tcoat on Oct 19, 2024 10:15:36 GMT -5
Bottom ready for a nice coat of 20 year old but surprisingly still good Modelmaster sky paint.  |
|
|
|
Post by keavdog on Oct 20, 2024 1:20:15 GMT -5
Great progress Tony. That is a really nice kit.
|
|
handiabled
Administrator      Apr '23 Showcased Build Awarded
Member since: February 2023
Posts: 4,408 
MSC Staff
|
Post by handiabled on Oct 20, 2024 4:38:03 GMT -5
Bottom ready for a nice coat of 20 year old but surprisingly still good Modelmaster sky paint. I'm still chewing away on my inventory of super old Model master paints as well. Great stuff! |
|
scottrc
Junior Member
 
Member since: March 2024
Posts: 47
Mar 8, 2024 14:17:10 GMT -5
Mar 8, 2024 14:17:10 GMT -5
|
Post by scottrc on Nov 13, 2024 10:49:15 GMT -5
Hard to believe I am still using Model Master paint that is over thirty years old. Keeping the jars tight and kept in a stable temperature environment must be the key.
|
|
|
|
Post by tcoat on Nov 13, 2024 10:55:21 GMT -5
Hard to believe I am still using Model Master paint that is over thirty years old. Keeping the jars tight and kept in a stable temperature environment must be the key. I have a small tin of Humbrol enamel that has kicked around in every condition imaginable since 1969. I still use it for tail lights to this day. |
|
|
|
Post by Tojo72 on Nov 13, 2024 15:57:22 GMT -5
Looks good,nothing like a nice Tamiya kit
|
|
|
|
Post by tcoat on Nov 14, 2024 7:38:07 GMT -5
Looks good,nothing like a nice Tamiya kit Well I ran into issues and my "quick build" turned into a potential shelf of doom resident. As I said this was a garage sale buy and at first glance I thought everything was there. When I started masking the canopy I found that the glass behind the seat should be two pieces but I only have half. See that big gap on the far left of the clear sprue? Yep that should be the other half. When I get over the disillusionment of the set back I will just scratch up that section since it will be hidden under the open canopy anyway.  |
|
cbaltrin
Full Member
   March '24 Showcased Model Awarded
Member since: January 2024
Posts: 356
Jan 20, 2024 17:00:59 GMT -5
Jan 20, 2024 17:00:59 GMT -5
|
Post by cbaltrin on Nov 14, 2024 7:57:53 GMT -5
Cockpit looks sweet. Nice work.
|
|