

Post by danb on Sept 13, 2012 14:25:23 GMT -5
Hey all i have been experimenting and practising techniques on how to replicate raw steel most of my inspiration has come from Mxpressions latest DVD Authentic metal i have used some of there techniques and added a few of my own hope this helps anyone who wants to learn this process.
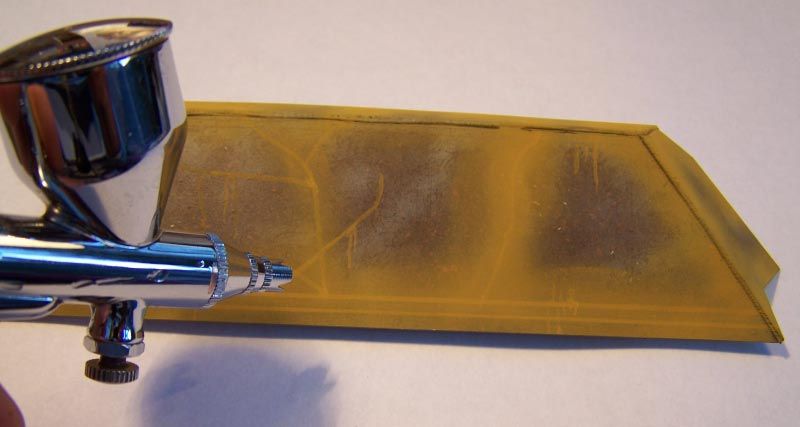
Step 1
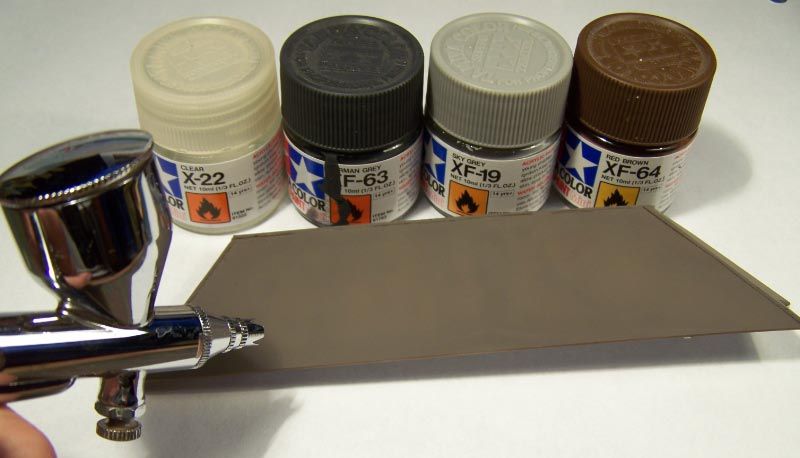
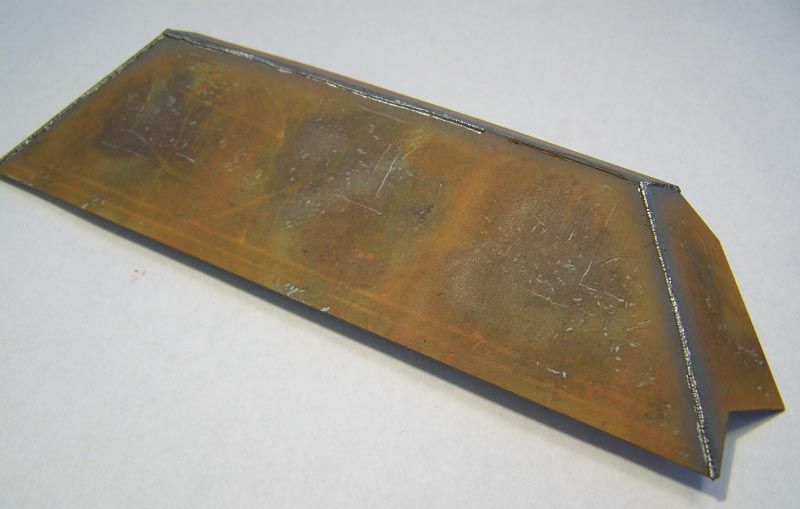
I replicated a side of a Grille using plasticard then attempted some weld beads using the stretched sprue technique once this was complete i started the paint process
First i made a brown basecoat using Tamiya acrylics
xf-19 Sky Grey
xf-22 Clear
xf-64 Red Brown
xf-63 German Grey
i started with red brown then added small amounts of the Greys i also added clear this seems to keep the paint smooth when airbrushing the first coat i used rubbing alcohol for thinning.
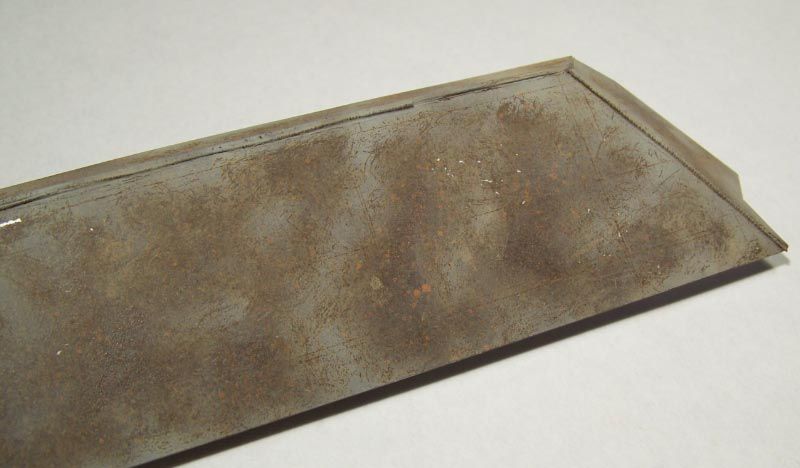
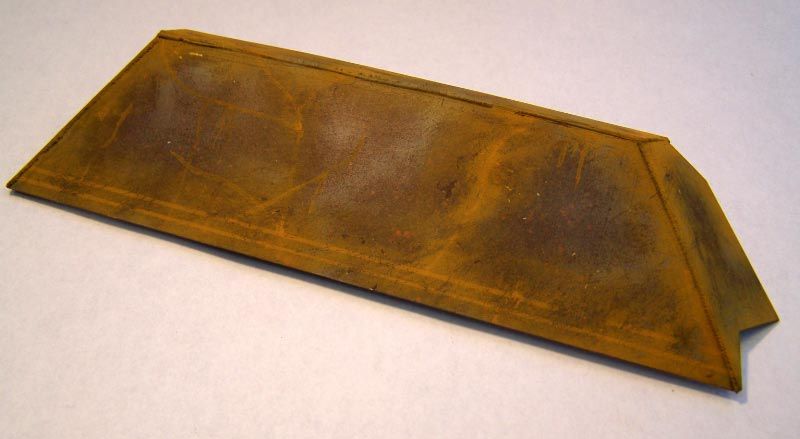
Step 2
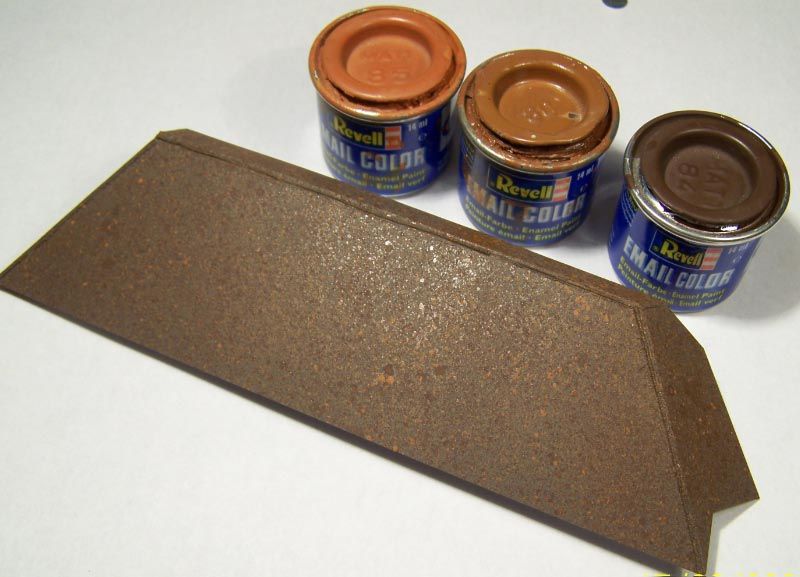
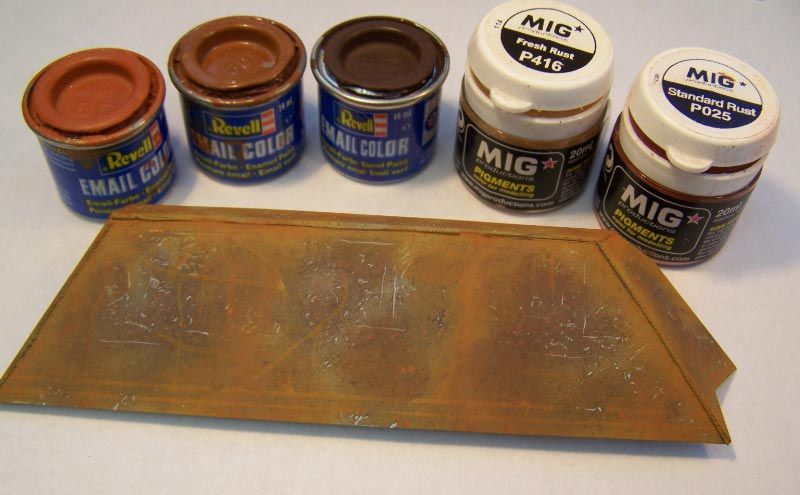
Once the basecoat has dried i then added some rust tones by using the "speckleing technique" for this i used enamels thin these a little then speckle the rust tones all over the basecoat keep alternating the colours as you go to get a even cover.
Step 3
Apply 4-5 coats of hairspray using your AB
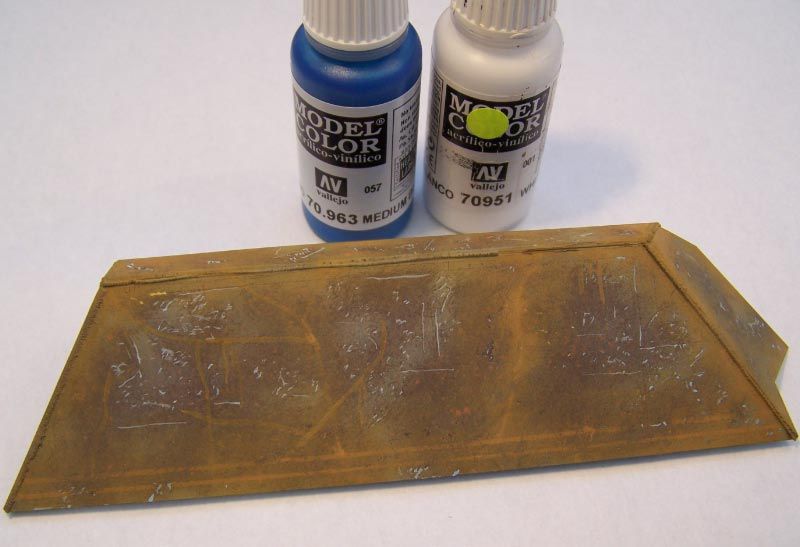
Step4
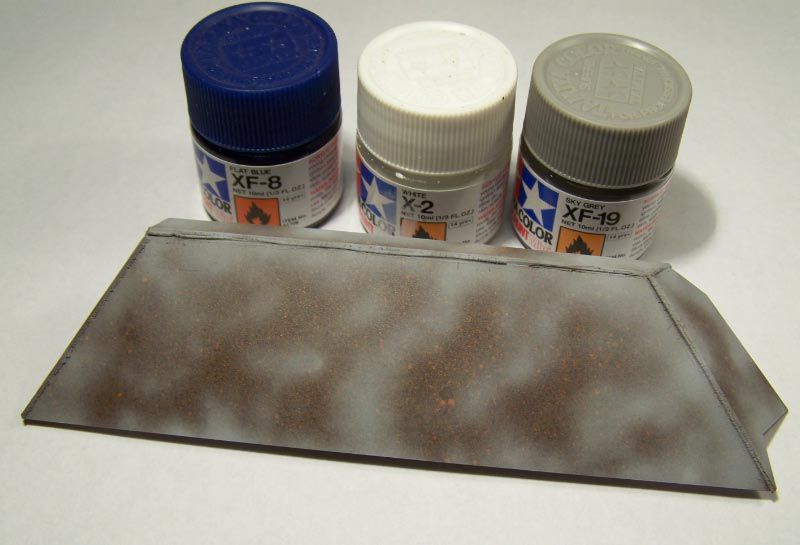
Next mix a light grey/blue colour then thin with tap water as this will aid the chipping process spray this in a random pattern this colour can be used as much or little as you want as long as there is some of the rusty colour showing.
XF-8 Flat blue
XF-19 Sky grey
XF-Flat white
Step 5.
Using a ruler and a toothpick scribe some lines through the grey colour in any direction you want as this will replicate scratches from when the steel was stored dont use water for this and only scribe lightly.
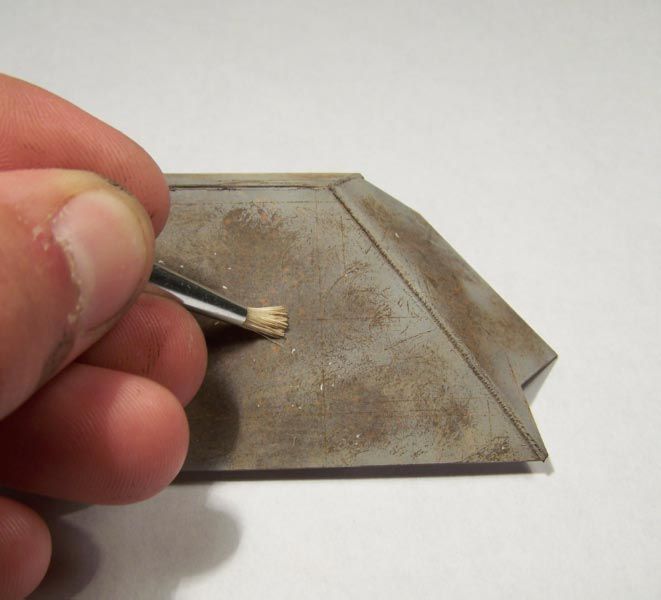
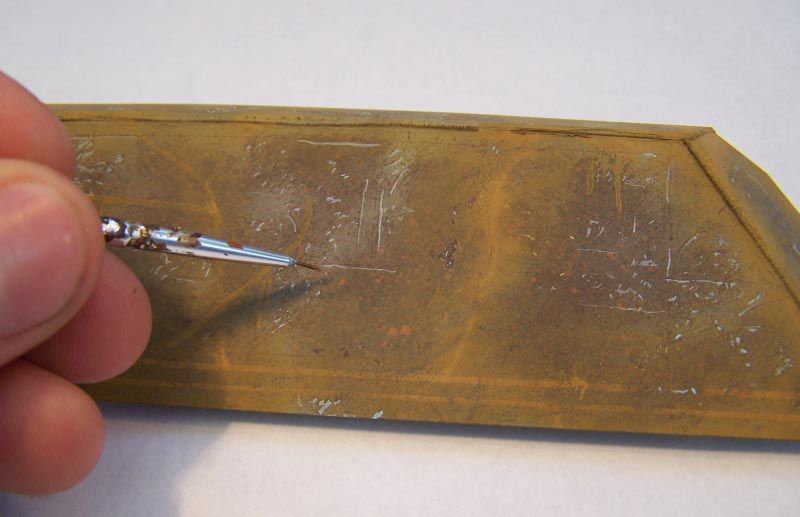
Step 6.
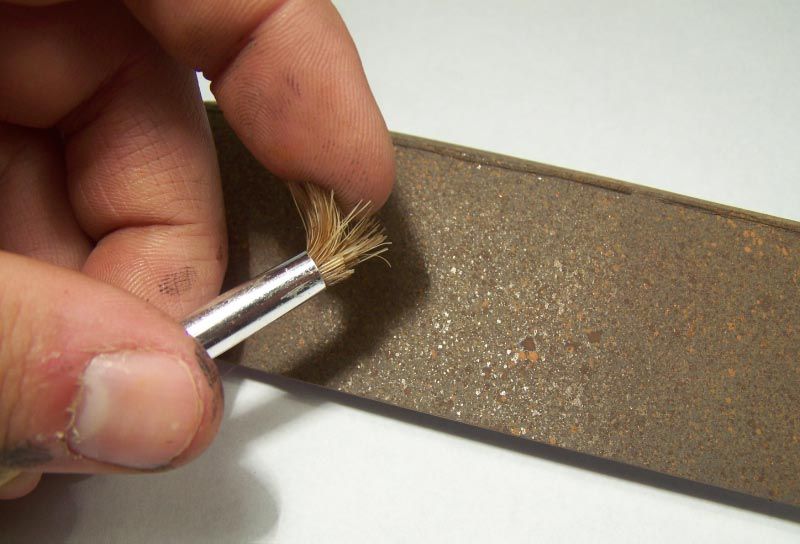
This stage will be the start of the chipping using a AB spray water over the grey areas and lightly chip the edges of the grey i used a soft brush as you dont want a chipped effect more of a feathering effect.
Step 7.
Use a matt clear to protect the last stages i use Vallejo matte varnish.
Step 8.
once the clear has dried you need repeat step 3
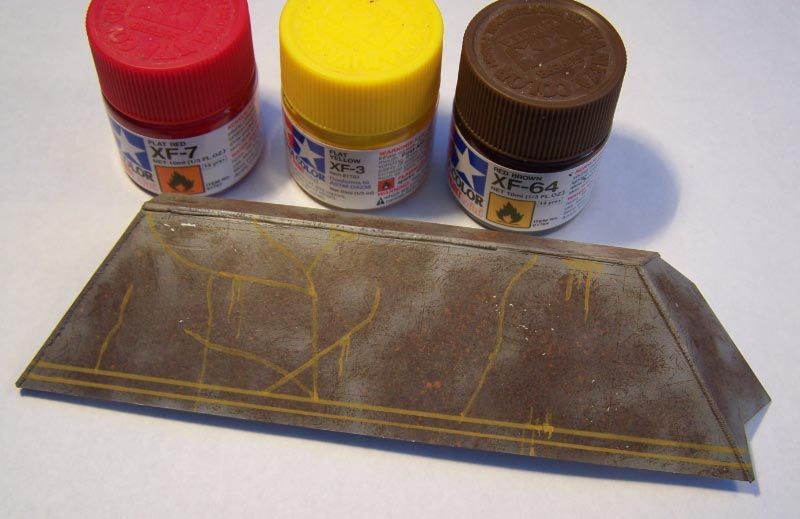
Step 9.
Now you need to mix a rust tone using
XF-3 Flat yellow
XF-64 Red brown
Thin this with tap water using masking tape mask off a few lines in any direction you choose then spray the rust tone then using a brush paint some lines in random directions to simulate water that has run off the sheet pics explain better.
Step 10.
Using the AB again spray the rust tone over some of the lines and in areas where you want it once this is dry start the chipping method on the rust tone areas dont over chip this part!!!!
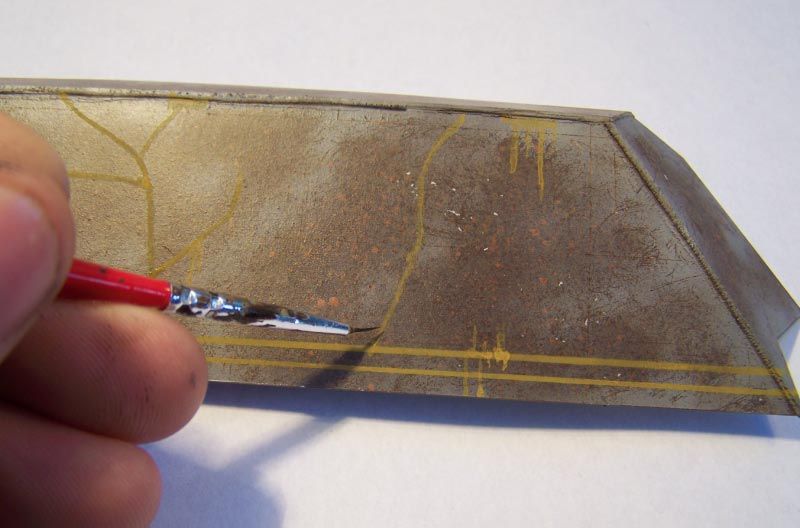
Step 11.
Now mix a light blue colour this will be used for chips apply these chips using a brush keep these chips to the dark rust colour and not the light rust colour i used Vallejo acrylics
Step 12.
At this stage more rust tones were mixed using enamels and rust pigments i made a dark and a light tone then using a brush dot the dark tone to the darker areas and so on with the lighter tone then using enamel thinners blend these dots keep repeating this process until you get the desired effect you want.
Step 13.
Now we move onto creating some heat affected areas near the weld beads using masking tape mask 1 edge at a time and spray a few light coats along the edge of the tape repeat this on both edges mix a blue /grey colour using
XF-63 German grey
XF-19 Sky grey
XF-8 flat blue
Then using a fine brush paint all the weld beads with a silver enamel then tone this down with some graphite dust use your finger to rub along the bead.
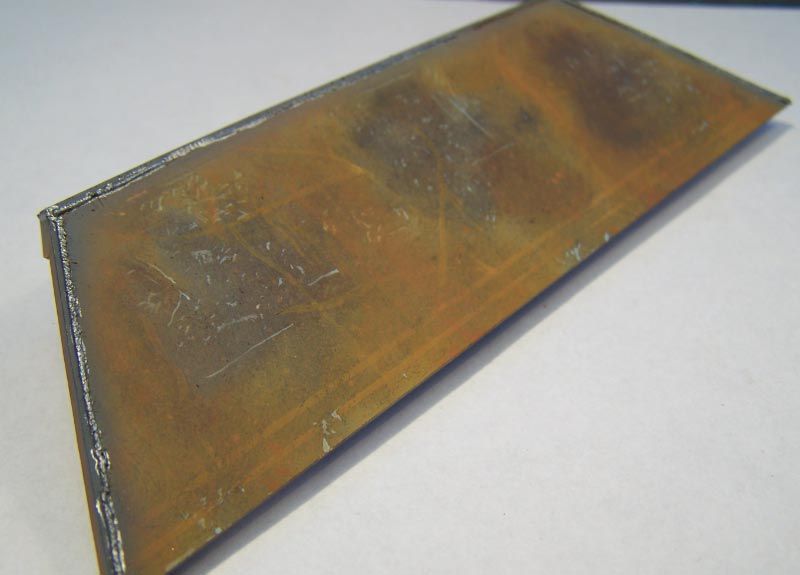
This is the final finished piece im really happy with the effect with more practise i think i could get better results hope this SBS helps
Dan B
Step 1
I replicated a side of a Grille using plasticard then attempted some weld beads using the stretched sprue technique once this was complete i started the paint process
First i made a brown basecoat using Tamiya acrylics
xf-19 Sky Grey
xf-22 Clear
xf-64 Red Brown
xf-63 German Grey
i started with red brown then added small amounts of the Greys i also added clear this seems to keep the paint smooth when airbrushing the first coat i used rubbing alcohol for thinning.
Step 2
Once the basecoat has dried i then added some rust tones by using the "speckleing technique" for this i used enamels thin these a little then speckle the rust tones all over the basecoat keep alternating the colours as you go to get a even cover.
Step 3
Apply 4-5 coats of hairspray using your AB
Step4
Next mix a light grey/blue colour then thin with tap water as this will aid the chipping process spray this in a random pattern this colour can be used as much or little as you want as long as there is some of the rusty colour showing.
XF-8 Flat blue
XF-19 Sky grey
XF-Flat white
Step 5.
Using a ruler and a toothpick scribe some lines through the grey colour in any direction you want as this will replicate scratches from when the steel was stored dont use water for this and only scribe lightly.
Step 6.
This stage will be the start of the chipping using a AB spray water over the grey areas and lightly chip the edges of the grey i used a soft brush as you dont want a chipped effect more of a feathering effect.
Step 7.
Use a matt clear to protect the last stages i use Vallejo matte varnish.
Step 8.
once the clear has dried you need repeat step 3
Step 9.
Now you need to mix a rust tone using
XF-3 Flat yellow
XF-64 Red brown
Thin this with tap water using masking tape mask off a few lines in any direction you choose then spray the rust tone then using a brush paint some lines in random directions to simulate water that has run off the sheet pics explain better.
Step 10.
Using the AB again spray the rust tone over some of the lines and in areas where you want it once this is dry start the chipping method on the rust tone areas dont over chip this part!!!!
Step 11.
Now mix a light blue colour this will be used for chips apply these chips using a brush keep these chips to the dark rust colour and not the light rust colour i used Vallejo acrylics
Step 12.
At this stage more rust tones were mixed using enamels and rust pigments i made a dark and a light tone then using a brush dot the dark tone to the darker areas and so on with the lighter tone then using enamel thinners blend these dots keep repeating this process until you get the desired effect you want.
Step 13.
Now we move onto creating some heat affected areas near the weld beads using masking tape mask 1 edge at a time and spray a few light coats along the edge of the tape repeat this on both edges mix a blue /grey colour using
XF-63 German grey
XF-19 Sky grey
XF-8 flat blue
Then using a fine brush paint all the weld beads with a silver enamel then tone this down with some graphite dust use your finger to rub along the bead.
This is the final finished piece im really happy with the effect with more practise i think i could get better results hope this SBS helps
Dan B


