Post by TRM on Jan 8, 2013 13:03:43 GMT -5
Hello MSCer's!!
Ok im no Expert but ive Learned a Lot from the MXpression DVD on the subject and this is for Matt
First off we need a container, Kitchen paper, and Greece proof paper, Also some water.
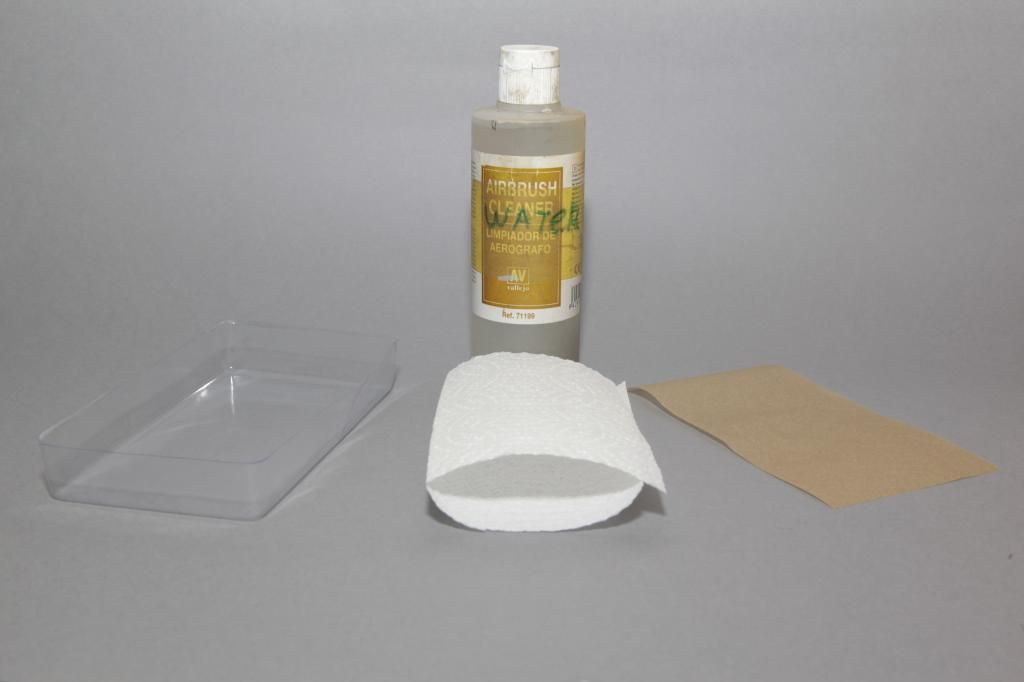
Put some water in the container and cover it with the kitchen paper followed by the greece proof paper, dont flood it you just need enough to soak the kitchen paper next we need to mix our Colors.
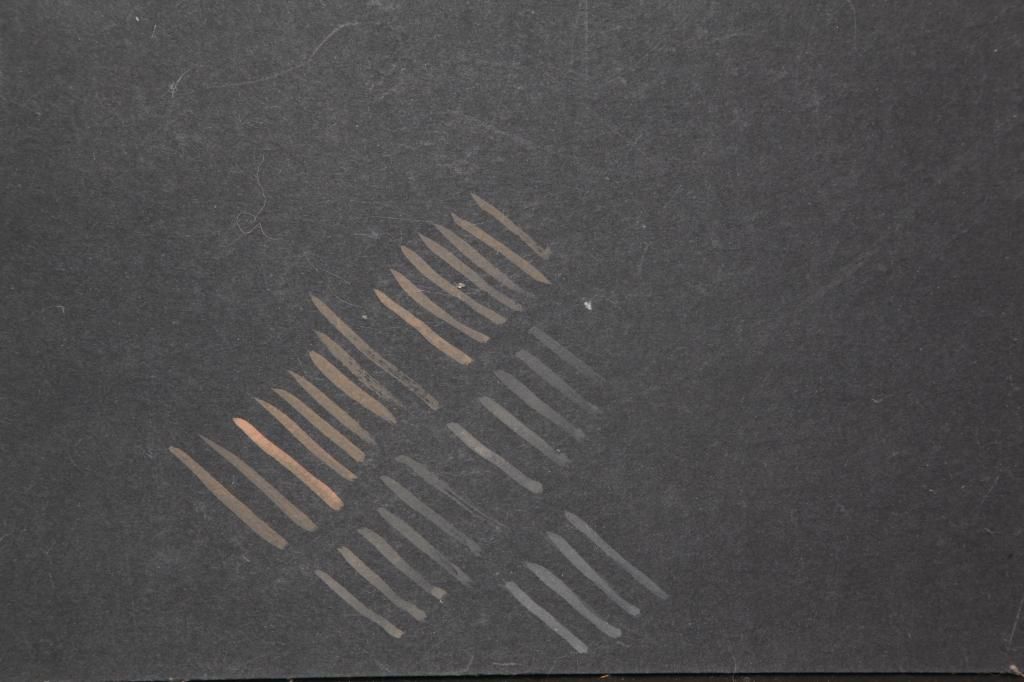
These are my colors
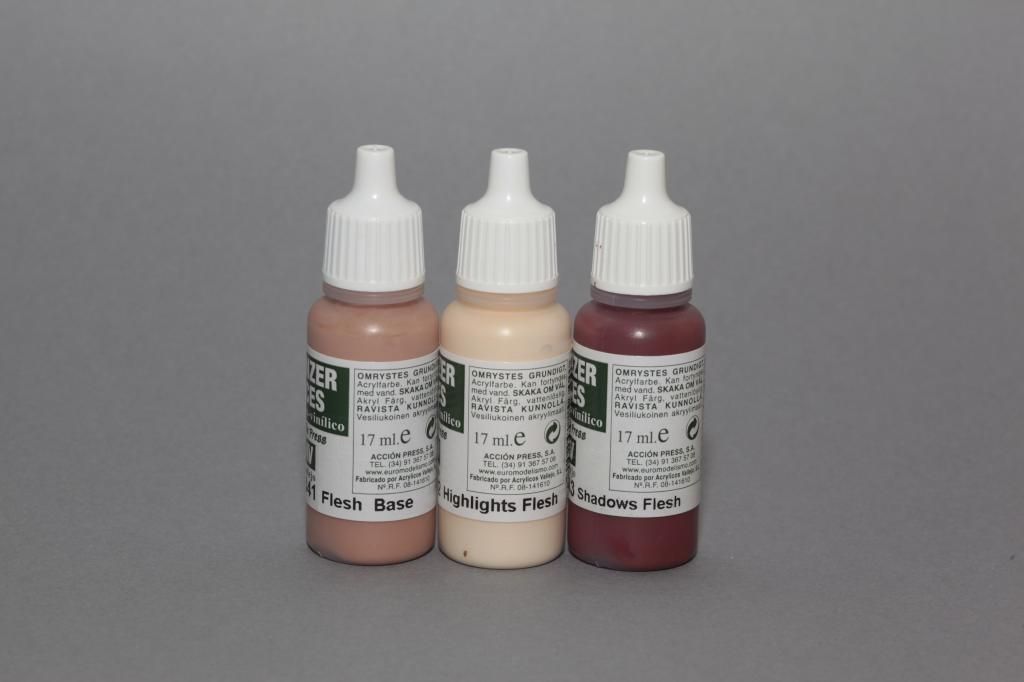
First we get our base color and Thin it out until we are happy with its consistency, Use distilled water as it is much better than tap water, From this we mix our highlights and shadows all you need is a small bit on each level.
So with the base ready we take some of this mix and make a new color with the highlight and for each new highlight we mix we need to use the previous highlight as its base do the same for the shadow color
I have Mixed 4 of each here just for the pic you can have as many as you want or feel comfortable with using, i use between 6 and 8 highlights and 4 to 5 shadows.
The lip and ear tone is just shadow and highlight mixed until you are happy with the tone.
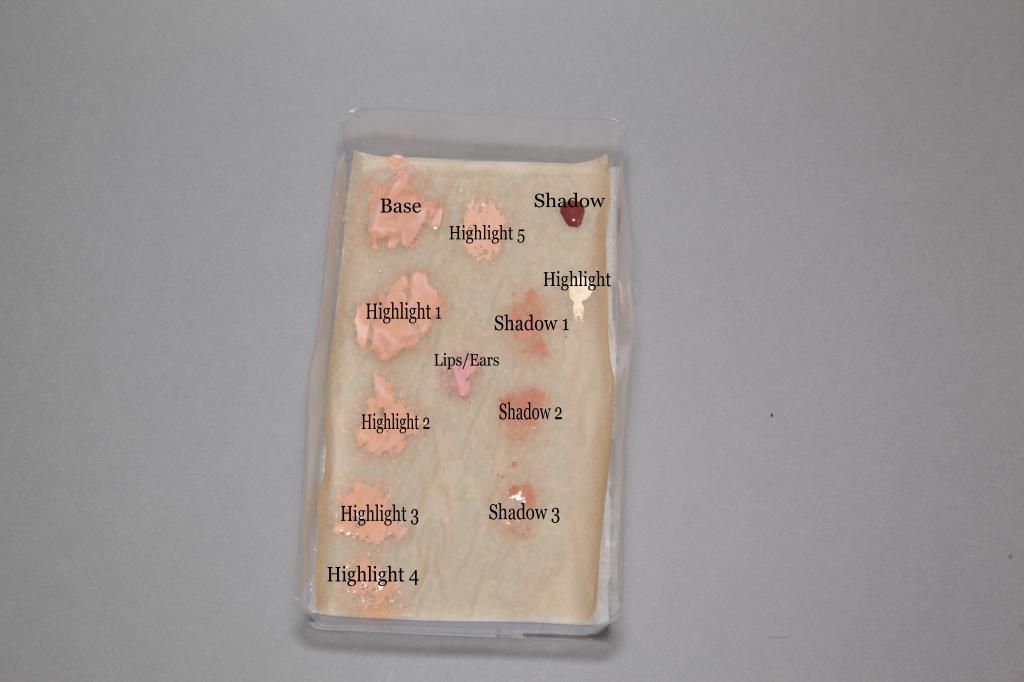
To test consistency use black card to make sure your colors are almost translucent. Shadow colors need to be very translucent, Almost like dirty water.
For the eye color don't use white you need an off white color as white is too stark,.
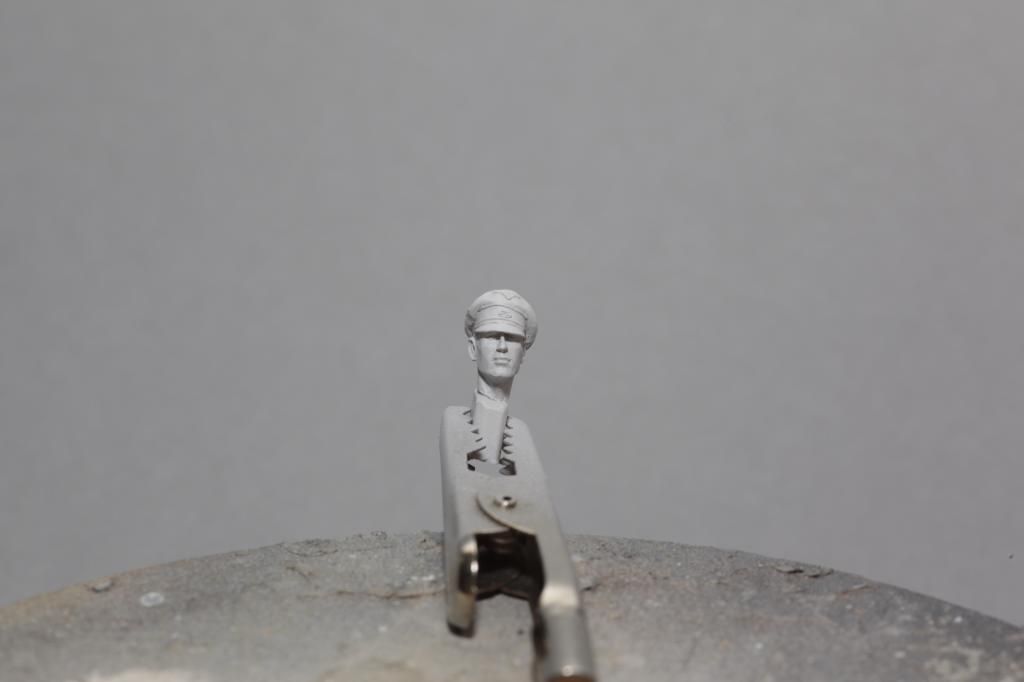
Ok Ill update Later with Pics of a this head from Alpine and showing how to do the eyes and get the skin done
_____________________________________________________________________________________________
After we Lay down our base color fill in the eye with an off white color, I used Stencil from Panzer Aces.
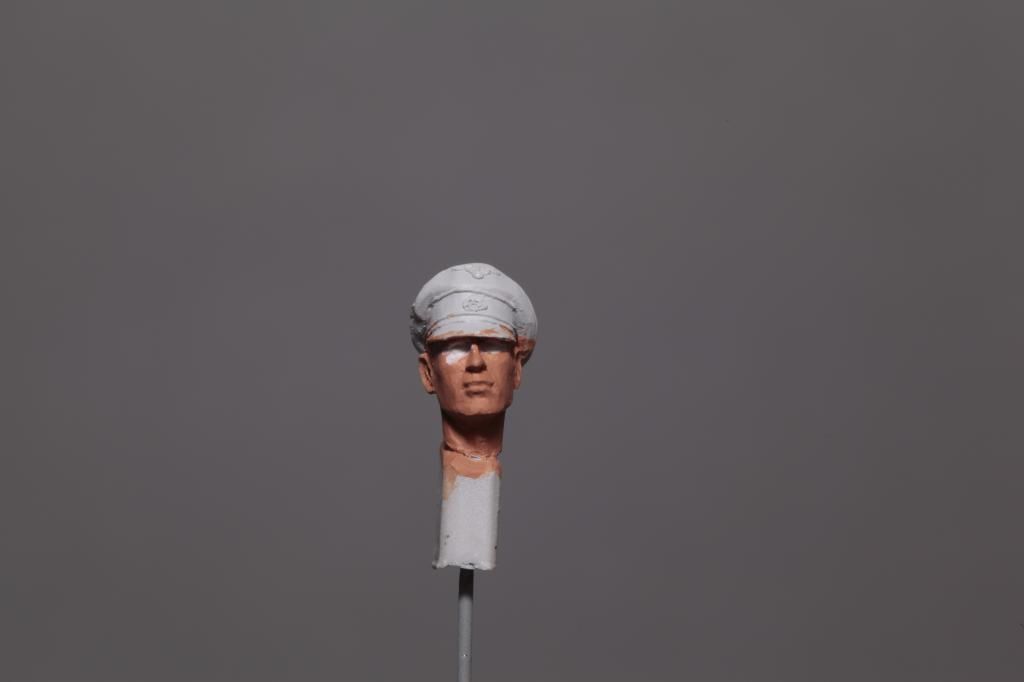
be as neat as you can but it wont matter as we will fix any mistakes later.
Next we need to do the eye outline, Again be as neat as you can but we will go over this with the base color and leave a very thin line and fix any mistakes and there will be lots.
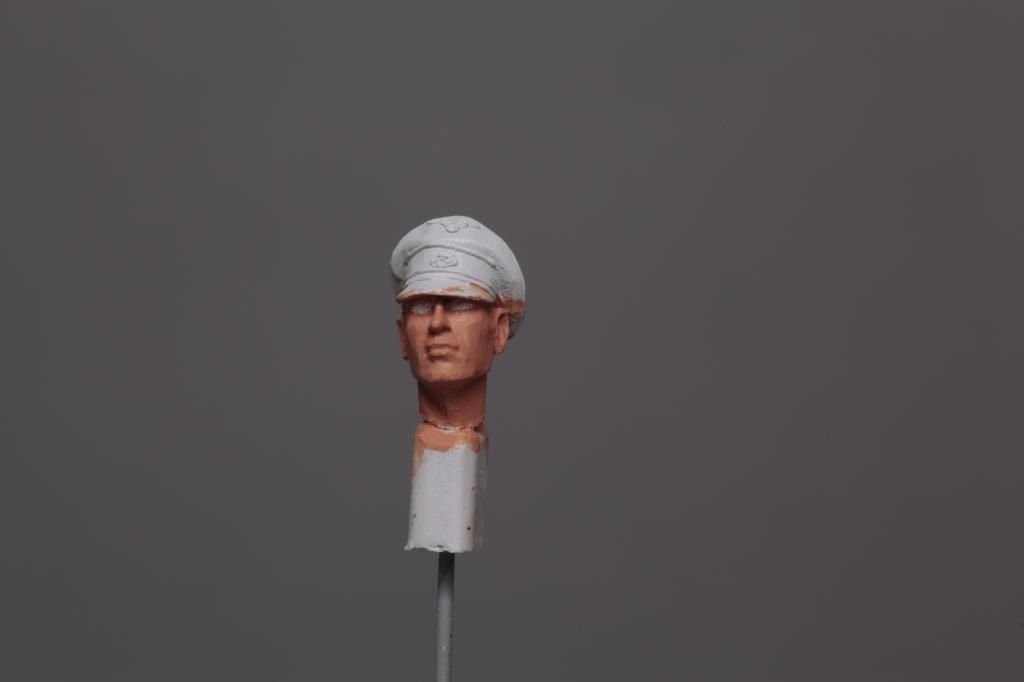
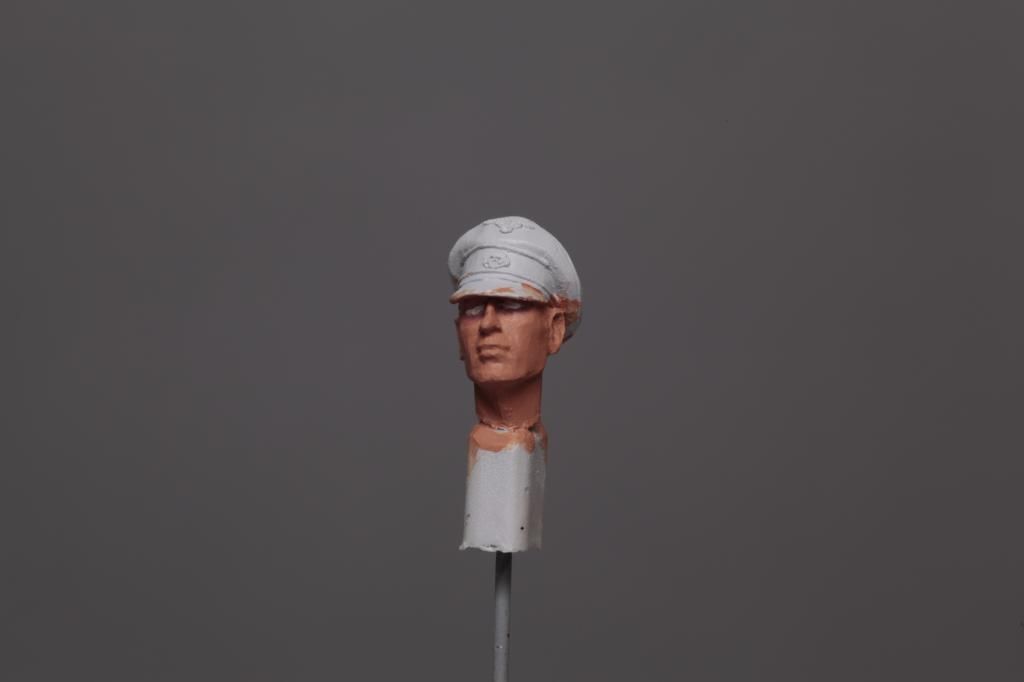
Next is the Pupil you need a tooth pic for this part, You will want to use black as any eye color will be too small and will not look good.
Check the tip of the tooth pic will go into the eye if not sand it down until it fits in, Now dip teh head into the black dab the tip on tissue to remove most of the paint this will avoid a blob covering up what you have just done,
if you get any outside of the eye you can fix it with the outline color.
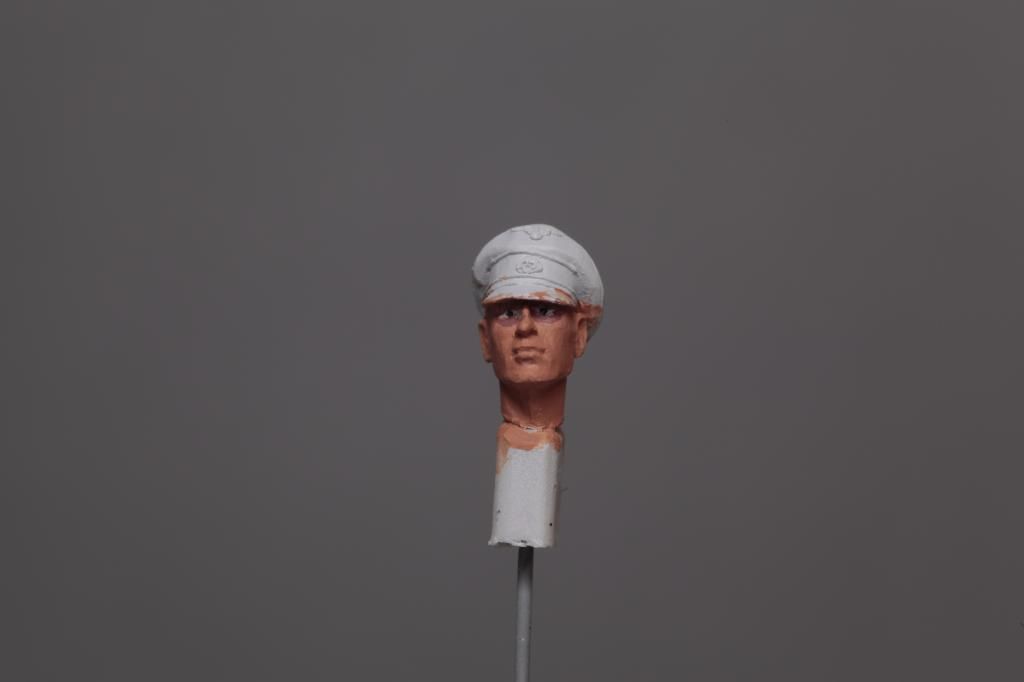
Next is the tidy up part, Get your base coat and paint in the eyes but leave a very thin outline of the lip/ear color and that is about it.
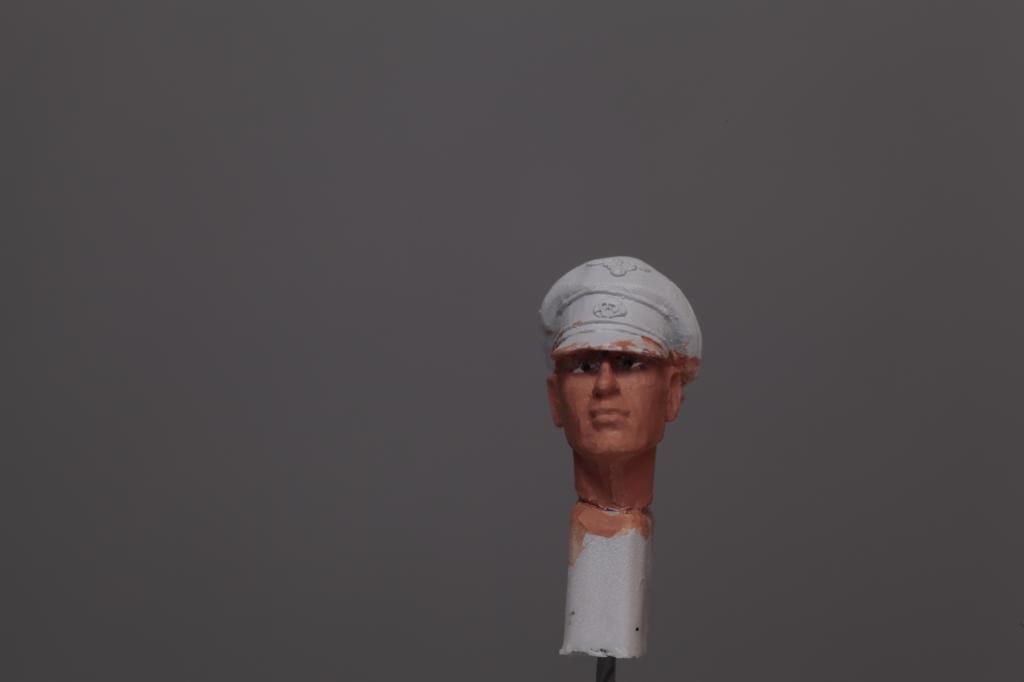
This took me about 40mins to do so dont go rushing it as you will make loads of mistakes be correcting things along the way.
this is how it looks at Distance as you can see it looks much better.
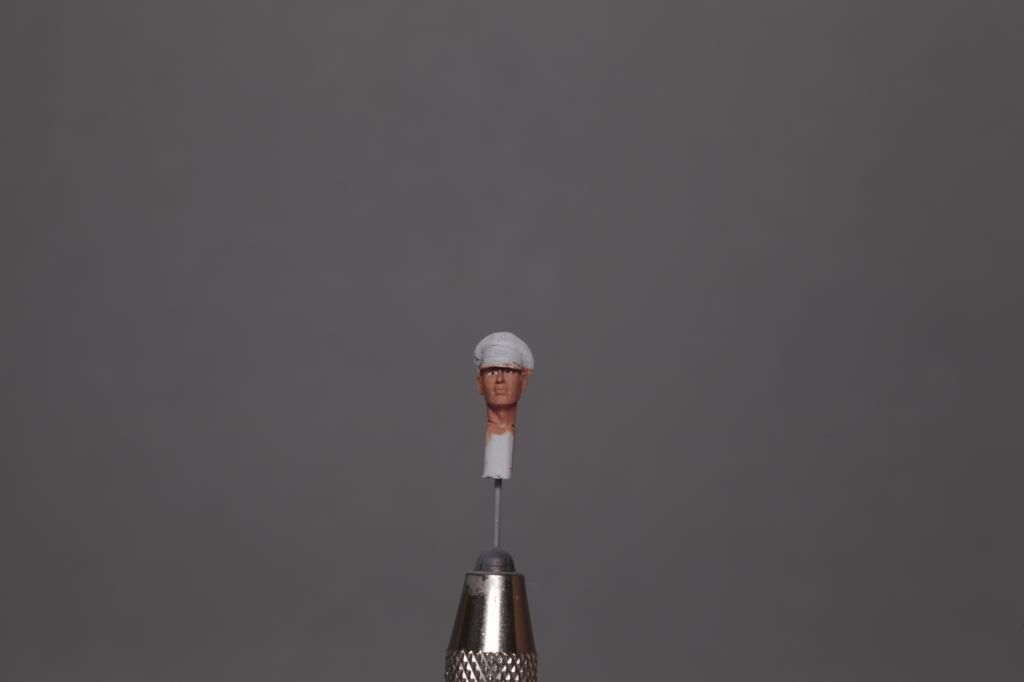
Next up will be shading
_____________________________________________________________________________________________
Highlights are Done in small Areas and take at least 5 passes or more of each highlight same goes for Shading.
Highlights to be placed
Nose Bridge
Nostrils
Upper Cheek bone
Brow Ridge
Fore Head
Upper lip Mustache area
Top of Chin
Shadow to be placed
Cheeks
Eye Bag
Under Chin
Root of Noes (between the eye lashes)
Forehead Wrinkles
Under Noes
Sides of Noes
Under Upper Lip
Corners of Mouth
Piltrum just below the Noes
Mouth Angle. that's the part when you smile you have lines bye your cheeks
So there is a lot to do on a face, so in the next few Pics you wont see a huge difference until the shadows go in
Again each highlight and shadow has got Several passes because the paint is so thin
Highlights
Highlight 1
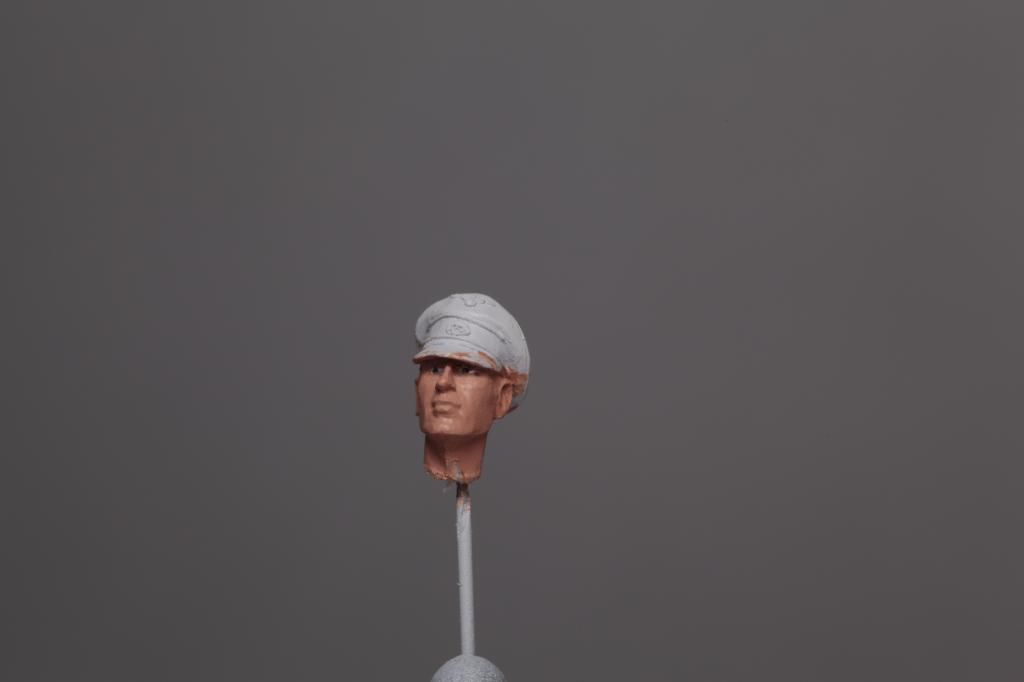
Highlight 2
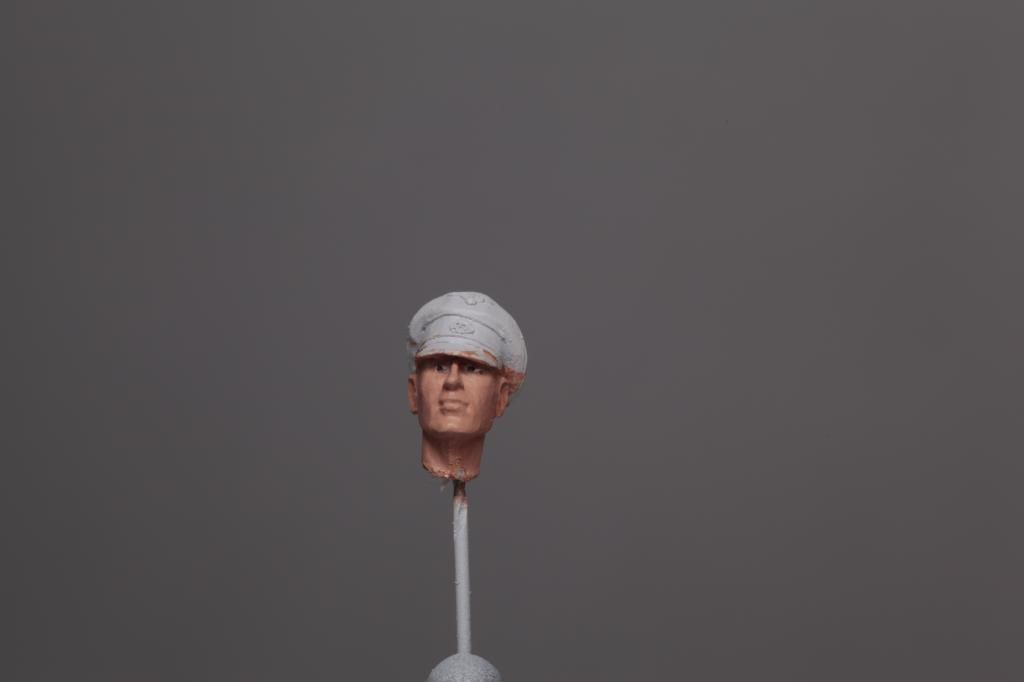
Highlight 3
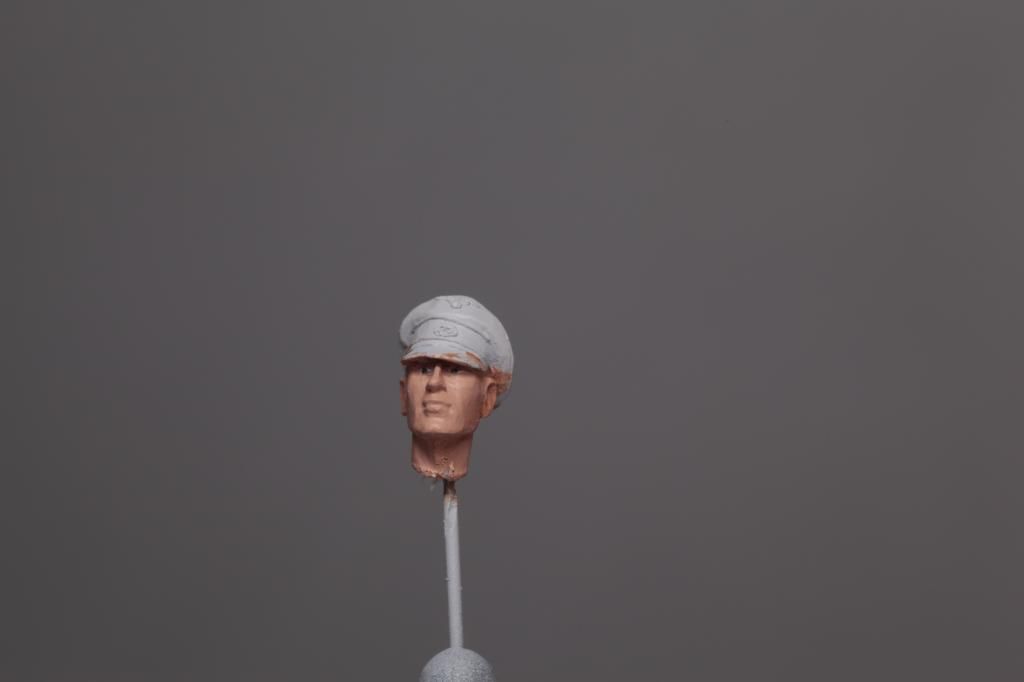
Highlight 4
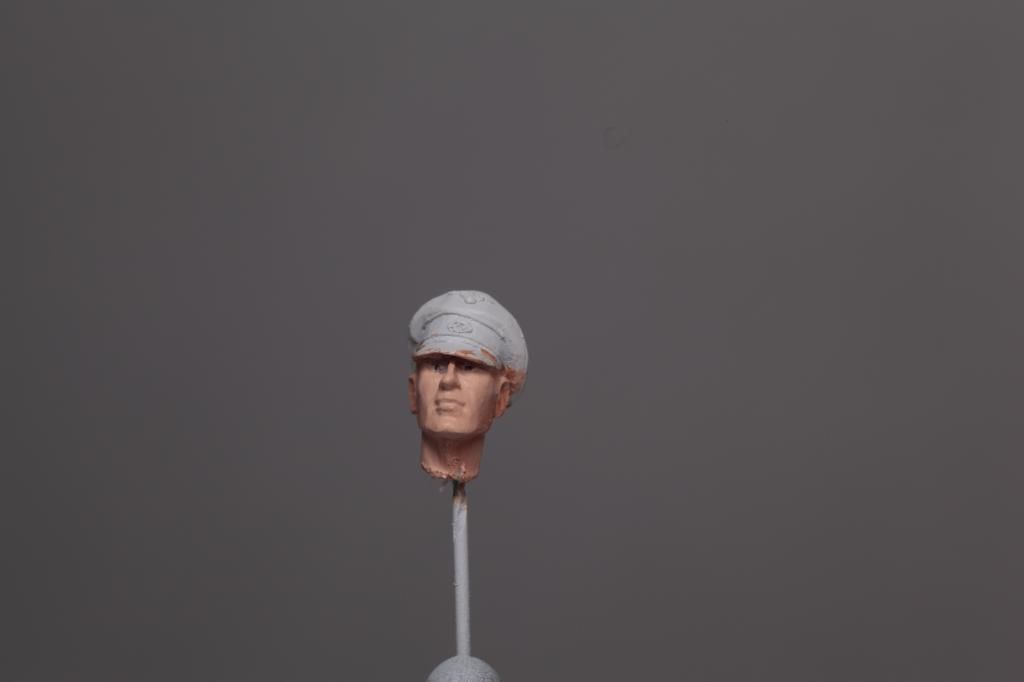
Highlight 5
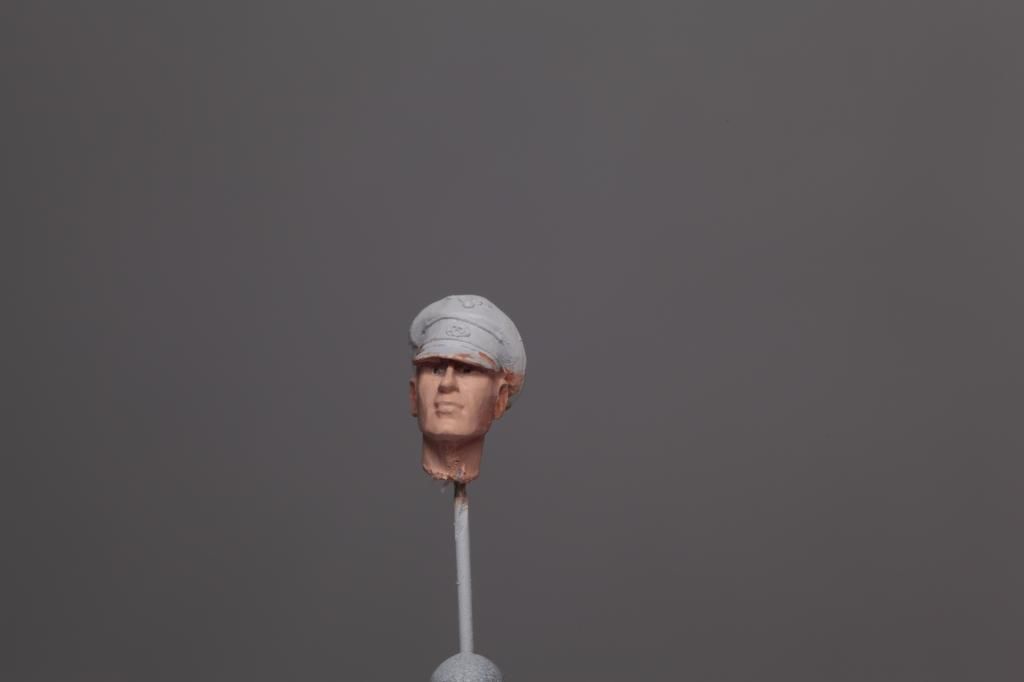
highlight 6
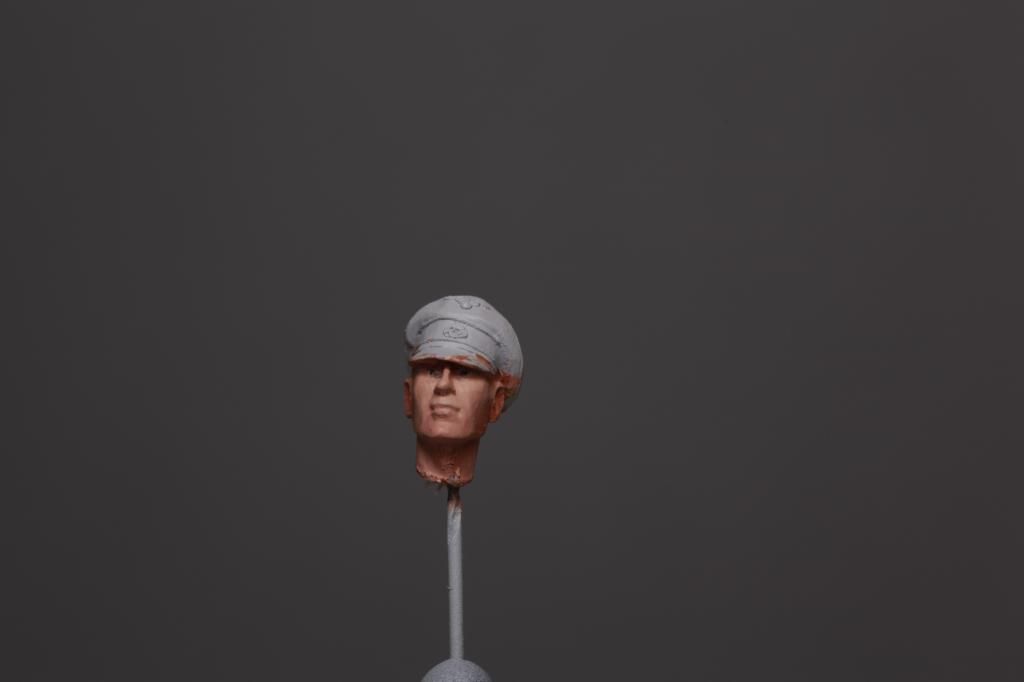
Shadows
Shadow 1
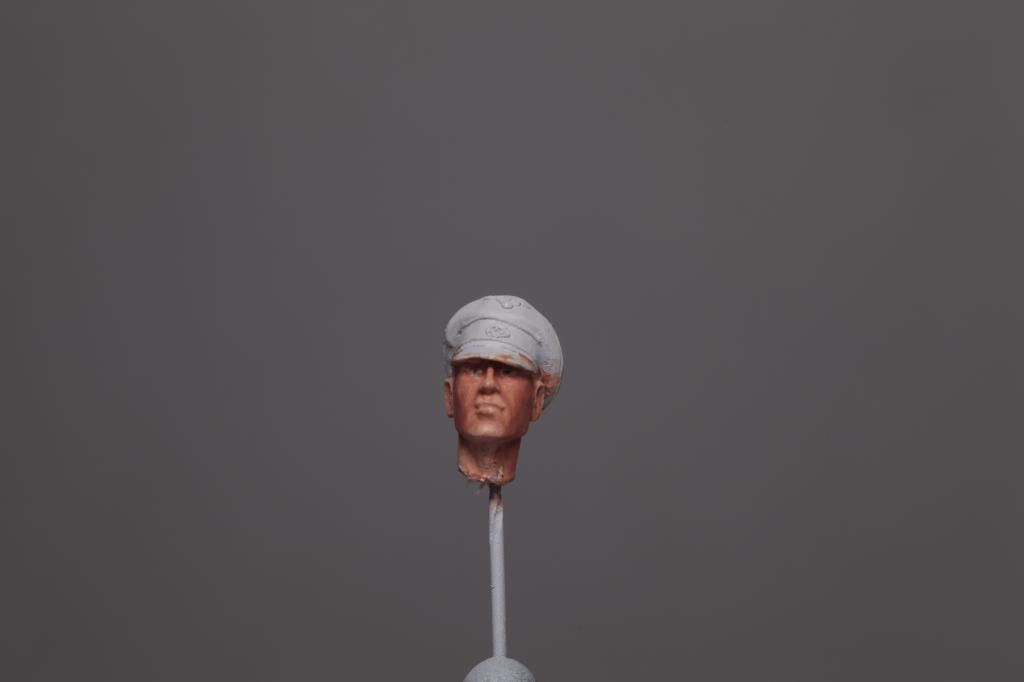
Shadow 2
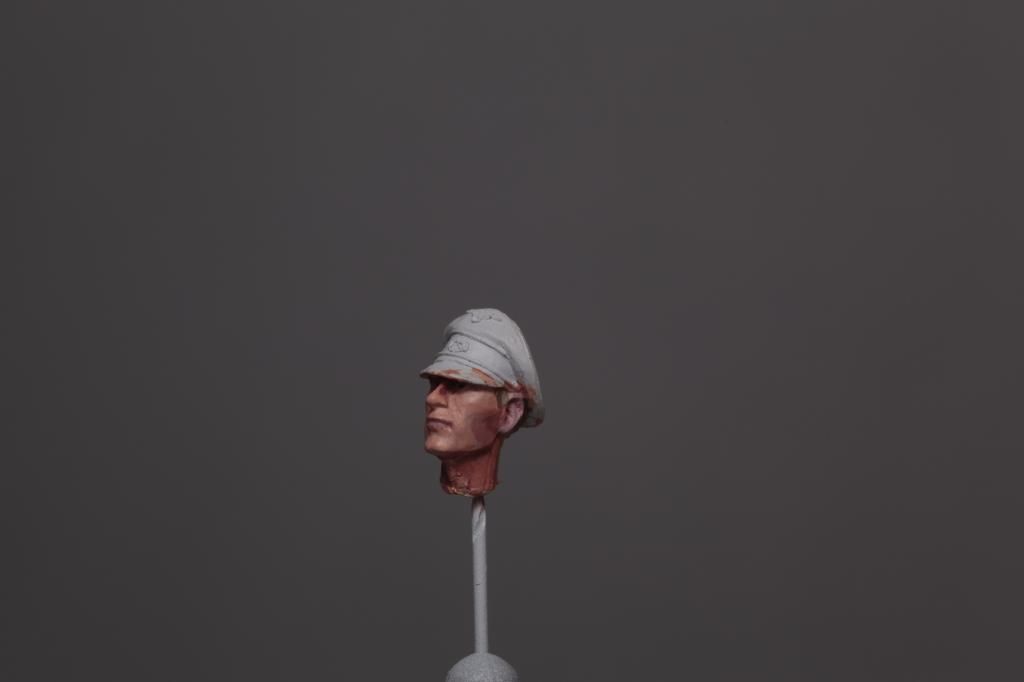
Shadow 3
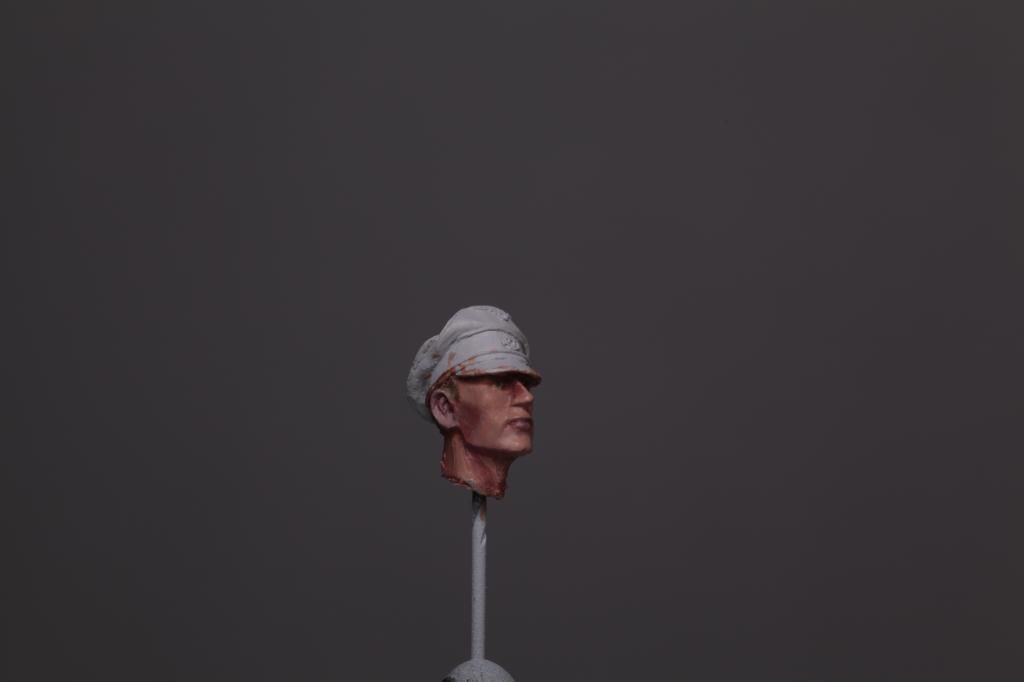
And that is all i used in the shadows but you can use a higher contrast if you wish,
I dint get pictures of the Ears or Lips being done but Mix your Highlight and Shadow base colors to get this color, and mix one more lighter shade for some highlight on the tops of the ears and front of the lip
I painted the Hat and Jacket so you can See the finished Head and How it will look,
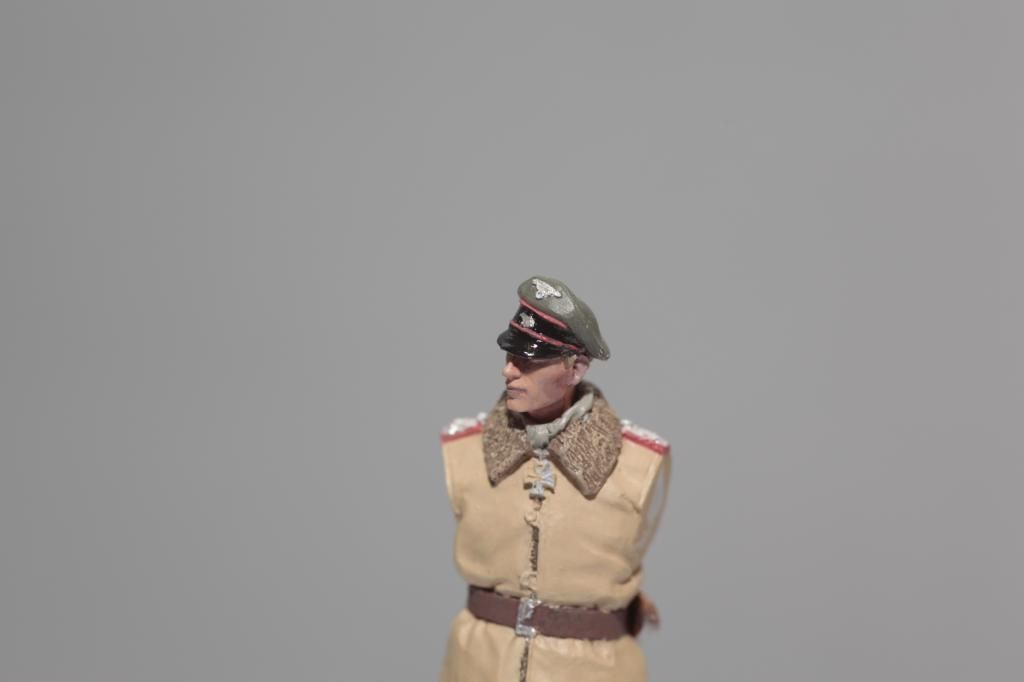
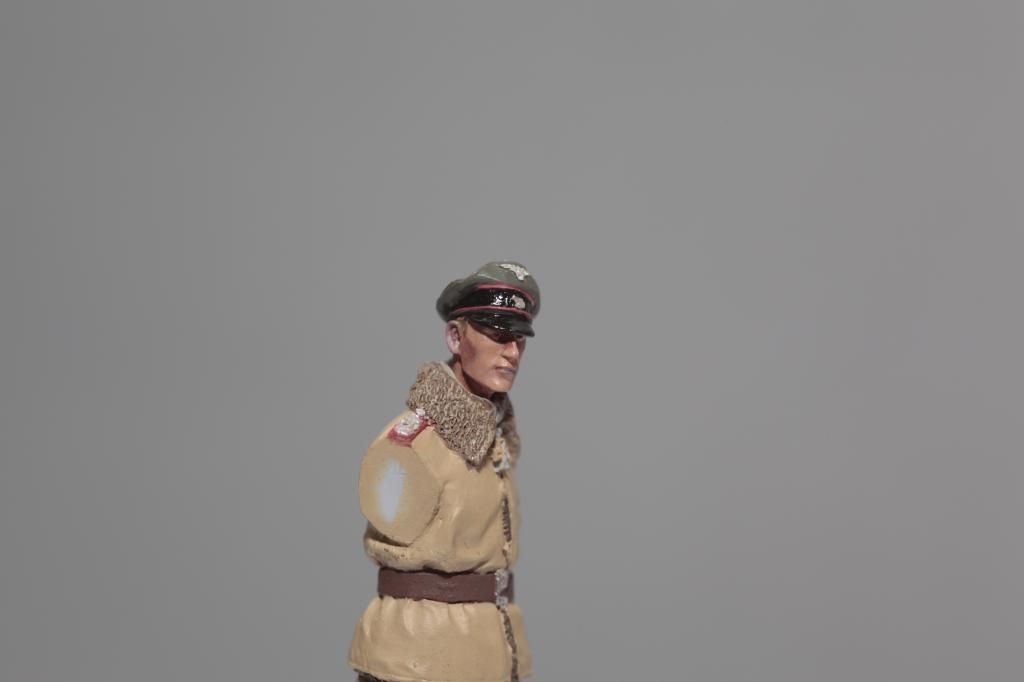
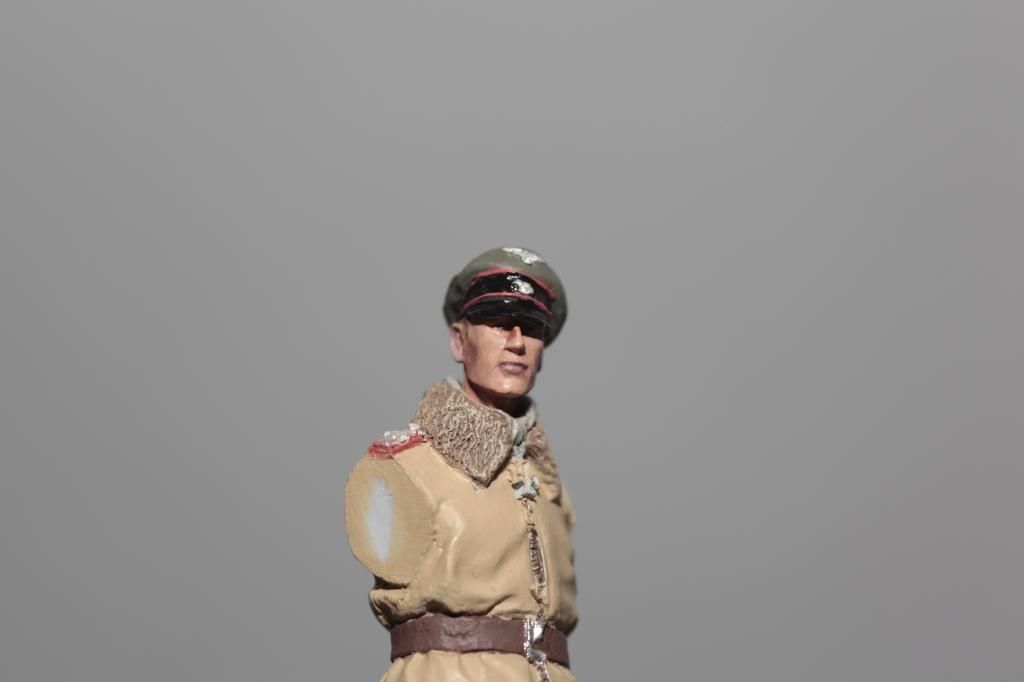
This took me about 4 Hours over all to do, speed comes with Practice so times will drop i hope
I hope this is of some Help to Someone
Great job Spud thanks for taking the time to put this together and for sharing this with MSC!!
FYI....I will be placing this in the Painting section of the MSC Library as well....for future reference.
Thanks for having a LQQY!!
Here is a great little SBS put together by our own Spud for someone over on the Irish Scale Modeller. He shows us some easy step in obtaining great flesh tones in our figure painting.
Ok im no Expert but ive Learned a Lot from the MXpression DVD on the subject and this is for Matt
First off we need a container, Kitchen paper, and Greece proof paper, Also some water.

Put some water in the container and cover it with the kitchen paper followed by the greece proof paper, dont flood it you just need enough to soak the kitchen paper next we need to mix our Colors.
These are my colors

First we get our base color and Thin it out until we are happy with its consistency, Use distilled water as it is much better than tap water, From this we mix our highlights and shadows all you need is a small bit on each level.
So with the base ready we take some of this mix and make a new color with the highlight and for each new highlight we mix we need to use the previous highlight as its base do the same for the shadow color
I have Mixed 4 of each here just for the pic you can have as many as you want or feel comfortable with using, i use between 6 and 8 highlights and 4 to 5 shadows.
The lip and ear tone is just shadow and highlight mixed until you are happy with the tone.

To test consistency use black card to make sure your colors are almost translucent. Shadow colors need to be very translucent, Almost like dirty water.

For the eye color don't use white you need an off white color as white is too stark,.
Ok Ill update Later with Pics of a this head from Alpine and showing how to do the eyes and get the skin done

_____________________________________________________________________________________________
After we Lay down our base color fill in the eye with an off white color, I used Stencil from Panzer Aces.

be as neat as you can but it wont matter as we will fix any mistakes later.
Next we need to do the eye outline, Again be as neat as you can but we will go over this with the base color and leave a very thin line and fix any mistakes and there will be lots.


Next is the Pupil you need a tooth pic for this part, You will want to use black as any eye color will be too small and will not look good.
Check the tip of the tooth pic will go into the eye if not sand it down until it fits in, Now dip teh head into the black dab the tip on tissue to remove most of the paint this will avoid a blob covering up what you have just done,
if you get any outside of the eye you can fix it with the outline color.

Next is the tidy up part, Get your base coat and paint in the eyes but leave a very thin outline of the lip/ear color and that is about it.

This took me about 40mins to do so dont go rushing it as you will make loads of mistakes be correcting things along the way.
this is how it looks at Distance as you can see it looks much better.

Next up will be shading
_____________________________________________________________________________________________
Highlights are Done in small Areas and take at least 5 passes or more of each highlight same goes for Shading.
Highlights to be placed
Nose Bridge
Nostrils
Upper Cheek bone
Brow Ridge
Fore Head
Upper lip Mustache area
Top of Chin
Shadow to be placed
Cheeks
Eye Bag
Under Chin
Root of Noes (between the eye lashes)
Forehead Wrinkles
Under Noes
Sides of Noes
Under Upper Lip
Corners of Mouth
Piltrum just below the Noes
Mouth Angle. that's the part when you smile you have lines bye your cheeks
So there is a lot to do on a face, so in the next few Pics you wont see a huge difference until the shadows go in
Again each highlight and shadow has got Several passes because the paint is so thin
Highlights
Highlight 1

Highlight 2

Highlight 3

Highlight 4

Highlight 5

highlight 6

Shadows
Shadow 1

Shadow 2

Shadow 3

And that is all i used in the shadows but you can use a higher contrast if you wish,
I dint get pictures of the Ears or Lips being done but Mix your Highlight and Shadow base colors to get this color, and mix one more lighter shade for some highlight on the tops of the ears and front of the lip
I painted the Hat and Jacket so you can See the finished Head and How it will look,


This took me about 4 Hours over all to do, speed comes with Practice so times will drop i hope

I hope this is of some Help to Someone
Great job Spud thanks for taking the time to put this together and for sharing this with MSC!!
FYI....I will be placing this in the Painting section of the MSC Library as well....for future reference.
Thanks for having a LQQY!!


