multicam
Senior Member
   
Member since: January 2012
Nate
Posts: 2,039
Jan 10, 2012 14:35:41 GMT -5
Jan 10, 2012 14:35:41 GMT -5
|
Post by multicam on Jan 26, 2012 20:14:18 GMT -5
Hello all, working on this trumpeter M1126. Pretty much an oob build that's nearly complete and already under paint. It's got a primer coat, a black shading coat, multiple thin layers of acrylic and a couple lighter acrylic panel highlight coats. Also, I have given it two light, green oil washes. 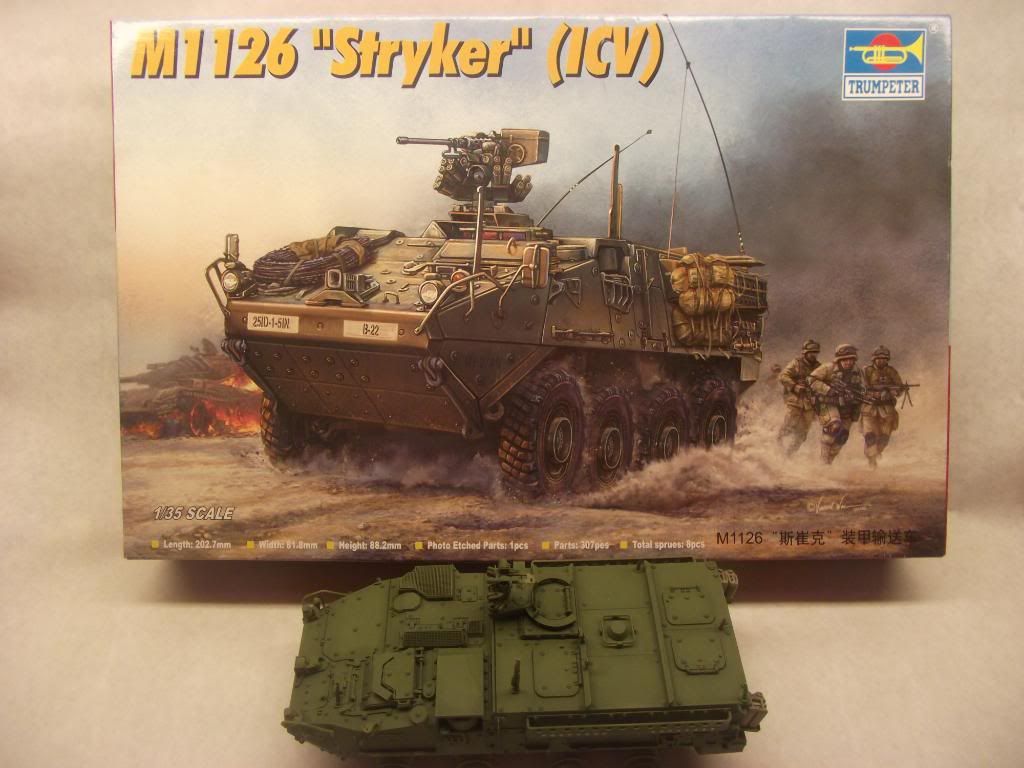 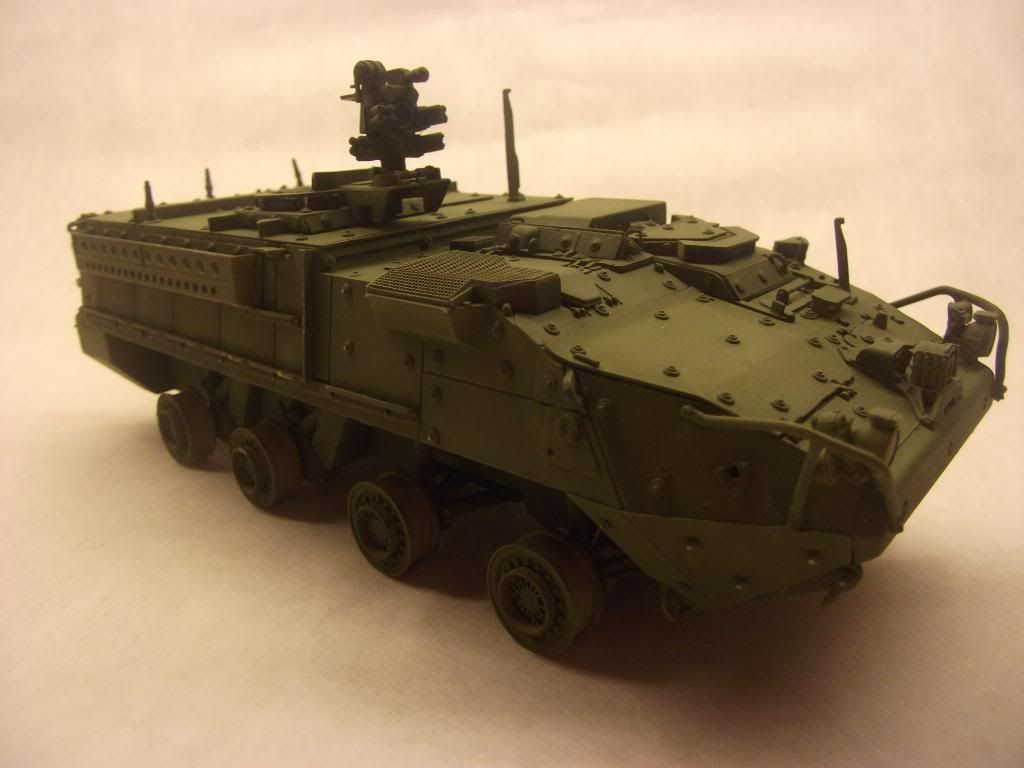 Still got a lot of work to do. Some general touch up work (like the PE around the water/fuel cans) and some dirtying up. The cans are from Real Model 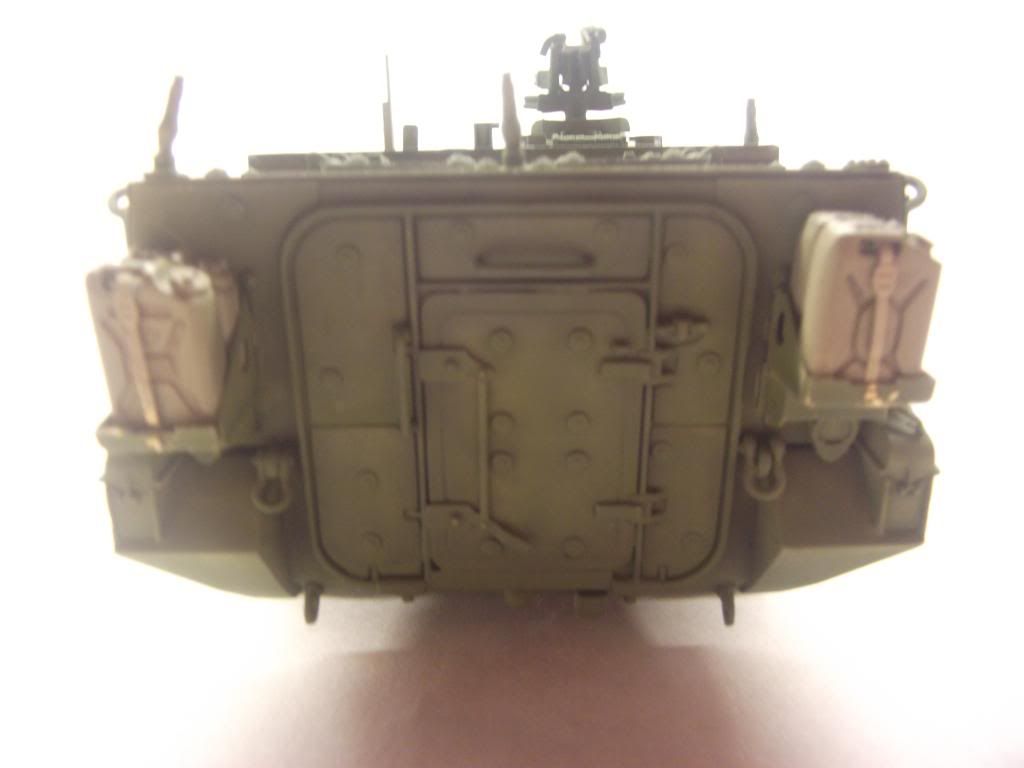 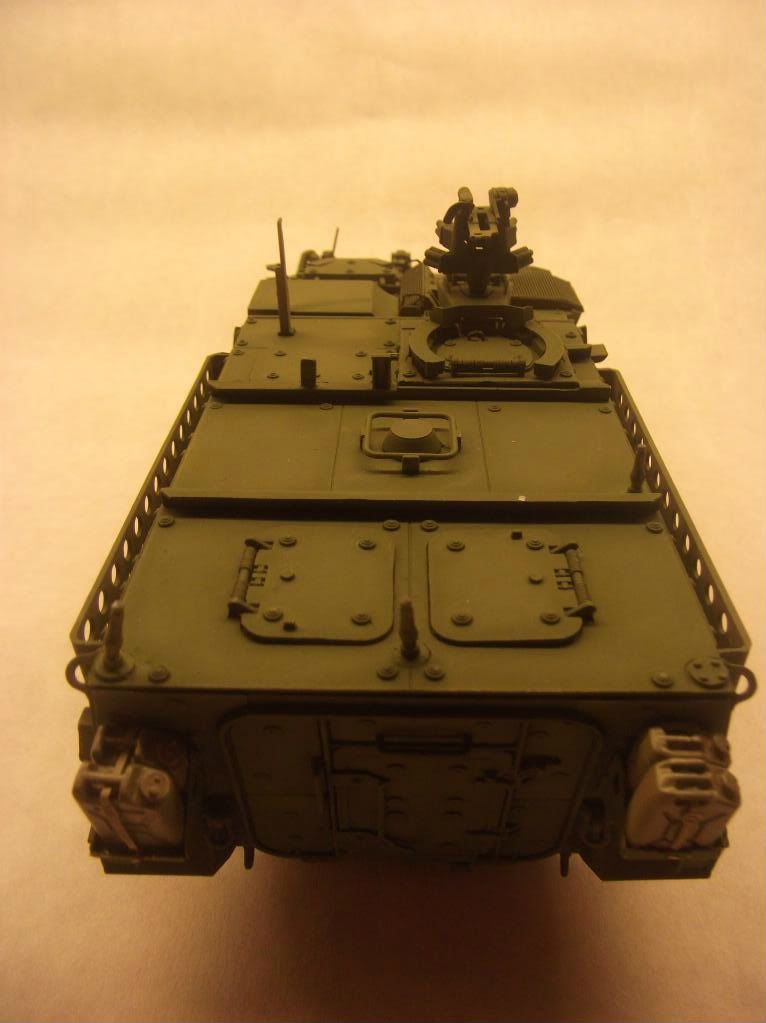 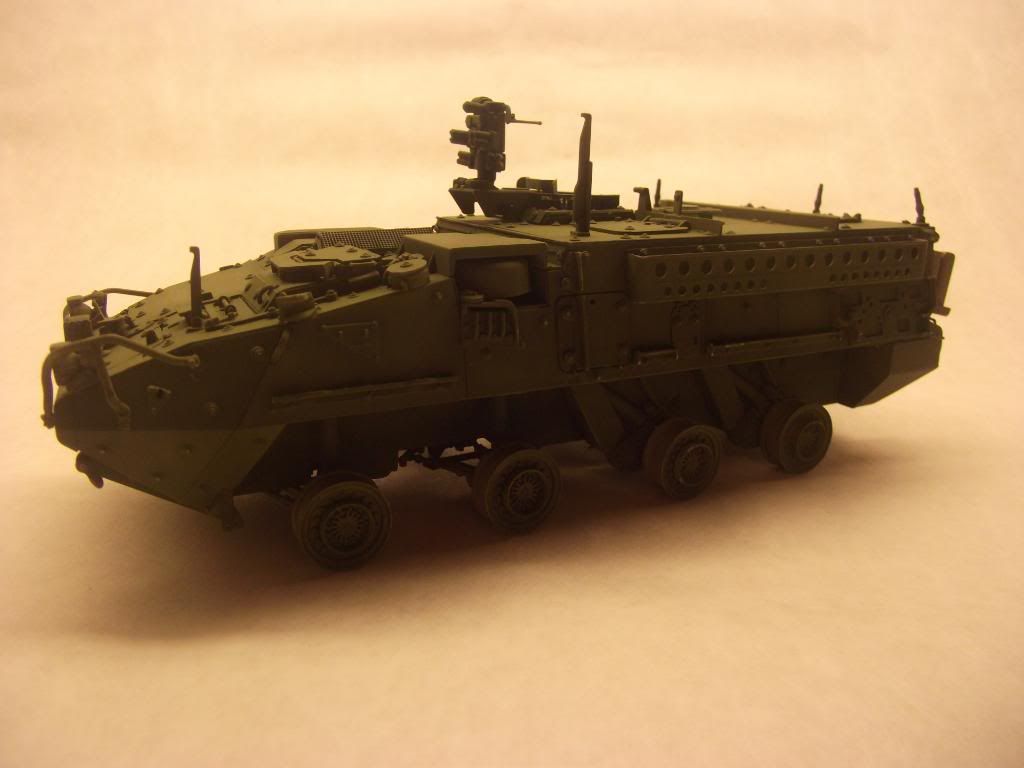 This weekend i'm gonna put the tools on and paint a nice heavy layer of dust on the bottom side of her. 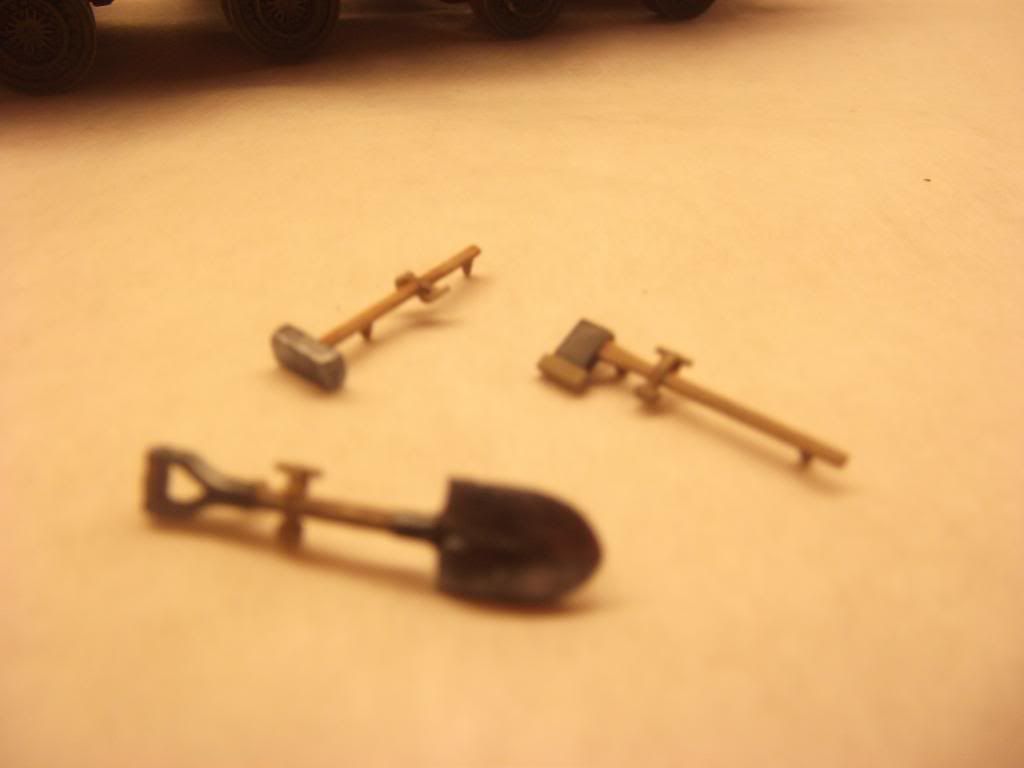 Then I'm gonna start in on stowage and weathering. (The best part, in my mind  ) Duffel bag and cardboard box are from a Pro Art Models modern U.S. set. I painted the bag in Multicam pattern(of course  ) inspired by the waffen SS figure book by Calvin Tan that I heard about on MSC. Let me hear your suggestions fellas, I wanna get better here ;D 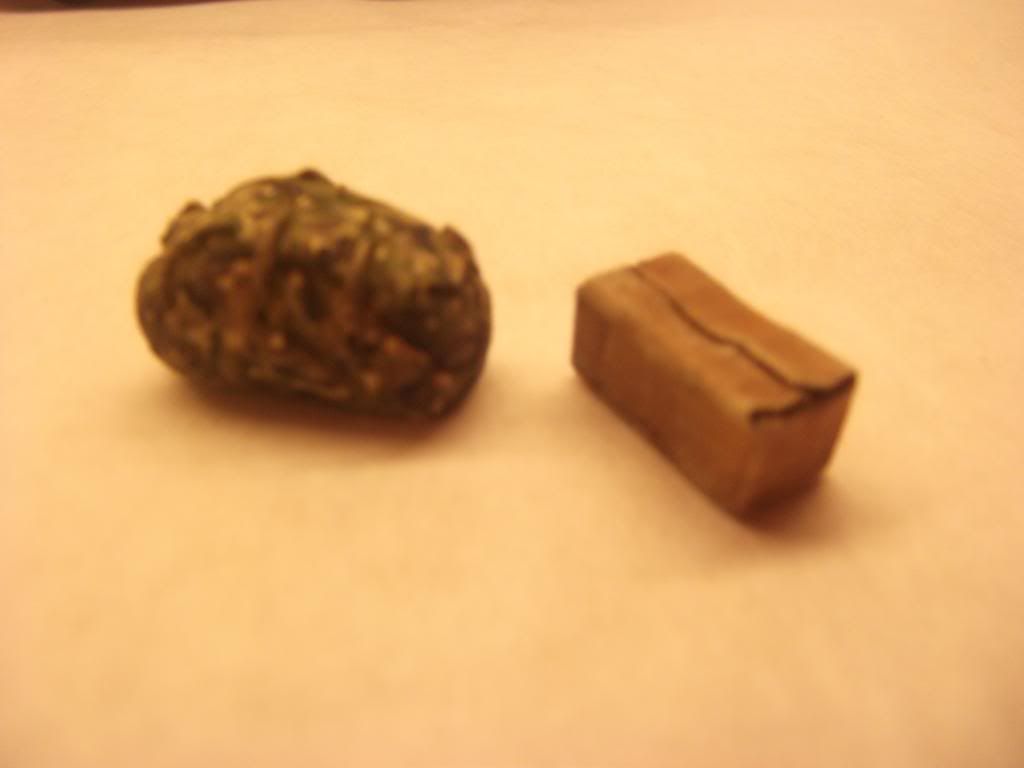 More stowage: the tarp is also from the PA Models set but the modern ruck is my own creation. I thought the stowage included with the Trumpeter set was either too big or outdated. So, I sculpted my own modern AM rucksack and cast a couple of copies. Thinking of throwing another on the other side in Multicam. 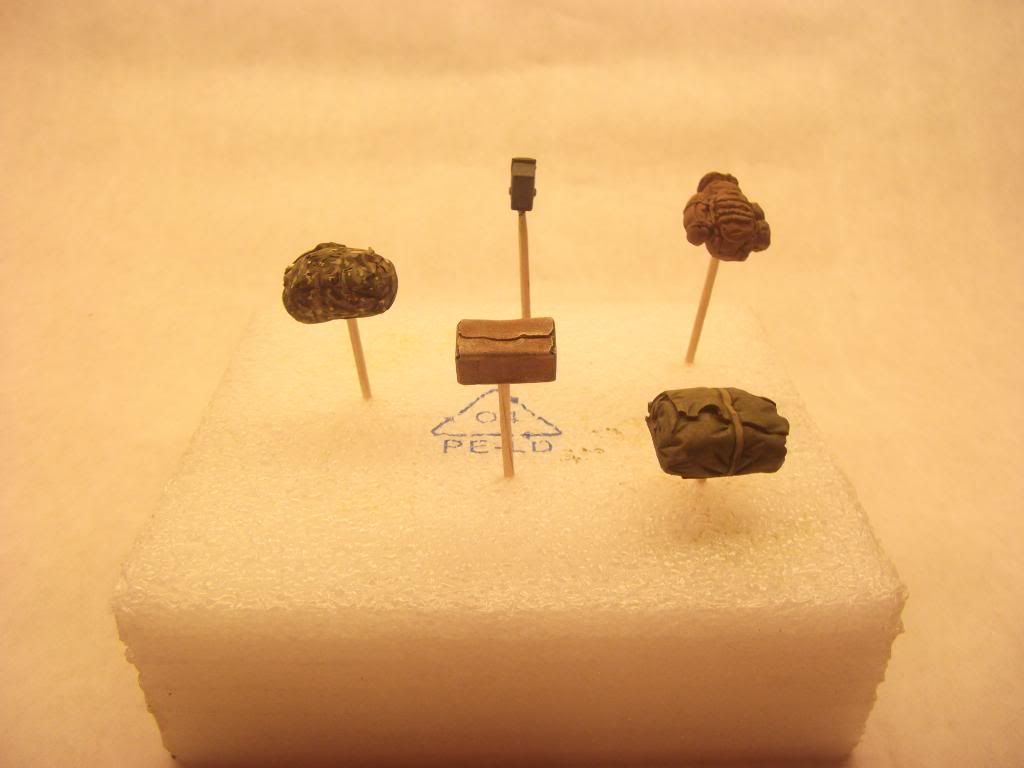 Also need to put the gun in place and add some antenna. s1156.photobucket.com/albums/p580/multicam1/Stryker%20Build/?action=view¤t=DSCF1602-1.jpg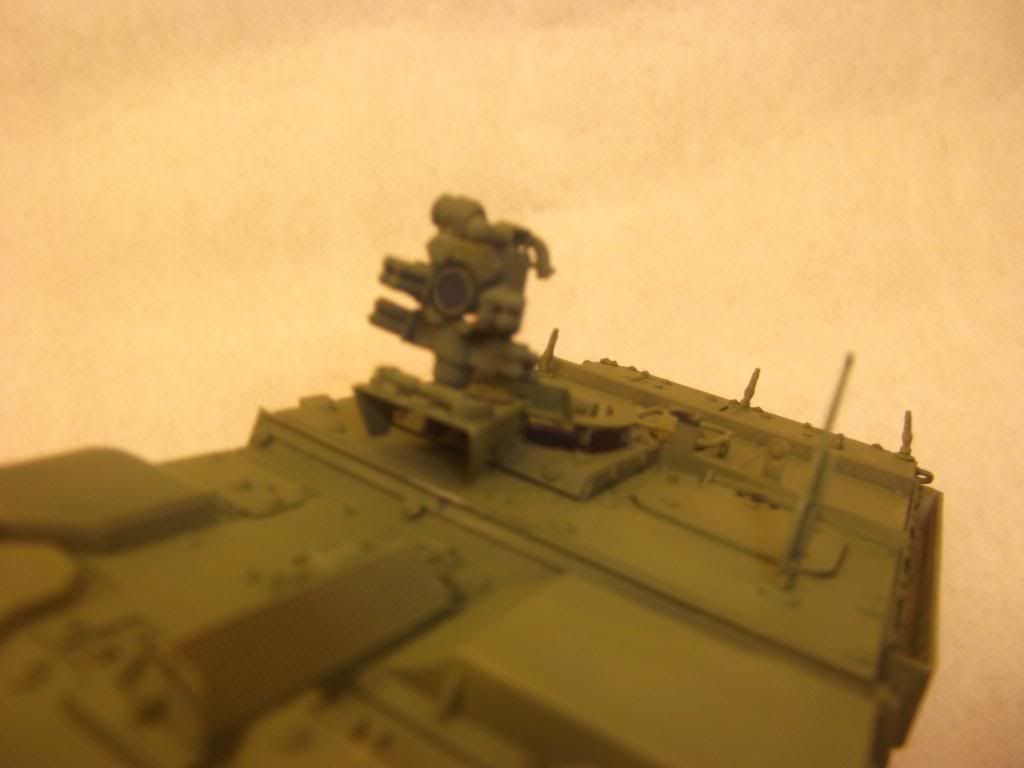 Also had a question for everyone. I'm going for that irridescent blue/red/purple color of the turret windows and the gun camera/periscope thingie  . I've been layering red and transparent blue acrylics but haven't quite achieved what I was hoping for. I was thinking maybe some red oils on top of the blue then some Johnson's clear? Let me know what you think. Thanks for looking. My apologies for the imperfect pics. Still working on that  |
|
|
|
Post by TRM on Jan 26, 2012 21:35:27 GMT -5
Looking sweet!!! Been seeing some of these around and have thought about picking one up!!! As for the pics.....it will come around. Need to keep trying different setups and remember which worked best. Sunlight works awesome, but, Day White bulbs work just as well. Just keep messing with the settings!!! The optics....have not had the luxury of messing with new armor like this yet!! I have seen the use of confetti dots....shinny, multicolored circles sold at most craft stores. Cheap, quick and dirty, but, highly effective look afterwards!!!  |
|
multicam
Senior Member
   
Member since: January 2012
Nate
Posts: 2,039
Jan 10, 2012 14:35:41 GMT -5
Jan 10, 2012 14:35:41 GMT -5
|
Post by multicam on Jan 27, 2012 18:50:27 GMT -5
Thanks for the great ideas guys! Much appreciated.
Dicky, I do like this kit and I think next time around, I'll scratch me an interior and leave some doors open. This one is well made for such a project. I got USMC LAC 25 that I may do in such a way. What are the two builds in the pics above? Thanks again.
|
|
|
|
Post by armorguy on Jan 27, 2012 19:13:39 GMT -5
I'm not into modern armor, the Stryker however is a well known and famous vehicle, I love its appearance ! Your build of it is stunning, OOTB or not ! And the green looks so good, not too dark !
|
|
Deleted
Member since: January 1970
Posts: 0
Dec 2, 2024 0:58:36 GMT -5
Dec 2, 2024 0:58:36 GMT -5
|
Post by Deleted on Jan 27, 2012 19:47:31 GMT -5
Nate,I don't think jackwagon will mind if I answer that for ya.The top one was his Recovery vehicle based on the French LeClerc chassis,and the second is a 'cutaway' Challenger 2,he did last year......I think!!  |
|
legend
Full Member
  
Member since: November 2011
Posts: 577
Nov 30, 2011 13:49:32 GMT -5
Nov 30, 2011 13:49:32 GMT -5
|
Post by legend on Jan 28, 2012 6:02:12 GMT -5
This leclerc thingy.... is that scratch?   Bill |
|
Deleted
Member since: January 1970
Posts: 0
Dec 2, 2024 0:58:36 GMT -5
Dec 2, 2024 0:58:36 GMT -5
|
Post by Deleted on Jan 28, 2012 6:18:15 GMT -5
Bill,yes mate,apart from the wheels,and some suspension!!!!!!!Look in Nemos builds 2011   |
|
multicam
Senior Member
   
Member since: January 2012
Nate
Posts: 2,039
Jan 10, 2012 14:35:41 GMT -5
Jan 10, 2012 14:35:41 GMT -5
|
Post by multicam on Jan 28, 2012 8:27:51 GMT -5
Thanks Chris, appreciate the info  |
|
|
|
Post by 406 Silverado on Jan 28, 2012 12:25:18 GMT -5
I'm not much into this type of vehicle but can appreciate what you fellas do with them
|
|
rm6239.
Full Member
  
Member since: November 2011
Ross Moore
Posts: 252
Nov 19, 2011 5:04:13 GMT -5
Nov 19, 2011 5:04:13 GMT -5
|
Post by rm6239. on Jan 28, 2012 17:52:43 GMT -5
Nate
Looking good mate. like the paintwork.
cheers
Rossco
|
|
multicam
Senior Member
   
Member since: January 2012
Nate
Posts: 2,039
Jan 10, 2012 14:35:41 GMT -5
Jan 10, 2012 14:35:41 GMT -5
|
Post by multicam on Feb 2, 2012 21:57:01 GMT -5
Okay fellas, so here's an update. Sorry for the delay, but this little project has kept me busy at my bench for a few days  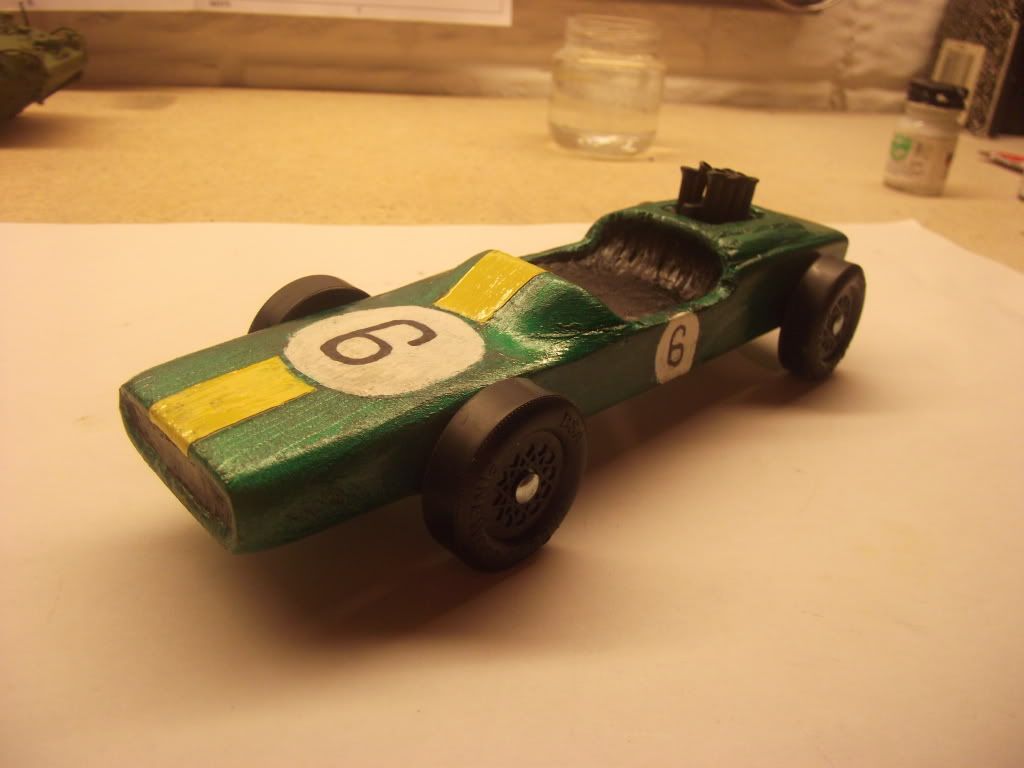 For those of you that don't recognize what it is, it's a Cub Scout "Pine wood derby" car that the scouts build and race. It's quite the event and this is my first. My son, who is 6, and I had a ball building it! Can't wait to race it!. Okay, so onto the Stryker. I've done quite a lot since last time. I've finished and installed the .50 mg as well as the frontier tools and spent last night working on some decals (just a couple yet to do:). 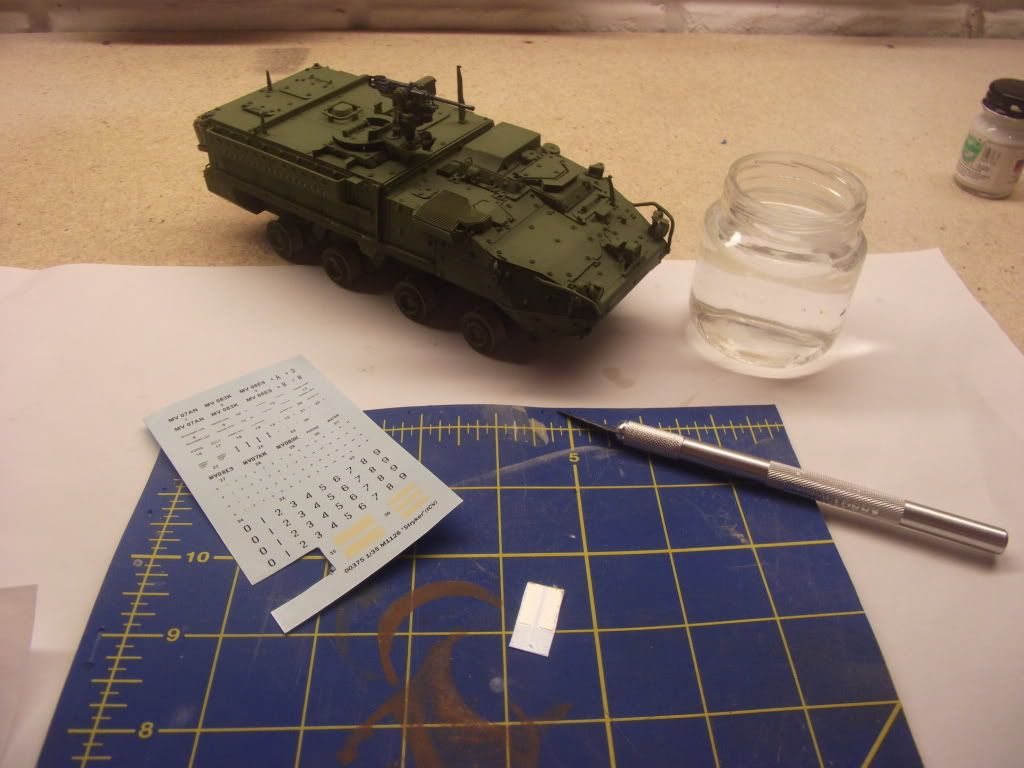 Yesterday I also painted the headlights and finished the other lights tonight. I then couldn't resist starting the dusting process. There are a couple of light coats of thinned "Sand" that I applied at an upward angle to get the splashy, gradual effect. I'm close to happy with it. I may need a coat or two more. 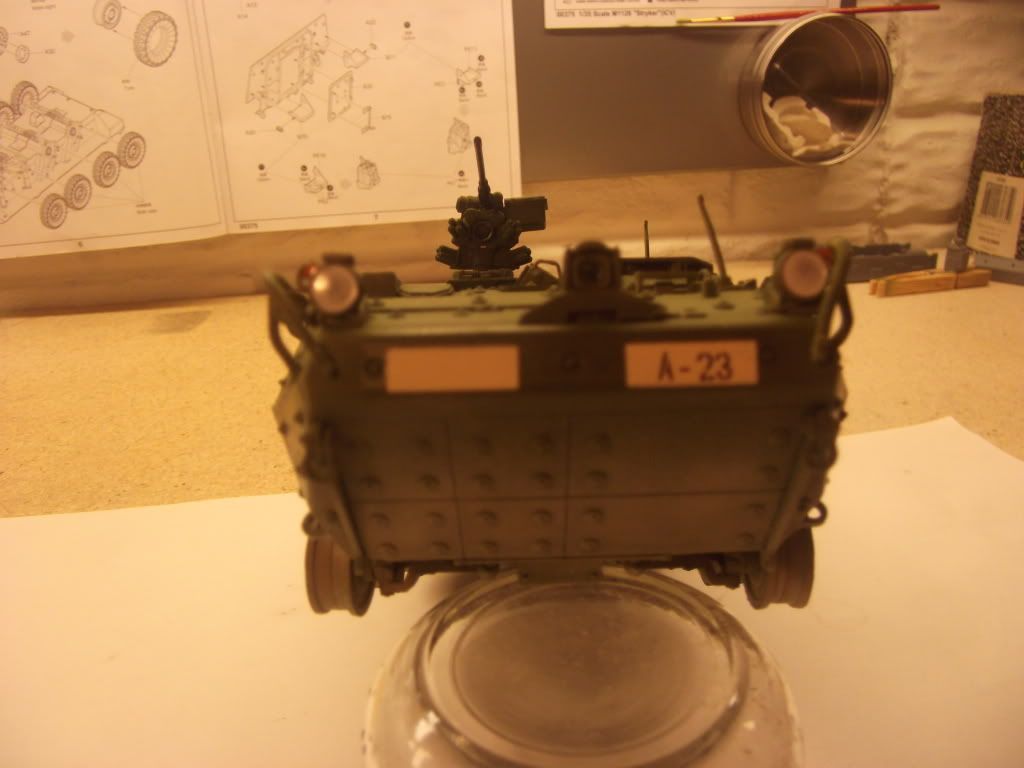 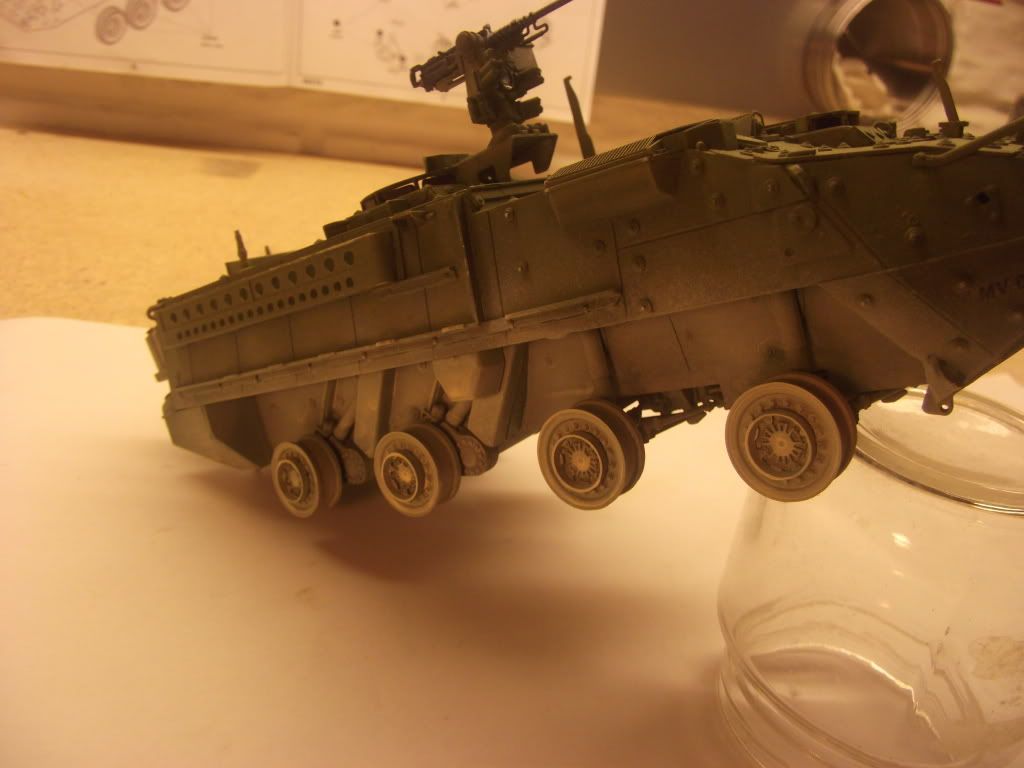 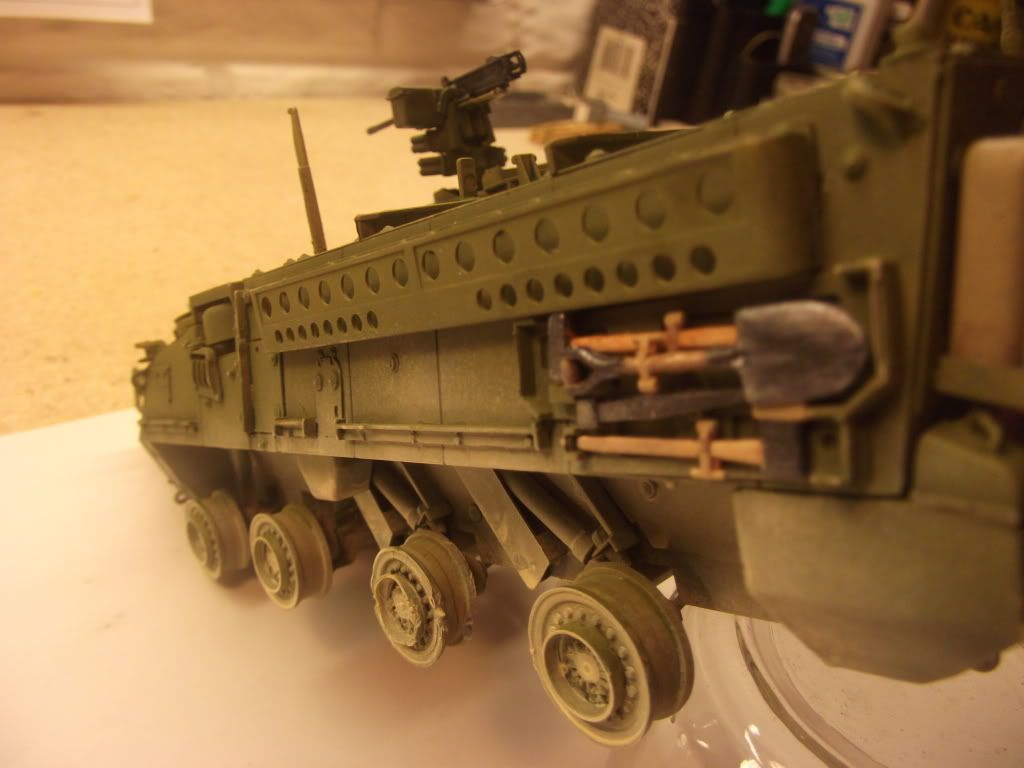 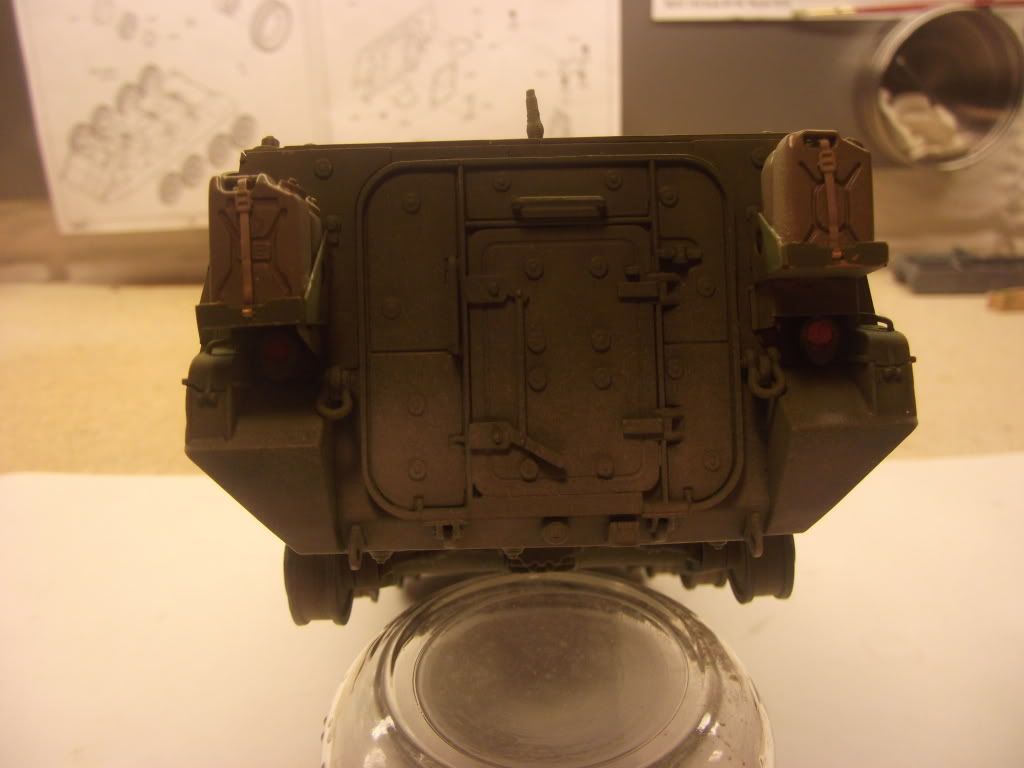 Same thing with the tires. Any suggestions would be welcome. 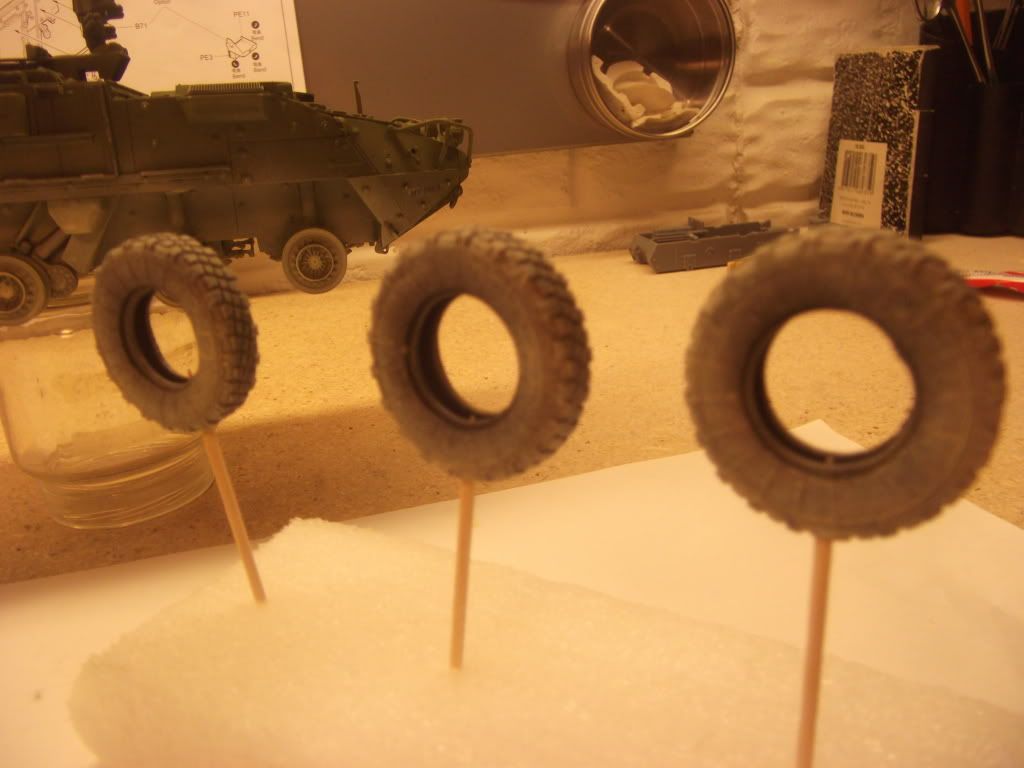 This is what I'm going for.... (for discussion purposes only) 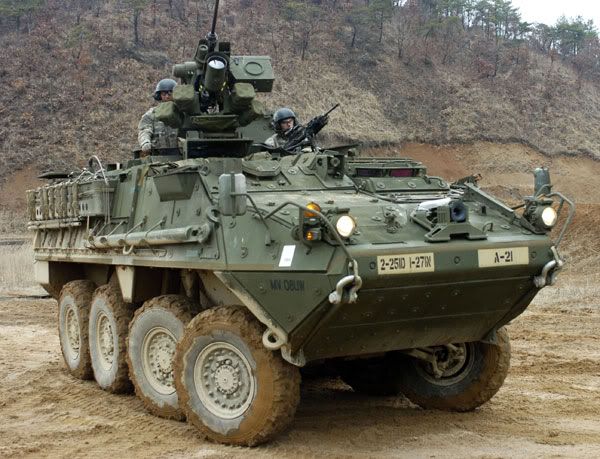 Gotta put the mirrors on, finish the optics and the decals, do some general touch ups, then it's on to some weathering. More dust and a little fresh mud like in the pic. Think I'll put it on a base as well. 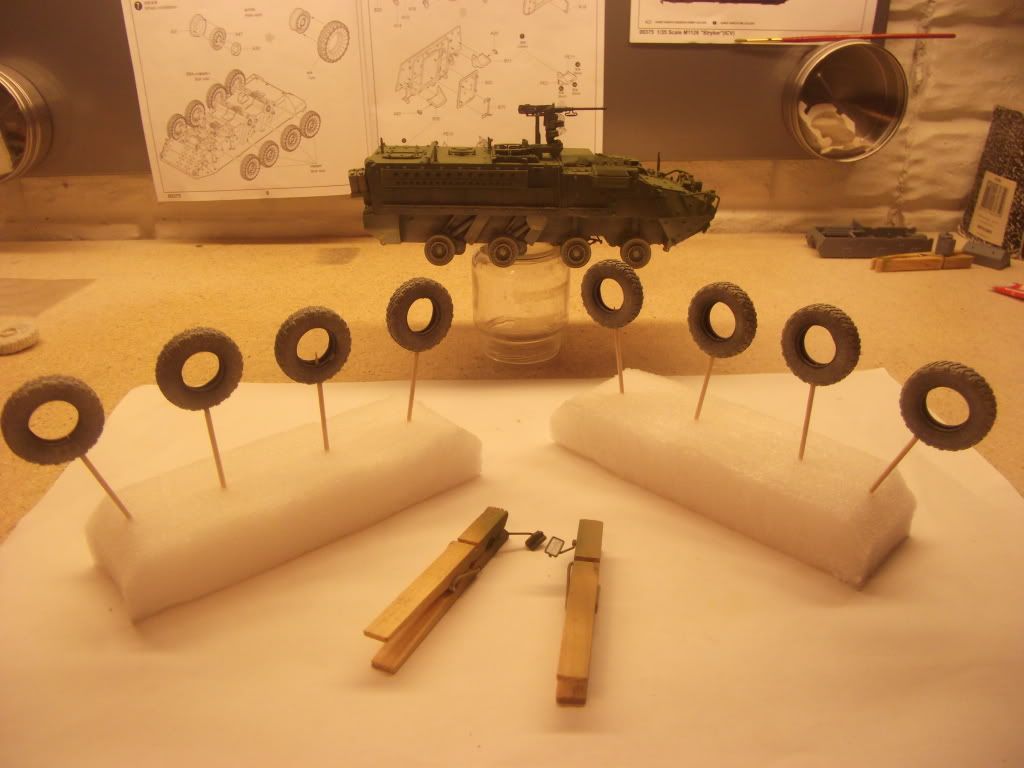 Cheers all and thanks for looking. As always, suggestions and tips are welcome! |
|
bigjohn
Reviews member    
Member since: December 2011
John Hale
Posts: 3,438
Dec 21, 2011 2:17:45 GMT -5
Dec 21, 2011 2:17:45 GMT -5
|
Post by bigjohn on Feb 2, 2012 22:30:42 GMT -5
Sorry to say that Modern armor is not really my thing and I don’t know much about it, But this looks like a really clean and well executed build. I really like the dust effects you have done with this.
Like T said, your photography will come around. I know it can be a pain to get good pics. One thing I can suggest is a couple of cheap desk lamps from walmart. Place one on each side, and another overhead. Disable your flash on the camera and I bet you’ll see immediate results.
|
|
multicam
Senior Member
   
Member since: January 2012
Nate
Posts: 2,039
Jan 10, 2012 14:35:41 GMT -5
Jan 10, 2012 14:35:41 GMT -5
|
Post by multicam on Feb 2, 2012 22:37:14 GMT -5
Great tip, thanks John.
|
|
|
|
Post by wouter on Feb 3, 2012 4:24:51 GMT -5
Nice stuff Nate! That dusting has worked out very nicely I must say!
Cheers
|
|
multicam
Senior Member
   
Member since: January 2012
Nate
Posts: 2,039
Jan 10, 2012 14:35:41 GMT -5
Jan 10, 2012 14:35:41 GMT -5
|
Post by multicam on Feb 3, 2012 17:31:14 GMT -5
Thanks Wouter, your appreciation is encouraging  |
|
multicam
Senior Member
   
Member since: January 2012
Nate
Posts: 2,039
Jan 10, 2012 14:35:41 GMT -5
Jan 10, 2012 14:35:41 GMT -5
|
Post by multicam on Feb 14, 2012 20:50:41 GMT -5
Allright fellas, just a quick update. I've been hard at it, but gotta keep it brief tonight. While working on the stowage for this beast, I've been troubled by the fact that the stowage racks on each side were not wide enough to hold my AM gas and water cans. So I did some searching and realized that this must simply be an error by Trumpeter (uh...hhhh..mmm). So I went ahead and made some adjustments, scratch style. Here's the dryfit... 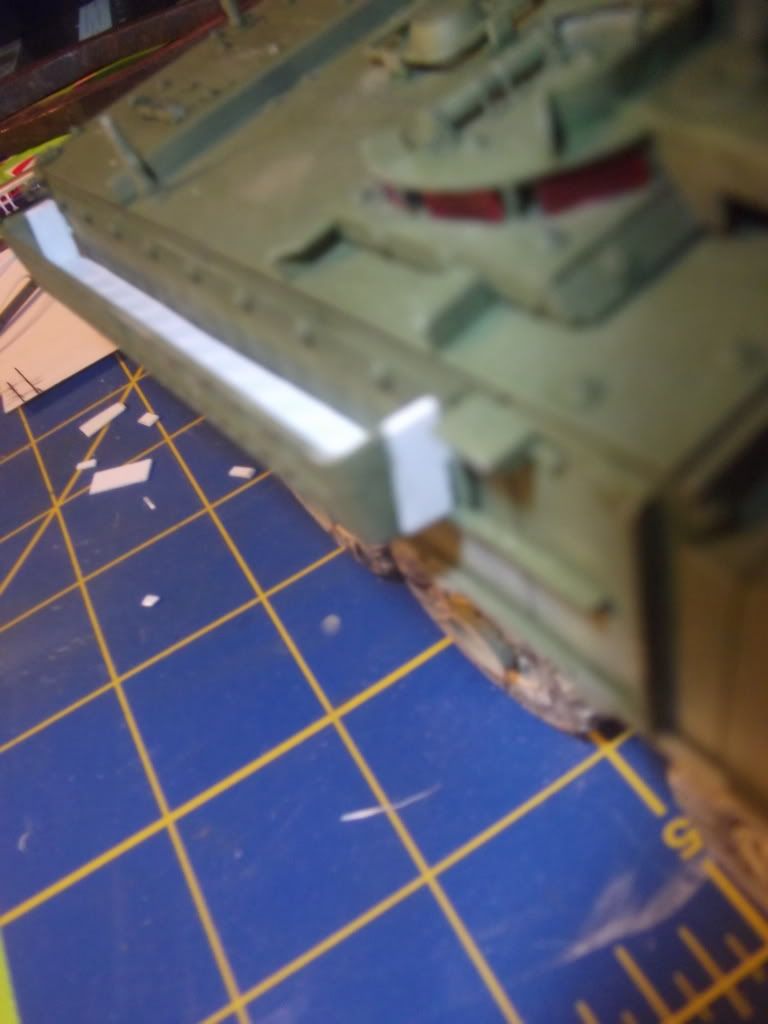 Pretty pleased with the way it turned out, and slapped some paint on them last night and tonight. 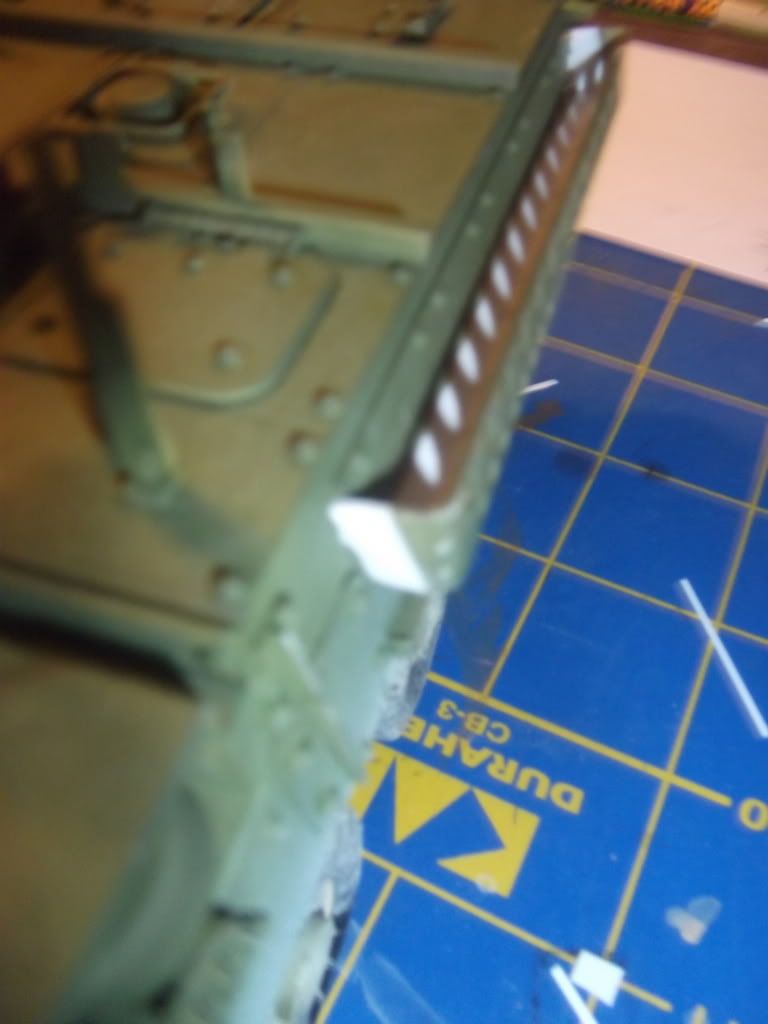 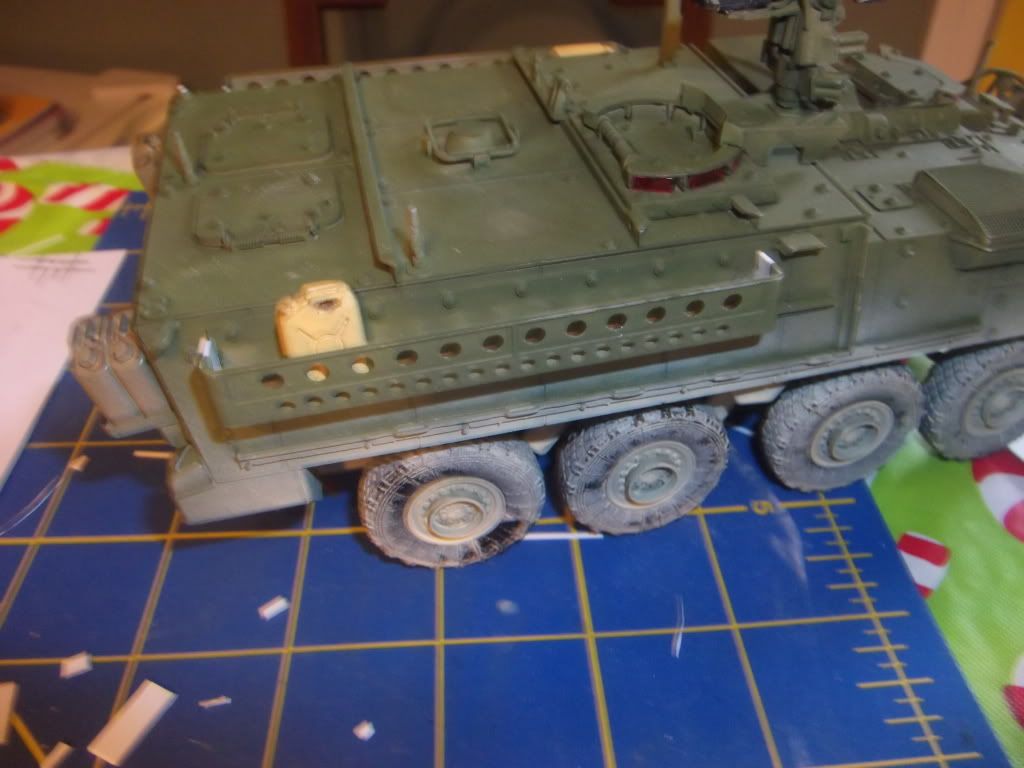 The cans fit! This baby is on the verge of being done! Gotta strap the AM stowage on and do some weathering. |
|
|
|
Post by spud on Feb 15, 2012 10:51:17 GMT -5
Multi great save on teh bins, pitty ya didnt post this a few days ago ;D well mine are on now and will stay on.
|
|
|
|
Post by spud on Feb 15, 2012 14:10:48 GMT -5
lol yer right ya no noting. thats camera shake .  |
|
multicam
Senior Member
   
Member since: January 2012
Nate
Posts: 2,039
Jan 10, 2012 14:35:41 GMT -5
Jan 10, 2012 14:35:41 GMT -5
|
Post by multicam on Feb 15, 2012 15:32:57 GMT -5
Thanks fellas, I appreciate your comments. Dicky: Thanks and yeah. I finally found the setting. It's called "text" for taking clear pics of text and writing. It works pretty good though (check out the thread "a couple of Krauts" in the figs section and you'll see they turned out pretty clear). Shouldn't be an issue in the future. However, these pics I took before I found this out and rather quickly to boot.  cheers Spud: Thanks for the comments. Sorry I didn't post em sooner but all you need do is pull em off before you get paint on yours, you'll have to wack off the tabs that go in the hole in any case. I know it'd be a bit of a mess, but prolly not too much of one. That being said, I'd check yours first because comparing my earlier pics to your current ones, yours seems to be wider. So you may not have to do anything. Cheers  |
|
|
|
Post by spud on Feb 15, 2012 17:26:25 GMT -5
they look wide enough for a jerry can so mabe they will be ok. will find out before paint.
|
|
|
|
Post by wouter on Feb 16, 2012 3:50:21 GMT -5
Great lookin' machine so far chap!
Cheers
|
|
|
|
Post by armorguy on Feb 16, 2012 5:27:13 GMT -5
I agree, lovely piece of modern stuff !
|
|
multicam
Senior Member
   
Member since: January 2012
Nate
Posts: 2,039
Jan 10, 2012 14:35:41 GMT -5
Jan 10, 2012 14:35:41 GMT -5
|
Post by multicam on Feb 20, 2012 21:30:35 GMT -5
Thanks wouter and guy, I appreciate the comments. I'll have an update posted soon. This one's nearly a wrap  . |
|
|
|
Post by 406 Silverado on Feb 21, 2012 9:17:11 GMT -5
Nice start on the weathering....and love the wooden car...reminds me, I have a wooden tank that needs paint LOL.
Like jackwagon has said, the pics are a bit blurry, and dark. Some better light and a tri pod will help out.
|
|
multicam
Senior Member
   
Member since: January 2012
Nate
Posts: 2,039
Jan 10, 2012 14:35:41 GMT -5
Jan 10, 2012 14:35:41 GMT -5
|
Post by multicam on Mar 4, 2012 23:17:07 GMT -5
Hey guys, short update time  Got some work done on this green beast. Now all that's left is to add the antenna and some pigment dust. 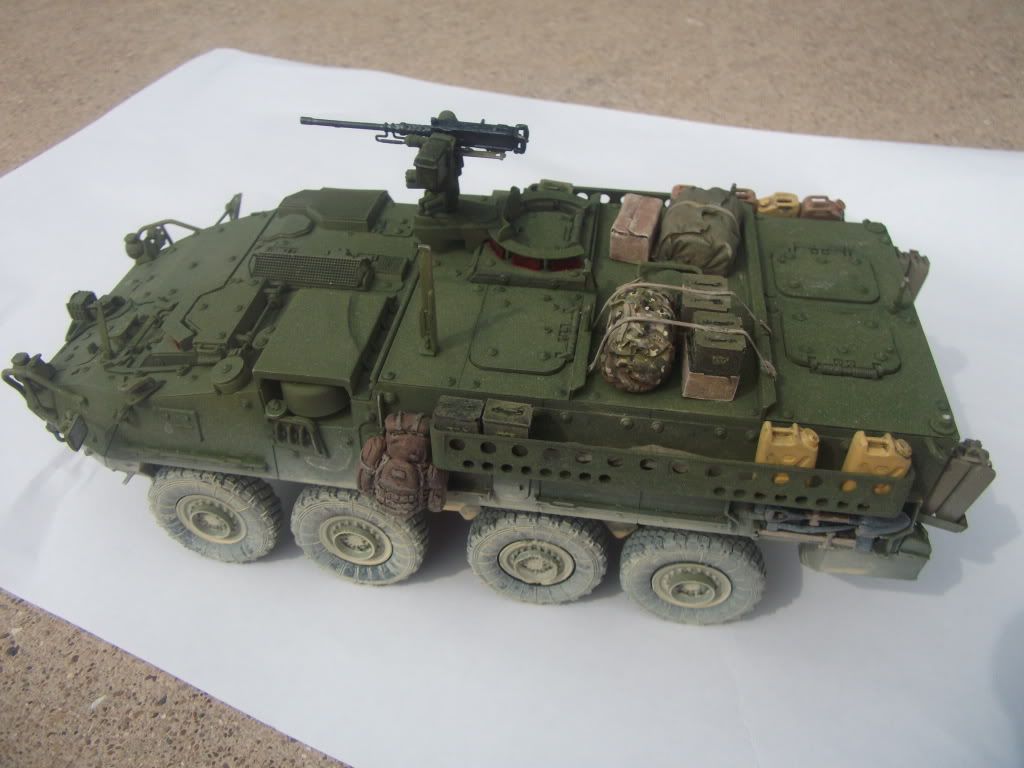 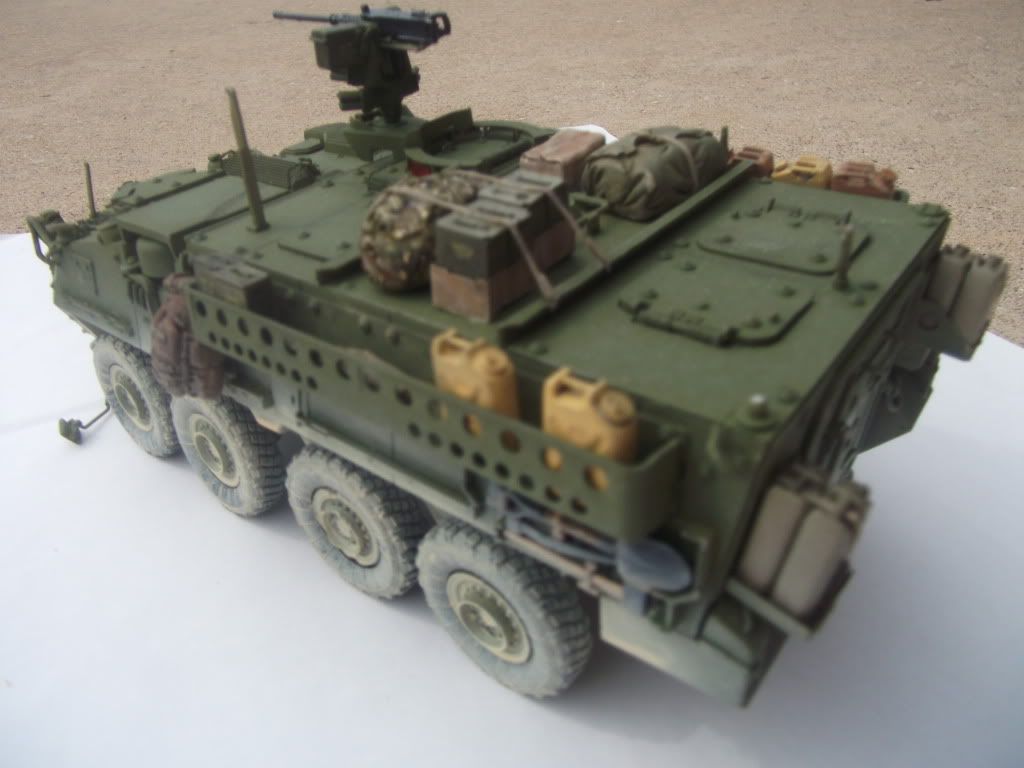 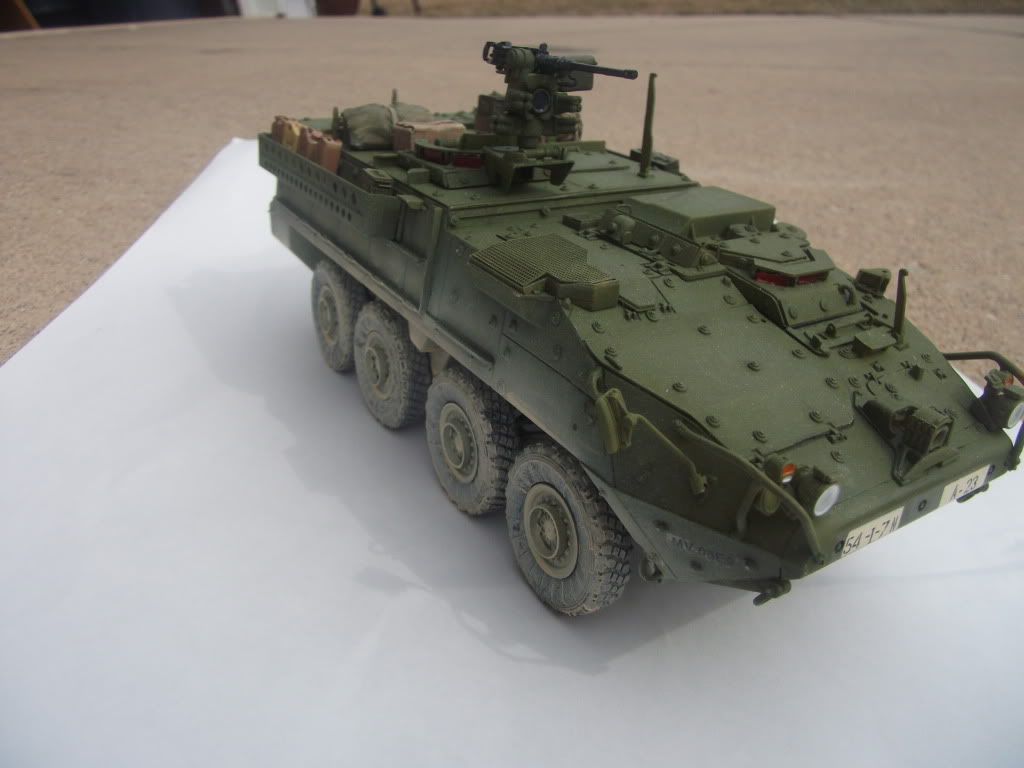 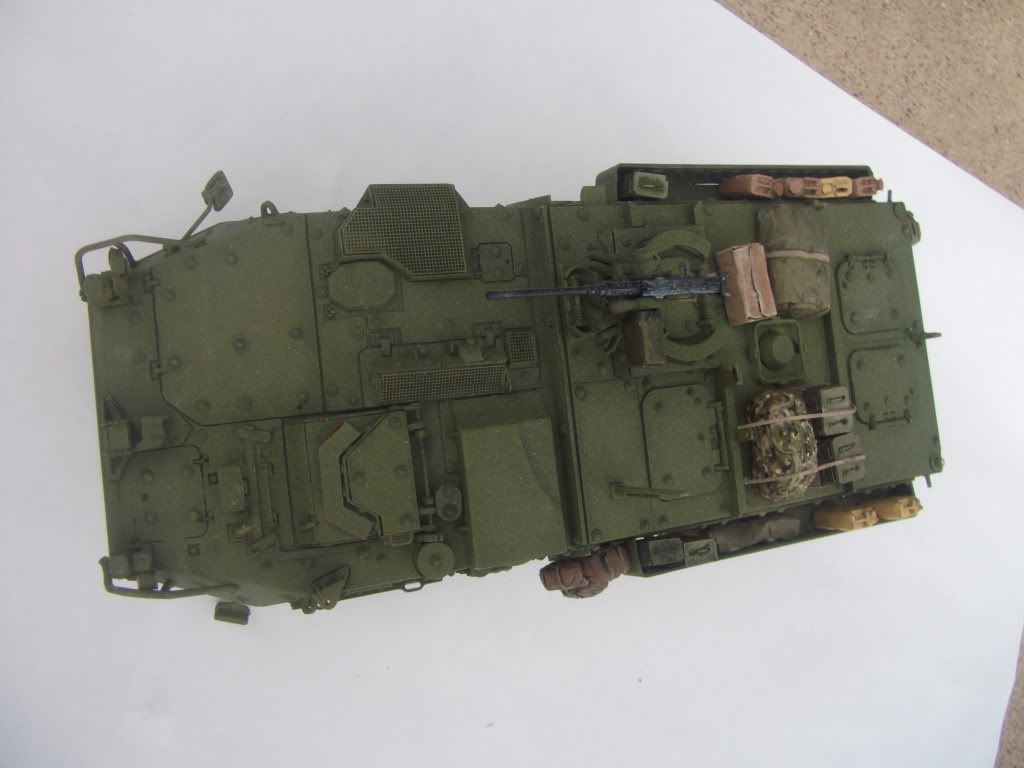 Finally got a nice day, so I took these pics outside. Still not perfect but I'm getting there. Added my stowage and have had about enough of this one. I mentioned a base and some mud before, but I think I'll skip both cuz I like the dusty look and I already started the next one. Will post soon. A hint... it's older  Thanks for lookin and as always: comments welcome  cheers |
|
|
|
Post by spud on Mar 5, 2012 8:28:26 GMT -5
mmmm Dust.. looking good multi
|
|
modelfreak72
Full Member
  
Member since: January 2012
Why worry, each of us is wearing an unlicensed nuclear accelerator on his back.
Posts: 1,479
Jan 28, 2012 23:21:46 GMT -5
Jan 28, 2012 23:21:46 GMT -5
|
Post by modelfreak72 on Mar 5, 2012 10:03:39 GMT -5
Hey muiticam, that's one good looking stryker!, not alot of dust just enough. I like it!
|
|
multicam
Senior Member
   
Member since: January 2012
Nate
Posts: 2,039
Jan 10, 2012 14:35:41 GMT -5
Jan 10, 2012 14:35:41 GMT -5
|
Post by multicam on Mar 5, 2012 16:55:46 GMT -5
Thanks fellas!
|
|
Deleted
Member since: January 1970
Posts: 0
Dec 2, 2024 0:58:36 GMT -5
Dec 2, 2024 0:58:36 GMT -5
|
Post by Deleted on Mar 5, 2012 17:01:22 GMT -5
Nice work,Nate....the dustings not OTT,I like it!!...Potential entry for March MoM?  |
|


 )
) ) inspired by the waffen SS figure book by Calvin Tan that I heard about on MSC. Let me hear your suggestions fellas, I wanna get better here ;D


 . I've been layering red and transparent blue acrylics but haven't quite achieved what I was hoping for. I was thinking maybe some red oils on top of the blue then some Johnson's clear? Let me know what you think. Thanks for looking. My apologies for the imperfect pics. Still working on that


 )
) ) inspired by the waffen SS figure book by Calvin Tan that I heard about on MSC. Let me hear your suggestions fellas, I wanna get better here ;D


 . I've been layering red and transparent blue acrylics but haven't quite achieved what I was hoping for. I was thinking maybe some red oils on top of the blue then some Johnson's clear? Let me know what you think. Thanks for looking. My apologies for the imperfect pics. Still working on that


