multicam
Senior Member
   
Member since: January 2012
Nate
Posts: 2,039
Jan 10, 2012 14:35:41 GMT -5
Jan 10, 2012 14:35:41 GMT -5
|
Post by multicam on Jun 1, 2012 14:54:19 GMT -5
Allright guys, I’ve been working on this off and on for a couple of weeks in between other things, so I thought I’d finally start a new thread. Here it is. 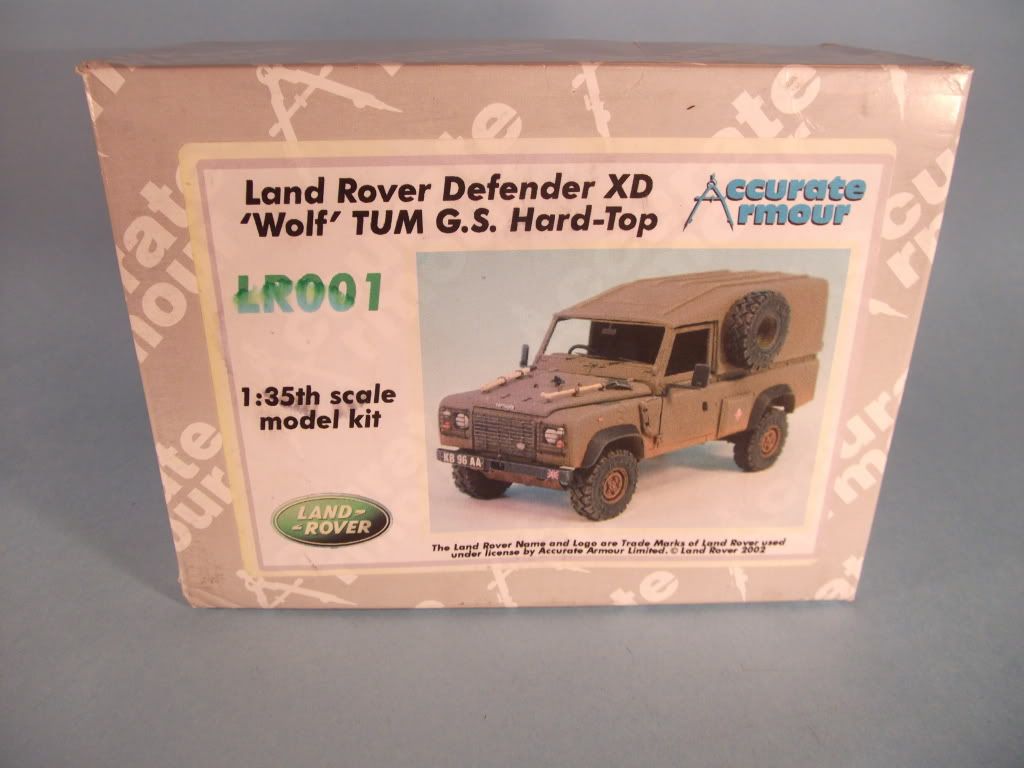 It’s my first venture into the “full resin kit” world and other than the springs on the chassis, it hasn’t been too menacing. 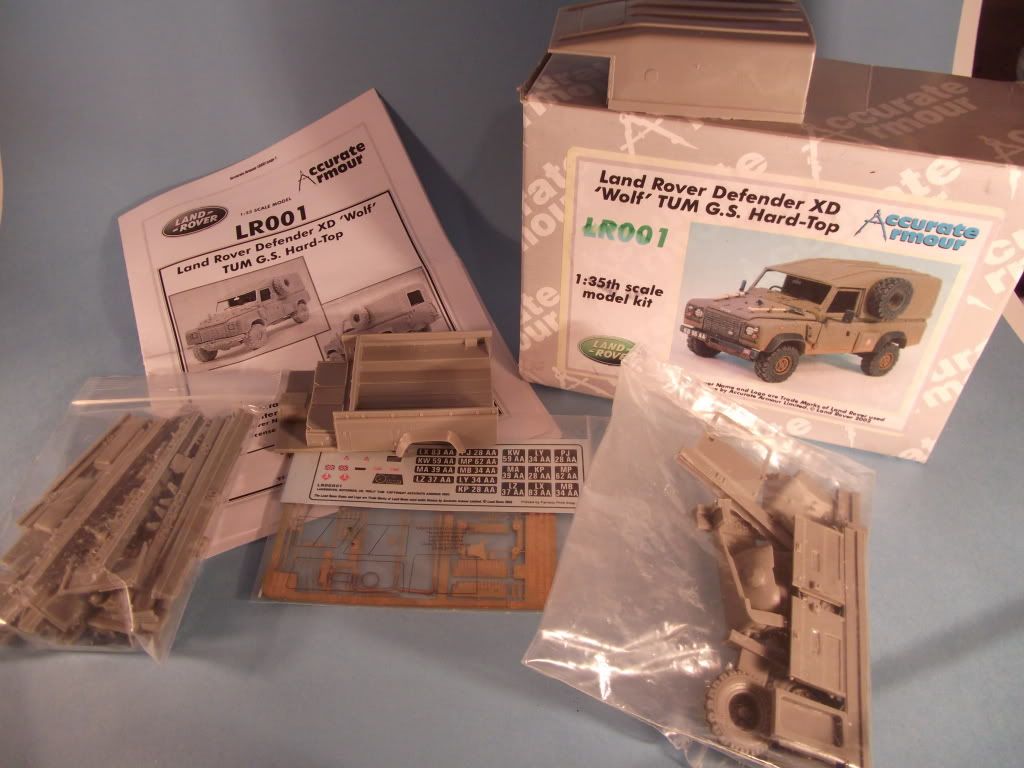 The directions are a little irritating and take major concentration not to foul up.  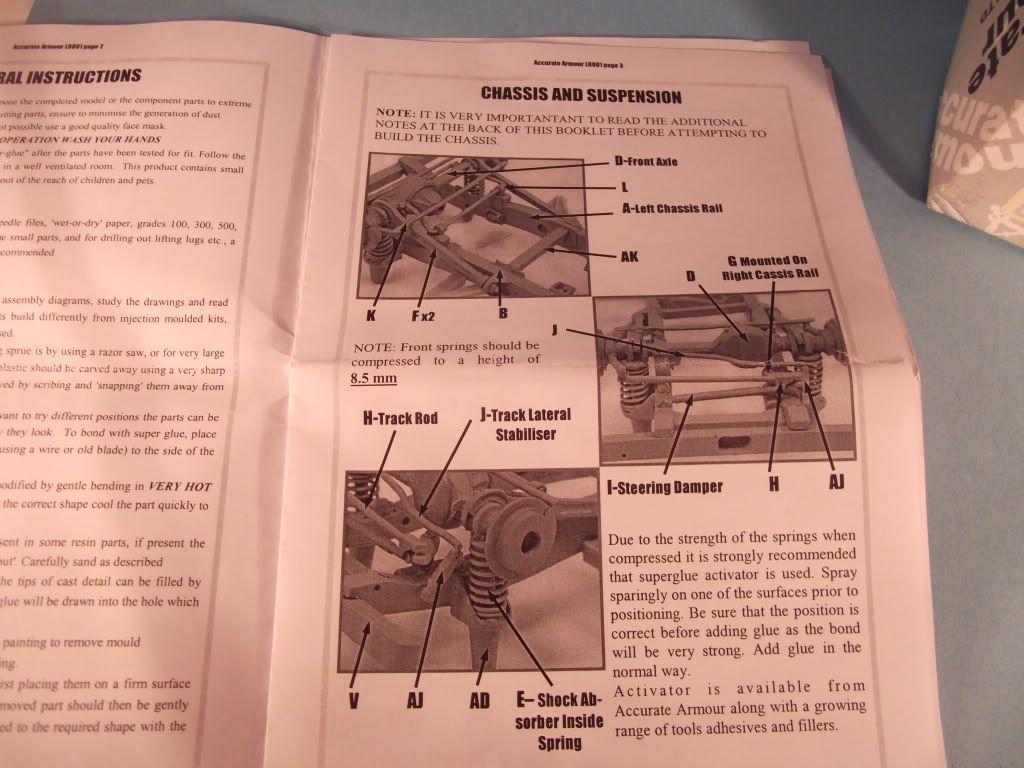 The chassis and most undercarriage parts are all white metal for this particular kit. They are also all separate pieces, which is a real challenge to keep square. ( I got the A.A. Wolf W.M.I.K. kit also and it has a one piece resin chassis, so apparently A.A. has listened to the complaints on this separate piece chassis issue) 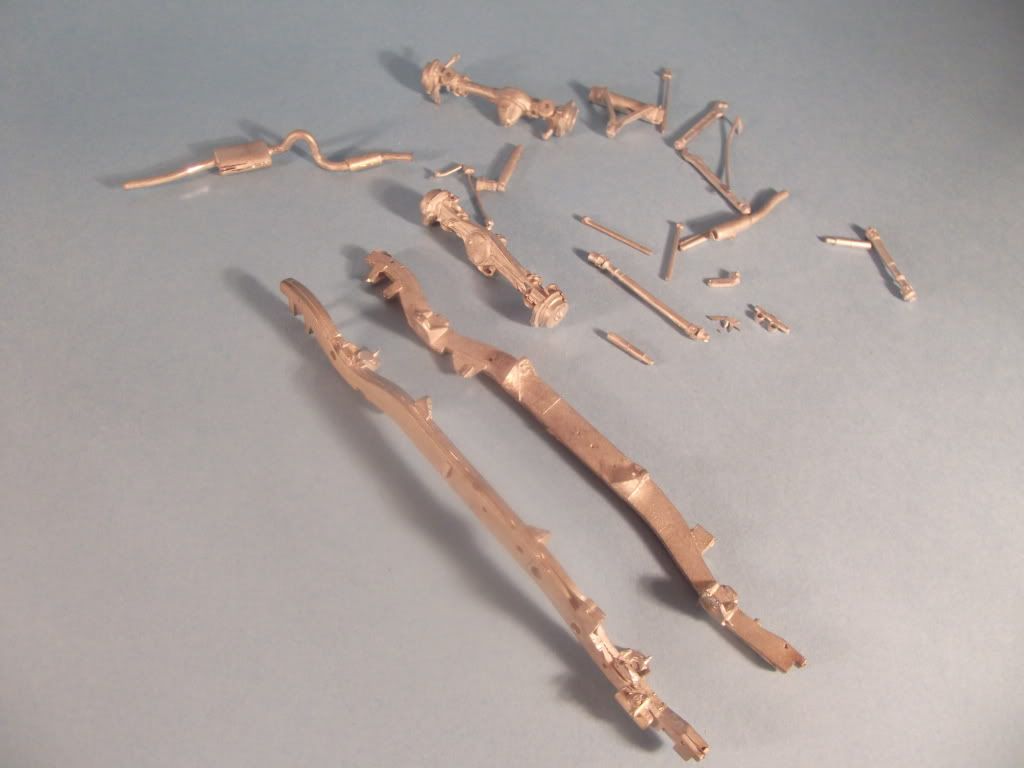 The detail, however, is pretty outstanding though it took some time to clean up some mould lines and flash.  The Chassis springs are a nightmare! You have to hold pressure on the too powerful springs while holding about six other points of pressure while waiting for your CA glue to cure, which then doesn’t hold… Yikes, it was a pain. 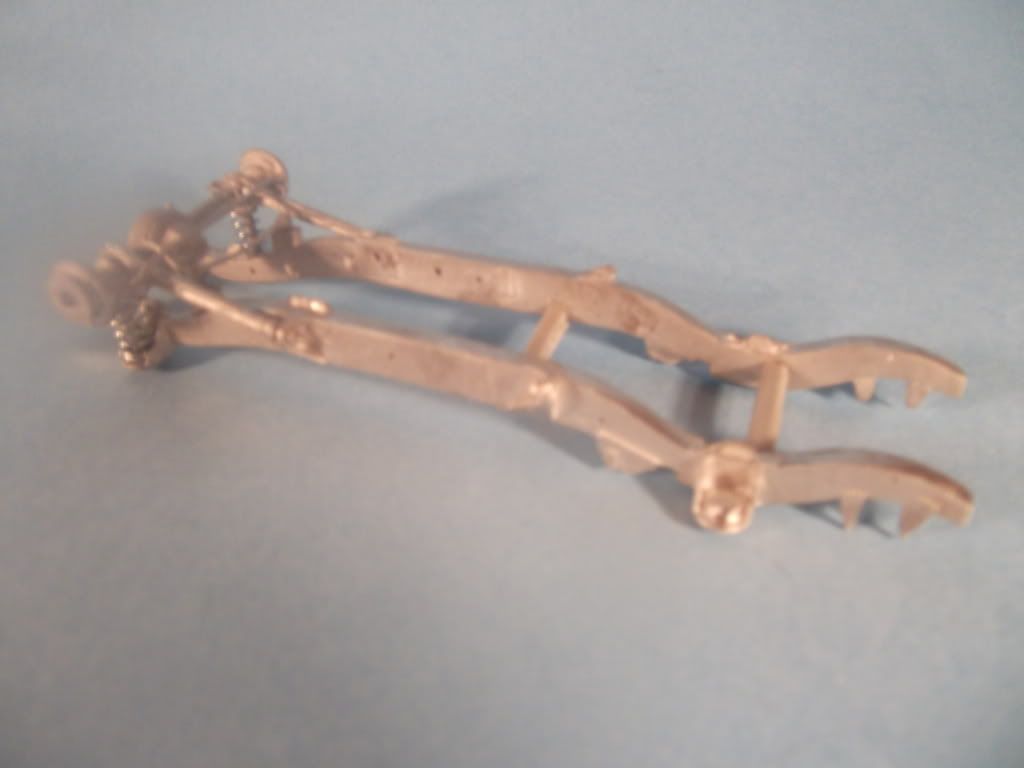 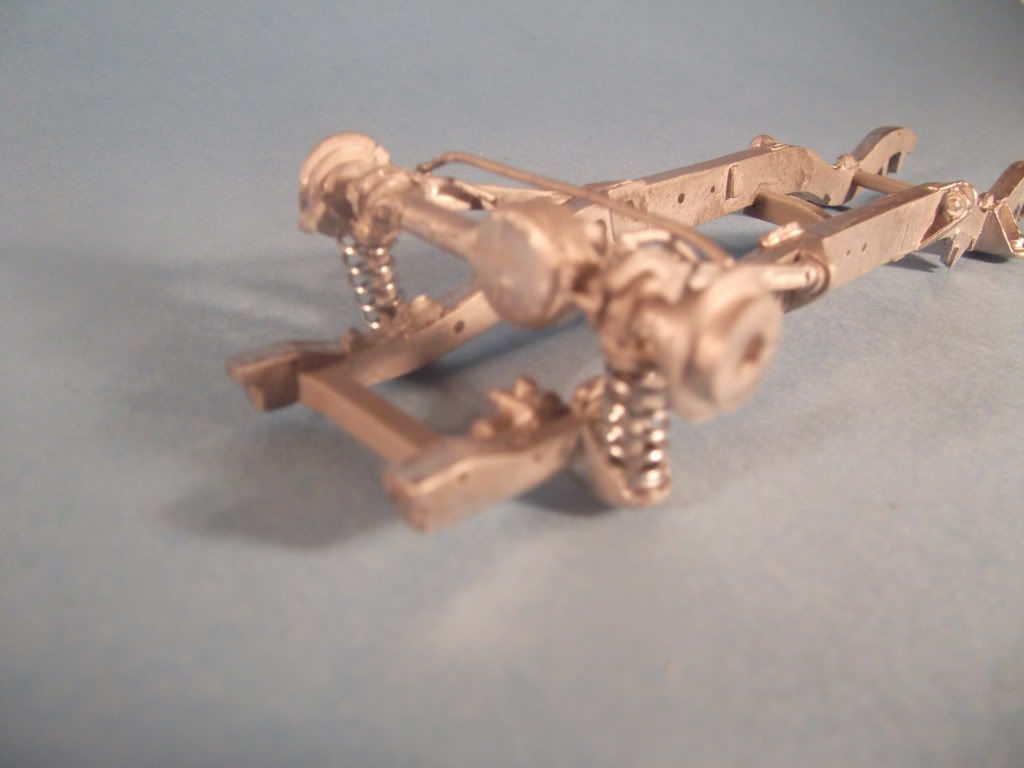 Oh yeah, and there is another set…. 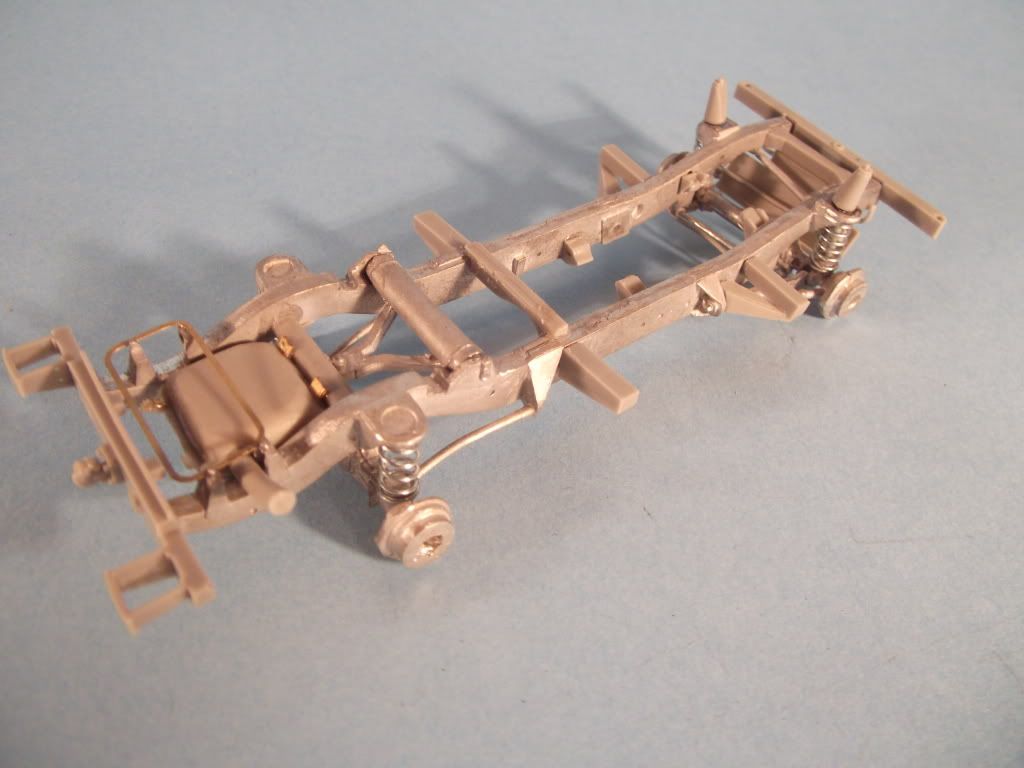 That being said, the resin pieces come off of the “sprues” rather easily and require minimal clean-up. They also affix quite nicely with CA glue to both other resin and the white metal. All in all, this has been a fun build so far and I’m looking forward to detailing one of my favorite vehicles! ACW as always!  |
|
|
|
Post by TRM on Jun 1, 2012 16:00:55 GMT -5
That is awesome Multi!!! Looks like you are making great headway too!!! Count me in!!!! WOW that kit is loaded!!!
|
|
|
|
Post by dupes on Jun 1, 2012 18:26:59 GMT -5
Oooooogh...I've got that kit, didn't realize it had the white metal chassis! Maybe I can send it to you for assembly. Heh.
|
|
multicam
Senior Member
   
Member since: January 2012
Nate
Posts: 2,039
Jan 10, 2012 14:35:41 GMT -5
Jan 10, 2012 14:35:41 GMT -5
|
Post by multicam on Jun 1, 2012 18:45:37 GMT -5
Lol. Sorry mate, not a chance;). If I were you, id go get a hunk of solid alluminum and whittle it out of one piece. Trust me, it would be easier;). Thanks for the comments guys
|
|
bigjohn
Reviews member    
Member since: December 2011
John Hale
Posts: 3,438
Dec 21, 2011 2:17:45 GMT -5
Dec 21, 2011 2:17:45 GMT -5
|
Post by bigjohn on Jun 1, 2012 20:06:58 GMT -5
Grate start there nate!! So what are you saying.....You need six hands the get the chassie together?
Looking forward to seeing this prgress.
|
|
|
|
Post by wbill76 on Jun 1, 2012 20:09:10 GMT -5
Off to a good start with this one multicam, look forward to the next round of progress.
|
|
WigWag Workshop
Reviews member    
Member since: May 2012
"Keep The Glue On The Styrene"
Posts: 720
May 22, 2012 7:25:45 GMT -5
May 22, 2012 7:25:45 GMT -5
|
Post by WigWag Workshop on Jun 3, 2012 16:39:00 GMT -5
This is going to be a great build to follow!
-Steven
|
|
modelfreak72
Full Member
  
Member since: January 2012
Why worry, each of us is wearing an unlicensed nuclear accelerator on his back.
Posts: 1,479
Jan 28, 2012 23:21:46 GMT -5
Jan 28, 2012 23:21:46 GMT -5
|
Post by modelfreak72 on Jun 3, 2012 22:51:41 GMT -5
Looking mighty nice multi!
|
|
|
|
Post by 406 Silverado on Jun 4, 2012 8:08:59 GMT -5
will be following this as well. Nice to see a mix media being built now and then...besides the Dragon kits
|
|
jackh.
Full Member
  
Member since: December 2011
Posts: 1,195
Dec 15, 2011 2:51:27 GMT -5
Dec 15, 2011 2:51:27 GMT -5
|
Post by jackh. on Jun 5, 2012 12:54:25 GMT -5
Nice start Nate, count me in  |
|
|
|
Post by deafpanzer on Jun 5, 2012 13:14:06 GMT -5
Always thought those Land Rovers are cool! It looks like another fun build for me to follow...
|
|
multicam
Senior Member
   
Member since: January 2012
Nate
Posts: 2,039
Jan 10, 2012 14:35:41 GMT -5
Jan 10, 2012 14:35:41 GMT -5
|
Post by multicam on Jun 7, 2012 0:36:36 GMT -5
Nice to have you along fellas! Updates tomorrow:)
|
|
WigWag Workshop
Reviews member    
Member since: May 2012
"Keep The Glue On The Styrene"
Posts: 720
May 22, 2012 7:25:45 GMT -5
May 22, 2012 7:25:45 GMT -5
|
Post by WigWag Workshop on Jun 7, 2012 7:32:22 GMT -5
Looking Great! Looking forward to the updates
-Steven
|
|
|
|
Post by 406 Silverado on Jun 7, 2012 22:23:25 GMT -5
It's the day after tomorrow now !!!>>>>>>((LOL))
|
|
multicam
Senior Member
   
Member since: January 2012
Nate
Posts: 2,039
Jan 10, 2012 14:35:41 GMT -5
Jan 10, 2012 14:35:41 GMT -5
|
Post by multicam on Jun 7, 2012 22:41:42 GMT -5
No fair, Dicky has a 7 hour time difference! Allright fellas, small update. (Sorry, I spent a good deal of time on the 251/3 today). I did a lot of clean-up to some of the big parts on this and that took some time. But I got seats in and all the gear shifter thingamajiggies on the floorboard installed. 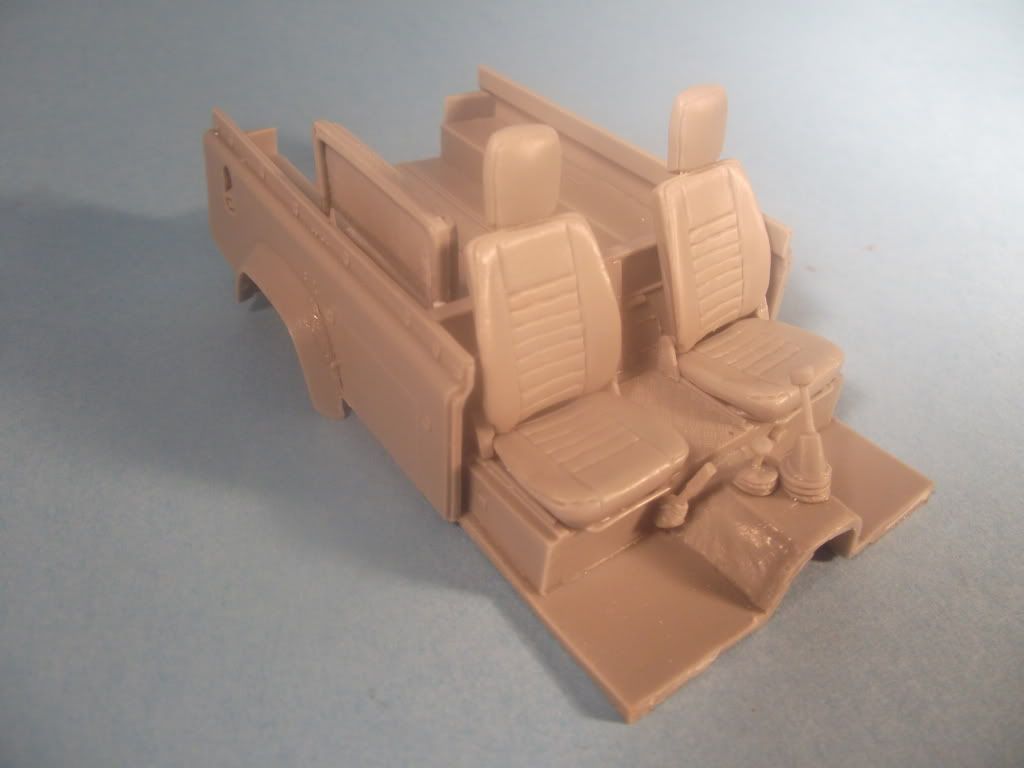 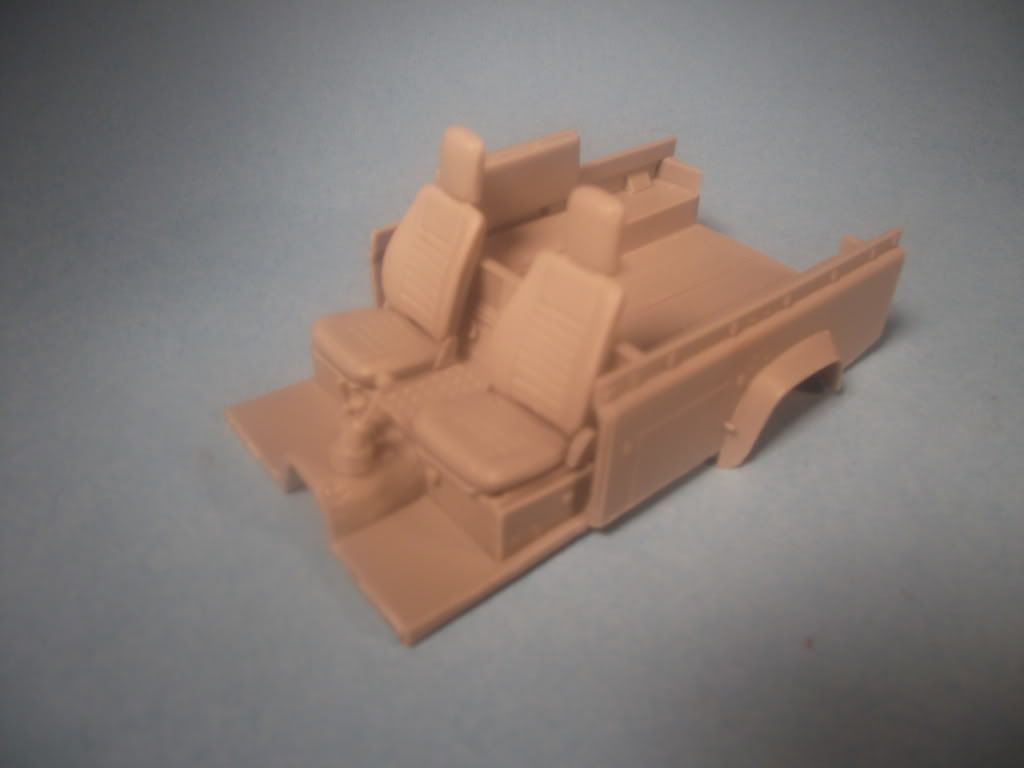 Also, got the pedals and steering wheel installed on the dash. Pedals were no small feet (never mind the pun). What is with CA glue? Sometimes, it hardens so fast you can't work quick enough, then when you want it to be quick, you have to hold the gas pedal for 5 minutes!  Also got the engine knocked together. I have to say, this is a pretty cool kit. The detail is great. 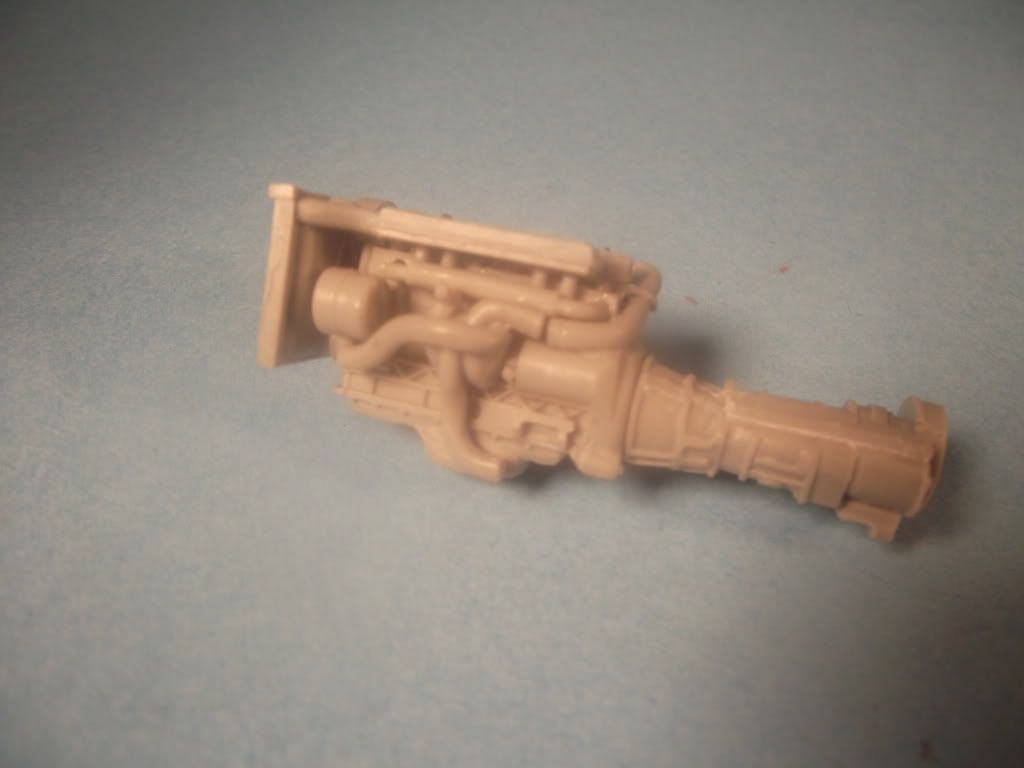   I gotta fix the plug wires, they were being difficult so I set it aside for when I'm more patient:). Let me know what you think. Cheers. |
|
jackh.
Full Member
  
Member since: December 2011
Posts: 1,195
Dec 15, 2011 2:51:27 GMT -5
Dec 15, 2011 2:51:27 GMT -5
|
Post by jackh. on Jun 8, 2012 12:48:48 GMT -5
Very nice progress engine looks great.
|
|
|
|
Post by spud on Jun 8, 2012 14:11:10 GMT -5
Wow she is looking fantastic Nate
|
|
multicam
Senior Member
   
Member since: January 2012
Nate
Posts: 2,039
Jan 10, 2012 14:35:41 GMT -5
Jan 10, 2012 14:35:41 GMT -5
|
Post by multicam on Jun 15, 2012 21:43:48 GMT -5
I got a little bit more done on this one. I got the transmission and drive shafts installed (after dry fitting engine to check for square).  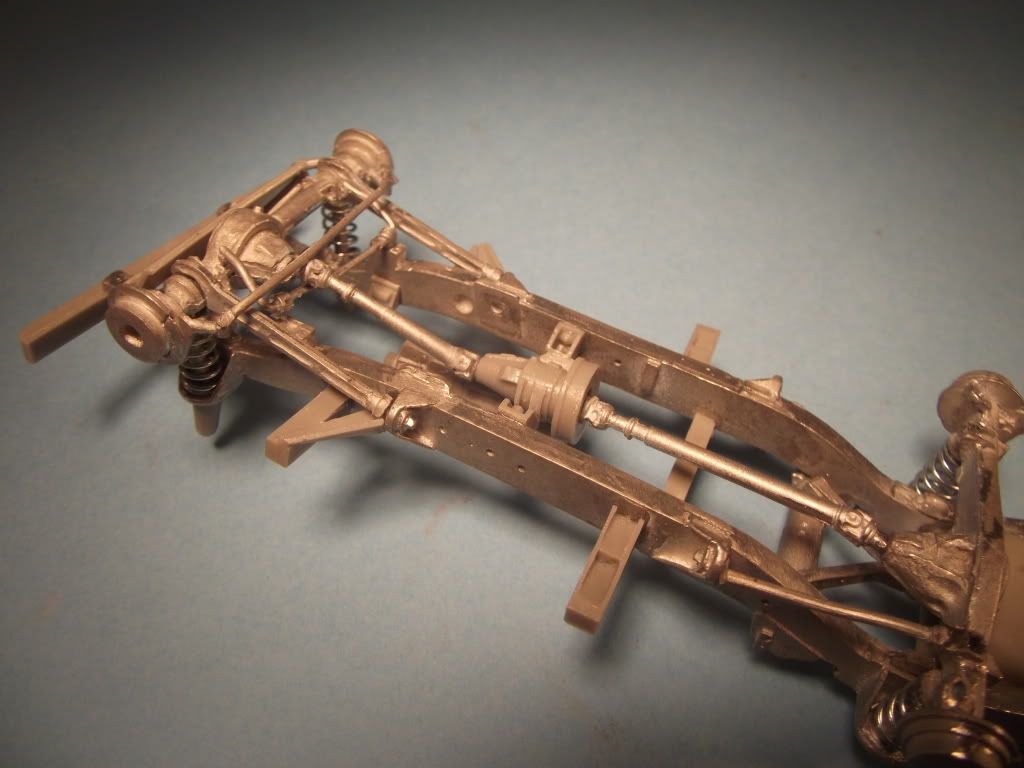 I also got the rear seats installed and the front left quarter attached. 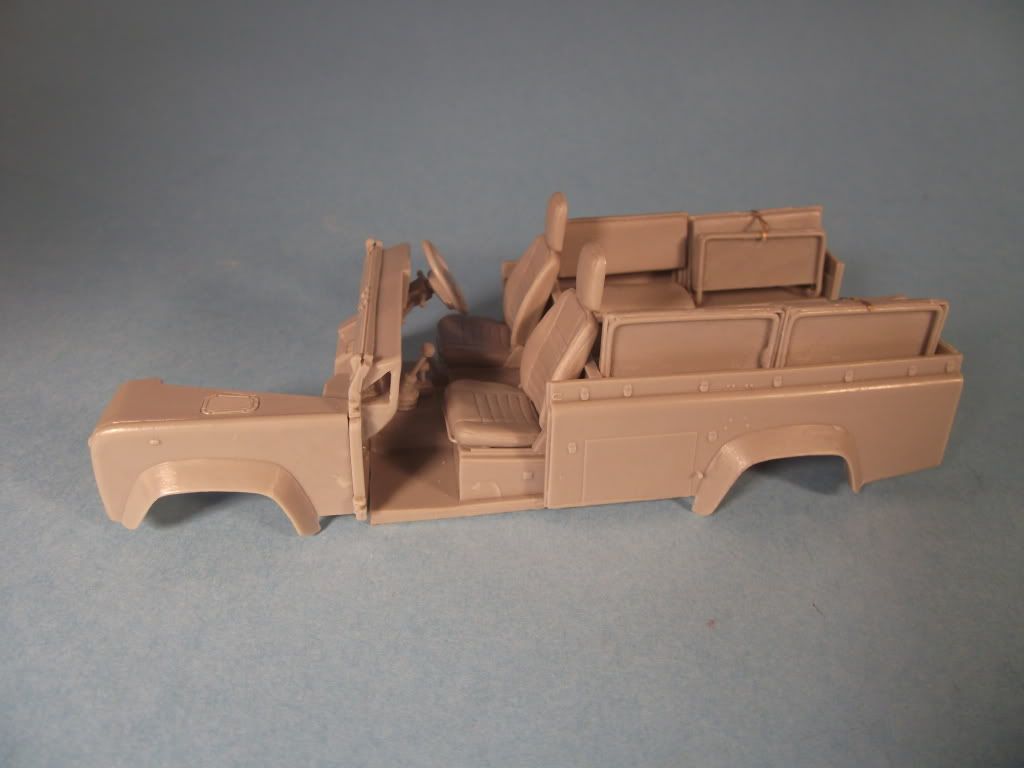 Love the PE stuff that came with this kit. The straps are cool. 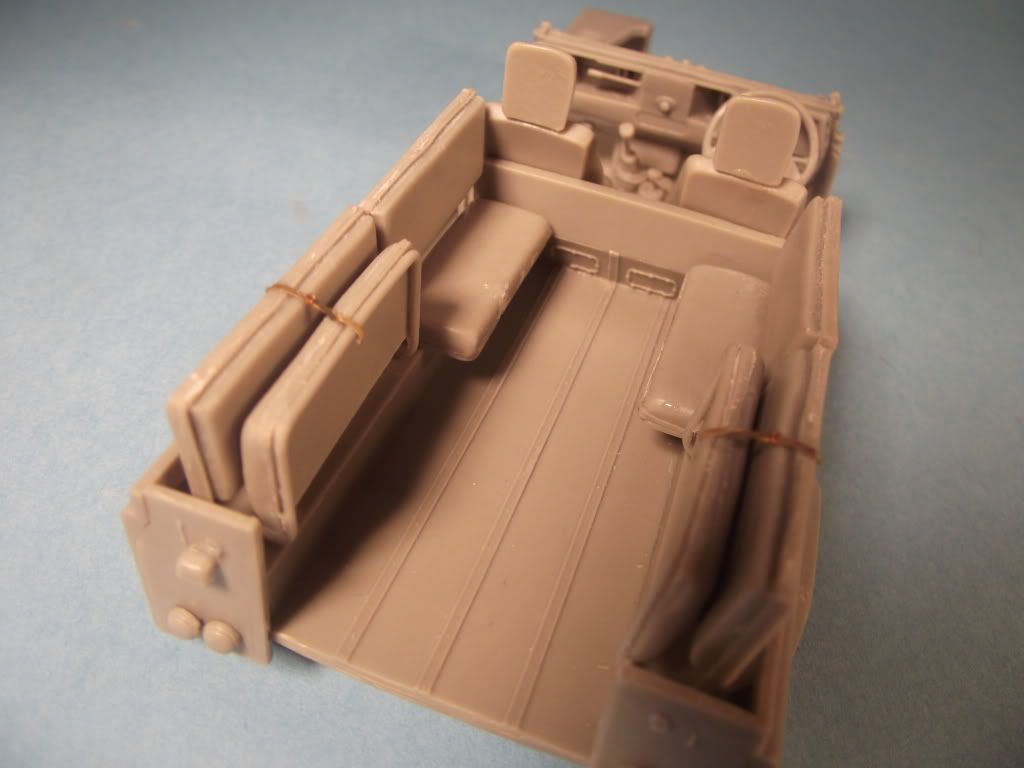 Did more PE work on the rear . I’m gonna have to invest in one of the bender tools, cuz just bending this edge was a little tedious and I was constantly afraid of c$%king it up. Turned out ok though. 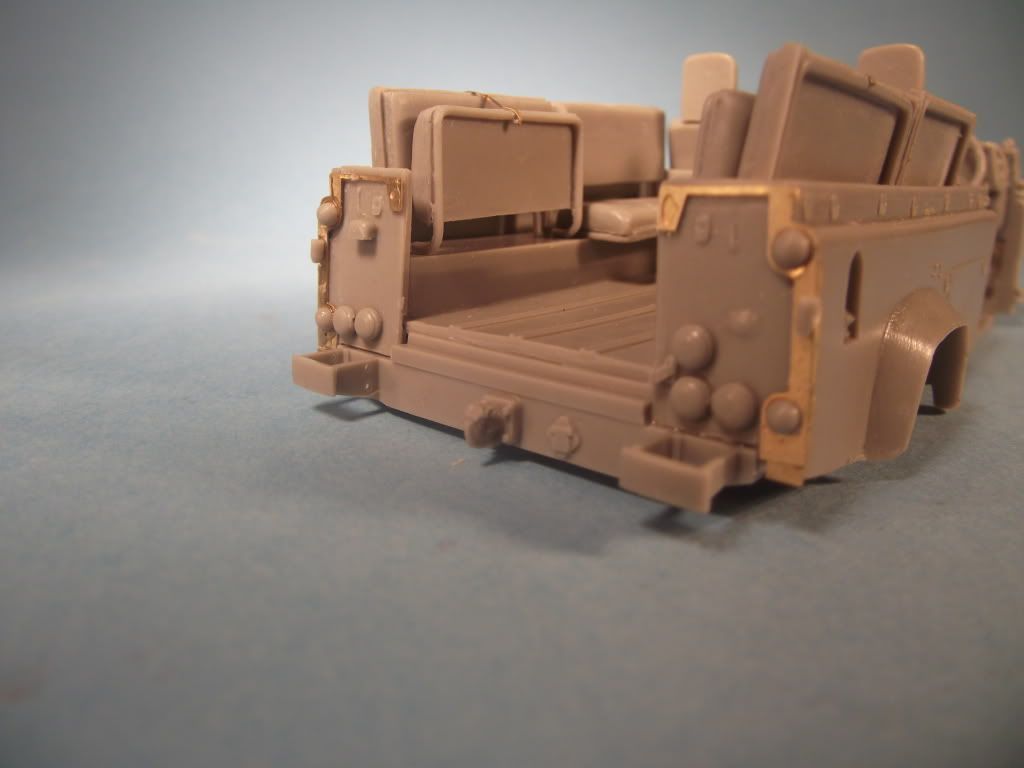 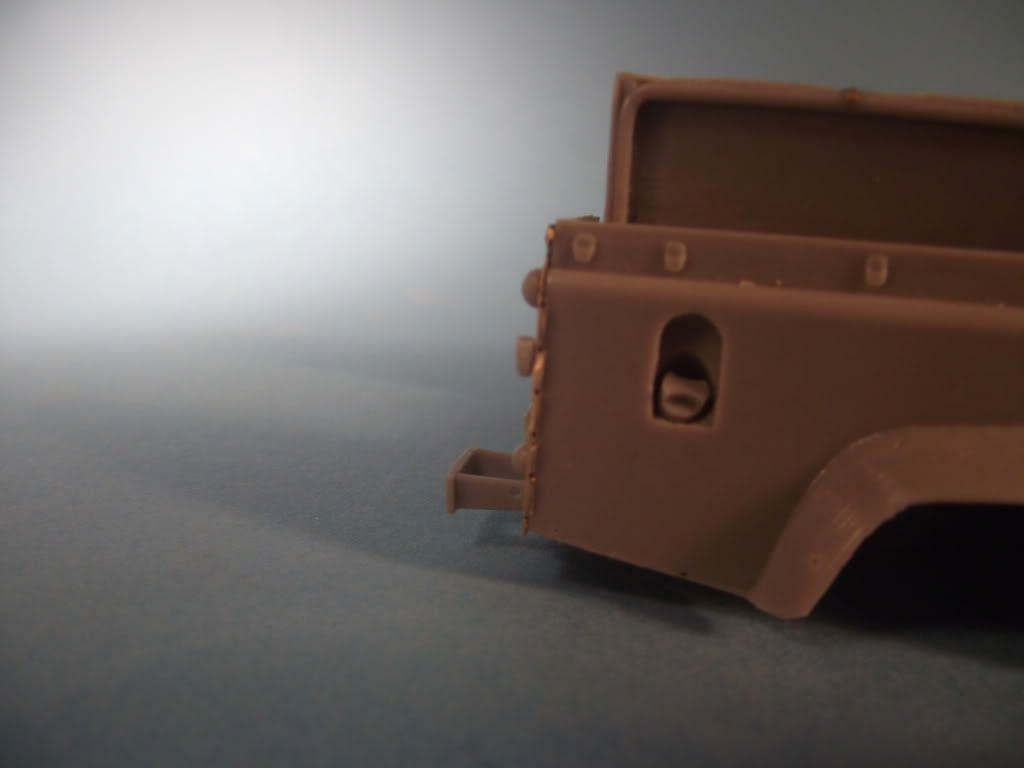 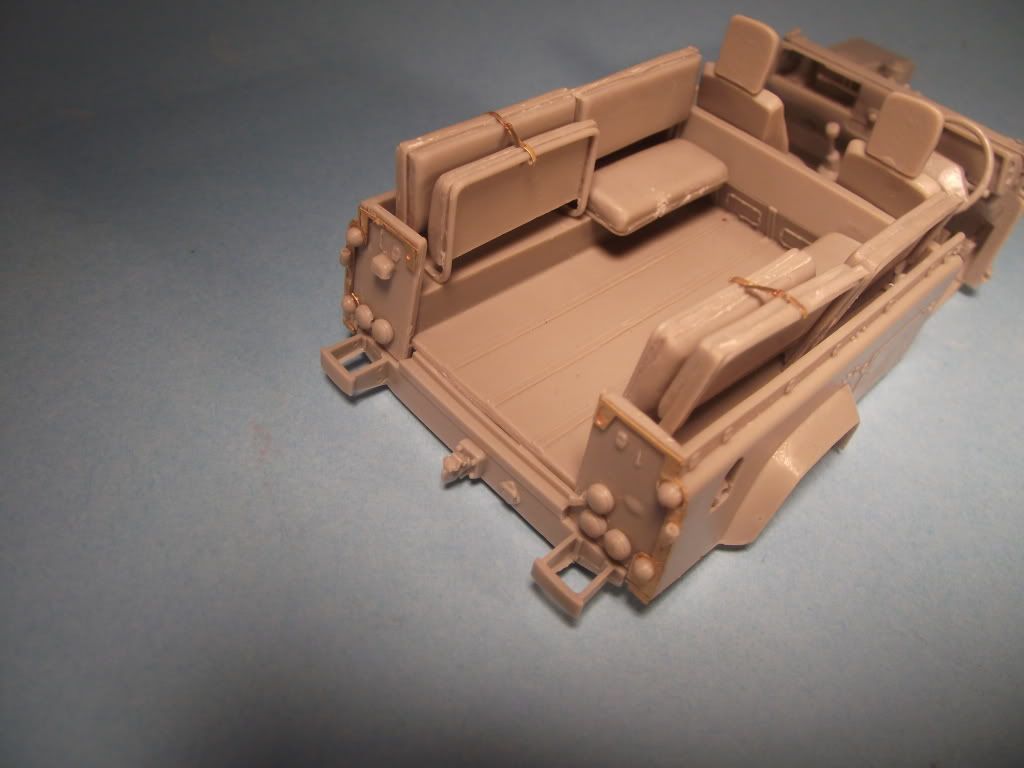 Also put a couple bits in the engine compartment (windshield washer fluid container) and that other little round thingie ☺. You have to wait on the other front quarter and grill installation because you have to put the engine in first(and I want to paint it☺. In order to do that , I have to mount the body on the chassis and judging by my dry fit today it’s no Tamiya kit.  Setting this aside for today and will tackle it again soon. Let me know what you think. Cheers. |
|
|
|
Post by bbd468 on Jun 15, 2012 23:31:35 GMT -5
Looking great Nate! What your overall opinion so far of this kit? Ive never done a resin kit, and what are you useing to adhear the parts together? Thanks!  Gary |
|
multicam
Senior Member
   
Member since: January 2012
Nate
Posts: 2,039
Jan 10, 2012 14:35:41 GMT -5
Jan 10, 2012 14:35:41 GMT -5
|
Post by multicam on Jun 15, 2012 23:51:34 GMT -5
Thanks Gary. Well, overall, it's been challenging because the instructions are very limited. They are simply pictures of the model at various build stages but there just aren't enough pictures and they don't follow a very logical pattern. You have to go very slow and check and double check things because of this. It's also challenging to get a perfect fit at times, due to the lack of a one piece chassis and the unclear directions. That being said, I'm having fun building this kit(it's my first full-resin kit as well:) and I'm looking forward to doing the WMIK version that I also have. In that version, AA fixed the chassis issue and molded it in one piece (probably due to customer complaints;).
Initially, I was scared of damaging the parts while removing them from the "sprues" or resin blocks, but that turned out not to be a problem and so far I've only broken one piece and that was easily glued back together again(the resin breaks cleanly and tends to stay in two pieces). I'm still a little scared of the PE windshield frame and soft plastic "glass", but I'll figure that out when I get there.
I have been using CA or super glue on all aspects of this one, with no problems. I've found that if you put a very little coating of it on each surface of the two piece to be glued, it works best. You've got to work quickly though, which is a little more stressful though.
Sorry for the novel:). My advice, find that obscure kit that you've always wanted to do (find it cheap, of course) and give it a go. With your skills, you would have no problems and you'd expand your repertoire, so to speak:)
|
|
|
|
Post by TRM on Jun 16, 2012 5:09:33 GMT -5
Lovely progress Nate!! LOL...only breaking one so far!!! Right on, I might have been into some scratch-work by now!!! Was it the PE for the windscreen that bothered you or the application to the plastic? Any PVA Glue will help eliminate any melting and/or smudging to the clear plastic. I use Kristal Klear from Microscale for this usually, as it dries unnoticed. Looking great, keep it coming!!  |
|
multicam
Senior Member
   
Member since: January 2012
Nate
Posts: 2,039
Jan 10, 2012 14:35:41 GMT -5
Jan 10, 2012 14:35:41 GMT -5
|
Post by multicam on Jun 16, 2012 9:23:17 GMT -5
Thanks for the glue tip T. Appreciated!
|
|
|
|
Post by wbill76 on Jun 16, 2012 13:26:34 GMT -5
Making good progress with this one, nice job on the PE.
|
|
multicam
Senior Member
   
Member since: January 2012
Nate
Posts: 2,039
Jan 10, 2012 14:35:41 GMT -5
Jan 10, 2012 14:35:41 GMT -5
|
Post by multicam on Jul 18, 2012 19:34:58 GMT -5
Allright guys, here’s a quick update. I was excited to get some work done on this today and then ended up spending an hour trying to figure out how to put together the etch rifle rack because the instruction photo was blurry/small/unclear and the written instructions were nay impossible☺. So, I spent too much time searching the internet in vain for the image I had seen the day before, but didn’t save☹. So, I winged it and it will look fine, but gave up after that for fear of smashing this expensive kit into a thousand pieces while practicing (with great passion, mind you) my not-to-be-shared-at-the-dinner-table-with-grandma vocabulary! Voila. 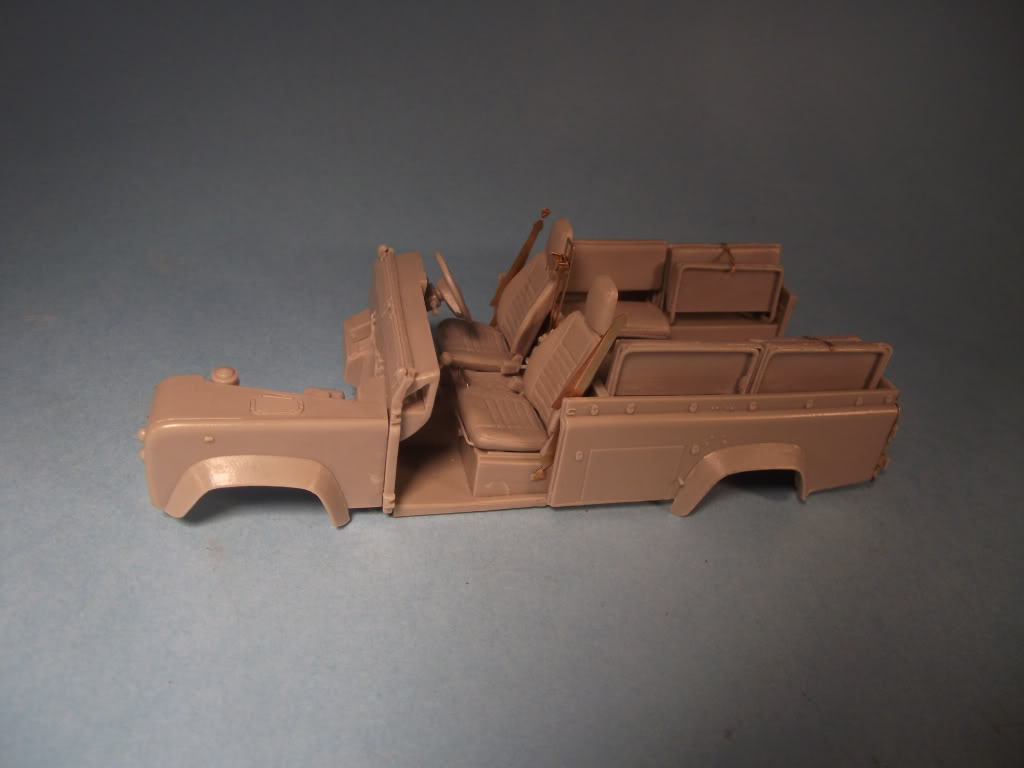 I installed the seatbelts, the rifle rack (hmmmm, hummm), the fire extinguisher, the seatbelt clasps/recievers?, and the bar/handle thingie between the seats on the console/floorboard. 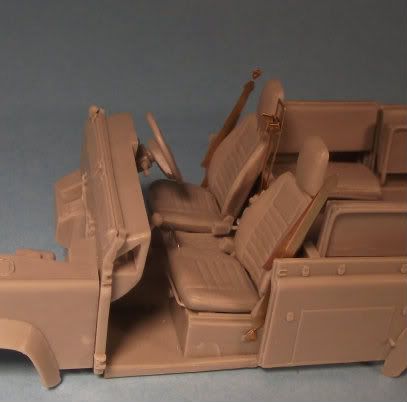 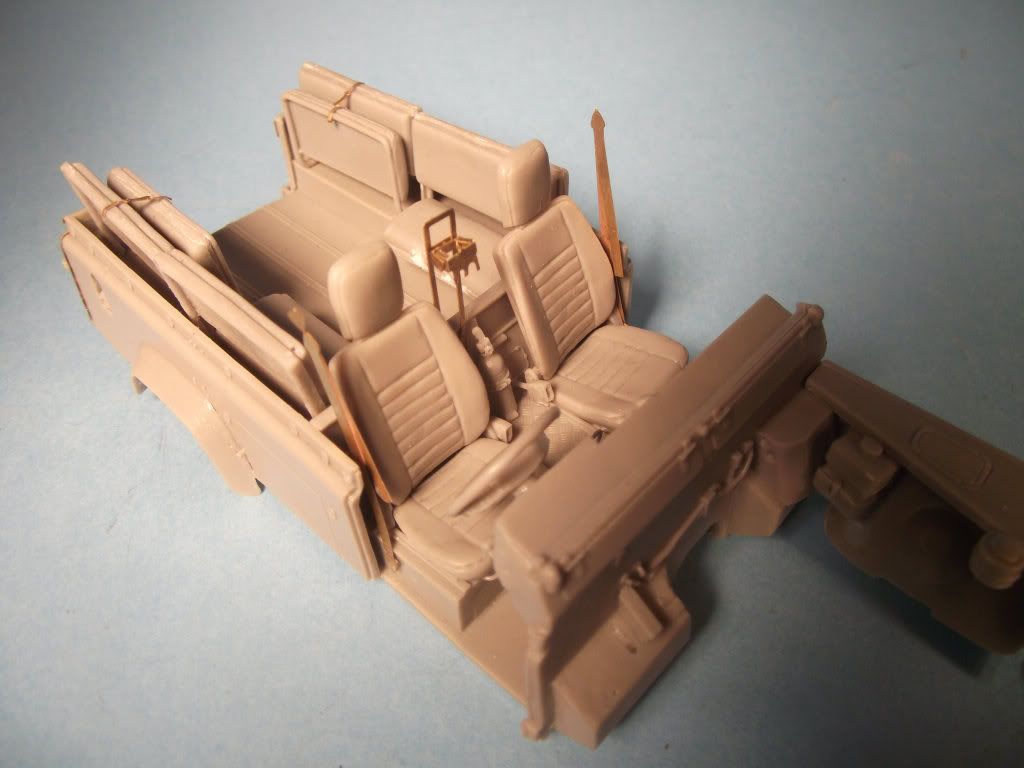 Also added some bit to the hood/bonnet. Tools and spare tire holder and empty straps on the front. Teeny ,weeny, fiddly, photo etch☺, hence the glue all over the place…   I don’t intend to come off as frustrated, just venting. This has been a fun build but it has had it’s moments. I’ll be back at it again tomorrow. Let me know what you think☺ Cheers. |
|
|
|
Post by wbill76 on Jul 20, 2012 14:27:13 GMT -5
Nice to see this one moving along again Nate...don't let it get to you!  |
|