panzerjager.
Full Member
  
Member since: June 2012
Posts: 204
Jun 5, 2012 21:56:23 GMT -5
Jun 5, 2012 21:56:23 GMT -5
|
Post by panzerjager. on Jun 10, 2012 20:37:02 GMT -5
|
|
panzerjager.
Full Member
  
Member since: June 2012
Posts: 204
Jun 5, 2012 21:56:23 GMT -5
Jun 5, 2012 21:56:23 GMT -5
|
Post by panzerjager. on Jun 10, 2012 20:45:07 GMT -5
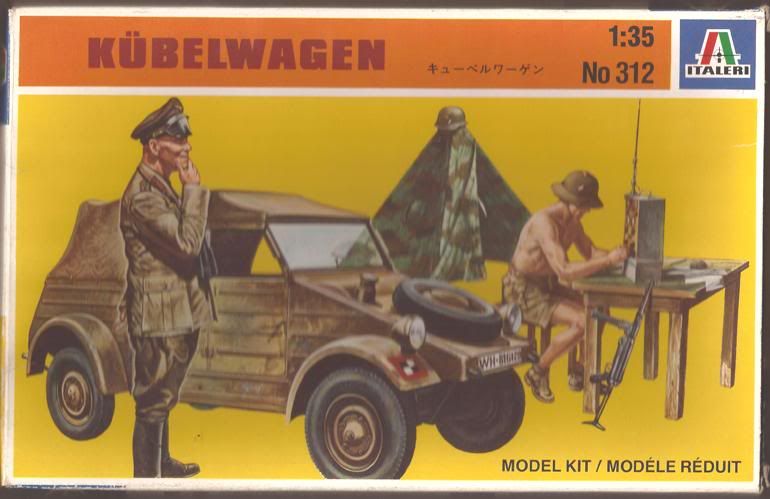
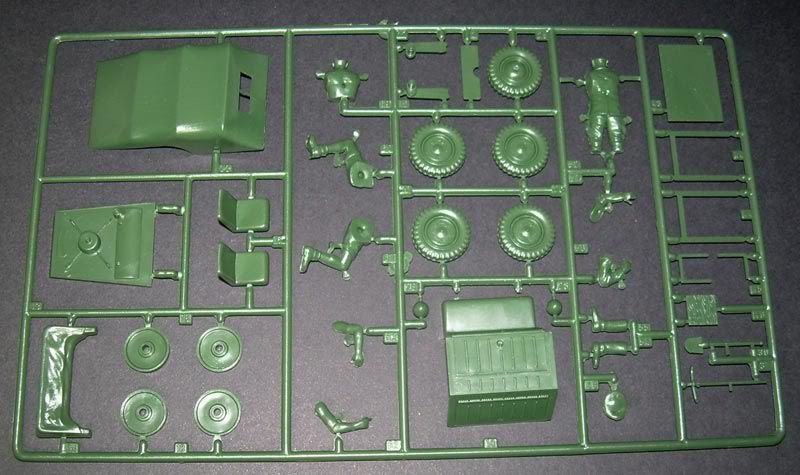
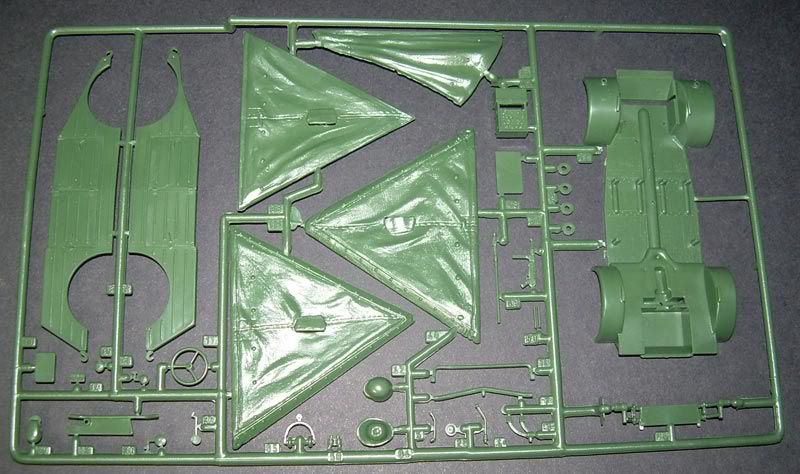
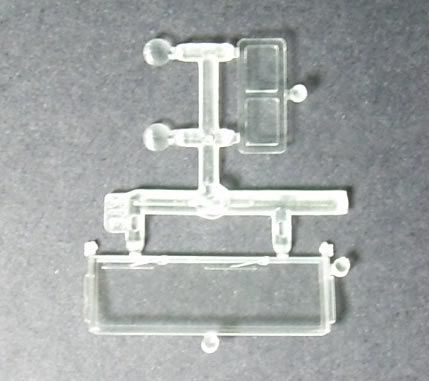
Italeri kit has a side front wall deformed, so I use plasticard to fix it. I have some issues with Tamiya kit, where the "hood" match the ridht side wall, that's the cause of the excesive glue/melted plastic you see in the pic below.  I added some stretched sprue to Italeri rear seat to make the wrinkles: The sprues was too thick, so, I file it, then covered the seat with Milliput and then with Tamiya putty   Tamiya side doors was molded separately, at cost of 4 rounded marks in each inner part of doors; putty and sanding x 16   Italeri canvas was too smooth, so...again, stretched sprue added, then covered with tin foil (not yet glued, it needs rear window and tie downs)      I need to point a mistake with the tarp: according to my references, this type of canvas, with 3 bars on the roof correspond to 1943 models and the Italeri kit will be a 1942 model; we usually called that "artistic license" I need to point a mistake with the tarp: according to my references, this type of canvas, with 3 bars on the roof correspond to 1943 models and the Italeri kit will be a 1942 model; we usually called that "artistic license"That's all for now. Thanks for looking and comment Darío |
|
bigjohn
Reviews member    
Member since: December 2011
John Hale
Posts: 3,438
Dec 21, 2011 2:17:45 GMT -5
Dec 21, 2011 2:17:45 GMT -5
|
Post by bigjohn on Jun 10, 2012 20:47:53 GMT -5
Nice comparison builds. I'll be following this one real close.  |
|
|
|
Post by TRM on Jun 10, 2012 20:53:17 GMT -5
Looking like an interesting one Dario...count me in!!!
|
|
|
|
Post by bbd468 on Jun 10, 2012 21:37:55 GMT -5
Man thats some nice upolstery work! ;D Dario, very nice side by side build man. Im looking forward to more progress. Gary  |
|
|
|
Post by spud on Jun 11, 2012 4:40:31 GMT -5
Very cool Dario
|
|
paulh.
Senior Member
   
Member since: November 2011
build, fail, learn, succeed - ENJOY
Posts: 2,389
Nov 15, 2011 15:54:51 GMT -5
Nov 15, 2011 15:54:51 GMT -5
|
Post by paulh. on Jun 11, 2012 9:57:54 GMT -5
A very nice idea with the side by side builds- given me an idea or 2 to play with.
Also love the use of sprue on the tarp and seat. Ace !
P
|
|
|
|
Post by 406 Silverado on Jun 11, 2012 10:00:26 GMT -5
Missed this one somehow !! Wow what a difference in the two kits. Great comparison and awesome beginning to the build blog. Looking forward to seeing the done. fantastic work so far Dario, especially the canvas top
|
|
|
|
Post by wbill76 on Jun 11, 2012 18:31:59 GMT -5
Nice pair you've got going here Dario, neat tricks with the stretched sprue and putty or foil combos as well.
|
|
paulh.
Senior Member
   
Member since: November 2011
build, fail, learn, succeed - ENJOY
Posts: 2,389
Nov 15, 2011 15:54:51 GMT -5
Nov 15, 2011 15:54:51 GMT -5
|
Post by paulh. on Jun 12, 2012 2:10:08 GMT -5
Update... Update ;D  -no pressure there Dario  |
|
WigWag Workshop
Reviews member    
Member since: May 2012
"Keep The Glue On The Styrene"
Posts: 720
May 22, 2012 7:25:45 GMT -5
May 22, 2012 7:25:45 GMT -5
|
Post by WigWag Workshop on Jun 12, 2012 7:21:22 GMT -5
Excited about this build, thanks for all the resources in the start of the post!
-Steven
|
|
|
|
Post by robbo on Jun 12, 2012 13:21:17 GMT -5
Smashing work Dario, just love these little Kubles
|
|
multicam
Senior Member
   
Member since: January 2012
Nate
Posts: 2,039
Jan 10, 2012 14:35:41 GMT -5
Jan 10, 2012 14:35:41 GMT -5
|
Post by multicam on Jun 12, 2012 21:35:15 GMT -5
Cool stuff Dario! I like the two at a time comparison. Kubelwagens are very Kubel.  . Cool:) |
|
panzerjager.
Full Member
  
Member since: June 2012
Posts: 204
Jun 5, 2012 21:56:23 GMT -5
Jun 5, 2012 21:56:23 GMT -5
|
Post by panzerjager. on Jun 12, 2012 22:06:36 GMT -5
Thank, guys! I will update in a couple of day; I'm working in details like tool clasps, front and rear lights, fuel cap, etc.
Darío
|
|
panzerjager.
Full Member
  
Member since: June 2012
Posts: 204
Jun 5, 2012 21:56:23 GMT -5
Jun 5, 2012 21:56:23 GMT -5
|
Post by panzerjager. on Jun 17, 2012 12:49:53 GMT -5
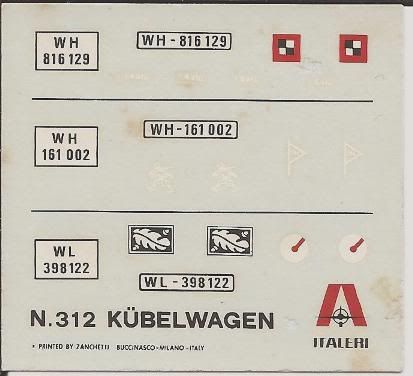
More updates: Each wheel has his inflating valve stem added (just stretched sprue)  I modified an old P.E. half wingnuts; these parts was located at the engine and stowage lids  Bad picture of a padlock made with plasticard and copper wire  Towing hook ring, also made of copper wire  License plate and Notek rear lght added to Italeri model. On top right of te pic, the white thing is the gas tank, made with balsa and plasticard. Note the Italeri kit has the engine lid handle vertical instead of horizontal  My home made Punch & Die. I draw the speedometer with Corel then sent it to print in acetate; I cut then with the P&D  The speedometer in place...it-s a little off-center  Tie downs added  Seats painted  Thats all for now Darío |
|
|
|
Post by wbill76 on Jun 17, 2012 13:30:25 GMT -5
Nice work on the details Dario, printing your own instrument faces is a nice added touch.
|
|
paulh.
Senior Member
   
Member since: November 2011
build, fail, learn, succeed - ENJOY
Posts: 2,389
Nov 15, 2011 15:54:51 GMT -5
Nov 15, 2011 15:54:51 GMT -5
|
Post by paulh. on Jun 17, 2012 13:42:29 GMT -5
Nice job Dario- I'd be very interested in how you made your own punch & die set.
P
|
|
|
|
Post by robbo on Jun 17, 2012 14:31:44 GMT -5
Love what your doing with these two
|
|
multicam
Senior Member
   
Member since: January 2012
Nate
Posts: 2,039
Jan 10, 2012 14:35:41 GMT -5
Jan 10, 2012 14:35:41 GMT -5
|
Post by multicam on Jun 17, 2012 20:18:06 GMT -5
Looks great. Love the added details, and really like the added tie downs on the convertible top.
|
|
|
|
Post by bullardino on Jun 18, 2012 9:44:04 GMT -5
Nice job Dario- I'd be very interested in how you made your own punch & die set. P I quote every single part  I have a punch and die, but I'm always eager to have one more tool  |
|
|
|
Post by TRM on Jun 18, 2012 19:52:33 GMT -5
Outstanding!! Might have to show a small SBS on the Punch set!!  Love that stuff...make your own tools and speedometers!!! Keep it coming!!!  |
|
|
|
Post by 406 Silverado on Jun 19, 2012 18:06:08 GMT -5
That's all it takes sometimes. A few bits here and there and you have a very cool model. Never count the old kits out, they can be made into things like these two.
Top work Dario, keep it coming my friend
|
|
panzerjager.
Full Member
  
Member since: June 2012
Posts: 204
Jun 5, 2012 21:56:23 GMT -5
Jun 5, 2012 21:56:23 GMT -5
|
Post by panzerjager. on Jun 20, 2012 19:43:58 GMT -5
Thanks, guys, glad you like it! I made the P&D set following this SBS I use an old calendar for the base and an old CD case for the clear acrilic. The ...er...shelf holder? are just sprue, 3 mm diameter. I use a brass tube, thinned at the end with an X-Acto blade as puncher; sometimes it cut the acetate by rolling bewtween my fingers and sometimes I hit it with a ... square piece of MDF ;D Let me know if I explain well Darío |
|
panzerjager.
Full Member
  
Member since: June 2012
Posts: 204
Jun 5, 2012 21:56:23 GMT -5
Jun 5, 2012 21:56:23 GMT -5
|
Post by panzerjager. on Jul 25, 2012 14:34:22 GMT -5
Some updates. Side windows; the frame was made of cardboard and for the clear parts I use...a crackers envelope (cellophane?)  Windows and windshield in place. It's supposed they are ...fogged or steamy  Wheel buetacked for the pics (bad pics...My camera will be back in a few days, so I use the cell phone)   I will paint this one as in the picture below, with the white paint crudely brushed: 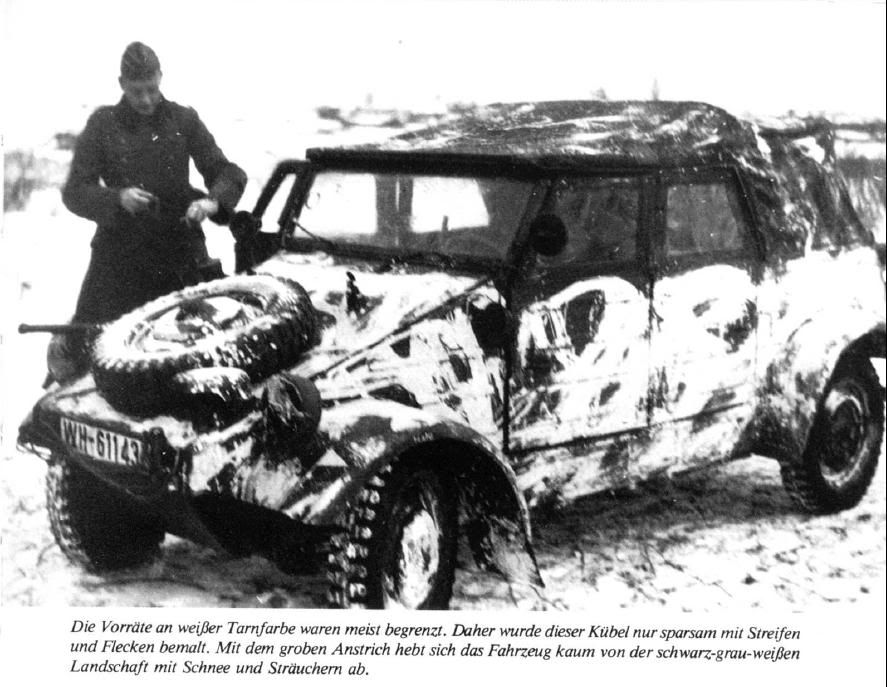 The Ramcke Brigade VW; It's supposed it was a dark grey vehicle repainted in RAL 8000 and maybe with RAL 7008 spots   One of the pictures I will use as example of chipped paint  Hope you like it Darío |
|
|
|
Post by bbd468 on Jul 25, 2012 17:26:34 GMT -5
Hello Dario, I recently acquired the Type 82 Kubelwagen by Hasegawa. I was suprised that it seems to be a nice clean kit with photoetch. Im definately going to use your builds as reference for my build which will be soon. Your doing a fabulous job man! Keep it coming Dario.  Gary |
|
|
|
Post by wbill76 on Jul 25, 2012 19:25:26 GMT -5
Nice to see the pair of VWs still moving along Dario, neat trick on the windows!
|
|
multicam
Senior Member
   
Member since: January 2012
Nate
Posts: 2,039
Jan 10, 2012 14:35:41 GMT -5
Jan 10, 2012 14:35:41 GMT -5
|
Post by multicam on Jul 25, 2012 22:33:57 GMT -5
im loving this build. keep it coming;)
|
|
|
|
Post by deafpanzer on Jul 25, 2012 22:44:30 GMT -5
Really like what you have done to the windows. It brought back great memories as a teenager with a girl in the back seat... no details there!  Can't wait to see it painted! |
|
panzerjager.
Full Member
  
Member since: June 2012
Posts: 204
Jun 5, 2012 21:56:23 GMT -5
Jun 5, 2012 21:56:23 GMT -5
|
Post by panzerjager. on Aug 3, 2012 23:49:19 GMT -5
Thanks guys! Gary, take a look at the workbench of my friend Josep here: www.calibre135.com/t7109-kubelwagen-type-82-dak-hasegawa-1-35He is building Hasegawa's Kübel, and is waiting for Life decals to build Marseille's Otto car. OK, it's in spanish language, but, you know...modellers only need images  In page 2 he shows some issues with the wheels and a curious detail of the kit: a real piece of tarp, provided with the kit I brushed the whitewash with artist acrylic, with a drop of Tamiya Flat base. Then I apply a wash with oils and some dirty with more artist acrylic, diluted in window cleaner.     Remember I'm trying to represent a car painted in this way:  I wonder if that car was painted by a drunk soldier or what ...there is no sense on those brushmarks! My model in B & W  Any suggestion? I should add some snow over it? Perhaps mud on wheels? Darío |
|
|
|
Post by spud on Aug 4, 2012 7:07:41 GMT -5
it looks to have more w/w than on yours Dario but it does look pretty Good, Deffo want mud on the lower end of there work horses
|
|


 . Cool:)


 Love that stuff...make your own tools and speedometers!!! Keep it coming!!!


