threadbear.
Full Member
  
Member since: December 2011
Recovering my modelling enthusiasm!!'
Posts: 138
Dec 18, 2011 8:31:37 GMT -5
Dec 18, 2011 8:31:37 GMT -5
|
Post by threadbear. on Oct 6, 2012 22:15:51 GMT -5
Hi Guys
This is going to be my hopefully my first build on MSCF! I have been planning this project for a while so here goes. I am using the classic old Tamiya Rover 7 Ambulance kit to make an RAF airfield vehicle. I will be using some Accurate Armour items to jazz the kit a bit. Items being used are Land Rover sand tyres, blue beacons, stretcher set and bergans, red cross markings. This model may not be strictly accurate but hopefully will look the part.
Regards
Grahame
|
|
bigjohn
Reviews member    
Member since: December 2011
John Hale
Posts: 3,438
Dec 21, 2011 2:17:45 GMT -5
Dec 21, 2011 2:17:45 GMT -5
|
Post by bigjohn on Oct 6, 2012 22:25:29 GMT -5
Looking forward to your build~
|
|
|
|
Post by 406 Silverado on Oct 6, 2012 23:11:50 GMT -5
looking forward to your first here. Should be a cool build.
|
|
reserve
Senior Member
   
Member since: July 2012
Si vis pacem para bellum
Posts: 2,373
Jul 11, 2012 9:11:45 GMT -5
Jul 11, 2012 9:11:45 GMT -5
|
Post by reserve on Oct 7, 2012 0:52:44 GMT -5
Not to worry about strict accuracy here, brother, no one here will take you to task over a misplaced rivet, too dark a color or somesuch. That's not the way we roll.
Enjoy.
Regards,
Mark
|
|
Deleted
Member since: January 1970
Posts: 0
Dec 2, 2024 2:59:21 GMT -5
Dec 2, 2024 2:59:21 GMT -5
|
Post by Deleted on Oct 7, 2012 3:57:40 GMT -5
|
|
|
|
Post by TRM on Oct 7, 2012 7:24:51 GMT -5
Bring it on...can't wait to follow along!!!  |
|
jackh.
Full Member
  
Member since: December 2011
Posts: 1,195
Dec 15, 2011 2:51:27 GMT -5
Dec 15, 2011 2:51:27 GMT -5
|
Post by jackh. on Oct 7, 2012 9:16:31 GMT -5
Looking forward to this so count me in.
|
|
|
|
Post by wbill76 on Oct 7, 2012 13:47:21 GMT -5
Sounds like a fun project, looking forward to it!
|
|
threadbear.
Full Member
  
Member since: December 2011
Recovering my modelling enthusiasm!!'
Posts: 138
Dec 18, 2011 8:31:37 GMT -5
Dec 18, 2011 8:31:37 GMT -5
|
Post by threadbear. on Oct 7, 2012 17:59:28 GMT -5
Thanks for the words of encouragement! The plan is for an airfield vehicle that is not too dirty in a RAF blue grey scheme with yellow body stripes. I just need to figure out how to post photos now!
Grahame
|
|
threadbear.
Full Member
  
Member since: December 2011
Recovering my modelling enthusiasm!!'
Posts: 138
Dec 18, 2011 8:31:37 GMT -5
Dec 18, 2011 8:31:37 GMT -5
|
Post by threadbear. on Oct 8, 2012 9:17:58 GMT -5
Okay, here goes. Two piccies of the interior and part built chassis of the venerable Tamiya kit. As you can see from my dubious photography there are plenty of injection sink marks to fill. I used Vallejo and Mr Surfacer to fill these. Hopefully they will disappear a coat of paint. I intended to assemble the body before painting. I think I will also fill those sink marks on the underneath of the chassis although the Ambo will be fixed to a base. Thats the intention anyway! [photobucket 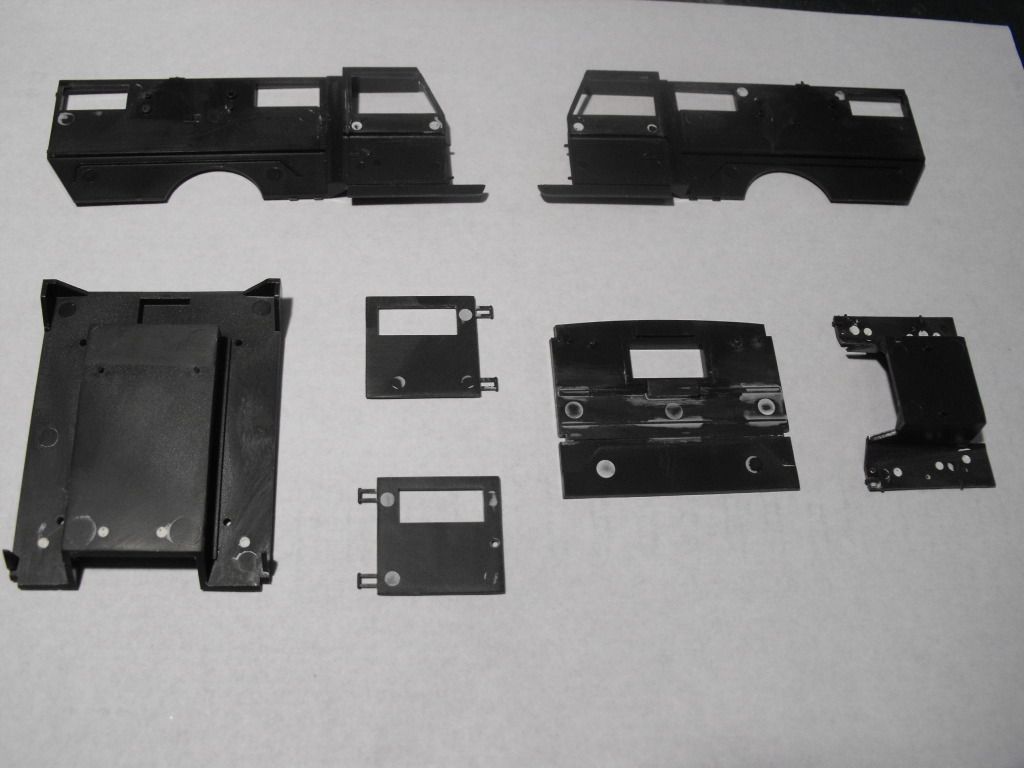 ][/photobucket] 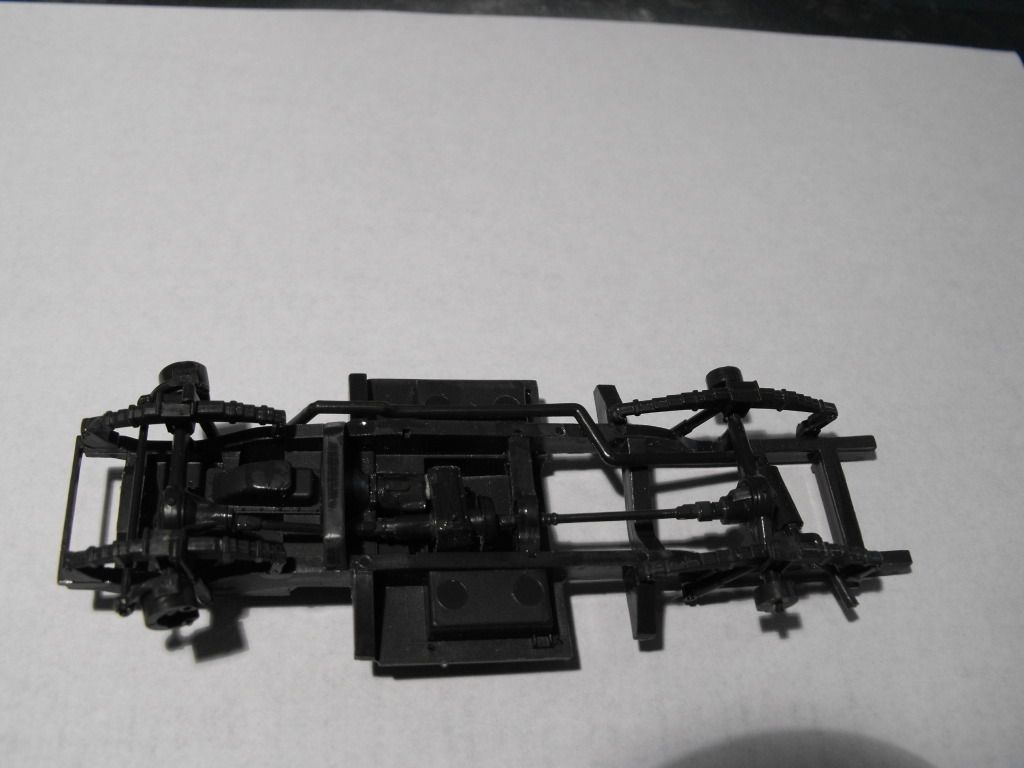 |
|
threadbear.
Full Member
  
Member since: December 2011
Recovering my modelling enthusiasm!!'
Posts: 138
Dec 18, 2011 8:31:37 GMT -5
Dec 18, 2011 8:31:37 GMT -5
|
Post by threadbear. on Oct 8, 2012 9:19:31 GMT -5
wow that was easy! I have to say that this dark Tamiya plastic is a nightmare on my eyes! This kit has had needed more clean up than any Tamiya kit Ive tackled before!
Regards
Grahame
|
|
|
|
Post by robbo on Oct 8, 2012 9:24:47 GMT -5
Good start, just goes to show you can have fun with older kits  |
|
|
|
Post by 406 Silverado on Oct 8, 2012 9:27:48 GMT -5
Off to a good start.
|
|
threadbear.
Full Member
  
Member since: December 2011
Recovering my modelling enthusiasm!!'
Posts: 138
Dec 18, 2011 8:31:37 GMT -5
Dec 18, 2011 8:31:37 GMT -5
|
Post by threadbear. on Oct 8, 2012 10:06:53 GMT -5
Chassis finished. Cleaned up the Accurate Armour sand tyres and the underneath of the chassis. The fuel tank sink marks. The AA tyres have very fine tread and is easy to eradicate to make them illegal! They are tempoarily fixed with blutac. Regards Grahame 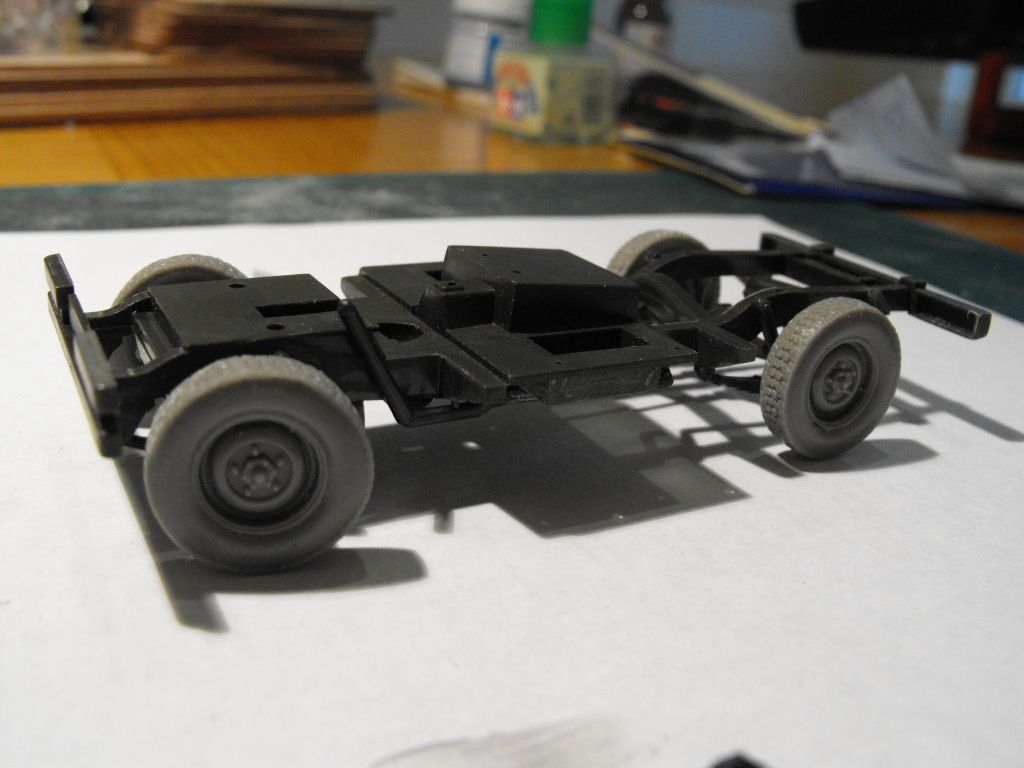 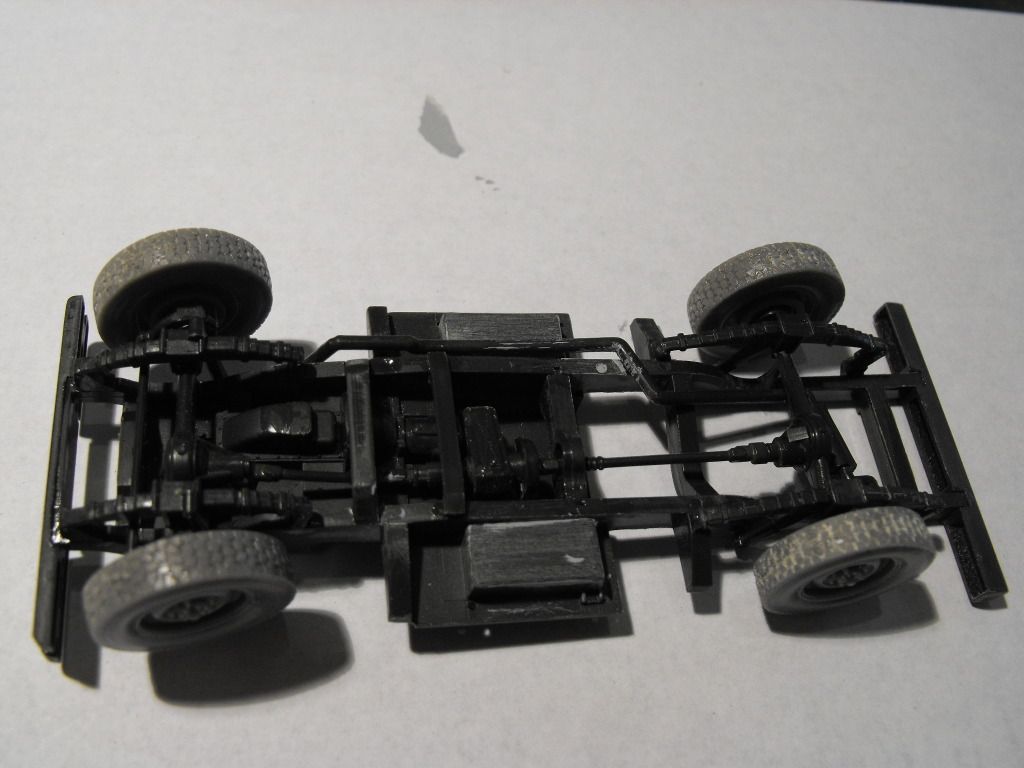 |
|
threadbear.
Full Member
  
Member since: December 2011
Recovering my modelling enthusiasm!!'
Posts: 138
Dec 18, 2011 8:31:37 GMT -5
Dec 18, 2011 8:31:37 GMT -5
|
Post by threadbear. on Oct 8, 2012 10:09:57 GMT -5
Good start, just goes to show you can have fun with older kits  This is what modelling is all about Robbo! |
|
|
|
Post by robbo on Oct 8, 2012 10:17:04 GMT -5
Certainly is mate
|
|
|
|
Post by wbill76 on Oct 8, 2012 11:11:09 GMT -5
Moving along quickly with this one...lots of pin marks to deal with but you've handled it nicely!
|
|
threadbear.
Full Member
  
Member since: December 2011
Recovering my modelling enthusiasm!!'
Posts: 138
Dec 18, 2011 8:31:37 GMT -5
Dec 18, 2011 8:31:37 GMT -5
|
Post by threadbear. on Oct 8, 2012 17:09:44 GMT -5
Pictures of a smart restored Series 3 ambulance that Im basing my series 2 on. These aren`t my pictures, took `em off the net.   |
|
|
|
Post by bbd468 on Oct 10, 2012 0:14:43 GMT -5
Sharp little build man! Looks fun!!!  You going to paint it up like you pics? I like it!!!  Gary |
|
multicam
Senior Member
   
Member since: January 2012
Nate
Posts: 2,039
Jan 10, 2012 14:35:41 GMT -5
Jan 10, 2012 14:35:41 GMT -5
|
Post by multicam on Oct 10, 2012 13:05:52 GMT -5
Love the idea of this one. Looking forward to it!
|
|
jackh.
Full Member
  
Member since: December 2011
Posts: 1,195
Dec 15, 2011 2:51:27 GMT -5
Dec 15, 2011 2:51:27 GMT -5
|
Post by jackh. on Oct 10, 2012 14:42:59 GMT -5
Nice progress on this old venerable kit Grahame. I always love to do and old kit up.
|
|
threadbear.
Full Member
  
Member since: December 2011
Recovering my modelling enthusiasm!!'
Posts: 138
Dec 18, 2011 8:31:37 GMT -5
Dec 18, 2011 8:31:37 GMT -5
|
Post by threadbear. on Oct 10, 2012 17:14:58 GMT -5
Thanks for all the kind words of support. The plan is to do the kit up as in the photgraphs. Will make a change from khaki and intended to put a semi gloss sheen to it, so it doesnt look too over the top. In hindsight, apart from the pin marks that needed filling, the clean up hasnt been too bad. I have been a little harsh on the kit. Hopefully do a bit more in the next few days.
Grahame
|
|
|
|
Post by wing_nut on Oct 10, 2012 17:44:16 GMT -5
A not oft built subject for sure. Will look cool.
|
|
threadbear.
Full Member
  
Member since: December 2011
Recovering my modelling enthusiasm!!'
Posts: 138
Dec 18, 2011 8:31:37 GMT -5
Dec 18, 2011 8:31:37 GMT -5
|
Post by threadbear. on Oct 13, 2012 15:46:11 GMT -5
Saturday Update. Today I have assembled the front end of the Landie. Some Vallejo filler was used to fill the wings and inner panels. A plastic disc was added for the bridging disc. The dashboard and windscreen panel was somewhat vague but got there in the end! I decided that the area occupied by the middle cab seat would be better utilised as an ambulance. Some plastic card was cut to shape for mounting a fire extingusher, and later on a first aid grab bag will be added. I then added Tamiya tape with Aber buckles to represent seat belts. Next up the rear body.[photobucket][/photobucket] Grahame. 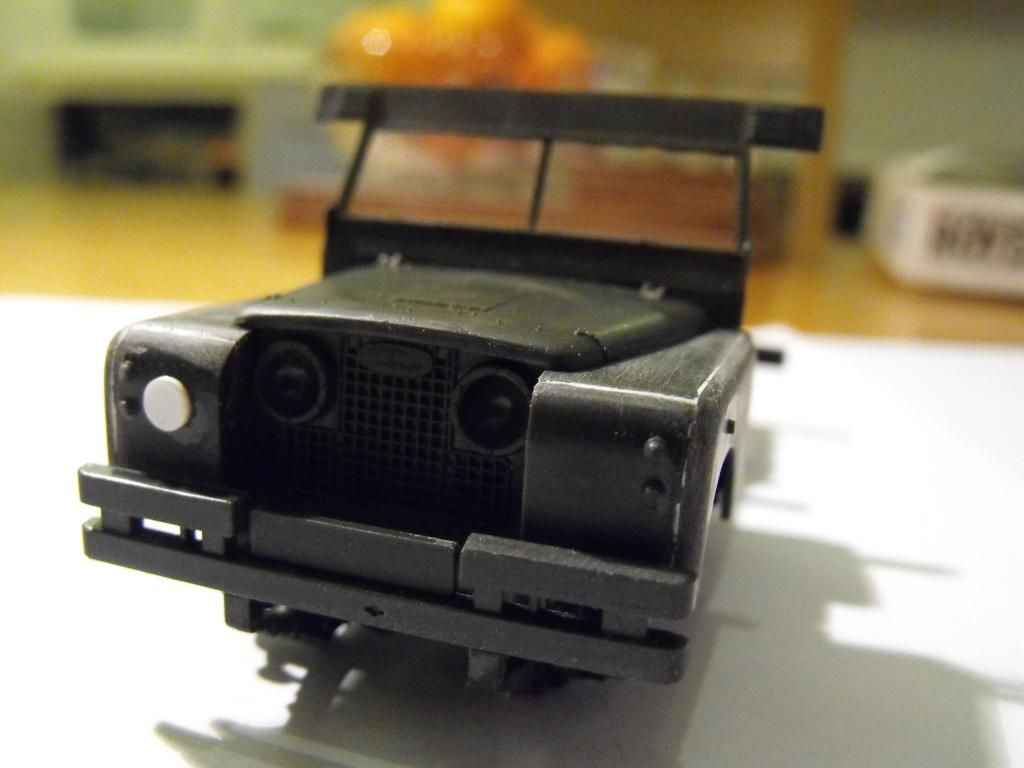 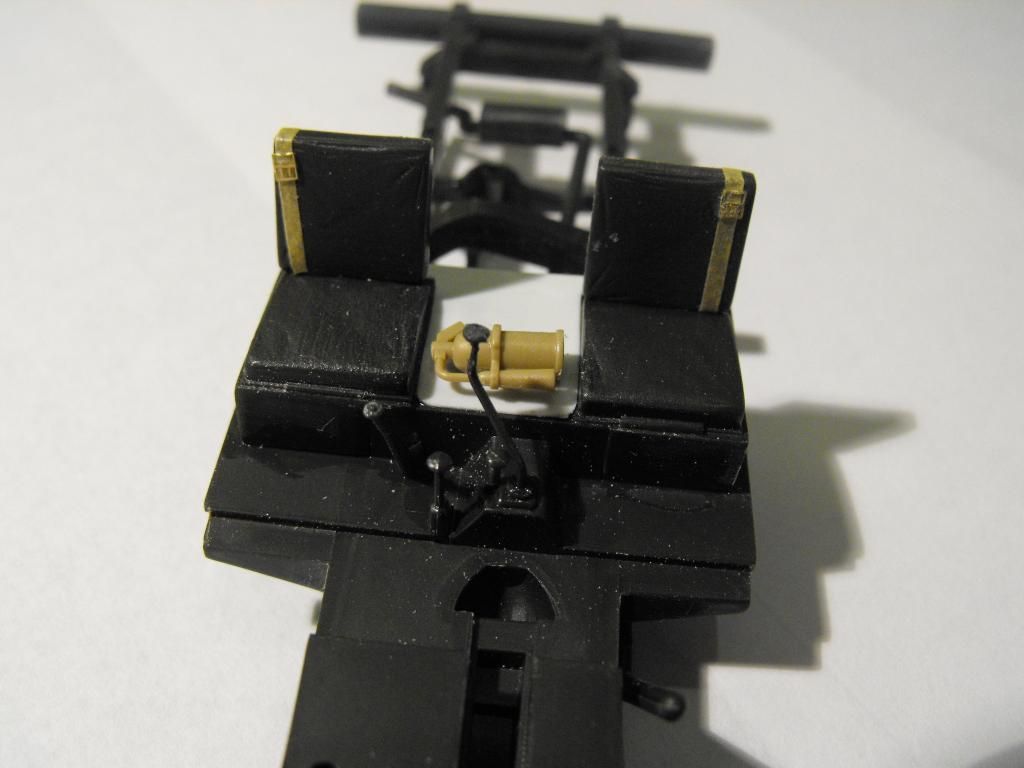 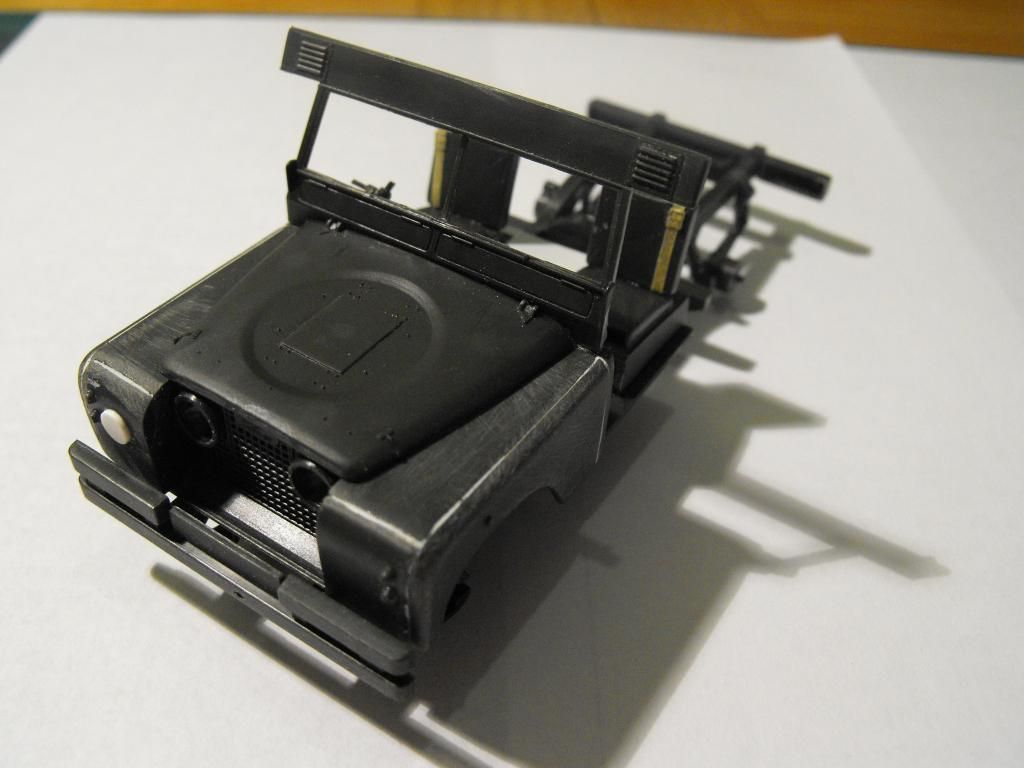 |
|
threadbear.
Full Member
  
Member since: December 2011
Recovering my modelling enthusiasm!!'
Posts: 138
Dec 18, 2011 8:31:37 GMT -5
Dec 18, 2011 8:31:37 GMT -5
|
Post by threadbear. on Oct 13, 2012 15:55:52 GMT -5
Forgot to say, the fire extingusher is from the Academy M3 Stuart kit, not entirely accurate but does had the necessary horn...........  |
|
Deleted
Member since: January 1970
Posts: 0
Dec 2, 2024 2:59:21 GMT -5
Dec 2, 2024 2:59:21 GMT -5
|
Post by Deleted on Oct 14, 2012 2:16:39 GMT -5
one of my fav kits this, never done one in RAF colours so am watching with interest cool work
|
|
|
|
Post by wbill76 on Oct 14, 2012 10:39:01 GMT -5
Nice update, good work on the mods and seat belts.
|
|
threadbear.
Full Member
  
Member since: December 2011
Recovering my modelling enthusiasm!!'
Posts: 138
Dec 18, 2011 8:31:37 GMT -5
Dec 18, 2011 8:31:37 GMT -5
|
Post by threadbear. on Oct 23, 2012 9:02:18 GMT -5
Ive done some work to the ambulance saloon of the Land Rover. I have installed runners for the stretchers to sit in using Evergreen 292 2.00mm .080 L angle. I then used Evergreen 8612 strip to raise the benches clear of the runners. This is so the runners wouldn`t dig in the backs of sitting casualties legs etc. This is the second attempt at this work as the first set of runners, I fitted flush with the side of the floor pan. Only to find the floor pan sits in grooves on the body sides. Ive been working out how to paint the interior as the floor area will be difficult to paint so I going to paint then assemble. Next up some painting and equipment for my ambulance. 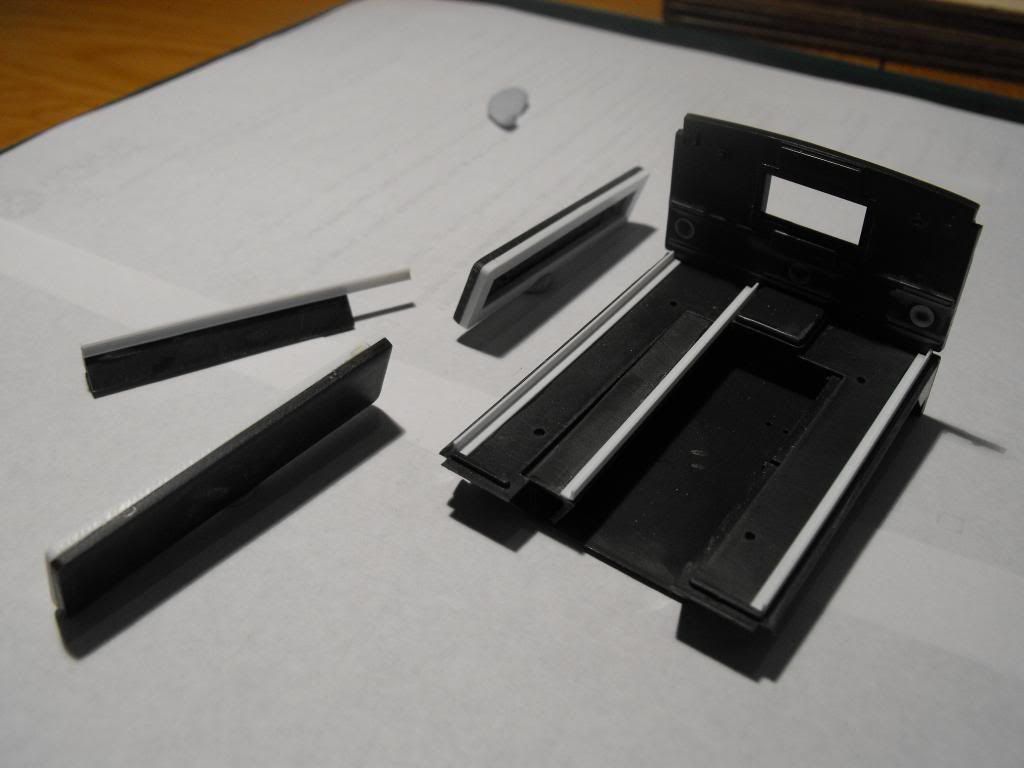 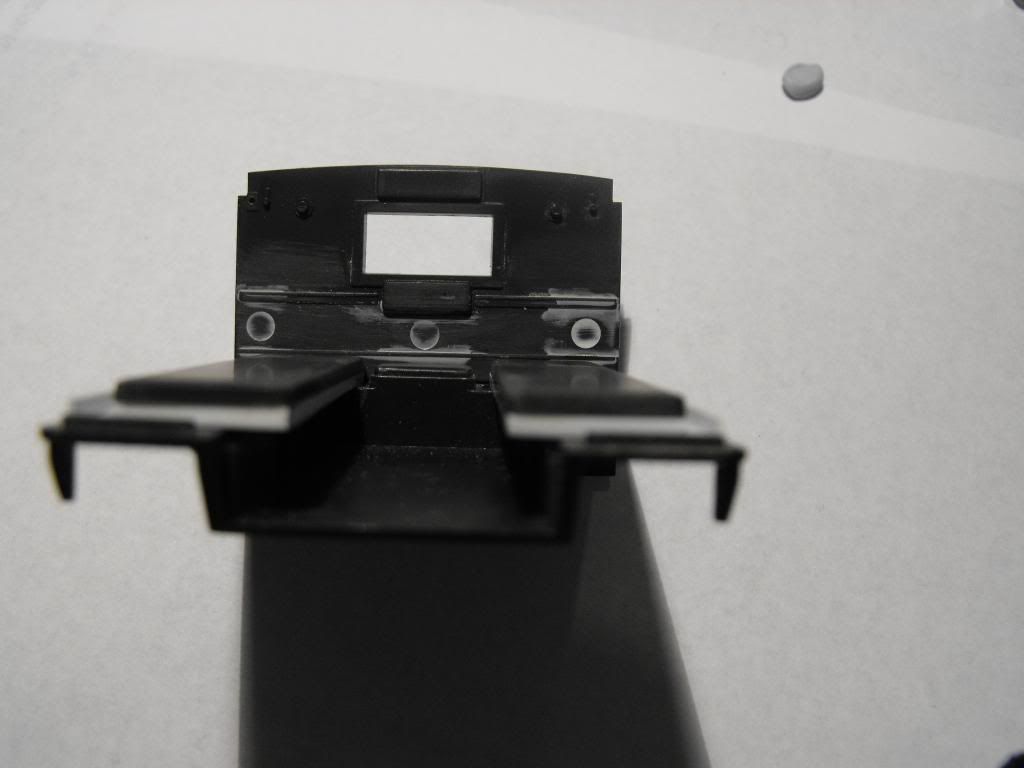 |
|
|
|
Post by robbo on Oct 23, 2012 9:39:49 GMT -5
Looking very good mate
|
|
|
|
Post by bullardino on Oct 23, 2012 9:55:37 GMT -5
That's nice  There's lot of place for details in that back cab, I look forward to seein more of this build  |
|