Post by venom1 on Feb 16, 2013 12:19:24 GMT -5
Hey guys, howzitgahn?
I have a project which has stalled due to lack of inspiration/motivation, and I thought that sharing it with y'all may help me get it back into gear and on track! First some background....
Couple of years ago I bought the little Italeri 1/72 MD500 when I caught the Braille scale chopper bug after completing my OOB build of the Italeri 1/72 Kiowa. Had such a blast I thought I would do this one OOB as well. I had it at the painting stage and was ready to mask up and paint. Then I made a fatal mistake. I was not sure about Italeri's colour call out for the blades, so I made the silly decision to do a search online for photos to verify the correct colour. Biiiiiiiiig mistaaaaaaake!!!
That is when I first stumbled across the magnificent Prime Portal website, and it had some magnificent walkaround photos of the real MD500. I looked at my chopper. I looked at all the photos on PP. Then I broke out the white stuff and it was all downhill from there! Dicky would be so proud!!
The following photos show the chopper in its current state, covered in white stuff, but still a fair bit to do! Let me know your feedback, maybe it will motivate me to get on with it!
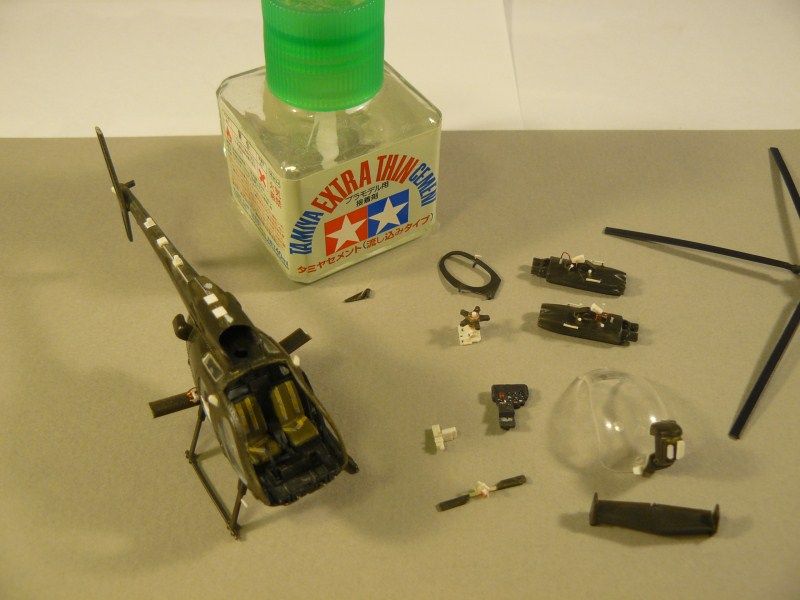
The bits. As you can see, quite a small little guy!
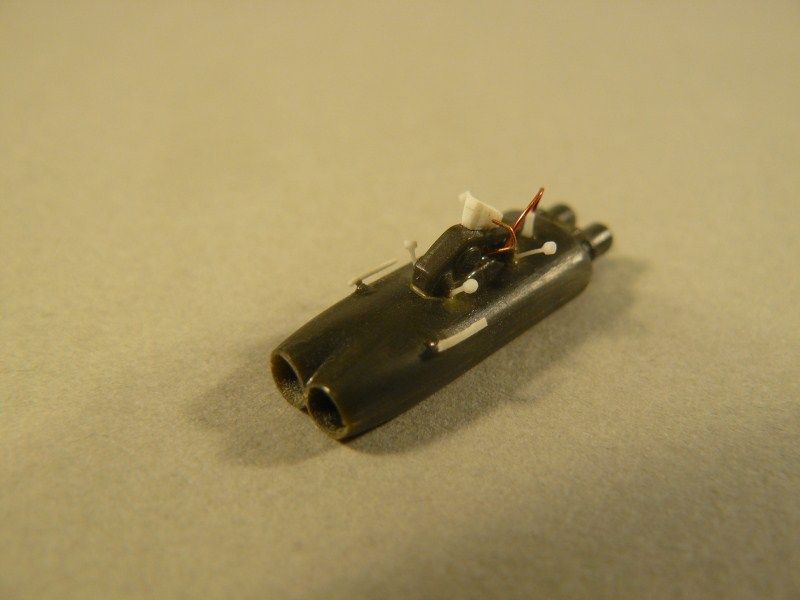
Flashed up TOW launcher.
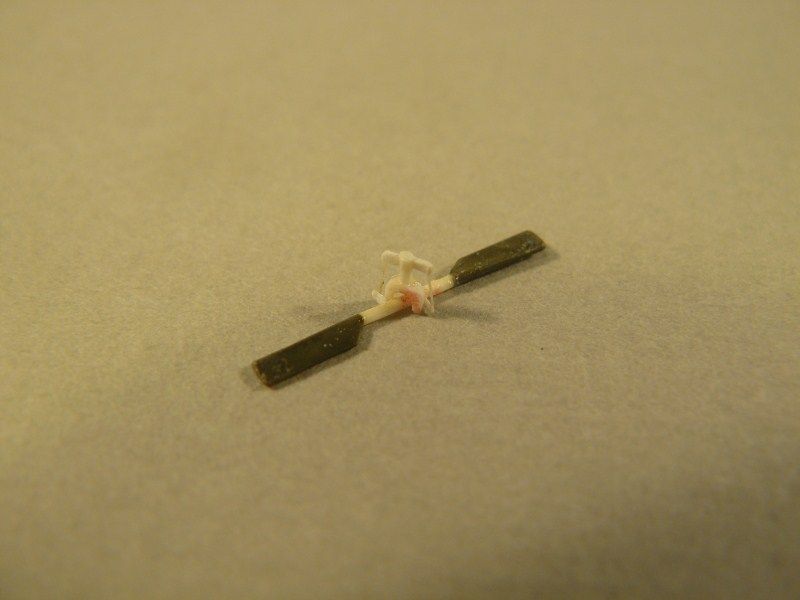
Scratchbuilt tail rotor. Only the blades remain! Still need to do some scratchwork on the tail boom where this will connect...
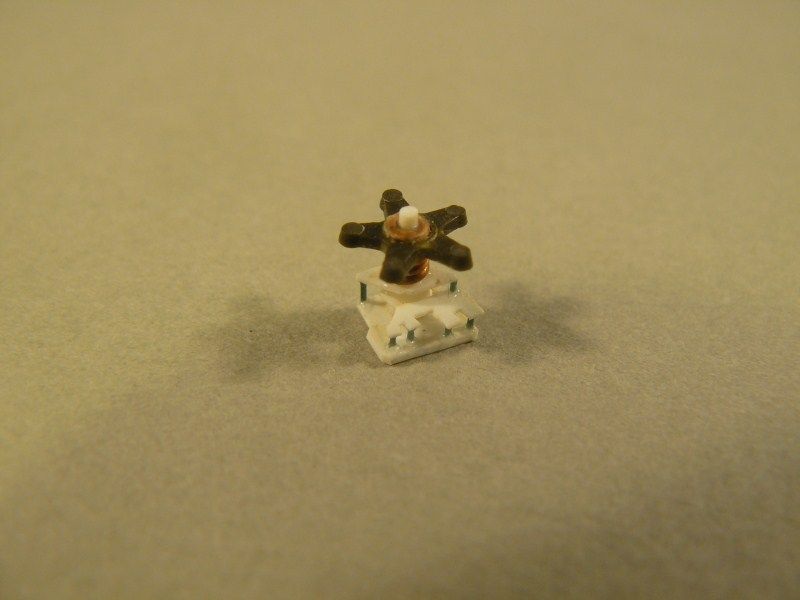
Rotor head. This is more a representation of what is there rather than a nut and bolt reproduction.
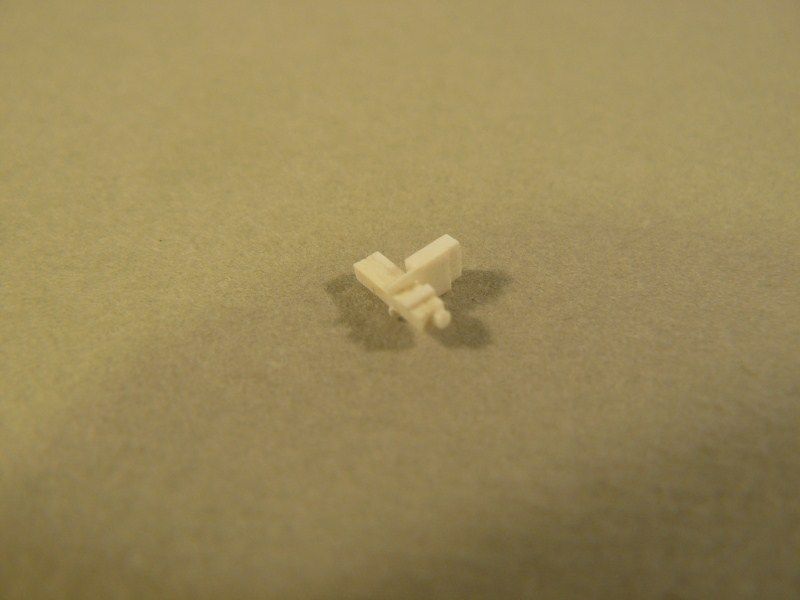
As yet unfinished sighting arrangement for the co-pilot. This will be installed inside the cockpit behind the external sights mounted on the nose.
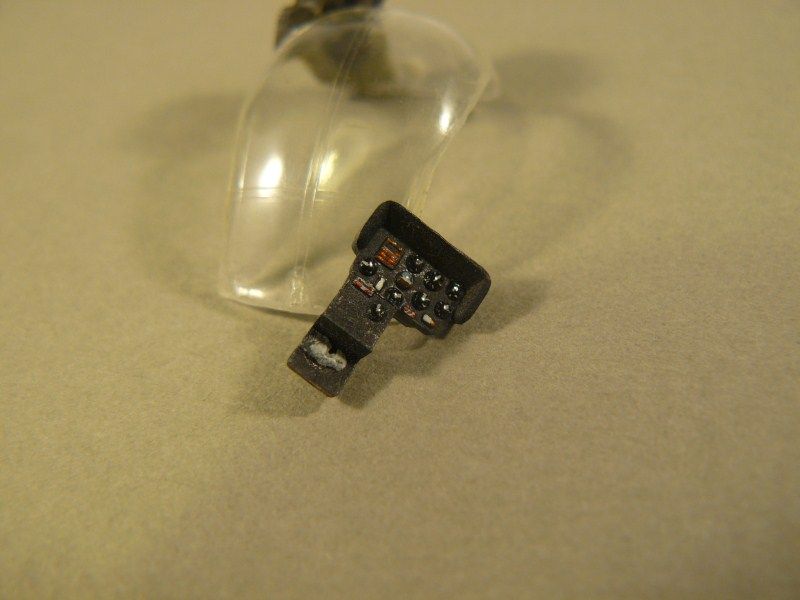
The I.P. This was originally central on the column, I have cut it and repositioned to allow for the sighting arrangement to be installed
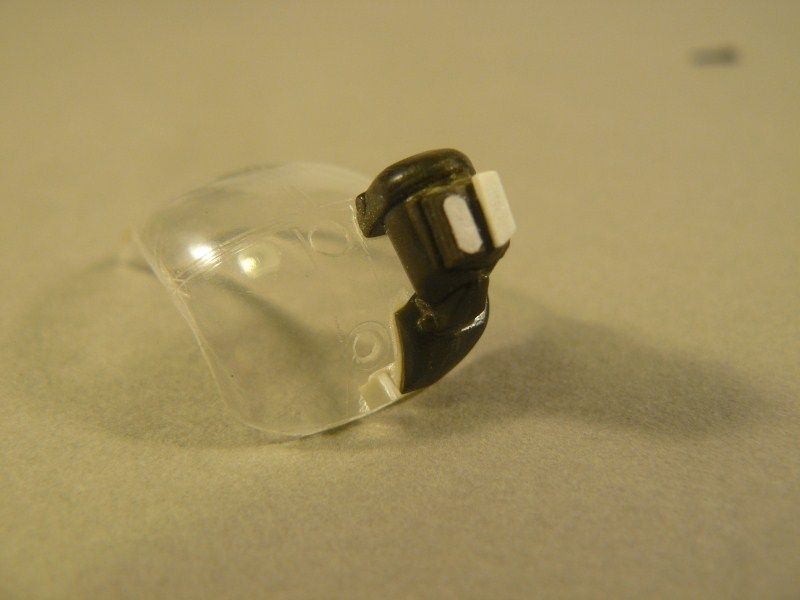
External sight. I have also drilled holes for the light (lower) and air intake vent (upper). This was already installed on the fuselage, and I was faced with having to remove it once I realised I could not possibly get the new sighting arrangement in through the side door, let alone do all the other detailing! It was a careful and painstaking procedure, but I did it! Very very minimal damage to the fuselage and the glasswork, which I was rightly chuffed about!
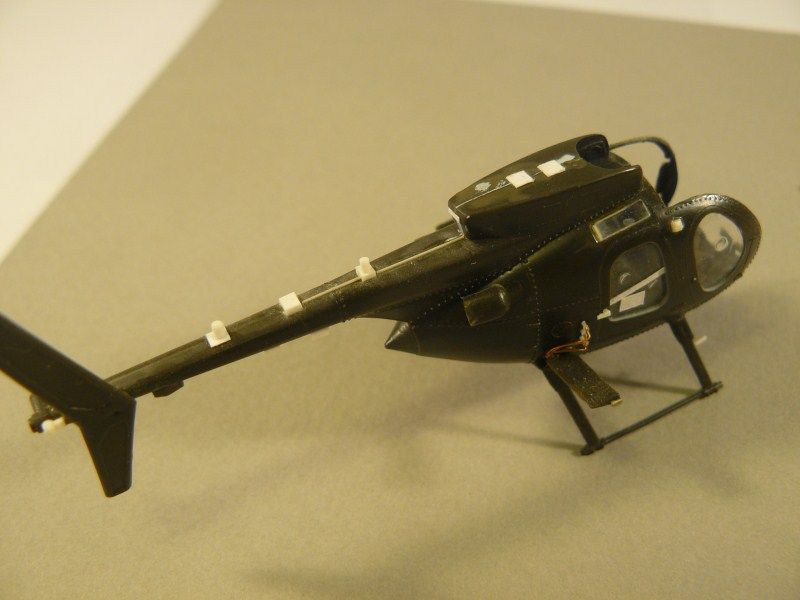
Various lumps and bumps.
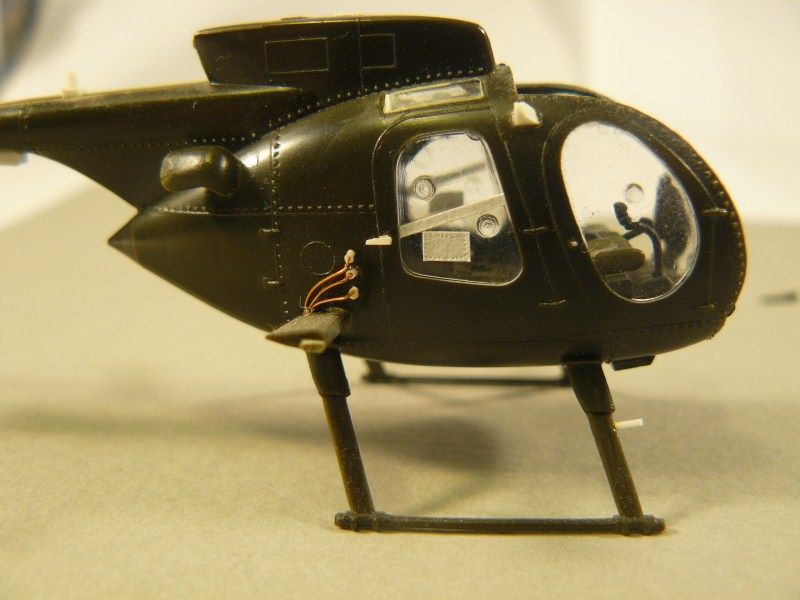
More lumps and bumps, including door handle, TOW launcher cables, window modifications and skid step. Still need to complete landing skids as both broke off. Have lost one, so will probably use as a template and scratchbuild both.....
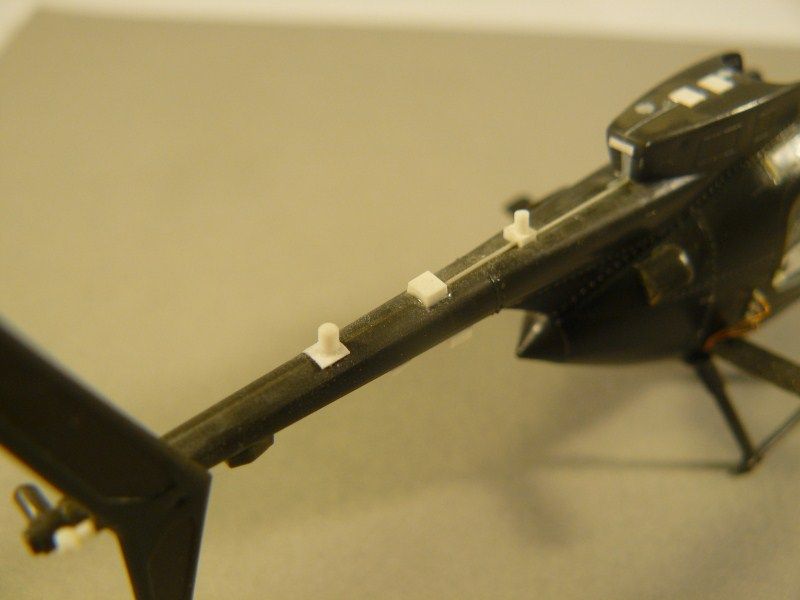
Tailboom lumps and bumps.
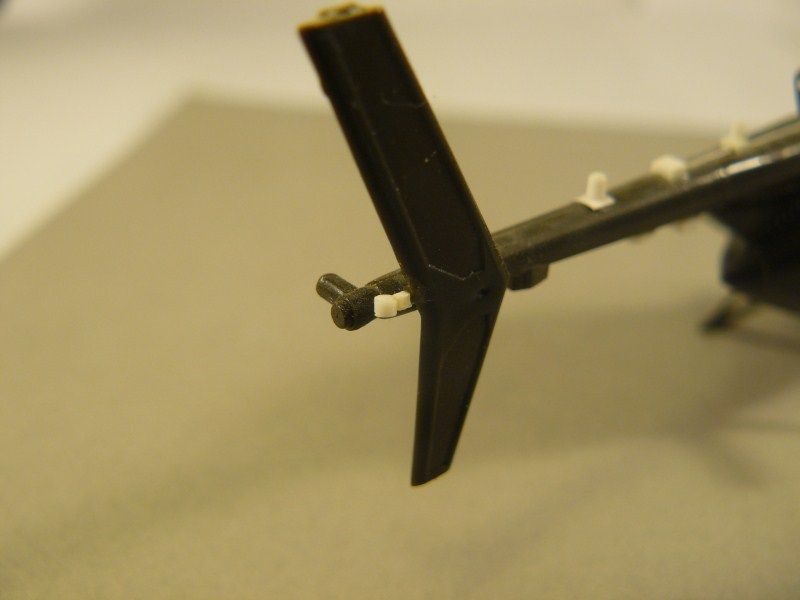
Rear collision beacon mount.
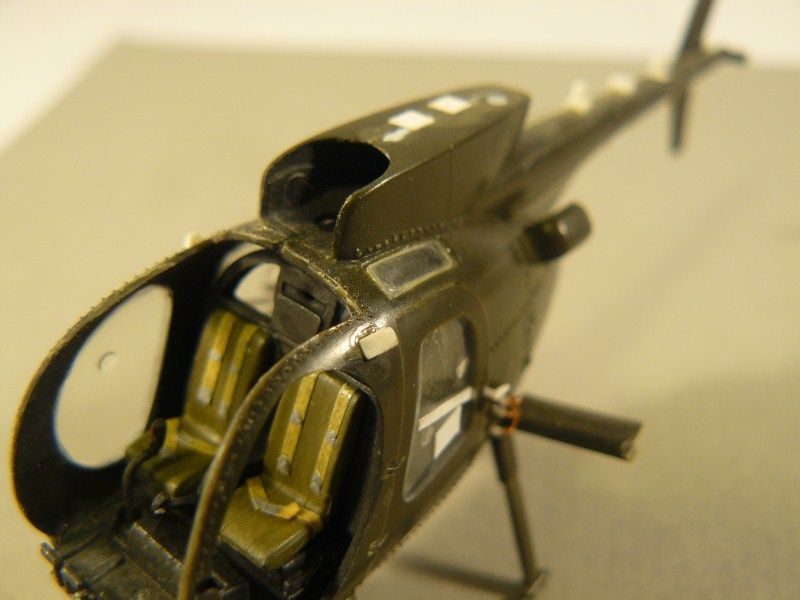
More lumpy bumpy. Ignore the dodgy seat belts, for they will come offeth!!
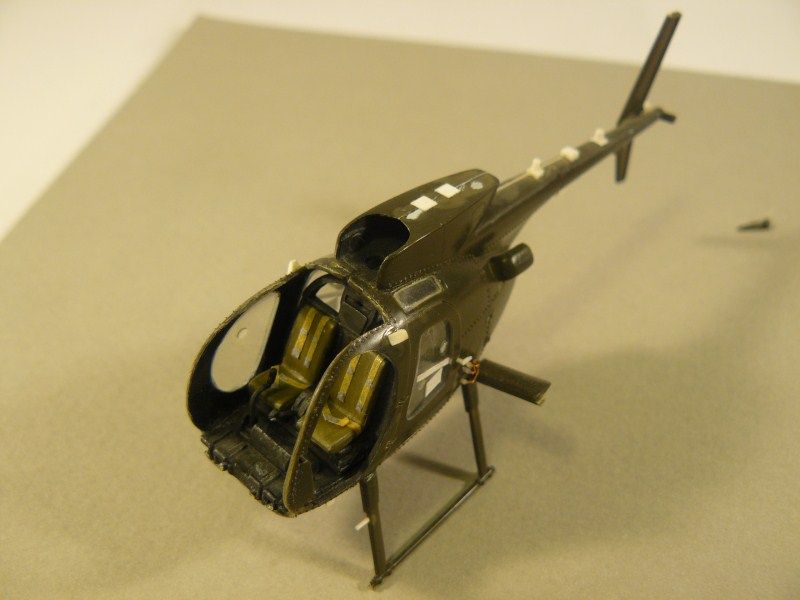
White bits everywhere! Whadda ya think jackwagon ol' boy?
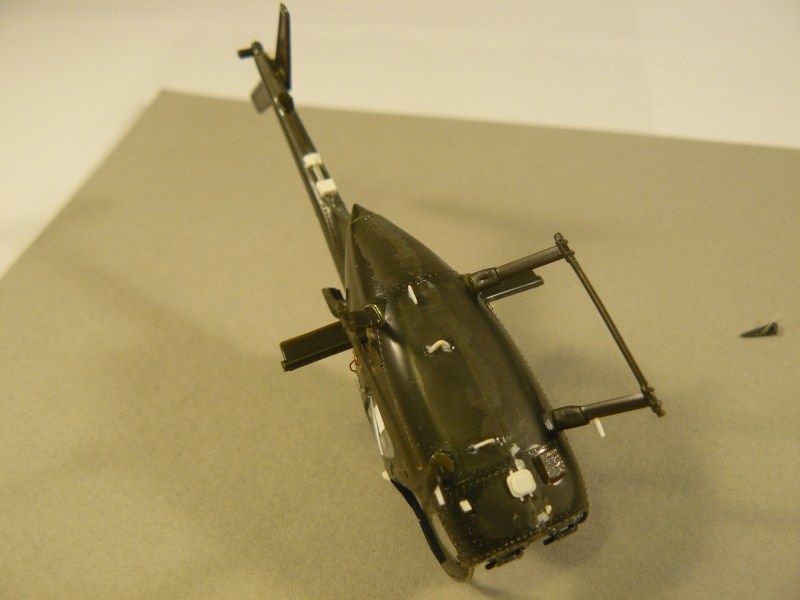
Even the underside doth not escape the wrath of El Whito!
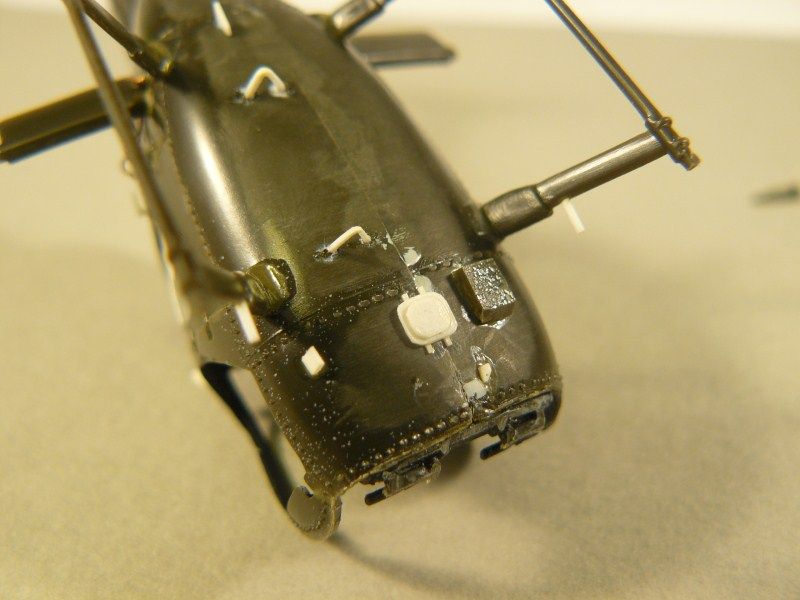
Close up. Mmmmmm, white stuuuuuffffff.......
So there ya go! As you can see, still got a fair bit left to go, including (but not limited to) full cockpit detailing, but I would love to get my groove back with this one and get it done! Hopefully it will be sooner rather than later!
Cheers,
Sam
I have a project which has stalled due to lack of inspiration/motivation, and I thought that sharing it with y'all may help me get it back into gear and on track! First some background....
Couple of years ago I bought the little Italeri 1/72 MD500 when I caught the Braille scale chopper bug after completing my OOB build of the Italeri 1/72 Kiowa. Had such a blast I thought I would do this one OOB as well. I had it at the painting stage and was ready to mask up and paint. Then I made a fatal mistake. I was not sure about Italeri's colour call out for the blades, so I made the silly decision to do a search online for photos to verify the correct colour. Biiiiiiiiig mistaaaaaaake!!!

That is when I first stumbled across the magnificent Prime Portal website, and it had some magnificent walkaround photos of the real MD500. I looked at my chopper. I looked at all the photos on PP. Then I broke out the white stuff and it was all downhill from there! Dicky would be so proud!!

The following photos show the chopper in its current state, covered in white stuff, but still a fair bit to do! Let me know your feedback, maybe it will motivate me to get on with it!


The bits. As you can see, quite a small little guy!

Flashed up TOW launcher.

Scratchbuilt tail rotor. Only the blades remain! Still need to do some scratchwork on the tail boom where this will connect...

Rotor head. This is more a representation of what is there rather than a nut and bolt reproduction.

As yet unfinished sighting arrangement for the co-pilot. This will be installed inside the cockpit behind the external sights mounted on the nose.

The I.P. This was originally central on the column, I have cut it and repositioned to allow for the sighting arrangement to be installed

External sight. I have also drilled holes for the light (lower) and air intake vent (upper). This was already installed on the fuselage, and I was faced with having to remove it once I realised I could not possibly get the new sighting arrangement in through the side door, let alone do all the other detailing! It was a careful and painstaking procedure, but I did it! Very very minimal damage to the fuselage and the glasswork, which I was rightly chuffed about!


Various lumps and bumps.

More lumps and bumps, including door handle, TOW launcher cables, window modifications and skid step. Still need to complete landing skids as both broke off. Have lost one, so will probably use as a template and scratchbuild both.....

Tailboom lumps and bumps.

Rear collision beacon mount.

More lumpy bumpy. Ignore the dodgy seat belts, for they will come offeth!!

White bits everywhere! Whadda ya think jackwagon ol' boy?


Even the underside doth not escape the wrath of El Whito!

Close up. Mmmmmm, white stuuuuuffffff.......
So there ya go! As you can see, still got a fair bit left to go, including (but not limited to) full cockpit detailing, but I would love to get my groove back with this one and get it done! Hopefully it will be sooner rather than later!

Cheers,
Sam


