panzerconor.
Full Member
  
Member since: April 2013
My cat's breath smells like cat food.
Posts: 176 
|
Post by panzerconor. on May 12, 2013 0:19:54 GMT -5
A smart modeler will give themselves a lot of room, and not start a project with 5 others going on at the same time. I am not a smart modeler. But, with the other halftrack builds starting, I lost my patience  I'm building AFV Club's kit like the title says. Apparently there's some nasty fit issues with this particular model...so we'll have to see where things go... 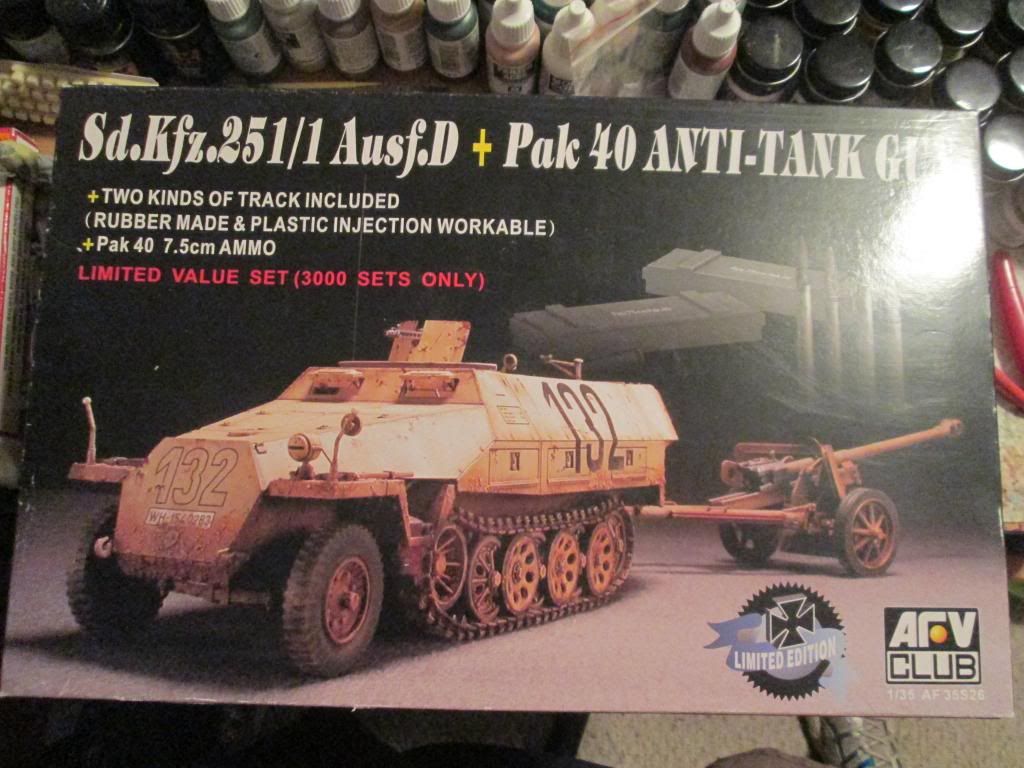 Going with the painting and markings for a Das Reich one in Normandy 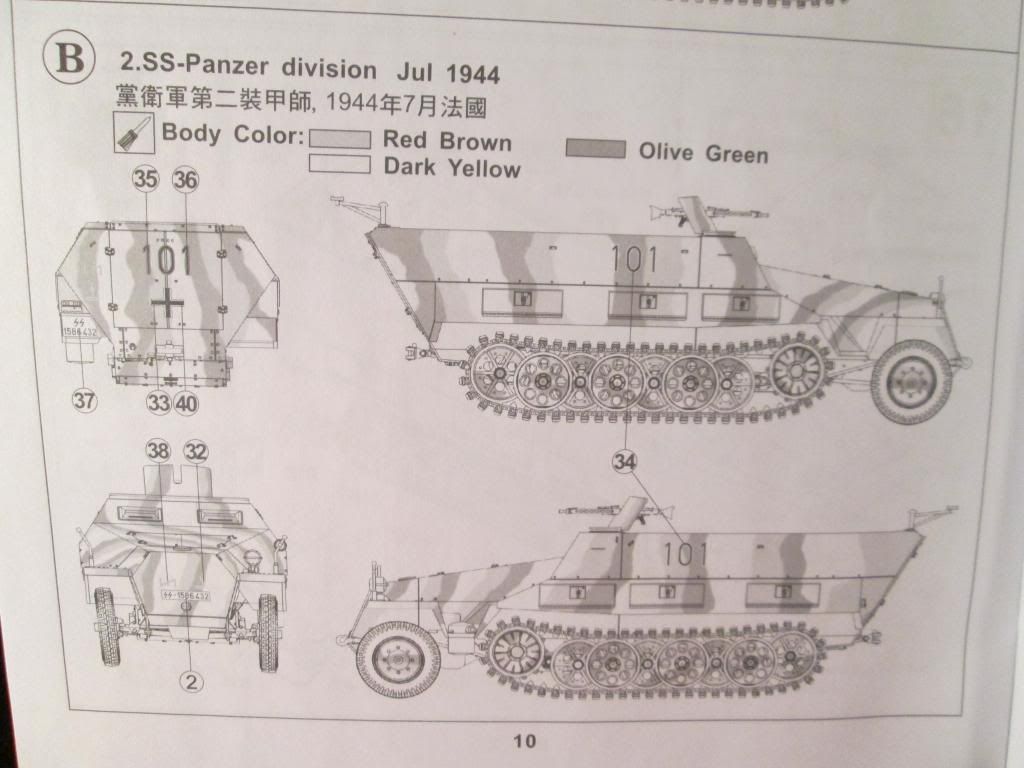 What I was surprised by was the quality of the individual weapons it came with. Pretty detailed stuff. Won't be going into my spares bin. 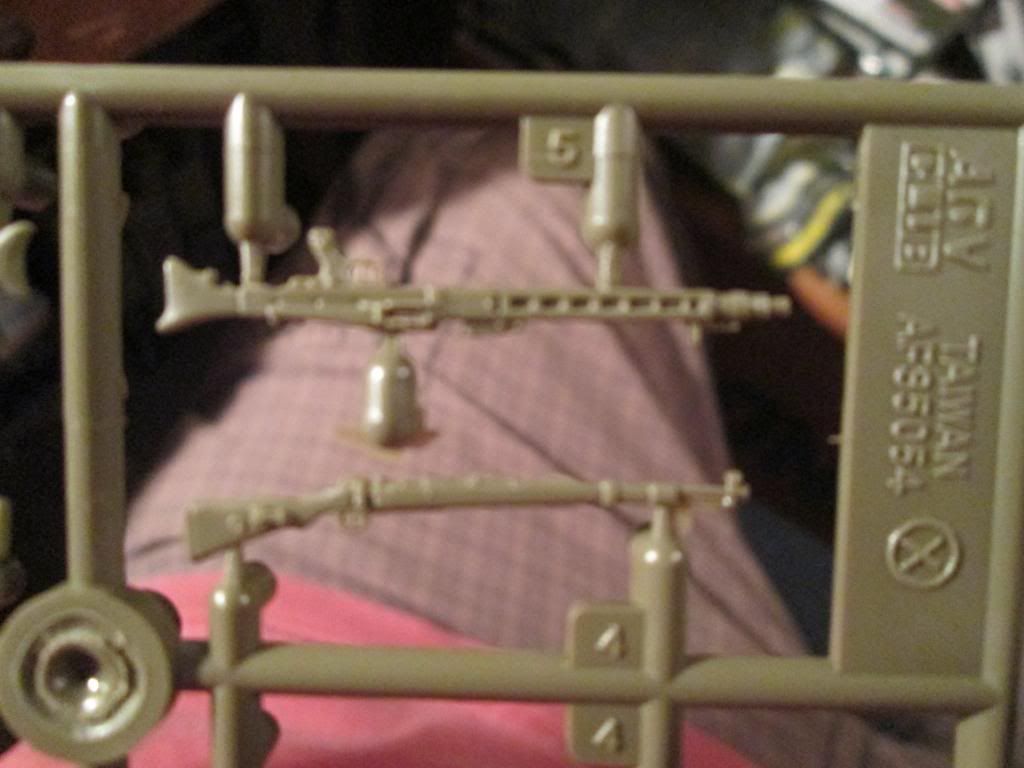 And I got 2 sprues of them :-)--<  A meager start 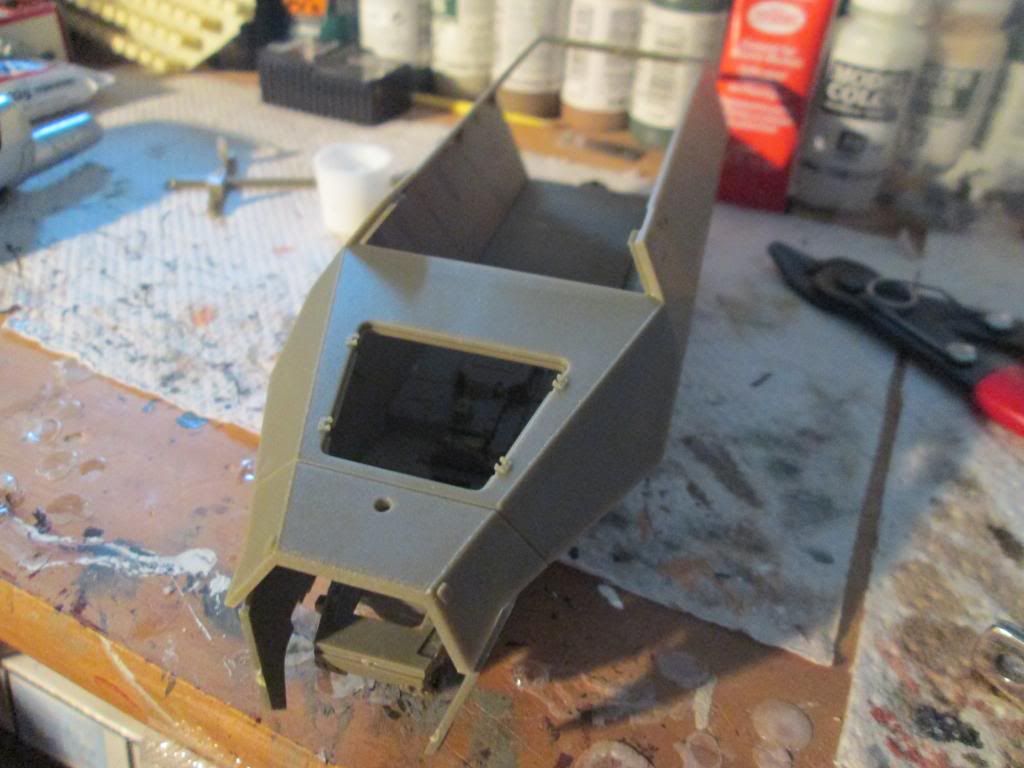 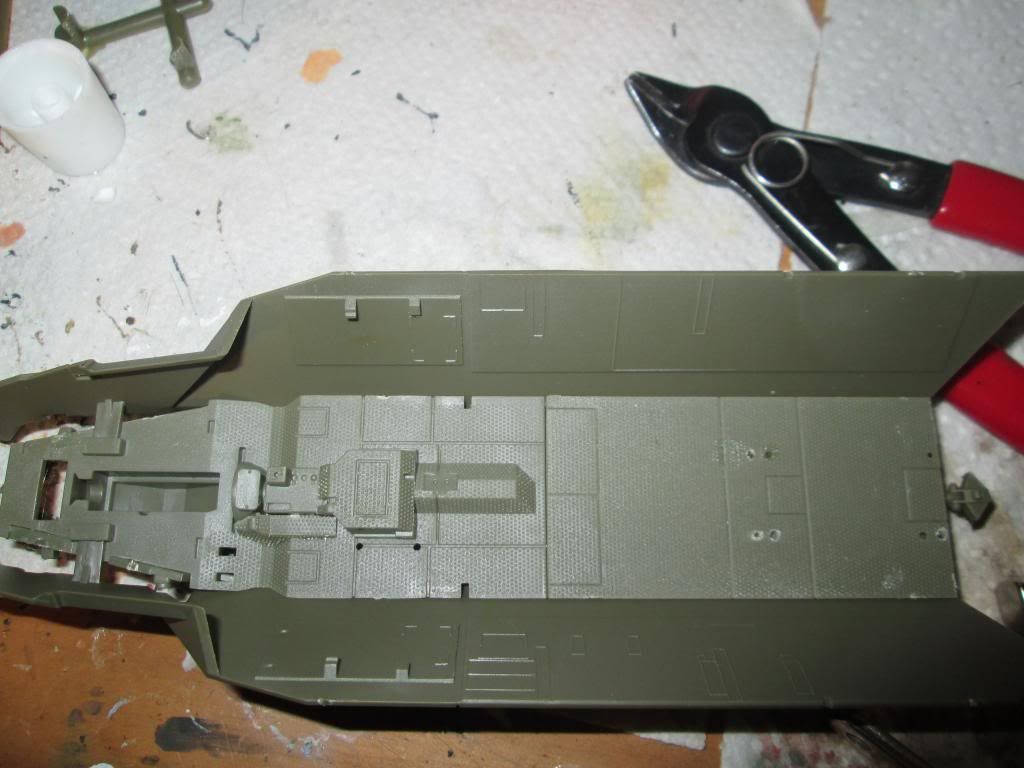 This bit was a pain...didn't seem to make sense in the instructions. But hey, I've build Dragon kits, I'm used to that.  Nicely detailed floor though 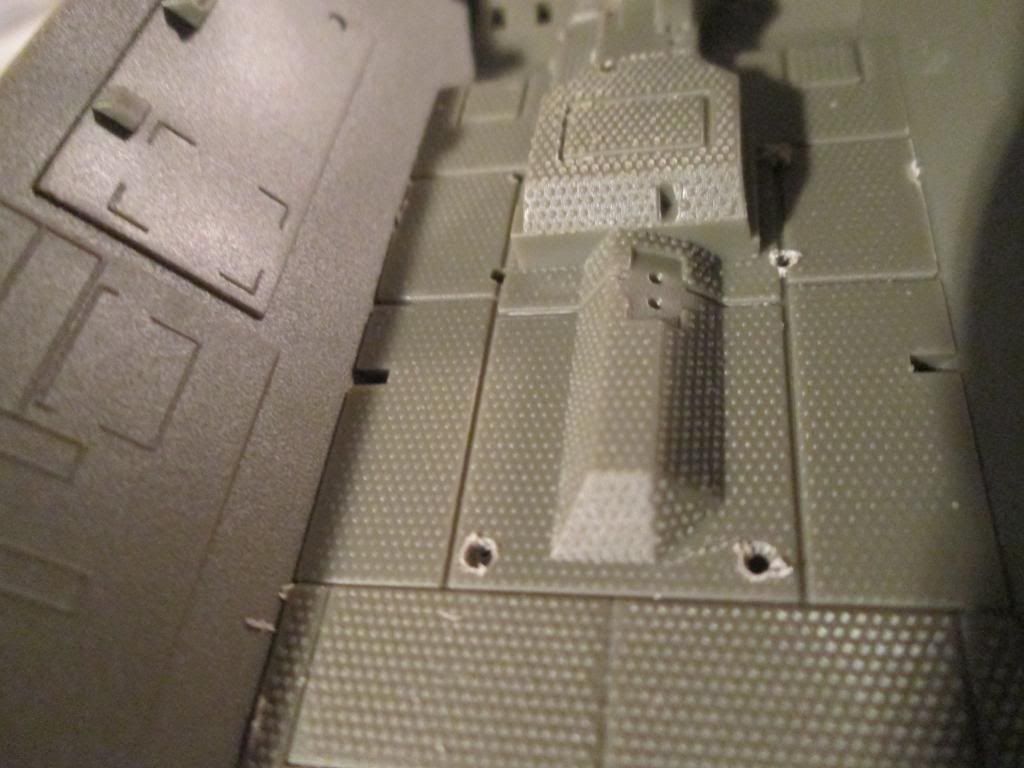 I did notice the difference in how it builds up, but other than the one issue, it's a pretty straightforward kit, and progress is quick. Should have an update again soon. Thanks for looking! -Conor |
|
|
|
Post by Leon on May 12, 2013 5:58:11 GMT -5
Nice start on the 251 Conor,there sure is a lot of detail in the AFV kits.I'm building the M109/A2.  |
|
|
|
Post by TRM on May 12, 2013 7:54:25 GMT -5
Nice one Conor! Off to a great start too!! Steady as she goes!!!
|
|
Deleted
Member since: January 1970
Posts: 0
Nov 30, 2024 2:16:17 GMT -5
Nov 30, 2024 2:16:17 GMT -5
|
Post by Deleted on May 12, 2013 9:42:16 GMT -5
good stuff built a few AFV club half tracks and they do look good
|
|
|
|
Post by wbill76 on May 12, 2013 20:25:18 GMT -5
Got to love an HT build! Off to a great start so far.
|
|
panzerconor.
Full Member
  
Member since: April 2013
My cat's breath smells like cat food.
Posts: 176 
|
Post by panzerconor. on May 19, 2013 19:52:32 GMT -5
Haven't done much to this thing since the last post, but I'm almost ready to hit the interior with dark yellow primer. I really can't wait to weather this thing and get the interior done. The inside went together really well, as did the lower hull. 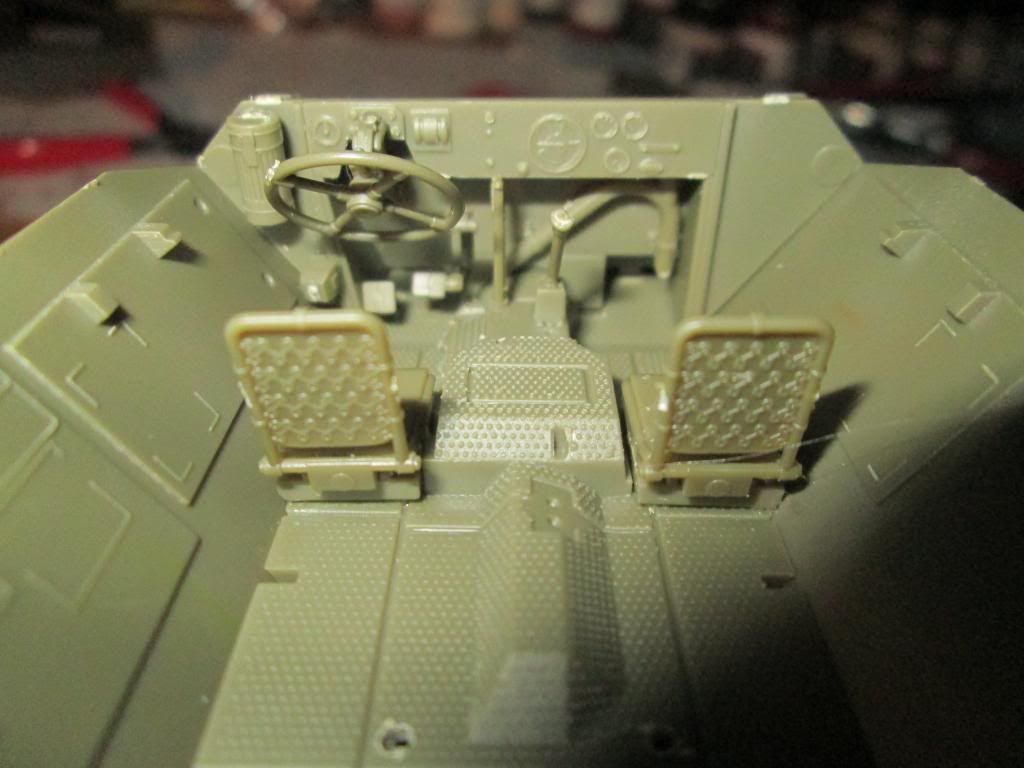 The only major difference between this and the other half track kits is that it's just an odd build on the lower hull bit. 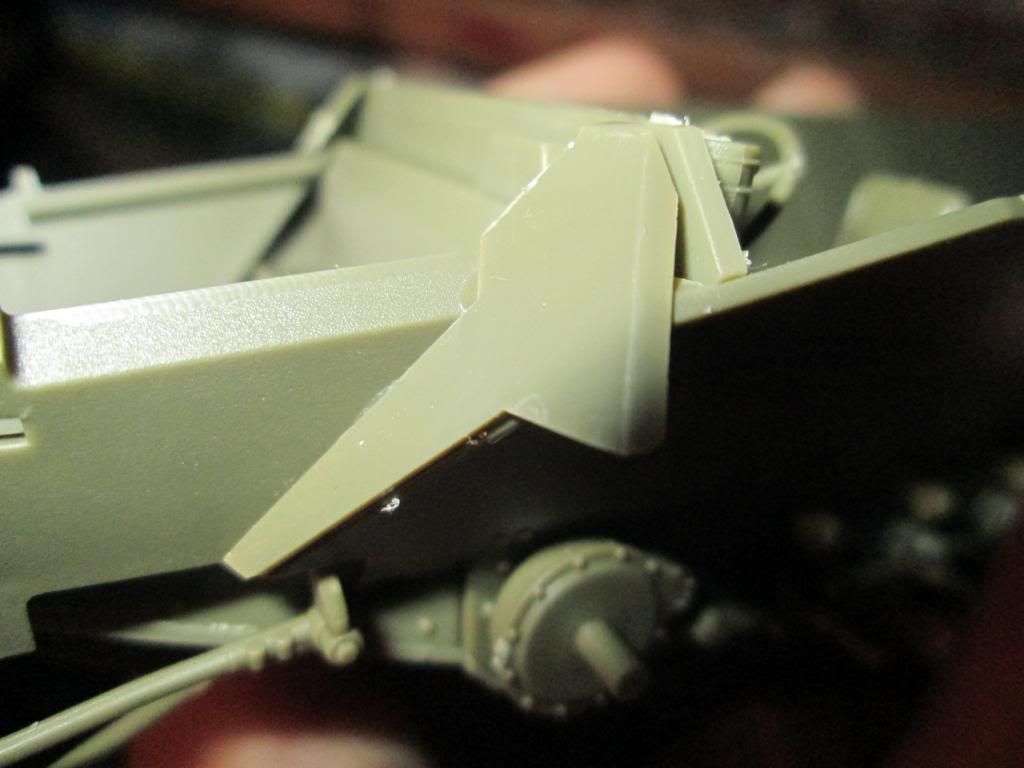 It's odd pieces like that. They fit perfectly, they just don't seem like they should. And finally, this: 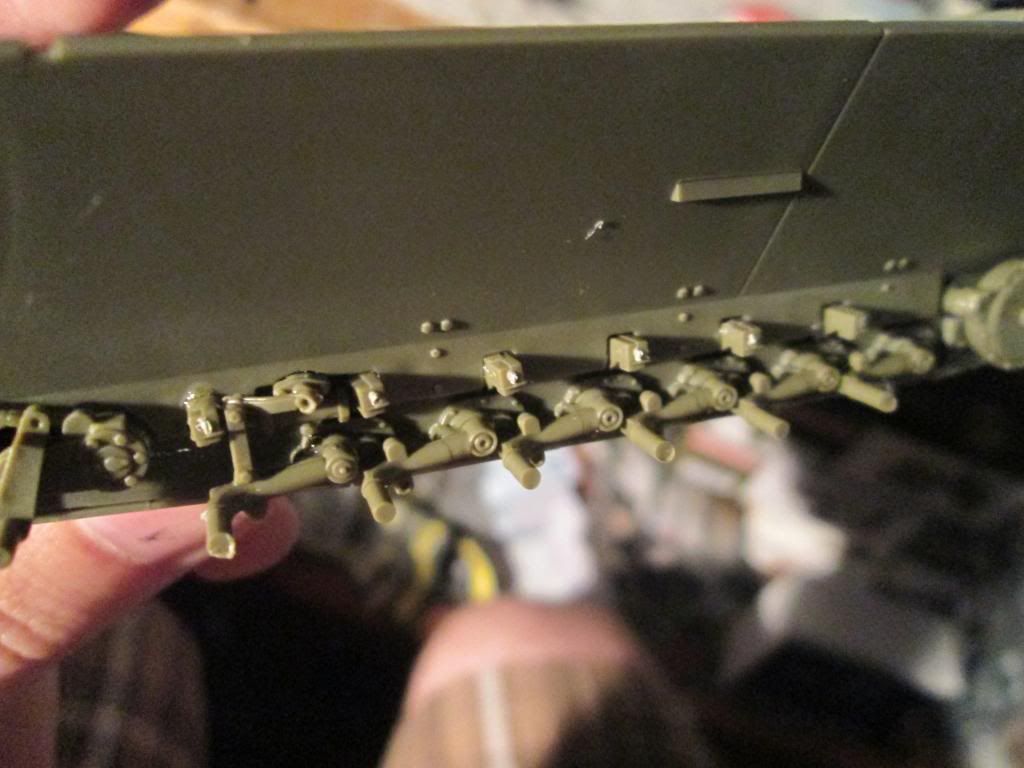 I'm going to paint and weather all that before I put the wheels on. The 2 hull pieces seem to fit OK now, but I'm pretty sure I'll have to use a few rubber bands to get it to glue right. 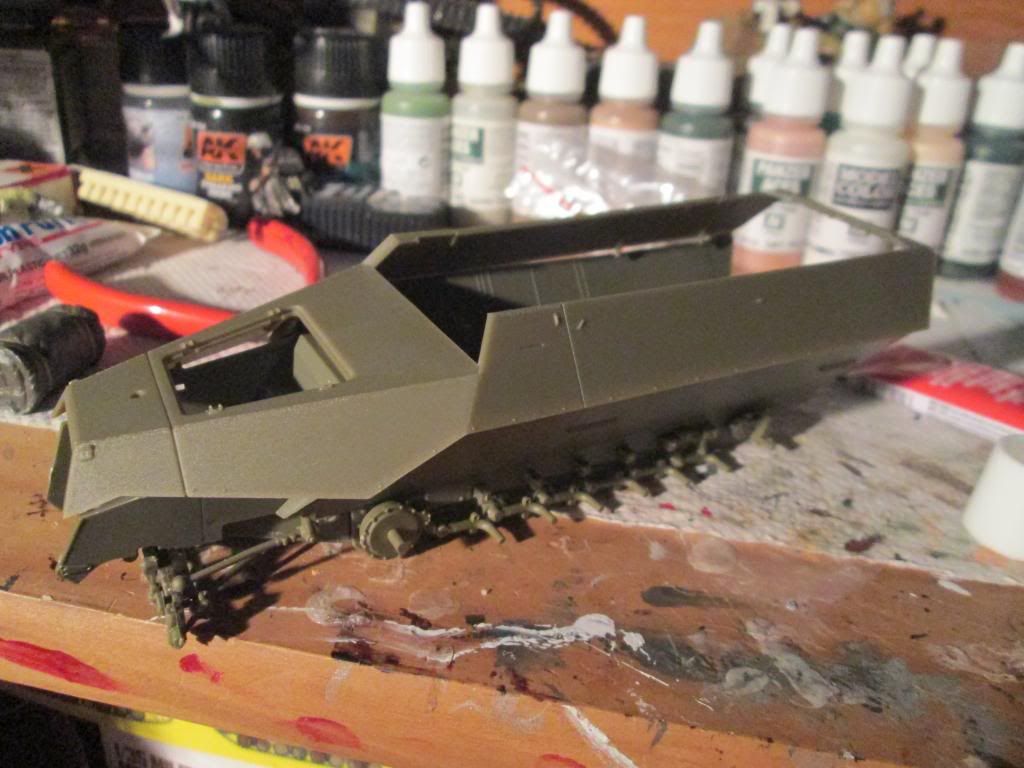 The scene I want to put this kit in will have a Panther in it as well, and this diorama I'm starting should clear off some space on the workbench for it: 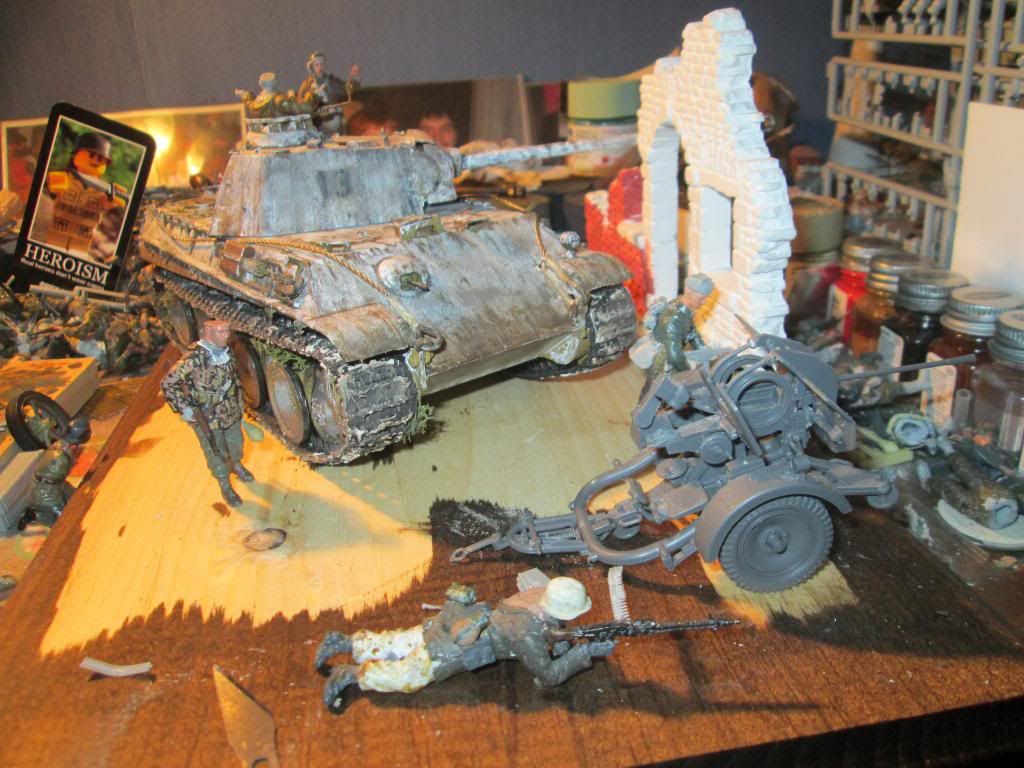 Well the Simpsons end in ten minutes, and if I don't watch Family Guy I'll look it all over and hit it with the dark yellow. Update tomorrow perhaps. -Conor  |
|
|
|
Post by wbill76 on May 19, 2013 20:59:23 GMT -5
Any progress is good progress Conor! Nice to see this one moving along.
|
|
panzerconor.
Full Member
  
Member since: April 2013
My cat's breath smells like cat food.
Posts: 176 
|
Post by panzerconor. on May 22, 2013 20:30:08 GMT -5
So this is where I stand tonight! Hit the interior with Dark Yellow primer, dry fit the two hull pieces again, and I think these 4 studs need to go:  IMG_0727 IMG_0727 by ronoc29, on Flickr They really throw the fit off to the right. That's the only problem I can see right now...This is the radio and other bits:  IMG_0728 IMG_0728 by ronoc29, on Flickr Left out a few pieces in there to put on after I've painted them  IMG_0729 IMG_0729 by ronoc29, on Flickr This bit went together great. The fit into the lower hull is kinda off and kinda on, I guess it just depends on what day it is.  IMG_0730 IMG_0730 by ronoc29, on Flickr In the early model of this, the bench in the back was cushioned, so I'm going to try to get a good leather-ish type of look on it.  IMG_0731 IMG_0731 by ronoc29, on Flickr Black is thinned and laaid out in accordance with the shadows and shading I'm going for...  IMG_0732 IMG_0732 by ronoc29, on Flickr This has been fixed since I took the photos, but you kinda get the idea. I think it came out alright:  IMG_0737 IMG_0737 by ronoc29, on Flickr AAAAAANNNDDD, figures. I'm going to try to make a lot happening in this thing, just gotta be careful not to overdo it. Spur of the moment buy, and it was a good one. The faces on this kit are pretty good too, but some will get Hornet heads. I won't use all of the guys, well I don't think so. Probably just the MP40 dude and the guy with the grenade.  IMG_0733 IMG_0733 by ronoc29, on Flickr Only 2 sprues? That made me nervous at first, but again, this kit is old, but it really is a great one. Think I'll buy it again later on for a different scene. This is probably one of the best Dragon figure kits I've ever bought.  IMG_0734 IMG_0734 by ronoc29, on Flickr This is the grenade guy's face. Pretty good I think.  IMG_0736 IMG_0736 by ronoc29, on Flickr This is the MP-40 gunner. Hornet head, scarf (WIP), and no arms yet.  IMG_0738 IMG_0738 by ronoc29, on Flickr And this is where he stands:  IMG_0735 IMG_0735 by ronoc29, on Flickr I need some tips here, fellas. On the box he's reloading his gun, but I'm thinking it would be cool to have him handling the MG42. Not quite sure which to do. If I leave him as is, that's cool and easy, but a bit boring. If I hook him up with the gun, that's awesome and grabs attention, but, I could really gaffe that off too. Opinions? Finally, this guy. He was the Tamiya schwimmwagen driver, but now he's a beat up infantryman or grenadier. Dragon Gen2 head, and I'm working on his arms...  IMG_0739 IMG_0739 by ronoc29, on Flickr The head is kinda big, and the picture really enhances that, but I've seen it done plenty of times before, and it won't be too noticable when everything's together. More to come later on! -Conor |
|
Deleted
Member since: January 1970
Posts: 0
Nov 30, 2024 2:16:17 GMT -5
Nov 30, 2024 2:16:17 GMT -5
|
Post by Deleted on May 22, 2013 23:43:03 GMT -5
Good build in progress here !
|
|
|
|
Post by wbill76 on May 23, 2013 20:44:35 GMT -5
Making good progress Conor! As to your figure dilemma, I would say go with whatever works best for the scene you have in mind and what you're trying to convoy in terms of the action/inaction and what's going on off-stage so to speak in therms of what the crew are dealing with or reacting to. Either of the scenarios you've put forward will work, just depends on you!  |
|
|
|
Post by deafpanzer on May 23, 2013 22:08:31 GMT -5
Great work on the figures... perfect choice for this! Don't worry about the head being too big. I have seen some guys like this... have you seen Dicky's avatar recently?  |
|
panzerconor.
Full Member
  
Member since: April 2013
My cat's breath smells like cat food.
Posts: 176 
|
Post by panzerconor. on May 24, 2013 11:01:08 GMT -5
Thanks guys! @wbill76 That's what I figured, no pun intended. I might try to have him doing a little bit of both deafpanzer That's not nice I'm sure Dicky has a perfectly normal sized head. lol. But thanks, it's just that the more I look at it the more odd it looks. But I'll take your word for it  Alrighty then, got a bit more done. Here's that same guy, but with more plastic and putty: 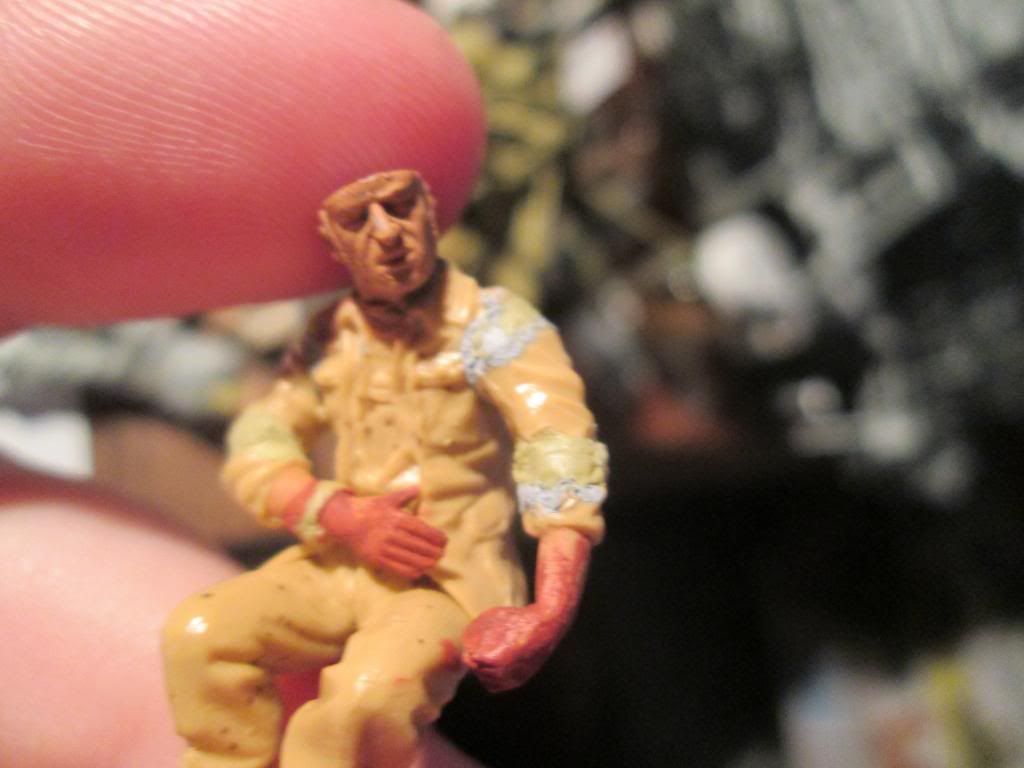 And what I've done with the interior. The leather seats came out great IMO, but I do think the colors could use a bit more blending in places. 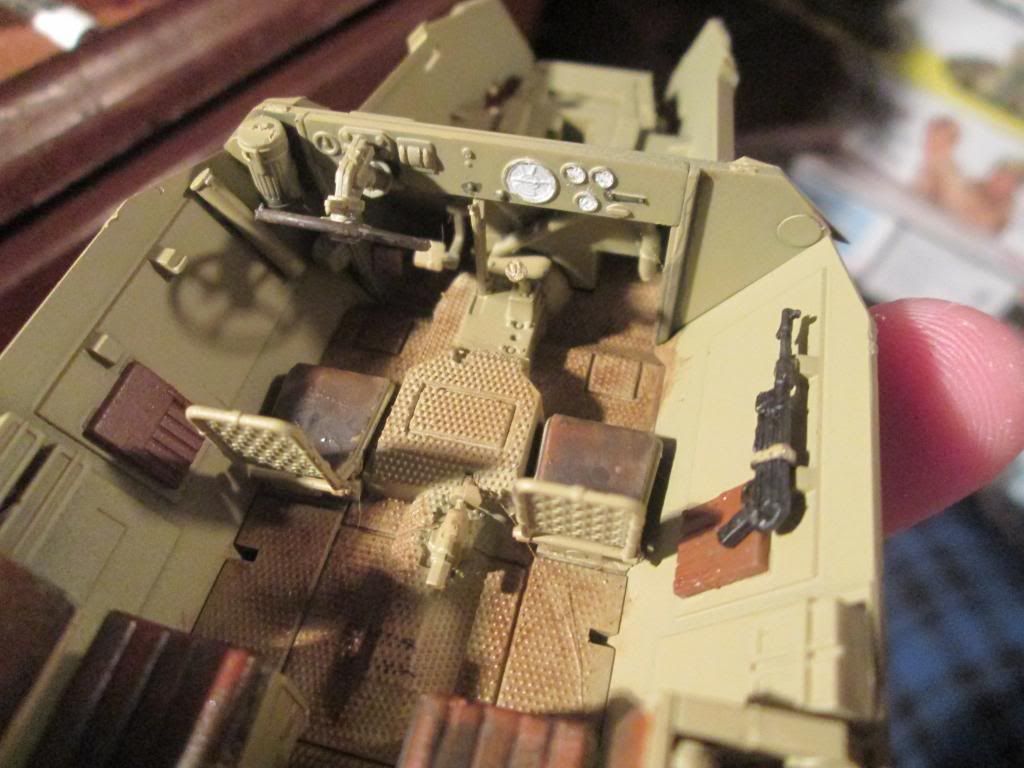  OK, again I could use some help! What the hell is this?  I'm not a German AFV expert (yet!) so I'm not sure how to paint that. Finally, that poor guy sitting in the back. He's got nasty burns almost up to his elbows, and the nice custom camo on his helmet got singed off. I just clipped his arms and, after my milliput did nothing but piss me off because it wouldn't dry, I used mostly my Tamiya putty, only using the milliput to smooth things out. The nasty color of the burned parts was just cheap acrylic Brick Red, Vallejo Shadow Tone, and some Model Master black. I used AK Water Effects with some of the stuff in places to give it a bit of a shine. My cousin had scalding hot tomato sauce spilled on is arm, and that got swollen and was all sorts of awful looking, so i kinda referenced that in a few places. 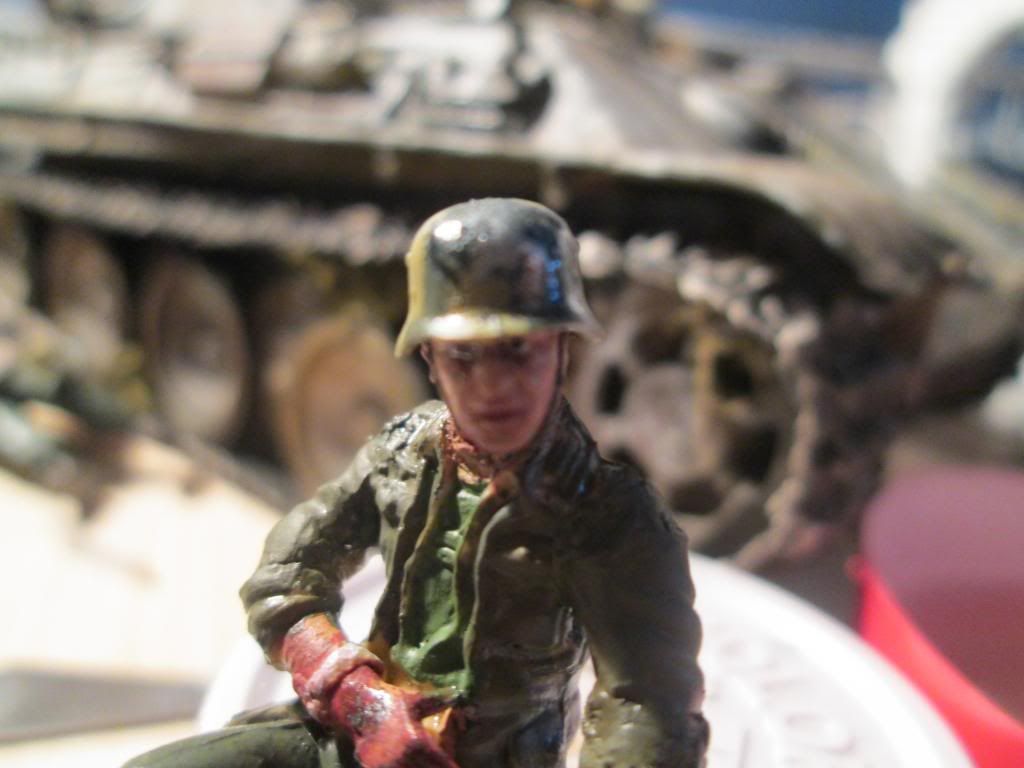  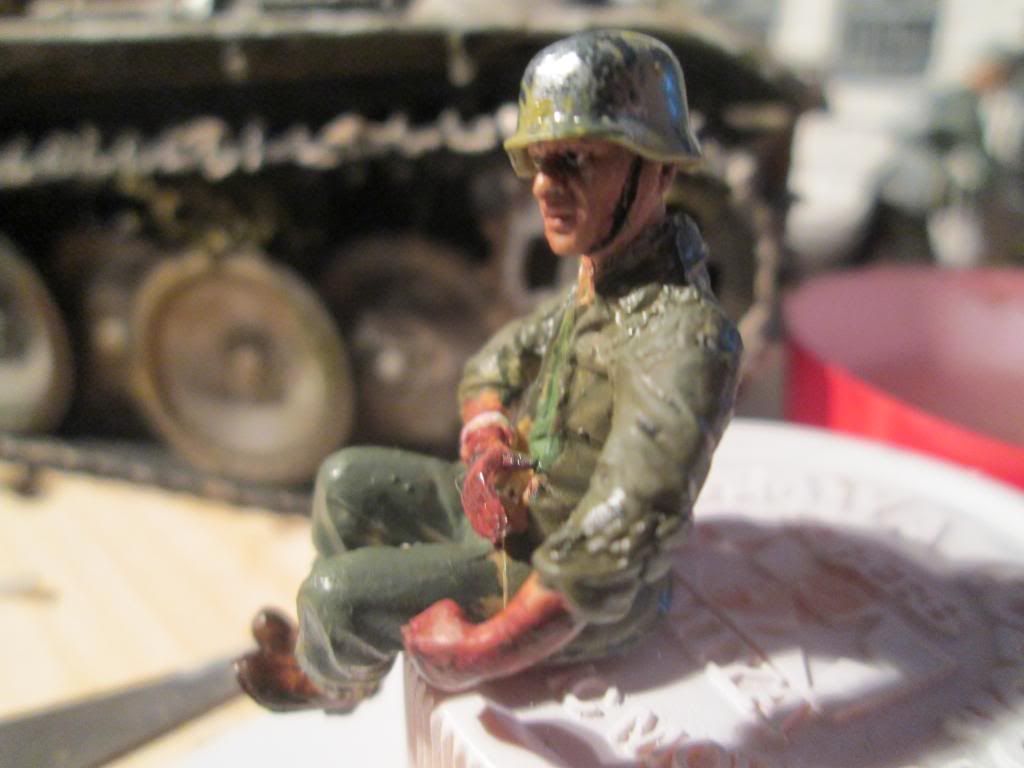 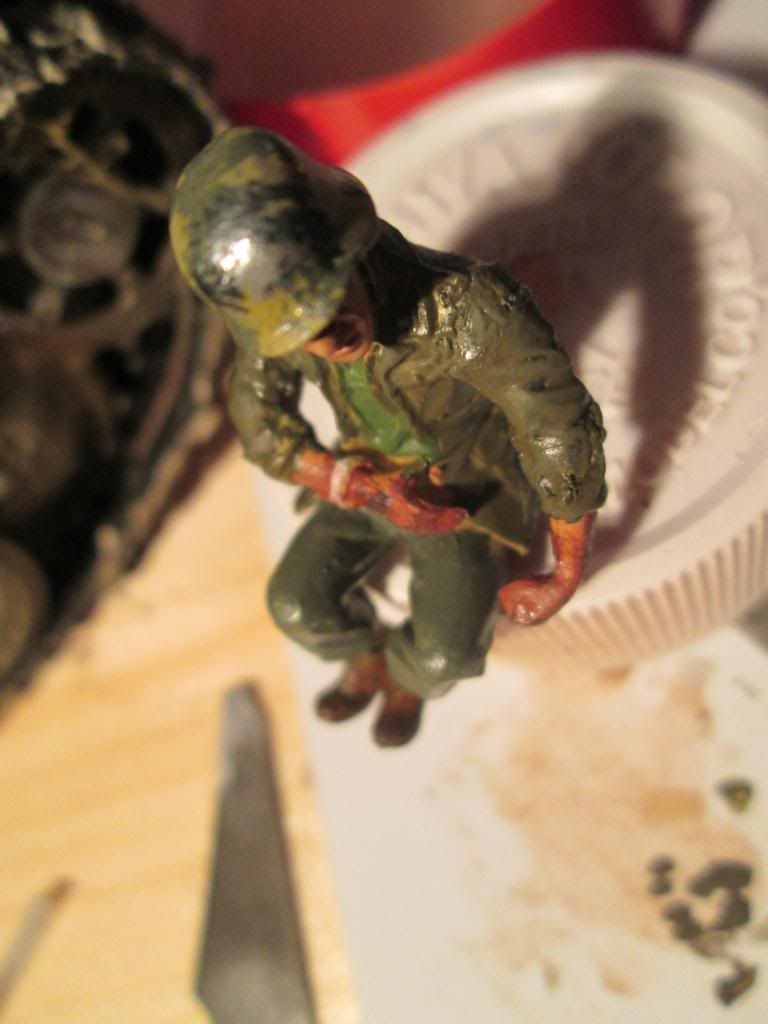 I've got to touch him up a bit later on. Just noticed I missed a few spots painting him... But that's where I stand at the moment! Thanks for looking -Conor |
|
pt109
Full Member
  
Member since: April 2013
Stop staring at me! heheheh
Posts: 491 
|
Post by pt109 on May 24, 2013 20:27:59 GMT -5
Looking good Conor....I like the guy with the arm burns adds some character and realism. You asked this.... It's odd pieces like that. They fit perfectly, they just don't seem like they should.
Read more: www.modelerssocialclub.proboards.com/thread/4710/afv-club-kfz-interior-crew#ixzz2UGMpZzfPI think it's because the German type 11 halftrack uses the same suspension so the parts are optional for the 251s...the 11s hull is more like a truck. Keep the updates coming! Paul |
|
|
|
Post by wbill76 on May 24, 2013 21:08:24 GMT -5
The part you're asking about are spare armored glass blocks (90 mm thick) for the view ports. Painting them can be tricky, but they will be virtually invisible once you put the roof on and have the hull assembled so wouldn't worry about it too much. Paint the faces with silver, add some clear Tamiya Smoke, and voilla!
|
|
bish
Full Member
  
Member since: January 2013
Horatio Nelson 'I am a Norfolk man, and i glory in being so'
Posts: 555
Jan 13, 2013 8:57:43 GMT -5
Jan 13, 2013 8:57:43 GMT -5
|
Post by bish on May 26, 2013 1:52:58 GMT -5
Damn, missed this, I love a 251 build. Looking good.
|
|
Deleted
Member since: January 1970
Posts: 0
Nov 30, 2024 2:16:17 GMT -5
Nov 30, 2024 2:16:17 GMT -5
|
Post by Deleted on May 26, 2013 14:14:56 GMT -5
nice work and the figures look sweet!
|
|
panzerconor.
Full Member
  
Member since: April 2013
My cat's breath smells like cat food.
Posts: 176 
|
Post by panzerconor. on May 28, 2013 22:52:52 GMT -5
Thanks guys! Glad to have you along. Right now I'm (impatiently) waiting for a few AK goodies to arrive in the mail. Once those get here it'll be quick work and then onto the exterior... I've done a little work on the knick knacks to put inside it, but not too much. It's hard to sit there and paint all the little things in one sitting lol. Pictures coming as soon as my package does  |
|
|
|
Post by Leon on May 28, 2013 23:08:24 GMT -5
Looking good Conor.Keep it coming fella.  |
|
panzerconor.
Full Member
  
Member since: April 2013
My cat's breath smells like cat food.
Posts: 176 
|
Post by panzerconor. on Jun 9, 2013 21:01:36 GMT -5
I suppose I owe you guys an update, so here goes. My driver! I came soooo close to getting an Alpine 251 driver, but I figured it's too much money for something that will just sit around practically unseen. So I took a dude from a pz grenadiers at Arnhem set and turned one of them into a driver. He'll be running into the crossfire to hopefully fix a road wheel that's come off.  IMG_0848 IMG_0848 by ronoc29, on Flickr  IMG_0849 IMG_0849 by ronoc29, on Flickr Took a few tools from a Panther set and gave them to him. They don't look great but whatever lol. I'm not happy with how the hammer fit in, but he's still fixable. Lots of stuff going inside...too much maybe lol  IMG_0850 IMG_0850 by ronoc29, on Flickr  IMG_0853 IMG_0853 by ronoc29, on Flickr I got these two joys this past week as well...  IMG_0857 IMG_0857 by ronoc29, on Flickr  IMG_0858 IMG_0858 by ronoc29, on Flickr The Verlinden kit looks nice, but it's full of those almost cliche pieces that every other halftrack seems to have haha. But the AK stuff makes me want to get all the paint on then go to work with it all. Patience...patience... This is how the interior looks now except for a few things that are only there for photo-op.  IMG_0859 IMG_0859 by ronoc29, on Flickr  IMG_0860 - Copy IMG_0860 - Copy by ronoc29, on Flickr I hit it with some washes and pigments. Still taking baby steps with pigments, but so far I haven't messed up. I think. Just a bit more painting...but those tiny bits take forever. And finally, this guy:  IMG_0861 IMG_0861 by ronoc29, on Flickr At first, I loved his head and thought it had good molding for an early Dragon kit. Now, I changed my mind lol. As of now, the hull is together, and I've started working on the outside, so hopefully before long I'll have camo down on this thing, then, the weathering starts  Thanks for looking! -Conor |
|
|
|
Post by wbill76 on Jun 10, 2013 20:13:21 GMT -5
Looks like you've got your choice of lots of stuff to throw into the HT Conor! The driver looks like he might be heading into a WWE cage-match...but will still fit the part for your scene I reckon.  |
|
|
|
Post by TRM on Jun 10, 2013 21:38:58 GMT -5
Fill her up there Conor!! Love the clutter!! Great AK selection too!! Love them all!!!  |
|
bbrowniii
Full Member
  
Member since: March 2012
If you are not part of the solution, you are part of the precipitate.
Posts: 1,239
Mar 25, 2012 22:08:04 GMT -5
Mar 25, 2012 22:08:04 GMT -5
|
Post by bbrowniii on Jun 11, 2013 6:55:56 GMT -5
You've got a lot going on here, Conor! Looks great. I'm with T - fill that puppy up with stuff.
I'm really impressed with the progress you have made on the 251 D. I had AFV Clubs 251 C (the bonus kit with the LeFh150). I found it to be a very frustrating build Seems like you've got this one well in hand!
|
|
panzerconor.
Full Member
  
Member since: April 2013
My cat's breath smells like cat food.
Posts: 176 
|
Post by panzerconor. on Jun 11, 2013 17:12:53 GMT -5
Do you smell that? That toxic nauseating smell? That's just the hideous amount of Tamiya putty I had to use on this thing.  IMG_0873 IMG_0873 by ronoc29, on Flickr  IMG_0874 IMG_0874 by ronoc29, on Flickr  IMG_0876 IMG_0876 by ronoc29, on Flickr Then there's this:  IMG_0877 IMG_0877 by ronoc29, on Flickr The front fenders (I think that's the right word) didn't have as bad of a fit. But it was still not good. The antennae things (what's the correct word?) on each of them were a pain to get off the sprue in one piece. In fact, one of them suffered "battle damage." Actually, I just broke it trying to glue it on... But anyways, the left front fender (your right), is a bit off, as is the bottom piece of the front panel on the hood. But with all the stowage and maybe camouflage netting, those won't be visible. I hope lol. Well if writing this update has taught me anything, it's that I need to learn my terminology hahaha -Conor |
|
Deleted
Member since: January 1970
Posts: 0
Nov 30, 2024 2:16:17 GMT -5
Nov 30, 2024 2:16:17 GMT -5
|
Post by Deleted on Jun 11, 2013 20:12:39 GMT -5
Good looking figures and the extra gear will fill it in the interior nicely .
|
|
|
|
Post by wbill76 on Jun 11, 2013 20:29:51 GMT -5
I've heard of others having trouble with the fit on AFV 251 hulls but nothing quite so bad as this Conor, yikes! Lots of putty there for sure! As for your question on the front fender thingies, those are width indicators to help the driver avoid going down those narrow alleys and getting the vehicle stuck.  |
|
panzerconor.
Full Member
  
Member since: April 2013
My cat's breath smells like cat food.
Posts: 176 
|
Post by panzerconor. on Jun 11, 2013 21:05:29 GMT -5
Funny thing is that the two hull pieces fit pretty good, it was the fenders and the stowage bins on the sides that were awful. Might be my fault, but I'm just glad that part is over hahaha
|
|
|
|
Post by Leon on Jun 11, 2013 21:26:16 GMT -5
Looking good Conor  .Definitely fill this bad boy with the extra gear.It will give it that lived in look by the crew.  |
|
panzerconor.
Full Member
  
Member since: April 2013
My cat's breath smells like cat food.
Posts: 176 
|
Post by panzerconor. on Jun 16, 2013 17:36:48 GMT -5
Progress. I may have skipped over photographing a few steps though... 
Look weird? Yeah it does! The doors will be open though, so that's why only 1 side has damage. The decals came in 2 sides, so I lined them up as best I could, even though they don't need to be 100% perfect. 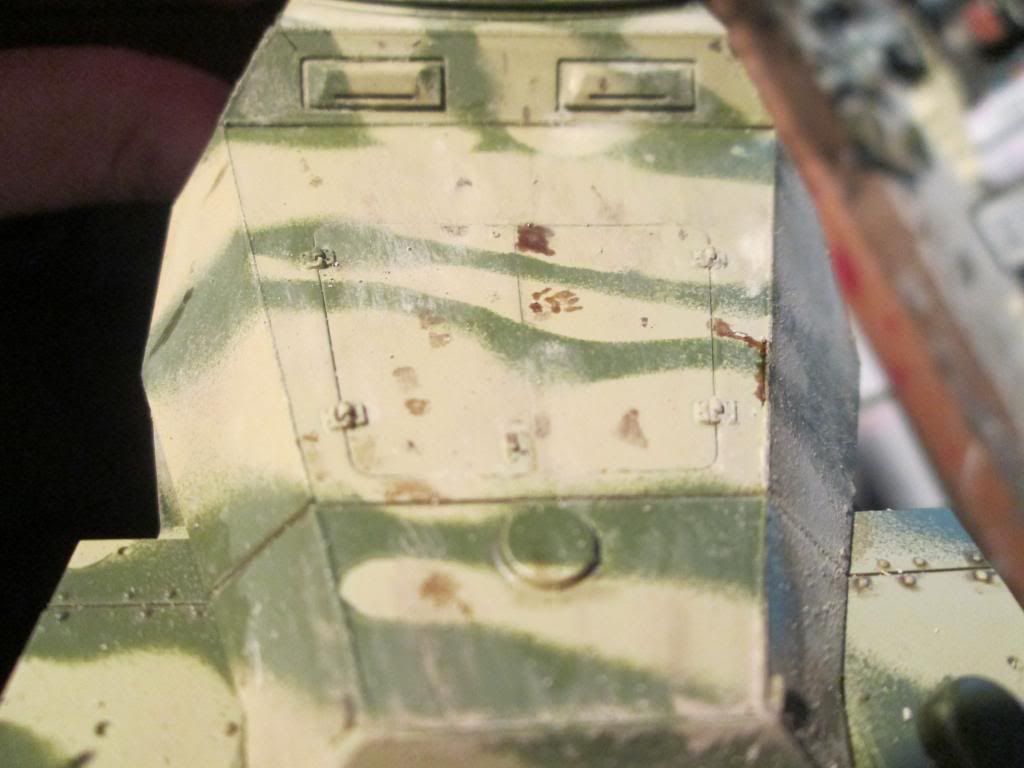  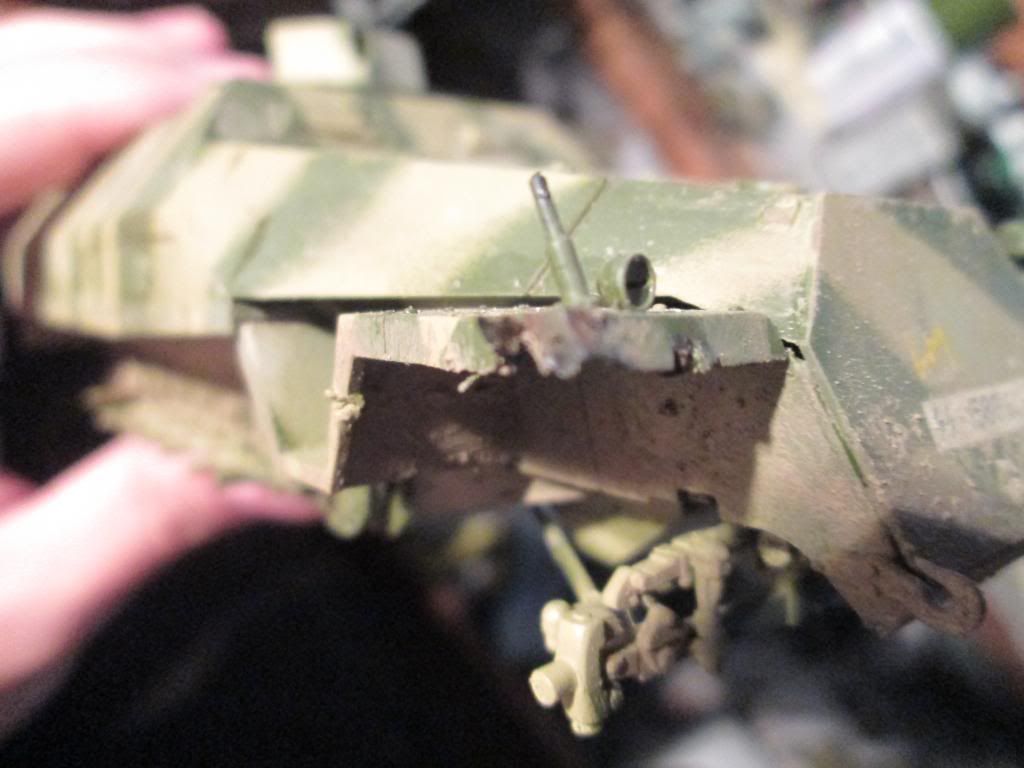 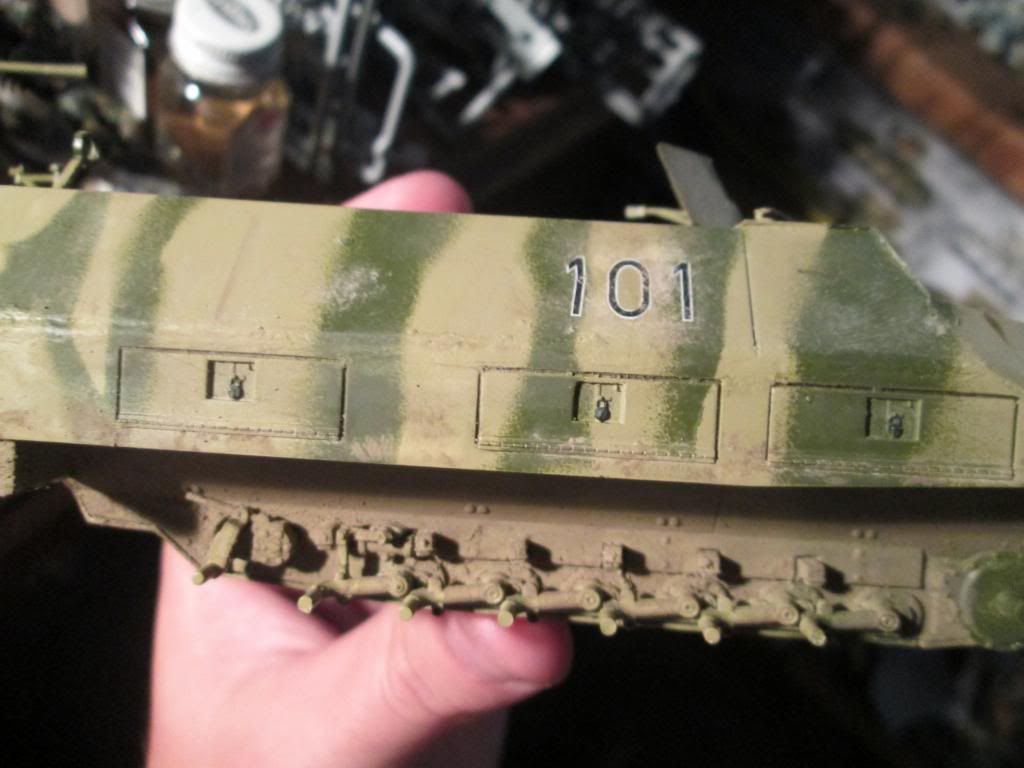 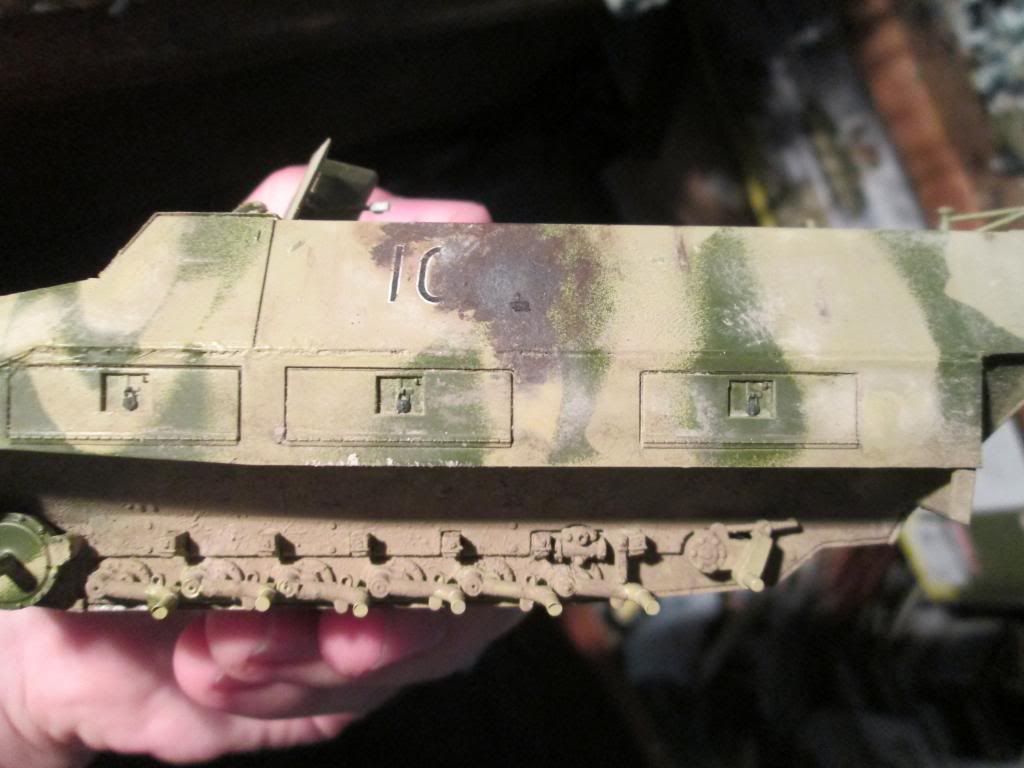  Lot of gaps showed up after I had painted it...Luckily this will be in Normandy, and have camo netting and branches, so I'll be able to cover a lot of it. Oily hand prints! Can't take the credit for that idea, saw Jerry Rutman do it on his (on Armorama), so, well, I suppose this is stealing? Shhh. 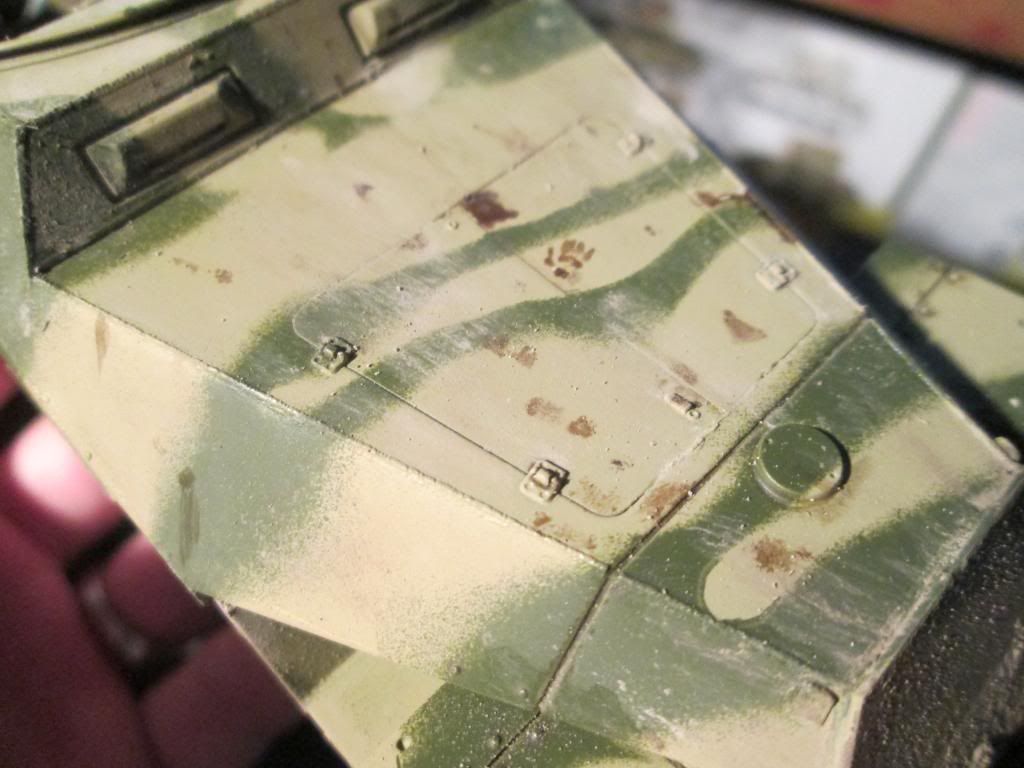 Top down, and most of my interior decorating is done. I've tried flipping the photo to the right on photobucket, but it didn't seem to work...  I used Tamiya spray paints, and masked it off with my sisters Playdough (don't tell her).Weathering was AK Earth and Light Dust pigments, and their Summer Kursk Earth effect. It's a bit heavy in places, and judging by the photos, very light in others. But I can still break it down or touch it up. Around the door decals and side decals I used rust and steel effects to make it look burned and damaged. I didn't want to, but the decals came apart during application. Next up are wheels and tracks, then more weathering, and finally the stowage...which will be weathered too. Lot of weathering... -Conor |
|
|
|
Post by Leon on Jun 16, 2013 17:47:46 GMT -5
Making great progress on this Conor.Really looking good.  |
|
|
|
Post by wbill76 on Jun 16, 2013 18:00:42 GMT -5
Coming along nicely Conor, the oily handprint is a nice touch!  |
|