Post by TRM on May 18, 2013 7:19:45 GMT -5
Hello All,
This is a little "quick and dirty" build here. I just finished a small review for DML's Ersatz M10. If you care to check out the review I have it posted on Armorama: www.armorama.com/modules.php?op=modload&name=Reviews&file=index&req=showcontent&id=9052
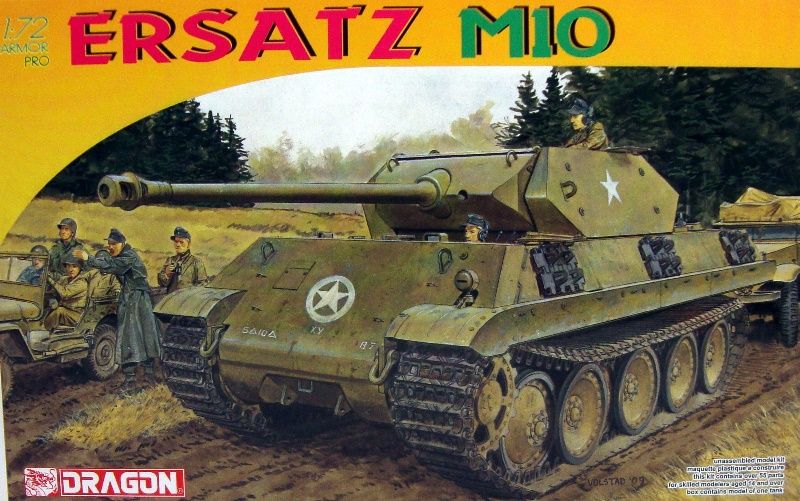
Personally I think this is a pretty neat kit. Albeit it small at 1/72, the detail is fine for what it is. I respect the couple comments I received about the kit, not the review, about the displeasure over the detail or lack there of, from Dragon on some of the Armor Pro stuff. Honestly and truthfully we all do expect a high level of detail from a manufacturer and yes, we all want more for out money...but this is a plastic 1/72 kit pumped out for the small scale builder and war gaming. If it were resin cast I would probably go down the route of "not worth it"; however, this isn't the case.
The Ersatz M10 is a stripped down Panther G. Sheet metal was added for the guise of Operation Grief whereas their part in the Nazis offensive in the Ardennes was to infiltrated the allied lines and secure the bridges over the River Muse. Lack of captured armor, vehicles and men after the planning stage subjected Panzer Brigade 150 to be pulled back to secure the town of Malmedy, subsequently failing to meet their objectives and later being disbanded.
Enough of that for now!! The other night after hitting send on the review, I decided to build it. This kit has a low part count and would make for a nice filler in between paint coats on my BMP when I get there. All in all the construction only took a couple of hours. I like these little kits as you can work them in a short time, get to the painting and not get bogged down by months of building. So with that I will give you a couple of quick shots of this little one and show a bit more on the painting end of things.
The kit (Abridged)
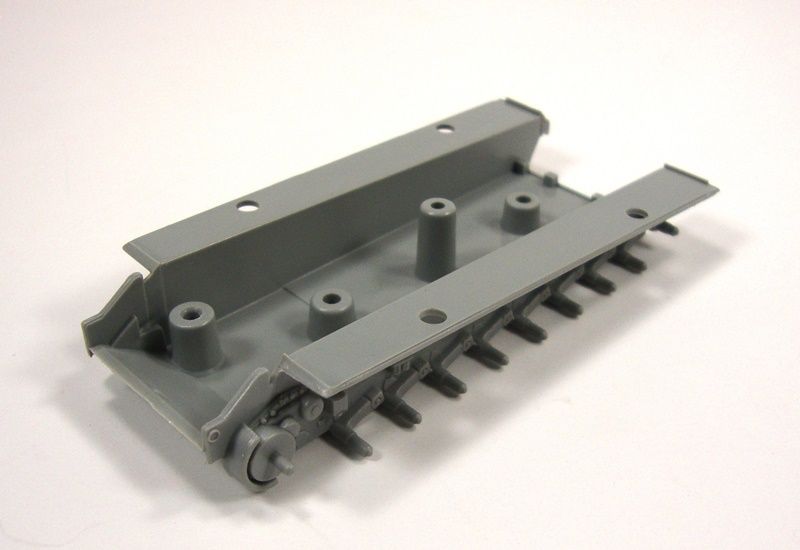
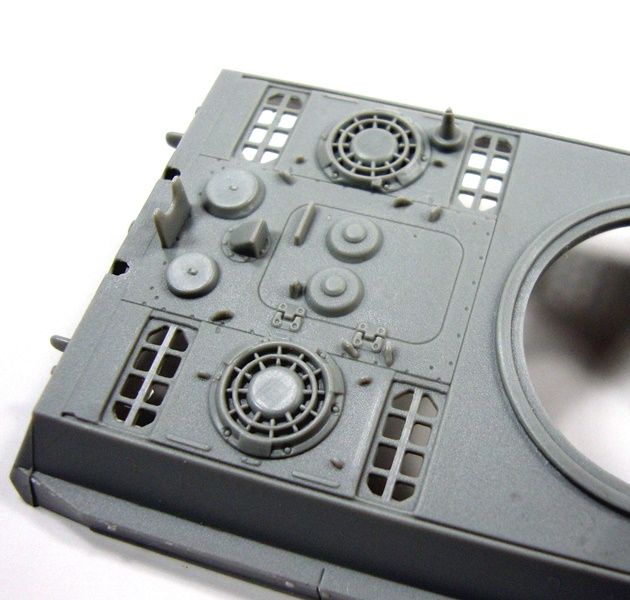
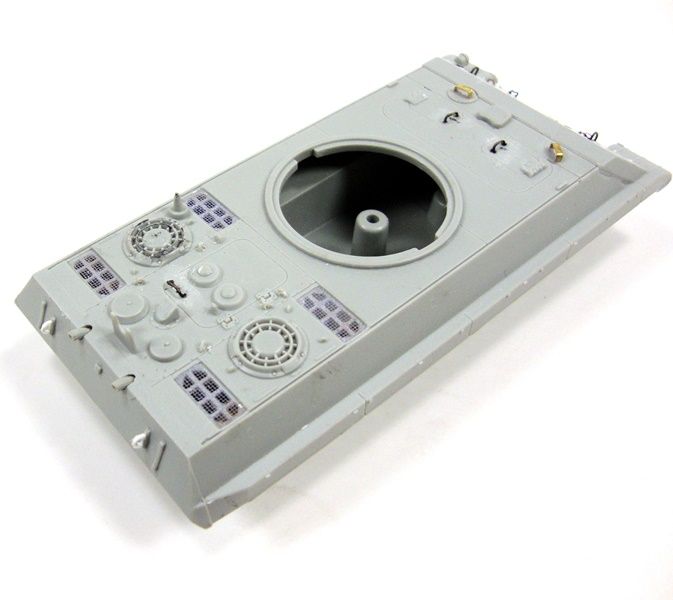
Not too bad. I think the biggest thing I seen that needed some attention aside from the solid molded lift rings and tie downs was the lack of screening on the intakes. Trying to handle this right now.
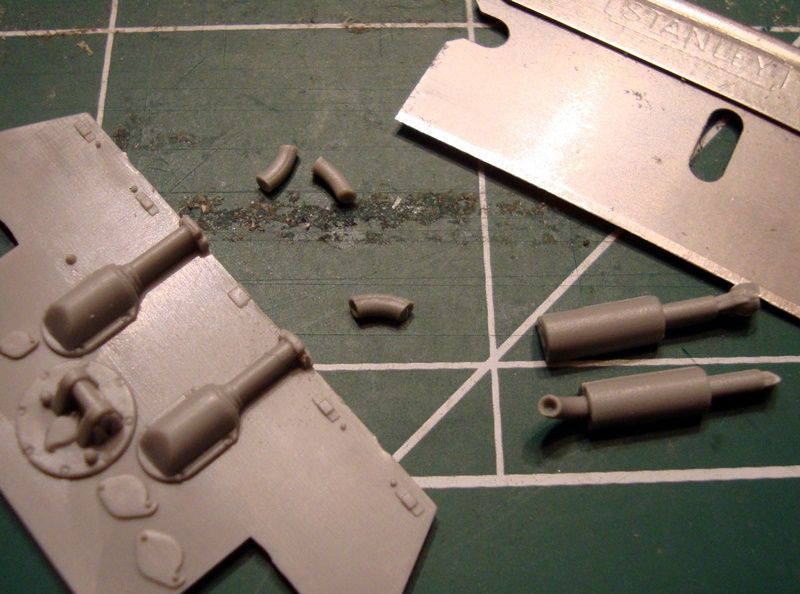
But first, there was a couple of extra exhaust pipes in this kit. The extra ones were actually drilled out whereas the ones attached to the rear plate were not. Rectified!
Here she is in all her plainness. These tanks, and as that I mean the 5 created for the mission were just meant to give the appearance of the Allied M10 motor carriage, which was not too bad.
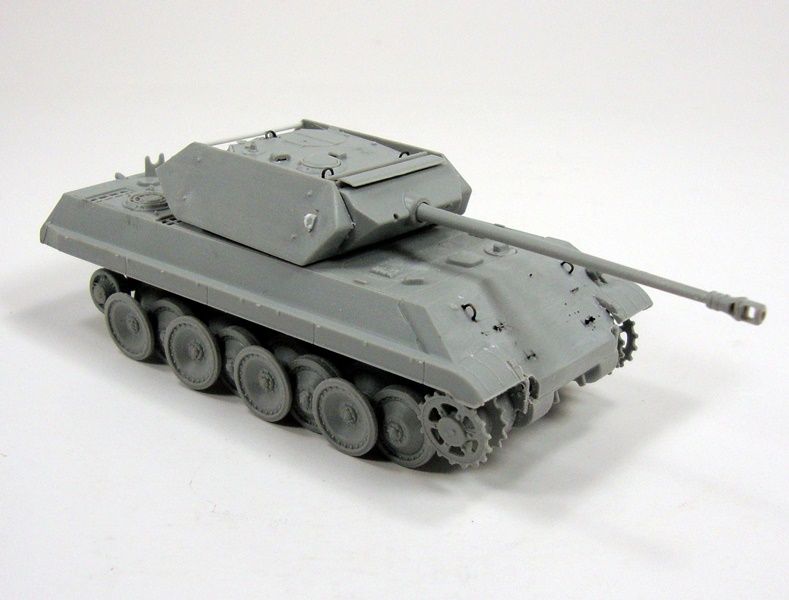
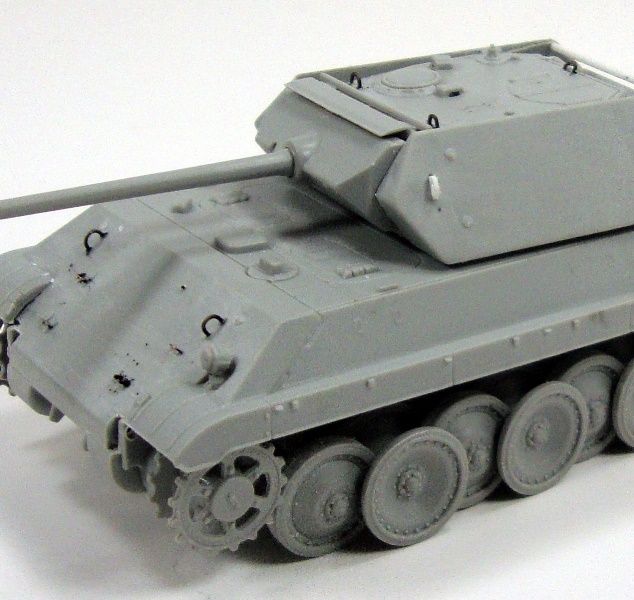
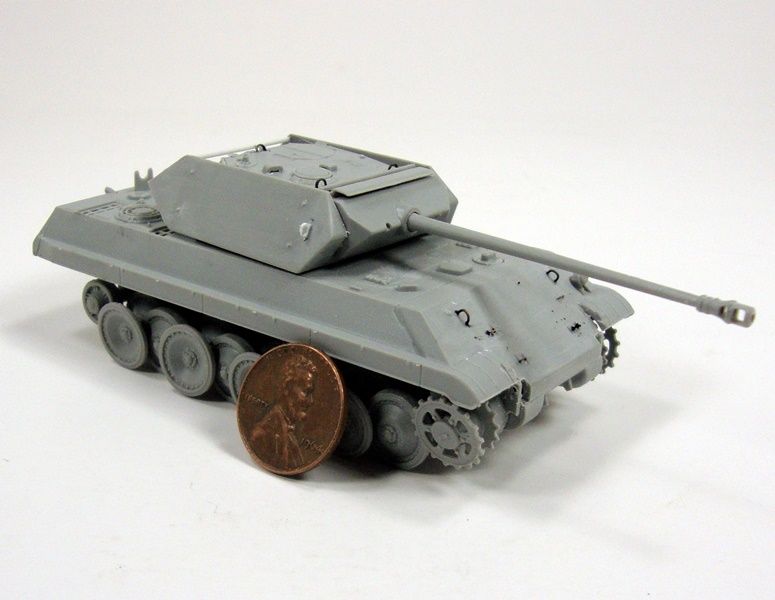
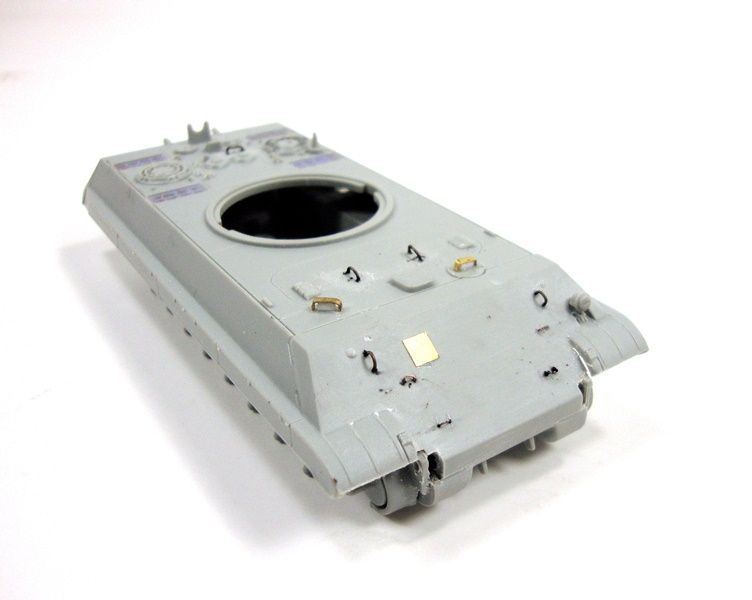
As you can see I, I made a 1/2 A$$ attempt with sprucing things up. I removed all the larger lift rings and replaced them with small gauge wire and styrene. The smaller ones on the rear deck I simply drilled out along with the barrel. Finally, last night I was thinking about the screening. I happen to have some Thule that I save from the last wedding I attended. This is that frilly stuff the little candy favors come in and are left on all the tables....many uses.
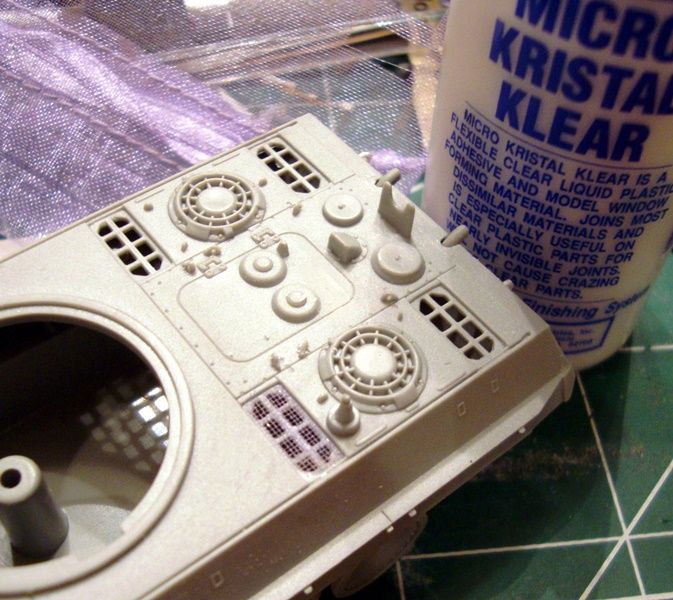
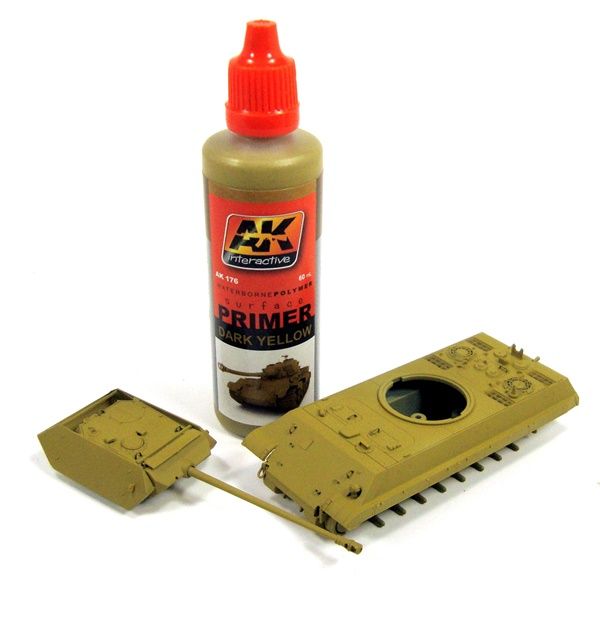
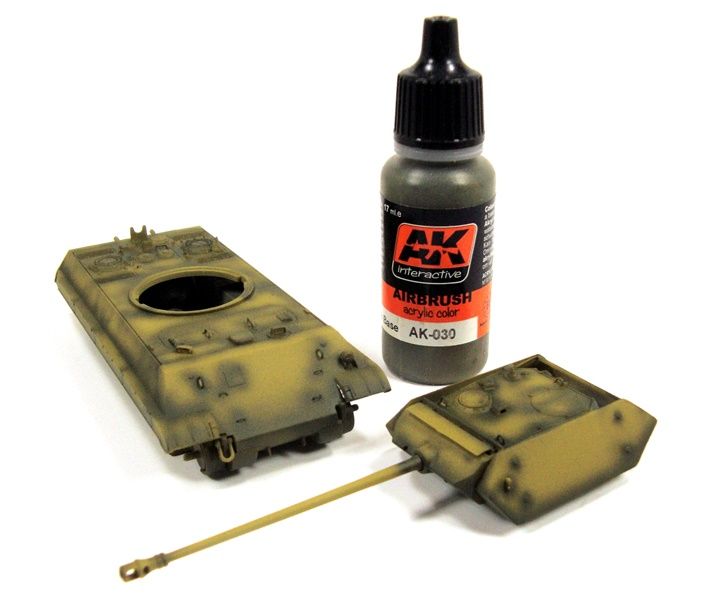
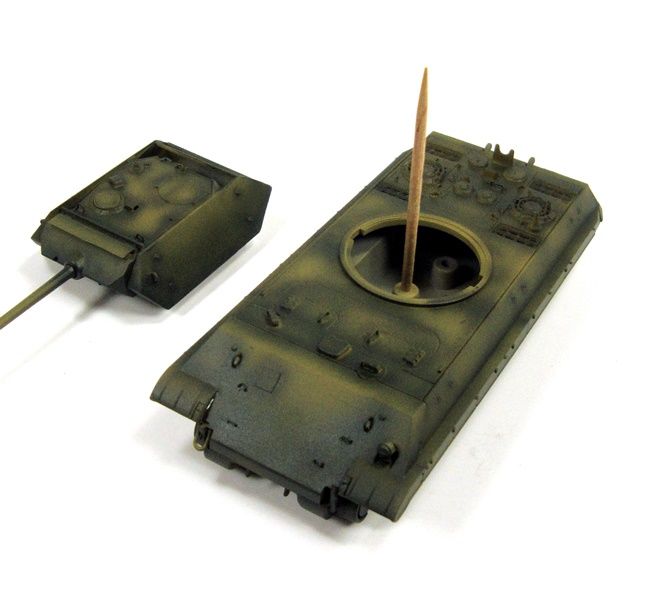
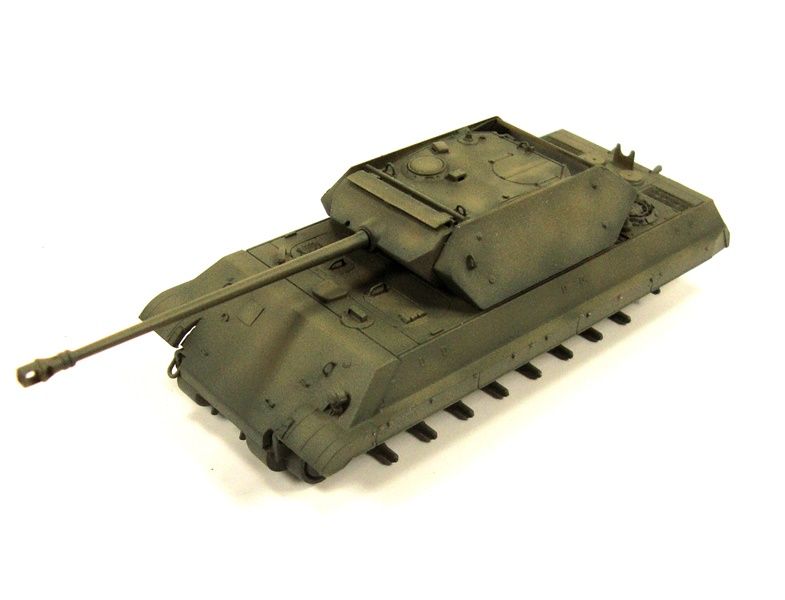
So there is the humble beginning to this Faux M10. I am all prepped and ready to squirt some primer a little later this morning. With any luck I may be able to figure out an acceptable OD for this an run with it!!!
As always, thanks for stopping in!!!
This is a little "quick and dirty" build here. I just finished a small review for DML's Ersatz M10. If you care to check out the review I have it posted on Armorama: www.armorama.com/modules.php?op=modload&name=Reviews&file=index&req=showcontent&id=9052
Personally I think this is a pretty neat kit. Albeit it small at 1/72, the detail is fine for what it is. I respect the couple comments I received about the kit, not the review, about the displeasure over the detail or lack there of, from Dragon on some of the Armor Pro stuff. Honestly and truthfully we all do expect a high level of detail from a manufacturer and yes, we all want more for out money...but this is a plastic 1/72 kit pumped out for the small scale builder and war gaming. If it were resin cast I would probably go down the route of "not worth it"; however, this isn't the case.
The Ersatz M10 is a stripped down Panther G. Sheet metal was added for the guise of Operation Grief whereas their part in the Nazis offensive in the Ardennes was to infiltrated the allied lines and secure the bridges over the River Muse. Lack of captured armor, vehicles and men after the planning stage subjected Panzer Brigade 150 to be pulled back to secure the town of Malmedy, subsequently failing to meet their objectives and later being disbanded.
Enough of that for now!! The other night after hitting send on the review, I decided to build it. This kit has a low part count and would make for a nice filler in between paint coats on my BMP when I get there. All in all the construction only took a couple of hours. I like these little kits as you can work them in a short time, get to the painting and not get bogged down by months of building. So with that I will give you a couple of quick shots of this little one and show a bit more on the painting end of things.
The kit (Abridged)


Not too bad. I think the biggest thing I seen that needed some attention aside from the solid molded lift rings and tie downs was the lack of screening on the intakes. Trying to handle this right now.
But first, there was a couple of extra exhaust pipes in this kit. The extra ones were actually drilled out whereas the ones attached to the rear plate were not. Rectified!

Here she is in all her plainness. These tanks, and as that I mean the 5 created for the mission were just meant to give the appearance of the Allied M10 motor carriage, which was not too bad.


As you can see I, I made a 1/2 A$$ attempt with sprucing things up. I removed all the larger lift rings and replaced them with small gauge wire and styrene. The smaller ones on the rear deck I simply drilled out along with the barrel. Finally, last night I was thinking about the screening. I happen to have some Thule that I save from the last wedding I attended. This is that frilly stuff the little candy favors come in and are left on all the tables....many uses.

So there is the humble beginning to this Faux M10. I am all prepped and ready to squirt some primer a little later this morning. With any luck I may be able to figure out an acceptable OD for this an run with it!!!
As always, thanks for stopping in!!!




 ??
??

