mel.
Full Member
  
Member since: March 2012
Posts: 206
Mar 11, 2012 21:33:07 GMT -5
Mar 11, 2012 21:33:07 GMT -5
|
Post by mel. on May 18, 2013 8:52:39 GMT -5
|
|
panzerjager.
Full Member
  
Member since: June 2012
Posts: 204
Jun 5, 2012 21:56:23 GMT -5
Jun 5, 2012 21:56:23 GMT -5
|
Post by panzerjager. on May 18, 2013 8:59:20 GMT -5
Oh, the old Italeri beauty! Not a bad kit and if you add some P.E. parts, it will looks great!
Darío
|
|
Deleted
Member since: January 1970
Posts: 0
Nov 25, 2024 12:33:19 GMT -5
Nov 25, 2024 12:33:19 GMT -5
|
Post by Deleted on May 18, 2013 10:52:32 GMT -5
he he! that's how it starts, OOB then the additions begin! nice start and like the damage to the fenders
|
|
|
|
Post by TRM on May 18, 2013 13:28:39 GMT -5
Nice one Mel!! Off and running!! LOL...with the 76's I see being built you guys are making me want to break out that shelf queen I got going on!!!
|
|
pt109
Full Member
  
Member since: April 2013
Stop staring at me! heheheh
Posts: 491 
|
Post by pt109 on May 18, 2013 14:53:09 GMT -5
welcome Mel....
Haven't seen you before, nothing wrong with a mostly OOTB build.
Looks kinda like a re-boxed Tamiya? If so, a good basic kit and with a little PE goodies should look great!
Paul
|
|
|
|
Post by wbill76 on May 18, 2013 19:31:55 GMT -5
Nice project Mel! It can still qualify as a 'mostly' OOB build even if you enhance it a bit here and there...we won't set the model-police on you! But it will cost you for us to keep silent...please speak to Mr. Gary Boggs about the necessary arrangements.  |
|
|
|
Post by Leon on May 18, 2013 20:19:19 GMT -5
A little bribery never hurts  .Nice start on this one mel.  |
|
|
|
Post by bbd468 on May 19, 2013 1:22:01 GMT -5
Hiya Mel, ive not seen the Italeri T-34 built before so im in for this one.  Gary |
|
mel.
Full Member
  
Member since: March 2012
Posts: 206
Mar 11, 2012 21:33:07 GMT -5
Mar 11, 2012 21:33:07 GMT -5
|
Post by mel. on May 19, 2013 12:45:54 GMT -5
Darío: Thanks for the feedback fellows!
Paul: The details on this one a actually a little better than Tamiya, however, the fi not nearly as good. I'm hoping to improve it a bit (within my limited skills) with some PE and scratch built odds and ends. As a matter of fact I have a punch and drill set that I put to good use (first time I use it) to make a bolt heads.
Bill: There's nothing wrong with a little bribery now and then; after all if caught I can always say "I didn't know."
Snipersmudge: Thanks, the damaged fenders were an experiment – not sure how I feel about them?
|
|
mel.
Full Member
  
Member since: March 2012
Posts: 206
Mar 11, 2012 21:33:07 GMT -5
Mar 11, 2012 21:33:07 GMT -5
|
Post by mel. on May 19, 2013 13:15:09 GMT -5
Here's a quick update: Preparatory work for PE - cutting all that out was a pain the butt! 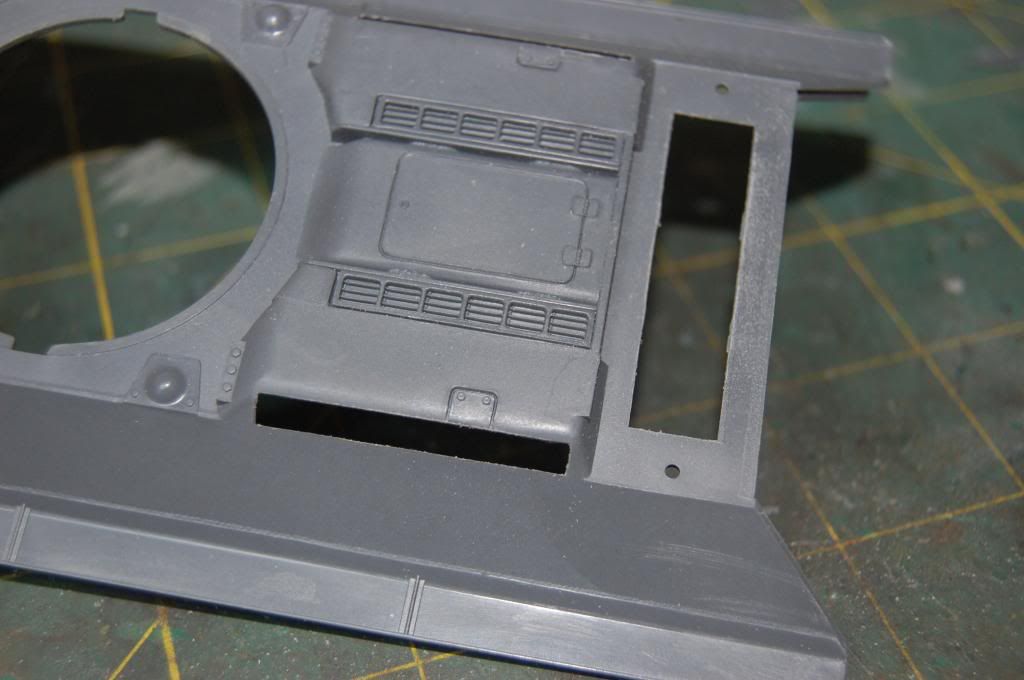 A little clamp action around the gun mantlet. The fit not as good as Tamiya, but as mentioned earlier some of the details are quite a lot better.  I added a bit of putty in a couple of spots to resemble weld marks 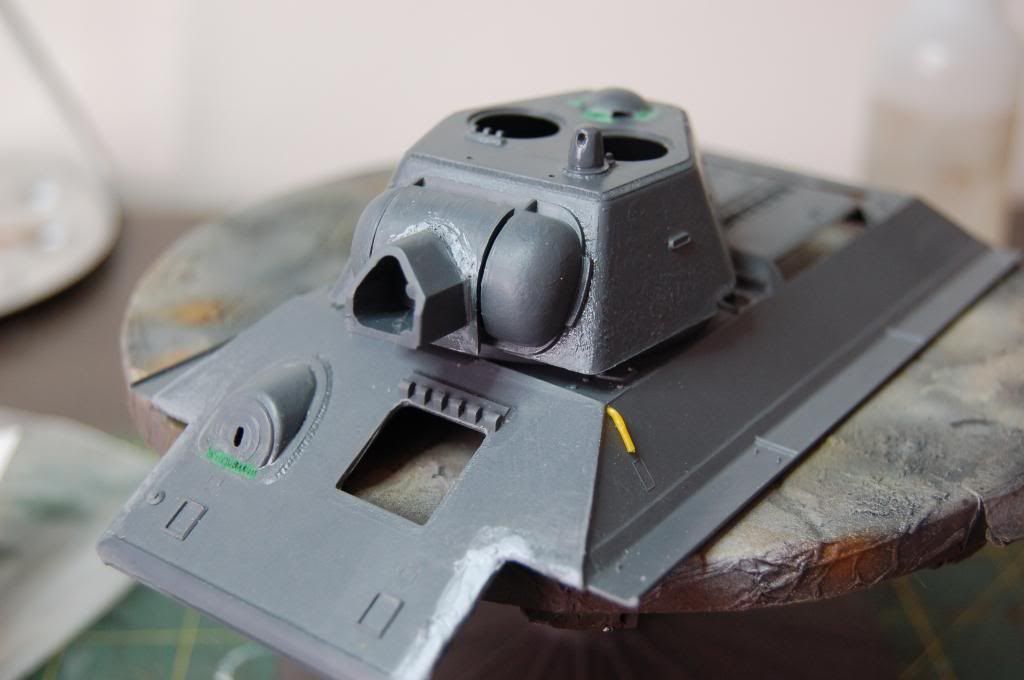 |
|
mel.
Full Member
  
Member since: March 2012
Posts: 206
Mar 11, 2012 21:33:07 GMT -5
Mar 11, 2012 21:33:07 GMT -5
|
Post by mel. on May 21, 2013 19:12:04 GMT -5
|
|
|
|
Post by bbd468 on May 21, 2013 19:17:57 GMT -5
Nice update Mel, the texture will look great under the paint.  |
|
|
|
Post by wbill76 on May 21, 2013 19:44:50 GMT -5
Nice work on the texture, PE, and mix/match on the wheels. Will definitely add some character to the build.
|
|
Deleted
Member since: January 1970
Posts: 0
Nov 25, 2024 12:33:19 GMT -5
Nov 25, 2024 12:33:19 GMT -5
|
Post by Deleted on May 22, 2013 2:07:49 GMT -5
nice work indeed love it
|
|
pt109
Full Member
  
Member since: April 2013
Stop staring at me! heheheh
Posts: 491 
|
Post by pt109 on May 24, 2013 19:55:44 GMT -5
Nice details there Mel...this is the "Hard Edge" turret.
I like your cast affect.
I agree the details look better than Tamiya especially on the turret top and the mantlet weld...
Are you gonna use the kit barrel?
Paul
|
|
mel.
Full Member
  
Member since: March 2012
Posts: 206
Mar 11, 2012 21:33:07 GMT -5
Mar 11, 2012 21:33:07 GMT -5
|
Post by mel. on May 24, 2013 20:20:28 GMT -5
Thanks fellows! I have a couple of after market barrels that I may use. The kit barrel seems OK, not much clean-up necessary. The details are generally better than Tamiya (still love the way Tamiya kits fit together). I have a set AFV Club individual link tracks that I'm also planning on using. I will hopefully post an update tomorrow.
|
|
mel.
Full Member
  
Member since: March 2012
Posts: 206
Mar 11, 2012 21:33:07 GMT -5
Mar 11, 2012 21:33:07 GMT -5
|
Post by mel. on May 26, 2013 19:36:15 GMT -5
After market barrel 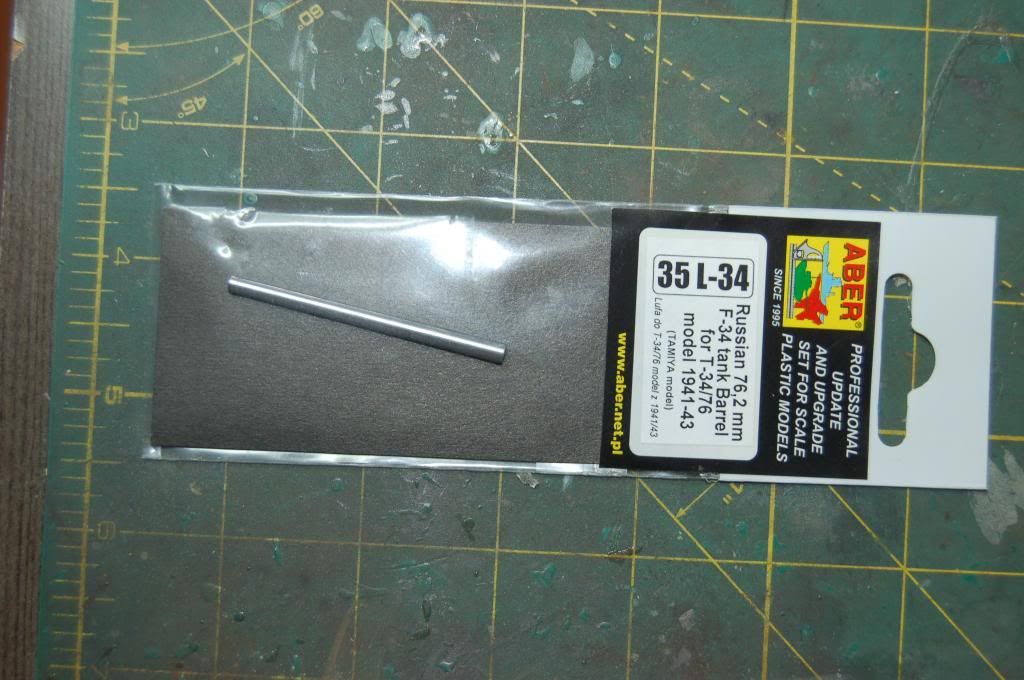 Installed barrel 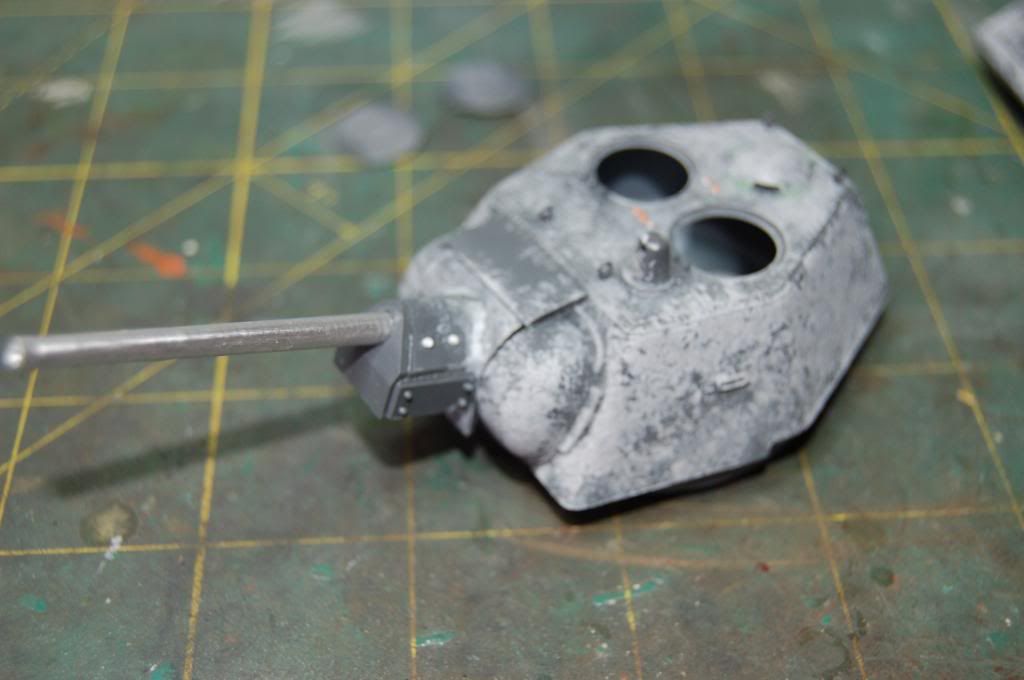 Replaced tow cable with a wire (kept the original eyelids).  Scratchbuilt brackets for fuel tank. I copied these ones from an Armorscale PE/resin set that I have. 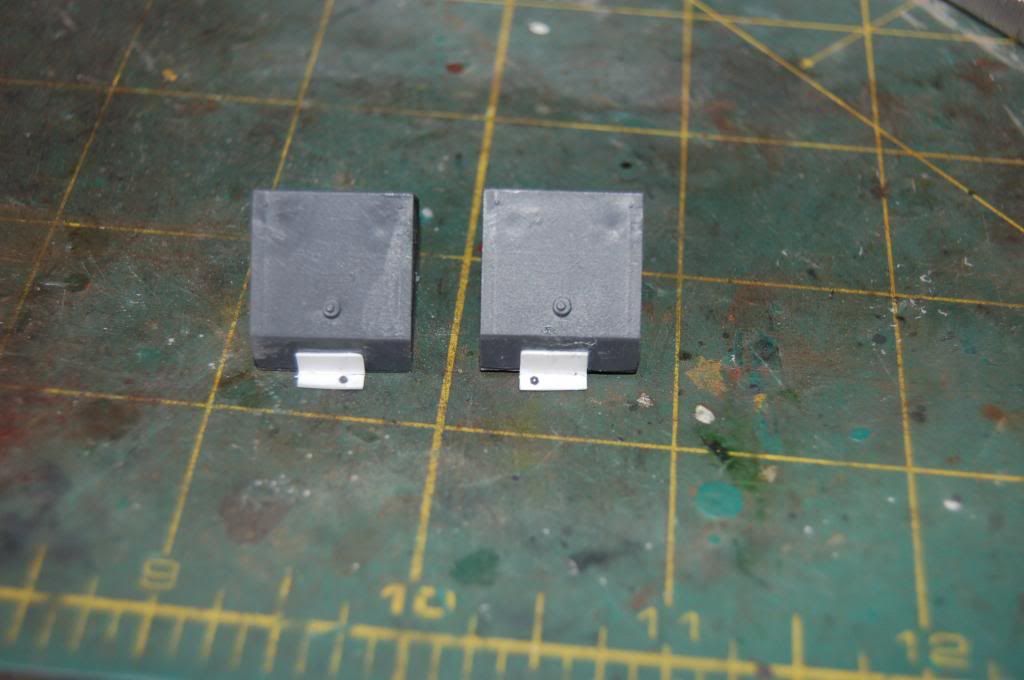 The PE is done and on the tank! it sure does a lot better now. 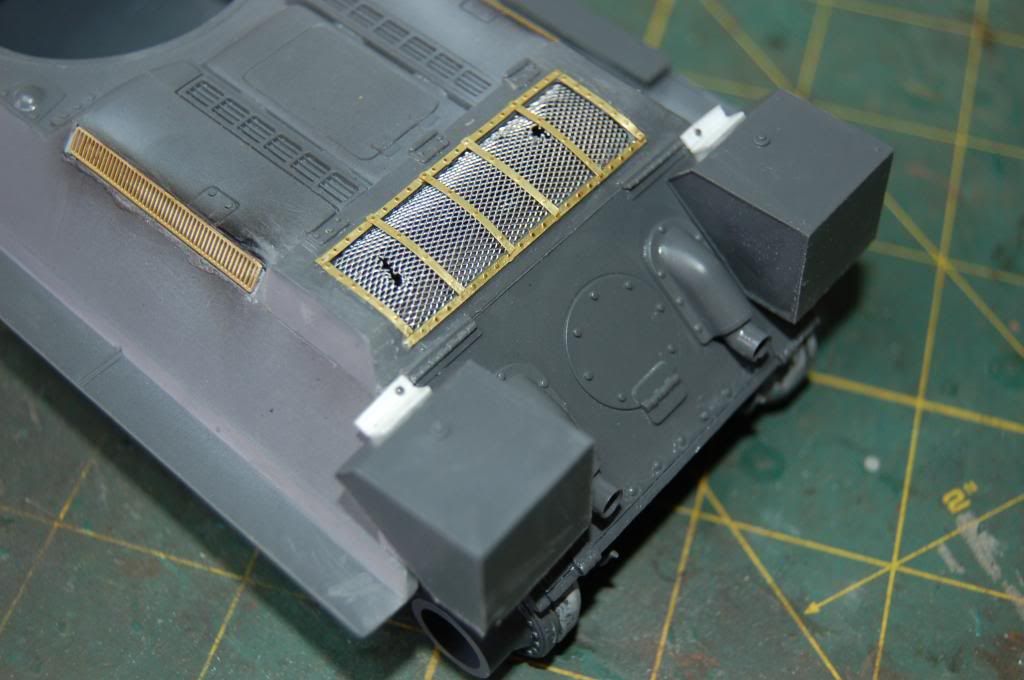 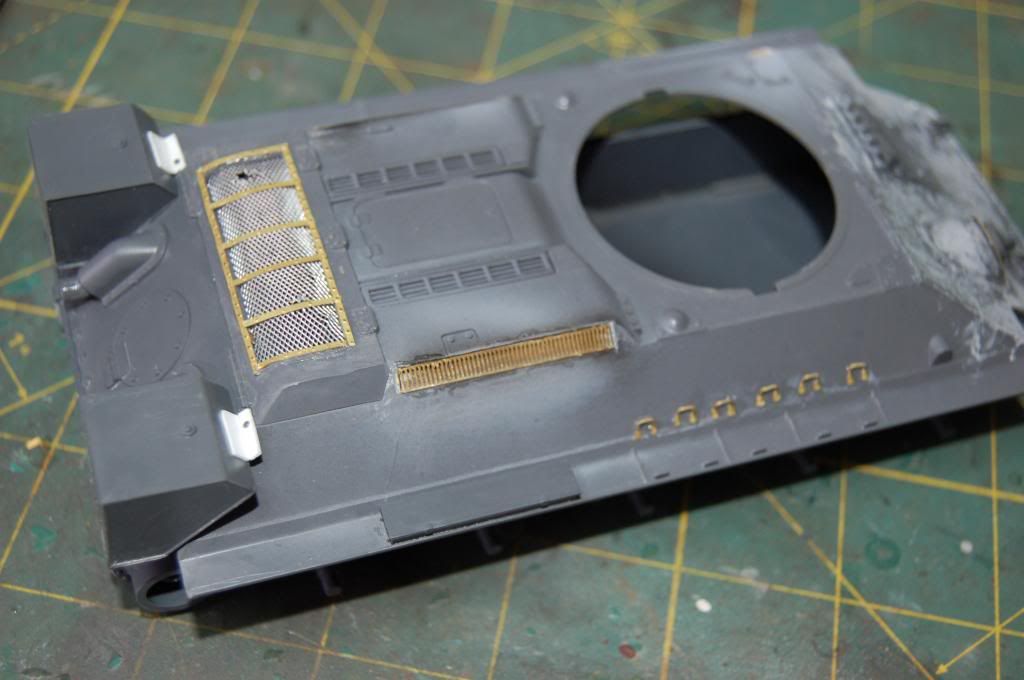 I can almost smell that Primer!!! 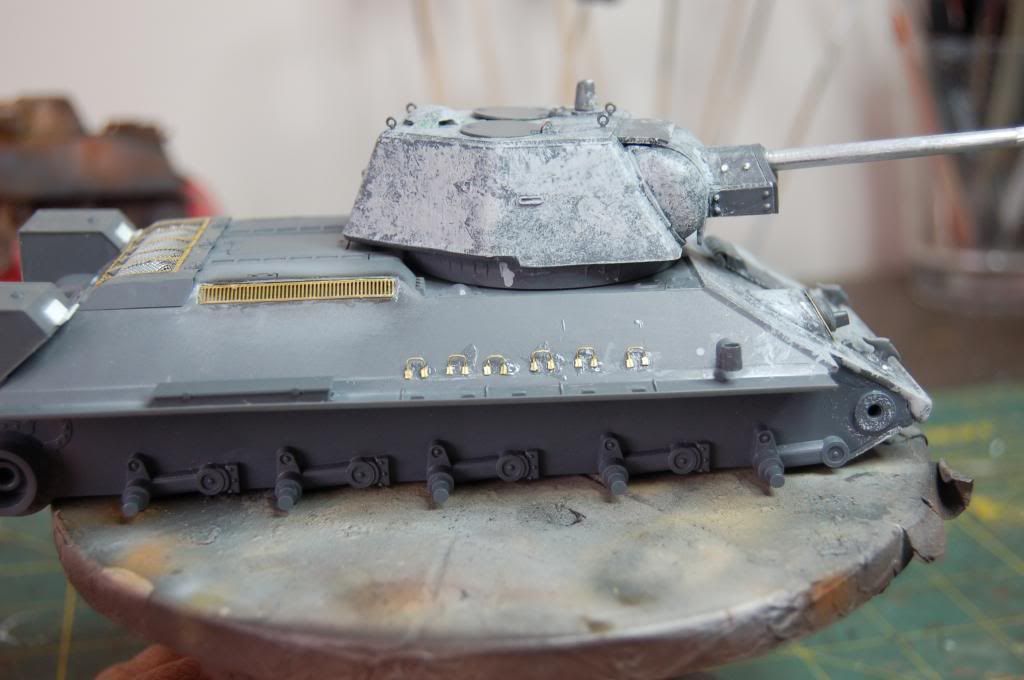 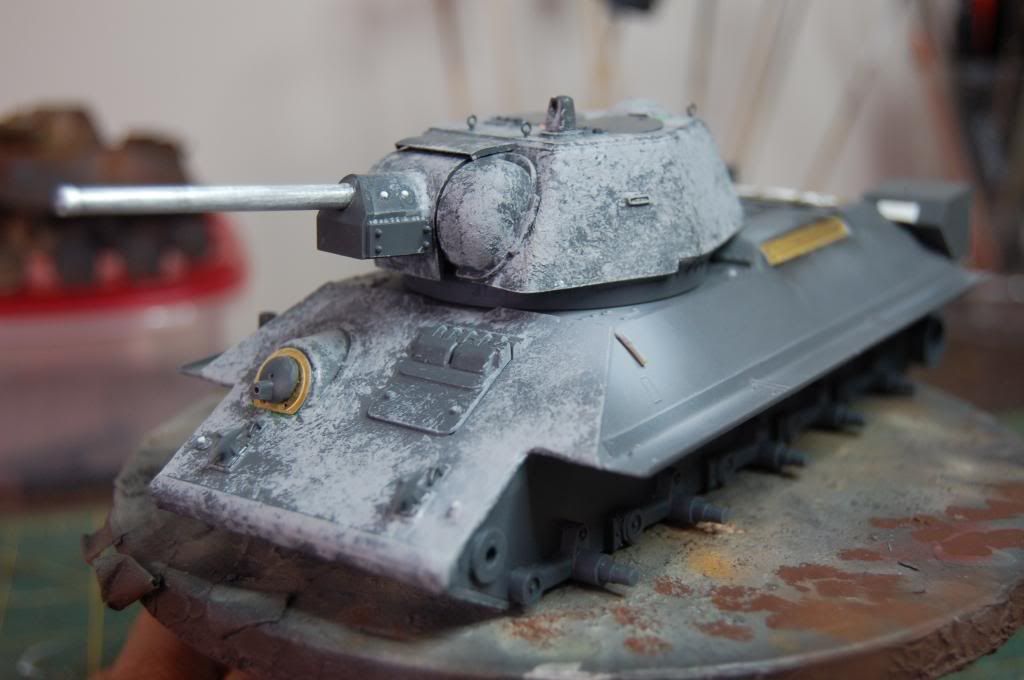 |
|
|
|
Post by Leon on May 26, 2013 19:47:03 GMT -5
Nice texture and PE work Mel.Waiting to see some primer.
|
|
|
|
Post by wbill76 on May 26, 2013 21:01:24 GMT -5
Looking forward to seeing this old gal painted up and looking pretty! Well as pretty as a cast-steel Russian can look that is.  |
|
|
|
Post by Teabone on May 26, 2013 22:34:36 GMT -5
Mel
Nice work on improving the OOB kit, often the little fixes here and there make all the difference in the world. I am not familiar with the PE tie downs you have along the right glacis. They are very neatly placed something I always fight in my builds. I too have a love hate realtionship with heating fenders to get the bent look, ther is a very fine ilne when heating that you cant cross.
Bones
|
|
pt109
Full Member
  
Member since: April 2013
Stop staring at me! heheheh
Posts: 491 
|
Post by pt109 on May 27, 2013 18:11:54 GMT -5
It's starting to look like a T-34!
Nice work...
Paul
|
|
|
|
Post by deafpanzer on May 27, 2013 21:56:47 GMT -5
You are making great process on the T34!
|
|
mel.
Full Member
  
Member since: March 2012
Posts: 206
Mar 11, 2012 21:33:07 GMT -5
Mar 11, 2012 21:33:07 GMT -5
|
Post by mel. on May 28, 2013 13:47:26 GMT -5
Thanks! I hope to have it ready for June's MOM contest.
|
|
mel.
Full Member
  
Member since: March 2012
Posts: 206
Mar 11, 2012 21:33:07 GMT -5
Mar 11, 2012 21:33:07 GMT -5
|
Post by mel. on Jun 1, 2013 20:42:08 GMT -5
The final touches prior to priming. I used Armorscale PE set for large fuel tank as a guide to scratch-built the support for the fuel tanks. 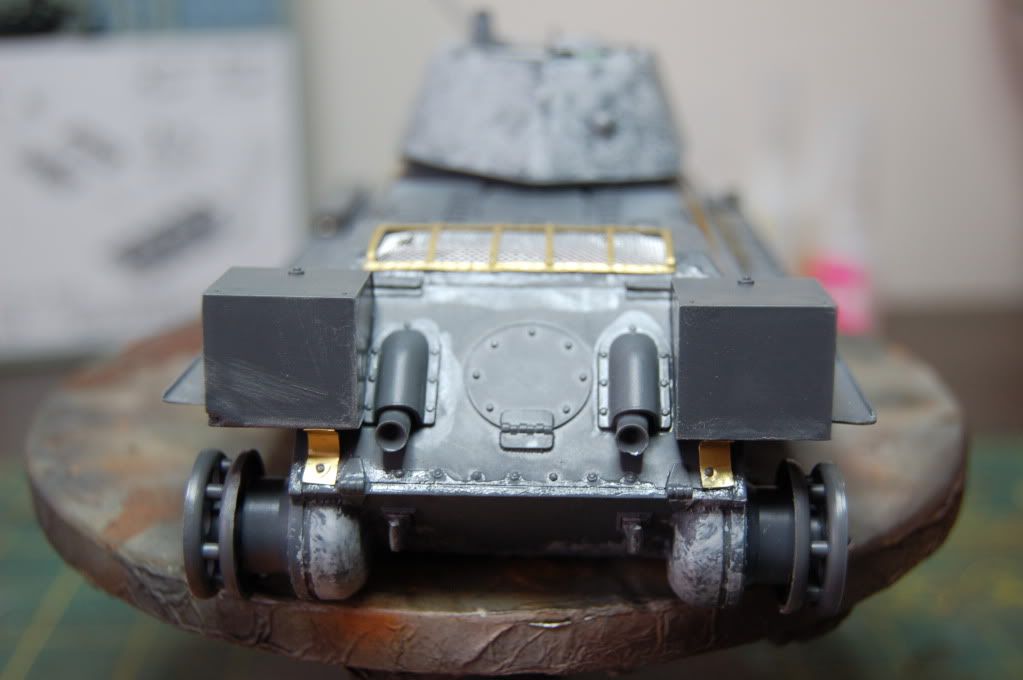 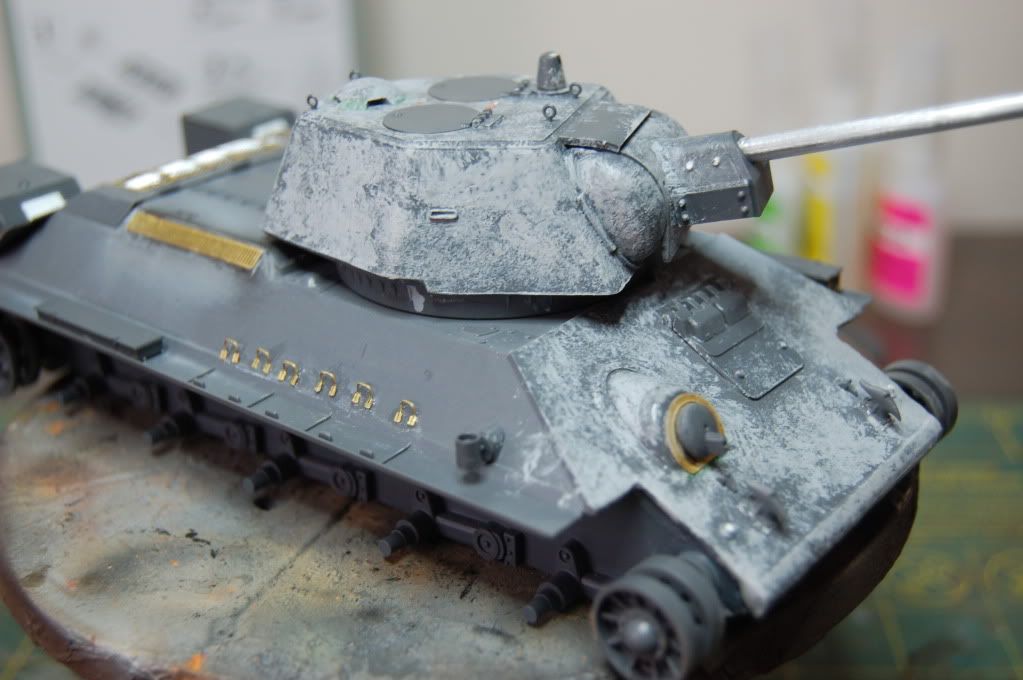 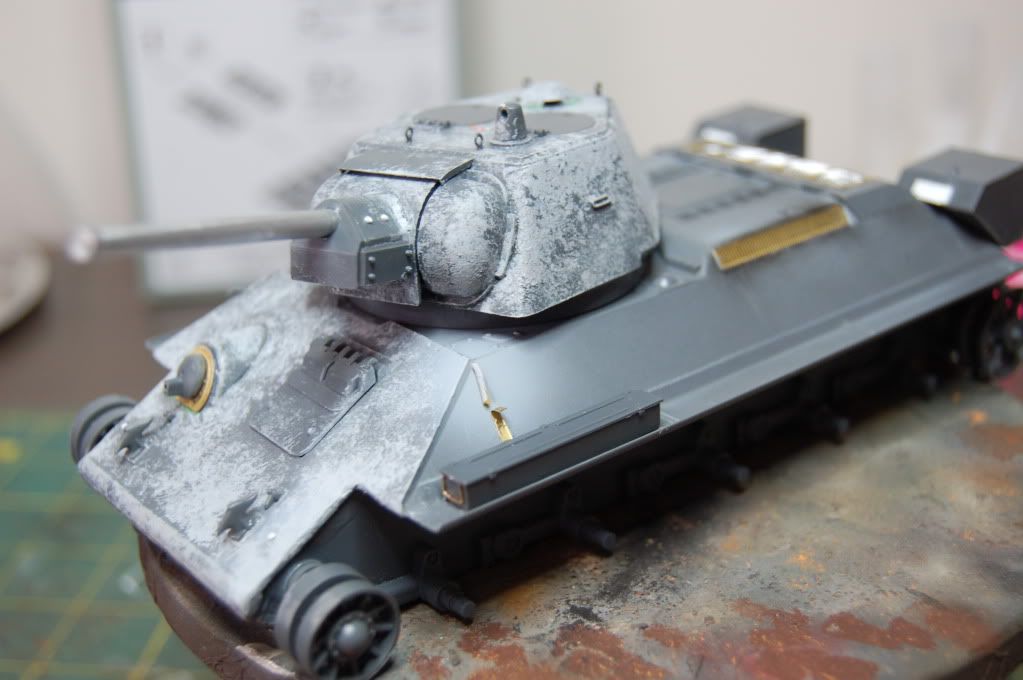 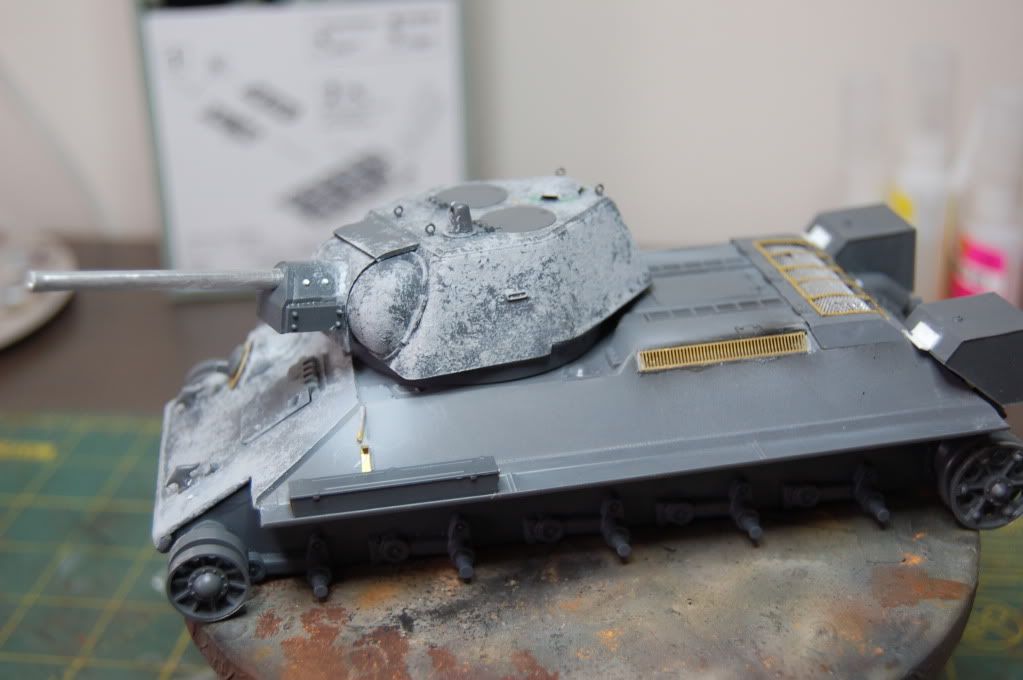 Finally some priming and painting tomorrow! |
|
|
|
Post by TRM on Jun 1, 2013 21:46:48 GMT -5
Marvelous improvements to this Mel!! Making some really nice progress!!
|
|
|
|
Post by Leon on Jun 1, 2013 21:47:28 GMT -5
Looking good Mel.Keep up the good work.  |
|
mel.
Full Member
  
Member since: March 2012
Posts: 206
Mar 11, 2012 21:33:07 GMT -5
Mar 11, 2012 21:33:07 GMT -5
|
Post by mel. on Jun 3, 2013 19:08:54 GMT -5
|
|
Deleted
Member since: January 1970
Posts: 0
Nov 25, 2024 12:33:19 GMT -5
Nov 25, 2024 12:33:19 GMT -5
|
Post by Deleted on Jun 4, 2013 7:22:34 GMT -5
What a difference the srface texture makes!
|
|
pt109
Full Member
  
Member since: April 2013
Stop staring at me! heheheh
Posts: 491 
|
Post by pt109 on Jun 9, 2013 1:09:25 GMT -5
Looking really nice Mel.....always looks better with primer!
Paul
|
|
mel.
Full Member
  
Member since: March 2012
Posts: 206
Mar 11, 2012 21:33:07 GMT -5
Mar 11, 2012 21:33:07 GMT -5
|
Post by mel. on Jun 9, 2013 7:08:15 GMT -5
Amazing what a little paint can do! I will be posting more pics later today.
|
|