Post by venom1 on Jul 5, 2013 20:28:16 GMT -5
Right, well, think if I was a superhero, I would be called "Captain Start-a-lot"!
During the S.O.B. decal stage on my 262, I decided that I needed a little bit of a reprieve. Because my life is not hard enough already, I thought I would have a crack at my very first attempt at NMF (Natural Metal Finish). For this task I wanted a kit that was relatively simple but with good detail and went together with a minimum of fuss. Enter Airfix's gorgeous little 1/72 P-51D!
To top it off, the kit's one and only decal scheme is a NMF aircraft of the Tuskegee Airmen, one of the famous Red Tails. It was meant to be!!
Here 'tis...
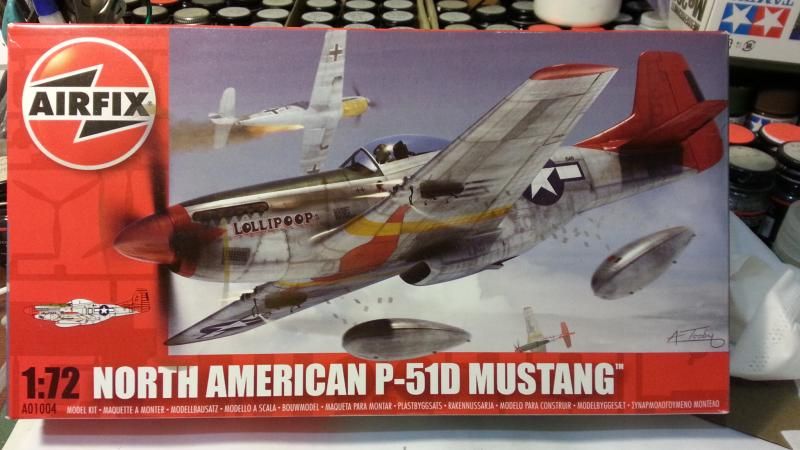

This will be a "quick" build, so simply OOB is the order of the day for this one. It will essentially be a canvas for my first NMF attempt. Luckily it will pass muster, the cockpit detail is definitely up to scratch for a bird of this scale.
First up, I lay down some interior green on all the relevant components...
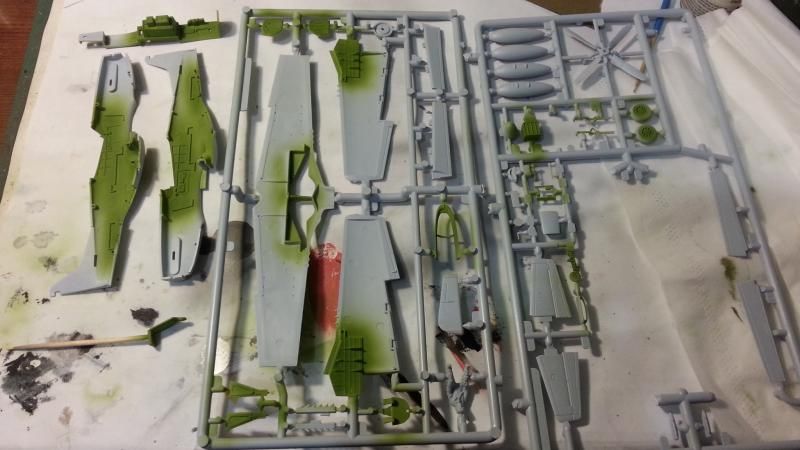
Following this, a quick bit of detail painting in the cockpit...
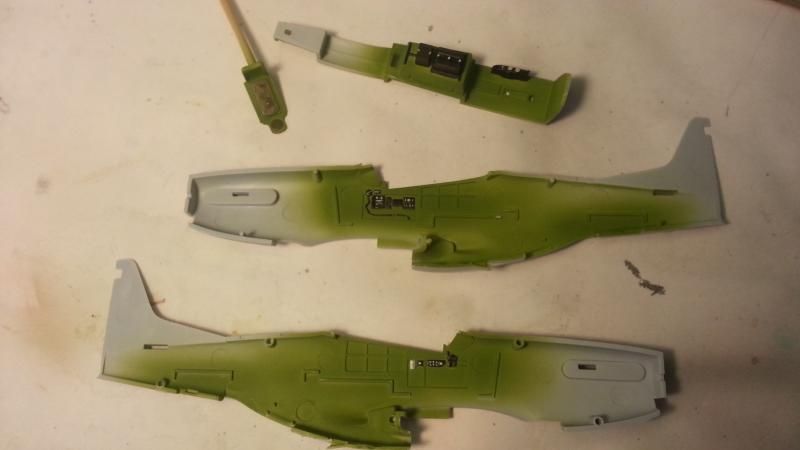
Next, some coats of Future to allow for the next stage of weathering. Mmmm, shiny.....
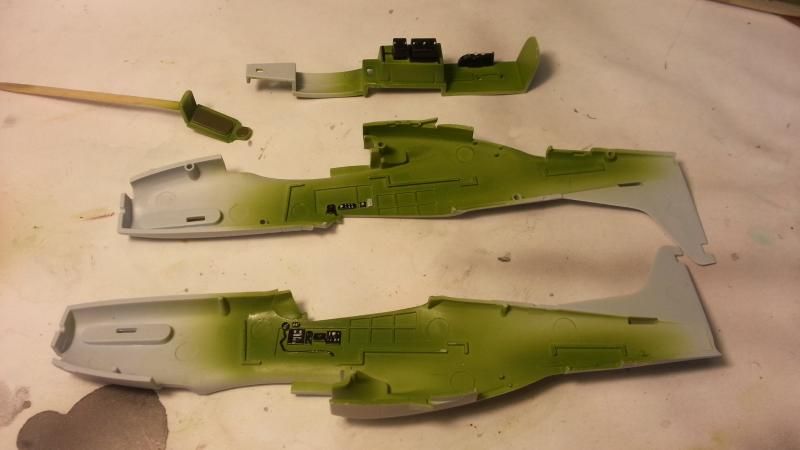
Next up, a Payne's Grey wash to bring out the detail...

Next up the instrument panel. This was painted and decalled on the sprue to facilitate my laziness!!
The IP decal is beautiful, lots of detail and it fits like a dream! Once the IP decal had set, it was given a flat coat, followed by a drop of Future on the dials to give that glassy look...
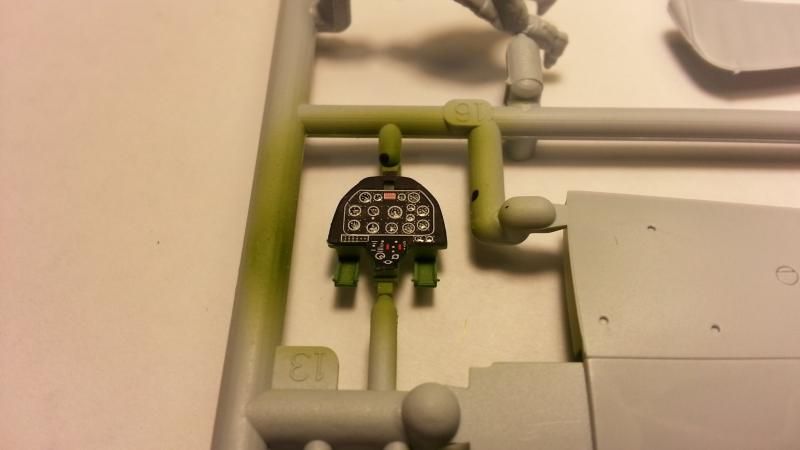
Next up the U/C bays were weathered. the ejector pin mark will not be seen once the wings are completed...

Next step, installing the pit! Not bad at all...

And here is the fuselage just before the halves went together. As you can see, some lovely engineering which incorporates the cockpit, radiator and tail wheel bay in one foul swoop! Luvvly-jubblies!

And this is where we are at as of today! Fuselage together, wings and tail on. Just some minor sanding to ensure all joints are smicko and imperfections gone before the paintwork starts. I will be using Alclad so the surface has to be ferpectly free of imperfections, or the very unforgiving Mr Clad (or Al as I call him) will pick it up!
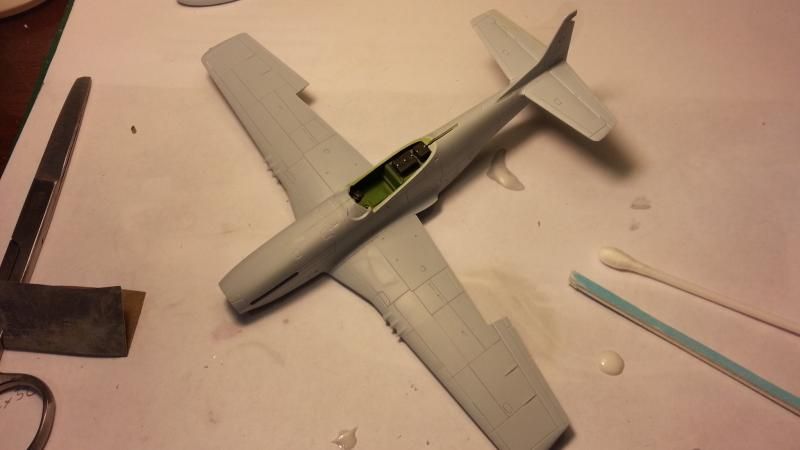
Here you can see the join at the wing root and horizontal stabilizer. Perfect! All kits should be like this. If an 8 buck Airfix kit can get it this bang on, why can't everyone else???
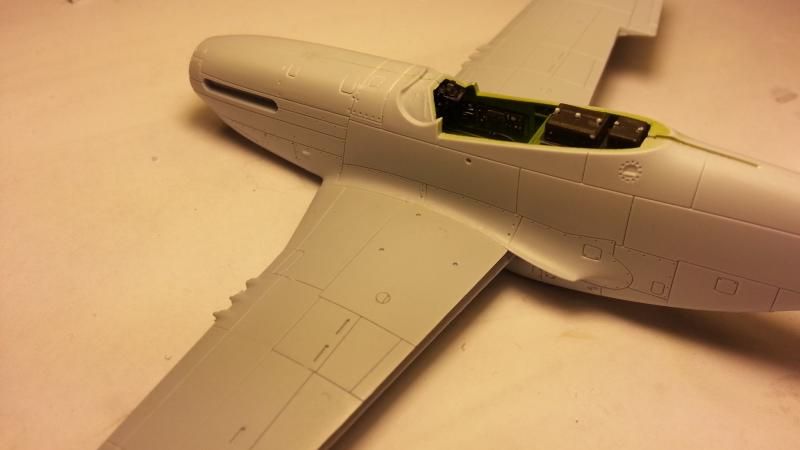

And finally, here is a look at the gear well. Masking this will begin soon!!
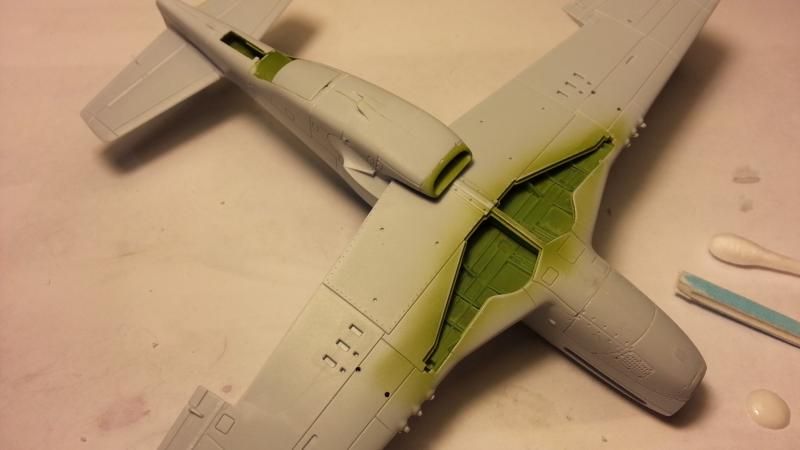
Okey-dokes, well that's it for now! I probably won't get much more done on this until I finish the 262, but as that needs to be done by mid-July, hopefully it won't be long before I am back here!!
Scartchya layta!!
Sam
During the S.O.B. decal stage on my 262, I decided that I needed a little bit of a reprieve. Because my life is not hard enough already, I thought I would have a crack at my very first attempt at NMF (Natural Metal Finish). For this task I wanted a kit that was relatively simple but with good detail and went together with a minimum of fuss. Enter Airfix's gorgeous little 1/72 P-51D!
To top it off, the kit's one and only decal scheme is a NMF aircraft of the Tuskegee Airmen, one of the famous Red Tails. It was meant to be!!

Here 'tis...


This will be a "quick" build, so simply OOB is the order of the day for this one. It will essentially be a canvas for my first NMF attempt. Luckily it will pass muster, the cockpit detail is definitely up to scratch for a bird of this scale.

First up, I lay down some interior green on all the relevant components...

Following this, a quick bit of detail painting in the cockpit...

Next, some coats of Future to allow for the next stage of weathering. Mmmm, shiny.....


Next up, a Payne's Grey wash to bring out the detail...

Next up the instrument panel. This was painted and decalled on the sprue to facilitate my laziness!!

The IP decal is beautiful, lots of detail and it fits like a dream! Once the IP decal had set, it was given a flat coat, followed by a drop of Future on the dials to give that glassy look...

Next up the U/C bays were weathered. the ejector pin mark will not be seen once the wings are completed...

Next step, installing the pit! Not bad at all...

And here is the fuselage just before the halves went together. As you can see, some lovely engineering which incorporates the cockpit, radiator and tail wheel bay in one foul swoop! Luvvly-jubblies!


And this is where we are at as of today! Fuselage together, wings and tail on. Just some minor sanding to ensure all joints are smicko and imperfections gone before the paintwork starts. I will be using Alclad so the surface has to be ferpectly free of imperfections, or the very unforgiving Mr Clad (or Al as I call him) will pick it up!

Here you can see the join at the wing root and horizontal stabilizer. Perfect! All kits should be like this. If an 8 buck Airfix kit can get it this bang on, why can't everyone else???


And finally, here is a look at the gear well. Masking this will begin soon!!

Okey-dokes, well that's it for now! I probably won't get much more done on this until I finish the 262, but as that needs to be done by mid-July, hopefully it won't be long before I am back here!!
Scartchya layta!!
Sam


