|
|
Post by TRM on Nov 1, 2013 17:33:38 GMT -5
Hello MSC'ers!! I recently had the pleasure of having the chance to give this kit a review for our friends over at Model Expo. Model Shipways Double-Barrel Cannon Review modelerssocialclub.proboards.com/thread/6321/double-barrel-cannon-athens-reviewOf course I had to start building it!! As if I didn't have enough going on at the moment....what's one more? LOL!!! So here it is, the Athens Gun!! This is the only double barrel gun, from what I know, in existence still intact and in the US. My favorite part of the story was this part " ...coming to rest only after dispatching a local cow and foundering a nearby chimney of a log cabin concurrently." Sums up the quality of the design a bit right there!! The rest of the story I wrote down in the review....time to get building!! 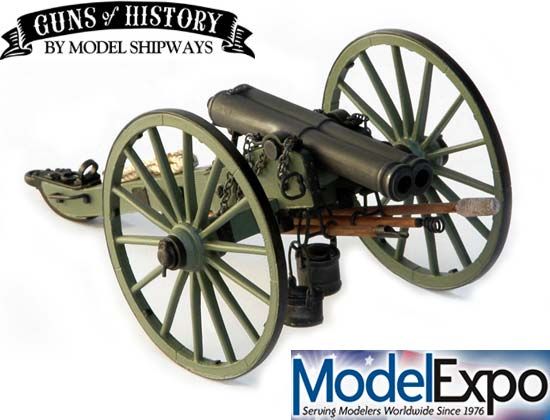 First up was to pull out some parts and get cleaning. These are cast Britannia parts and of course come with mold seams and some flash; however, being malleable these are easy to remove. 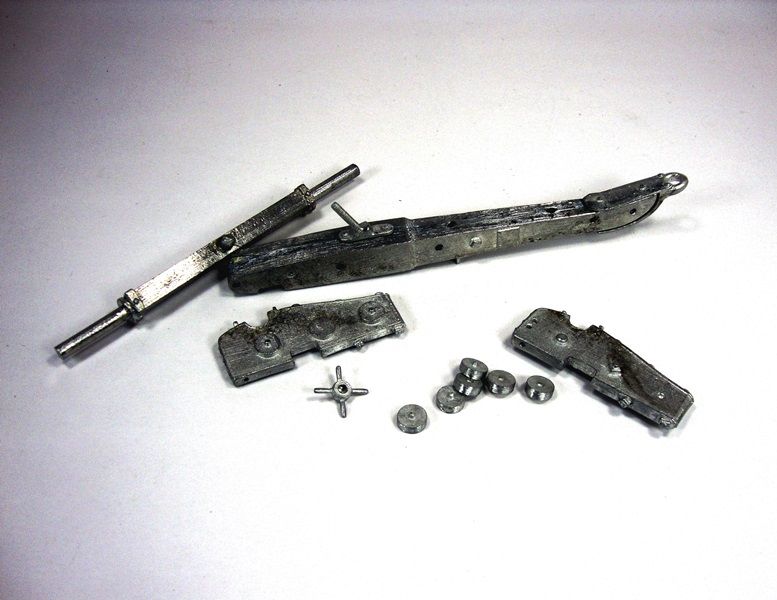 The Trail piece needed a little sanding and a touch of filler to get the fit just right 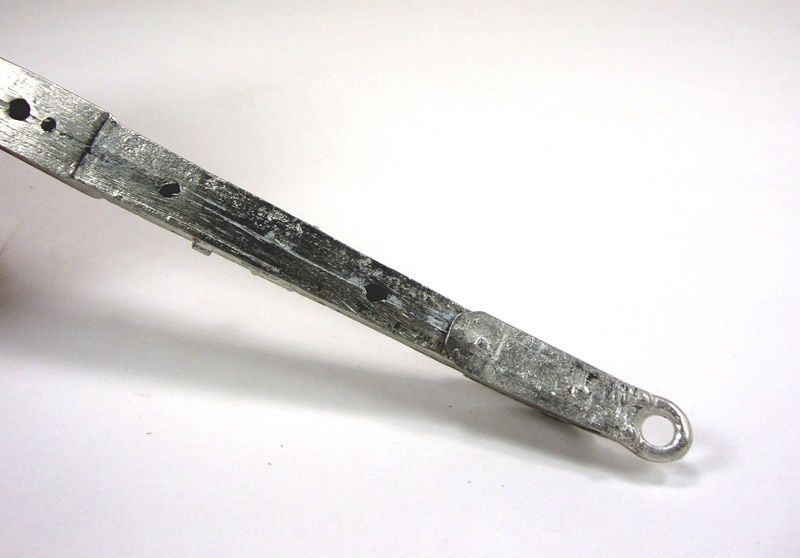 I managed to begin cleaning various smaller pieces in preparation. This is the elevation screw, housing and wheel. 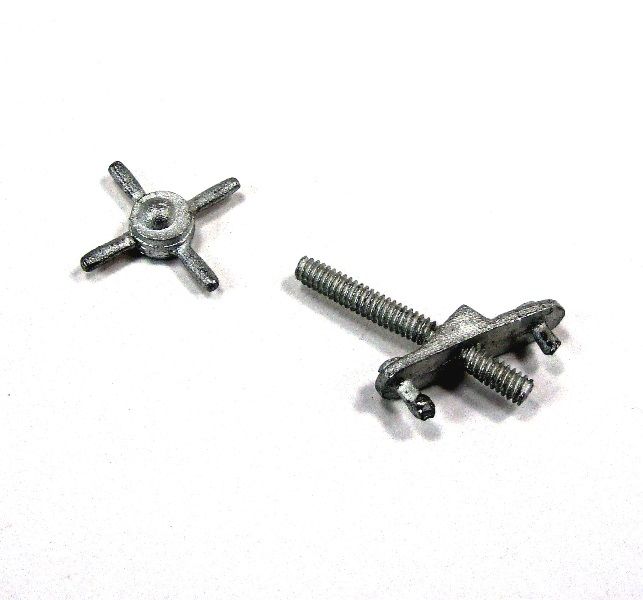 The cleaning went on while I allowed the wheel template, which needed to be constructed before I could put the wheels together, time to dry. 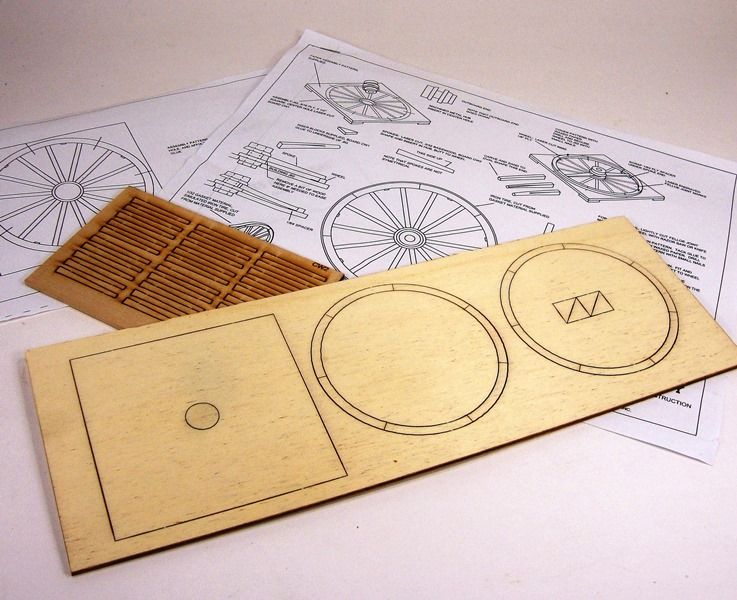 After the base was glued together, I glued the supplied kit template guild to its face 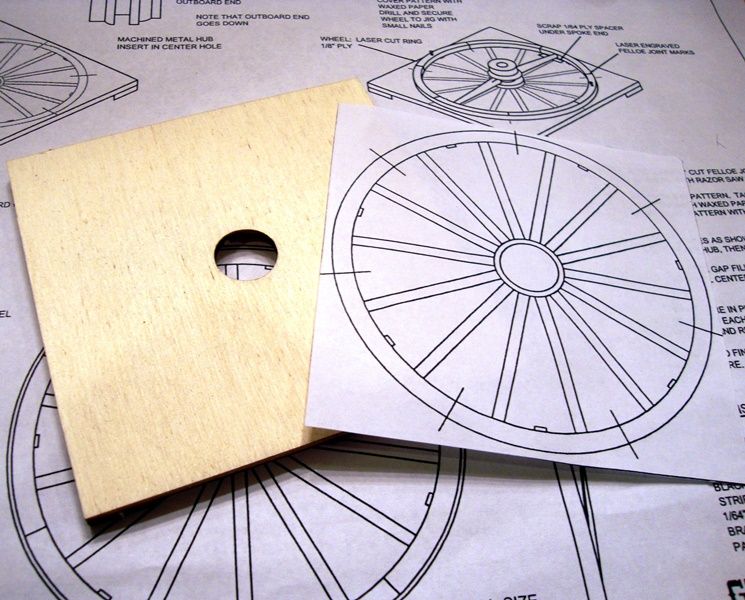 The wheels need to be secured to the template via the kit supplied nails. 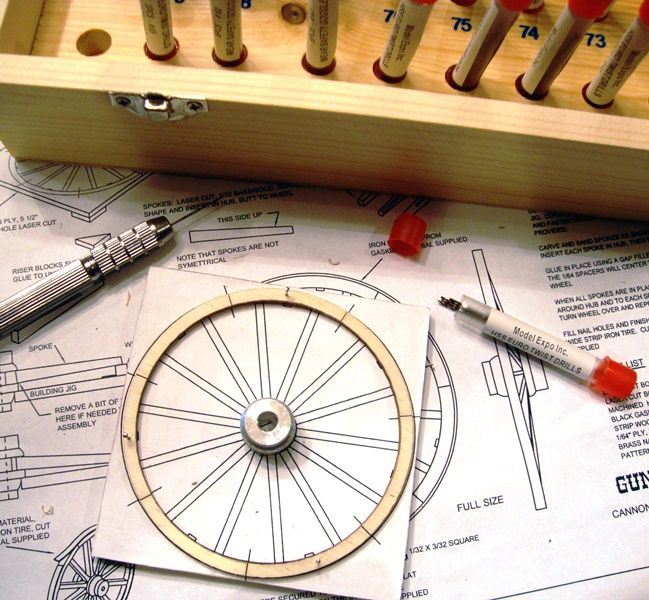 A little dry fitting to get used to the process of spindle construction. 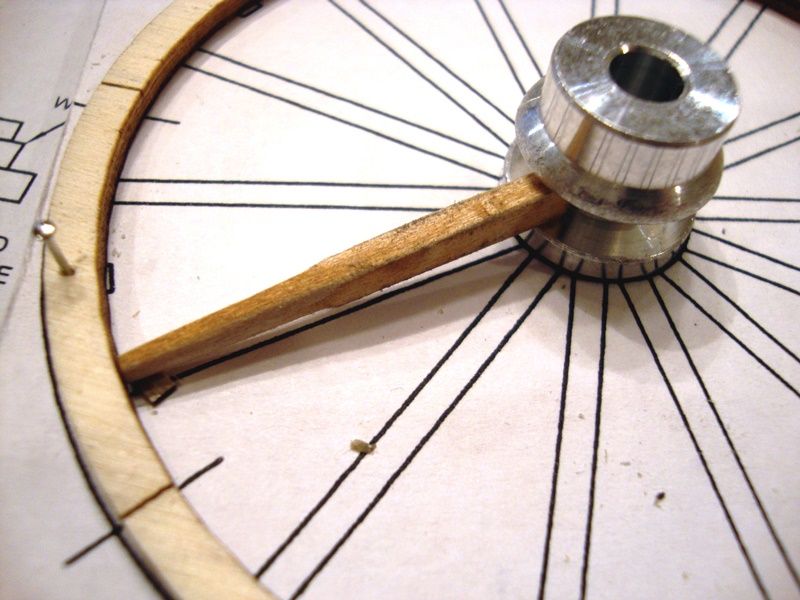 Then I began gluing them into place. The instructions called for a 1/64 shim under the outer parts of the spindle to center inside the outer rim. 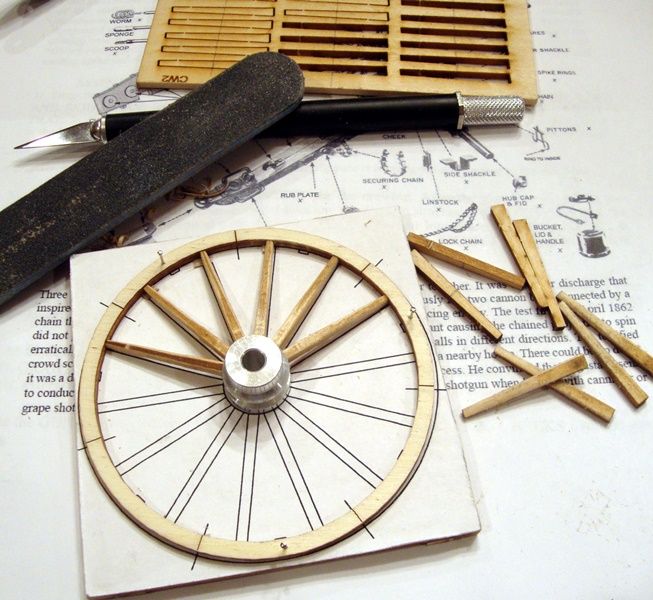 Pretty much where I stand now. I am still cleaning the smaller parts and working the wheel but things are moving smootly and quickly. Hope to have another update soon. Thanks for tagging along with this one!! |
|
Deleted
Member since: January 1970
Posts: 0
Nov 27, 2024 23:34:31 GMT -5
Nov 27, 2024 23:34:31 GMT -5
|
Post by Deleted on Nov 2, 2013 14:03:48 GMT -5
whow! looks pretty impressive as are your carpentry skills!
|
|
|
|
Post by TRM on Nov 2, 2013 14:51:09 GMT -5
whow! looks pretty impressive as are your carpentry skills! Thanks for stopping in Pete! This will be a quick one I think! LOL...I need to catch up with Dicky some how!!  I have been itching to get back to a wooden ship again...this is a buffer to keep me occupied so I don't even think about picking one up!! Maybe next year!! |
|
|
|
Post by deafpanzer on Nov 2, 2013 14:55:21 GMT -5
WOW! Damn, never thought you would end up working on wood and white metal. Count me in of course...
|
|
|
|
Post by wbill76 on Nov 2, 2013 15:13:15 GMT -5
Very nice, looking forward to seeing this one come together.
|
|
|
|
Post by TRM on Nov 2, 2013 15:32:56 GMT -5
Glad to have you both on board for this short ride!
All the same to me Andy...plastic, metal..wood. Like I mentioned I wish it was another wooden vessel but that time will come around sooner or later!
With any luck, I might sneak downstairs and primer her up later!! Then a hop skip and a jump getting it all together!!!
|
|
danb.
Reviews member     March 2013 MoM Winner
Member since: November 2011
Posts: 2,808
Nov 17, 2011 9:22:52 GMT -5
Nov 17, 2011 9:22:52 GMT -5
|
Post by danb. on Nov 2, 2013 15:34:52 GMT -5
Now that is cool T looking forward to you working your magic on this  Dan B |
|
|
|
Post by bullardino on Nov 2, 2013 17:40:53 GMT -5
Count me in, this looks interesting.
|
|
|
|
Post by TRM on Nov 2, 2013 19:17:11 GMT -5
Thanks for swinging by Dan and Luigi!! A little different form the norm ....still fun though!  |
|
|
|
Post by Leon on Nov 2, 2013 19:32:59 GMT -5
Count me in Todd,this looks very impressive.  |
|
|
|
Post by TRM on Nov 2, 2013 21:37:44 GMT -5
Saved a seat for you Leon!! Thanks!!!  |
|
|
|
Post by Teabone on Nov 4, 2013 0:54:00 GMT -5
Todd
The build is looking good and shows your Jack of All Trades abilities, and the review was very nicely written.
Bones
|
|
|
|
Post by TRM on Nov 4, 2013 7:48:12 GMT -5
Thanks a bunch Bones!! Appreciate the kind words!! Funny because in itself I could keep myself spread thin if I just built one genre like Pz.Iv's or warships! Makes for more of a juggling act with all the other mixed in...LOL!!Here is where I stand on this at the moment:I finished up the wheels to the carriage. Well, with the exception of a quick sand of the filler where the nails went and a 1/32 strip that wraps around the wheel...after the paint will do just fine for the strips!! 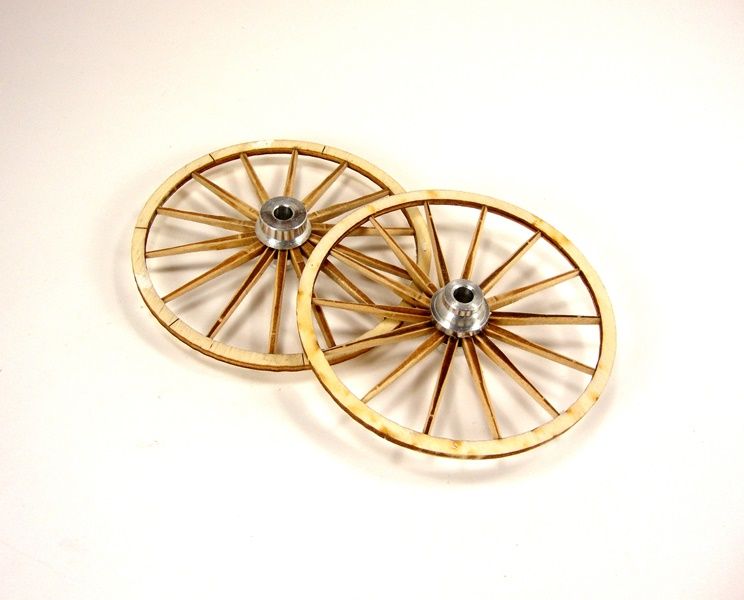 Before I start painting I wanted to try something out. Since most of the parts are Britannia I wanted to see if a blackening solution would work to give the parts a nice weathered look. I was right. I used Uschi van der Rosten Burnishing fluid for Fruil tracks. I gave all the parts a good cleaning with Acetone and a tooth brush and then placed them in a nice bath of a 50/50 mix of the burnishing fluid and water. 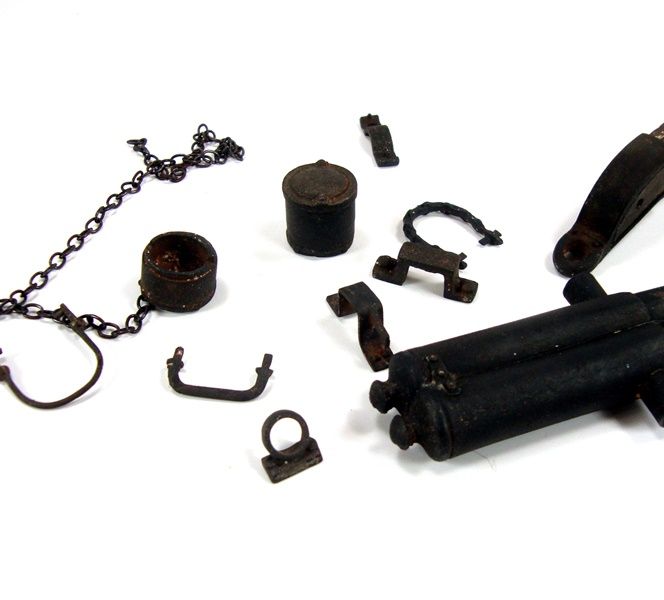 One problem I ran into was a small area atop the cannon barrel and one of the Cheeks. Seems the solution did not take in these areas...I sanded, re-cleaned and submerged again. The are did darken considerably more than when I stared but not 100% as with the rest of the part. I have to contribute this to one of two thing...or both. First being I used CA to glue the spaces on the Cheeks and I may have transferred some to both areas via the "big finger factor". The second being the solution of burnishing fluid had just run its course after blackening all the parts, which was about blackening 4 sets of tracks. I am going with a combination of the two. 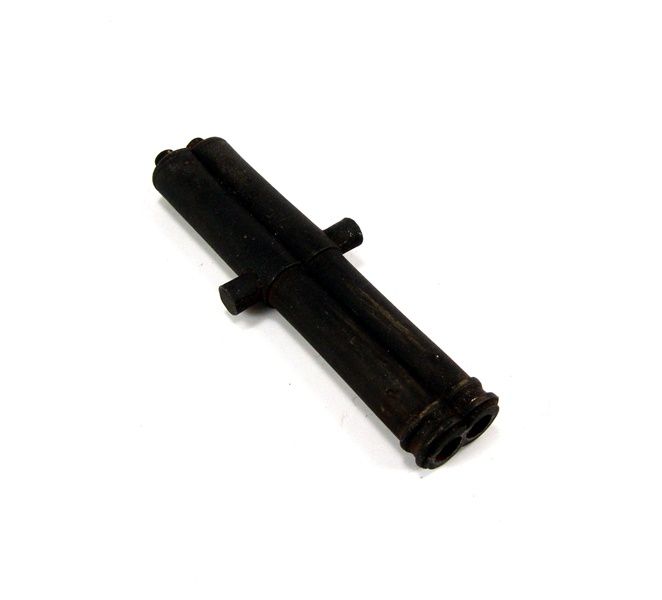 Honestly, not that bad and I was thinking of scuffing the edges and overall surfaces as I would with tracks and then give the part another bath. This would give the part a uniform look of wear-n-tear. I will think about this prior to setting up to paint. Next stop is painting the Trail and Cheeks. Thanks for swinging by!! |
|
|
|
Post by deafpanzer on Nov 4, 2013 9:27:26 GMT -5
Wheels look damn good! Can't wait to see how it comes out...
|
|
|
|
Post by bullardino on Nov 4, 2013 11:30:13 GMT -5
Wooden/metal wheels. Will it shoot also?
Stunning progress and fantastic kit...
|
|
|
|
Post by Teabone on Nov 4, 2013 13:05:59 GMT -5
Todd
A very nice finish, glue can be a sealer alright and is hard to undo. And there always is the "Bigfinger" issue. I tried some blacken-er I believe Casey's on some copper and it blackens fine but when dry it would easily rub off. One thing I found about solutions is that if contaminated they continue to work and weaken so I am careful when using one to avoid dipping brushed in the fresh solution are pouring and used solution back into the fresh. I have never heard of "Uschi van der Rosten Burnishing fluid" before Ill have to try it as you pieces came out great.
Bones
|
|
|
|
Post by TRM on Nov 4, 2013 13:53:55 GMT -5
Andy - Thanks! Looking froward myself. Might head down in a bit to the cave and see what I can accomplish!!
Thanks Luigi!! I probably could get this to shoot. The barrels are hollow all the way back to the touch-holes. I drilled them out for depth, but if I went all the way through..some powder, a ball and some wadding...BANG!
Thanks Bones! My bets leaned toward the CA as the culprit. The black on this is "on there". Uschi's Solution works really well. No real odoriferous fumes either. Typically 1/2 a bottle mixed with water is enough to do two lengths of tracks. I had a number of parts and the size was the second hurdle so 1 1/2 bottles was what I used...next time I will just use a smaller container.
|
|
|
|
Post by wbill76 on Nov 4, 2013 21:21:18 GMT -5
Nice blackening effect T, would never know you had an issue without you pointing it out. The wheels look smart too!
|
|
|
|
Post by TRM on Nov 4, 2013 21:32:29 GMT -5
Thanks Bill. It really does look more like wear than a splotch of Chemical mess! Still rolling with the flow on this...if I go with the paint so be it! The one sitting in Athens is painted...the original, probably not so much. Here is a real quick update as I am working on a couple of 4 things at the moment. I managed to heat up the gun and lay down some color. Fine tuning is next and then start whipping some parts together!! 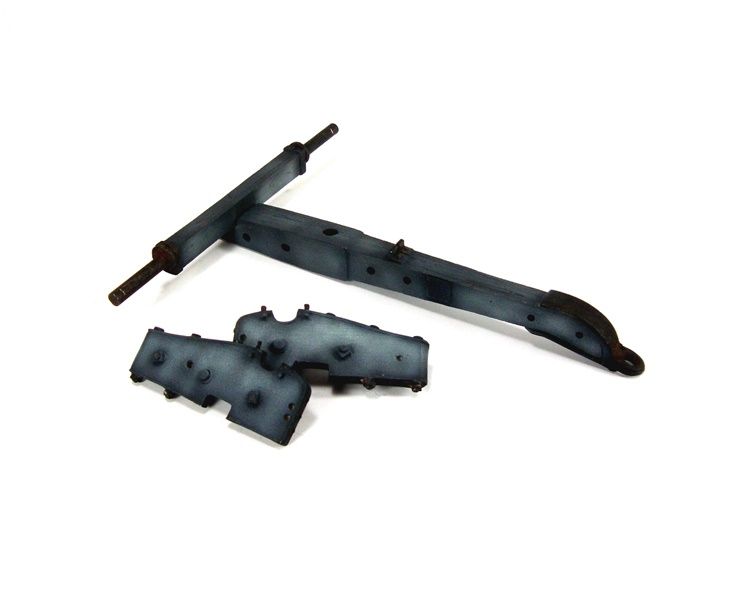 The one sitting on the City Hall steps is a somewhat OD coloring (well, some sort of green) the original wood would have been a derivative of grey. So this is where I am heading!! Thanks for dropping by!!! |
|
|
|
Post by deafpanzer on Nov 4, 2013 21:39:07 GMT -5
Colors look GREAT!!!
|
|
|
|
Post by TRM on Nov 4, 2013 22:42:41 GMT -5
Thanks Andy! I will try and lighten them a little as the washes will darken it. Should be going together maybe as early as tomorrow!!  |
|
|
|
Post by bullardino on Nov 5, 2013 9:43:26 GMT -5
Ohhh, paint  |
|
|
|
Post by TRM on Nov 5, 2013 10:22:29 GMT -5
LOL...yup!! And some glue next!!  |
|
|
|
Post by tigrazor on Nov 5, 2013 10:32:06 GMT -5
Burnishing fluid? Never heard of that... Works only for metal parts, yes?
|
|
|
|
Post by TRM on Nov 5, 2013 12:27:18 GMT -5
Burnishing fluid? Never heard of that... Works only for metal parts, yes? Yes. It is used mostly for metal tracks in the "plastic world" and since a lot of figures, add-ons and other stuff is based in the white metal, it works well for giving a dark base prior to paint. With tracks you are pretty much ready to go after the application...maybe a scuff of the high points to give some shine where and a couple washes and they are perfect. Used on Britannia (white metal), Brass and Copper.  |
|
Deleted
Member since: January 1970
Posts: 0
Nov 27, 2024 23:34:31 GMT -5
Nov 27, 2024 23:34:31 GMT -5
|
Post by Deleted on Nov 5, 2013 14:27:24 GMT -5
Whooooa........ didn't even get to grab a bag of Pop Corn!  Great progress! Great progress!
|
|
Deleted
Member since: January 1970
Posts: 0
Nov 27, 2024 23:34:31 GMT -5
Nov 27, 2024 23:34:31 GMT -5
|
Post by Deleted on Nov 5, 2013 14:39:23 GMT -5
Really nice work old fruit like this a lot as it's so different
|
|
|
|
Post by wbill76 on Nov 5, 2013 21:15:04 GMT -5
Paint! Wooohoooo!  |
|
|
|
Post by TRM on Nov 6, 2013 21:57:48 GMT -5
Back at this one....amongst others, but here we go: I lightened things a little and then began by gluing the Cheeks on. 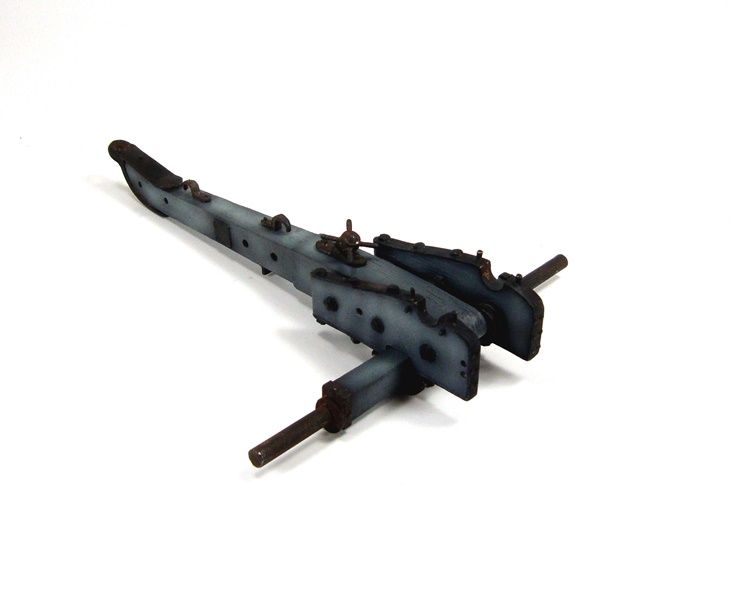 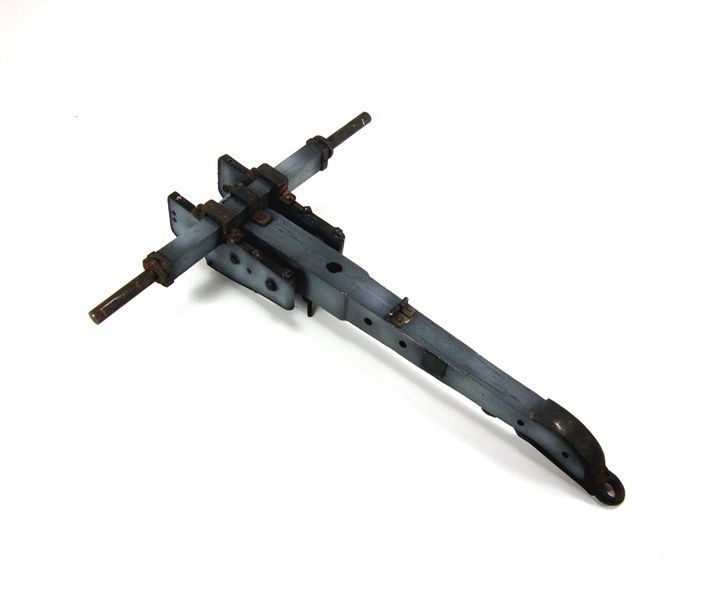 With the blackening done and then the painting, I went for the option of not masking at all. K4 has a product called Paint Of(f) {should be 'Off}. Typically on a painted surface protected by a clear coat or on canopies or windshields the Paint Of(f) will safely remove any over spray. Since the Uschi Burnishing Solution is not a paint and the Paint Of(f) does not effect the finish, I simply applied a small amount to where I wanted to remove the paint and with the same small brush remove the blue/grey from any of the parts that needed to remain black. 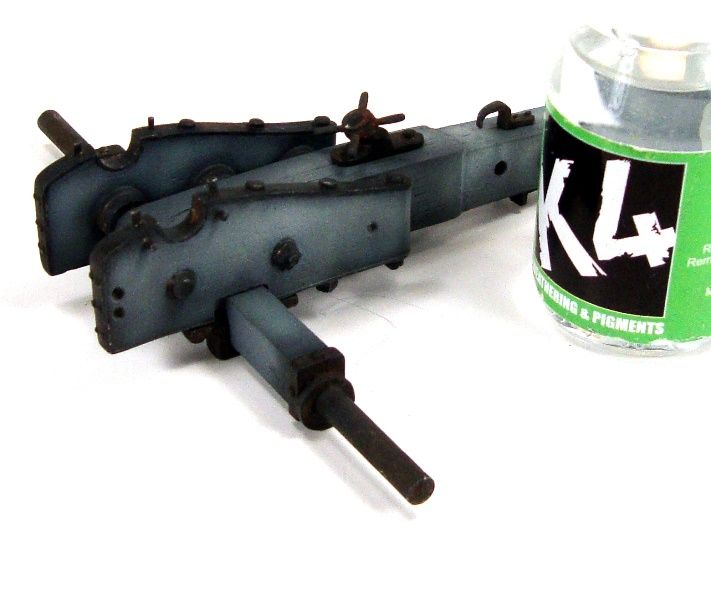 Things are starting to come together! 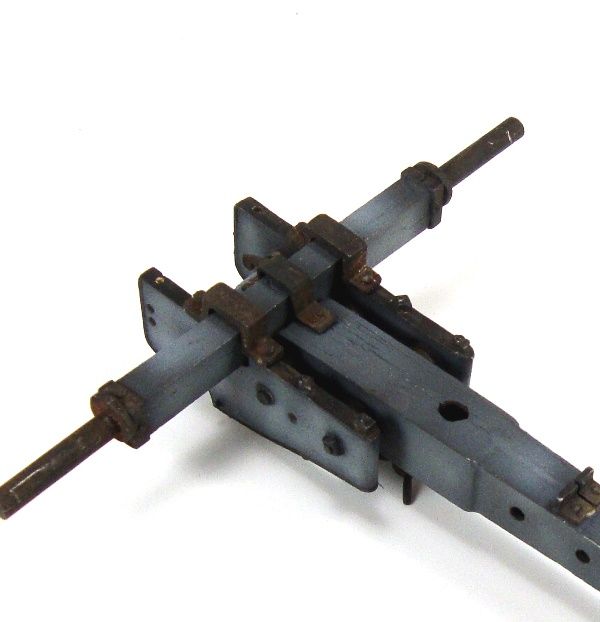 With the wheels constructed and painted, I attached the banding and it was time for a test fit. The axles will need to be sized back to fit the hubs, per the instructions, so this is next on the list! 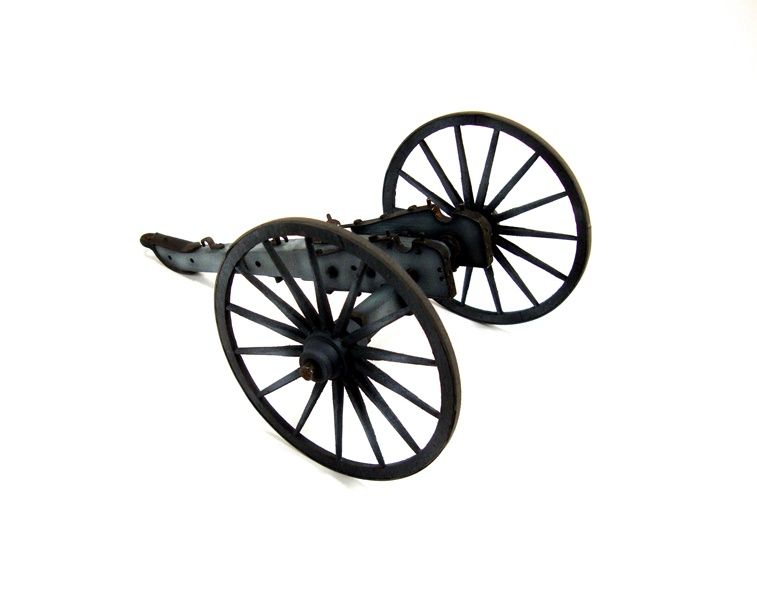 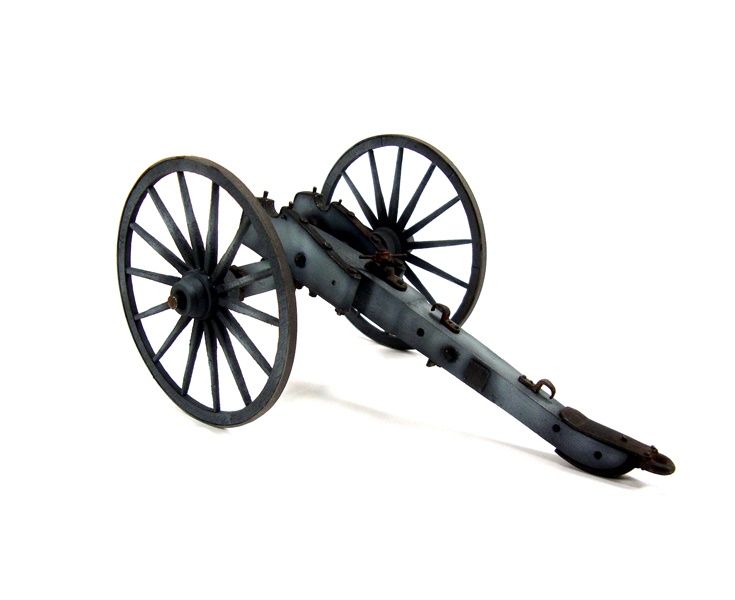 As always...thanks for tuning in!!! |
|
|
|
Post by fightnjoe on Nov 6, 2013 23:34:29 GMT -5
wow t, most impressive. the look is fantastic.
joe
|
|