|
|
Post by wing_nut on Jan 6, 2014 15:42:07 GMT -5
SWEEEEET!
|
|
|
|
Post by wbill76 on Jan 6, 2014 21:43:33 GMT -5
Looking good Rick, nice progress on the little guy.
|
|
Rick
Full Member
  
Member since: March 2013
what to build, what to build . . . Ok THAT one!
Posts: 854 
|
Post by Rick on Jan 15, 2014 21:10:59 GMT -5
Quick update. The paint on the wings was a bit on the thin side and a few places were missed so I re-masked and painted them again and got a more even coat. I'll have to do a wash to fill in panel lines as now the pre-shade doesn't show through. I had some over spray on the upper fuselage so I repainted it as well then added to the splotches and blended a few places to add some depth. 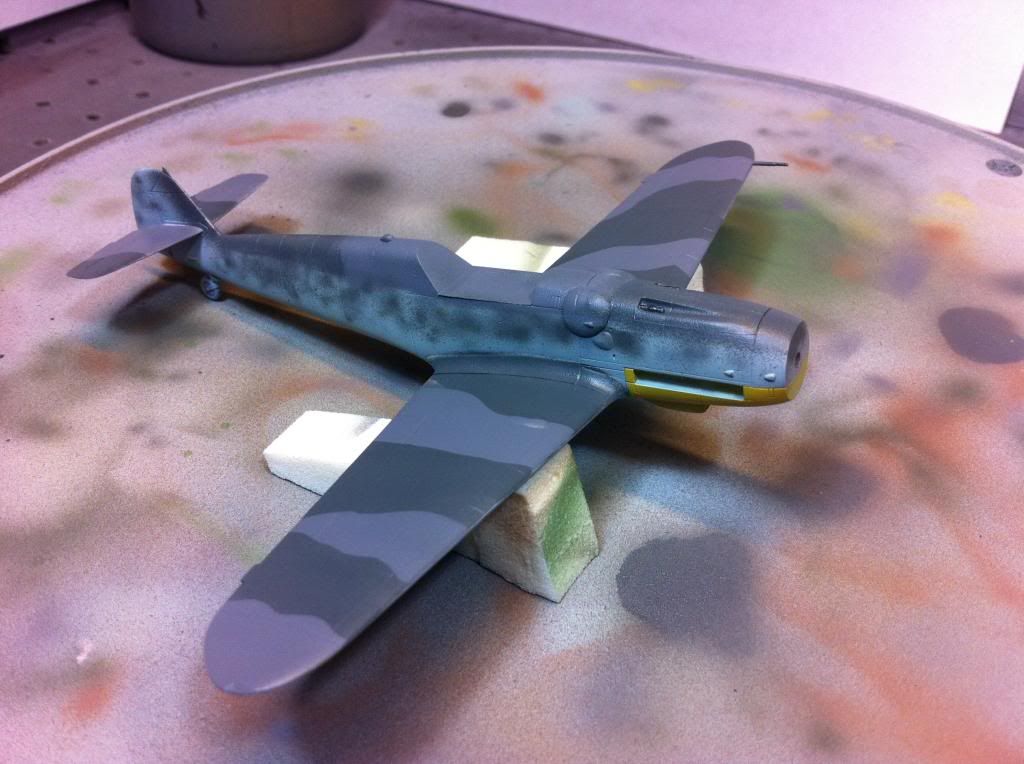 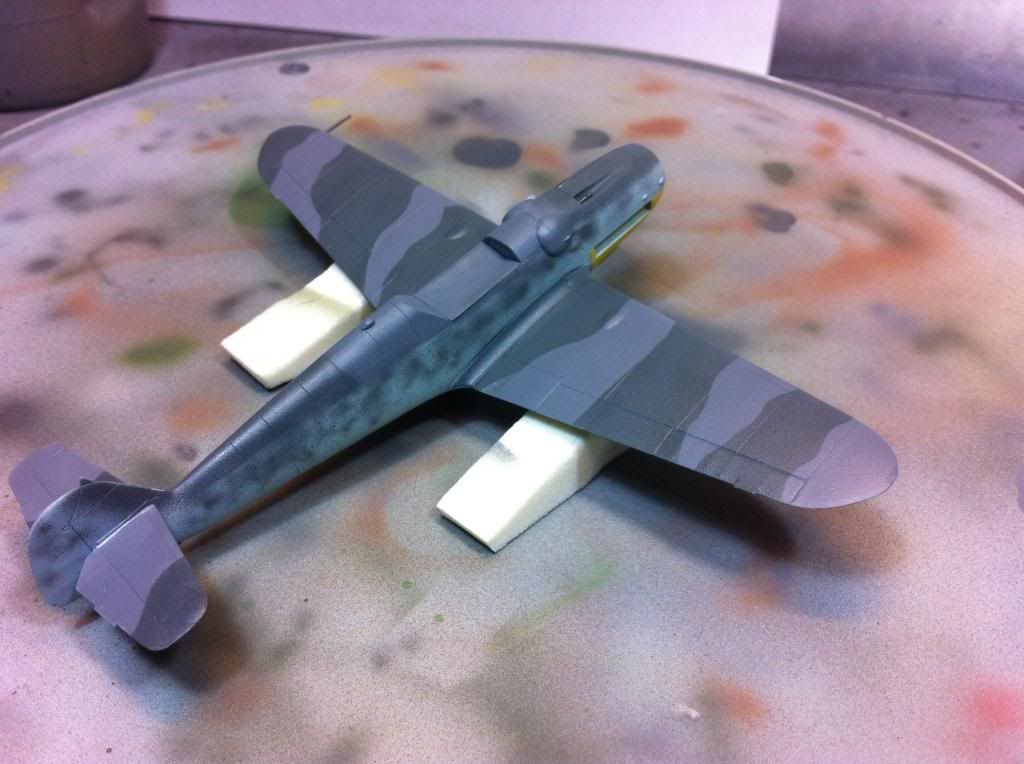 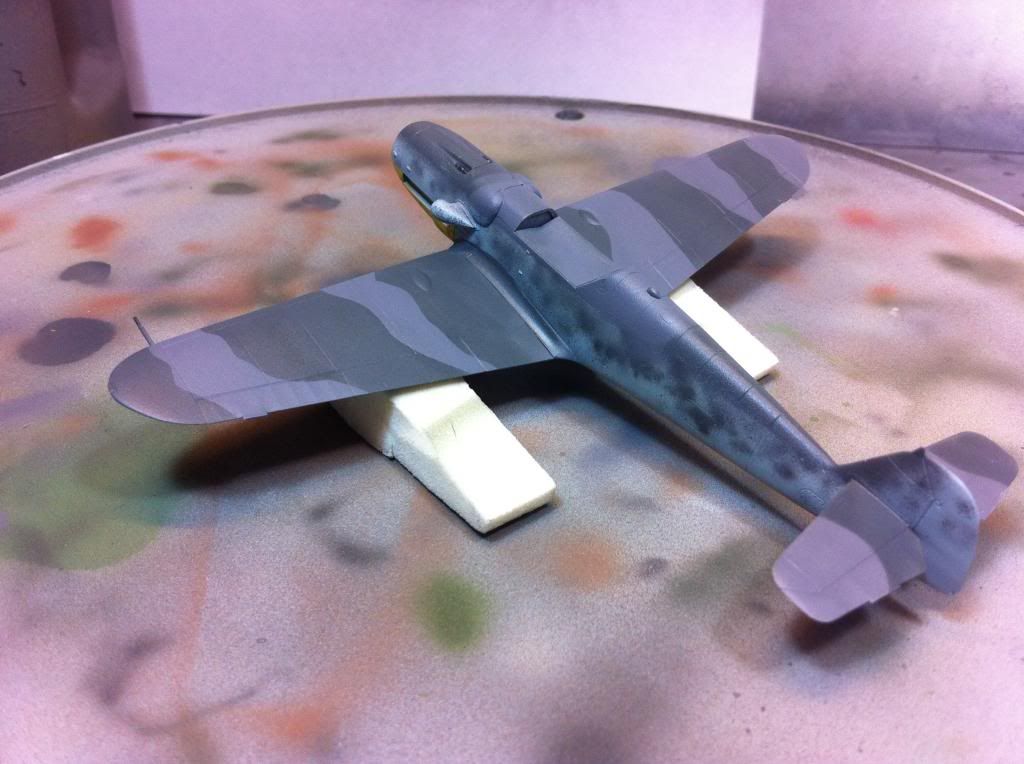 Another plus was the first coats of paint were not thinned enough so it didn't atomize through the AB as well as it should. I thinned these coats much more resulting in a smoother and more even finish. Looking forward to the day that I overcome my self induced paint woes and get it right first time through. Will certainly save some time! Next I masked and applied RLM04 yellow to the underside. The thinned paint let the pre-shade still show through and will be enhanced when I add the washes. I'll re-paint the pitot tube back to light blue. 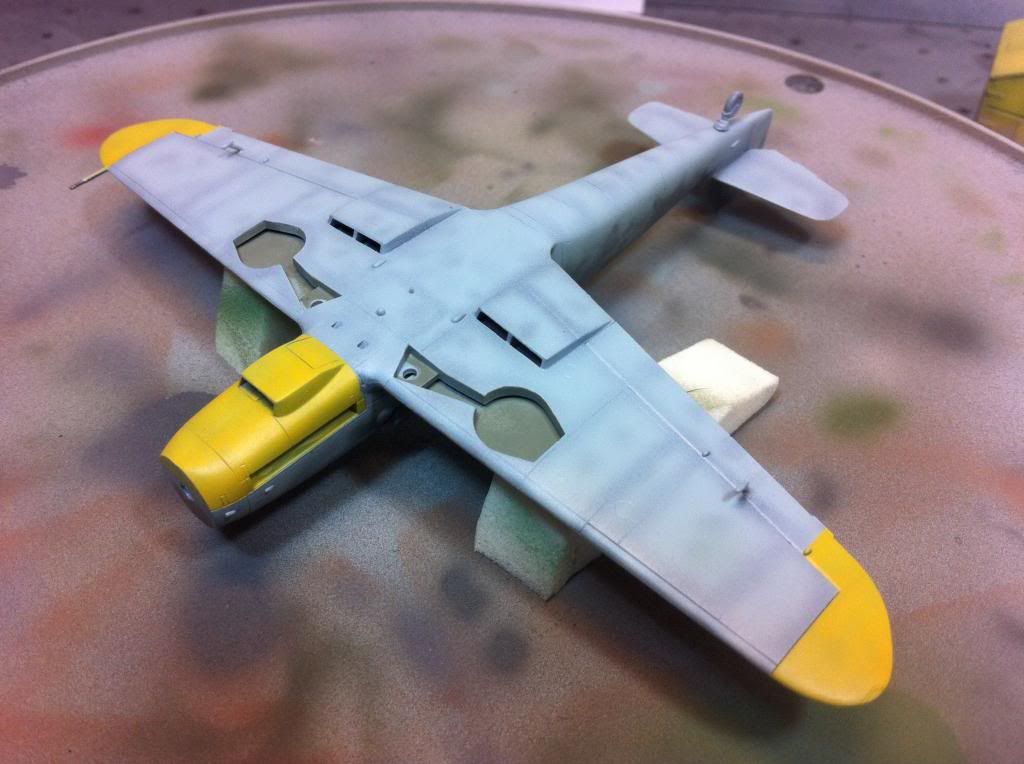 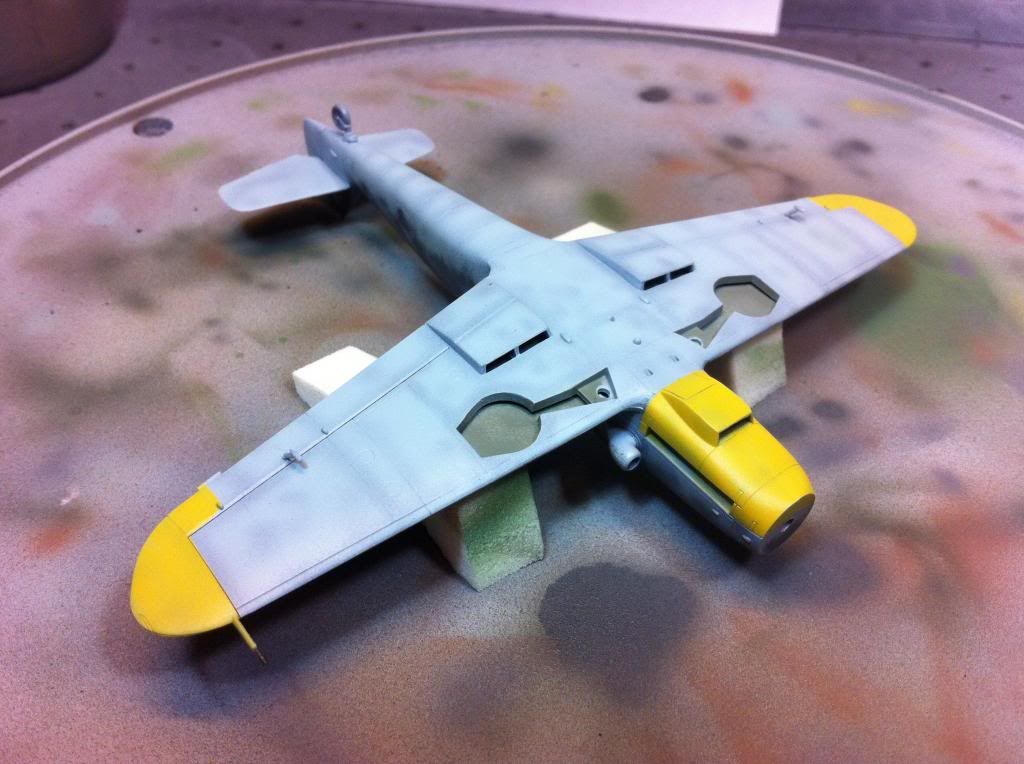 I've decided to paint the fuselage stripe so that will be coming up next followed by a gloss coat and the decals. Thank you for stopping by. Rick |
|
|
|
Post by bullardino on Jan 16, 2014 6:43:31 GMT -5
What a strange camo, I was used to angled lines splinter camo, in this one they're rounded... Great progress, I really like it  |
|
|
|
Post by wing_nut on Jan 16, 2014 8:51:23 GMT -5
Even SWEEEEETER! The preshade on the underside looks great. |
|
Rick
Full Member
  
Member since: March 2013
what to build, what to build . . . Ok THAT one!
Posts: 854 
|
Post by Rick on Jan 16, 2014 12:43:40 GMT -5
Thanks guys. Bull, I prefer the splinter and not a big fan of the non splinter patterns. Research said splinter was early war and gradually changed over. I'm sure others know more the history of it. The mottled look is tough. This is my first attempt and it's been a struggle. Call it a learning in process. Wing, thank you. I'm very happy with the belly. Multiple thin paint coats over the pre shade and gradually built up. Can't wait to get some wash on it. Hoping it blends the mottling even more
|
|
|
|
Post by wbill76 on Jan 16, 2014 21:42:43 GMT -5
Looks good from here Rick, nice job on the mottle pattern.
|
|
|
|
Post by bbd468 on Jan 16, 2014 23:25:44 GMT -5
109's lookin excellent Rick! Love the colors bud.  |
|
|
|
Post by fightnjoe on Jan 23, 2014 16:17:40 GMT -5
rick the pattern looks sharp. much better than what i can do.
joe
|
|
Rick
Full Member
  
Member since: March 2013
what to build, what to build . . . Ok THAT one!
Posts: 854 
|
Post by Rick on Jan 26, 2014 12:15:45 GMT -5
This week, it feels like some progress has been made. Hartmann's 109G6 is standing on it's own legs now. I added a clear coat and worked on the decals. I started with the nose art first as I knew these would make or break the final appearance. The scallops fought me every step of the way as I expected. The irregular surfaces posed the most problem and the decals set up fairly quick so there was not much time for positioning. 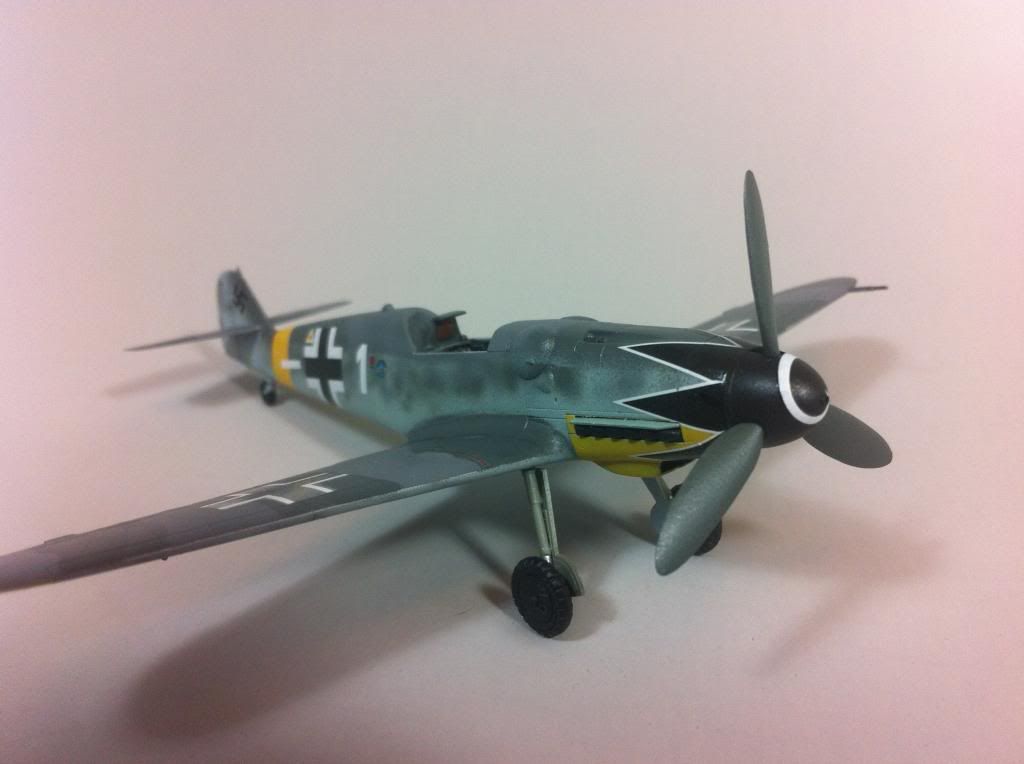 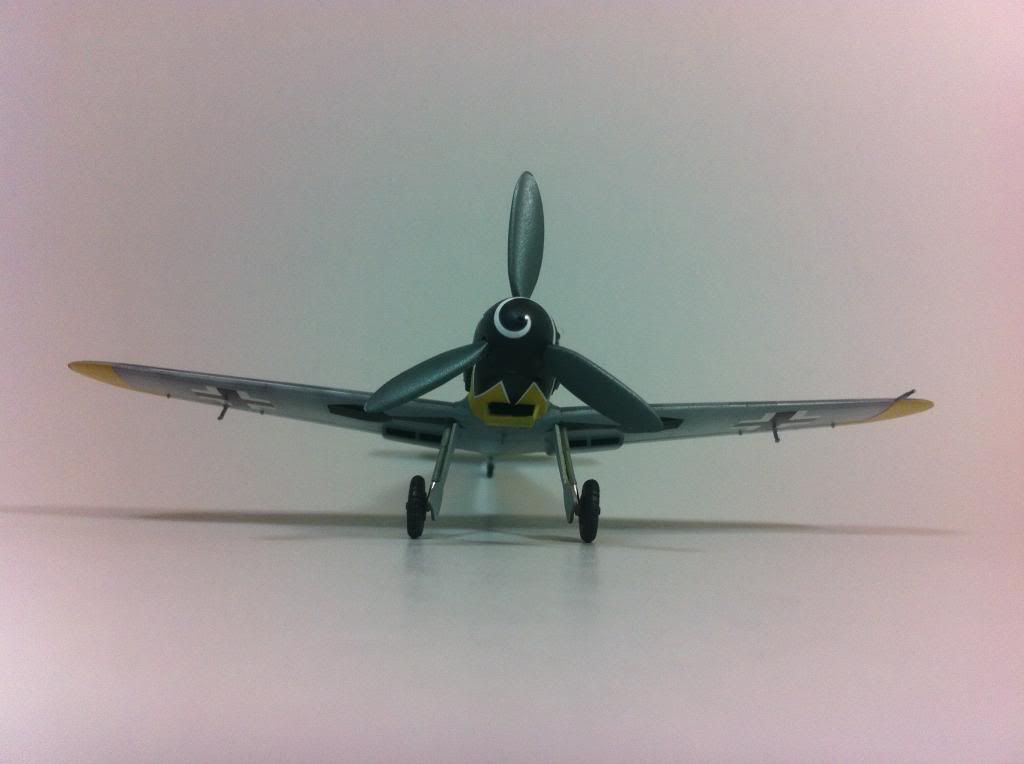 After the nose decals submitted to my will, I moved on to the wings. The wing decals were an easy fit compared to the nose. 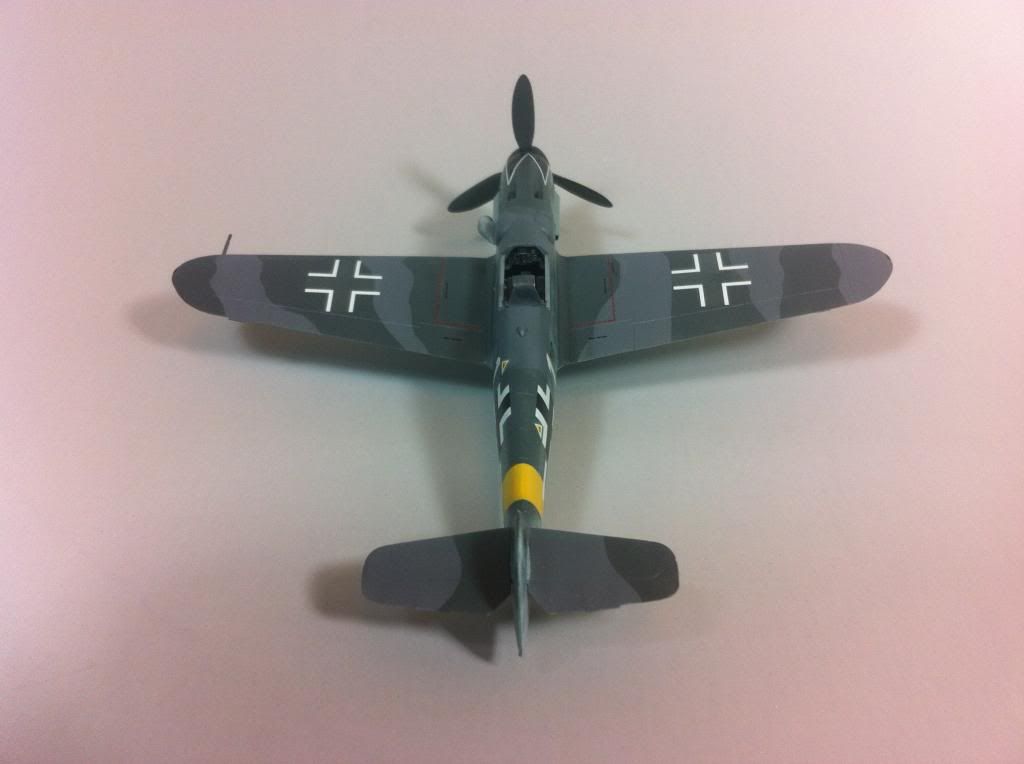 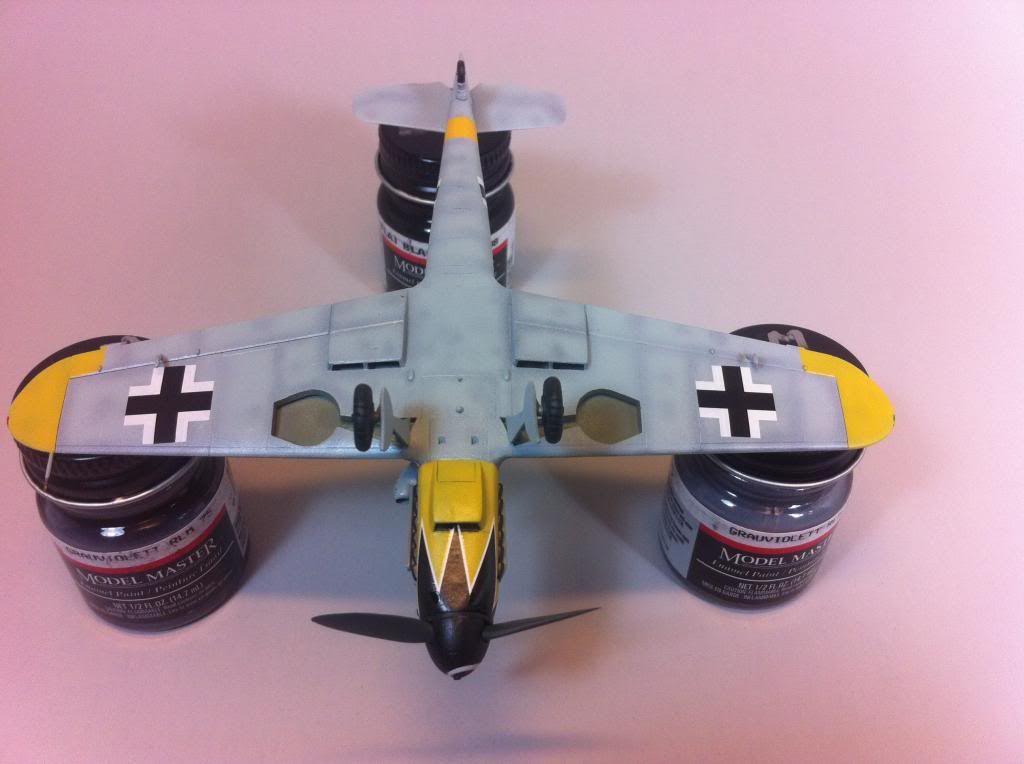 Moving on to the fuselage, these markings went on easily too. 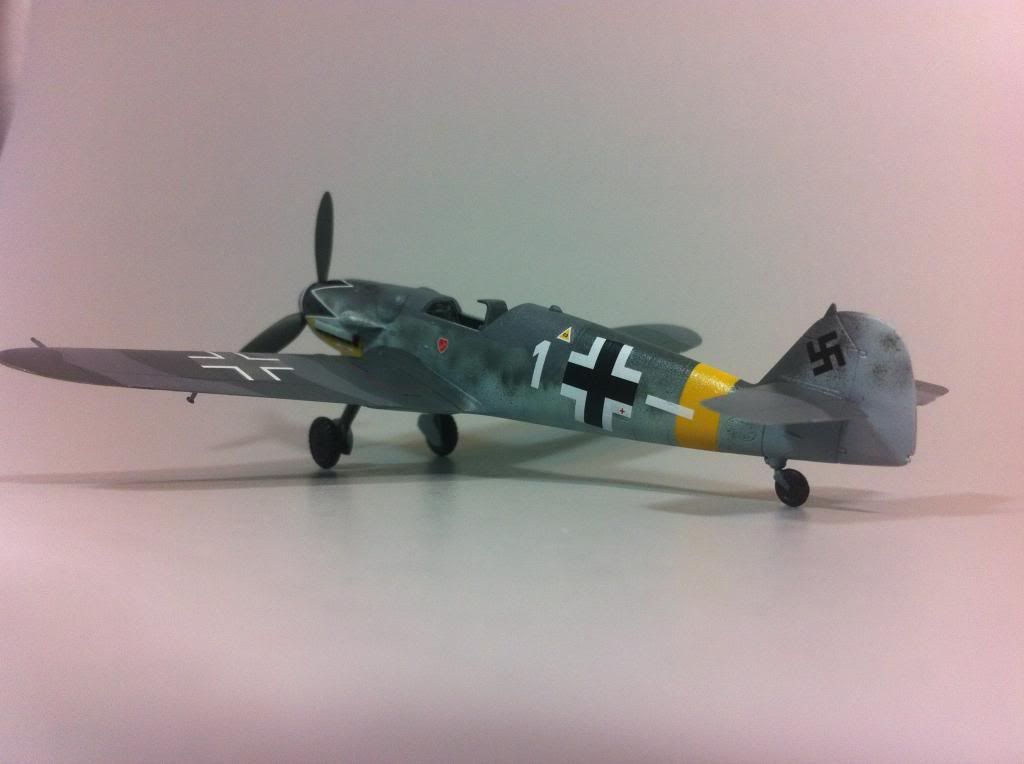 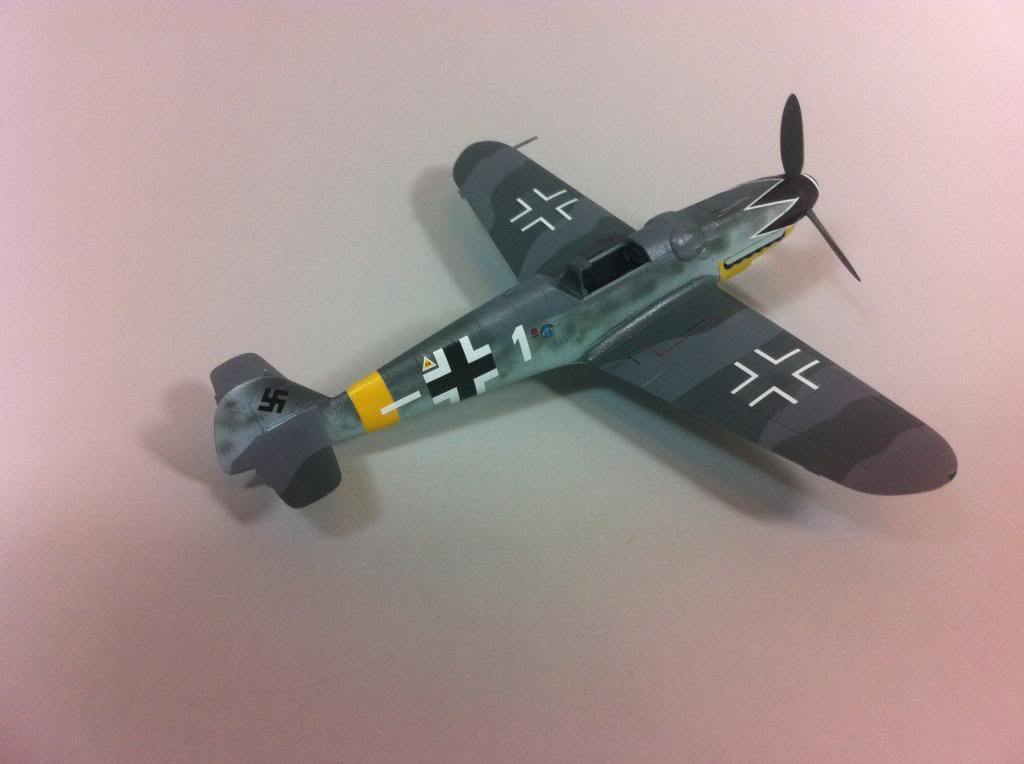 Once the larger markings were in place, I started on the various common markings to all 109's such as fuel type and stencil marks. 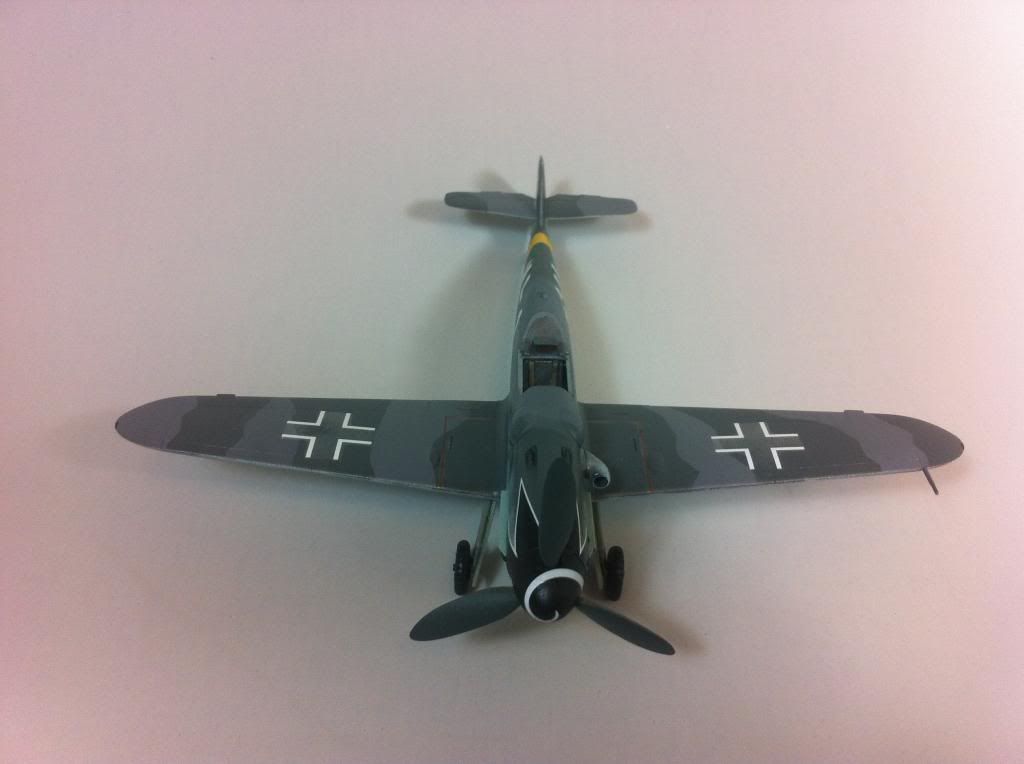 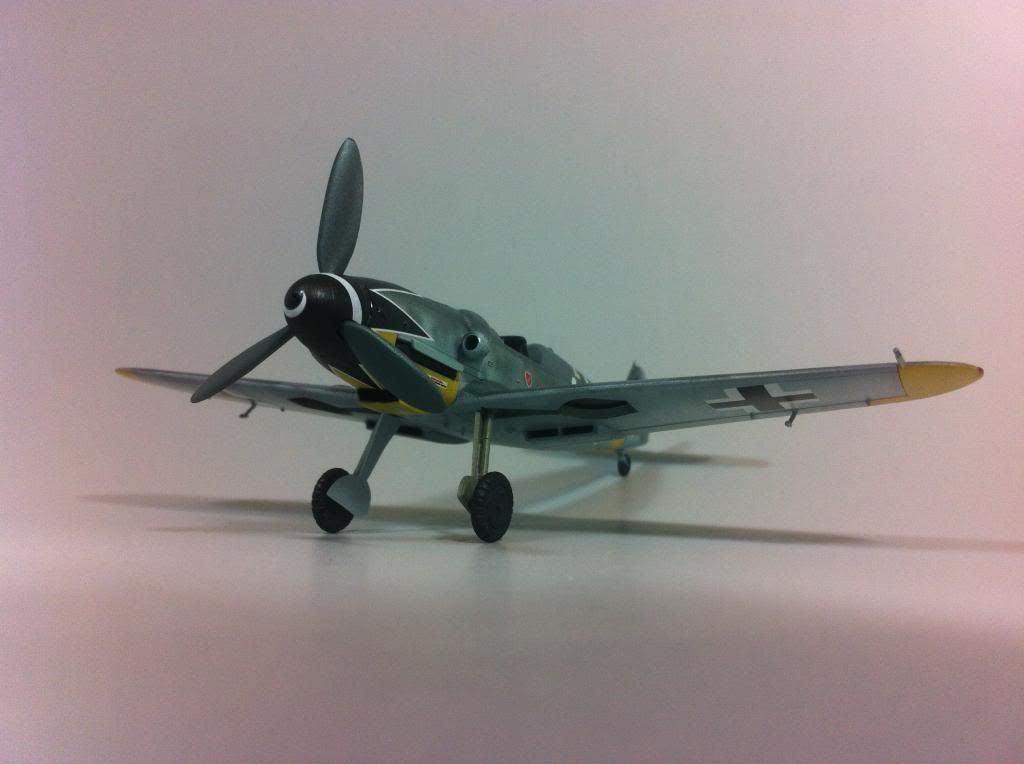 Decals are now done. I used the kit supplied markings. My only complaint with them is the thickness. They did not form with the panel lines as much as I would have like. I used Micro Sol and Micro Set to try to get them to snuggle into the panel lines. Once they got soft, I didn't want to risk tearing them. Next steps will be another clear coat to protect the decals and start the weathering process with oils. Up to this point the only weathering done has been to the cockpit interior. The canopy frame is partially painted and should be done one evening this week. Rick |
|
|
|
Post by bullardino on Jan 26, 2014 15:27:26 GMT -5
Nice progress, Rick  |
|
|
|
Post by wbill76 on Jan 26, 2014 21:57:22 GMT -5
109's looking good with all the markings on Rick. It's something I'm dreading just a bit when I get to them on mine...so many little tiny ones for all the stencils/markings!
|
|
Rick
Full Member
  
Member since: March 2013
what to build, what to build . . . Ok THAT one!
Posts: 854 
|
Post by Rick on Jan 26, 2014 22:43:27 GMT -5
Bill, thank you. The stencils took a long time to put in place. No real problems, just a lot of them! Even though many are to small to be seen in these photos, I think they add a lot to the model. The nose scallops also took forever. If this is the kit you are planning to build, the front edge of the scallops need to extend over the front just a slight bit. Edge to edge, they will not line up perfectly if you try to put the front edge on the front edge of the fuselage. They are just a bit to wide. I have a bit of overlap on the one at the bottom and had to touch up the black to keep the white borders continuous. Start with the two on the top and work your way around to the bottom. Any overlap will be less visible there. I've got a 1/48 kit and set of markings too. One day, I'll have to give it a go too.
|
|
|
|
Post by wbill76 on Jan 27, 2014 21:19:47 GMT -5
Thanks for the added info Rick but no plans for another wingy beyond the current Trop project I'm working on to fulfill my debt to CB...then it's back to armor building for sure!  |
|
|
|
Post by fightnjoe on Jan 28, 2014 19:03:49 GMT -5
rick it looks pretty sharp from here.
joe
|
|
Rick
Full Member
  
Member since: March 2013
what to build, what to build . . . Ok THAT one!
Posts: 854 
|
Post by Rick on Feb 17, 2014 0:36:10 GMT -5
Calling this one done! A quick recap: This is Hasegawa's 1/72 scale combo kit of Erich Hartmann's Bf109 G-6. The markings were present on his aircraft in the fall of 1944. Hartmann flew with JG52 on the eastern front and in the Balkans. Hartmann ran up a score of 352 kills flying against the Russians making him the leading scoring ace of all time. Finished up the weathering this week and attached the EZ line antenna today. 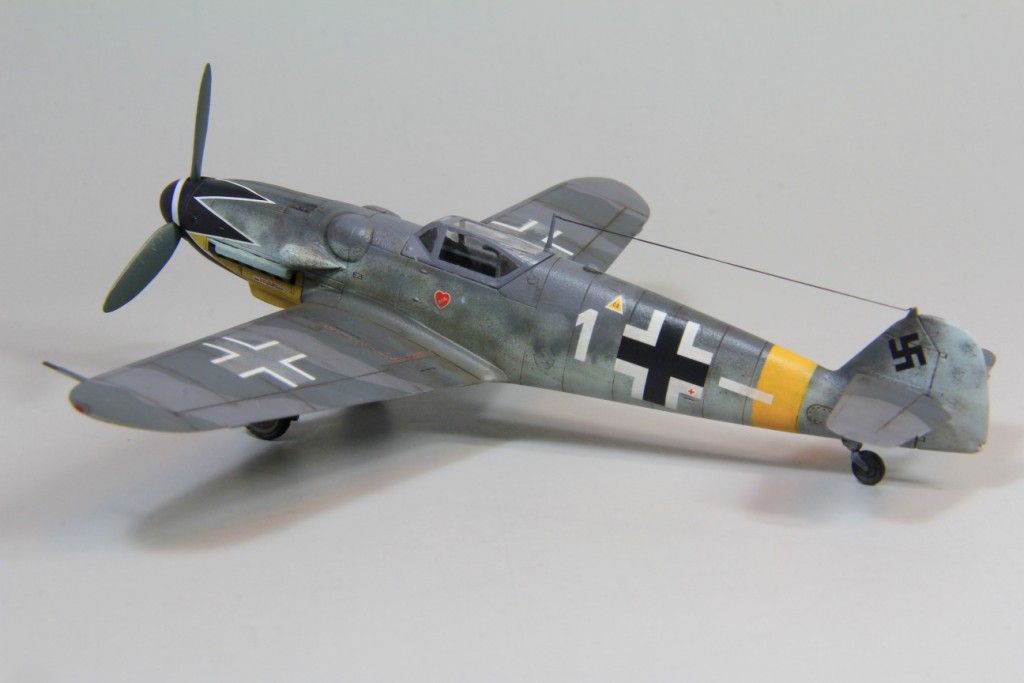 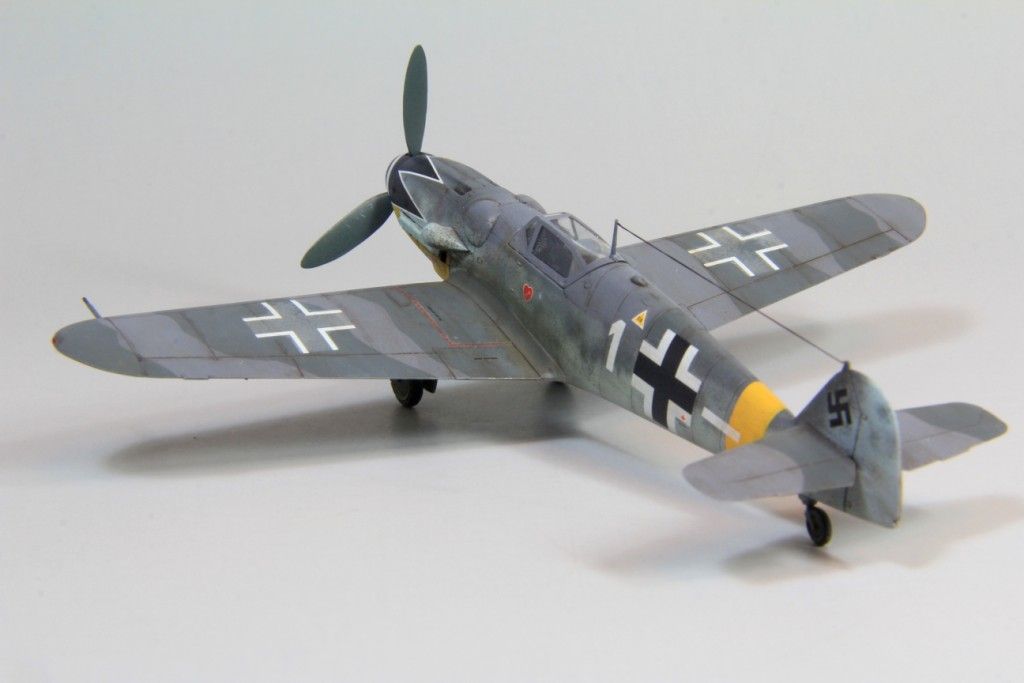 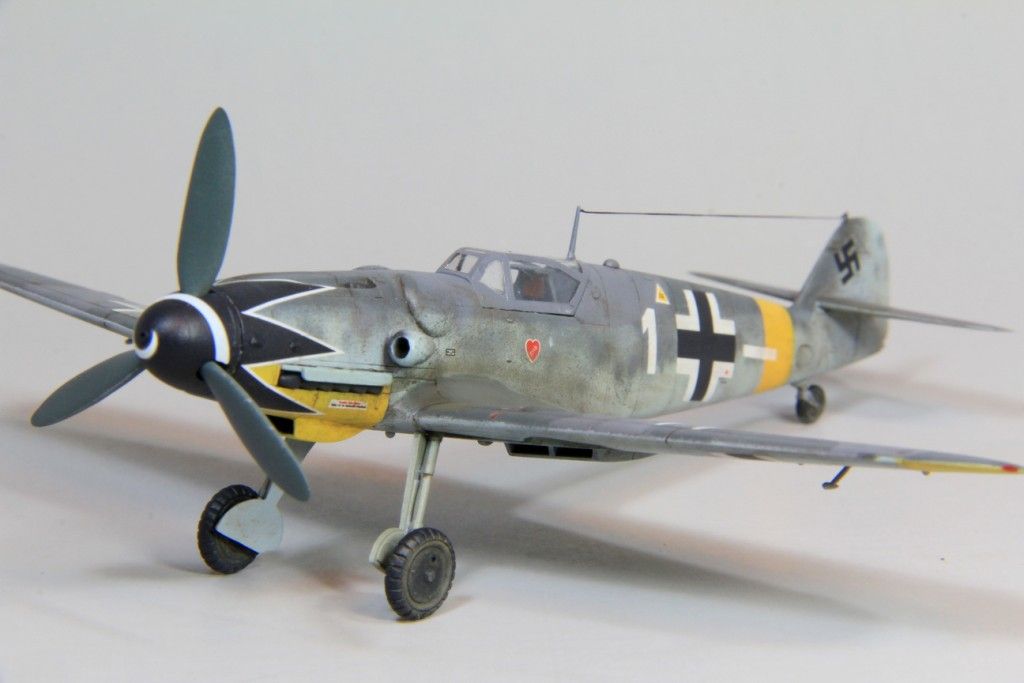 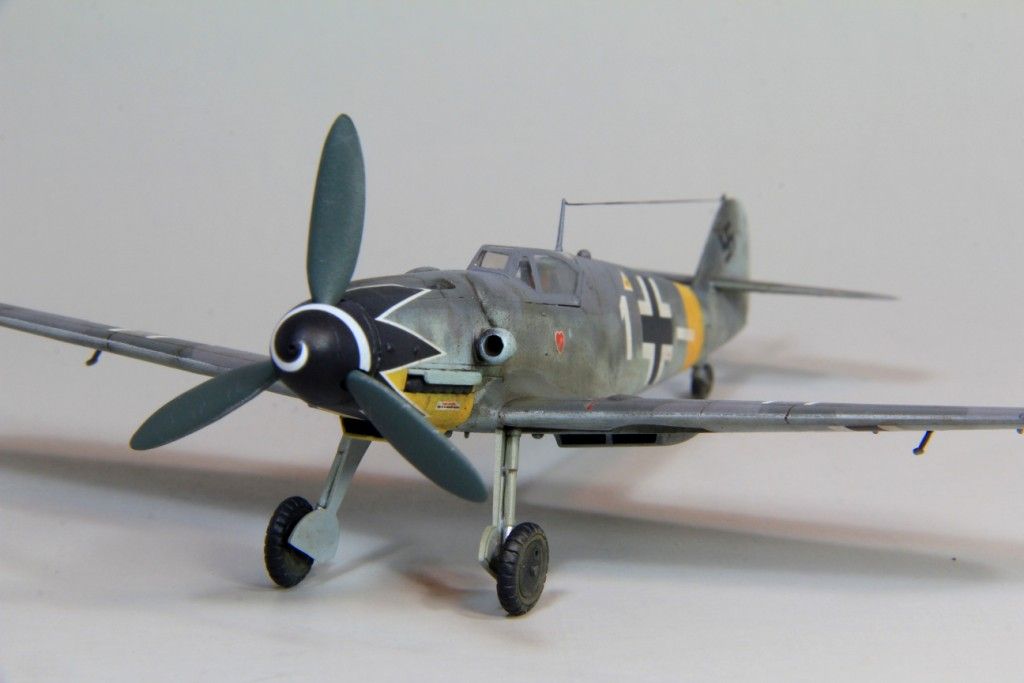 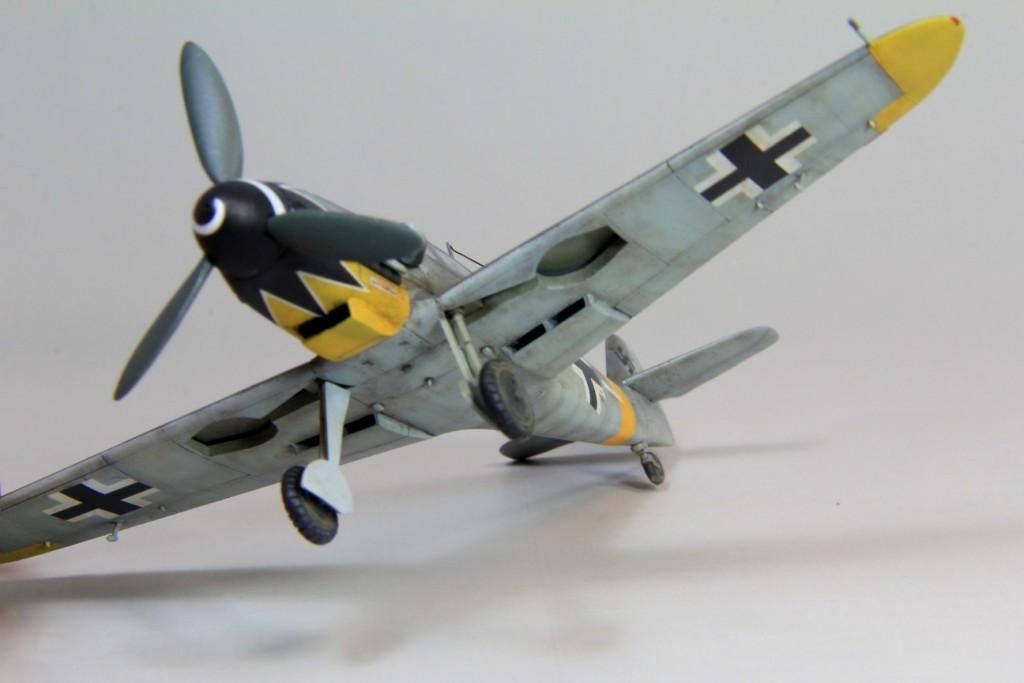 Weathering was done with artists oils in a pin wash and dot wash method. Tamiya oil stain weathering powder was used for the exhaust. Model Master enamels were used throughout. Thanks to all whose comments and input on painting the dappled camo. Your help was invaluable and much appreciated. Rick |
|
|
|
Post by dupes on Feb 17, 2014 1:02:38 GMT -5
Nice job on this one! You don't realize how small the 109 was until you build one in 72nd.  |
|
|
|
Post by wing_nut on Feb 17, 2014 8:55:00 GMT -5
A beauty crosses the finish line.
|
|
|
|
Post by Tojo72 on Feb 17, 2014 9:00:14 GMT -5
Really nice job with his distinctive markings
|
|
|
|
Post by wbill76 on Feb 17, 2014 21:41:23 GMT -5
Nice one Rick! Got to love the weathering and markings on this little 109.
|
|
sabre
Full Member
  
Member since: September 2013
Posts: 414 
|
Post by sabre on Feb 17, 2014 22:54:27 GMT -5
Have to agree with Dupes on this one Rick, you've done an outstanding job on this 1/72 Scale BF 109 G6, even Erich Hartman would be proud. Nice work mate.
|
|
|
|
Post by bullardino on Feb 18, 2014 15:33:30 GMT -5
Truly nice example of mottled camo  |
|
Rick
Full Member
  
Member since: March 2013
what to build, what to build . . . Ok THAT one!
Posts: 854 
|
Post by Rick on Feb 22, 2014 23:30:31 GMT -5
Thank you for the kind words guys. I appreciate you stopping by for a final looksee.
Rick
|
|
|
|
Post by deafpanzer on Feb 23, 2014 1:27:56 GMT -5
Really like the nose very much... beautiful 109 you have built! Everybody is doing 109... tempting!
|
|
modelfreak72
Full Member
  
Member since: January 2012
Why worry, each of us is wearing an unlicensed nuclear accelerator on his back.
Posts: 1,479
Jan 28, 2012 23:21:46 GMT -5
Jan 28, 2012 23:21:46 GMT -5
|
Post by modelfreak72 on Feb 23, 2014 12:15:00 GMT -5
Very nice finish Rick!
|
|
|
|
Post by bbd468 on Feb 23, 2014 12:45:03 GMT -5
Damn fine 109 Rick! Well done.  |
|
danb.
Reviews member     March 2013 MoM Winner
Member since: November 2011
Posts: 2,808
Nov 17, 2011 9:22:52 GMT -5
Nov 17, 2011 9:22:52 GMT -5
|
Post by danb. on Feb 23, 2014 12:48:17 GMT -5
I have not been flying around the wingy section for a while  im glad i stopped by to see this stunner great job buddy  Dan B |
|
|
|
Post by Mence on Feb 23, 2014 12:49:39 GMT -5
Really nice result, well done!
|
|
|
|
Post by mustang1989 on Jul 21, 2014 8:18:25 GMT -5
Lookin' good from here!
|
|