
Post by redleg12 on Jan 4, 2014 19:30:41 GMT -5
Fire Mission
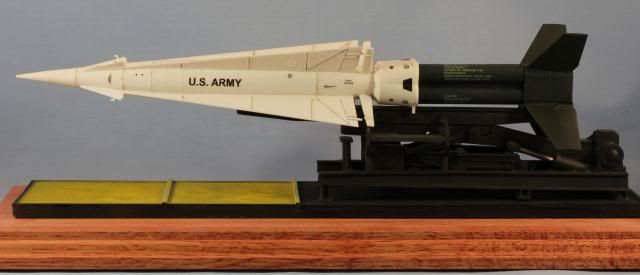
1/40 MIM14 Nike Hercules on launcher
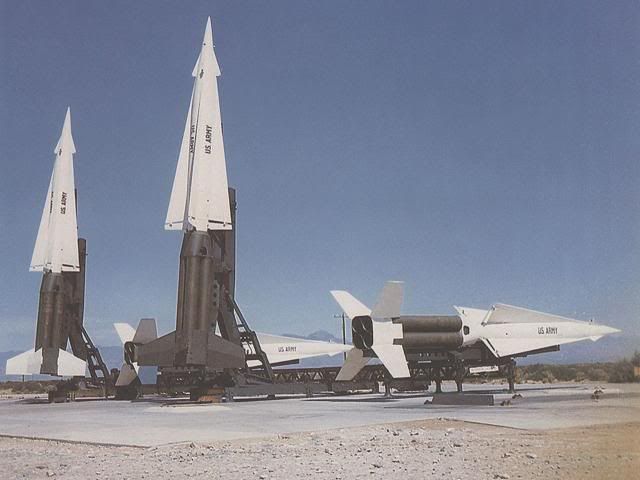
Introduction
The Nike Hercules, was a solid fuel propelled two-stage surface-to-air missile, used by U.S. and NATO armed forces for medium and high-altitude long-range air defense. It was normally armed with the W31 nuclear warhead, but could also be fitted with a conventional warhead for export use. Its warhead also allowed it to be use in a surface-to-surface role, and the system also demonstrated its ability to hit other short-range missiles in flight. Hercules was replaced in the long-range anti-aircraft role by the higher performance and considerably more mobile MIM-104 Patriot.
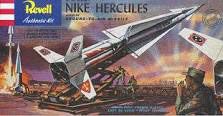
The Kit
I will be using the classic Revell 1/40 scale Nike Hercules kit. First issued in the late 1950s the kit has seen a number of re-issues. The kit is typical of that era with 3 small sprues and a minimum number of parts. The seams will need a bunch of work, some parts have cast in part numbers, which will have to be removed, but it will be a fun holiday build.
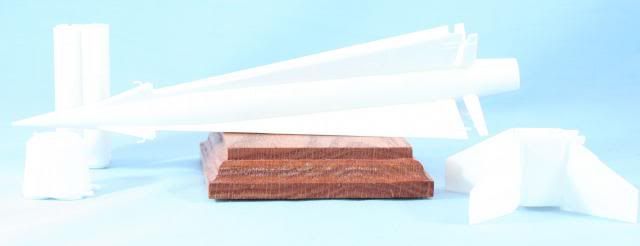
The Build
This was a simple build from the standpoint of parts. The missile is assembled with about 12 parts. Unfortunately most of the seams fit poorly and require putty and sanding in multiple applications. Excuse the pictures as the kit is molded in white plastic.
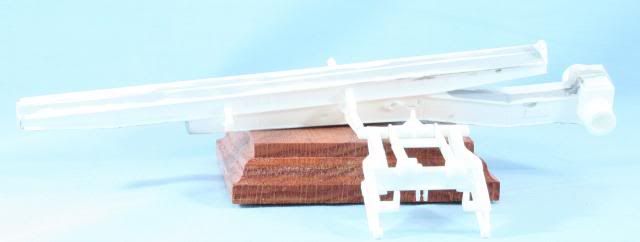
The launcher is assembled from about 20 parts. Here is the main frame assembled
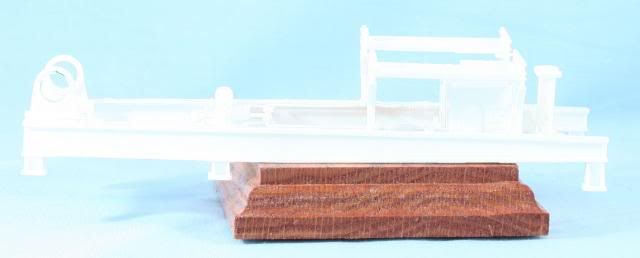
This is the main launch rail and lifting frames. The launch rail was a mess and requires a ton of putty and sanding work.
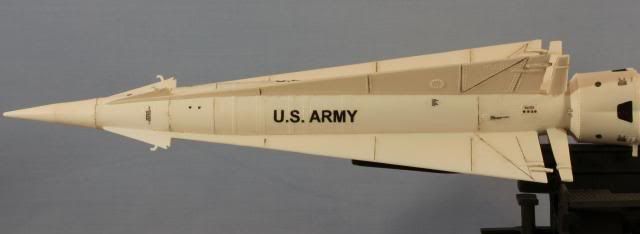
After putty the seams on the fins nose and lower cowl, I painted the first stage with Tamiya Flat White. Then I coated the first stage with Future to prepare for decals.
The decals that come with the kit are poor scale quality. After researching the markings made my own set of decals. All of the hatch cover stencils are essentially a font 1.
The first stage is totally out of scale. It has raised bands and a raised center cover neither of which really exist.
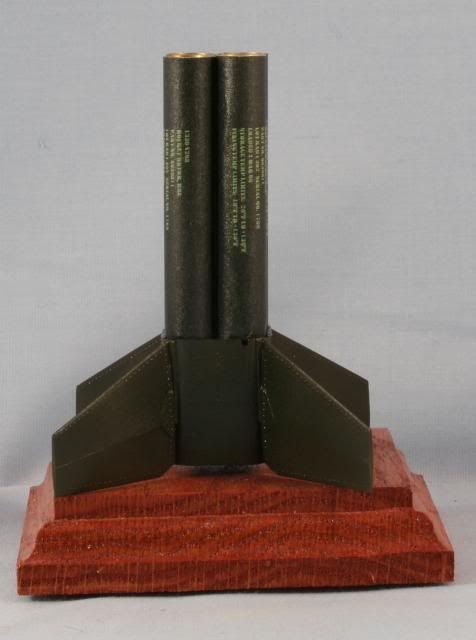
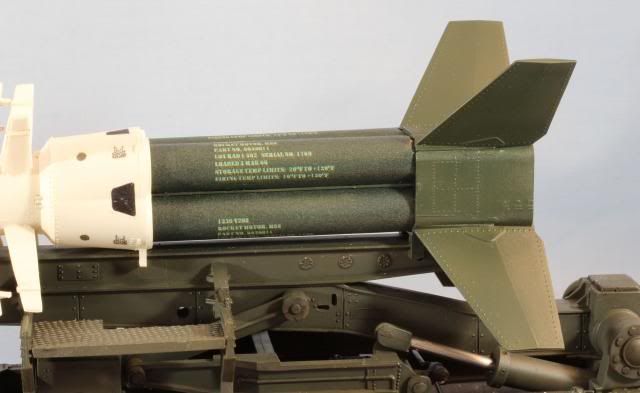
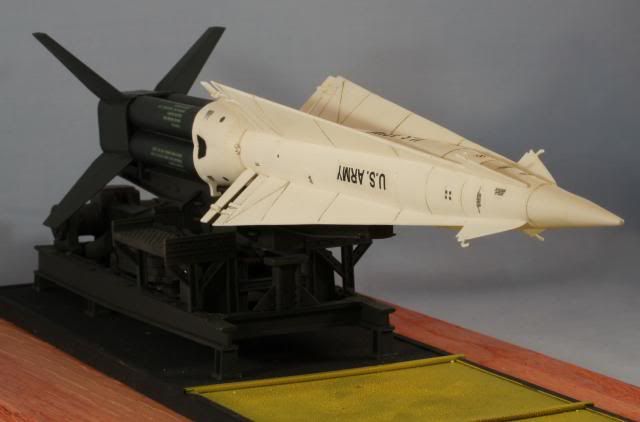
To replace the kit parts, I used 7/16 tubes to create the four first stage motors. I made a custom covering for each with the proper stencil marking for the rocket motors and background color. The four motor mounts are .020 styrene strip used between each motor. The strips and the lower fin section were painted with Tamiya JA Green. Here is the assembled first stage, coated with Future gloss to seal the markings.
After mounting the complete missile on the launch rail, assembling the launcher, I mounted the completed kit on a platform.
The launcher is painted with Tamiya JA OD Green and then coated with a semi-gloss clear coat. The elevating pistons are painted with Alclad Dark Aluminum.
The platform is “semi-scale” to the silo platform that would rise from underground. The platform is 3/16 inch pine cut to size, coated with Rust-o-leum Terra Cotta paint to create a “anti-slip” surface. The edges are trimmed with .020 styrene strip. I then painted the platform with Tamiya NATO Black and the front half with Tamiya Gloss Yellow
Here is the second stage after decals, panel lines, and a final coat of semi-gloss clear.
Here is the first stage and adapter on the launcher, also coated with semi-gloss clear.
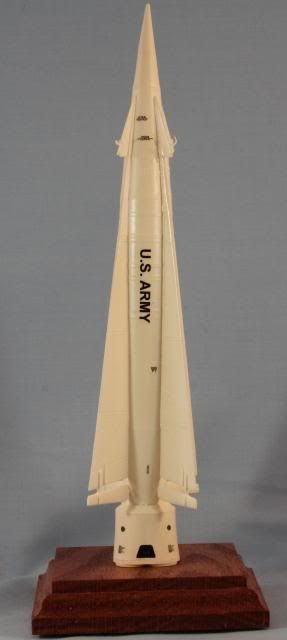
Here is a head on view of the finished build
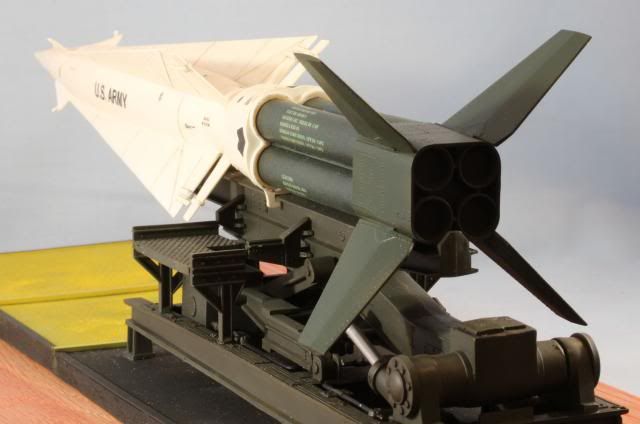
This is a view from the rear. The rocket motor nozzles are painted with Tamiya NATO Black.
That’s my quick holiday build. Though not full of details, but it is a good representation of this historical classic.
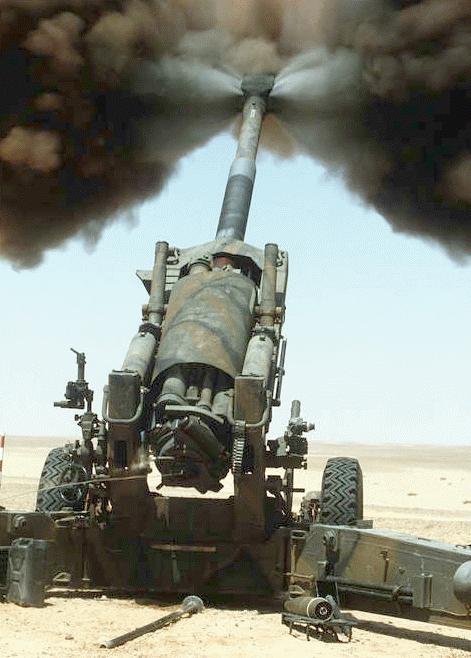
Next build is the M110A2 in Operation Desert Storm
As always if you have any comments, please feel free to drop in.
Rounds Complete!!
EOM!!
1/40 MIM14 Nike Hercules on launcher
Introduction
The Nike Hercules, was a solid fuel propelled two-stage surface-to-air missile, used by U.S. and NATO armed forces for medium and high-altitude long-range air defense. It was normally armed with the W31 nuclear warhead, but could also be fitted with a conventional warhead for export use. Its warhead also allowed it to be use in a surface-to-surface role, and the system also demonstrated its ability to hit other short-range missiles in flight. Hercules was replaced in the long-range anti-aircraft role by the higher performance and considerably more mobile MIM-104 Patriot.

The Kit
I will be using the classic Revell 1/40 scale Nike Hercules kit. First issued in the late 1950s the kit has seen a number of re-issues. The kit is typical of that era with 3 small sprues and a minimum number of parts. The seams will need a bunch of work, some parts have cast in part numbers, which will have to be removed, but it will be a fun holiday build.

The Build
This was a simple build from the standpoint of parts. The missile is assembled with about 12 parts. Unfortunately most of the seams fit poorly and require putty and sanding in multiple applications. Excuse the pictures as the kit is molded in white plastic.

The launcher is assembled from about 20 parts. Here is the main frame assembled

This is the main launch rail and lifting frames. The launch rail was a mess and requires a ton of putty and sanding work.

After putty the seams on the fins nose and lower cowl, I painted the first stage with Tamiya Flat White. Then I coated the first stage with Future to prepare for decals.
The decals that come with the kit are poor scale quality. After researching the markings made my own set of decals. All of the hatch cover stencils are essentially a font 1.

The first stage is totally out of scale. It has raised bands and a raised center cover neither of which really exist.
To replace the kit parts, I used 7/16 tubes to create the four first stage motors. I made a custom covering for each with the proper stencil marking for the rocket motors and background color. The four motor mounts are .020 styrene strip used between each motor. The strips and the lower fin section were painted with Tamiya JA Green. Here is the assembled first stage, coated with Future gloss to seal the markings.

After mounting the complete missile on the launch rail, assembling the launcher, I mounted the completed kit on a platform.
The launcher is painted with Tamiya JA OD Green and then coated with a semi-gloss clear coat. The elevating pistons are painted with Alclad Dark Aluminum.
The platform is “semi-scale” to the silo platform that would rise from underground. The platform is 3/16 inch pine cut to size, coated with Rust-o-leum Terra Cotta paint to create a “anti-slip” surface. The edges are trimmed with .020 styrene strip. I then painted the platform with Tamiya NATO Black and the front half with Tamiya Gloss Yellow

Here is the second stage after decals, panel lines, and a final coat of semi-gloss clear.

Here is the first stage and adapter on the launcher, also coated with semi-gloss clear.

Here is a head on view of the finished build

This is a view from the rear. The rocket motor nozzles are painted with Tamiya NATO Black.

That’s my quick holiday build. Though not full of details, but it is a good representation of this historical classic.
Next build is the M110A2 in Operation Desert Storm
As always if you have any comments, please feel free to drop in.
Rounds Complete!!
EOM!!


 Just goes to show what can be done with an old kit and more than a pinch of skill