Rick
Full Member
  
Member since: March 2013
what to build, what to build . . . Ok THAT one!
Posts: 854 
|
Post by Rick on Jul 18, 2014 5:52:18 GMT -5
Brought this over from MHI so I could continue the GB progress. Thanks to those that looked in over on MHI - Rick A bit late to the party so I'll try to catch up with a pair of F7F-3 Tigercats by Monogram. Kinda like my own group build within the group build! Plucked them both off eBay packed (loosely)in the same box for just $10. Kits are an oldie dated 1964 so I'm expecting a bit of update work will be necessary. 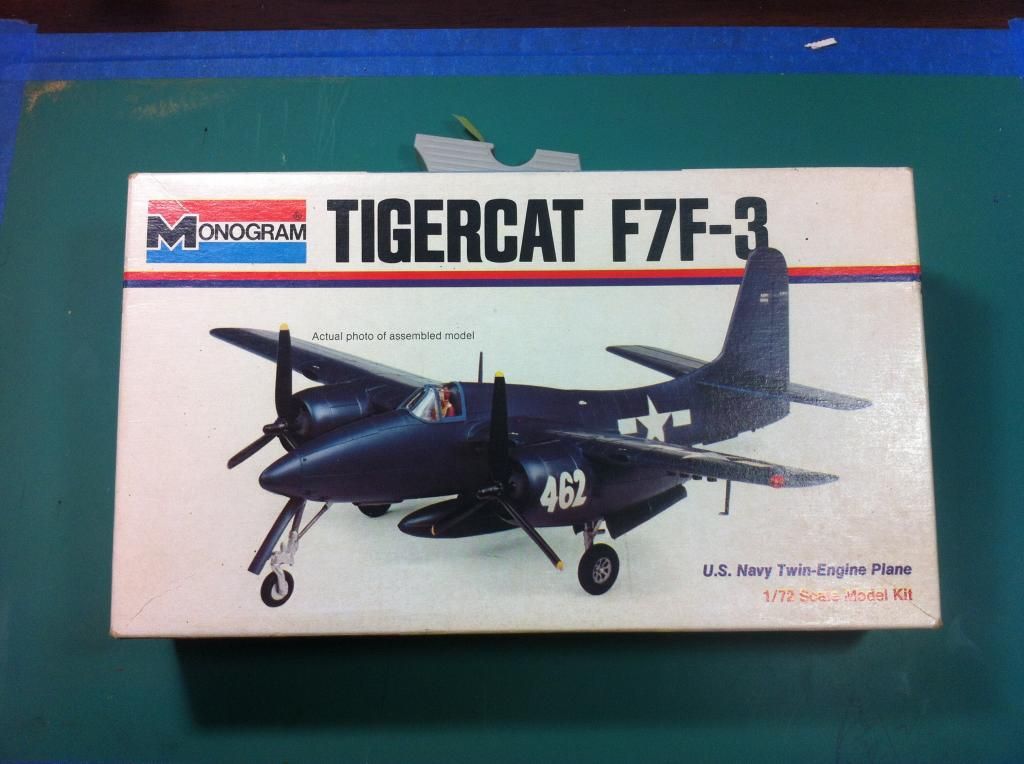 As you can see, not a lot of parts to this one. Not even a cockpit, just a pilot blob hanging on hook in the middle of his back. Gonna have to give a little scratchin' to this little issue. 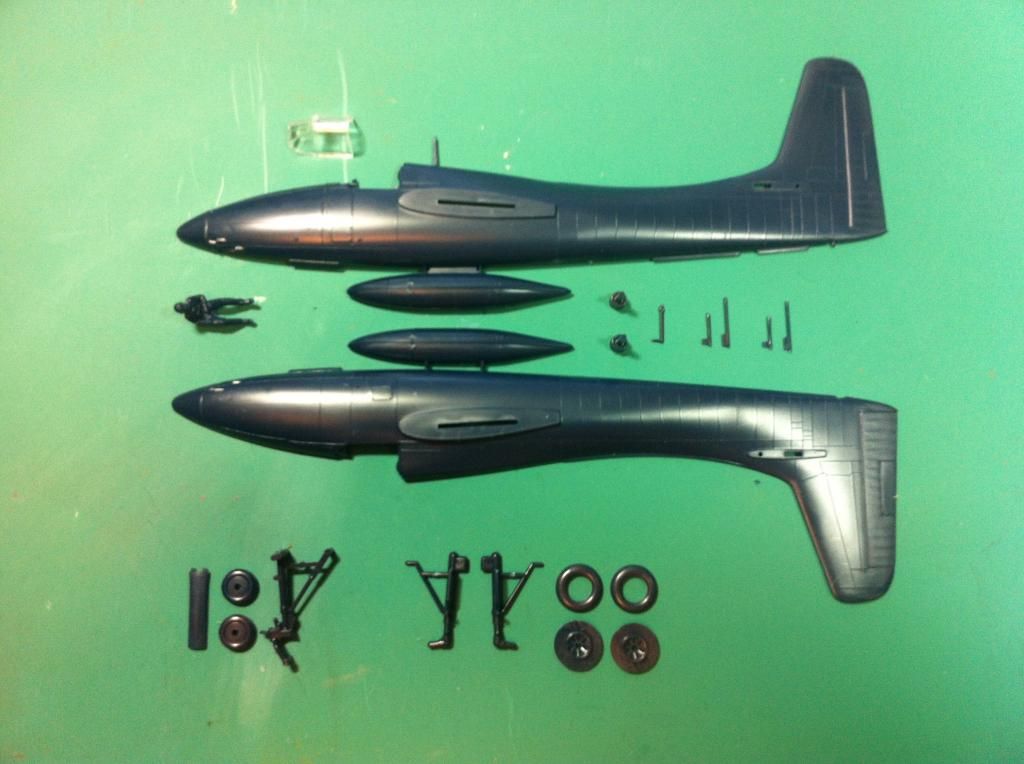 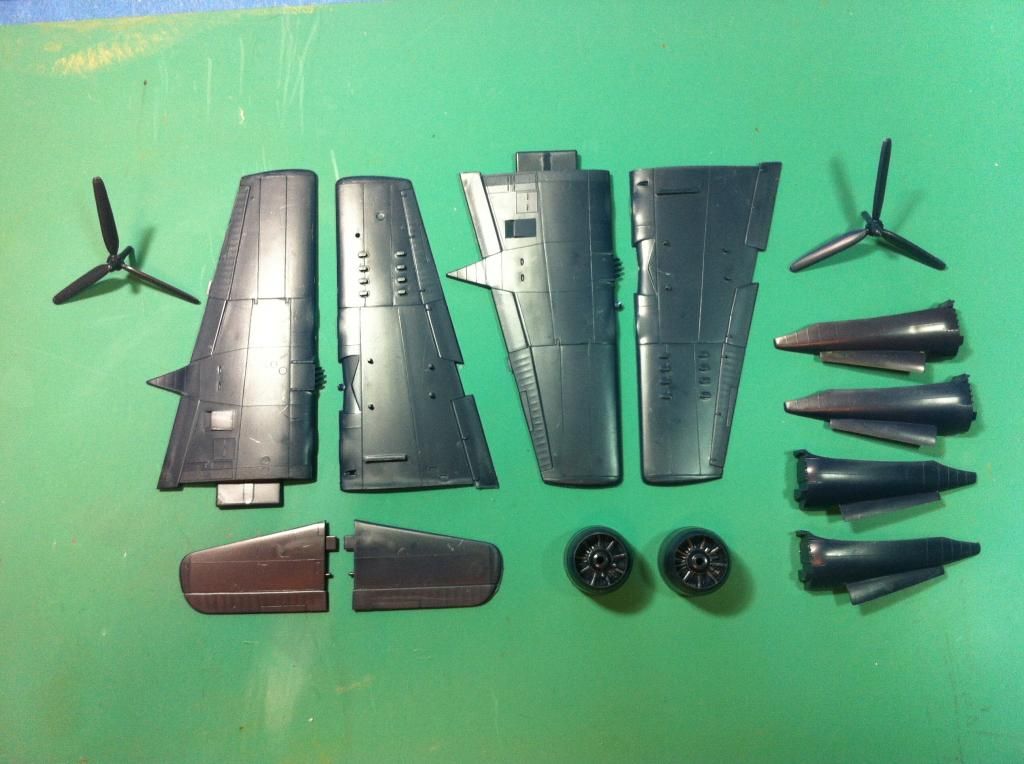 And for the second kitty, it's all in the catbox along with the fabulously detailed one page instructions. 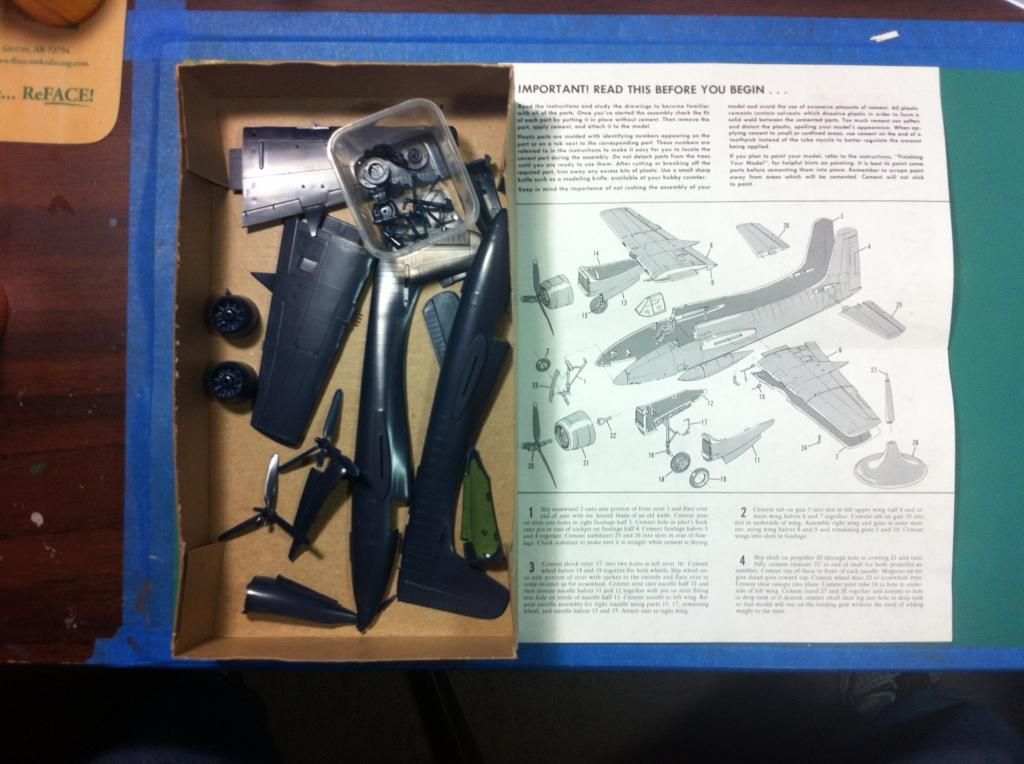 The kits are really are not to bad, mainly lacking in some (all) detail in the wheel wells and cockpit. Curiously, the engines appear to be molded inside the cowlings which should made painting a pain in the rear. Decals went straight to the trash so I'll need to find some aftermarket if possible. Kit cat's also have raised panel lines, so the detail is par for early 1960's though Monogram was by far the best on the market in those days. Number 2 appears to have had an attempt at a previous and short lived start with a dab of paint inside the nacelles and cockpit hole. That will have to be addressed when I get around to starting it. That's it for now. More to come. Rick! |
|
dupes
Head Moderator      Jan '16 MoM Winner
Member since: March 2012
Need to build 80 kits per year until I'm 100 to deplete my stash. Maybe I should sell a couple.
Posts: 7,184
Member is Online
MSC Staff
|
Post by dupes on Jul 18, 2014 5:55:15 GMT -5
Interesting! Thought I had seen all of the Monogram kits along the way but I don't recall this one. Got some neat scheme ideas?
|
|
Rick
Full Member
  
Member since: March 2013
what to build, what to build . . . Ok THAT one!
Posts: 854 
|
Post by Rick on Jul 18, 2014 6:01:53 GMT -5
Dupes, I had no idea these existed either until I saw one entered at a show I attended. I came home and ebayed it, found several and liked the idea of two for one and reeled it in. They kit kats will be finished in the dark blue scheme with Marine markings as soon as I find some suitable replacement decals. I figure there's enough out there to get a reasonable representation of their past service. I have ruled out the fire tanker versions as I'm not going to work through those conversions.
Rick
|
|
Rick
Full Member
  
Member since: March 2013
what to build, what to build . . . Ok THAT one!
Posts: 854 
|
Post by Rick on Jul 18, 2014 6:12:27 GMT -5
Finally getting back to the bench and ready to get started on the cats. Here's the first update. Not a big one but getting a start. Had to spend a lot of time trimming and thinning the gear doors as they were grossly way to thick. At least thinning them down around the edges will improve the final appearance later. The doors themselves are molded to the nacelle doors. Duplicated efforts for both cats up to this point. Discovered that the nose gear door is missing along with all but two of the wing mounted rockets. Since the rocket pylons were just squares of thick plastic, I decided to go for a lean and trim look so I removed them and sanded the underwing smooth. Re-scribed the panel lines. Thought I had a pic of the result. I'll shoot one and get it posted with a later update. Cockpit and fuselage interior is non existent so I am taking some creative license and scratching together a simple interior. The final fit will be tight and little will be visible through the thick canopy so I'm just going to give it a basic go of it. First time for me to scratch a cockpit so raucus laughter from the viewer will not be offensive in any way shape or form. Since the two kits cost me $10, I'm not going to sink much into kits this old. Just trying to dress them up on the cheap. I used styrene to add a floor and bulkhead behind the not existent seat. A couple of chunks of plastic for side detail will fill some space. Since the seat will be the most visible, I ordered a seat with harnesses by Quickboost. The resin base will not be visible from above once the sleek and skinny fuselage comes together so I'm leaving it attached. Makes it easy to mount the seat to the floor! I added a control stick from the spare parts box. 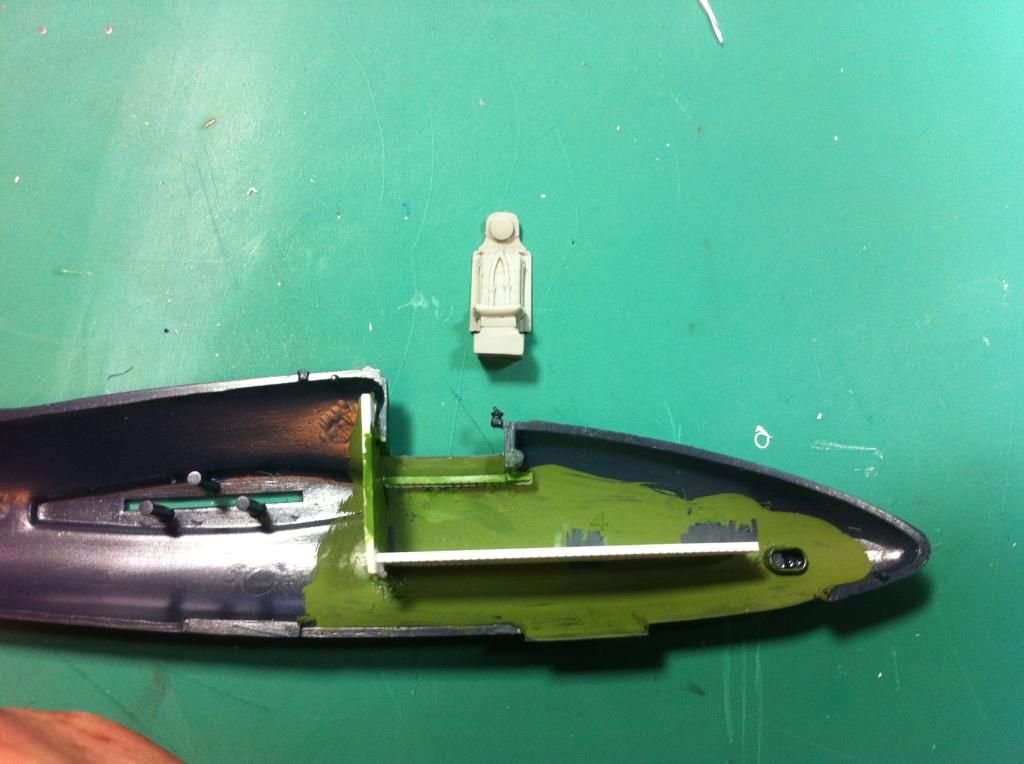 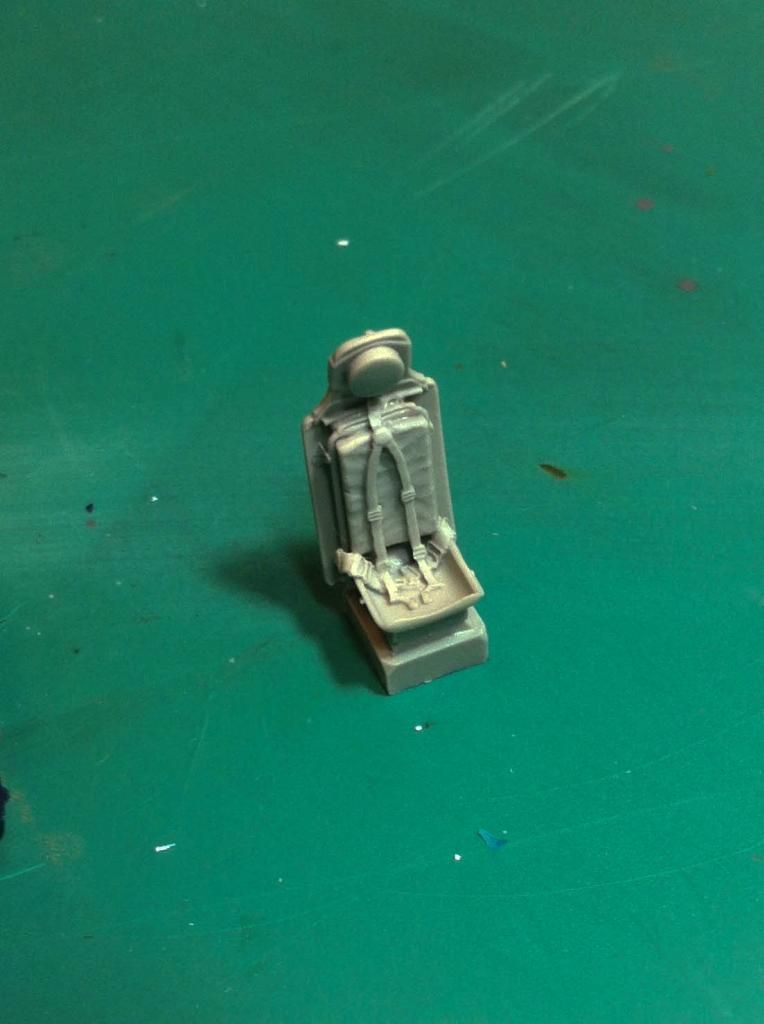 The previous kit owner had started the kit by painting the interior. I'll be using my AB to re-paint the interior and the styrene added to support the crude cockpit mock up. I also added 4 lead shot sinkers to the nose. Hope that's enough to keep kitty sitting pretty on her nose gear. Even the real ones had a lot of problems with being tail heavy. 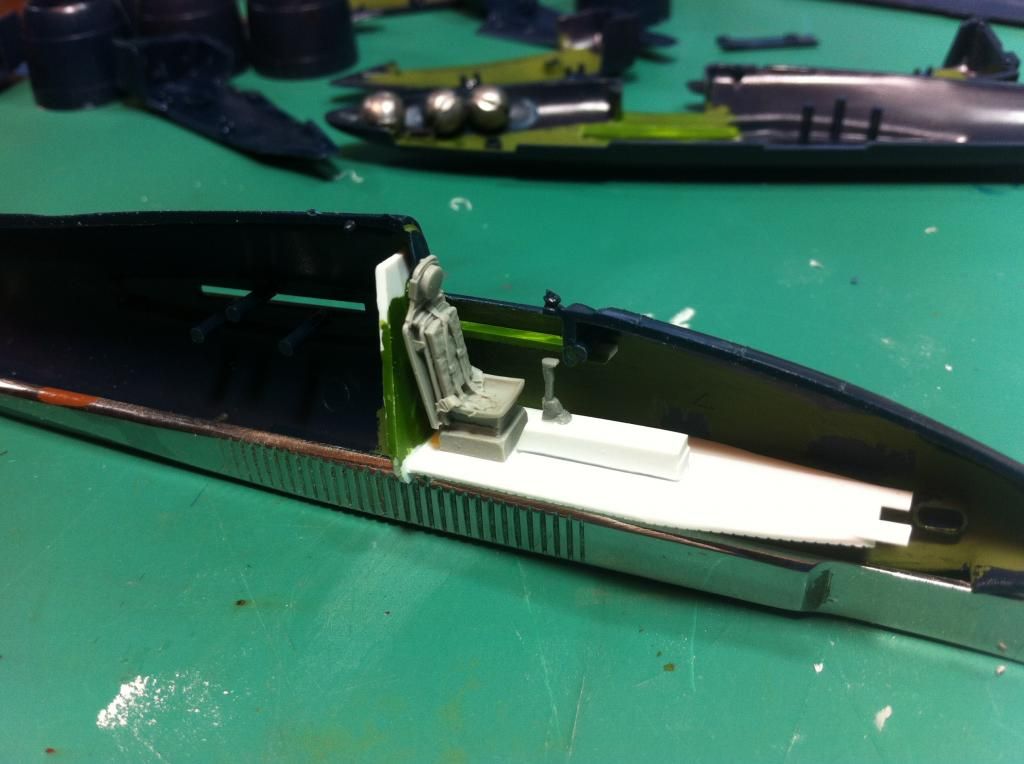 Not much of an update but finally a start. After painting the interior, I'll attach the gear and nacelles then bring the two fuselage halves together. |
|
dupes
Head Moderator      Jan '16 MoM Winner
Member since: March 2012
Need to build 80 kits per year until I'm 100 to deplete my stash. Maybe I should sell a couple.
Posts: 7,184
Member is Online
MSC Staff
|
Post by dupes on Jul 18, 2014 6:17:31 GMT -5
|
|
Rick
Full Member
  
Member since: March 2013
what to build, what to build . . . Ok THAT one!
Posts: 854 
|
Post by Rick on Jul 18, 2014 6:20:37 GMT -5
A couple of measureable progress updates. Kitty has wings! Spent a lot of time cleaning up the wings. Top and bottom are now one. Working on the leading and trailing edge seams to try to minimize the gaps. Trailing edges are quite thick, a trademark of 60's and 70's kits. Done some filling and lots of sanding on the edges. Will need to re-scribe some lines but certainly much better than when it started. On one set, I cut the rocket hardpoints and sanded the underwing. Still need to do the same for kitty #2. Interior Design: Since there was no cockpit, earlier I roughed in a crude cockpit. Not pretty (or historically accurate)and plenty of artistic license since no aftermarket interior is available. The savings grace here is not much is going to be visible through the very thick and not so well molded canopy. Hoping for form and outline to be trumped by the gorgeous Quick Boost resin seat to draw attention away from my crude cockpit representations.  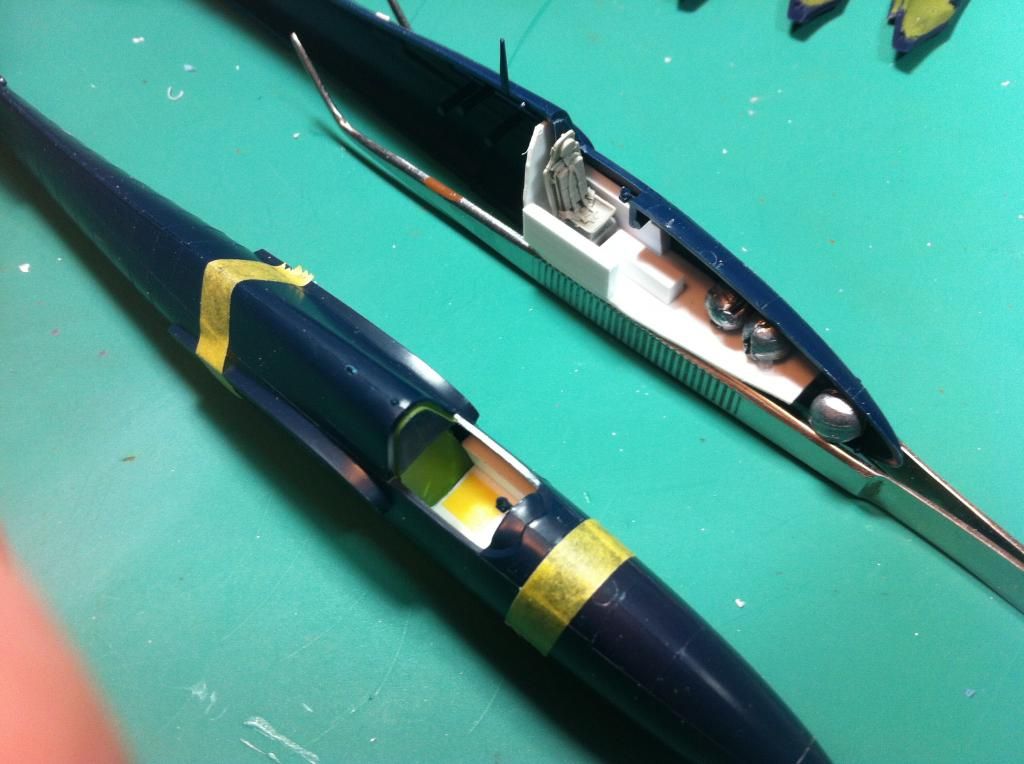 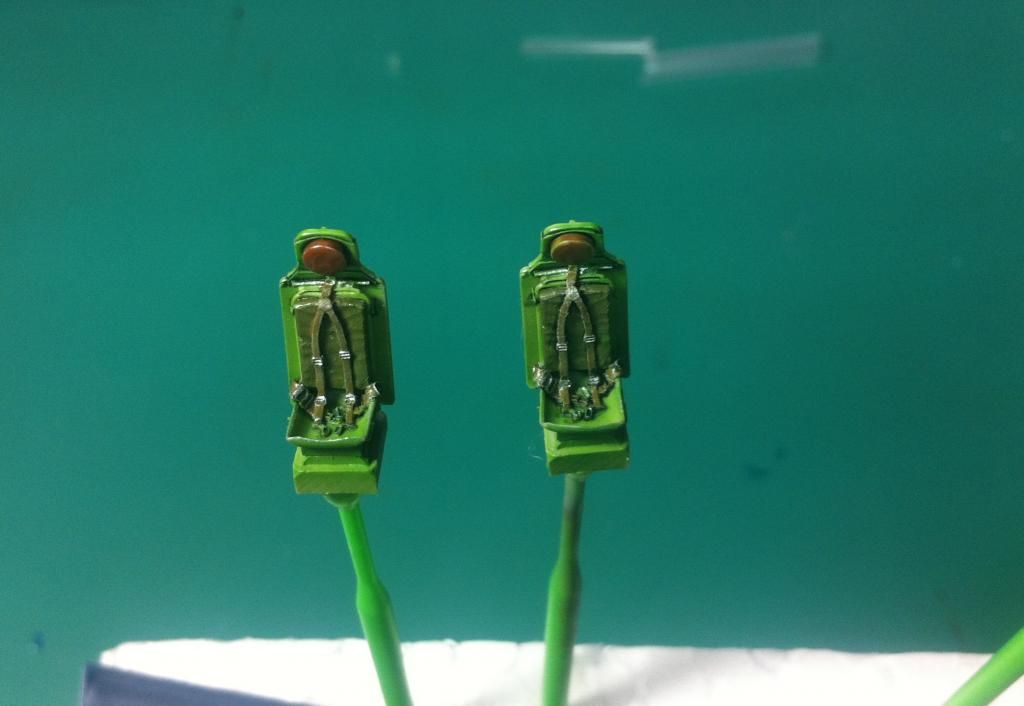 Zinc Chromate has been applied to the interior surfaces in preparation for closing the fuselage halves. No doubt plenty of filling and sanding is ahead for this step! The bench looks like a airplane boneyard at this point. Note the S2F Tracker parts standing out like a sore thumb. Started the "Stoof" about the same time since all three will have the same exterior paint. Will be starting a thread of it's own soon as I get something worth posting. 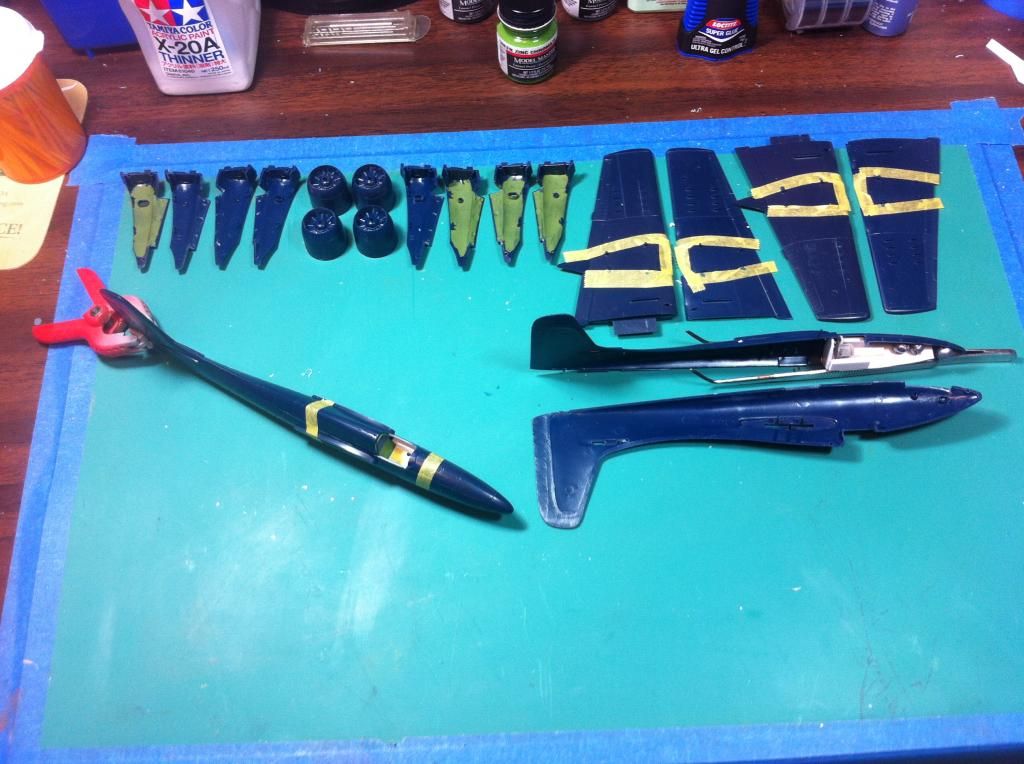 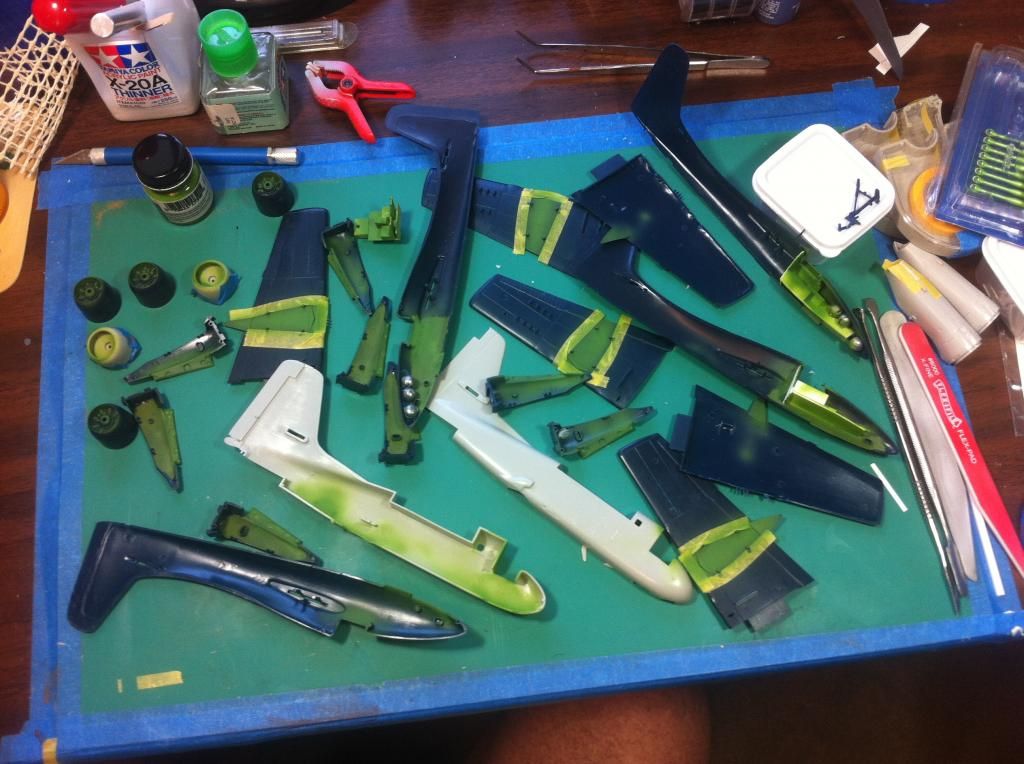 Kitty's got legs! Needed to give kitty's legs the treatment before joining the nacelles together. Will get a better pic of these gams later. Painted them before install and will have to mask them later when spraying the top coats. They need to mount inside the nacelles which would make it harder to get paint in the proper places. To keep kitty's from adopting a snooty nose high attitude, lead weights should keep her grounded up front and her tail in the air. 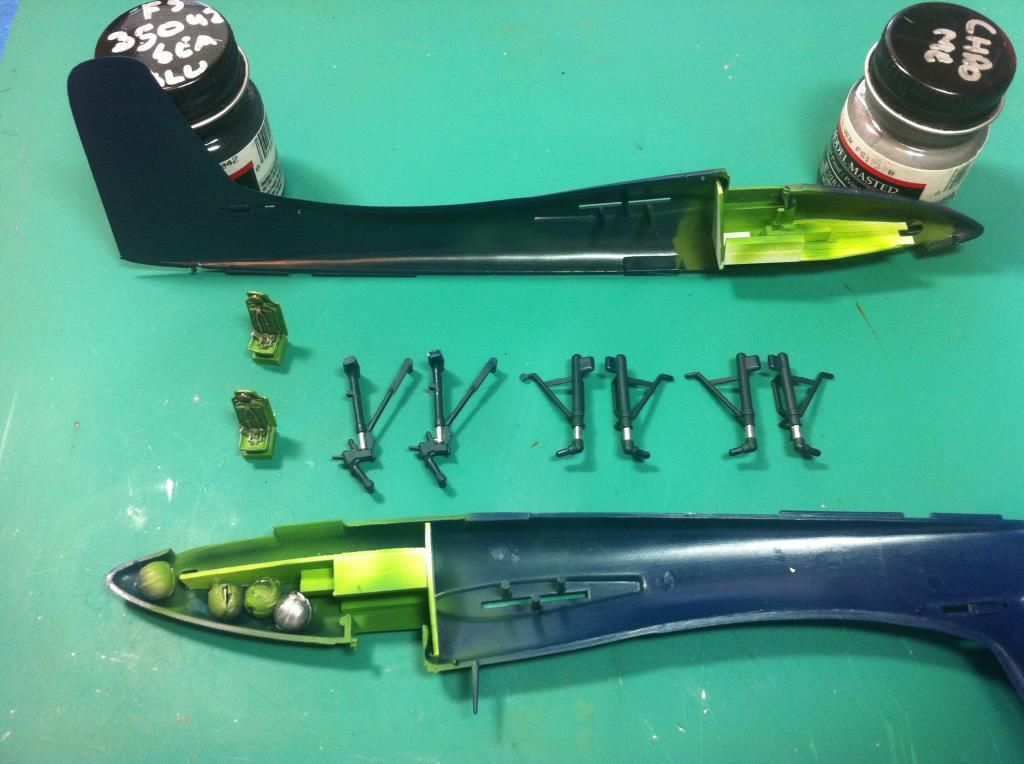 That's where this pair of tigercats are at tonight. Looking forward to getting them closed up and prepping for paint. More to come. Thanks for stopping by. Rick |
|
|
|
Post by TRM on Jul 18, 2014 6:34:57 GMT -5
Awesome!! Glad to see you brought these over Rick!! Some great work there too!! Keep it coming!!
|
|
Rick
Full Member
  
Member since: March 2013
what to build, what to build . . . Ok THAT one!
Posts: 854 
|
Post by Rick on Jul 18, 2014 7:36:00 GMT -5
Thanks for the heads up on star fighters decals Dupes. Gonna look into these soon as I can get away from my work PC.
Rick
|
|
dupes
Head Moderator      Jan '16 MoM Winner
Member since: March 2012
Need to build 80 kits per year until I'm 100 to deplete my stash. Maybe I should sell a couple.
Posts: 7,184
Member is Online
MSC Staff
|
Post by dupes on Jul 18, 2014 8:15:49 GMT -5
No problem. Looks like a neat set - dig the green bands.
|
|
Rick
Full Member
  
Member since: March 2013
what to build, what to build . . . Ok THAT one!
Posts: 854 
|
Post by Rick on Jul 18, 2014 11:01:49 GMT -5
Picked up a set of decals Dupes, kept looking and found a resin set of cowls and engines but were out of stock. Gonna look around a few other sites to see if I can get a set. Would be a big improvement over the kit parts. Appreciate the heads up.
Rick
|
|
|
|
Post by deafpanzer on Jul 18, 2014 12:39:20 GMT -5
Glad your builds have been moved here so I can follow the rest of it... more please!
|
|
|
|
Post by imatanker on Jul 18, 2014 15:26:02 GMT -5
Hey Rick, glad to see you moved your thread over  . These birds are coming along very well and I see no damage was sustained in the move  |
|
dupes
Head Moderator      Jan '16 MoM Winner
Member since: March 2012
Need to build 80 kits per year until I'm 100 to deplete my stash. Maybe I should sell a couple.
Posts: 7,184
Member is Online
MSC Staff
|
Post by dupes on Jul 18, 2014 16:34:41 GMT -5
Picked up a set of decals Dupes, kept looking and found a resin set of cowls and engines but were out of stock. Gonna look around a few other sites to see if I can get a set. Would be a big improvement over the kit parts. Appreciate the heads up. Rick Excellent! Didn't think to poke around for aftermarket beyond markings. Interested to see what you find. |
|
Rick
Full Member
  
Member since: March 2013
what to build, what to build . . . Ok THAT one!
Posts: 854 
|
Post by Rick on Jul 18, 2014 22:11:13 GMT -5
07-19-14 - This weeks updates Had some rare spare time this week so construction has moved right along. Feeling good about how well the twins have grown up and matured. First good news is the fuselage has come together! Woohoo!Quite surprisingly, the fit went very well. The only filling needed is on the belly where I cut off the offensive looking external fuel tank. the mount was molded on one side and overlapped so by removing it, a substantial gap was present. Liquid filler would never do so I pulled out the Epoxie Sculpt. I applied tape to both sides of the gap to minimize clean-up. After mixing the two parts equally, I rolled it out into a thin roll and forced it into the gap. A dab of water on my smoothing tool and worked filler nice and smooth. when the tape comes off, a quick sand and no more gap: 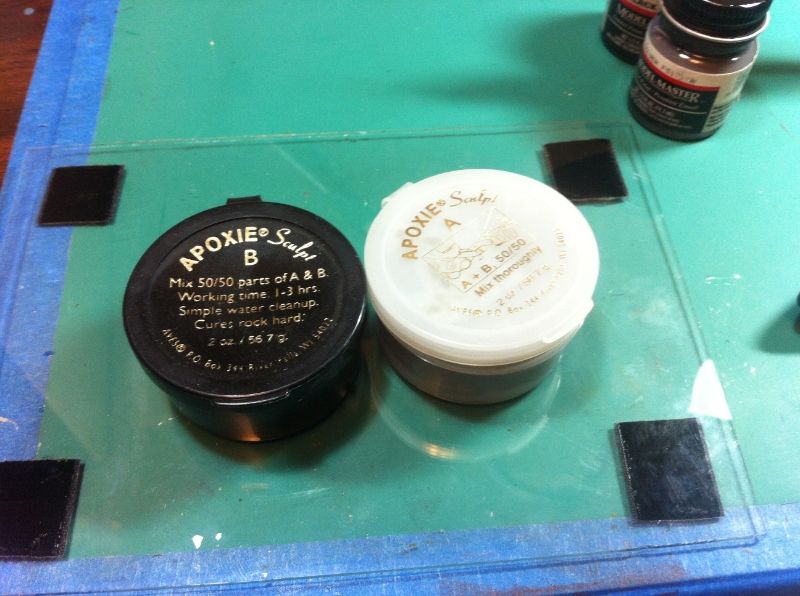 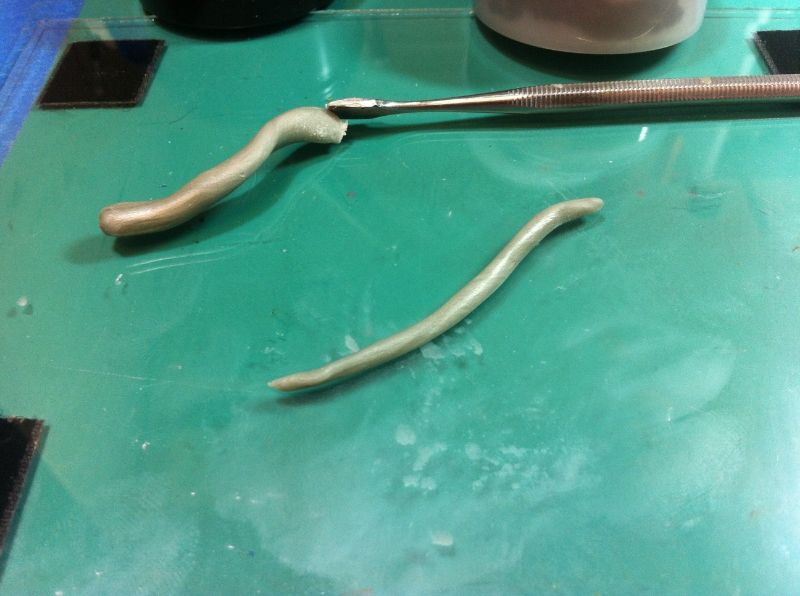 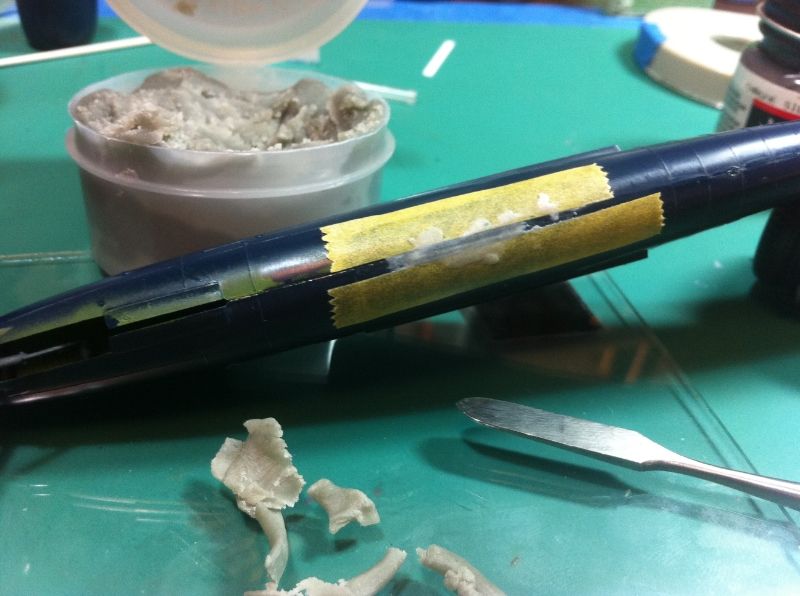 The Epoxie Sculpt is dry and with the tape removed, it's ready for a quick final sanding 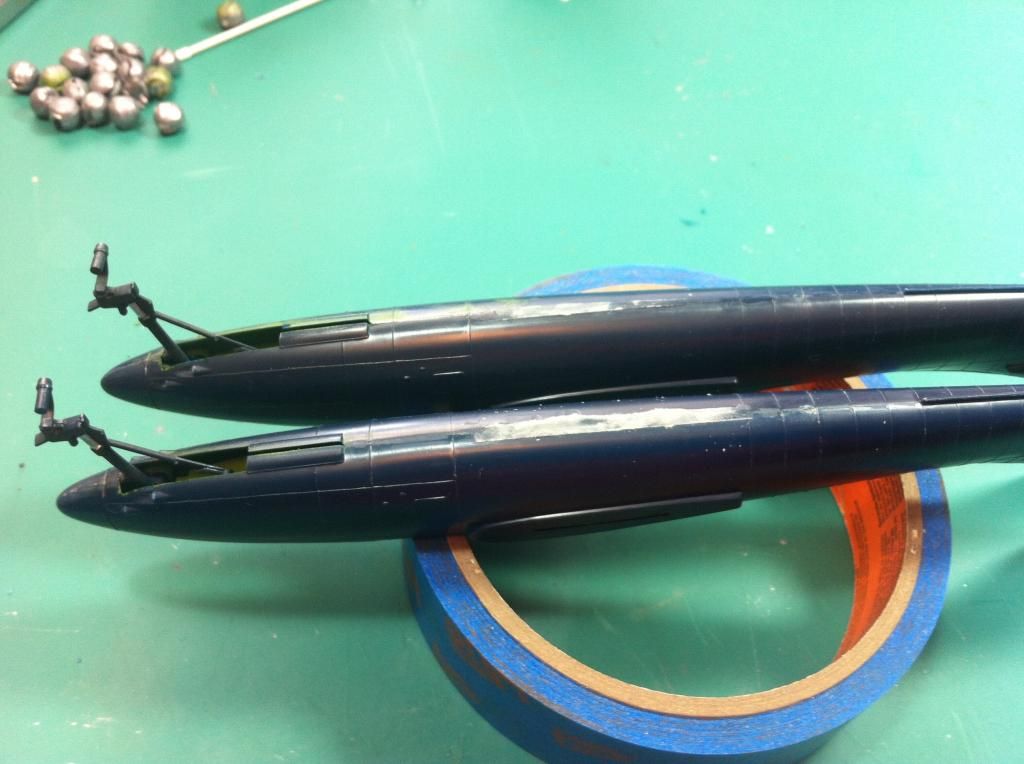 Kitty's have nacelles and legs! Finished the wing and nacelles. had to do a bit of filling and sanding on the back part of the nacelles to get a smooth fit. the wing halves had quite a thick edge and needed a good deal of sanding to reach an acceptable final look. 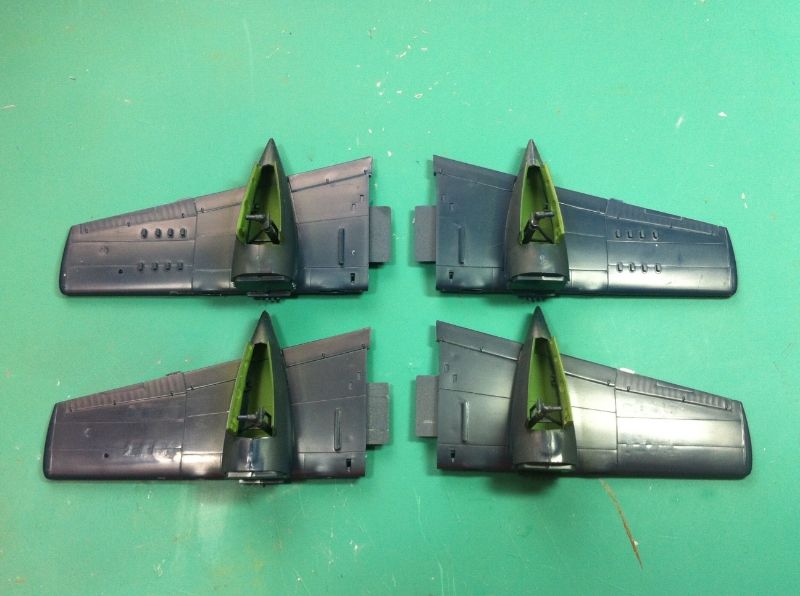 More to come - Rick |
|
|
|
Post by deafpanzer on Jul 18, 2014 22:31:21 GMT -5
Looking real good!!!
|
|
Rick
Full Member
  
Member since: March 2013
what to build, what to build . . . Ok THAT one!
Posts: 854 
|
Post by Rick on Jul 18, 2014 23:47:27 GMT -5
So here's a what if scenario to think about ... 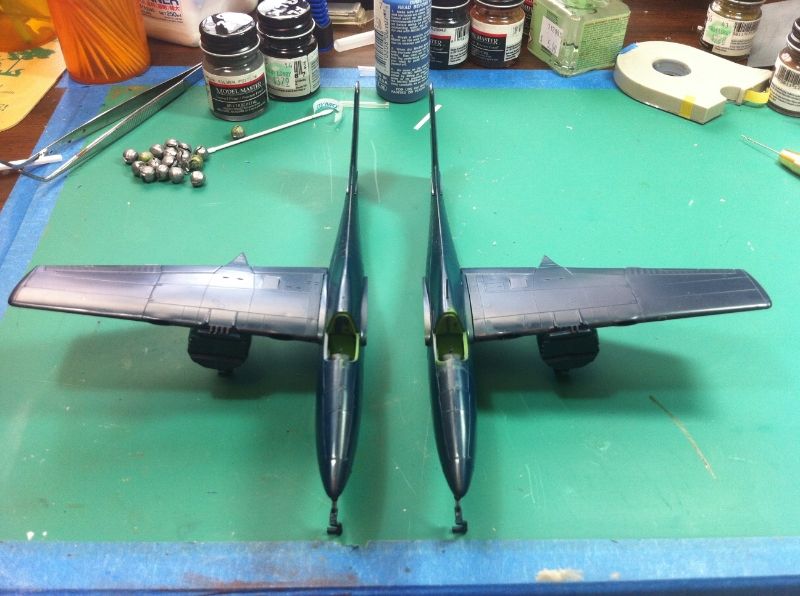 They put two heinkel 111's together. They put two Mustangs together. What would the result be of 2 Tigercats joined by a center section. 8-20mm cannon, 8-.50 caliber machine guns plus external ordnance. Me thinks death would come very quickly to anything that wandered in front of that combination. Yes, I did consider deviating from the original plan... |
|
Rick
Full Member
  
Member since: March 2013
what to build, what to build . . . Ok THAT one!
Posts: 854 
|
Post by Rick on Jul 19, 2014 0:16:01 GMT -5
Back to reality. Wings are know joined at the shoulders and tiger kitty's tail has been added. Particular attention had to be given to keeping the correct angles on the wings so the joints would have minimal gap. I have been very surprised at how well the joints have been close all throughout these builds. There will be very little filling needed. The biggest disappointment was when she stood up on her own legs. Despite all the lead I could shove into the nose, kitty took a squat right on her tail. I'll have some room in the cowlings for more but I seriously doubt it would be enough. Looks like mounting them to a base on a pin drilled into the nose wheel will be my best bet. 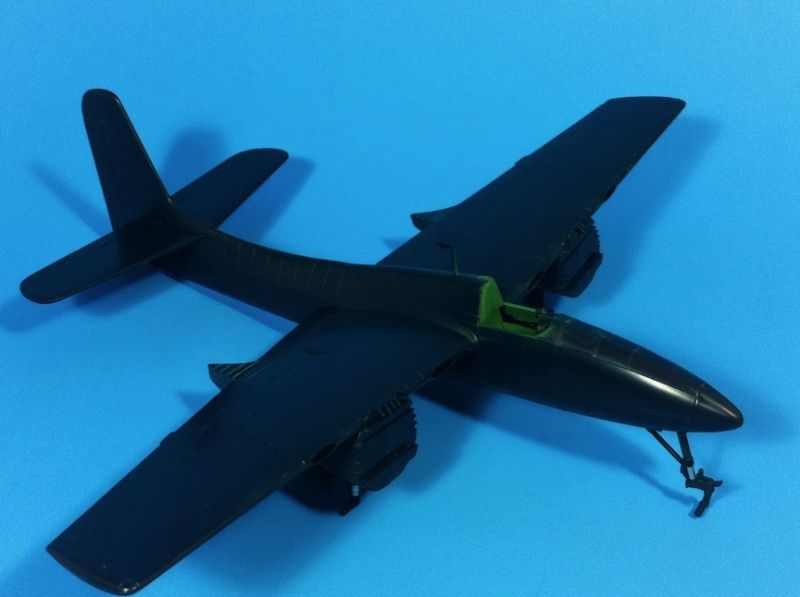 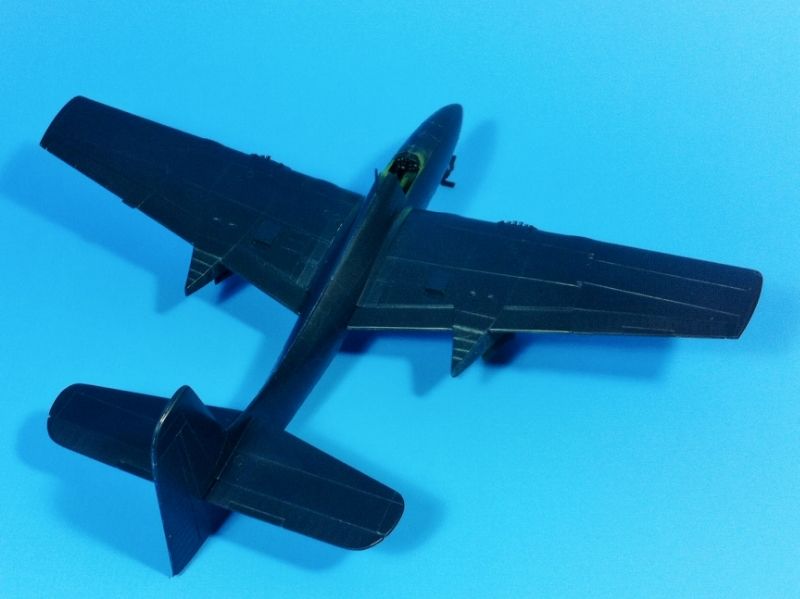 Here, I've slipped the Quickboost seat into the cockpit to get a visual on how the final look will might turn out. I've added some painted dials and switches to the control panels so I am surprisingly pleased with my first cockpit scratchbuild. 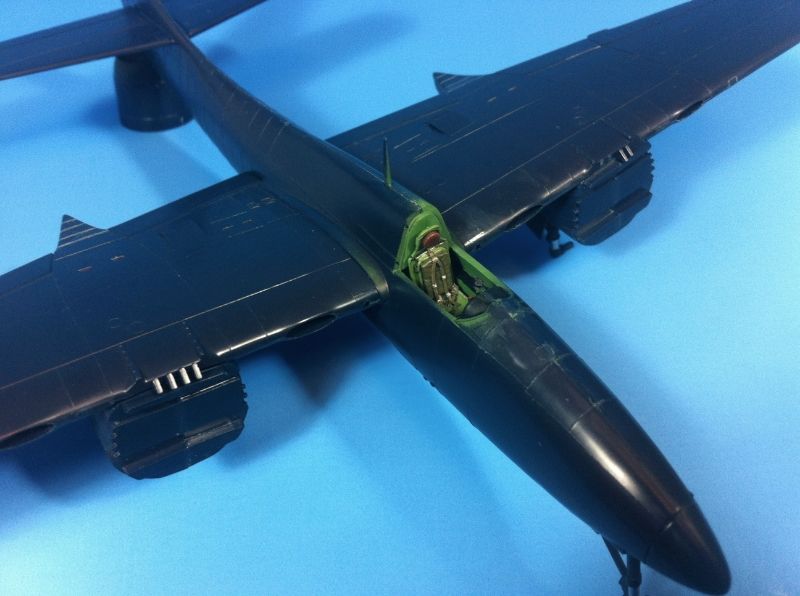 The twins wanted a quick family shot: 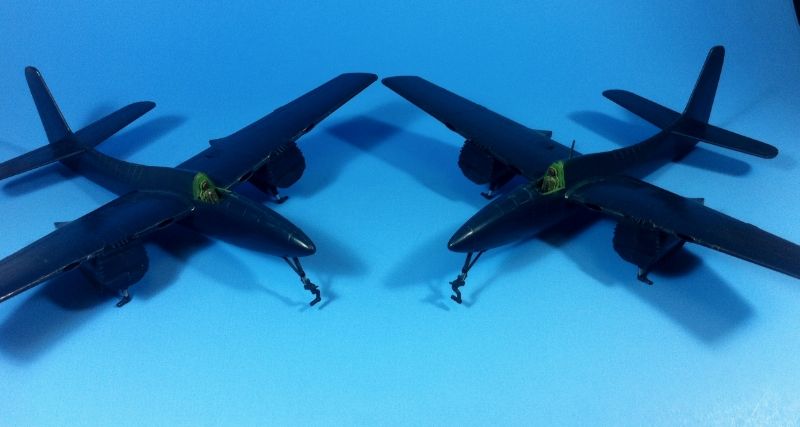 And finally, the last update for now is a view across tiger kitty's nose. 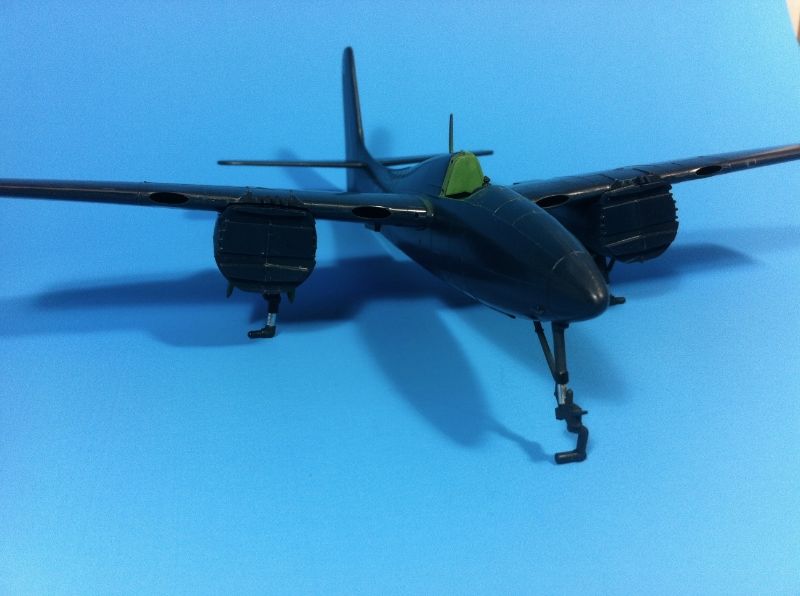 Appreciate everyone for tuning in and the comments. Thanks Dupes for helping with my decal solution. That took a big to-do off my list. Jeff, yeah no damage done with the jump back to MSC, though a bit of panic when I dropped one of them on the floor. No damage done. Probably had something to do with thick heavy parts molding from back in the day! DP - Always great to have you along. Rick |
|
|
|
Post by TRM on Jul 19, 2014 5:55:23 GMT -5
Looking great Rick!! LOL, I probably would have done the What-if with the 'Twin' Tiggies!  All coming together now for ya!!  |
|
|
|
Post by Leon on Jul 19, 2014 6:10:04 GMT -5
Making really great progress on the twins Rick.  |
|
|
|
Post by wbill76 on Jul 19, 2014 19:56:24 GMT -5
Some nice progress on the twins there Rick! I can see why you'd be tempted by that 'Twin Tiger' arrangement!  |
|
Rick
Full Member
  
Member since: March 2013
what to build, what to build . . . Ok THAT one!
Posts: 854 
|
Post by Rick on Jul 27, 2014 22:49:40 GMT -5
Update: 7-27 - Making Progress! Overcame a big obstacle this week. We got Decals! When I received the kits from Ebay, the decals sheet was beyond saving. Yellowed, cracked, and beyond salvage. I explored a number of online sites with no luck. One of the great things about our site is having contacts and resources with insights. Dupes came to the rescue and ID'd a source that had a set in stock. Result is: 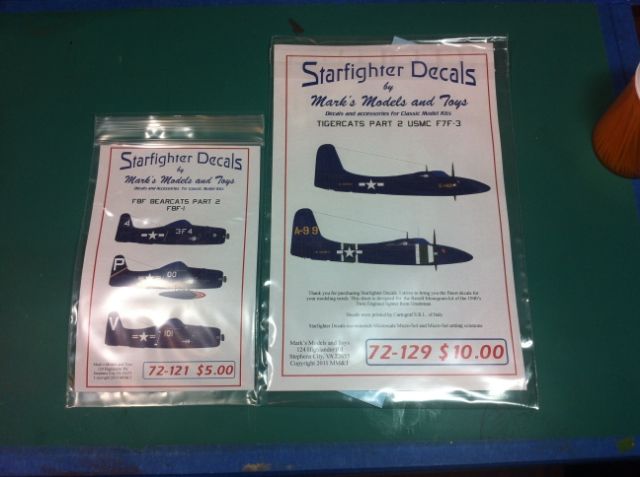 I got Decals! Thanks Dupes. Appreciate the tip. At this point, I have all Grumman Cats with props except the Bearcat. I'm going to plan to pick one up in future and one day diorama them all together so I picked up a set of F8F decals at the same time. Moving on, I wanted to get a good surface for paint and check for any problem areas. The wheel wells and cockpit were masked off and I gave them both several thin layers of Mr Surfacer 1200. I let the primer cure for a full day and followed up with a light sanding with 8000 and 12000 grit sanding film. 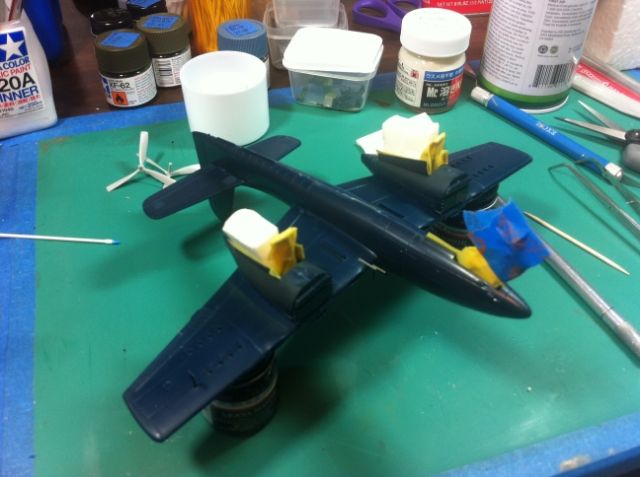 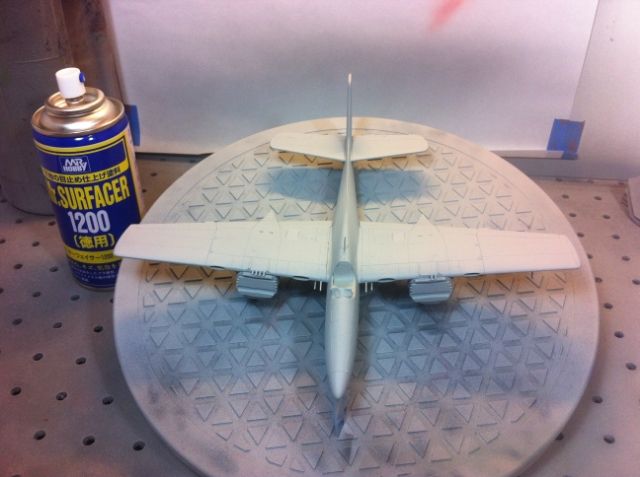 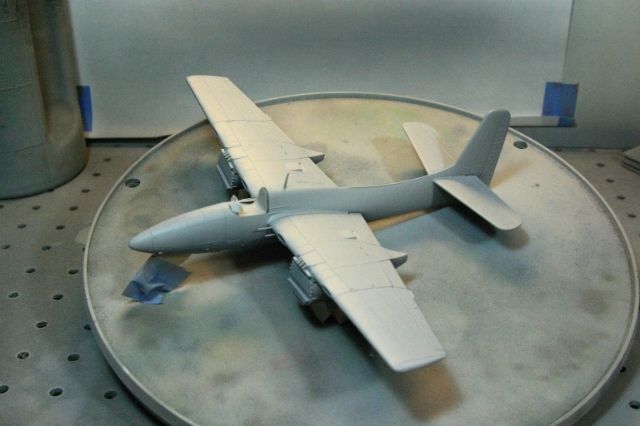 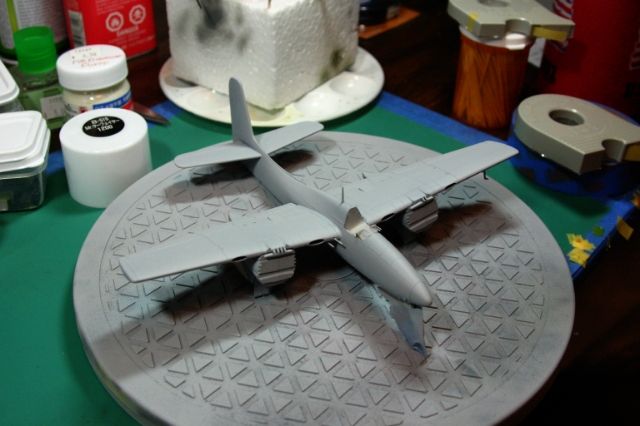 Pre-shading is next on on the list. Thanks for looking in. Rick |
|
|
|
Post by imatanker on Jul 28, 2014 2:42:29 GMT -5
Rick, Super progress Man. Glad you found some decals. The twins look good in primer  |
|
|
|
Post by wbill76 on Jul 28, 2014 13:25:32 GMT -5
Nice score on the decals Rick. The Cats are coming along nicely.
|
|
Rick
Full Member
  
Member since: March 2013
what to build, what to build . . . Ok THAT one!
Posts: 854 
|
Post by Rick on Aug 12, 2014 22:50:17 GMT -5
August 12 Update: Gave the primer a few days to cure and gave both planes a light sanding with 8000 and 12000 grit sanding film. Followed that up with a pre-shading of flat black on panel lines and some light random squiggles on panels and leading edges: 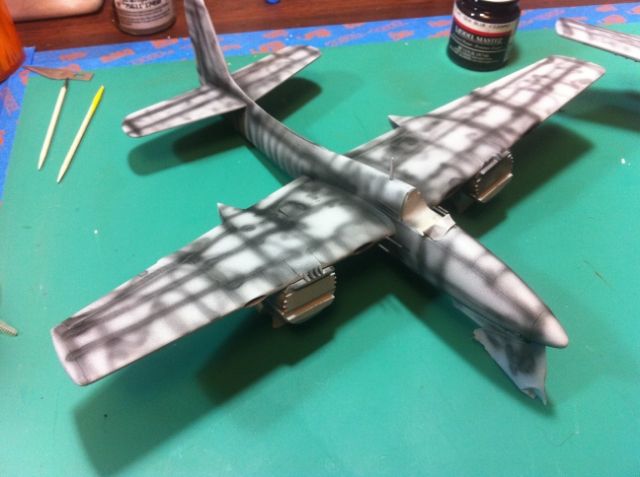 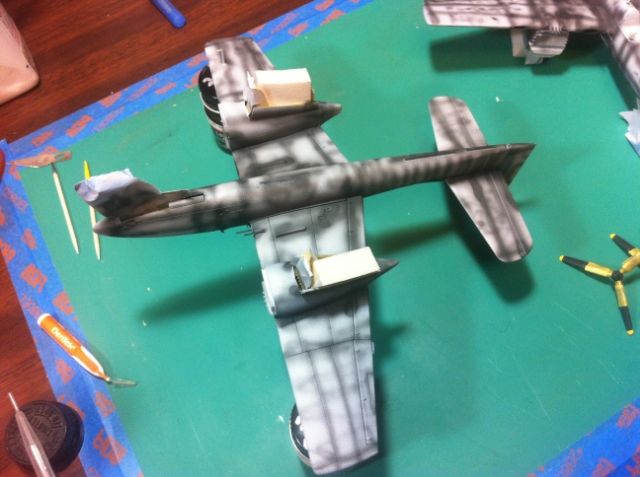 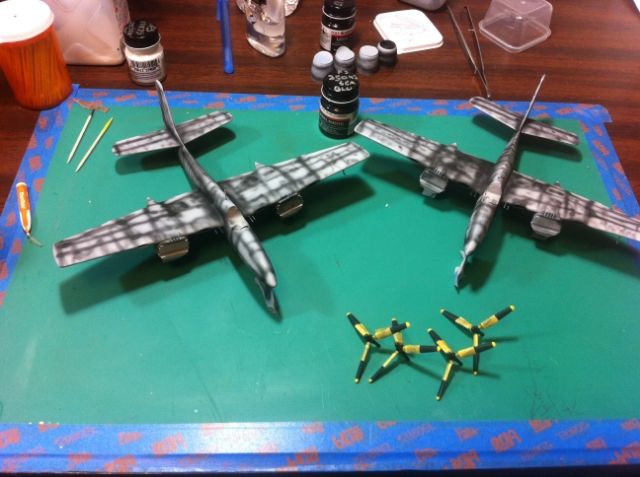 Followed up the pre-shading with flat Sea Blue. Spent several hours masking the canopies and got paint on them as well. Props received their fair share of paint too. 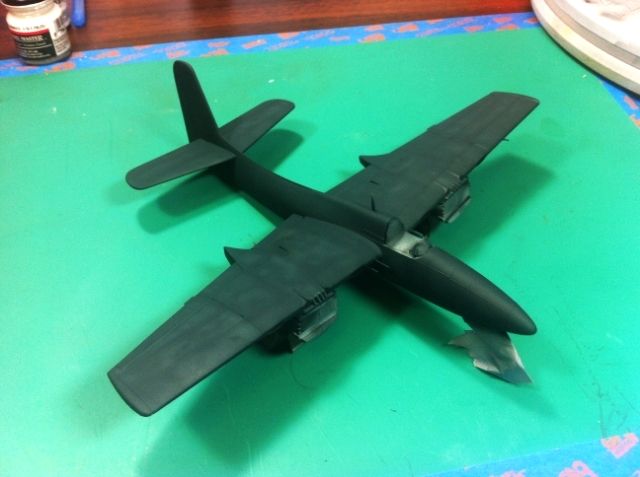 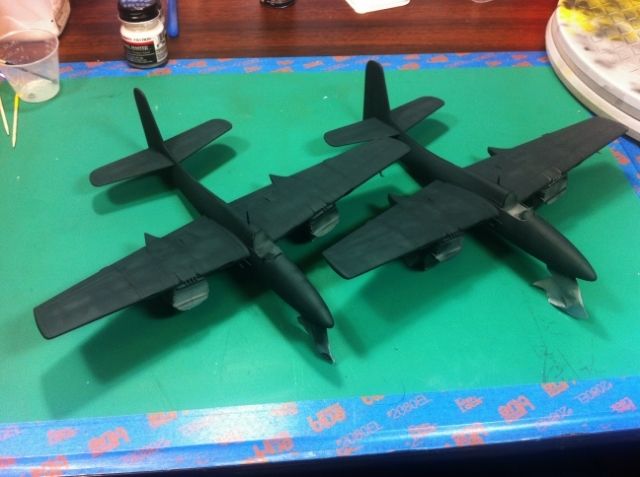 This week I'm going to try to squeeze in some time to lighten the sea blue and do some fine panel fading. Not to much further to the flight line for these two now. Thanks for looking in. Rick |
|
|
|
Post by imatanker on Aug 13, 2014 3:38:50 GMT -5
Great update Rick.  Preshade and base look sweet, Bud. |
|
|
|
Post by deafpanzer on Aug 13, 2014 10:48:52 GMT -5
The pair looks FANTASTIC! Dig the faded look...
|
|
|
|
Post by wbill76 on Aug 13, 2014 12:33:57 GMT -5
Nice work with the pre-shade combo and the Sea Blue there Rick. The twins are looking good!
|
|
Rick
Full Member
  
Member since: March 2013
what to build, what to build . . . Ok THAT one!
Posts: 854 
|
Post by Rick on Aug 17, 2014 22:09:47 GMT -5
Aug 17 Update: Paint and Parts! Applied the follow-up coat to lighten some panels. Added Intermediate Blue to the Dark Sea Blue to bring some fading onto the 'cats. I'm wanting the final look to be be one of wear and tear, not a restored beauty. Along the way, I dry brushed the cylinders inside the nacelles then applied Light Sea Gray followed by a wash of Mig Brown/Black to add a level of grunge. The nacelles were attached. The seats were finally inserted into the scratched cockpits. 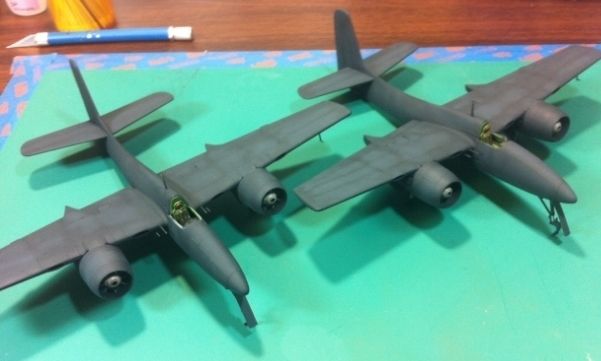 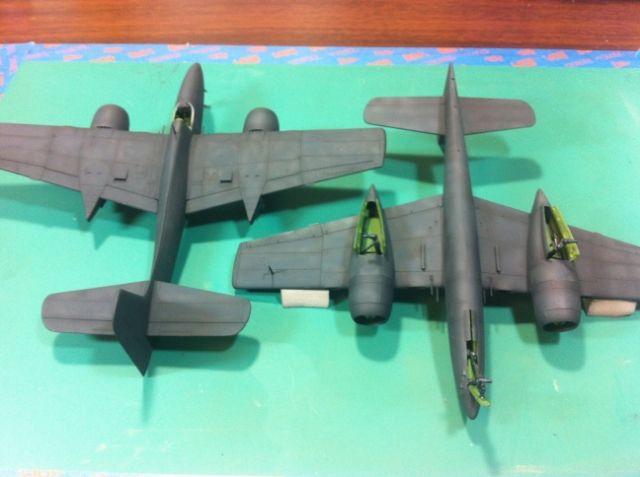 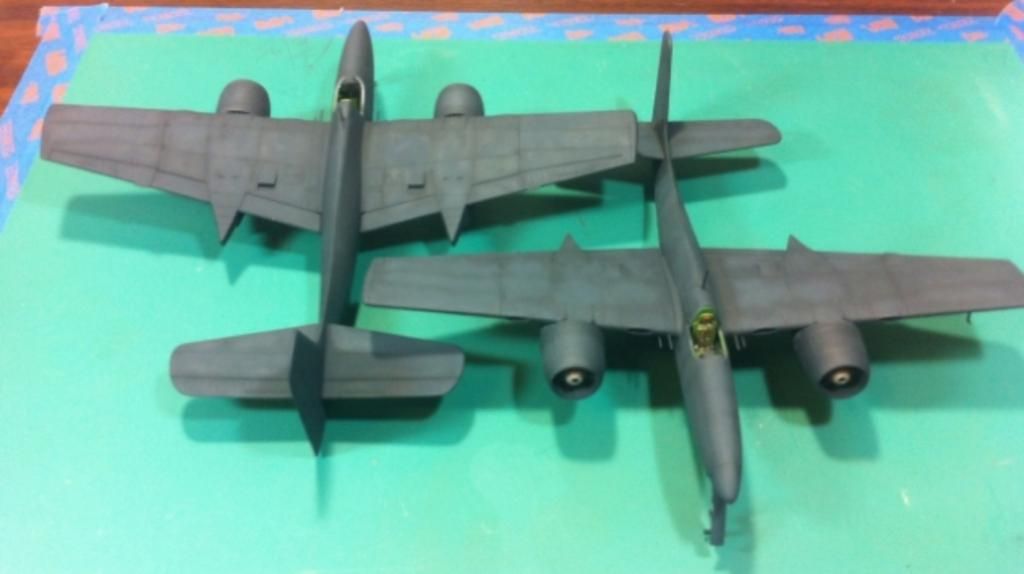 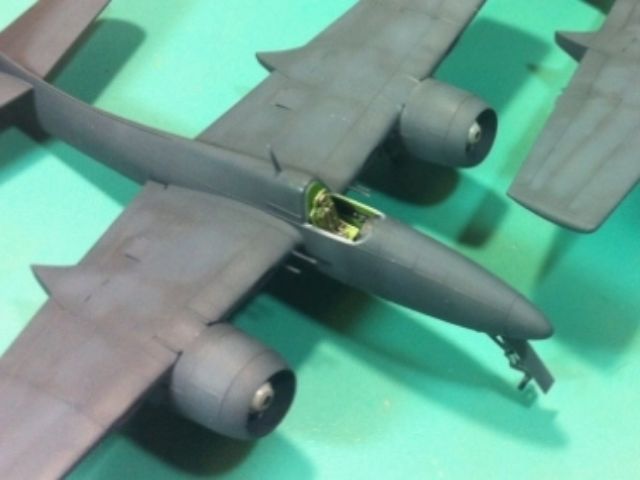 Gaggle of props, ready for weathering before being added. 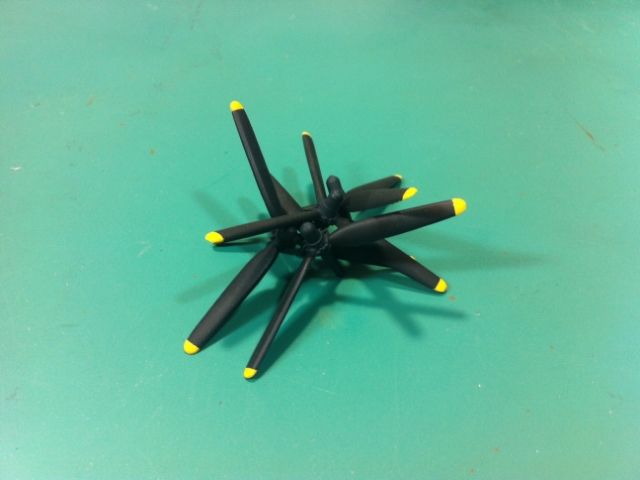 Canopies and wheels have got paint and waiting for their moment to climb on board. Applied the first coat of Future in preparation for decals. Bench time is getting to be a premium lately but I'm still hoping to get both cats to the flight line by the end of the month. More to come. Rick! |
|
|
|
Post by deafpanzer on Aug 17, 2014 22:48:53 GMT -5
You are getting there... they are looking great. Props look good too!
|
|
|
|
Post by imatanker on Aug 18, 2014 3:05:10 GMT -5
You're on a roll now, Bub. A great looking pair of wingy's  |
|