venom1
Full Member
  
Member since: October 2012
Posts: 1,369
Oct 10, 2012 2:40:03 GMT -5
Oct 10, 2012 2:40:03 GMT -5
|
Post by venom1 on Jul 24, 2014 8:59:37 GMT -5
Brought across from the MHI forums. Update below!....Howdy lads, been a while! Decided to move this ol' girl over from the wingy's section to here so I can join in the GB fun! Apologies for those who have already read most of this in the other section. There is a new bit at the bottom!!  The ol' mojo has taken a bit of a hit lately, so I figured a 100% OOB build in Braille may be the remedy! With that in mind I decided to dive head first into Airfix's cracking little Harrier kit (yes, it hurt a bit...) For the uninitiated, this is the bird of which I speak..... 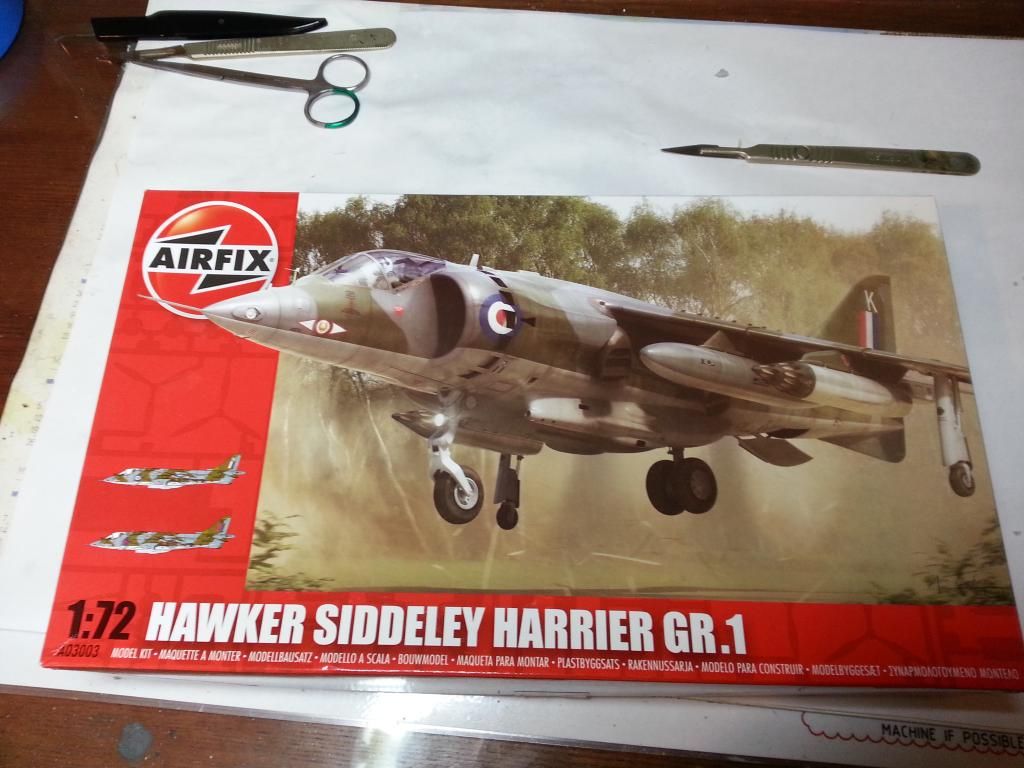 Everything went together very nicely with little fuss. Love how the nozzles are front and rear halves, rather than left side-right side. Makes cleanup about a bajillion times easier!! The whole intake area is a little fiddly but take your time and it will come together quite nicely. I deviated from the instructions insofar as I glued the external intake sections on first rather than after the fuselage and intakes was together. Figured getting a good fit on the outside where it is highly visible was more important. As it was it all went together without a hitch anyway. Yay Airfix!  Painting rolled around quicker than tax time so I finally got to use my new toy, my Harder & Steenbeck Infinity CR Plus. Yay! So here is the end result.... 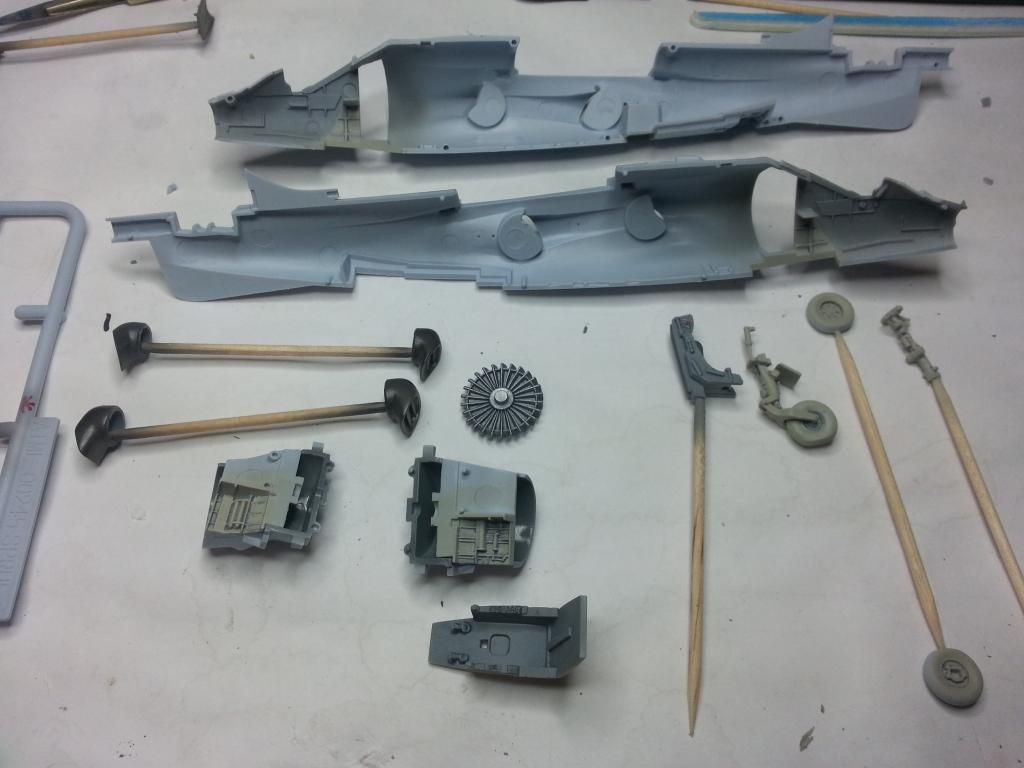 Engine compressor face located for test fit. Great to have it separate, makes painting a breeze.... :thumbup: 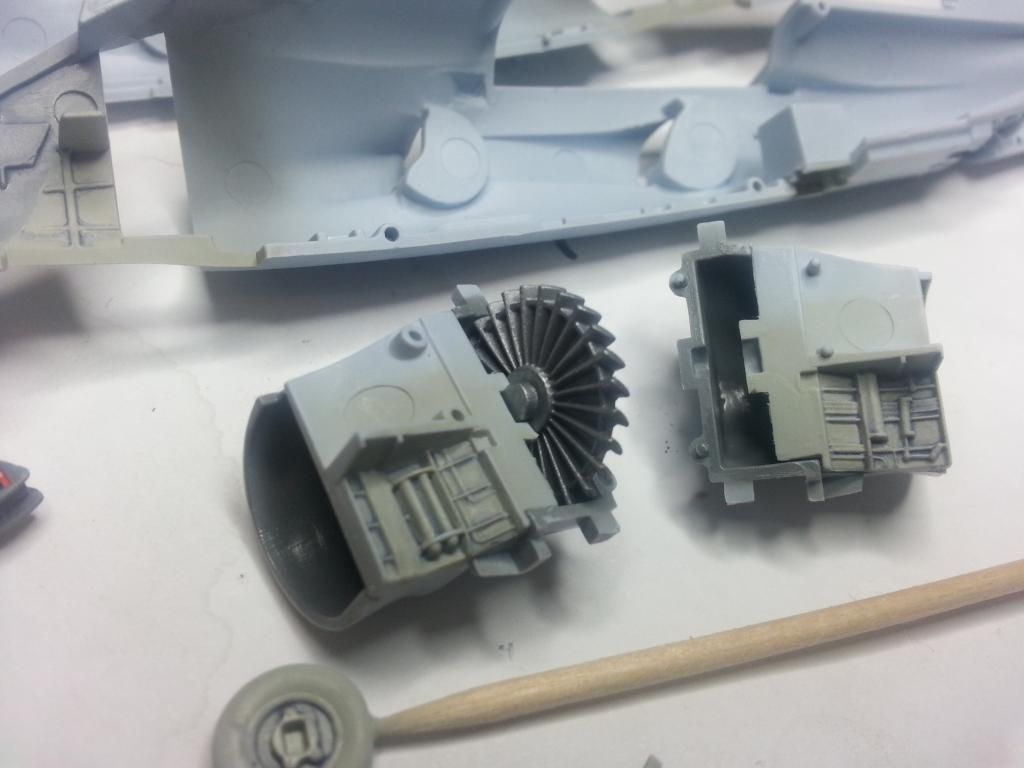 In situ with cockpit.... 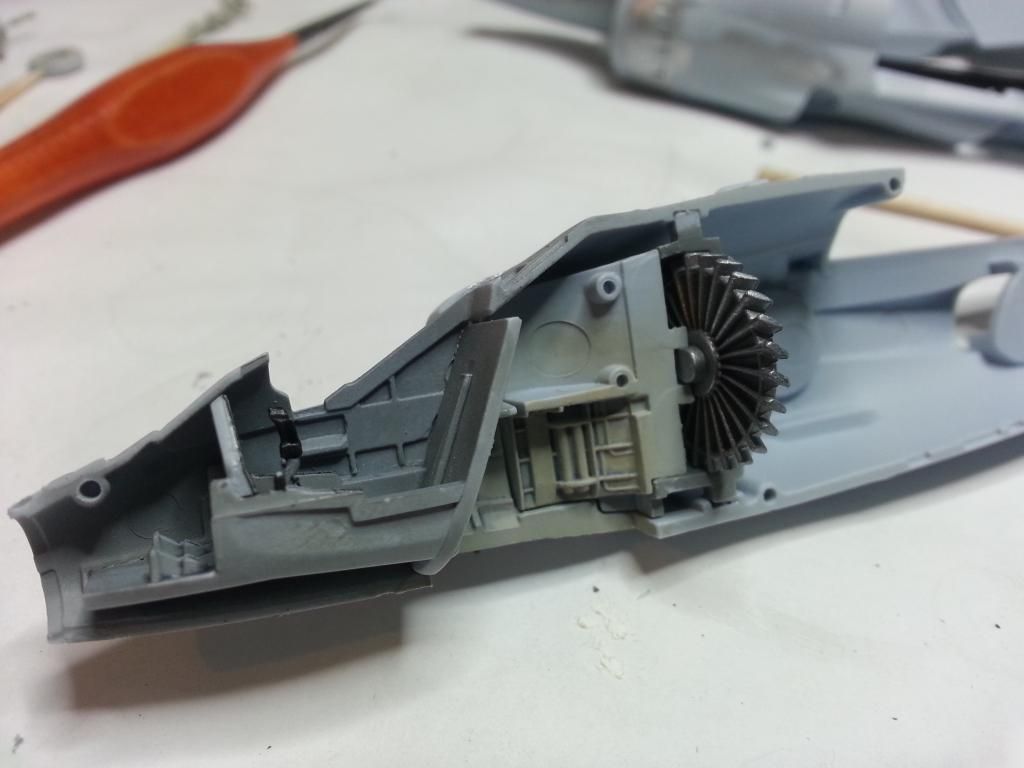 After installation of all the inside bits and bobs was done, the fuselage was closed up and I moved onto the tail. Airfix's concept to keep the tailplane movable works in theory. In practice.... not so much. You are meant to place the single piece tailplane in the gap, place the retainer over the top, then attache the tail on to of that. Unfortunately the tail is too sloppy and flops around, and filling the (albeit small) gaps around the retainer becomes a monumental pain in the ar*e with the tailplane in position. I elected to glue the retainer in place and fill and sand with ease, then I split the tailplane in two at the shaft and will install at the end. The great news is that the vertical stabilizer is an excellent fit and requires no filler. Huzzah! :thumbup: Separatey type bits.... 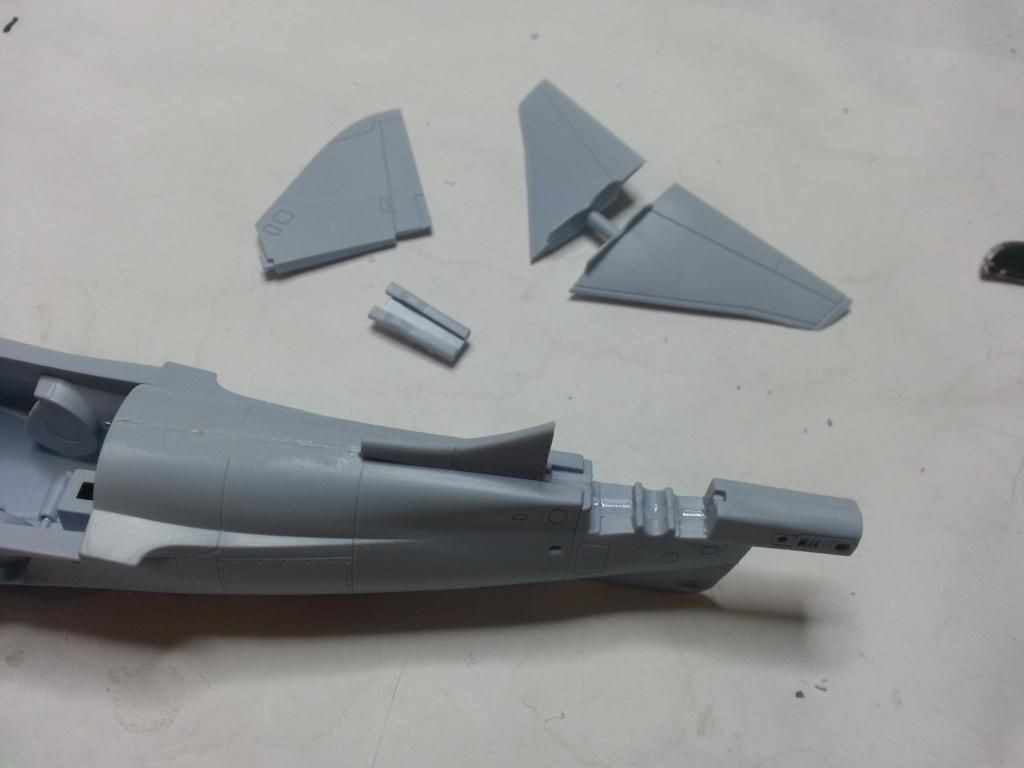 Togethery type bits. Fitty no goody! :cry: 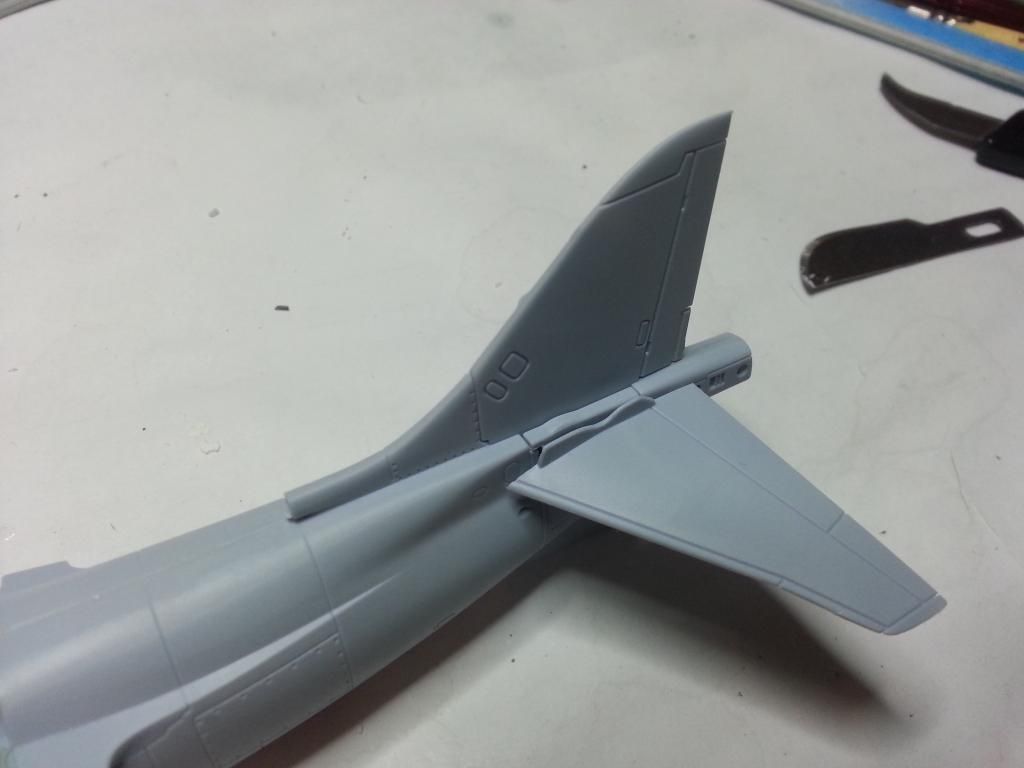 After that, she was pretty much ready for paint! Just sum maskin' ta doo... 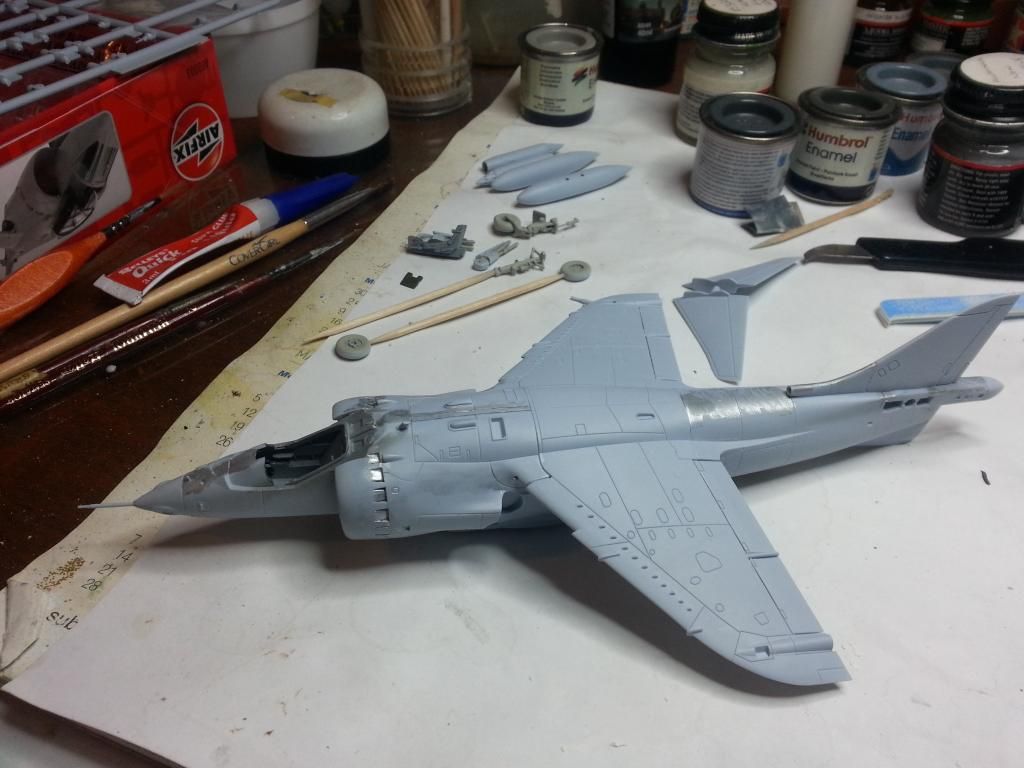 Canopy all Futurized.... 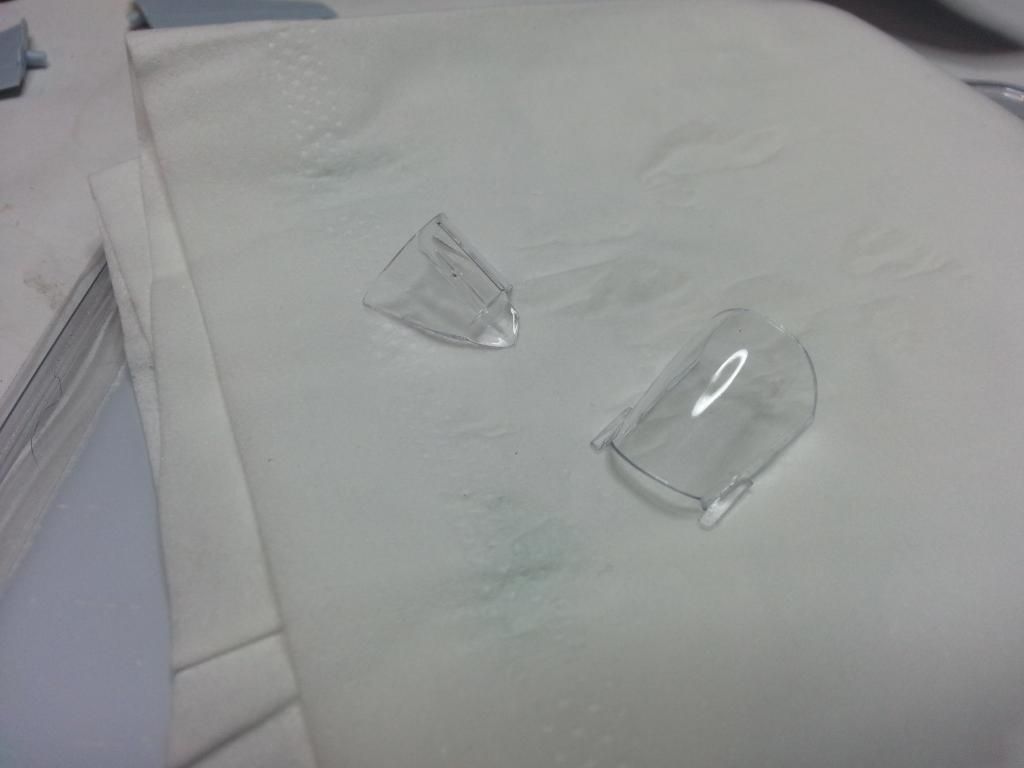 Mmmm, priiiiimerrrrrr. I love Tamiya primer in a can.  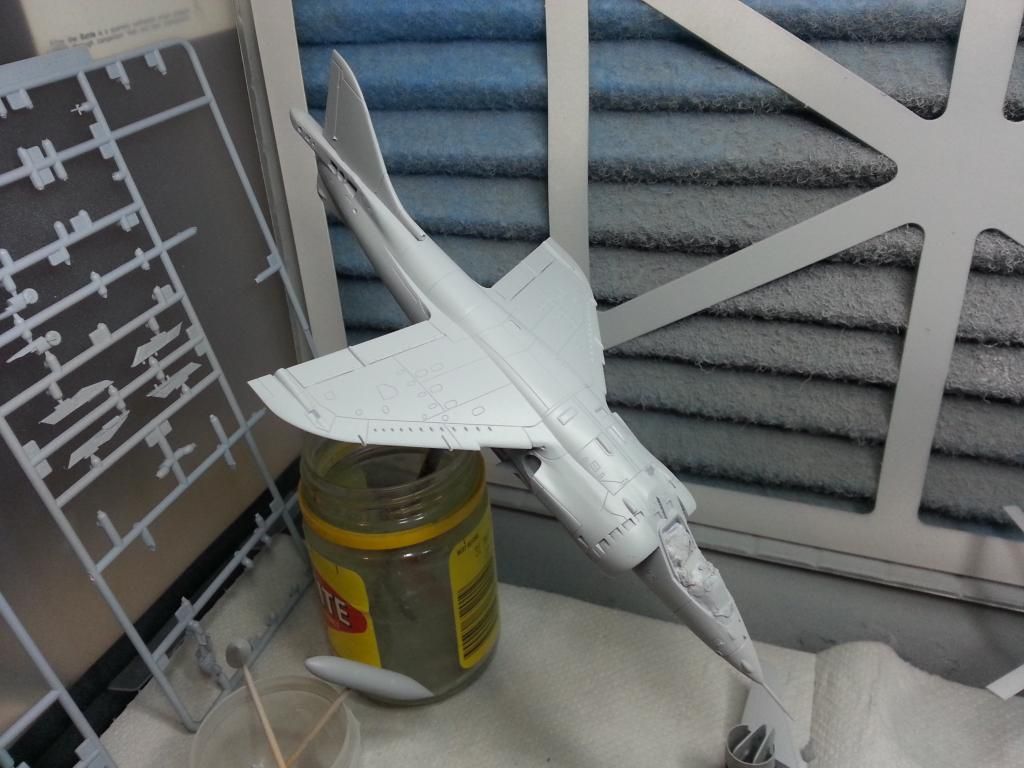 Finally, some preshading in prep for proper paintwork. Still trying to get the hang of the new airbrush so there are a few spiders on there!! 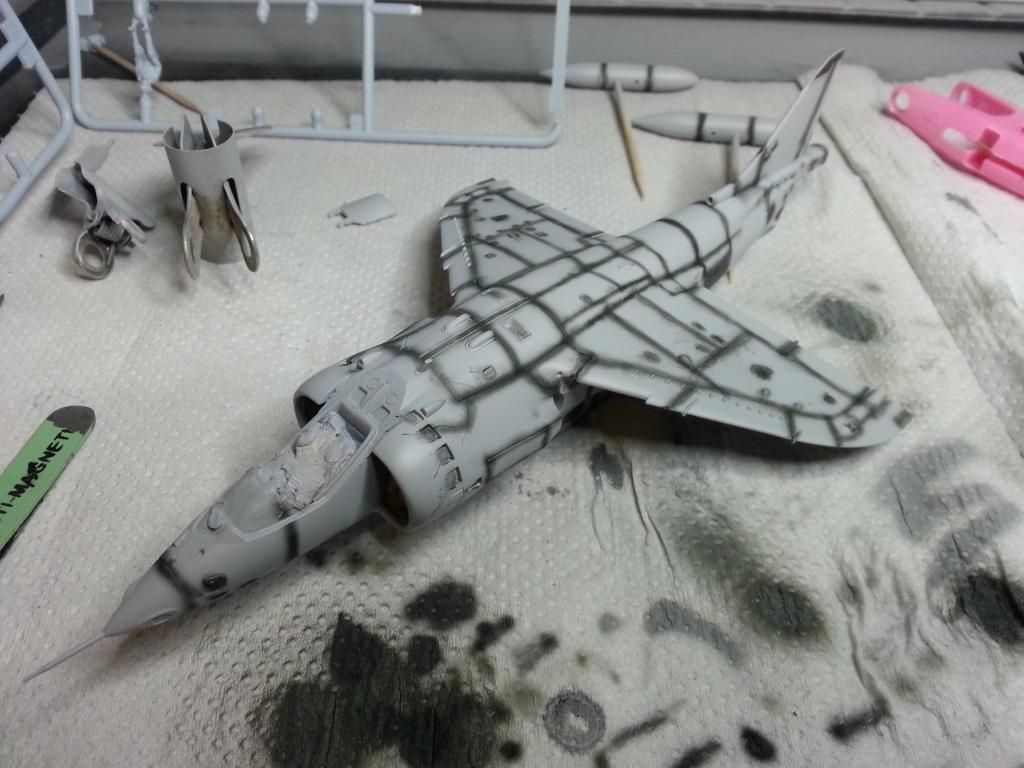 Now the new bit!.....Finally, a couple of nights ago I laid down the underside grey. Think the pre-shading may be showing through a bit too much still, but after finishing and weathering it should tone down a bit... 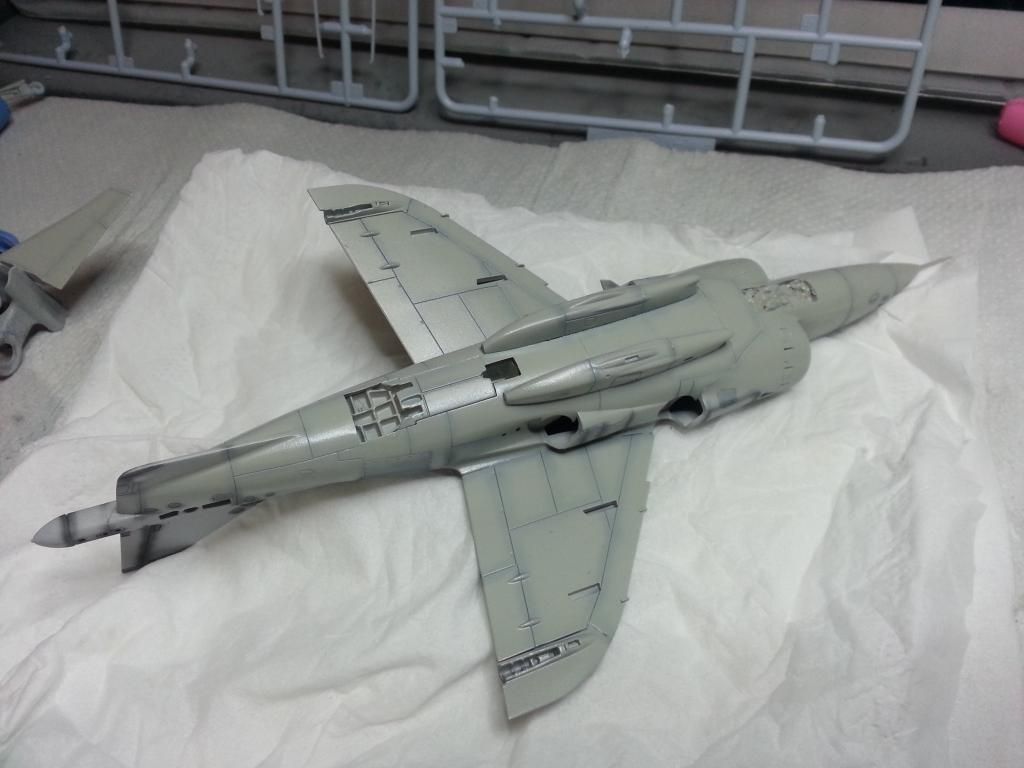 So there we go! Now comes the fun of masking in prep for the topside camo colours. Stay tuned true believers!!  Cheers, Sam 
|
|
|
|
Post by TRM on Jul 24, 2014 9:51:22 GMT -5
Great to see this one make it over Sam!! You are doing a fine job on it to boot!!
PM inbound!
|
|
|
|
Post by Leon on Jul 25, 2014 21:19:56 GMT -5
Nice work on the pre-shade and bottom base coat Sam.  |
|
|
|
Post by imatanker on Jul 27, 2014 16:44:48 GMT -5
Hey Sam, welcome Dude  Great looking stuff so far Man. Glad you made it over |
|
|
|
Post by dupes on Jul 27, 2014 17:26:55 GMT -5
Oh, I'll stay tuned alright!
Whose paint are you using for the upper camo?
|
|
venom1
Full Member
  
Member since: October 2012
Posts: 1,369
Oct 10, 2012 2:40:03 GMT -5
Oct 10, 2012 2:40:03 GMT -5
|
Post by venom1 on Aug 4, 2014 7:22:21 GMT -5
T - Thanks bud, good to be here!  Leon Leon - Thanks mate, pretty happy with how it came out!  Jeff Jeff - Thanks cobber!  Dupes Dupes - I bought all the Humbrol colours as called up in the Airfix instructions. I don't have much in the way of RAF colours, and I figured Airfix would manage to get the colour callout right, y'kow, British model company, British plane, all that stuff.  Speaking of colours..... Apologies for the lack of updates my friends! Y'know, life, and all that.... Anyhoo.... Got the undersides all masked up in prep for the top colours. Used my standard routine of vinyl sticker material for the edges of the mask and then filled in with blue painters tape and Maskol where appropriate. Therefore, after a few (very tedious!) hours of masking, we were left with this... 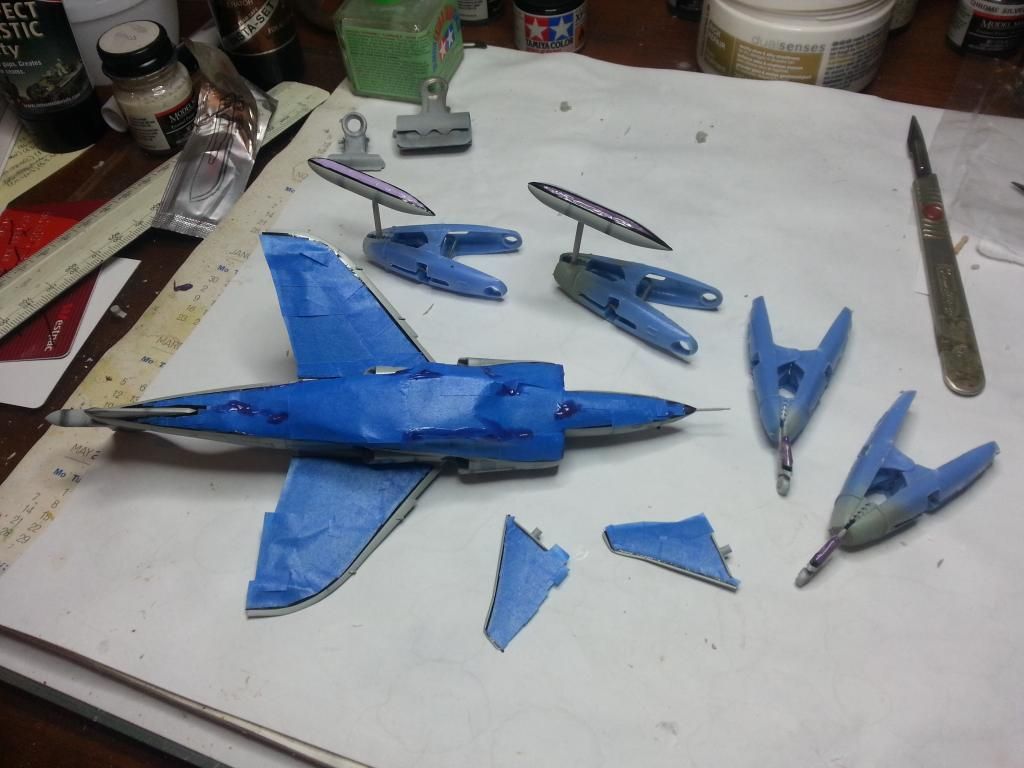 First up was the Sea Grey, which was sprayed freehand. The pencil cross hatching you can see is where I have sketched in the camo pattern and then hatched the areas for the green. Unhatched was grey, helps me to make sure I paint the right areas the right colours. I spray a little bit over the camo outline so that when I mask for the green I don't have any gaps. Bit hard to see in this pic, but I have also gone over the grey erratically with a lighter grey/white mix to give the illusion of fading. 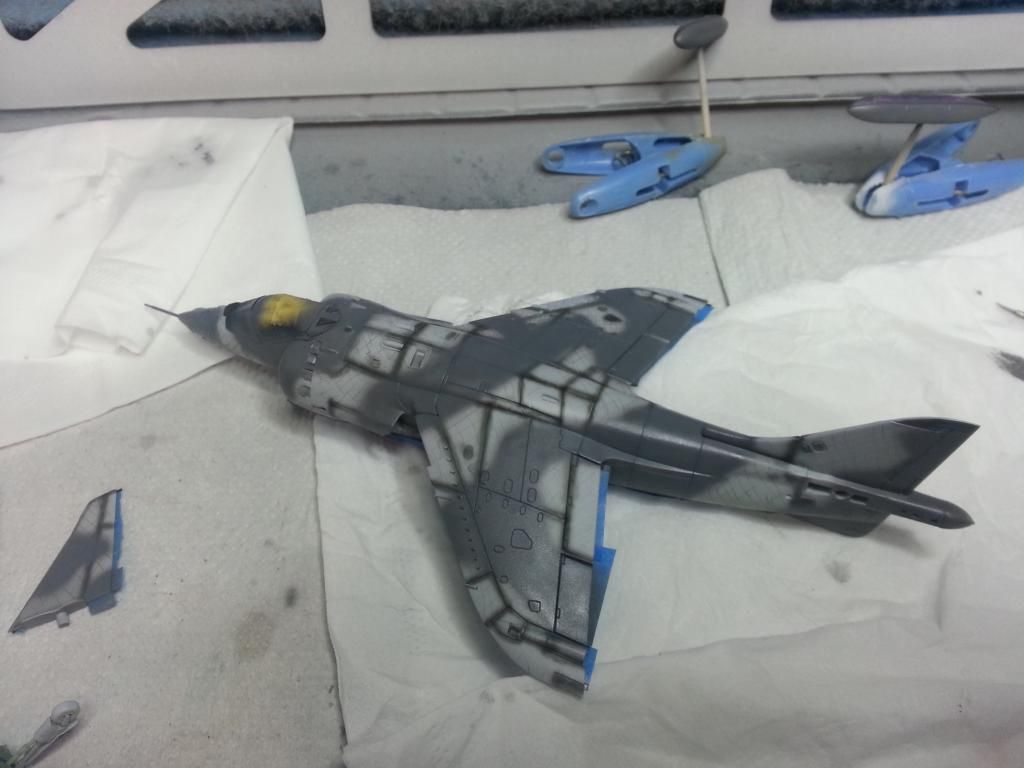 After this I cracked out the mighty Blu-Tac for my favorite masking method (for soft edge at least). I made them quite small and pushed them down quite firmly to give a very tight edge. A whole bunch of lil' ol' snakes later..... 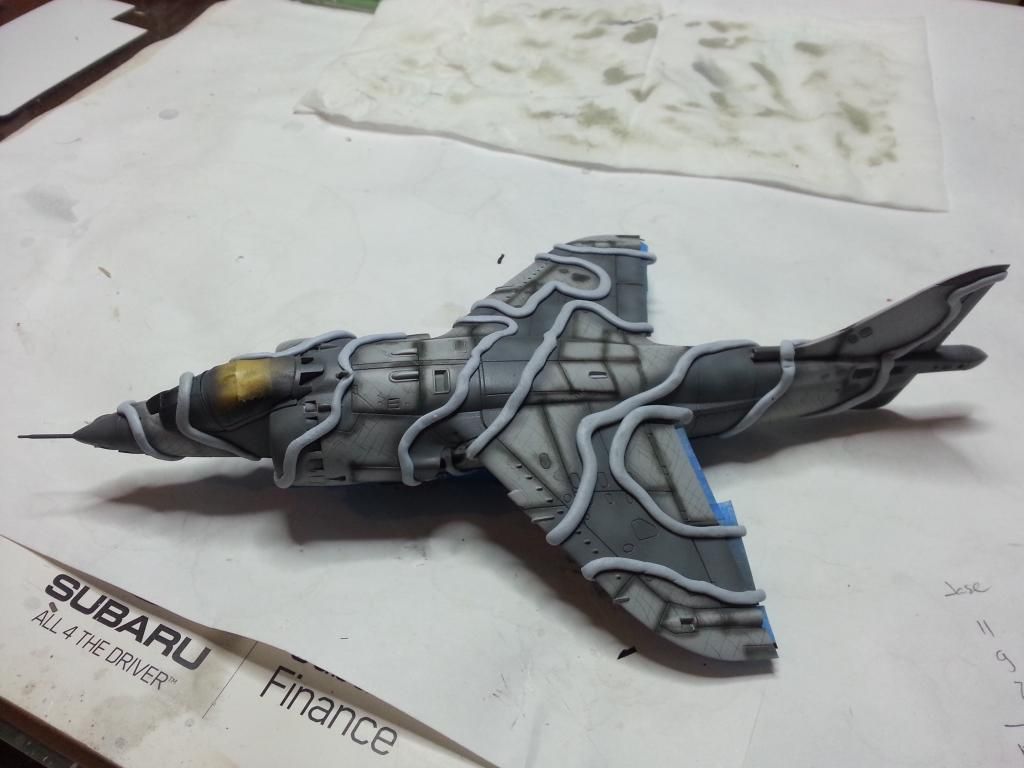 I then filled in the gaps with my cheap but trusty blue painters tape.... 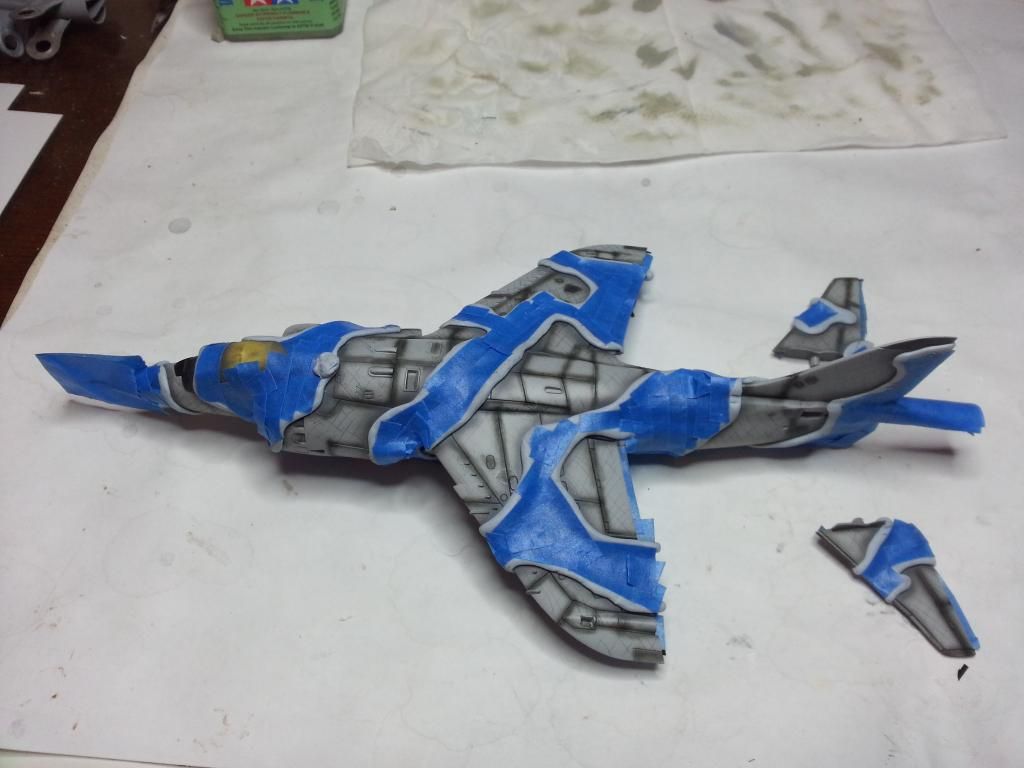 And then went hard on the green (sounds like I'm playing golf....). Once again, overspayed with a green mix lightened with (this time) light grey. No other reason than the light grey was within reach, the white wasn't, and I'm lazy!  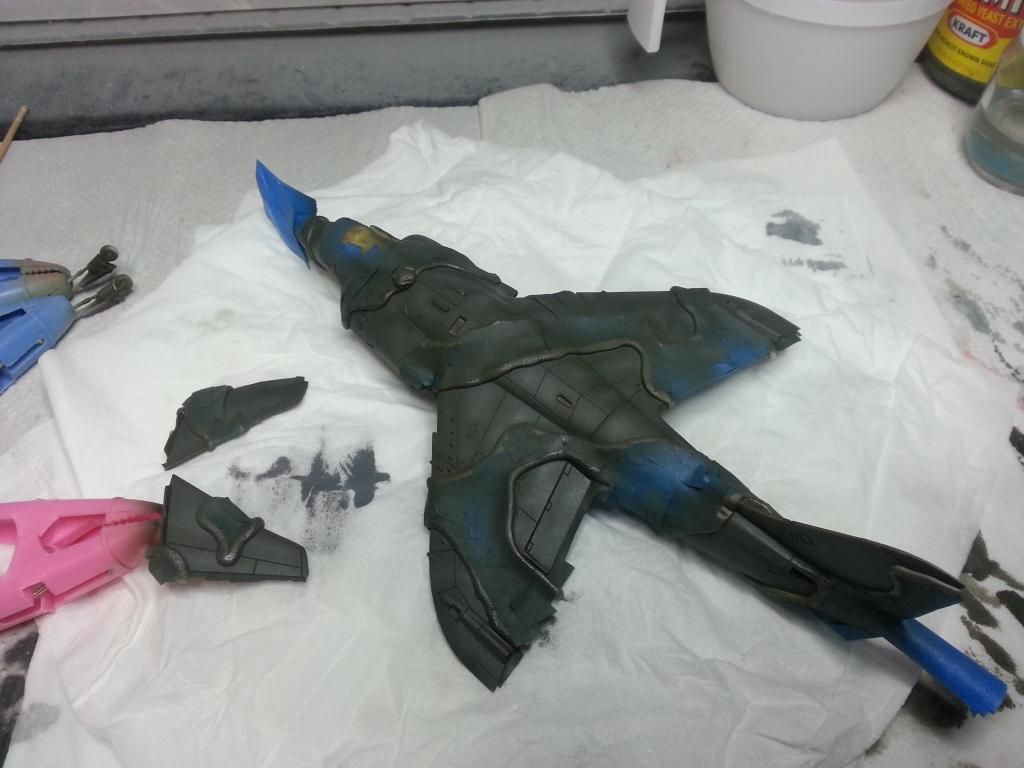 Then came the moment of truth yesterday arvo. Unmasking time! With a heart full of apprehension and a twitchy sphincter, I began the careful process of taking all that crap off again!! End result? Huzzah!!  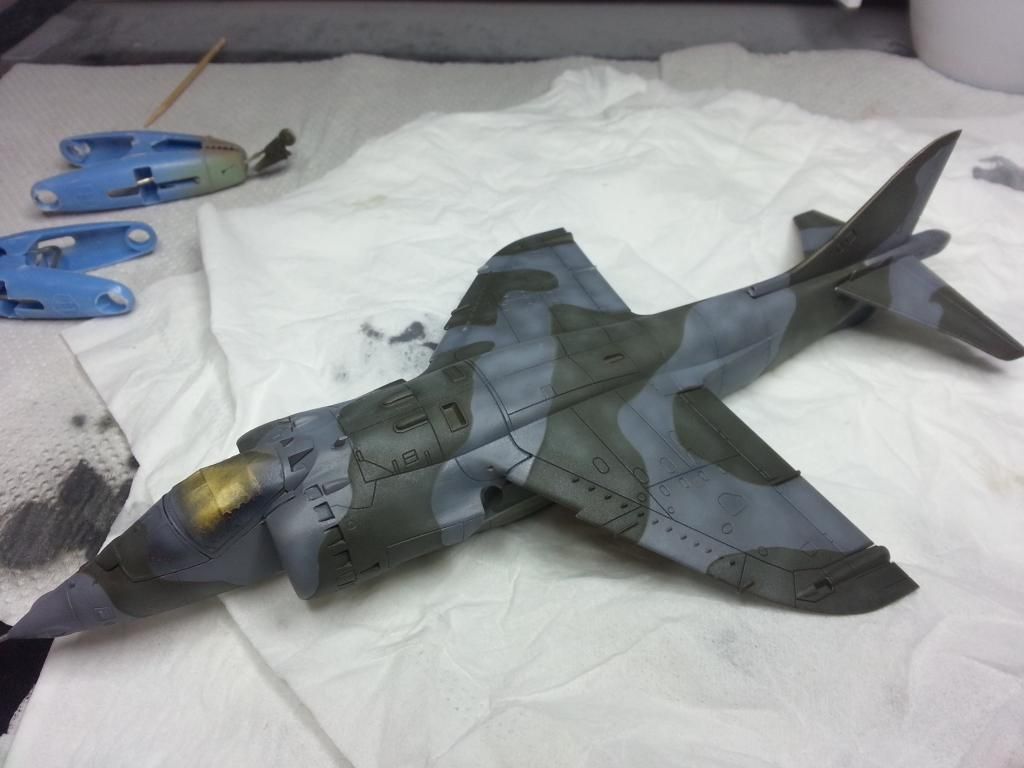 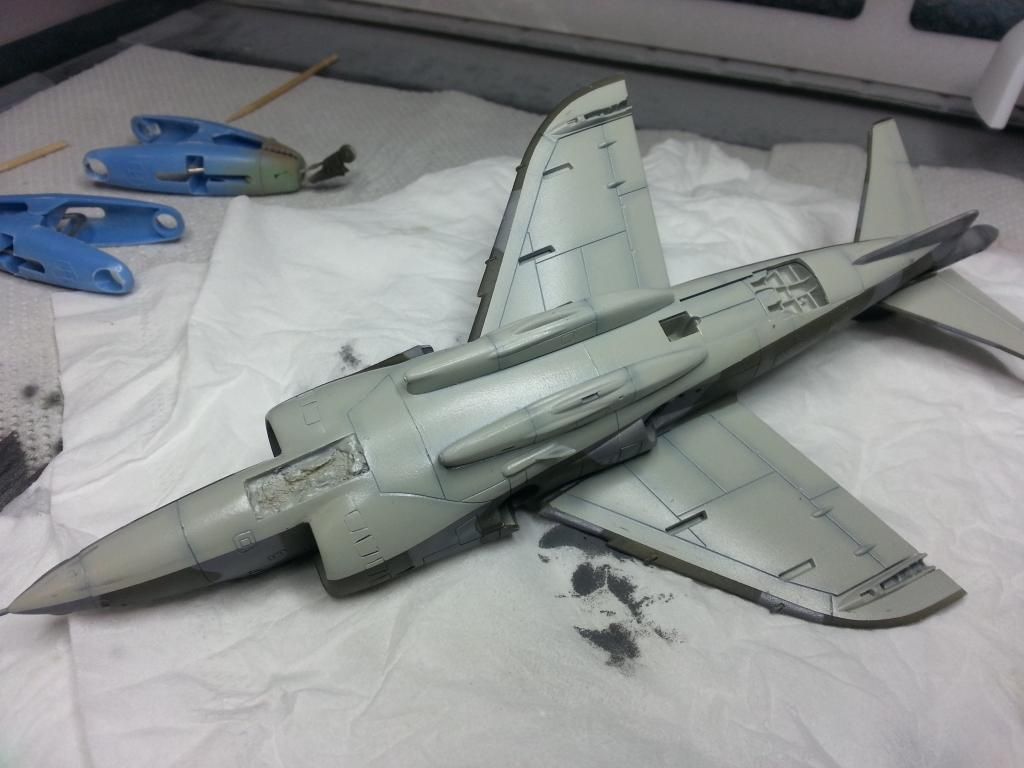 So that is where we are currently at folks, this week I will lay down some Future and then start on the decals. Then I have some Mig washes I am dying to have a crack at!!   Stay tuned true believers! Cheers, Sam 
|
|
|
|
Post by deafpanzer on Aug 4, 2014 11:45:58 GMT -5
WHOA WHOA WHOA! Lovely camo work there!!!
|
|
|
|
Post by wbill76 on Aug 4, 2014 14:03:43 GMT -5
All that masking work paid off Sam. Very nice camo pattern for sure.
|
|
|
|
Post by imatanker on Aug 4, 2014 18:14:36 GMT -5
Way to go Sam. That's righteous Guy  |
|
|
|
Post by TRM on Aug 4, 2014 20:36:11 GMT -5
Some excellent painting there Same!! She is looking mighty fine!!
|
|
venom1
Full Member
  
Member since: October 2012
Posts: 1,369
Oct 10, 2012 2:40:03 GMT -5
Oct 10, 2012 2:40:03 GMT -5
|
Post by venom1 on Sept 5, 2014 0:26:45 GMT -5
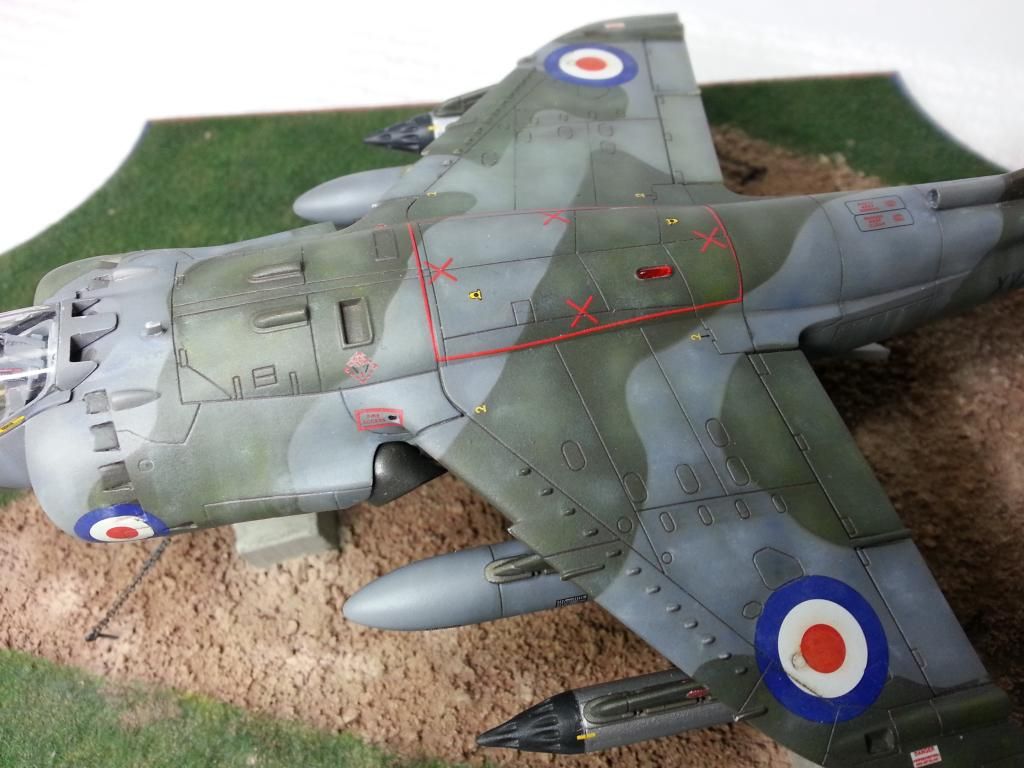
Righto lads, seeing as how it has been a month since the last update, figured I had better pull me finger out and post some more stuff!  What's next you ask? Glad you asked! Decals and weathering..... so, onward and upward!  First up, after a half a dozen brush coats of Future to gloss things up, I went hard on the decals. There were quite a lot for such a little plane!! This took the best part of 4 evenings (roughly and hour each evening). The red walkways on top of the fuselage were particularly fiddly as they were 4 separate stripes that had to be lined up individually. You need to put all 4 on in quick succession and then manipulate them into position as Airfix has the lengths exactly right so there is no room for a misfire! In the end though, it was a lot more stressful in my brain than in reality. Came together without a hitch!  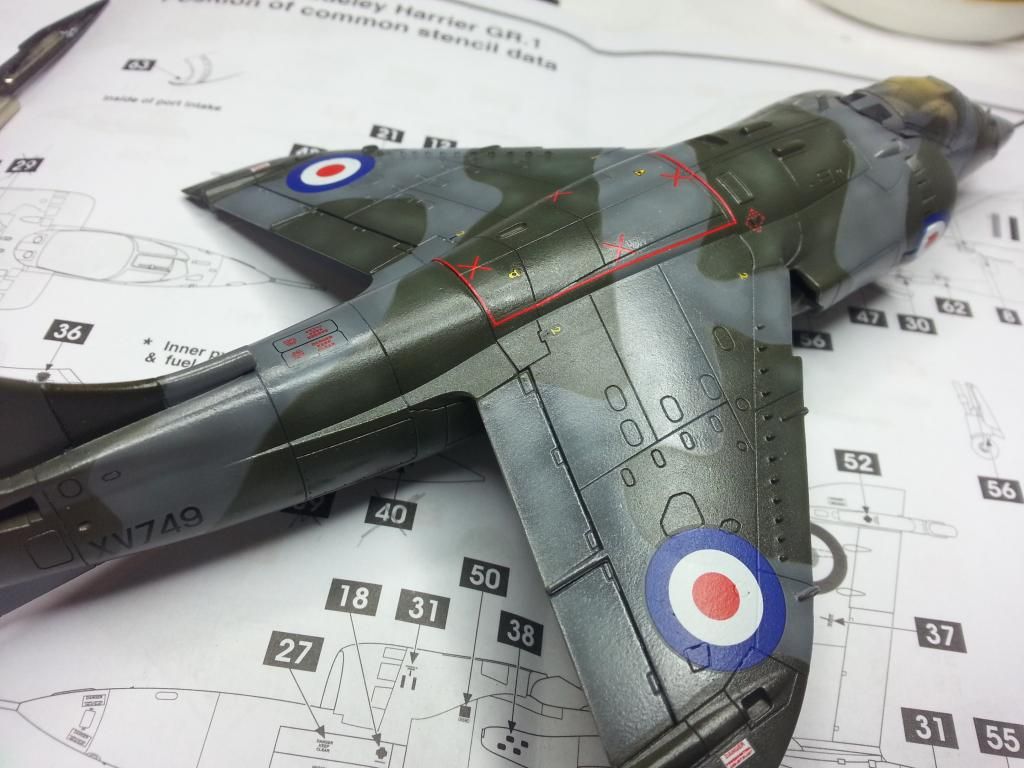 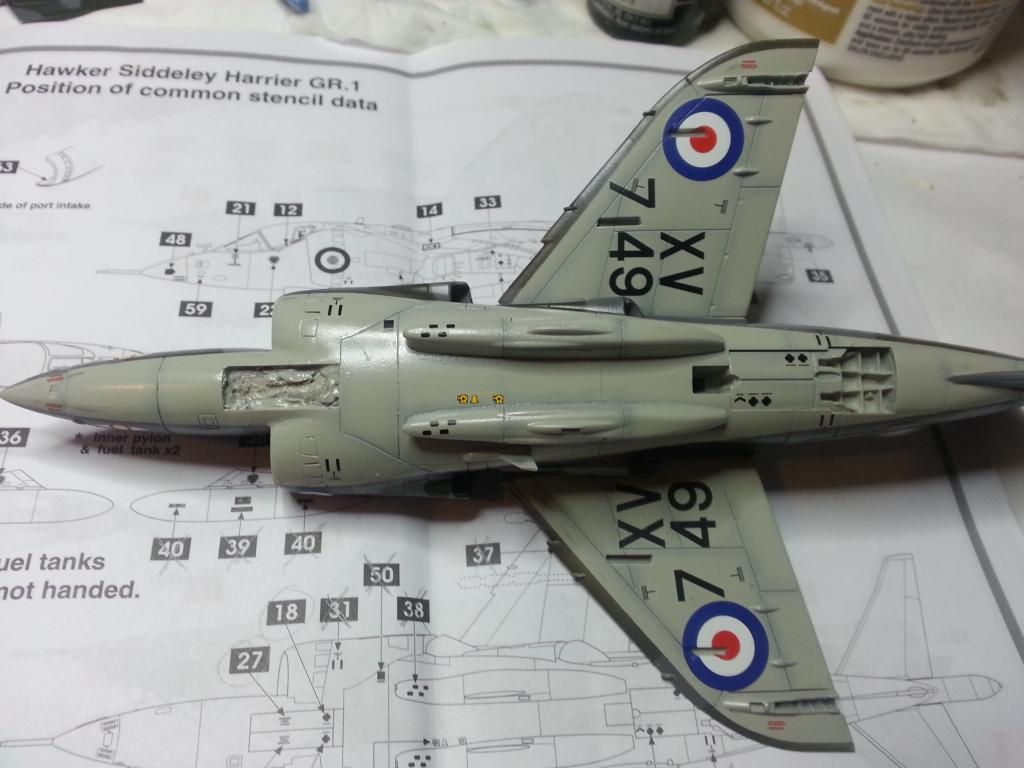 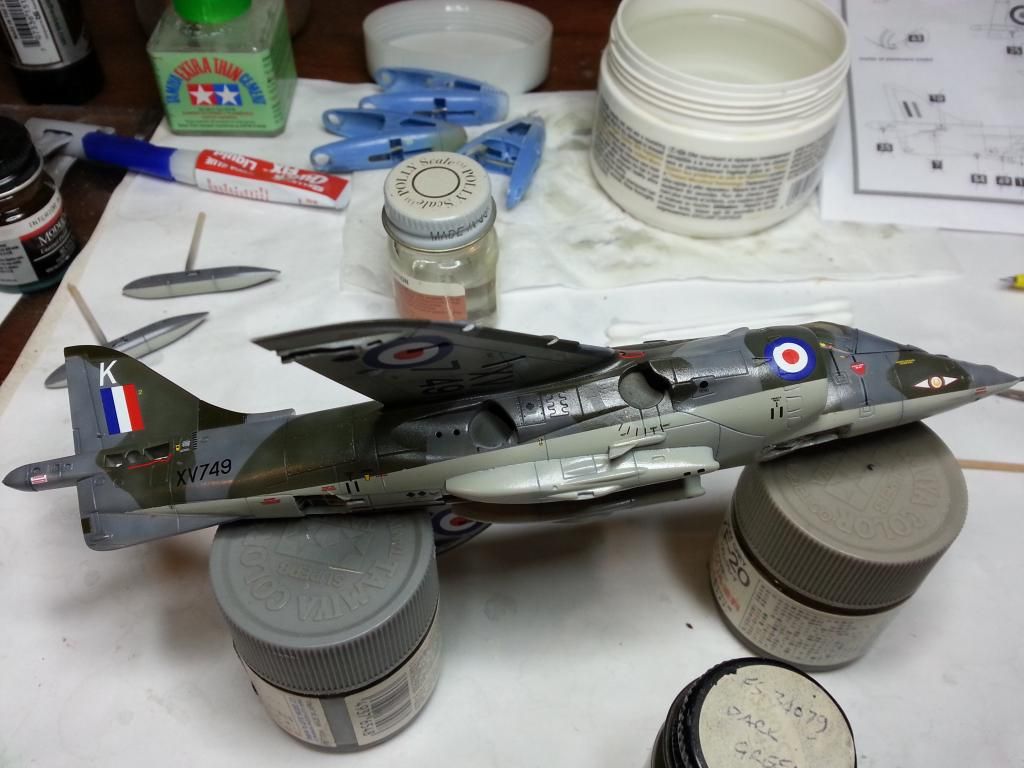 Next up was a few more Future coats to seal them in, followed by my favourite flat coat by Gunze. After that it was time for something completely new! I have in my posession all of the Aircraft Weathering sets by Mig, so it was time to have a crack. I picked out two sets that I thought were appropriate and got cracking! I used Neutral Brown from the RAF Fighters and Bombers Set for the dark green areas, Deep Grey from the US Navy Grey Jets set for the dark grey areas, and Medium Grey from the same set for the underside grey. 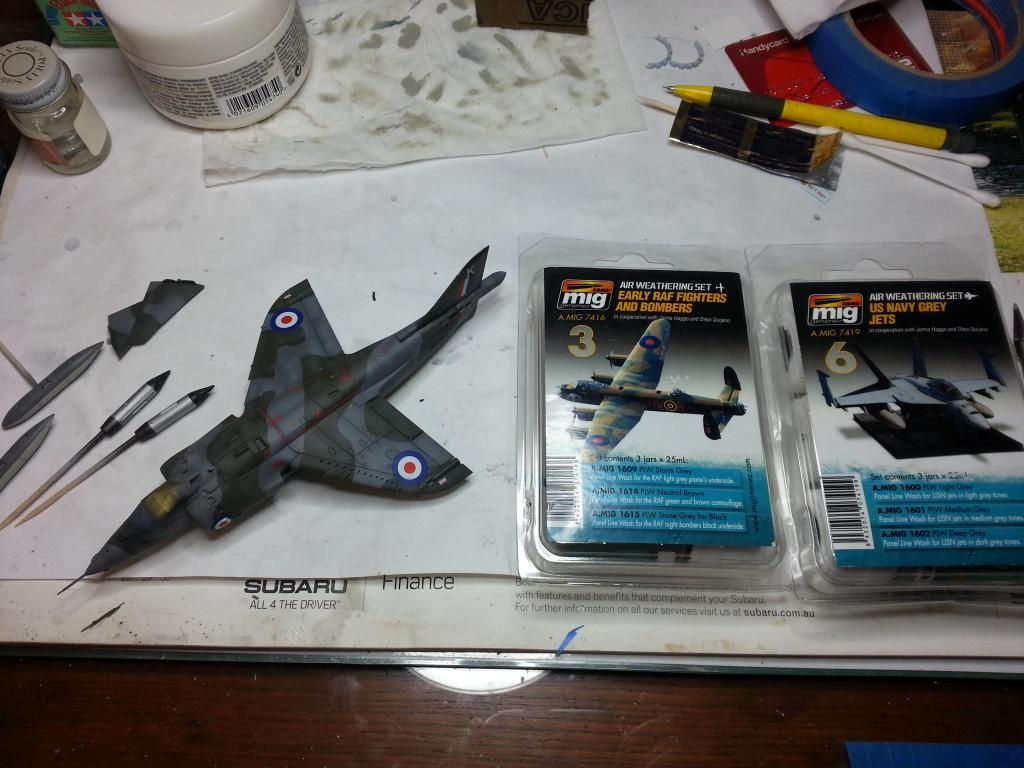 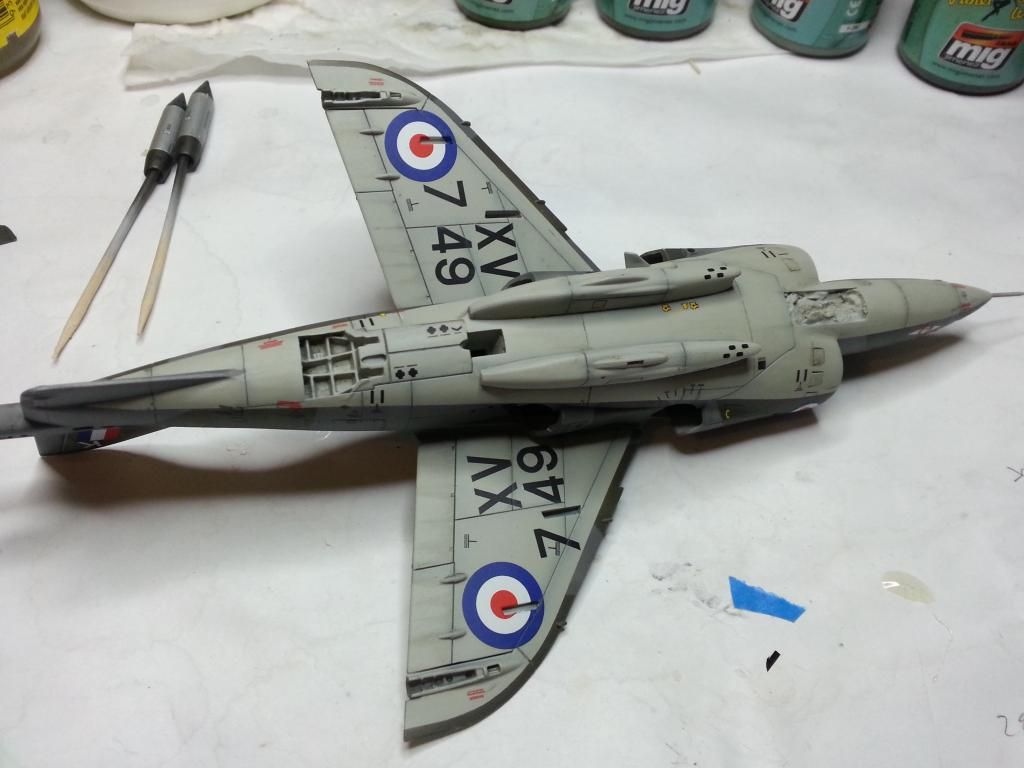 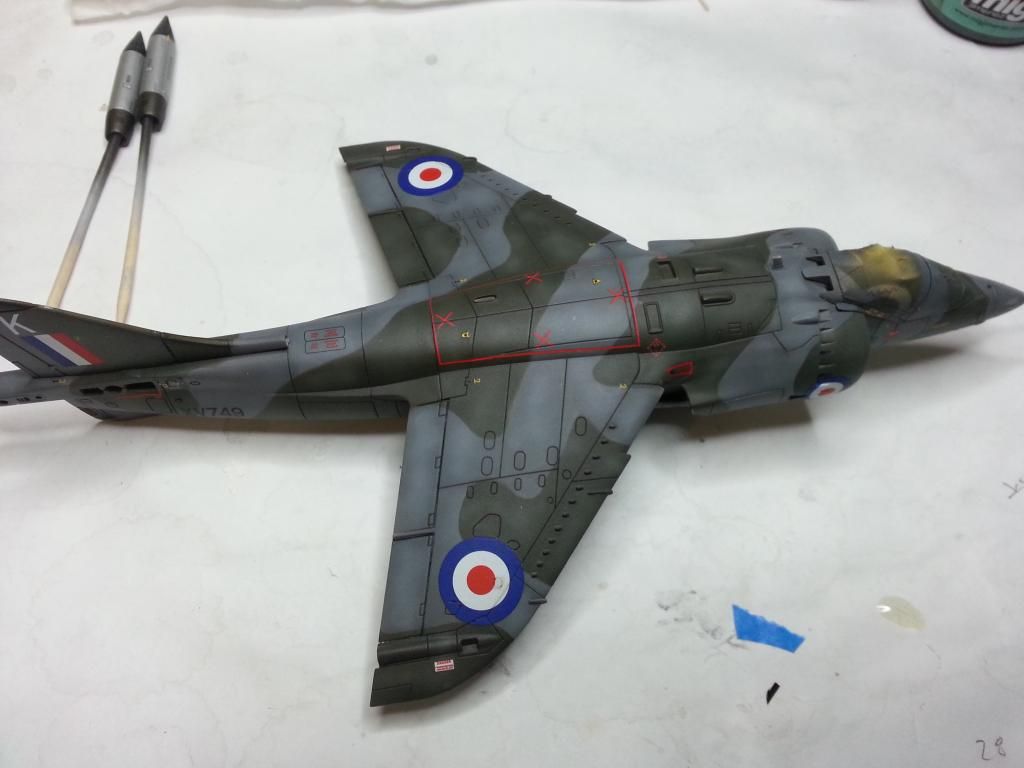 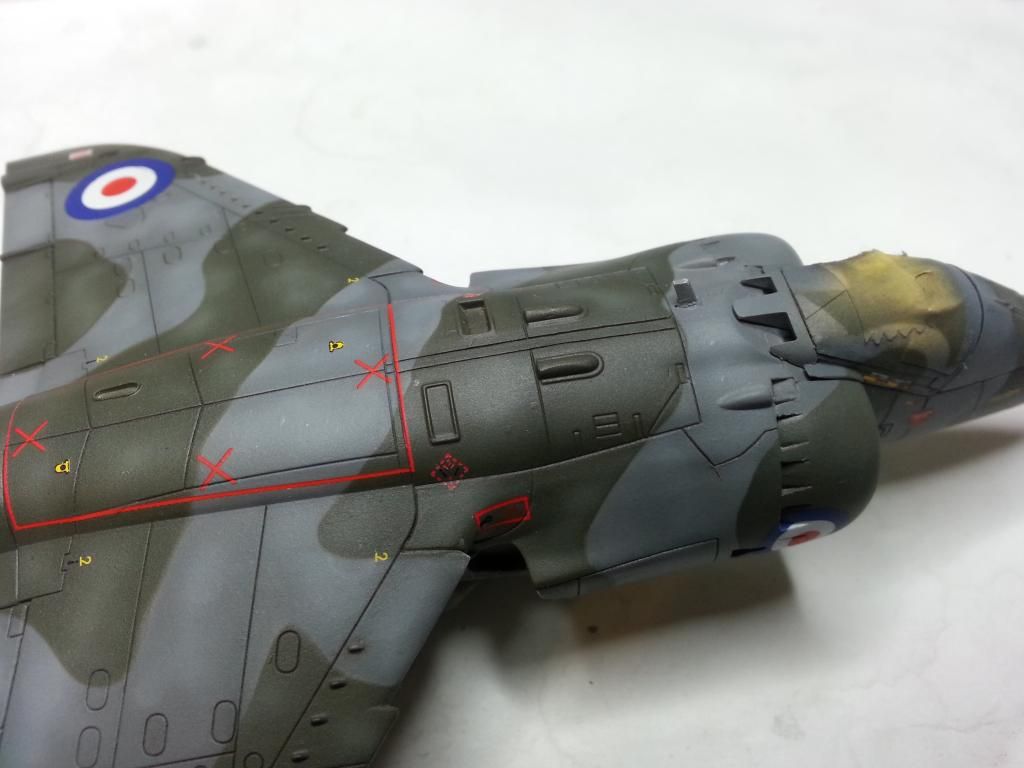 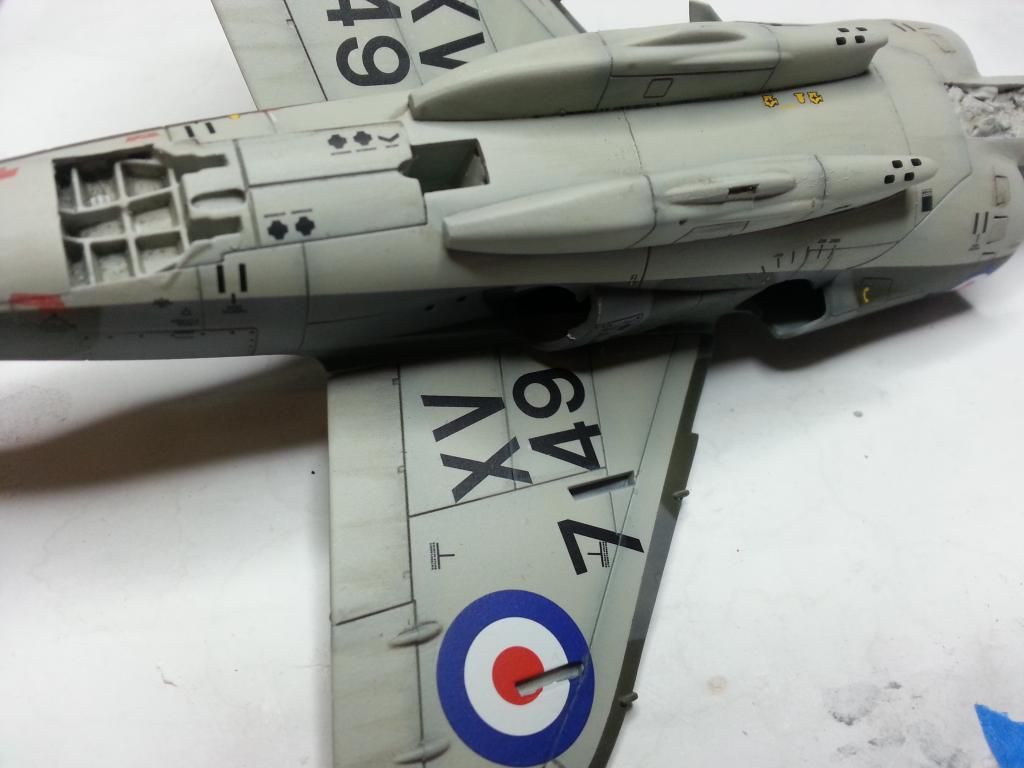 Pretty happy with how it turned out, and a damn sight easier than mixing my own! Highly recommend these beauties for anyone who is yet to try them.....  Finally, I got onto further weathering using the oil dot method which I have grown to love. Using various colours dotted around the aircraft, and working one section at a time, I blended them in until I achieved the result I was after. 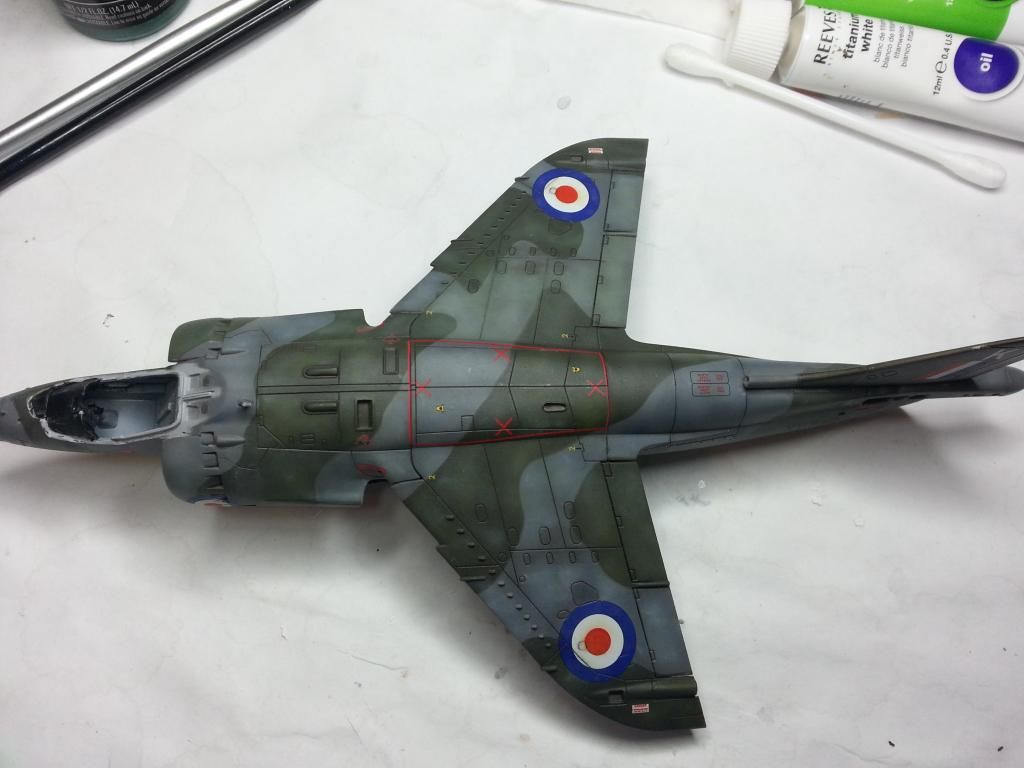 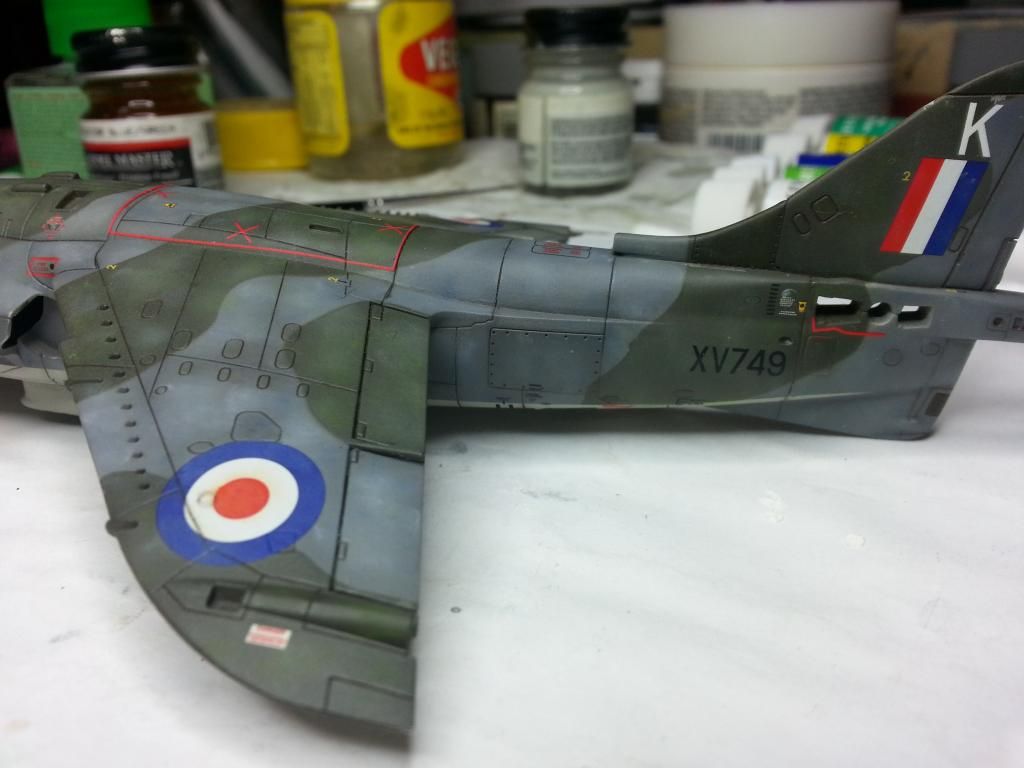 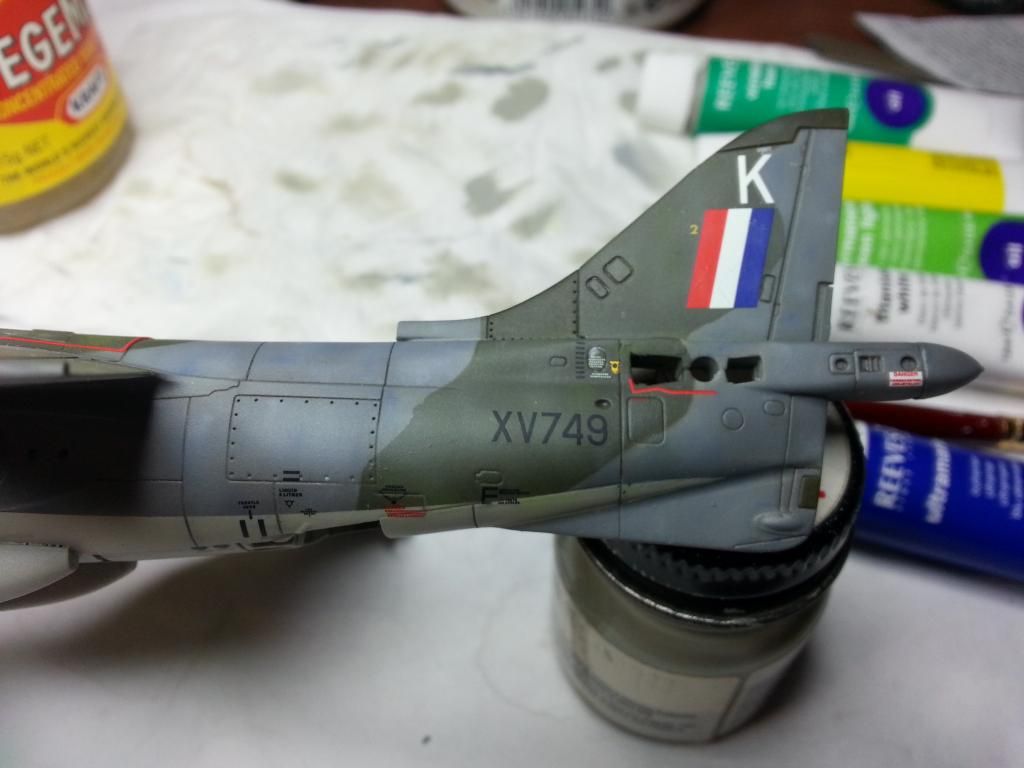 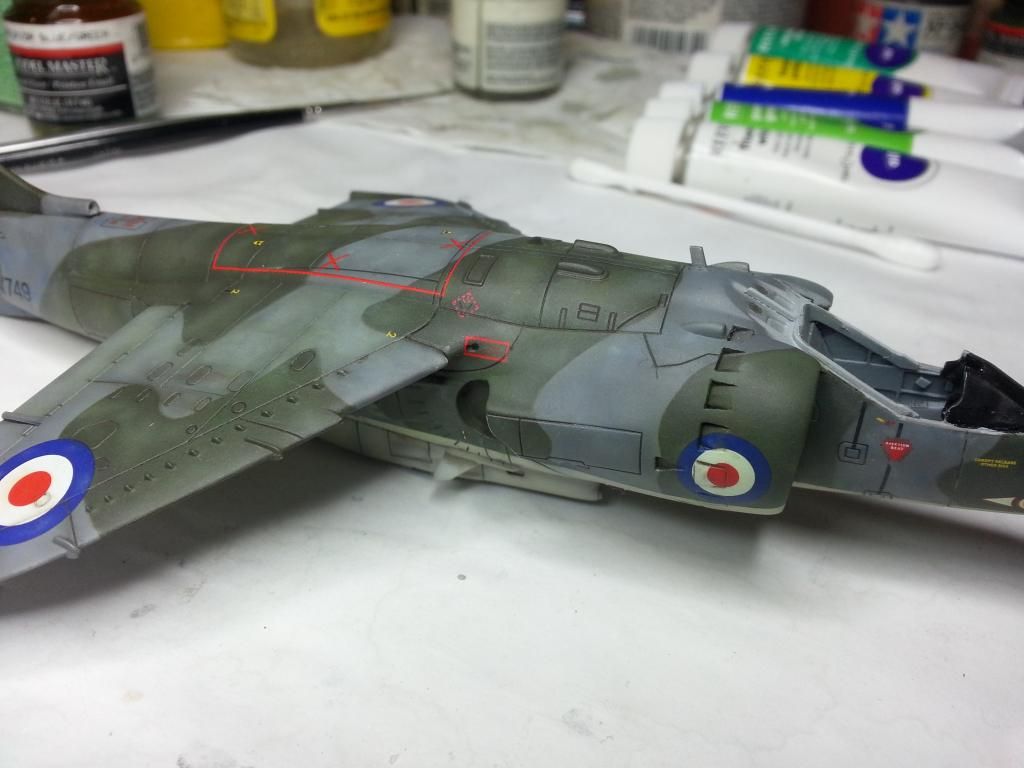 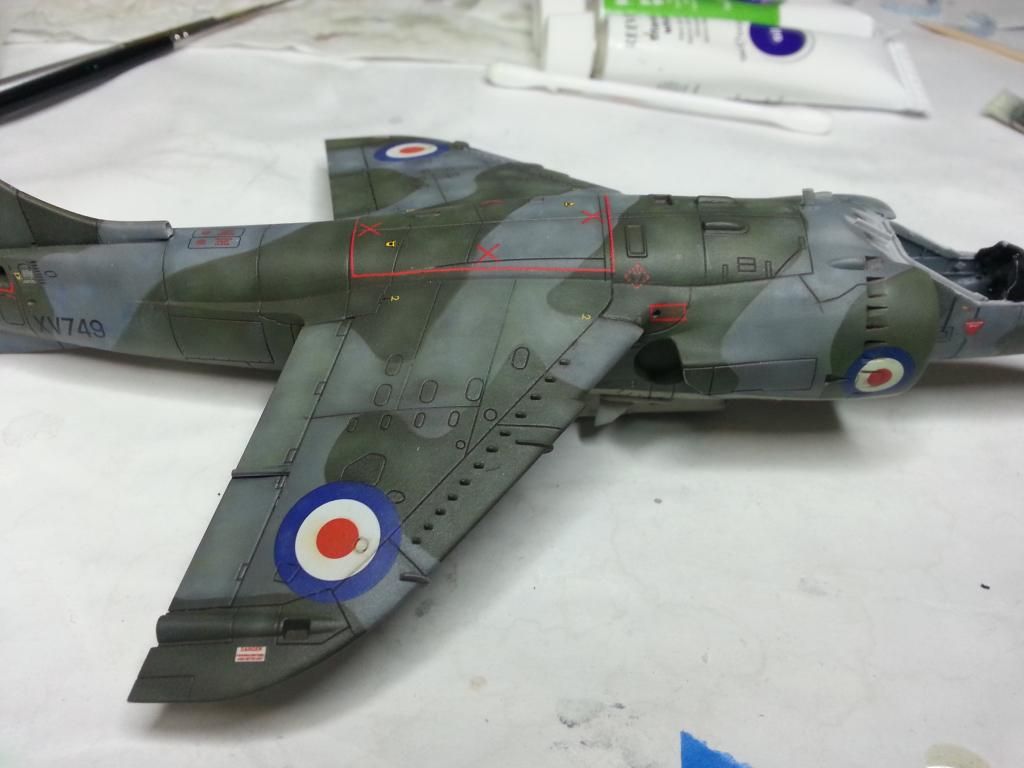 And that is where we stand at the moment. I need to get my backside into gear as I have this entered into our local model show WASMEx which is on next weekend. Still a bit to do so must dash!!  Should have more updates within a week or two! Cheers, Sam  |
|
|
|
Post by deafpanzer on Sept 5, 2014 12:43:49 GMT -5
Holy smoke!!!! One of best camo job I have seen... love it!!!
|
|
|
|
Post by bullardino on Sept 5, 2014 12:46:33 GMT -5
Stunning job, it looks way bigger than 72nd.
|
|
|
|
Post by TRM on Sept 5, 2014 13:15:52 GMT -5
Pretty bird Sam!! Well done on the camo decs! Looking forward to you banging around with those New AMMO sets!!  |
|
|
|
Post by wbill76 on Sept 5, 2014 13:44:35 GMT -5
Sweet looking progress on this one Sam! Got to love the way all those details and colors pop on this little baby.
|
|
|
|
Post by imatanker on Sept 7, 2014 4:14:58 GMT -5
Smokin' Dude. That looks awesome.  |
|
Rick
Full Member
  
Member since: March 2013
what to build, what to build . . . Ok THAT one!
Posts: 854 
|
Post by Rick on Sept 7, 2014 21:22:17 GMT -5
Way to roll on this one Sam. Love the camo and shading. Awesome!
Rick
|
|
venom1
Full Member
  
Member since: October 2012
Posts: 1,369
Oct 10, 2012 2:40:03 GMT -5
Oct 10, 2012 2:40:03 GMT -5
|
Post by venom1 on Nov 7, 2014 0:34:13 GMT -5
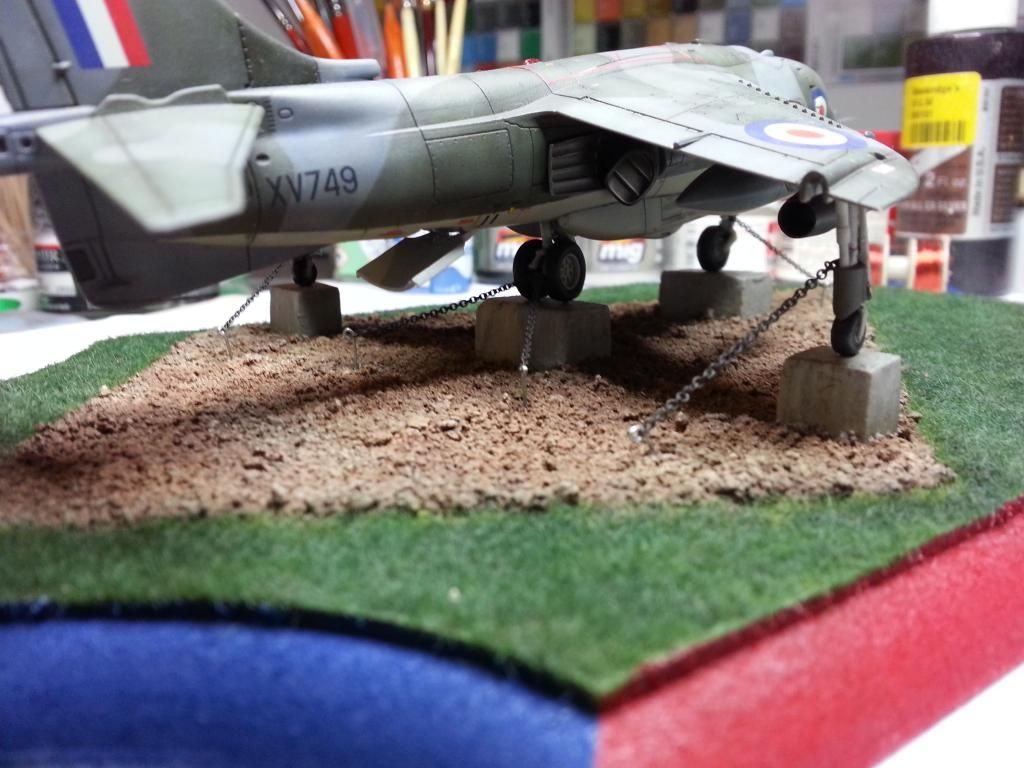
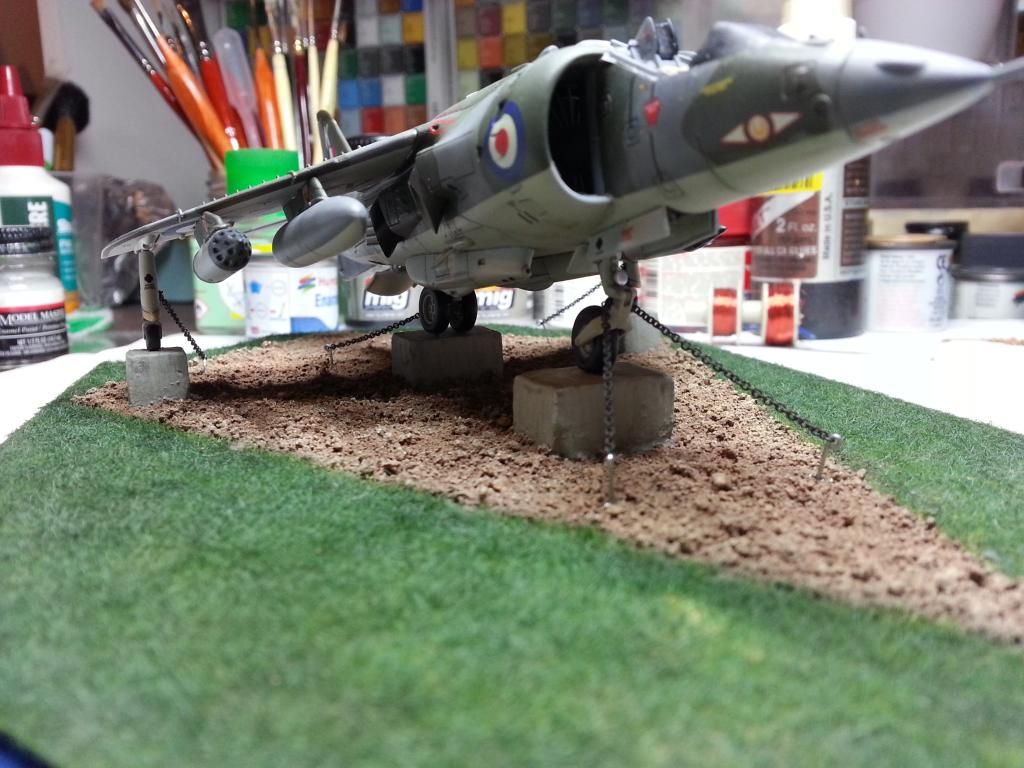
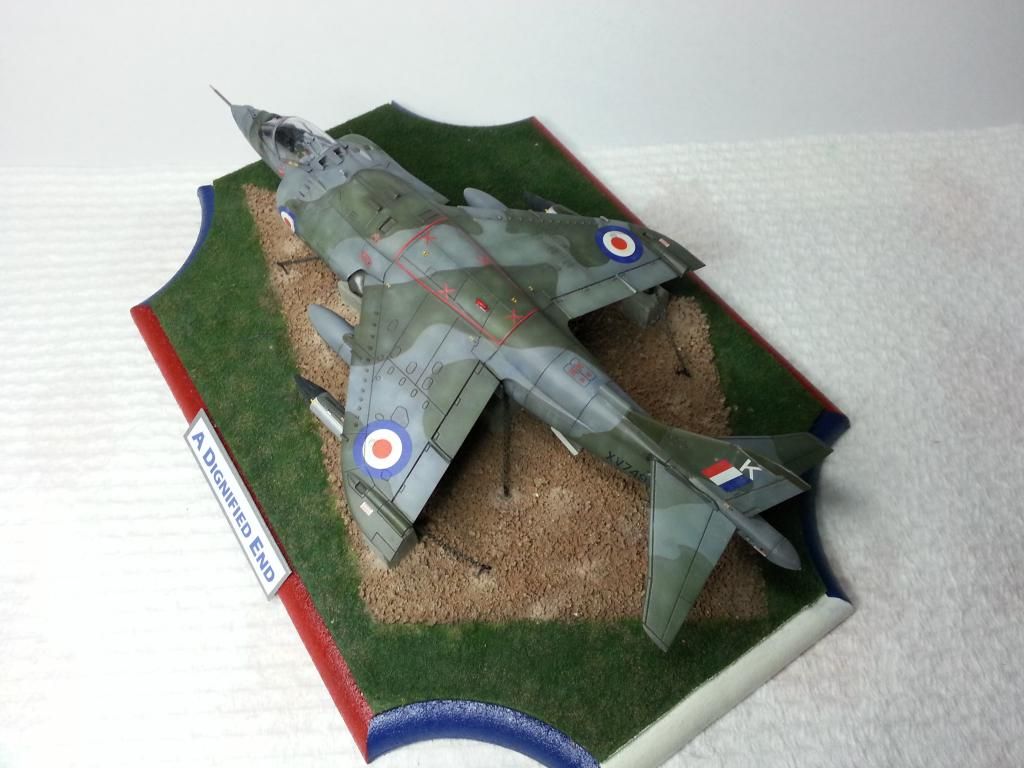
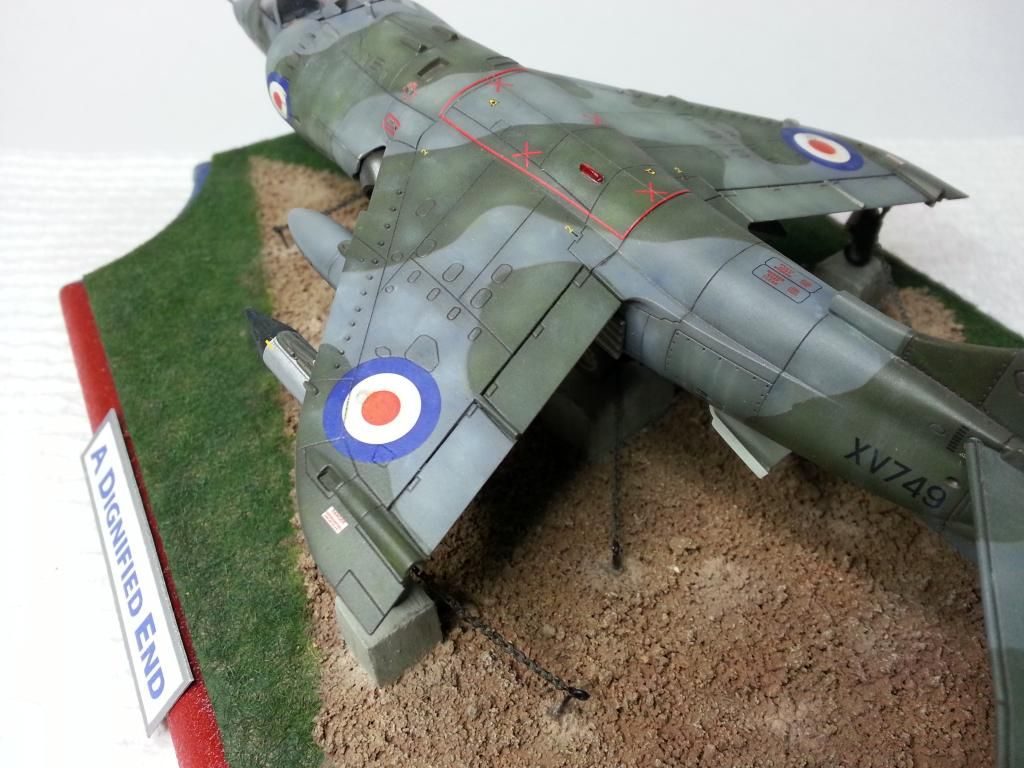
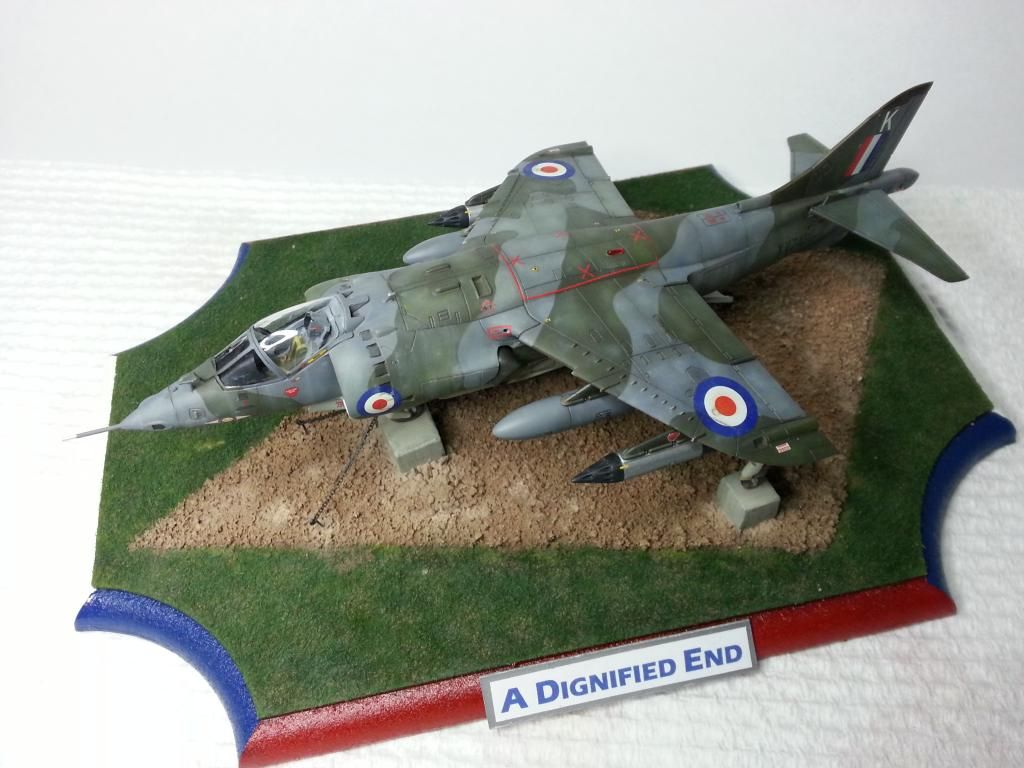
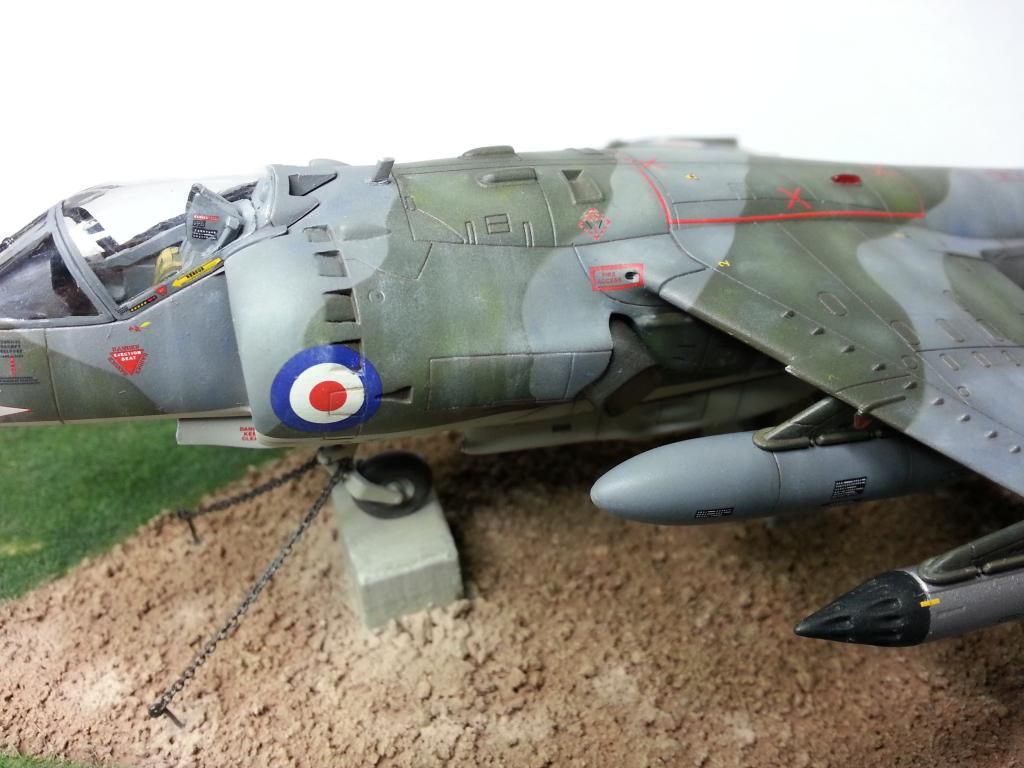
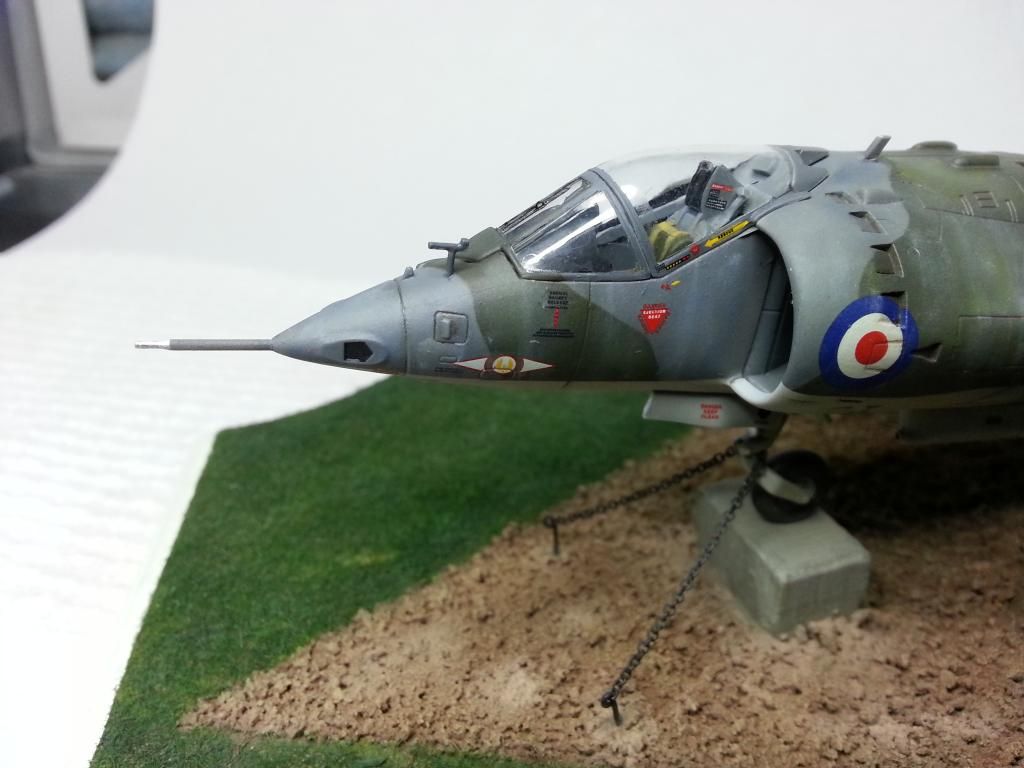
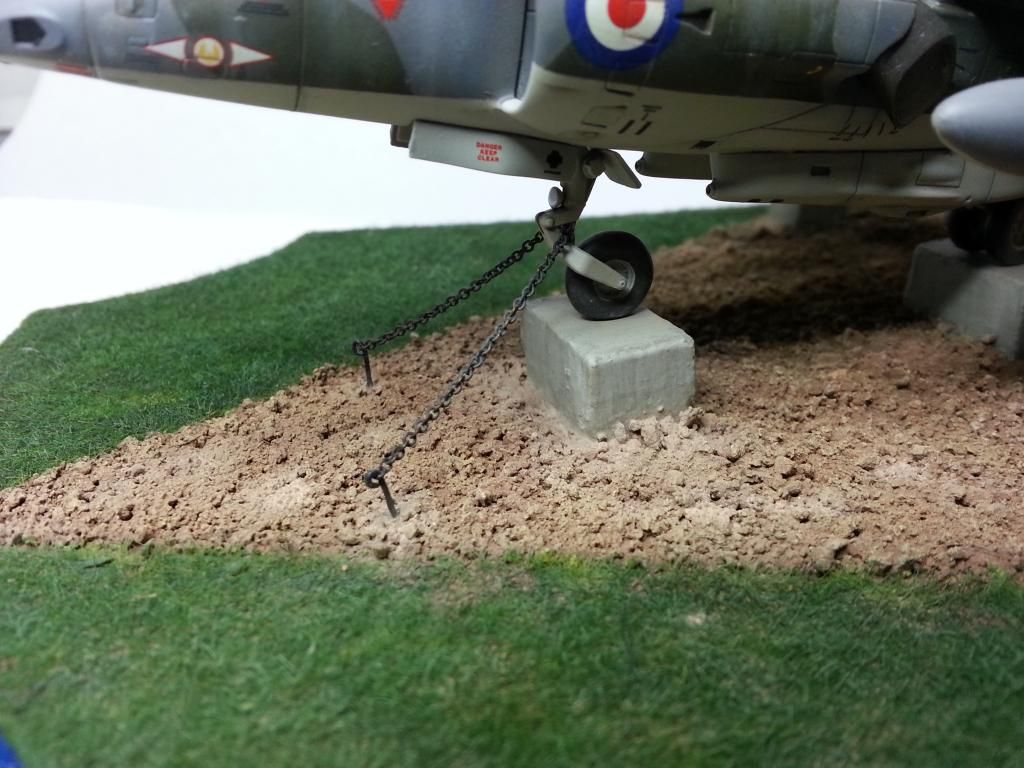
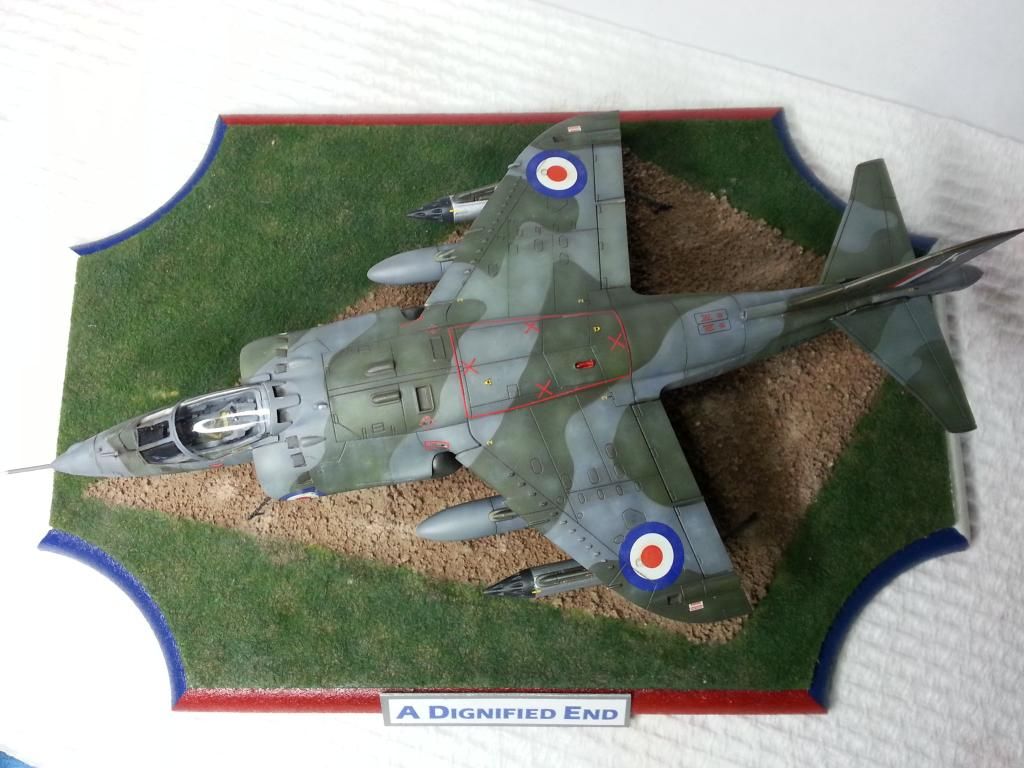
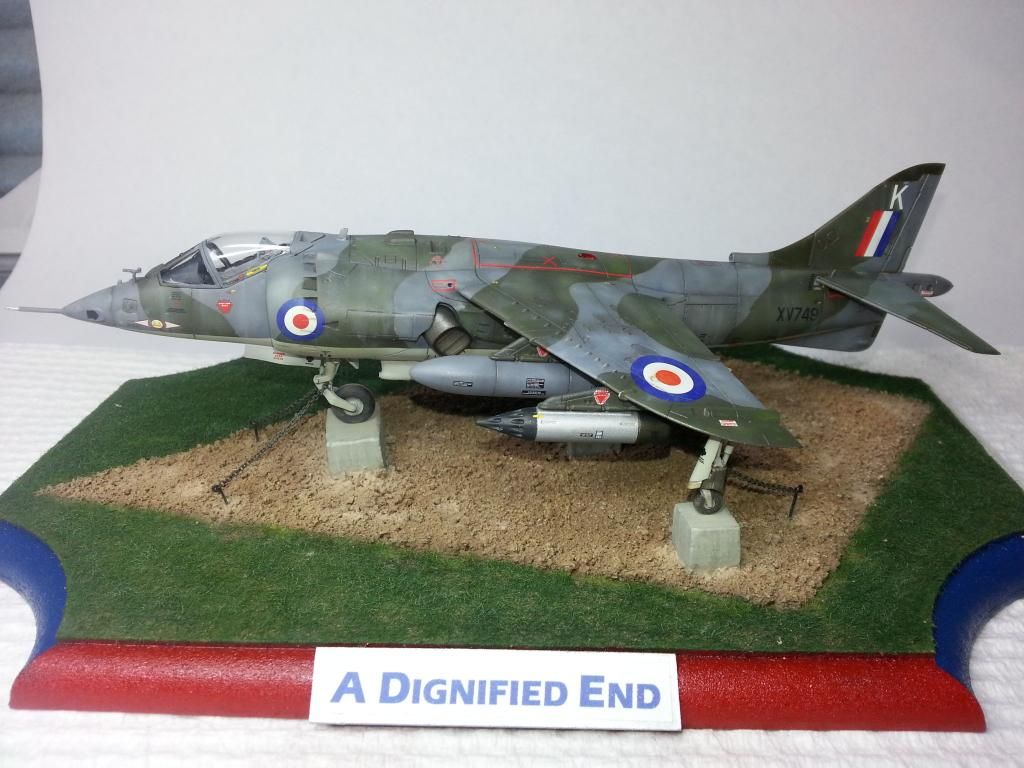
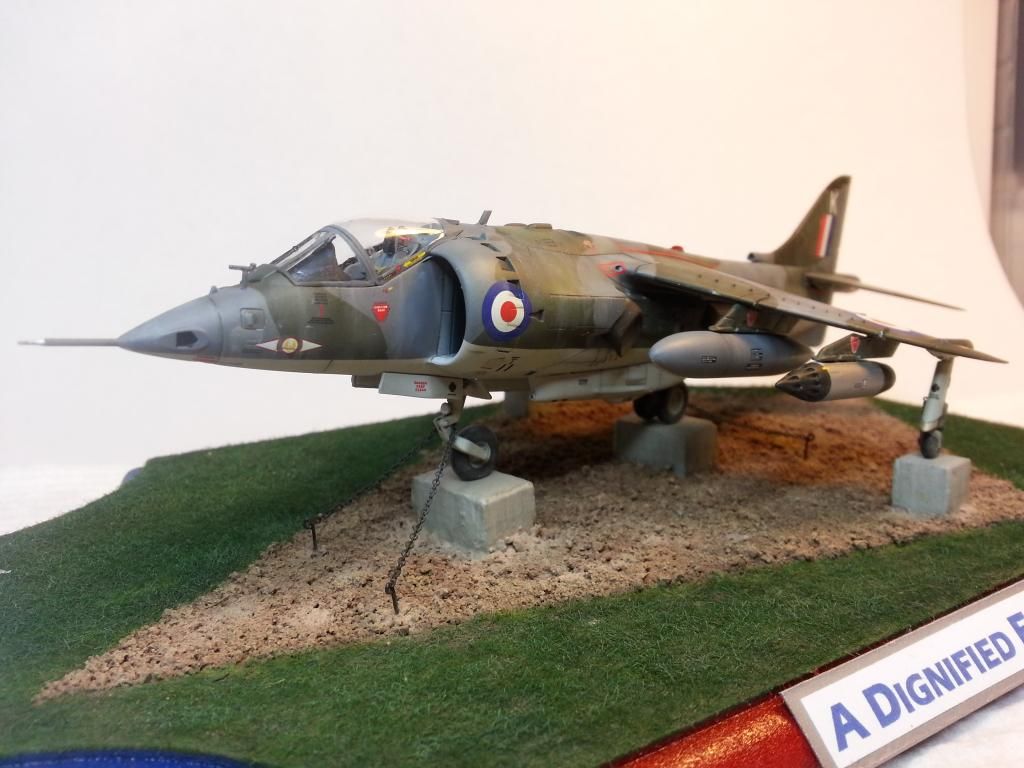
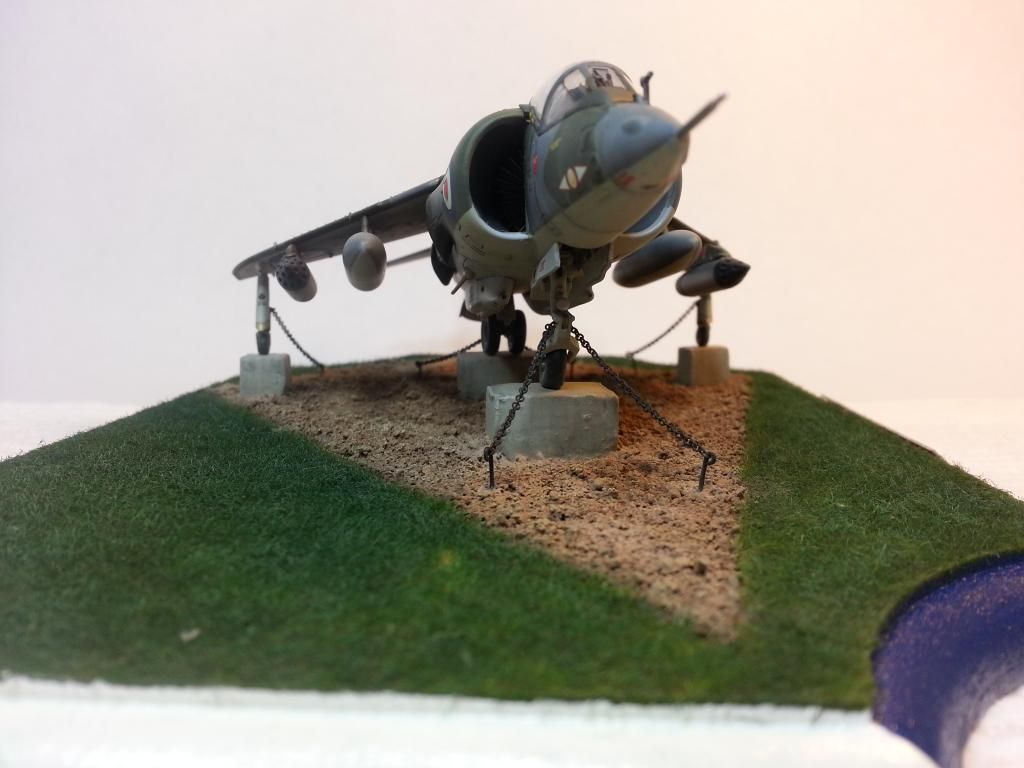
Ok folks,time for another update. Truth be told, this has been ready for quite some time, I just haven't got around to it! Ennyhoo, wi'out further ardoo, let's get on wi' it shall we?  Drop tanks and rocket pods were finished up with a flatcoat once the decals were sorted, followed by a wash. 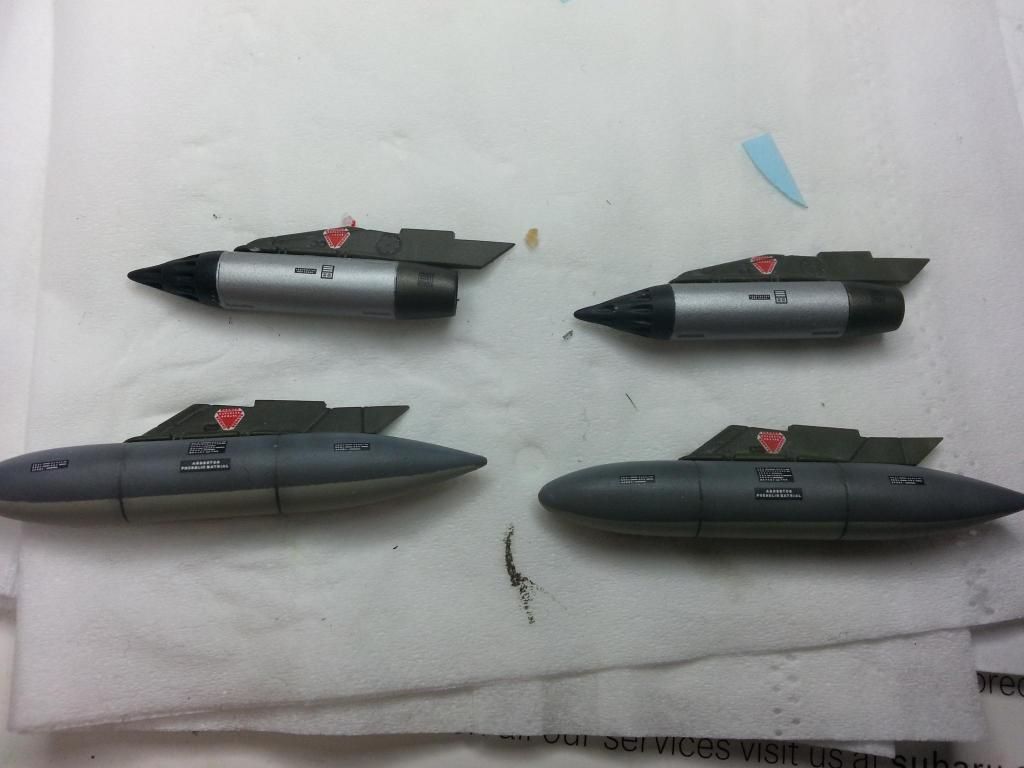 As were all the other bits and bobs.... 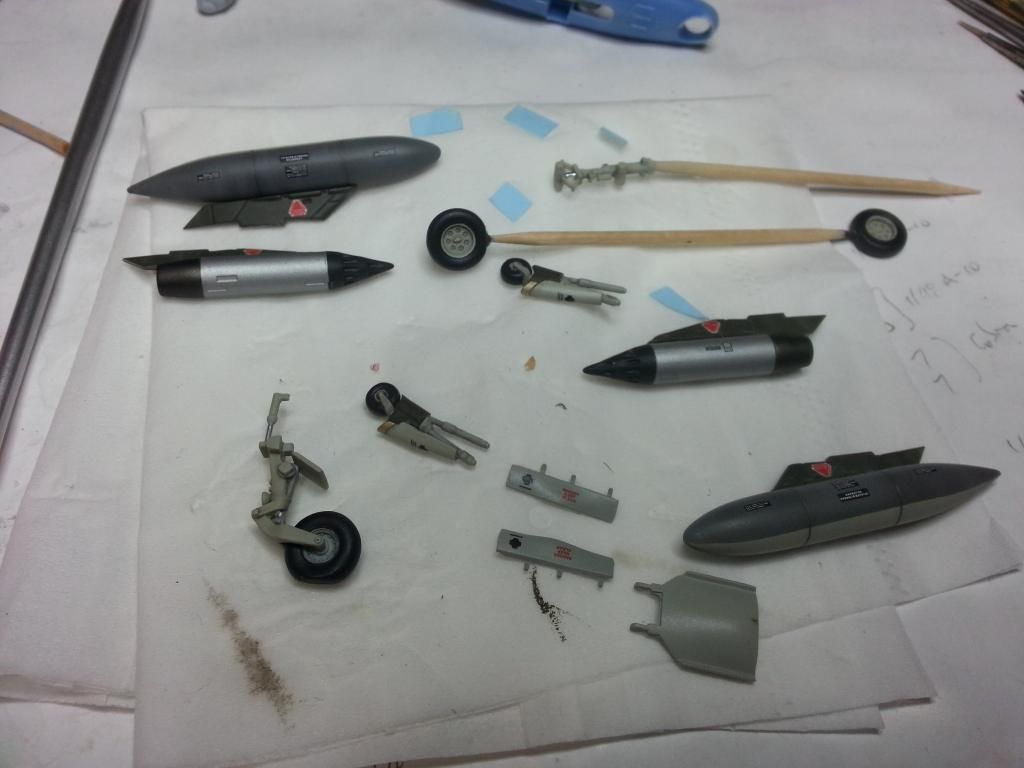 Here we have the nozzles in place to see what they look like. Not bad, not bad.....  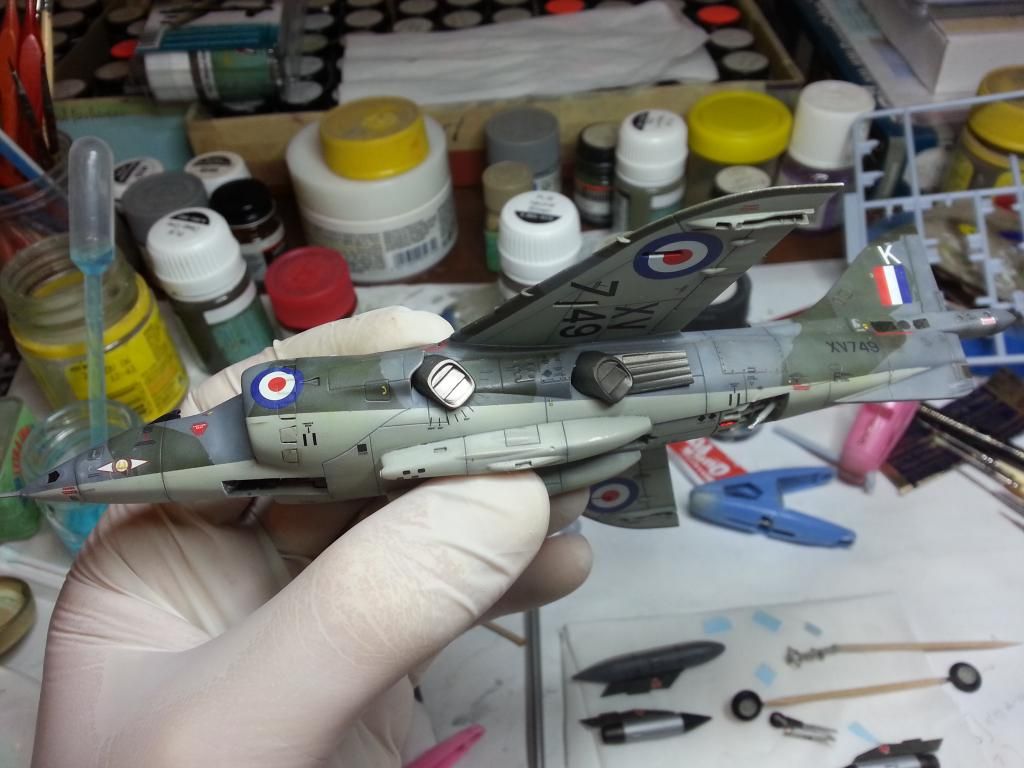 After that I thought I would have a crack at putting her on her legs. Coming along nicely!! (apologies for the rubbish phone camera pic!) 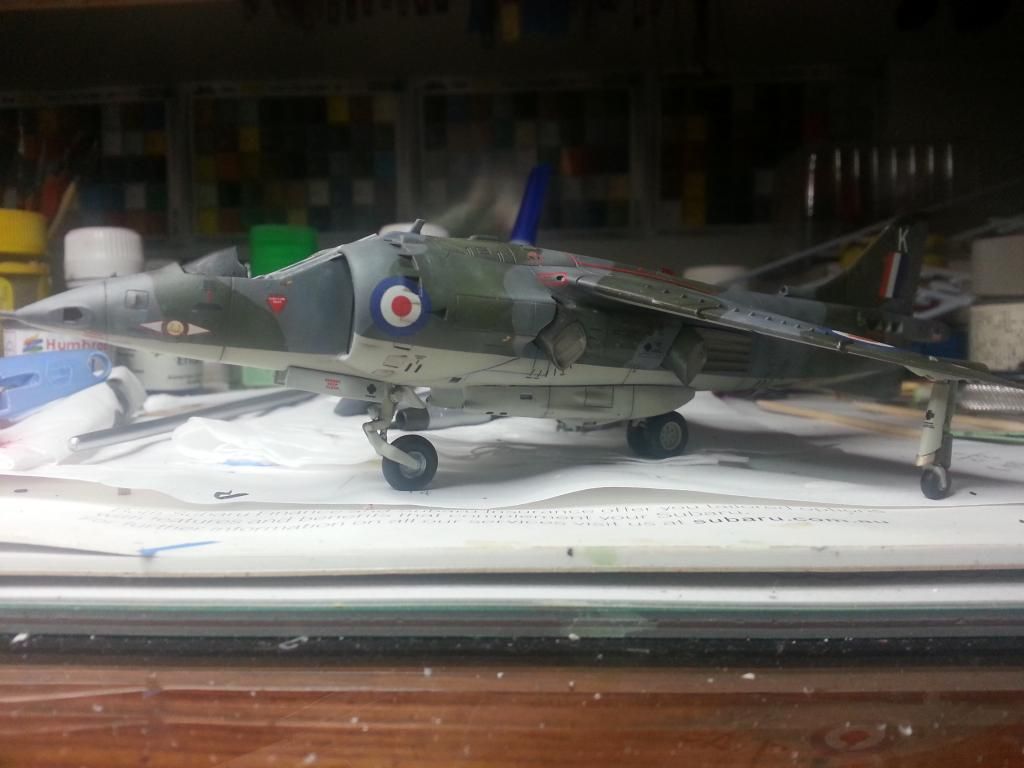 It was at this point I decided I would like to do something a little different than a boring old piece of tarmac. After having a think and a bit of a poke around on the interweb, I decided on a gate guard scenario. Using a couple of pics for inspiration I decided on a setout and what I wanted to do. First up was to choose a base and then draw out the arrangement. Like this... 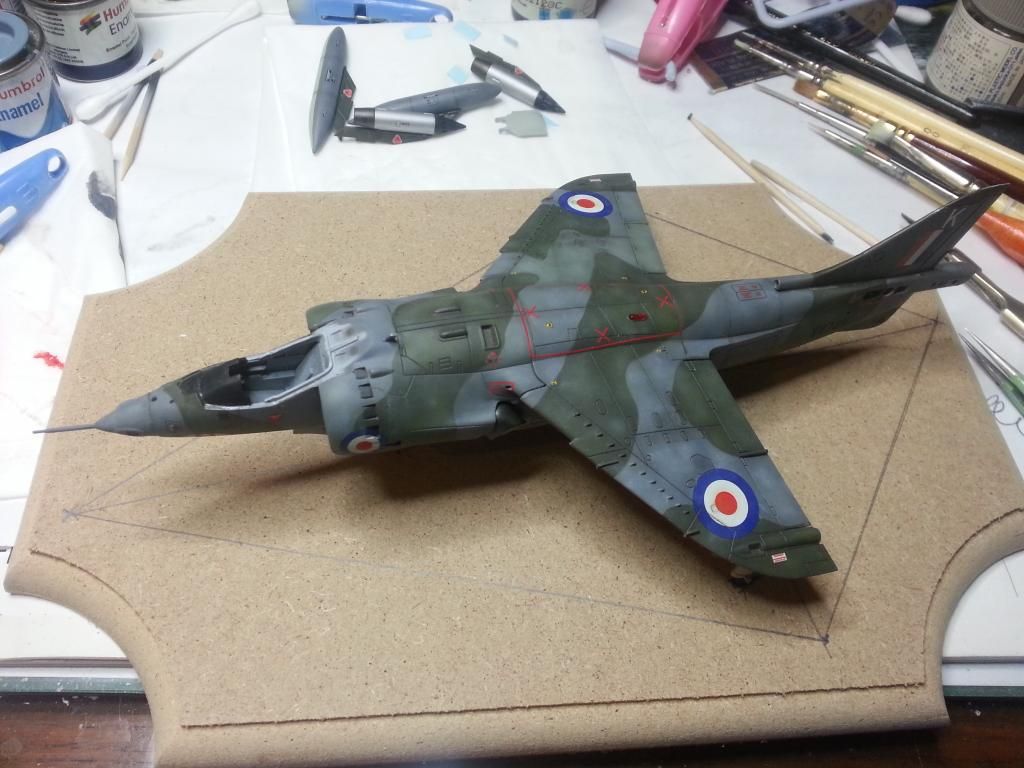 The aim was to sit the ol' girl up on concrete blocks and have her chained down. Next step was to set out the "concrete". These were made simply with scraps of balsa cut to size and superglued to the base. 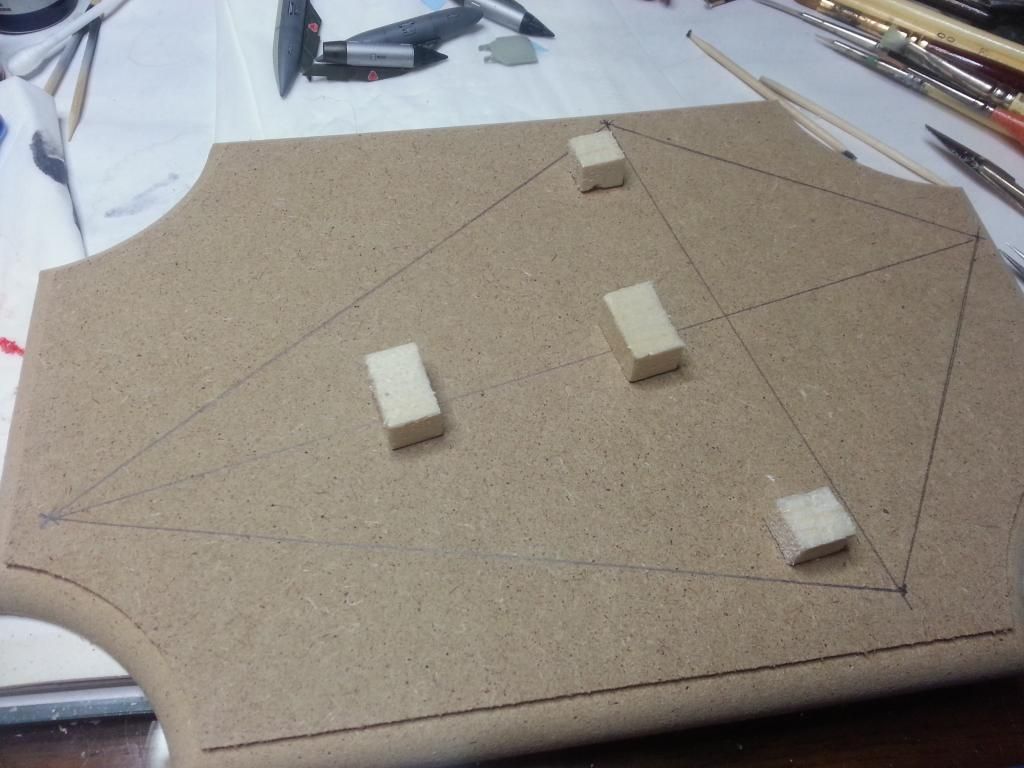 Here she is in place to get a picture of what it will look like. Coolies.  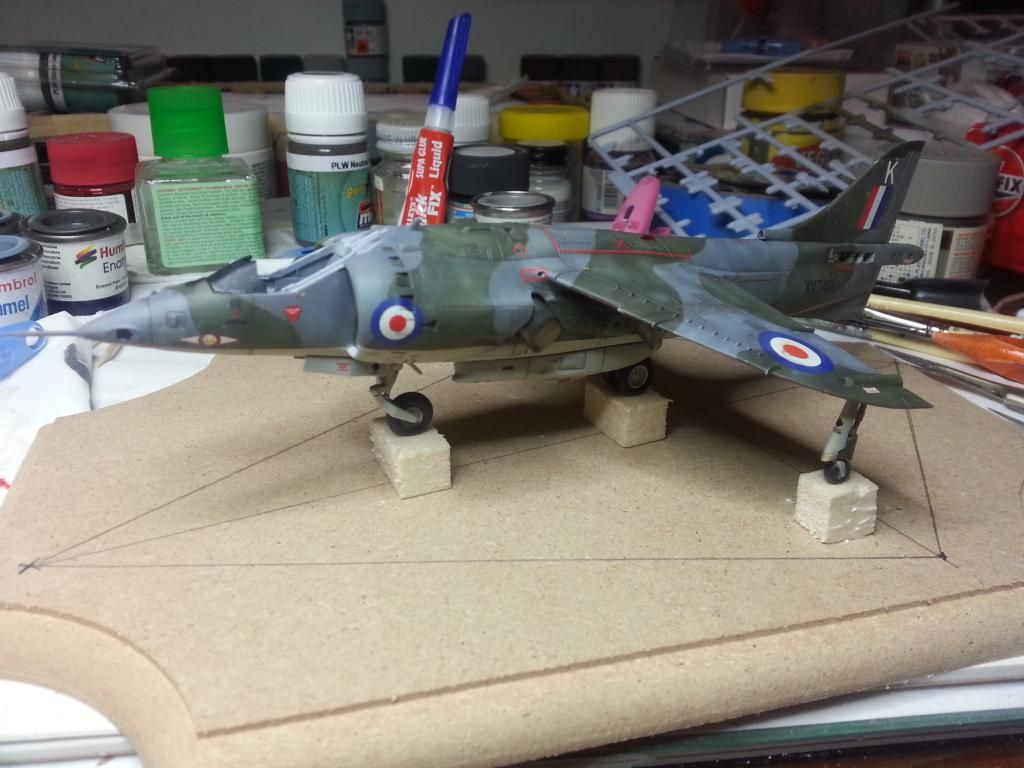 Next up was to cover them in Tetrion (a filler substance a bit like plaster) and when dry, sand them to shape, like this..... 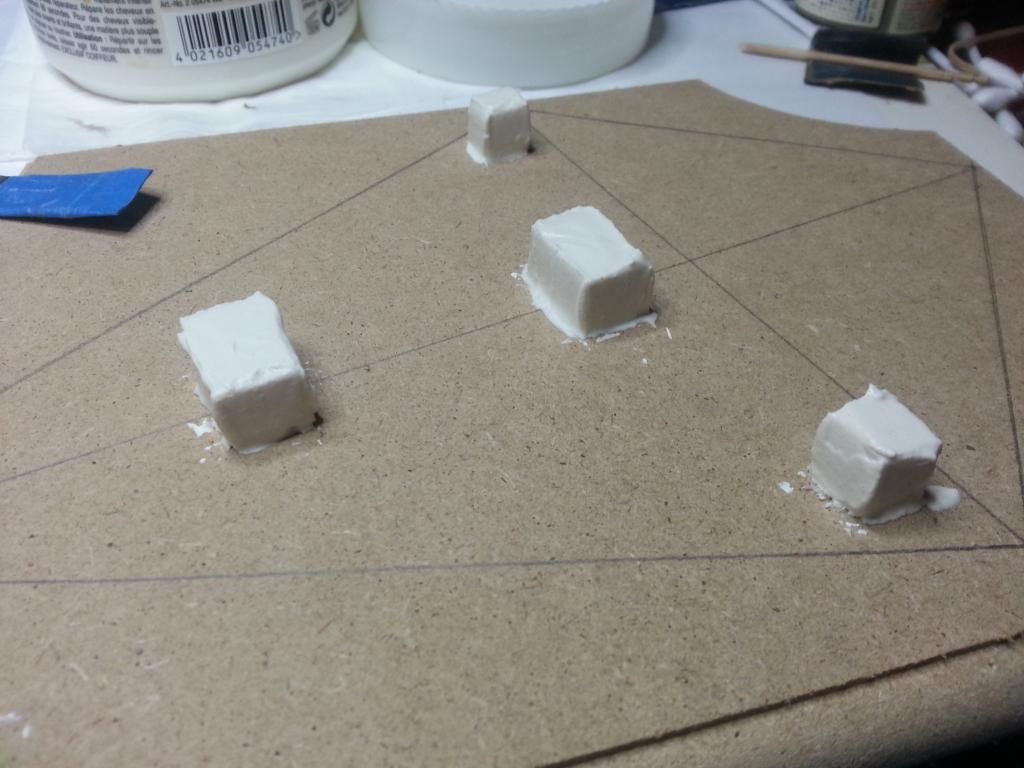 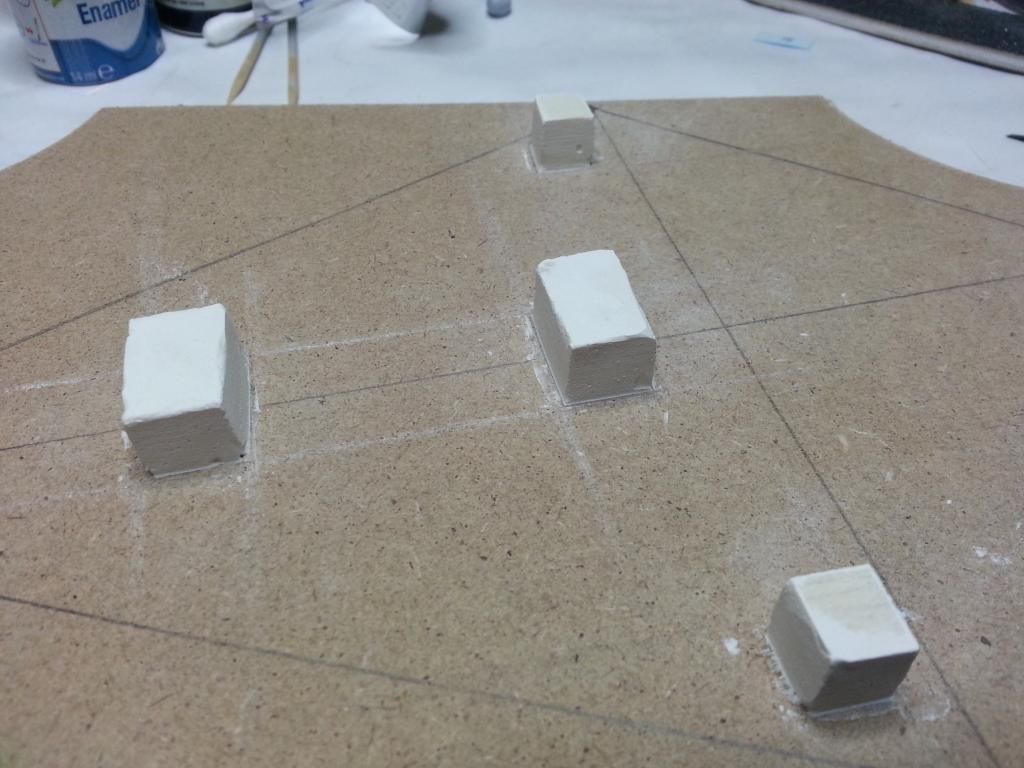 Next up was to do the setout for the "gravel", which was taped off with painters tape. The gravel was done using coloured kitty litter, held down with a mix of white glue and Di-hydrogen oxide (aka water  ). 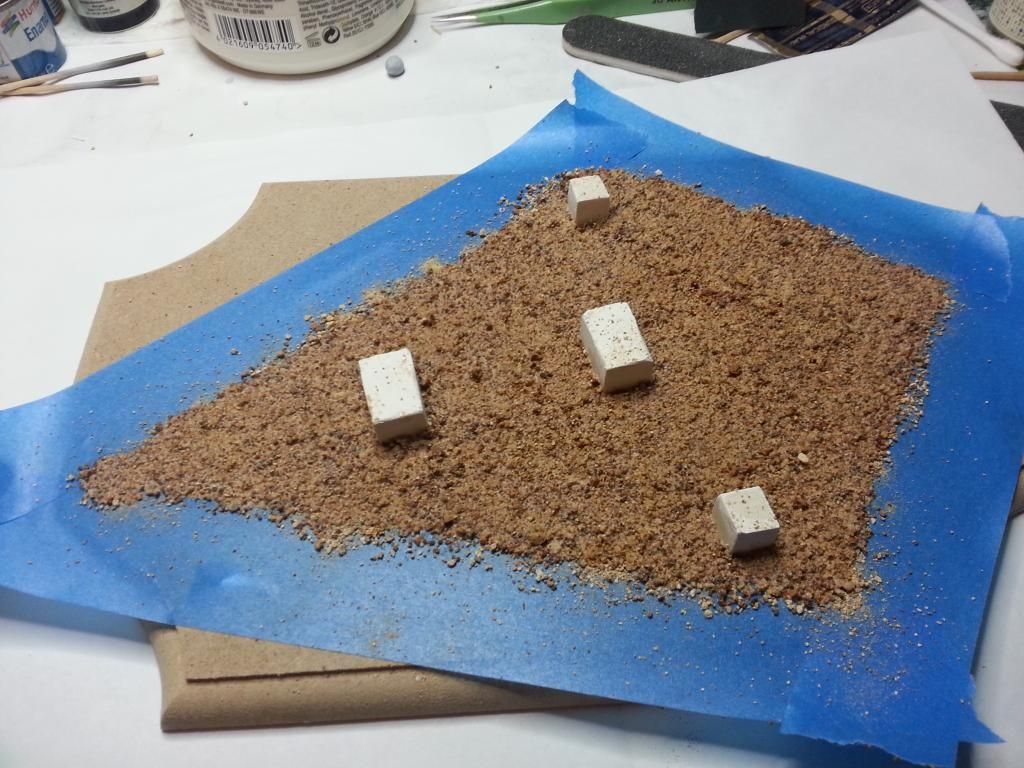 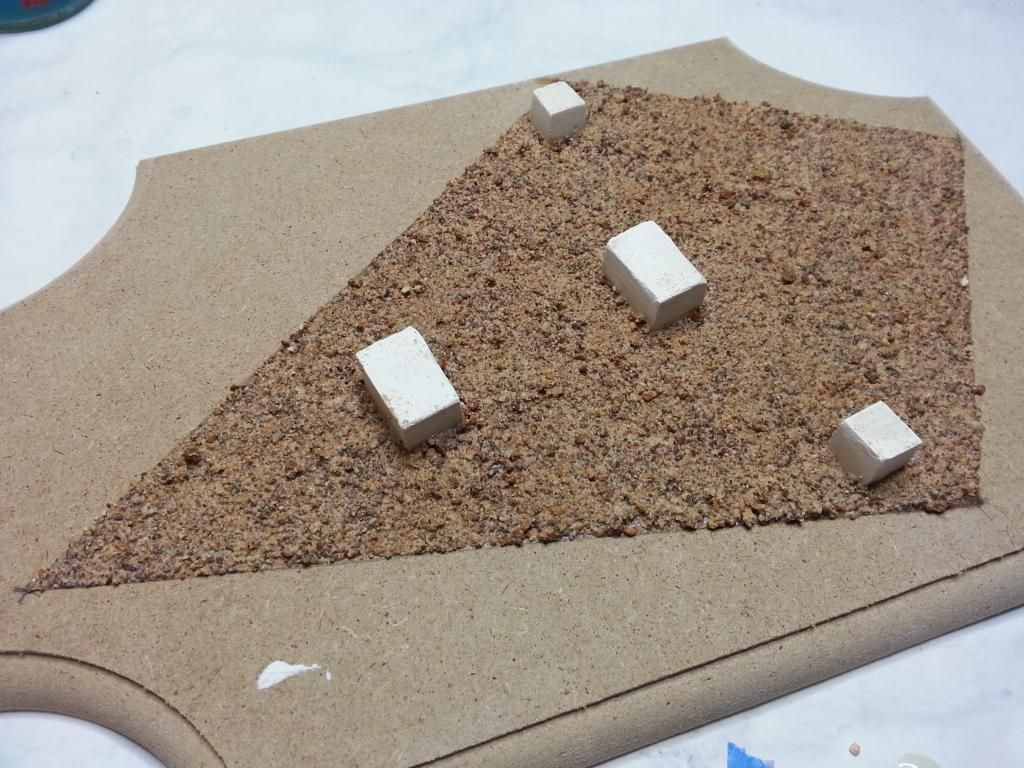 Ol' girl in place once again.... 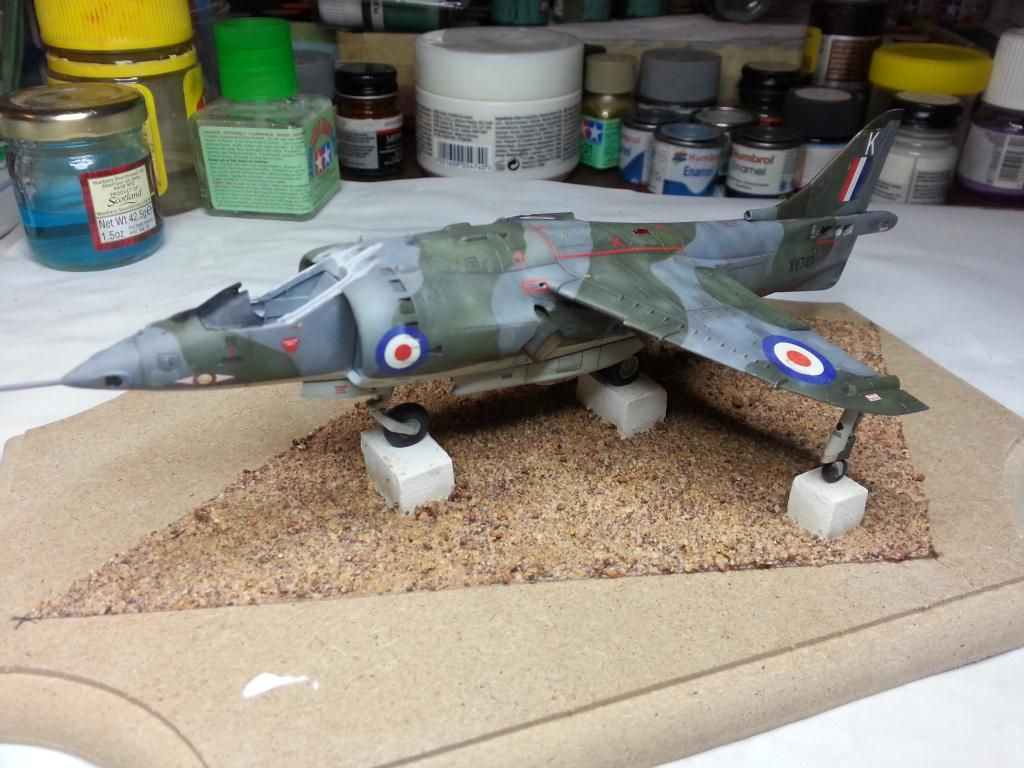 Next up was the good old static grass, laid down with the water/white glue combo. Here she is posing again......  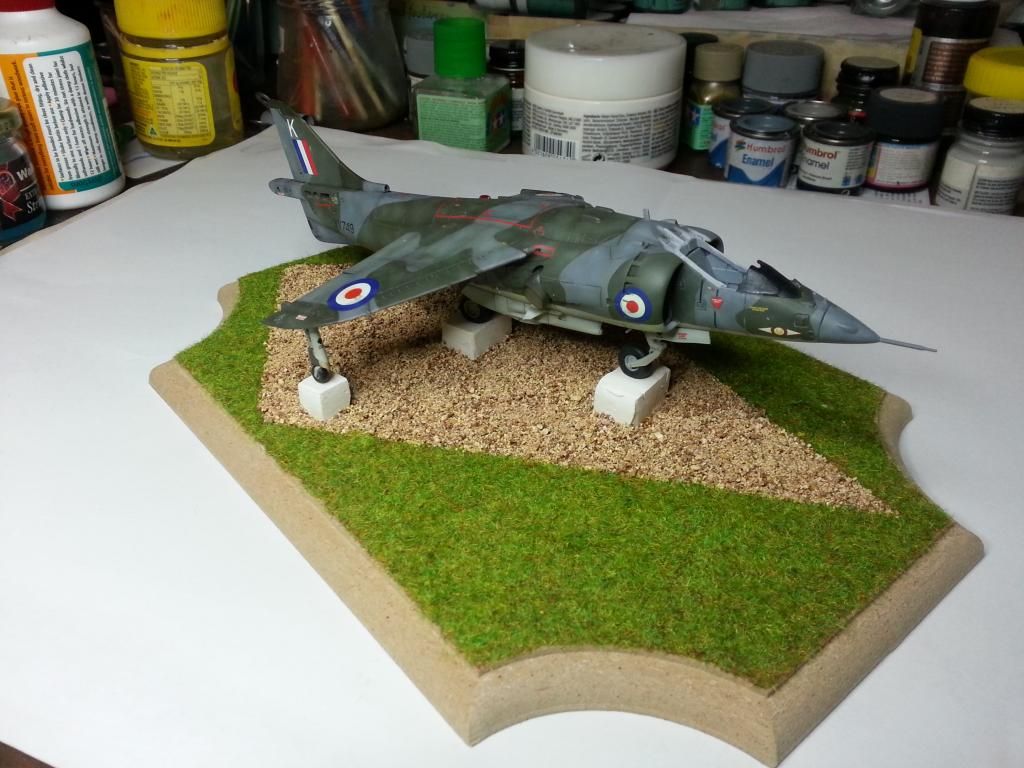 Next up, a bit of a smack around with an airbrush! Few different colours to make it a little more realistic. 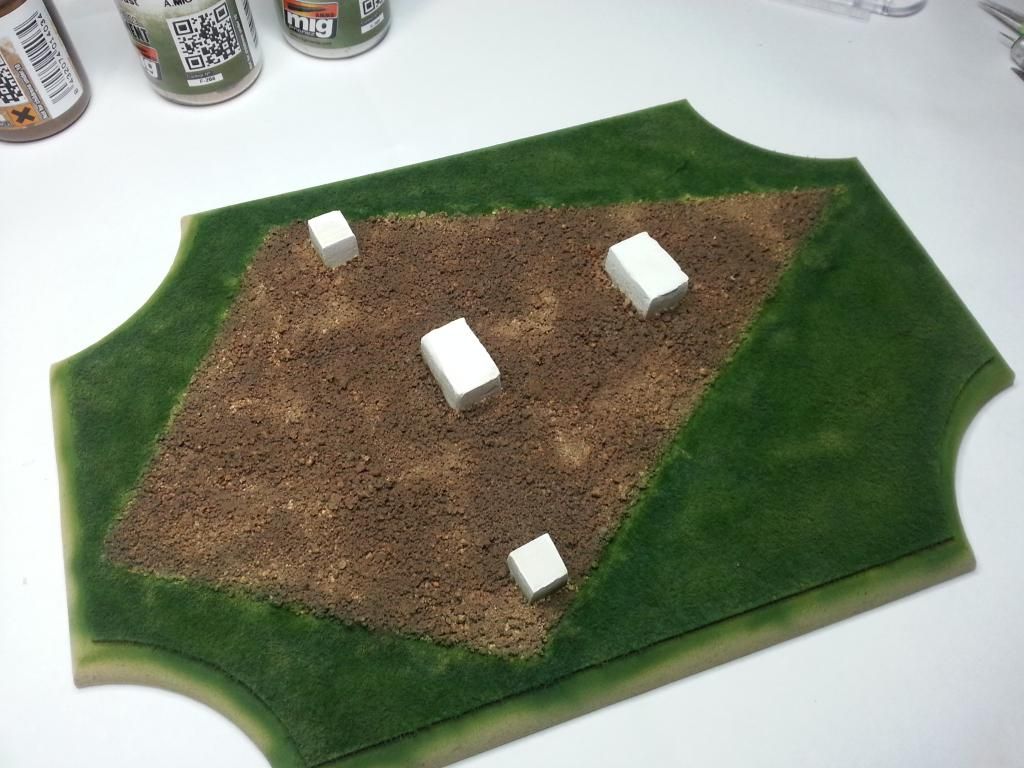 And then some hand painting of the concrete and she is almost ready just some weathering and edging to do. Optimus approves!! 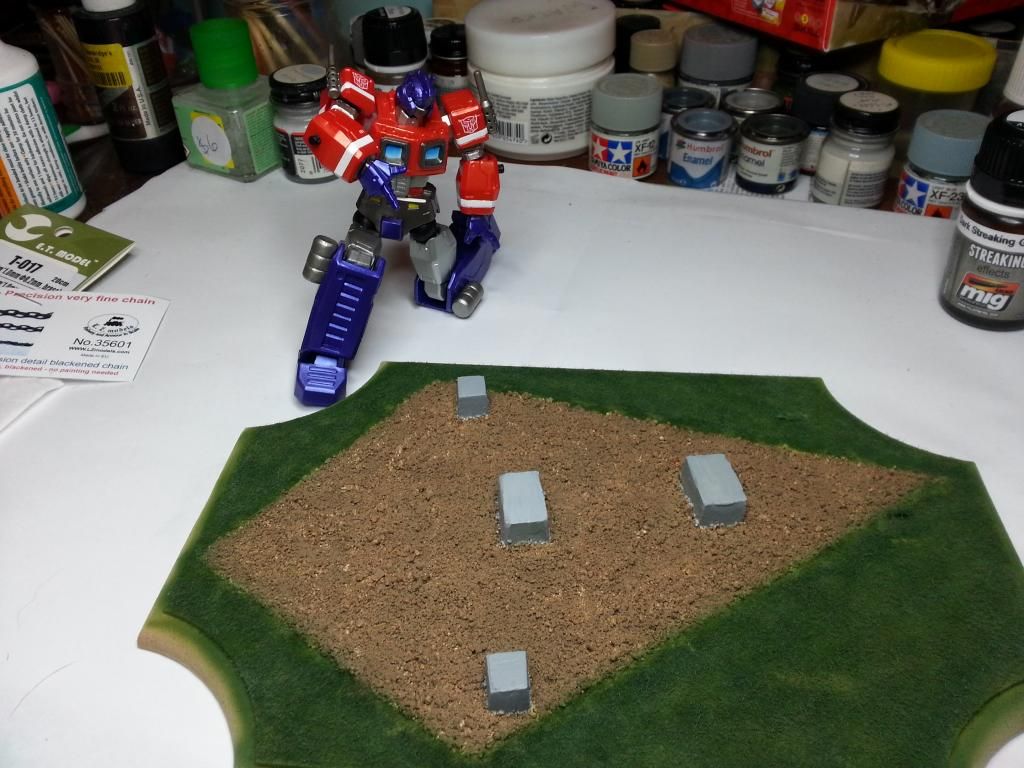 And here is the base, good to go! 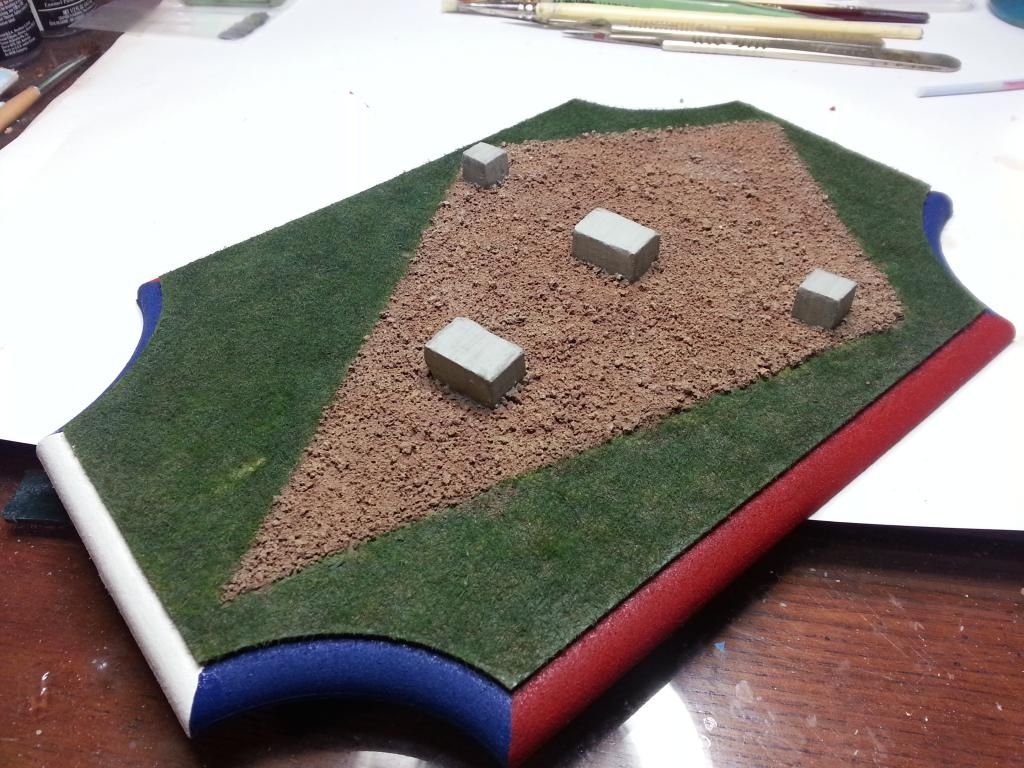 And finally, as a teaser, here she is again! 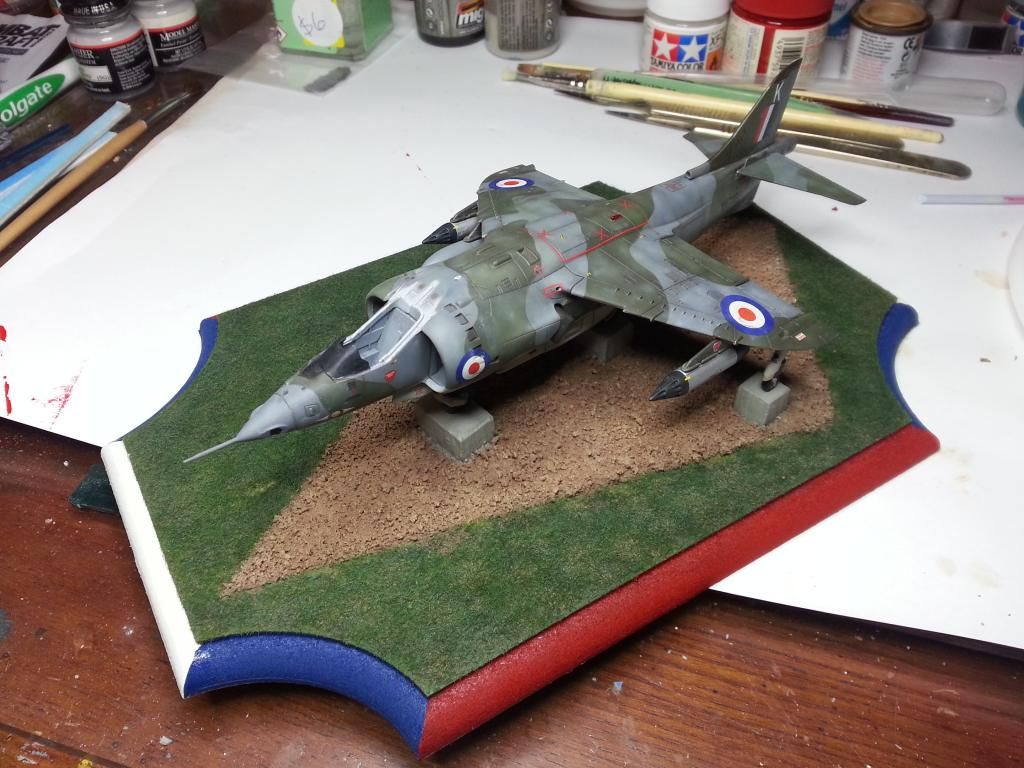 Stay tuned Harrier fans for the next step of mounting her on her new home!!  Cheers, Sam  |
|
|
|
Post by deafpanzer on Nov 7, 2014 0:47:37 GMT -5
This is FANTASTIC!!!!!!! I love it!
|
|
|
|
Post by Leon on Nov 7, 2014 5:09:54 GMT -5
WOW! Fantastic looking results Sam.A real winner in my book.   |
|
|
|
Post by JimD on Nov 7, 2014 10:03:21 GMT -5
Wow...this is impressive in any scale....but 1/72!!! Wow. Beautiful paintwork...absolutely flawless. I really love the base too...very unique.
|
|
|
|
Post by wbill76 on Nov 7, 2014 14:22:23 GMT -5
Pretty cool idea and execution for the base. Love it!
|
|
|
|
Post by bullardino on Nov 9, 2014 5:47:25 GMT -5
Oh, it's a gate guardian  Great idea |
|
venom1
Full Member
  
Member since: October 2012
Posts: 1,369
Oct 10, 2012 2:40:03 GMT -5
Oct 10, 2012 2:40:03 GMT -5
|
Post by venom1 on Apr 24, 2015 7:41:22 GMT -5
|
|
|
|
Post by wing_nut on Apr 24, 2015 8:37:26 GMT -5
Outstanding. Big fan of the setting. This would have been a great addition to a GB I ran some years back. "Once Where Warriors"
Did I mention it was outstanding? Ah yes, I see I did. That's OK, it's worth saying twice.
|
|
|
|
Post by JimD on Apr 24, 2015 8:44:04 GMT -5
Wow. That's just great. That a unique way to display an airplane model. I don't think I've ever actually seen it done before. Masterfully executed. Congrats.
|
|
|
|
Post by deafpanzer on Apr 24, 2015 16:03:57 GMT -5
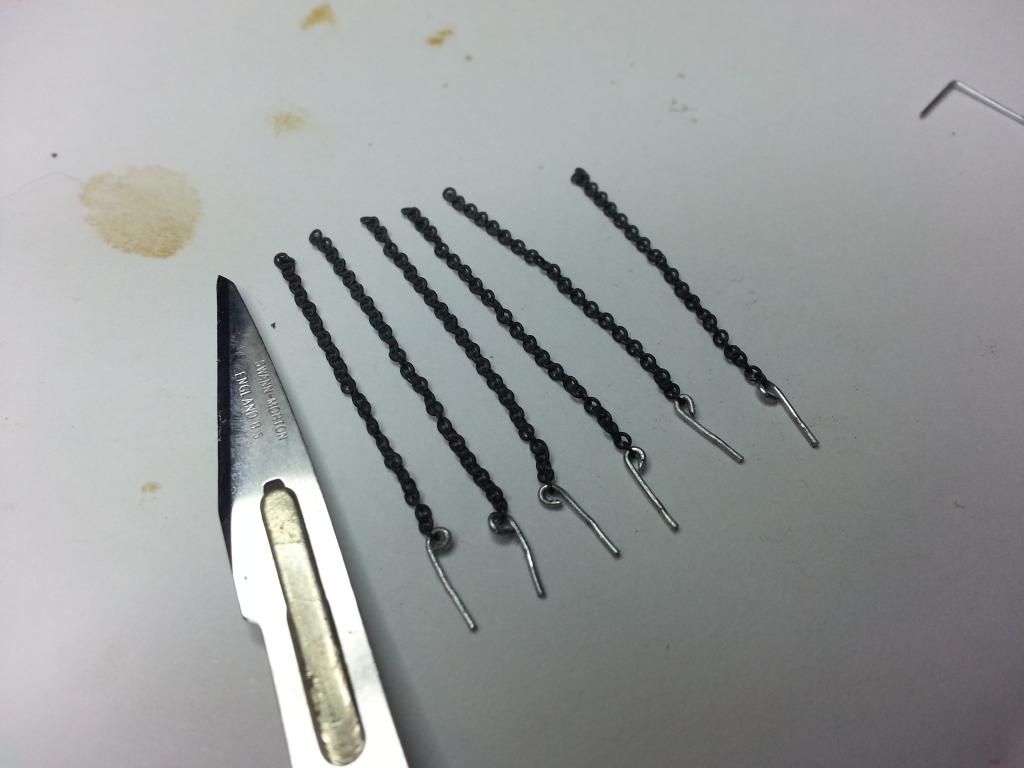
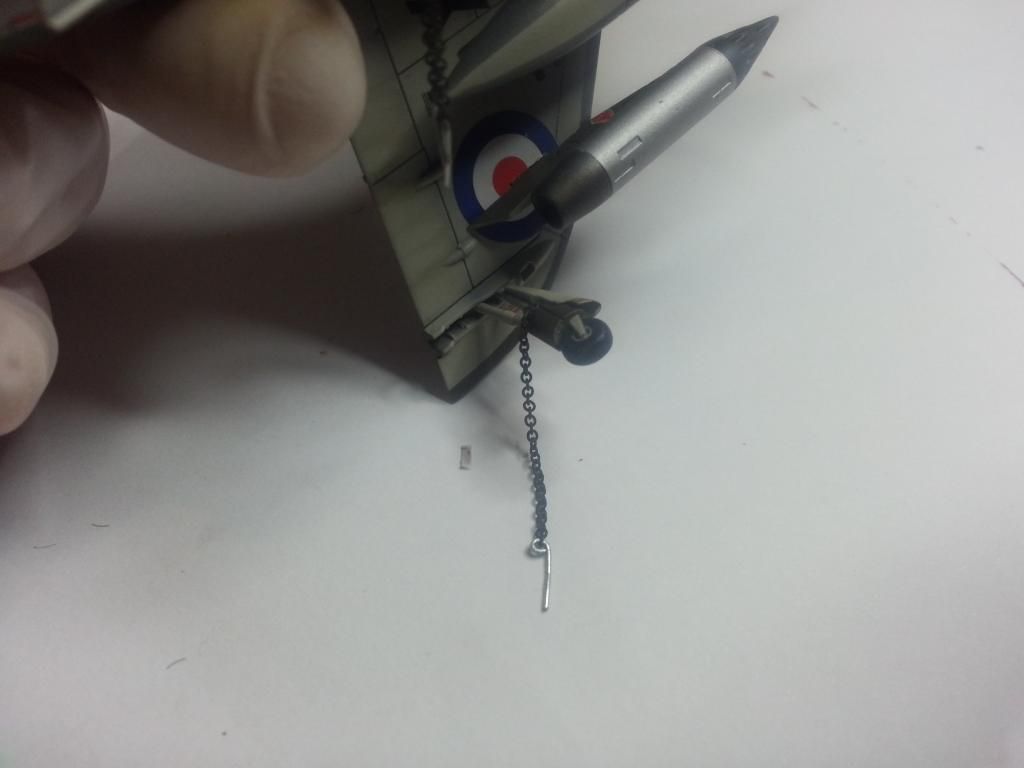
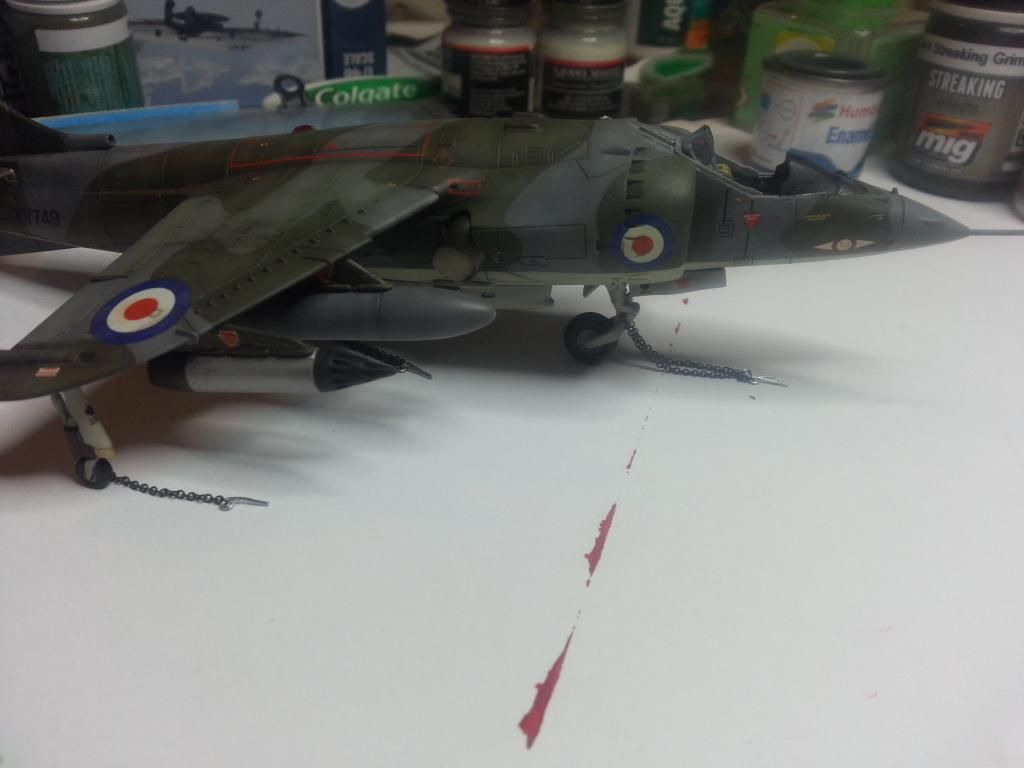
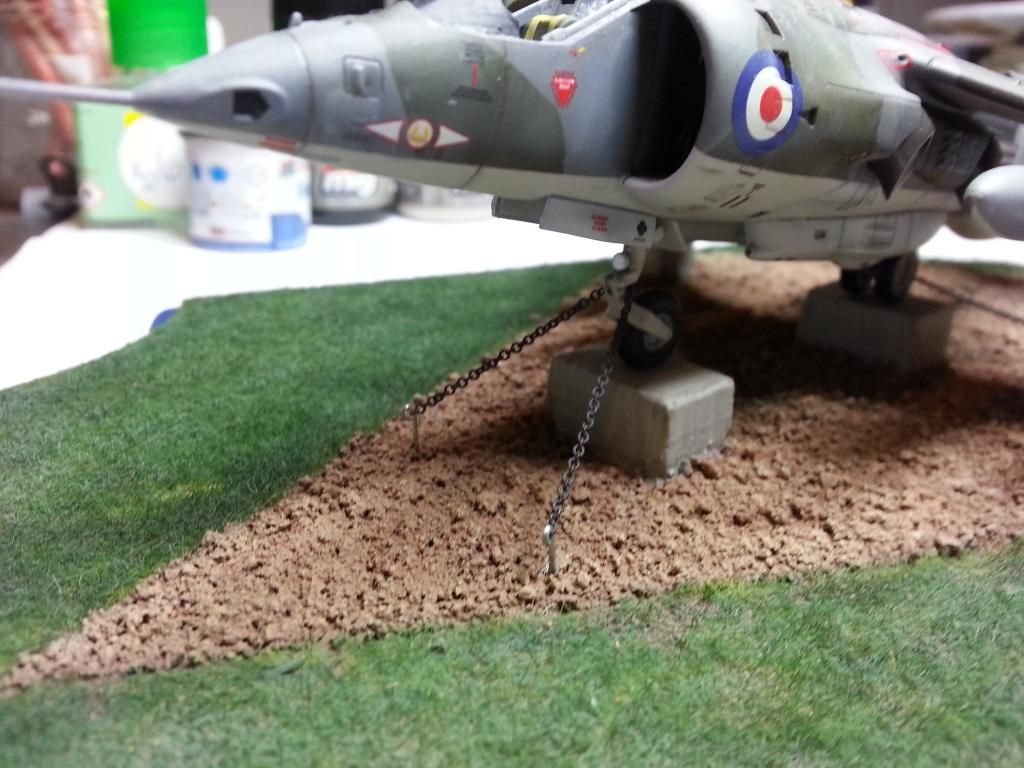
WOW! I really love the base especially the chains!!! Another fantastic build out of your cave... way to go Sam!
|
|
|
|
Post by Leon on Apr 24, 2015 17:27:14 GMT -5
Congrats on an awesome finish Sam!  You nailed this bad boy all around.  |
|
|
|
Post by TRM on Apr 24, 2015 17:29:15 GMT -5
Well done Sam!! Fantastic base!! Congrats on bringing this one to he end!!  |
|
|
|
Post by wbill76 on Apr 24, 2015 19:50:34 GMT -5
Nice way to cap this one off Sam! Love how it looks up on the blocks.
|
|


 Great looking stuff so far Man. Glad you made it over





 ).
).


 I will make up for it now by taking this all the way to the end!