Post by TRM on Jul 30, 2014 7:56:34 GMT -5
Hello Folks,
In an effort to salvage some of the content from MHISC, I will bring over the individual remaining entrants for the Wingy Challenge and their builds to MSC in case they wish to continue to participate in the contest.
If you are one of the contestants and you wish to revive you build and have this content under you own name as the Thread Originator, simple follow the same instruction for moving posts from one forum to MSC outlined HERE and you can start a new thread and easily copy and past the information into the new thread. Any questions, please do not hesitate to PM me and I can help you through the process.
this plane that I present and begins shortly is a plane captured by the
Australian army camp clark philippines luzon in 1945, was captured in a
state of semi-abandonment but not the contribution represents so because
it is very many job for me because I'm not used to this kind of very
detailed work, cereals represents a bit my view but of course anything
but punished little something.

And I'm New Here, thanks to the three step and directly put you pictures of what went by,
I
am guided by the article the ModelArt of the N1K1-J George, I think the
number 304, I use it as a base color, is a mixture with basic colors I
use colors Gunze as usual (for me are the best for painting without many
of the problems of marks), the color is similar to H303 bit lighter and
brown

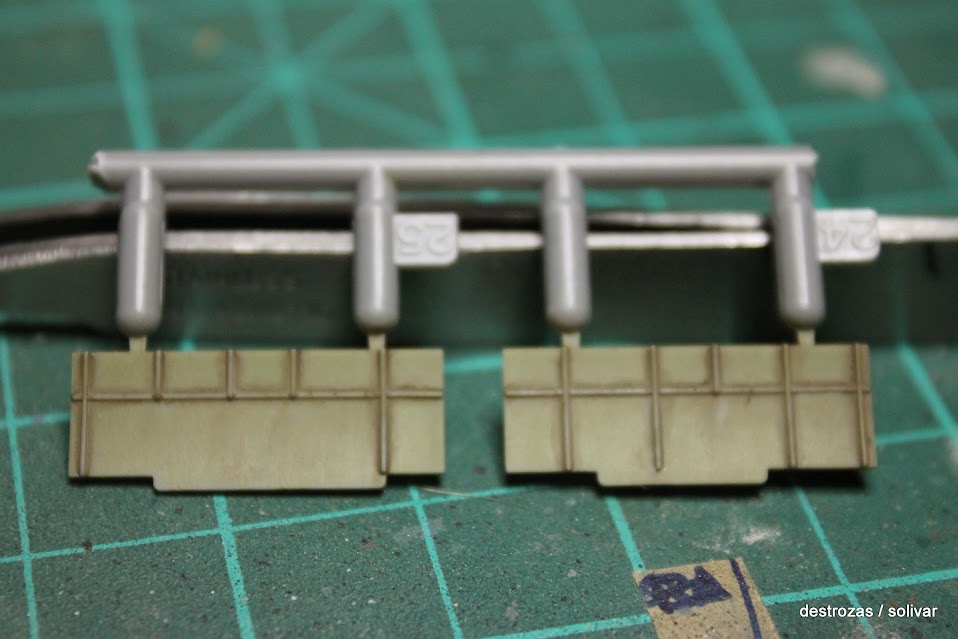
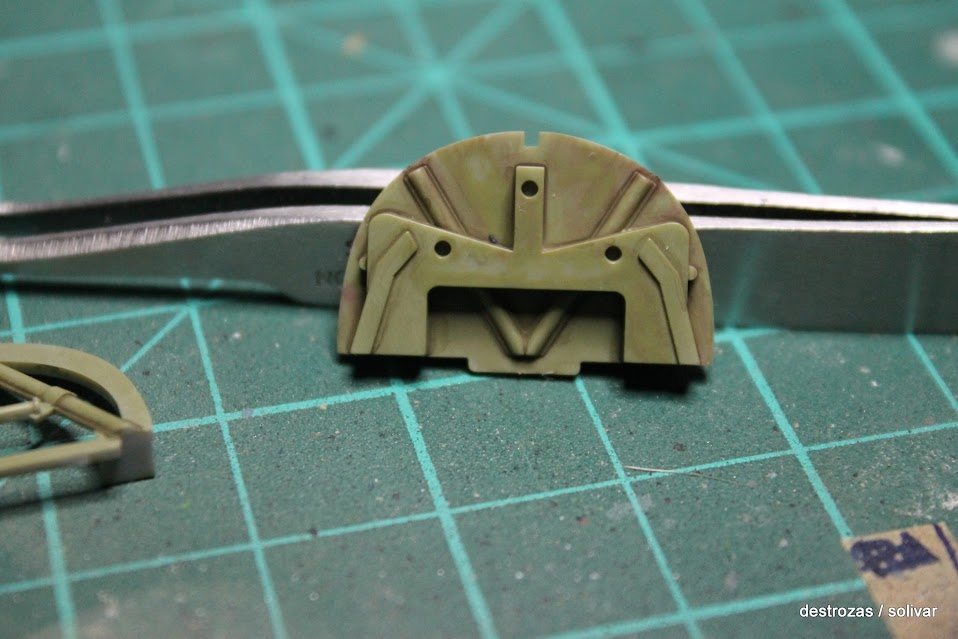
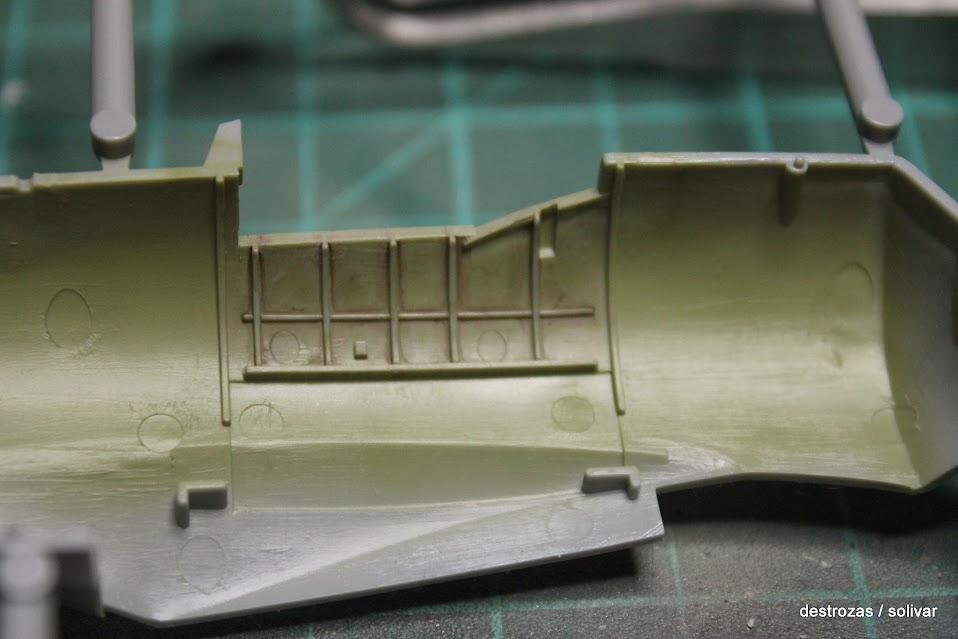
with different colors in watercolor shading inside, making stress upon the more hidden areas


amount around the cockpit and put the IP
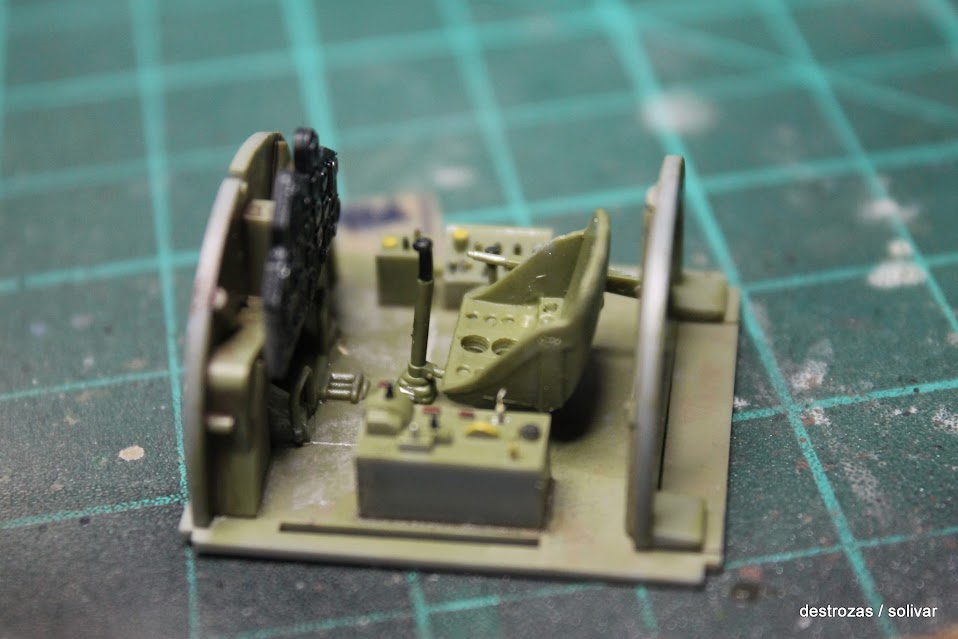
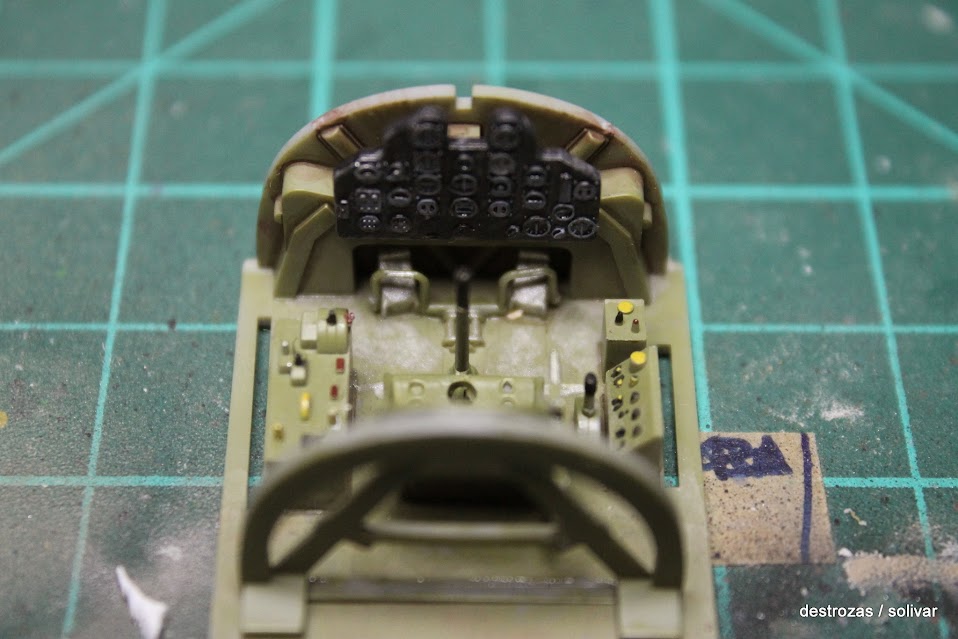
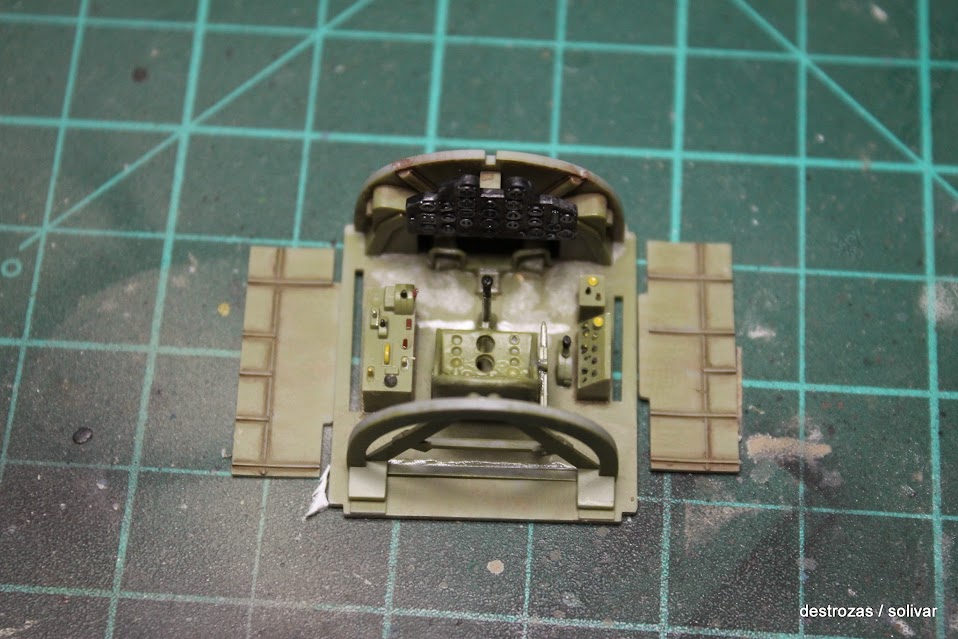
remove the parts that will put the acetate transparentey start placing different engine tubes after having given the same color

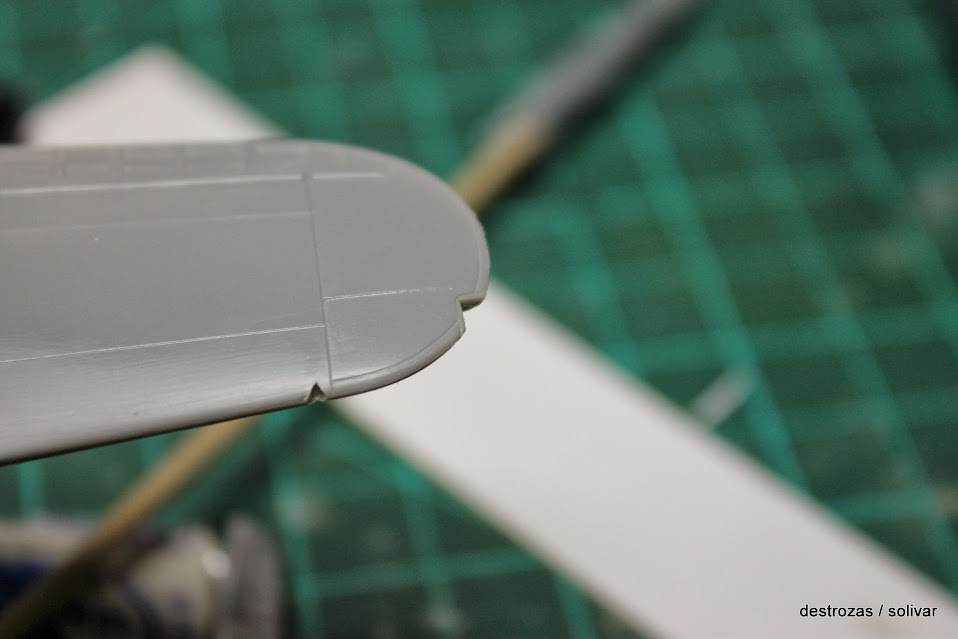
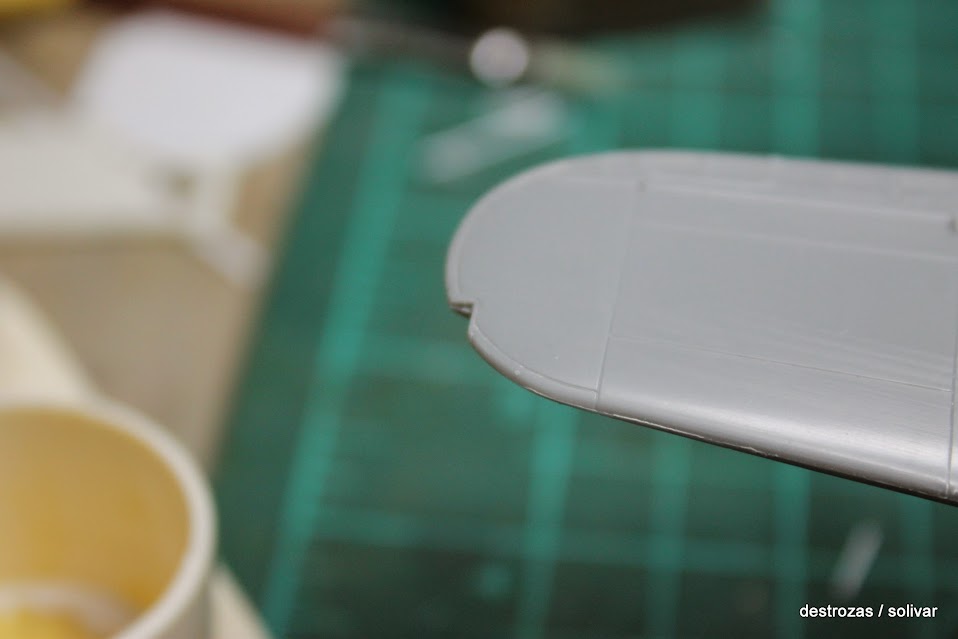

next step
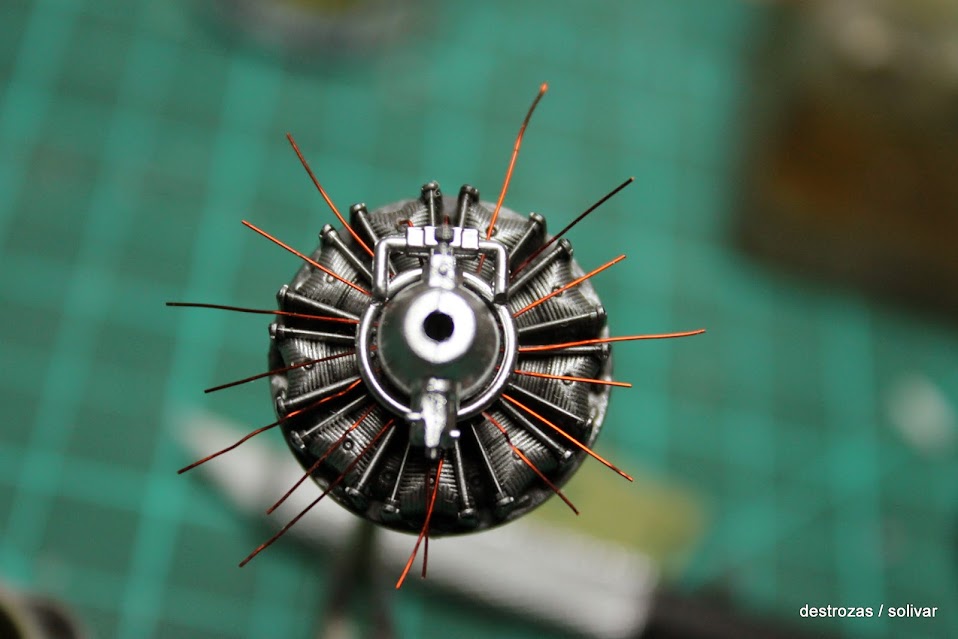
exhaust
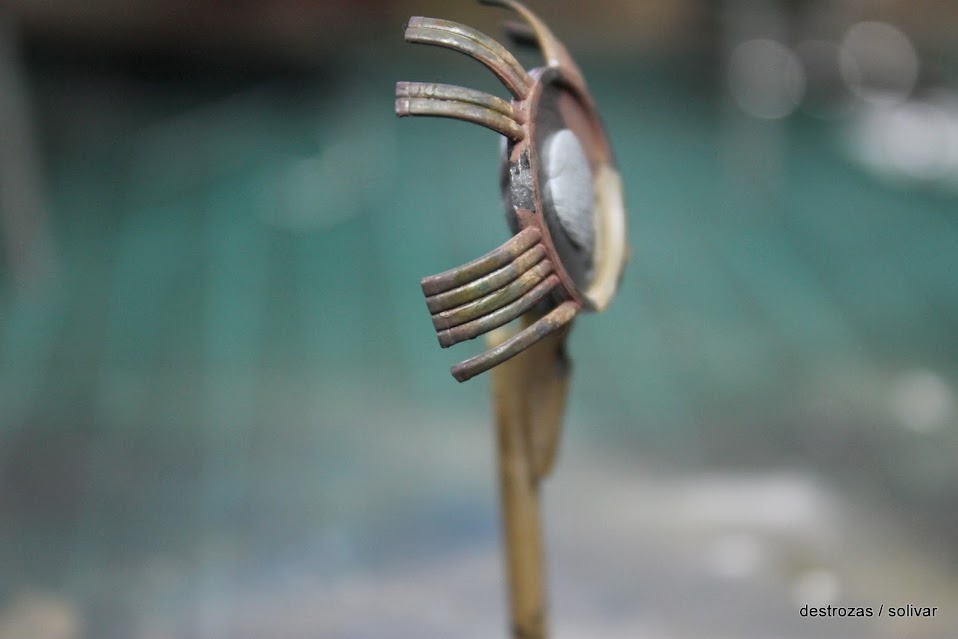
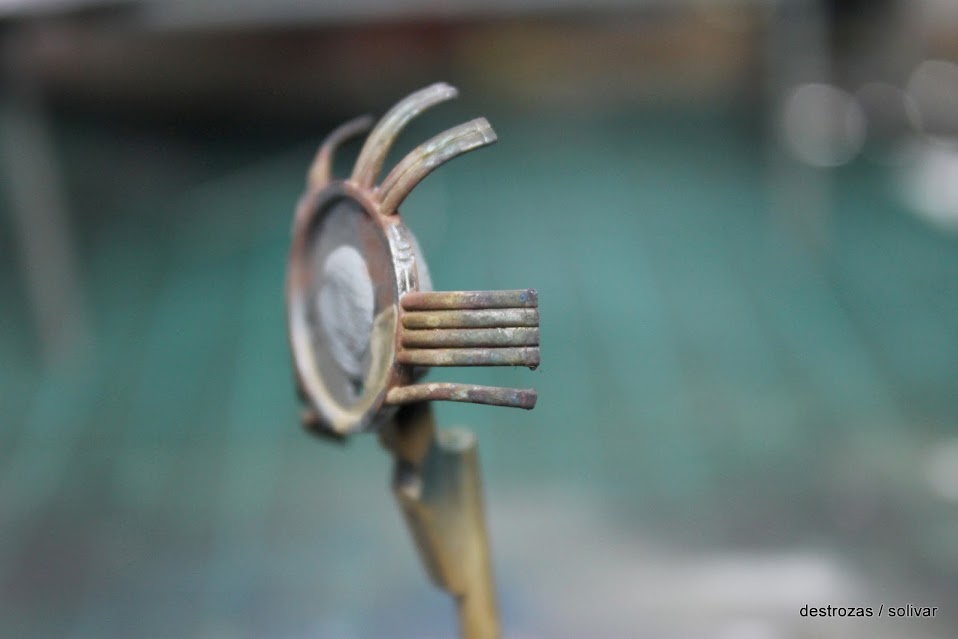
airframes painted

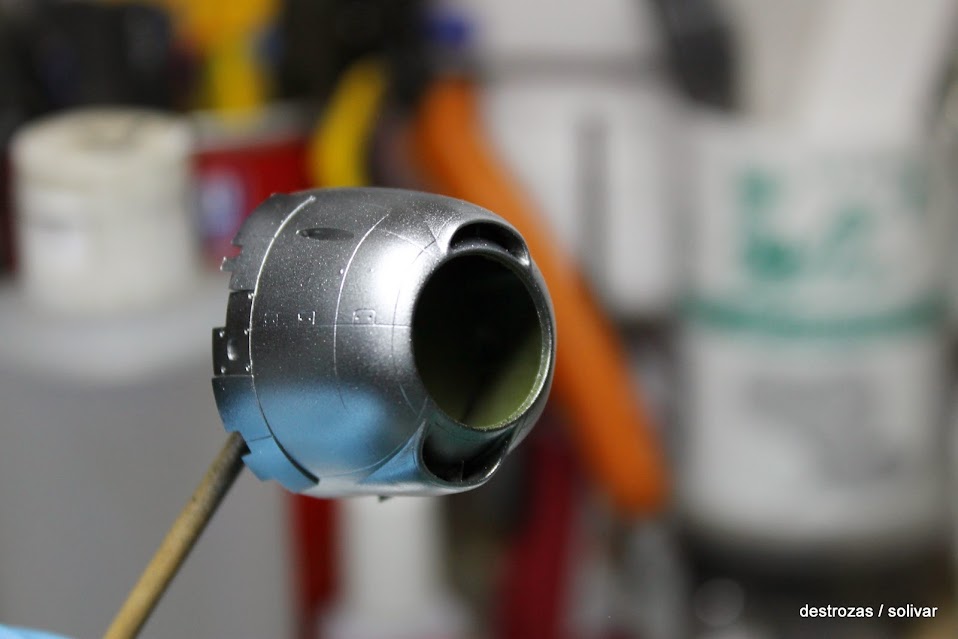

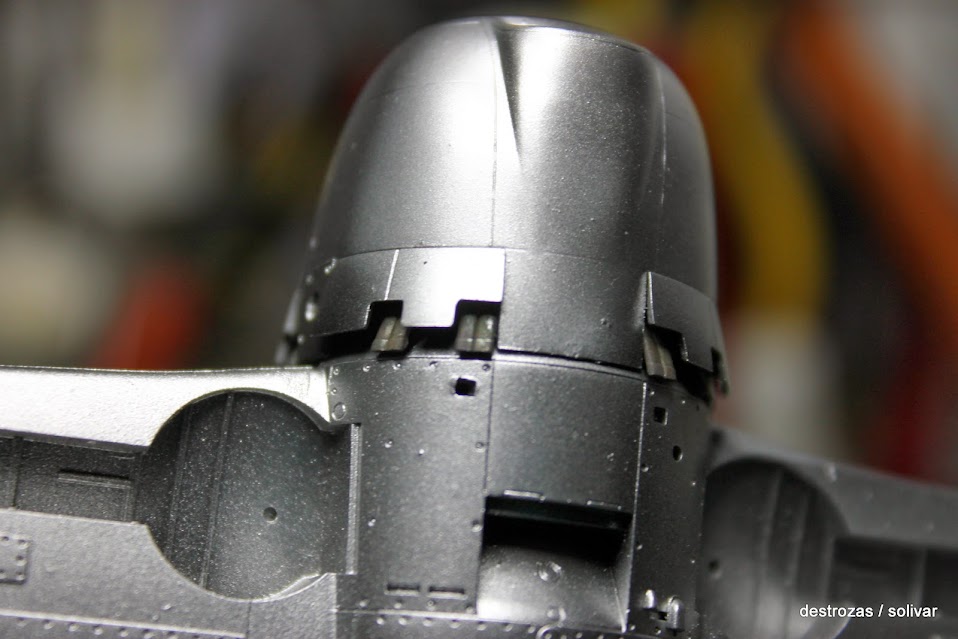
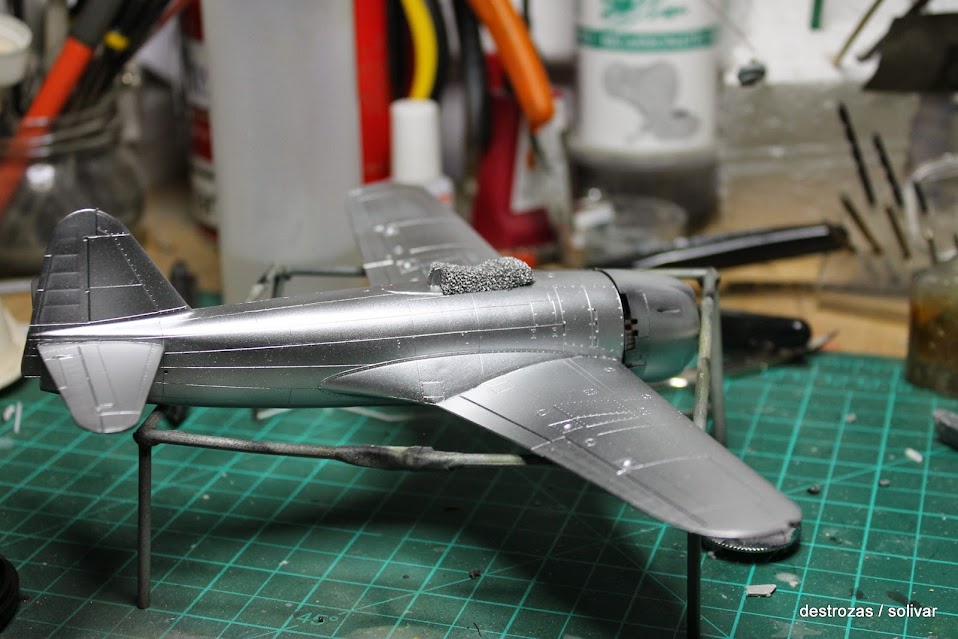
color is to paint the top, is painted mottled way later giving the effect of wear-debris

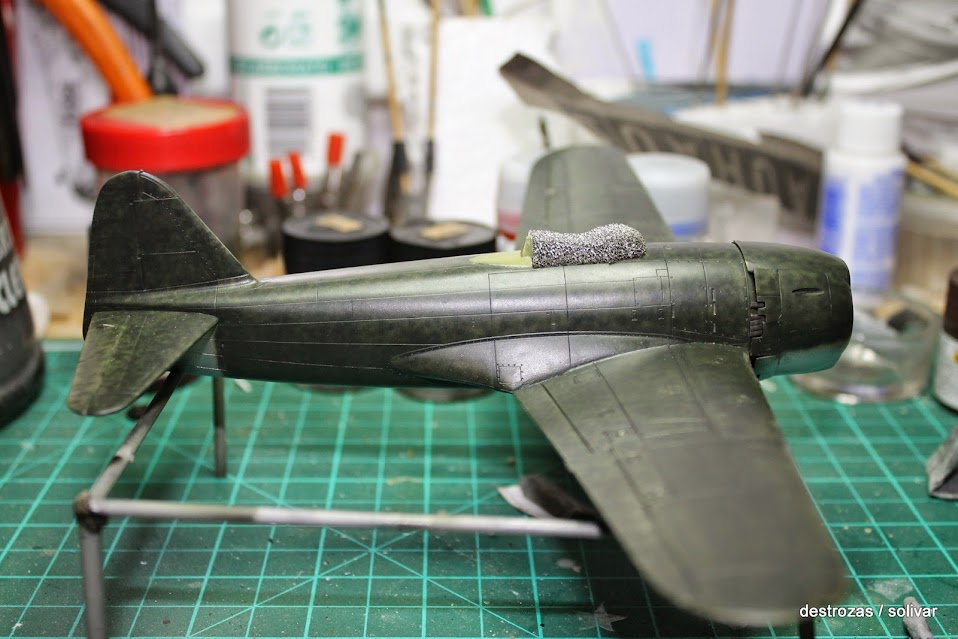


First we painted the cockpit interior green.
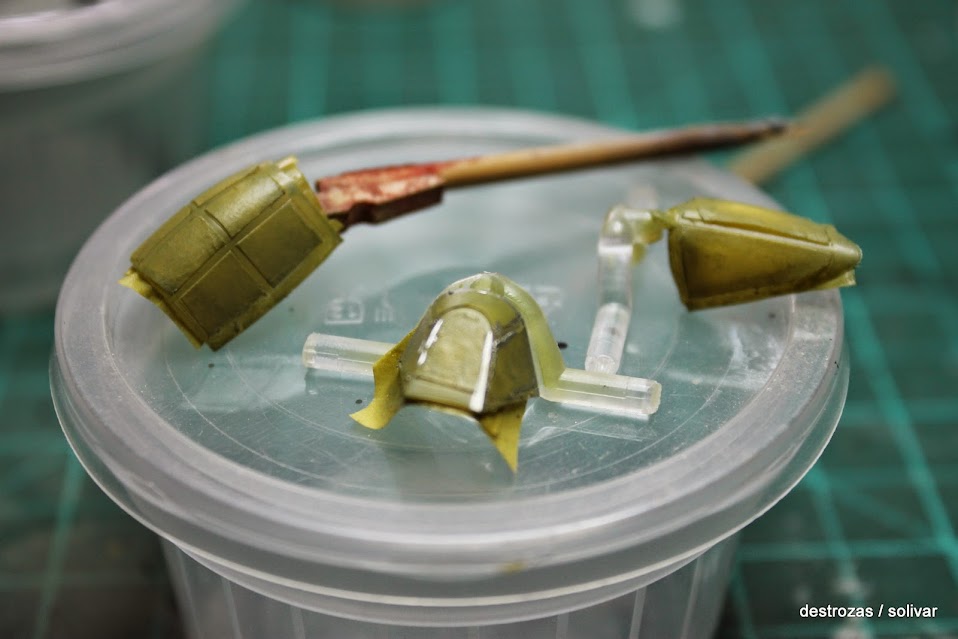

Yesterday the heat that made the evening discontinuance of being at home
and I fuy to the beach to get my feet wet but today with the cool
morning I get to put you the photos are of the coat of gloss varnish to
seal the paint and place the decals.
after these coats of
varnish'll have to look elsewhere to replenish Malabu I had because it's
over me and where I bought it has closed the crisis so I'll have to
find another store you have here is hard to find at a reasonable price


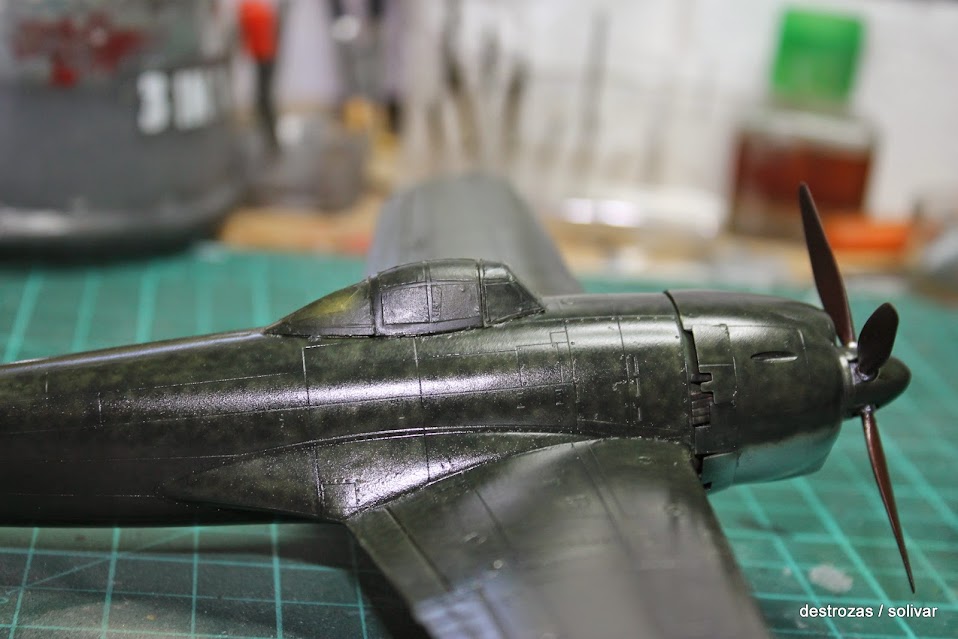

because the truth is already almost yesterday that I put the decals and already almost finalized
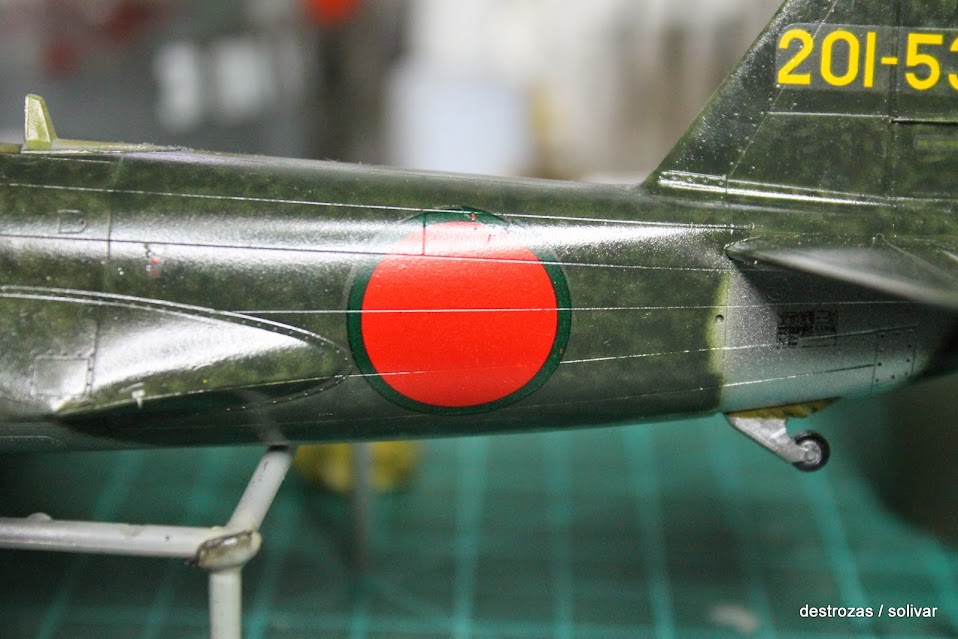


touches the finish today because I will not wear anything for him the way of the paint
this is over is finally finished, I liked the assembly and note the result I think.


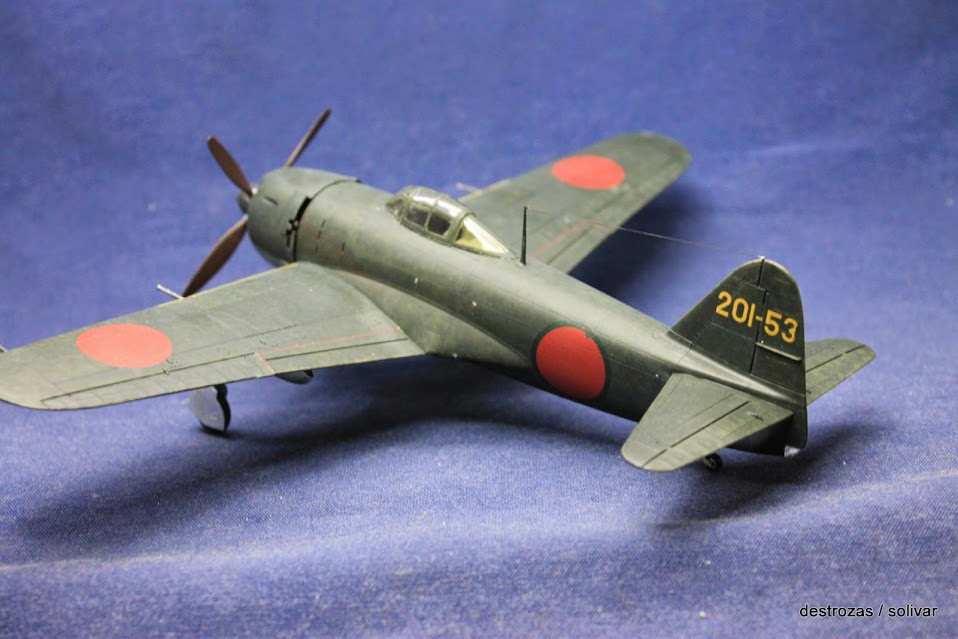


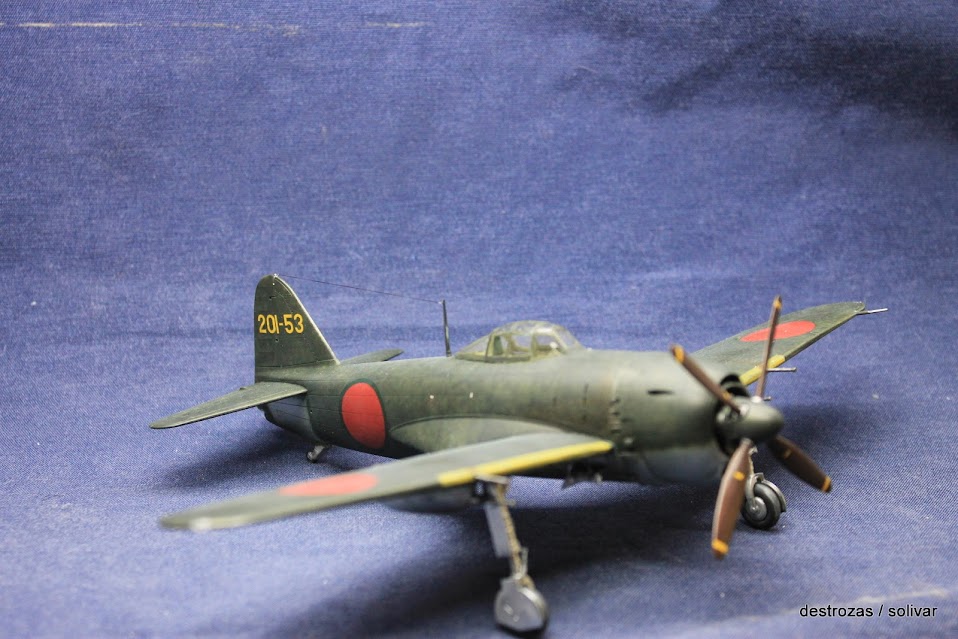


So I was found by Australian troops when they reached the camp clark

Completed Build!
In an effort to salvage some of the content from MHISC, I will bring over the individual remaining entrants for the Wingy Challenge and their builds to MSC in case they wish to continue to participate in the contest.
If you are one of the contestants and you wish to revive you build and have this content under you own name as the Thread Originator, simple follow the same instruction for moving posts from one forum to MSC outlined HERE and you can start a new thread and easily copy and past the information into the new thread. Any questions, please do not hesitate to PM me and I can help you through the process.
this plane that I present and begins shortly is a plane captured by the
Australian army camp clark philippines luzon in 1945, was captured in a
state of semi-abandonment but not the contribution represents so because
it is very many job for me because I'm not used to this kind of very
detailed work, cereals represents a bit my view but of course anything
but punished little something.
And I'm New Here, thanks to the three step and directly put you pictures of what went by,
I
am guided by the article the ModelArt of the N1K1-J George, I think the
number 304, I use it as a base color, is a mixture with basic colors I
use colors Gunze as usual (for me are the best for painting without many
of the problems of marks), the color is similar to H303 bit lighter and
brown
with different colors in watercolor shading inside, making stress upon the more hidden areas
amount around the cockpit and put the IP
remove the parts that will put the acetate transparentey start placing different engine tubes after having given the same color
next step
exhaust
airframes painted
color is to paint the top, is painted mottled way later giving the effect of wear-debris
First we painted the cockpit interior green.
Yesterday the heat that made the evening discontinuance of being at home
and I fuy to the beach to get my feet wet but today with the cool
morning I get to put you the photos are of the coat of gloss varnish to
seal the paint and place the decals.
after these coats of
varnish'll have to look elsewhere to replenish Malabu I had because it's
over me and where I bought it has closed the crisis so I'll have to
find another store you have here is hard to find at a reasonable price
because the truth is already almost yesterday that I put the decals and already almost finalized
touches the finish today because I will not wear anything for him the way of the paint
this is over is finally finished, I liked the assembly and note the result I think.
So I was found by Australian troops when they reached the camp clark

Completed Build!


