kingpin141
Full Member
  
Member since: March 2013
Posts: 308 
|
Post by kingpin141 on Sept 15, 2014 18:15:42 GMT -5
|
|
|
|
Post by dupes on Sept 15, 2014 18:19:42 GMT -5
Haha...I didn't know Illustrious's nickname was "Lusty". Nor did I realize that Airfix had any 1/350 ships. Cool!
|
|
|
|
Post by deafpanzer on Sept 15, 2014 19:59:54 GMT -5
Another ship?!?! Oh lord, you are not helping me at all... tempted to start my ship now! LOL You have my attention... nice work on the little rotory!
|
|
|
|
Post by wbill76 on Sept 16, 2014 12:01:18 GMT -5
Should be a fun project there KP! Looking forward to more on this one.
|
|
|
|
Post by Leon on Sept 16, 2014 16:18:02 GMT -5
Count me in KP,all this ship building has me wanting to build a ship now  .Looking forward to seeing your progress.  |
|
kingpin141
Full Member
  
Member since: March 2013
Posts: 308 
|
Post by kingpin141 on Sept 16, 2014 17:47:16 GMT -5
I've been sat staring for a while, trying to work out how i'm going to light her. What I've come up up with is this.  With the battery pack going in the forward hanger I'm going to cut out a piece of hanger wall from the marked A area. This will then be used as the forward hanger bulkhead. Not only will the battery pack be there but the 5 LEDs and the bundles of optic strands too. Hopefully with the wall out there will be enough room to fit them in. After looking at the bridge and how it goes together. The only way I can see of doing it is up lighting it. The strands will come up at B then up into the bridge. I'm torn between lighting it red for night ops or green from all the cool electronic displays I'm going to pretend are in the real ship. I'll put some chrome tape on the ceiling to hopefully make them a bit brighter. For the hanger I'll just route the strands along the top of the hanger and some more to go to the quarter deck. |
|
|
|
Post by Leon on Sept 16, 2014 18:42:18 GMT -5
Sounds like you have things all planed out KP.Going to look sweet all lit up.
|
|
kingpin141
Full Member
  
Member since: March 2013
Posts: 308 
|
Post by kingpin141 on Sept 17, 2014 16:53:32 GMT -5
After a happy evening with the tape i've mocked her and had another "stare". And I've completely changed how i'm going to light her. The battery pack Can't live in the hull as I wont be able to get to the switch without taking the lift off. Seeing as how she will be in the water the pack will go in the base. Also instead of 5 LEDs and really long strands, more LEDs and shorter strands. With one or more LEDs lighting each area. 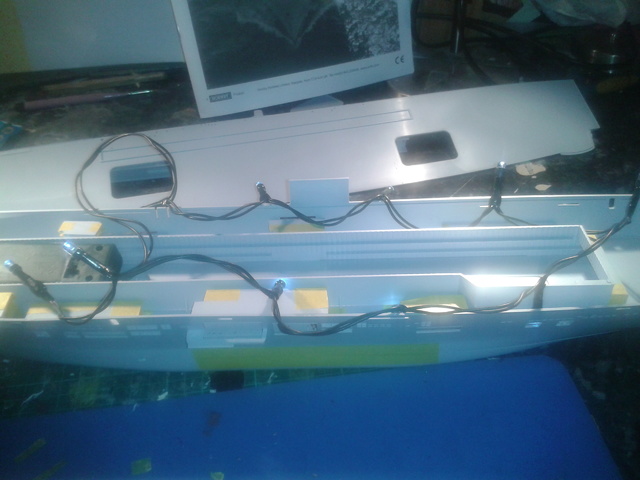 15 LEDs should do the trick. I think i'm still going to shorten the hanger to give me some more room to play with. I'm going to put a mirror at the front of the hanger and make it look longer that way. This is the extent of the infamous hull warp. Cue a huge sigh of relief. 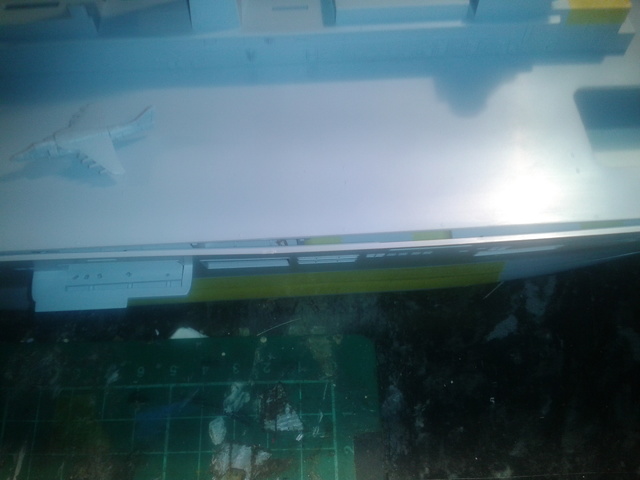 She will be populated with crew being busy. In this area will be a crew member being violently ill over the side. This would be me on my first night at sea. My one and only time thank god.  And finally this has arrived. I am resisting the urge to get started on them until im actually ready. Which, I fear, will not be for some time yet.  |
|
kingpin141
Full Member
  
Member since: March 2013
Posts: 308 
|
Post by kingpin141 on Sept 20, 2014 16:17:07 GMT -5
|
|
|
|
Post by Leon on Sept 20, 2014 16:25:06 GMT -5
This is looking way cool KP.Nice work on the hanger deck.
|
|
kingpin141
Full Member
  
Member since: March 2013
Posts: 308 
|
Post by kingpin141 on Sept 23, 2014 15:58:42 GMT -5
Evenin all. This is a catch of of me last few nights work. First up. Tool control has been added to the hanger. Hopefully it work be lit with an AEM at the counter.  The stowage boxes has been painted. It's Vallejo sand partially mixed with brown so that when its painted on it look a bit like wood. 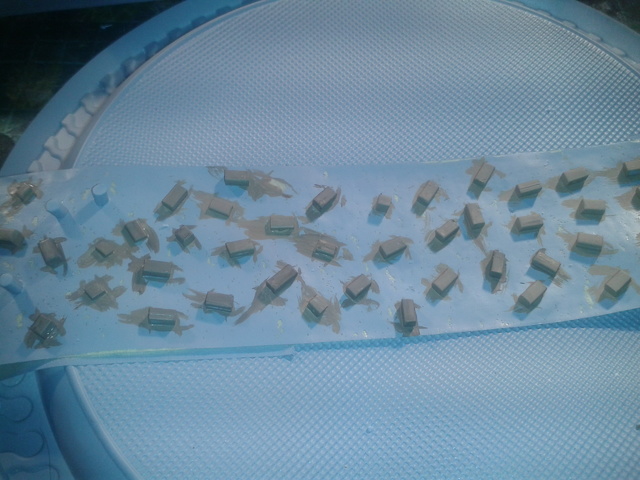 I've knocked up a Merlin with some of the photoetch. Putting the wipers on is a step beyond my capabilities 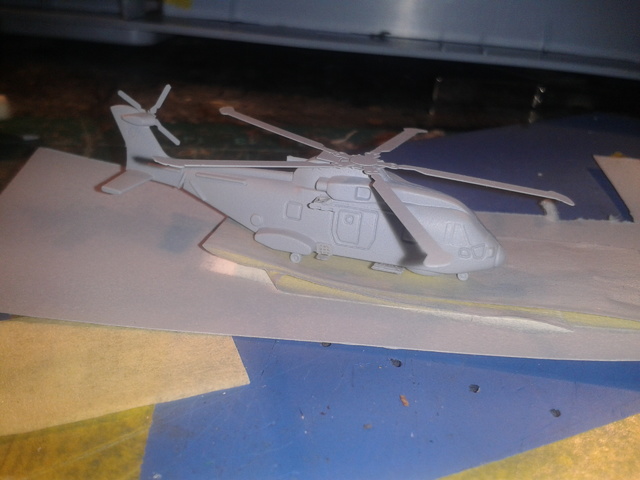 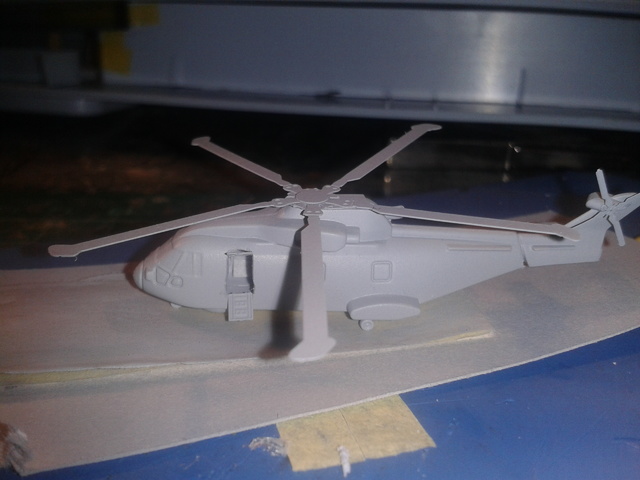 I've been experimenting with the lighting. I cut a section out of the overhang under the hangers rear bulkhead.  For the forward hanger i lay a piece of really thin plasticard along the top stowage shelves and put the LEDs on that. 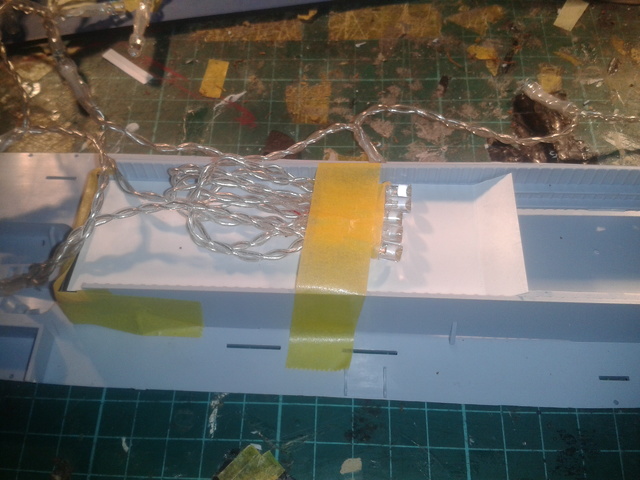 This be the result. Must get a white set of lights. 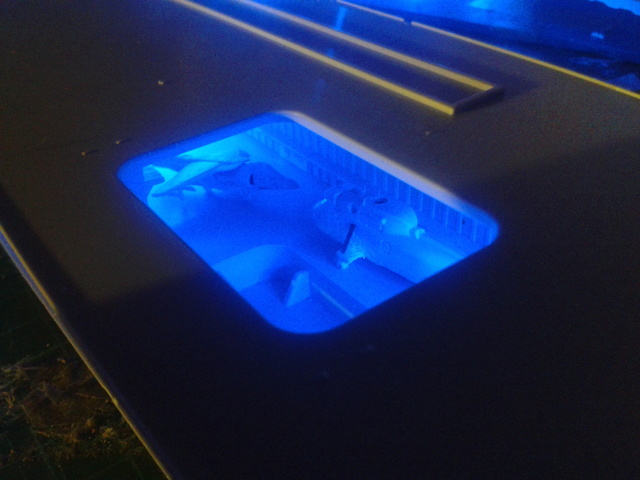 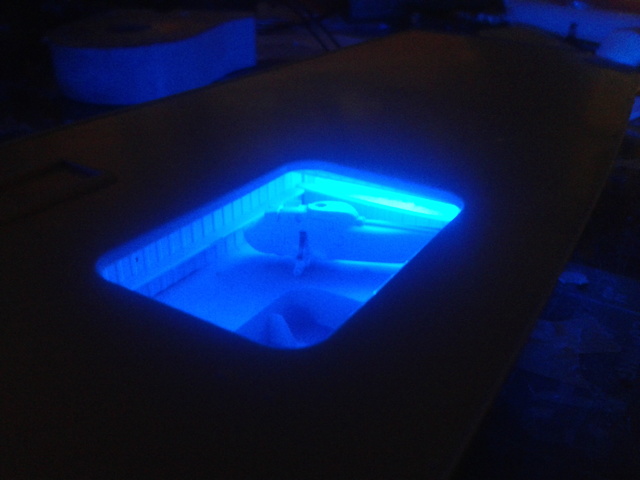 |
|
|
|
Post by Leon on Sept 23, 2014 16:21:00 GMT -5
Nice work in the details department KP.
|
|
kingpin141
Full Member
  
Member since: March 2013
Posts: 308 
|
Post by kingpin141 on Sept 24, 2014 15:33:14 GMT -5
|
|
|
|
Post by deafpanzer on Sept 24, 2014 23:00:40 GMT -5
Way too cool!!!
|
|