|
|
Post by eastrock on Sept 28, 2014 2:13:58 GMT -5
Think is about time to go back to armors from where I started, taking time off building civis. Following up AdamPolo Build Review, decided to start my own thread here, will be also using the Voyager PE set, DEF Model Wheels and a few modification of my own. 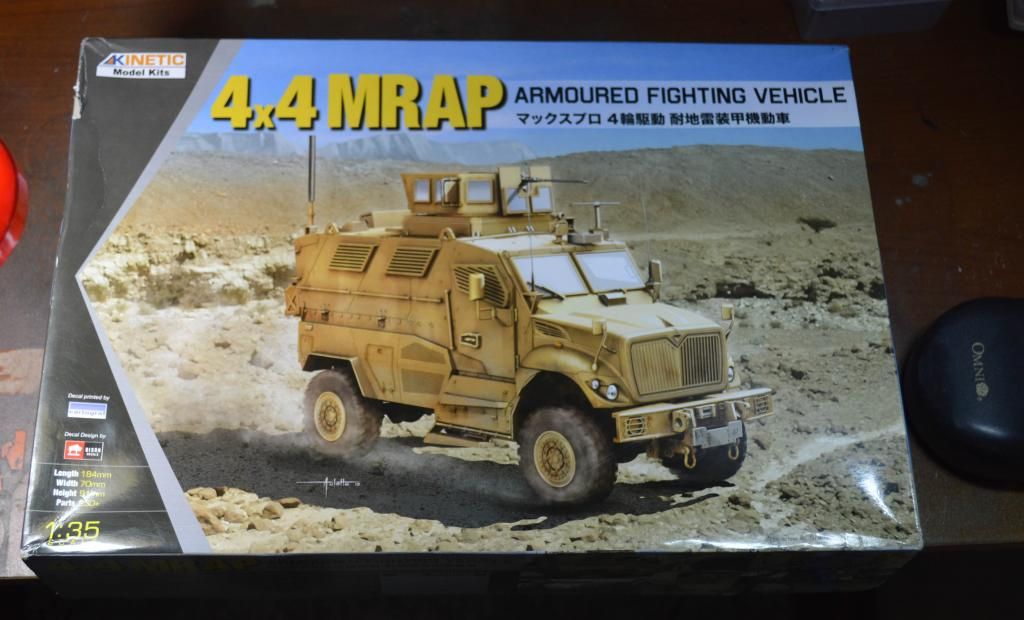 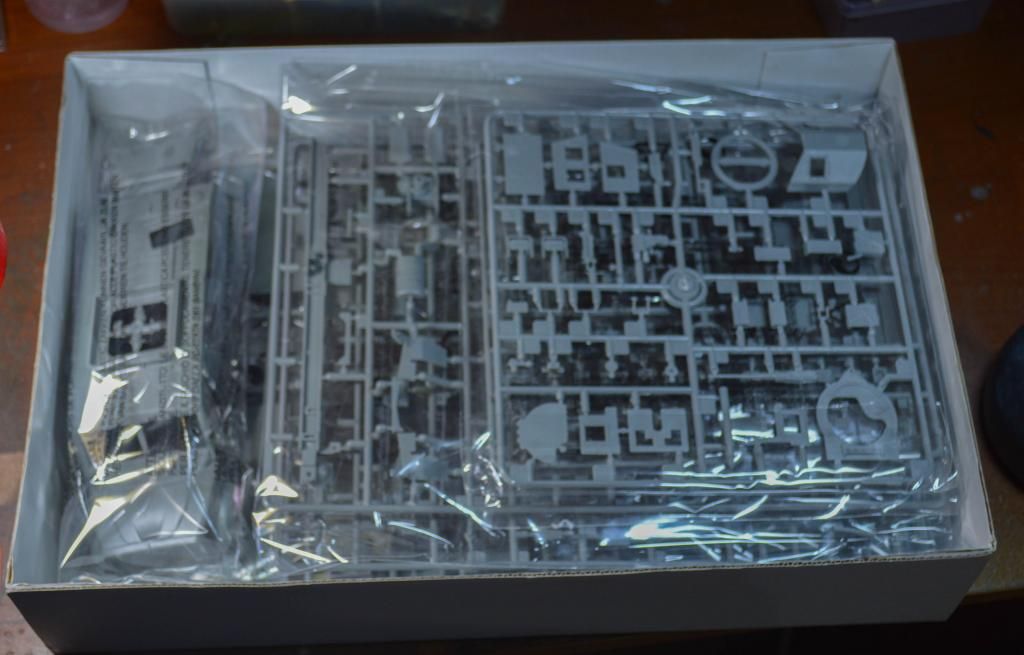 Instruction Manual with the Sheet of PE and decal (Notice there already typo error) 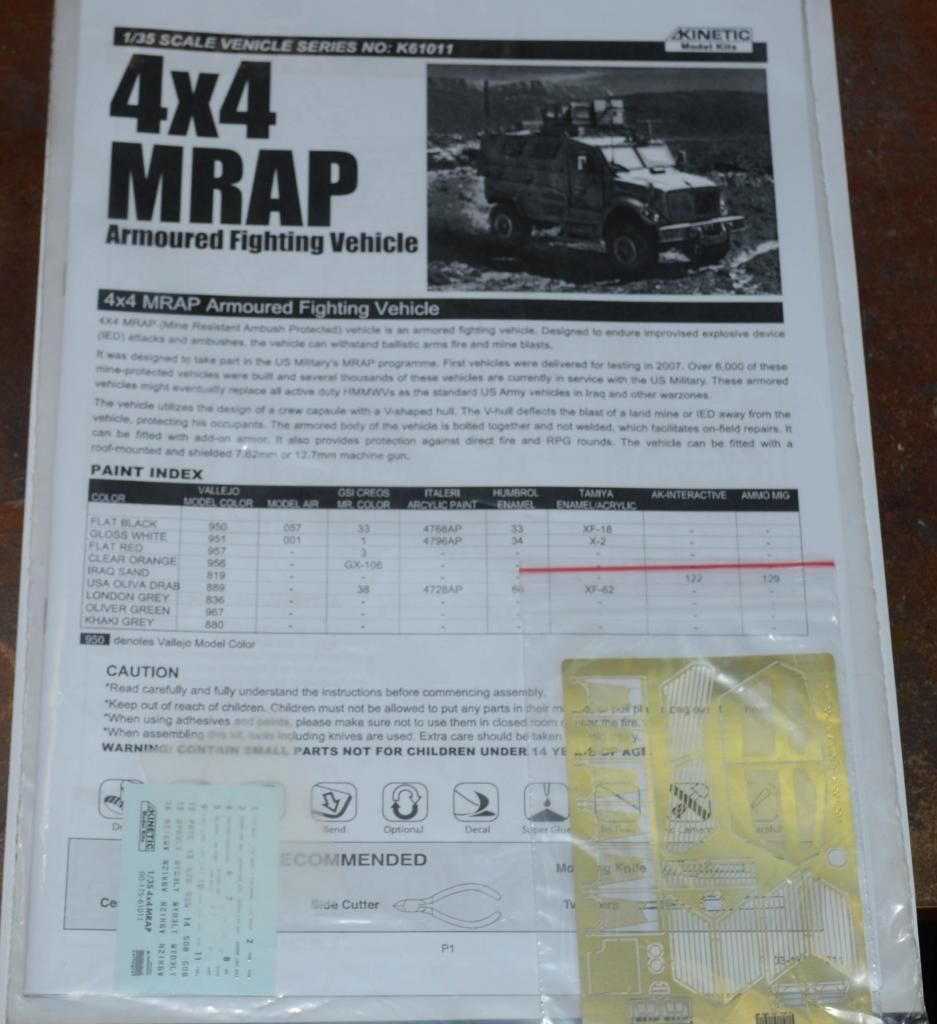 I guess is apparent that all production of Kinetic MaxxPro has the sinks marks on the body, there are also visible seams which need some TLC sanding. 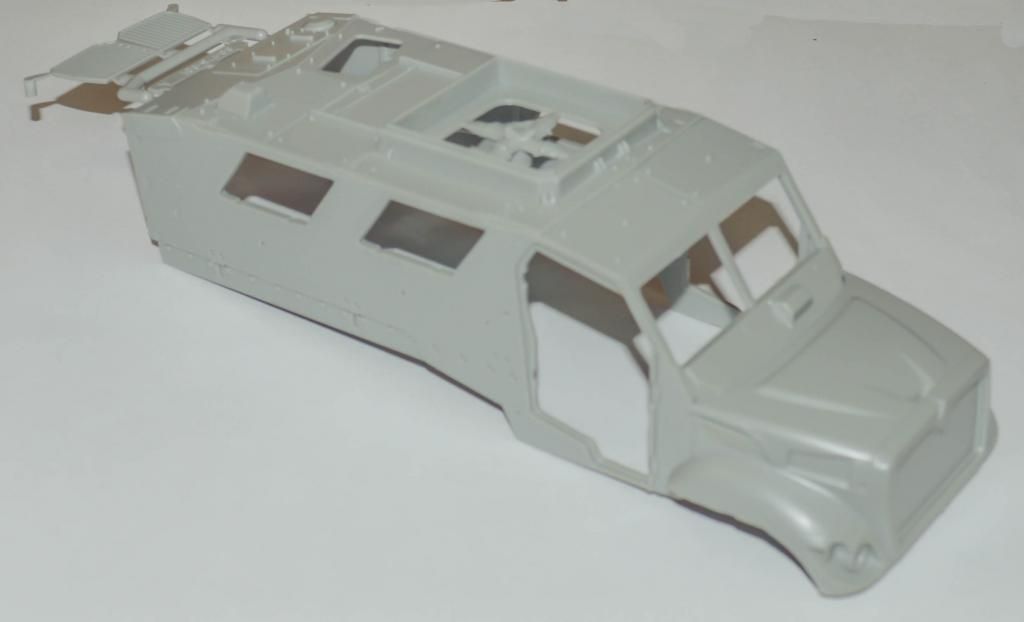 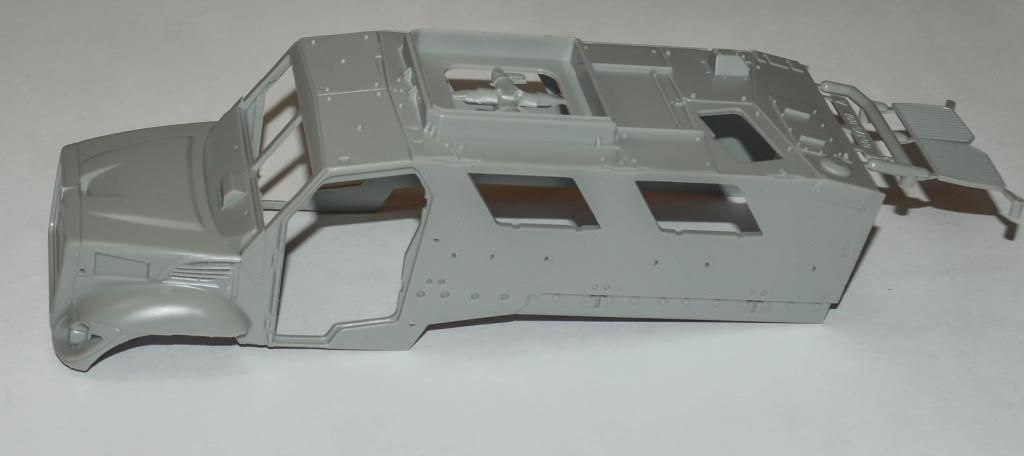 Thanks for Checking, Cheers!!! |
|
|
|
Post by TRM on Sept 28, 2014 5:21:04 GMT -5
Ni choice ER! I am looking forward to you taking a bite out of this one!!
|
|
adampolo13-Email Not Valid
Reviews member    
Member since: April 2012
Posts: 275
Apr 29, 2012 23:17:52 GMT -5
Apr 29, 2012 23:17:52 GMT -5
|
Post by adampolo13-Email Not Valid on Sept 28, 2014 8:39:28 GMT -5
I got my popcorn ready!  |
|
|
|
Post by wbill76 on Sept 28, 2014 19:44:53 GMT -5
Should be a fun one ER, looking forward to it!
|
|
|
|
Post by eastrock on Sept 29, 2014 10:18:45 GMT -5
Thanks a lot guys!!! well still working on the hood and panel lines on the body.
Adam, my PE still in transit might have to recheck what step I could assembly first without the use of PE
Cheers!!
|
|
adampolo13-Email Not Valid
Reviews member    
Member since: April 2012
Posts: 275
Apr 29, 2012 23:17:52 GMT -5
Apr 29, 2012 23:17:52 GMT -5
|
Post by adampolo13-Email Not Valid on Sept 29, 2014 11:02:48 GMT -5
ER, you're good to go on the frame and suspension. The Voyager set doesn't start coming into play until a little bit later.
|
|
|
|
Post by deafpanzer on Sept 29, 2014 14:18:35 GMT -5
About the friggin' time you are back into the armors stuff!!! LOL You definitely have my attention...  |
|
|
|
Post by eastrock on Sept 30, 2014 0:12:18 GMT -5
Duly noted, Adam thanks for the heads up!!!
Taking baby steps again, Andy but definitely coming along.
Cheers!!!
|
|
pantherf..-Email Not Valid
Full Member
  
Member since: July 2013
"Best Job I've Ever Had"
Posts: 1,253 
|
Post by pantherf..-Email Not Valid on Sept 30, 2014 6:19:08 GMT -5
Always good to watch a wheeled build thread!
Jeff
|
|
|
|
Post by eastrock on Sept 30, 2014 12:07:13 GMT -5
Thanks for dropping by, Jeff!!! Here's a small update, No biggie just putty and sanding on the large part. on the kit there's a mold that looks like for the engine exhaust on both side, the kit supplied plain piece of styrene to cover it up, it should be detailed that looks like a screen or kit supplied PE. Reference show it should not be there. Just like Adam I covered it up putty and sand to smooth. 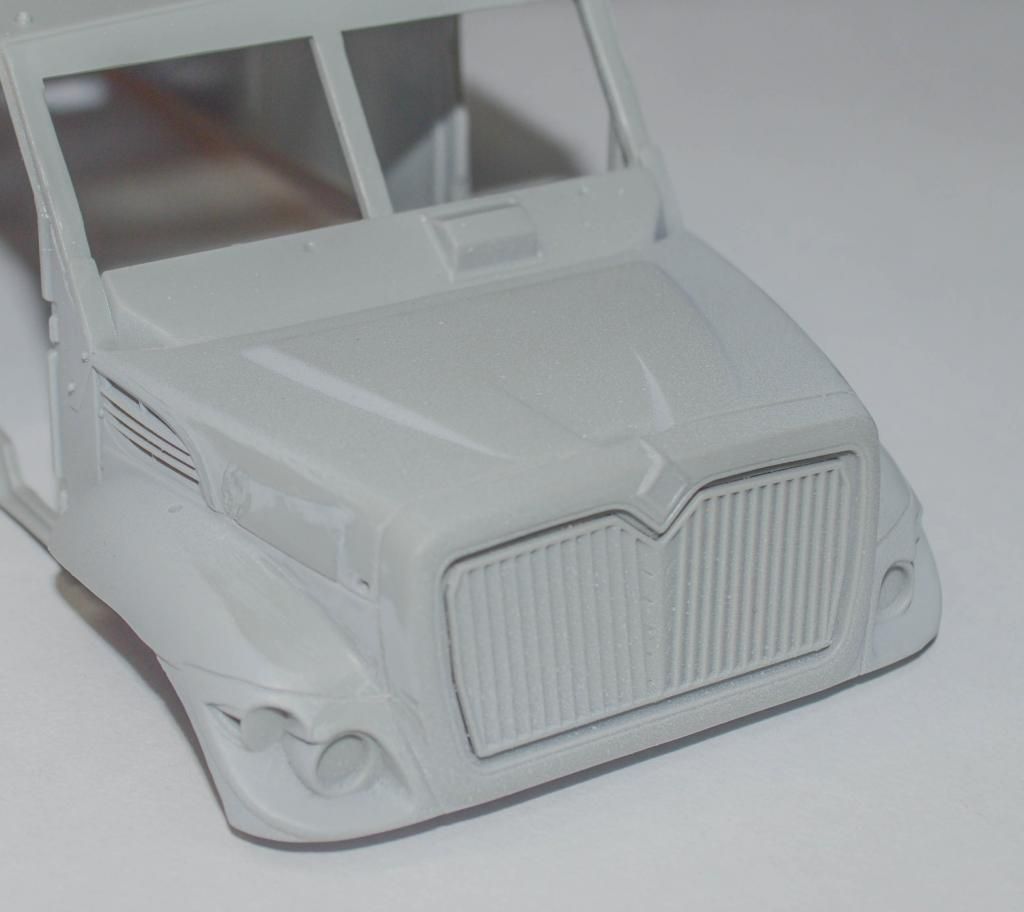 I think that the kit is base from a Category 1 MaxxPro (Reference) media.defenceindustrydaily.com/images/LAND_MRAP_MaxxPro_CAT-I_Camp_Liberty_Iraq_lg.jpgand not a mix up with this one, if you notice there is only one engine grill supplied. upload.wikimedia.org/wikipedia/commons/d/d0/International_MaxxPro.jpgon the V-Shape hull there are protruding mold marks that is a lot harder to reach, by the use of dremel tool you can grind it away, there will be some rough surface (don't smoothen it) there's is a use for this. 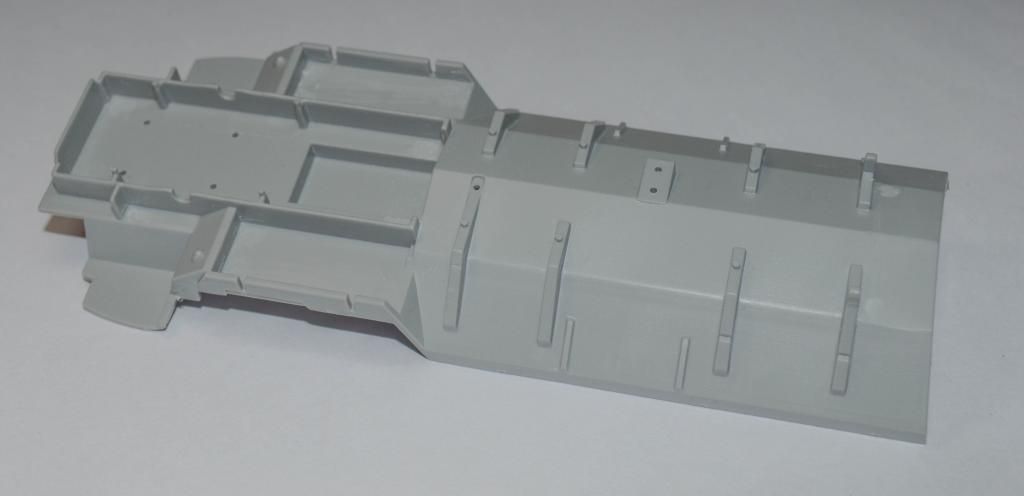 Cheers!!! |
|
|
|
Post by wbill76 on Sept 30, 2014 19:25:35 GMT -5
Any progress is good progress ER, keep on trucking with this one.  |
|
|
|
Post by TRM on Sept 30, 2014 20:45:23 GMT -5
Looking good there ER!!! Off and running nicely!!
|
|
|
|
Post by eastrock on Sept 30, 2014 22:54:38 GMT -5
Thanks Bill and Todd, for checking it out  Just I'm about to jump on the chassis and use the lower body as a jig, and notice there's a huge gap on the front end. Need to scratch build a frame for it to sit it properly, since I'm doing a stand-alone model this is noticeable.   Cheers! |
|
|
|
Post by deafpanzer on Oct 1, 2014 10:35:48 GMT -5
Looking good... confident you will take care of those gaps. Just fill it with the fat from your pig legs!  |
|
adampolo13-Email Not Valid
Reviews member    
Member since: April 2012
Posts: 275
Apr 29, 2012 23:17:52 GMT -5
Apr 29, 2012 23:17:52 GMT -5
|
Post by adampolo13-Email Not Valid on Oct 1, 2014 18:05:52 GMT -5
Hey ER. Have you dry-fit the body and all the hull parts etc? You may find you don't even see this once everything is together.
|
|
|
|
Post by Leon on Oct 1, 2014 18:33:31 GMT -5
Off to a good start ER.  |
|
|
|
Post by eastrock on Oct 1, 2014 22:17:17 GMT -5
too much Cholesterol Andy!!! lol
Adam, yup its still visible even I put a wiring on it, the Gap on the left is 1mm.
Leon, thanks for checking it out will have to make this one work out
Cheers!!!
|
|
adampolo13-Email Not Valid
Reviews member    
Member since: April 2012
Posts: 275
Apr 29, 2012 23:17:52 GMT -5
Apr 29, 2012 23:17:52 GMT -5
|
Post by adampolo13-Email Not Valid on Oct 4, 2014 19:25:10 GMT -5
That's so add ER... Did you put the side panels on too?
|
|
|
|
Post by eastrock on Oct 5, 2014 12:05:37 GMT -5
Adam haven't test fitted yet the Side panels maybe this coming days or weeks, need to juggle modeling and IRL errands need to work on my time management since its already Ber Months. here's the update regarding the gap, and I just found out that my order of Voyager PE will be a bit delayed the local hobby shop forgot to place my order on their list... Bummer... will just have to work on other parts or shelf queens in the meantime.  Cheers!!! |
|
|
|
Post by wbill76 on Oct 6, 2014 15:44:13 GMT -5
Tough break on the LHS not handling your order...that's a bummer for sure!
|
|
|
|
Post by eastrock on Oct 19, 2014 7:42:20 GMT -5
Pushing forward since the Voyager PE and the Resin wheels will be delayed again... jumping around with most of the steps... in order to make progress... First up the chassis, basically done except for the fire extinguisher  rear and front wheel axle, added a stub on the front strut bar to act as nut and bolt.. the front axle is workable just waiting the Resin wheels to make the final stance of the kit  Cheers!!! |
|
|
|
Post by deafpanzer on Oct 20, 2014 11:01:21 GMT -5
Looking forward to the resin wheels on workable axle... looking real good!
|
|
|
|
Post by wbill76 on Oct 20, 2014 12:17:28 GMT -5
Looks like you're making the most of the time available while you wait for the other stuff go come in ER, any progress is good progress.  |
|
|
|
Post by eastrock on Oct 20, 2014 22:23:54 GMT -5
Thanks, Andy making small progress until the PE parts to arrive... DEF models just release their Maxxpro wheels just this month... hopefully it will arrive next month so I could check if the kit sits on all fours before securing the chassis.
Bill, well its a good thing I also got a bike in progress, this Maxxpro will be on the sideline build in the meantime until parts to arrive and will be my priority build when the parts are already completed.
Cheers!!!
|
|
|
|
Post by eastrock on Oct 22, 2014 10:54:05 GMT -5
Work begun on the C4ISR Rack, since the part is lacking of detail just a plain small block with a very large seam on the side, covered the top with thin sheet of styrene did a rivets base on the reference... still need to work on the left side for the brackets and other electronic gadget seems like I need to cast a few controllers and some radios for the crew. 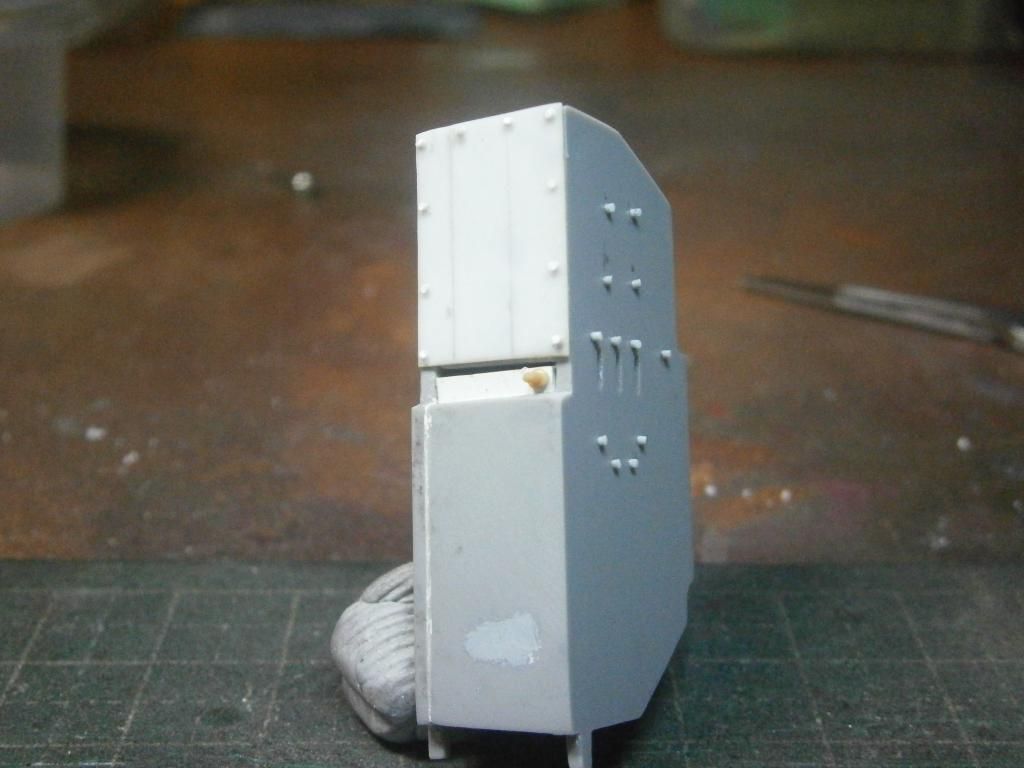 Cheers!! |
|
|
|
Post by TRM on Oct 22, 2014 11:17:28 GMT -5
Great modification on the radio ER!! Nice to have a little extra detail inside!!
|
|
|
|
Post by wbill76 on Oct 22, 2014 12:16:03 GMT -5
Agree with T, nice detail additions to the 'blob' they gave you.  |
|
|
|
Post by eastrock on Oct 23, 2014 0:11:43 GMT -5
Thanks for looking in, Todd... I think there's something wrong with me lol
Bill, you got that right since I also ordered the Voyager PE set, it still needs interior details.
Cheers!!!
|
|
|
|
Post by eastrock on Oct 25, 2014 9:32:53 GMT -5
Finally the PE Arrived and time to make more progress on the kit 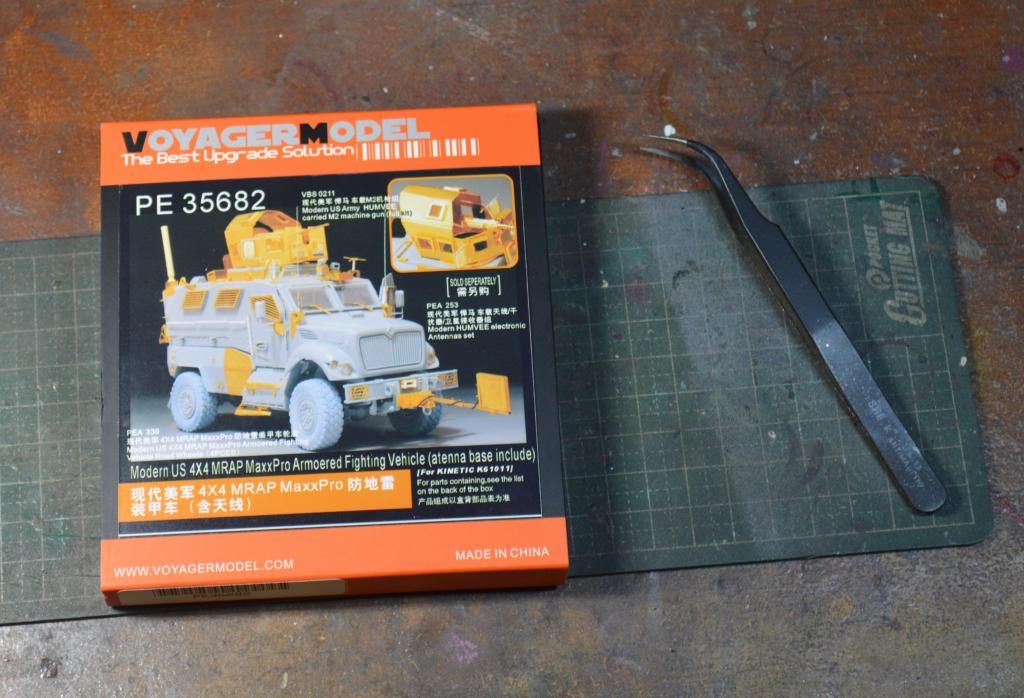 Cheers!!! |
|
|
|
Post by Leon on Oct 25, 2014 10:20:30 GMT -5
Nice looking PE set ER  !Really looking forward to seeing this go on.Great progress on the axles and rack.  |
|