|
|
Post by eastrock on Dec 12, 2014 0:36:39 GMT -5
You got a great suggestion Bill, will think about a naked model in the next lol Todd, with xmas just around the corner and parties filing up... I need to stay sober  |
|
|
|
Post by eastrock on Dec 15, 2014 6:44:36 GMT -5
another small progress done with the rack... its a bit slant 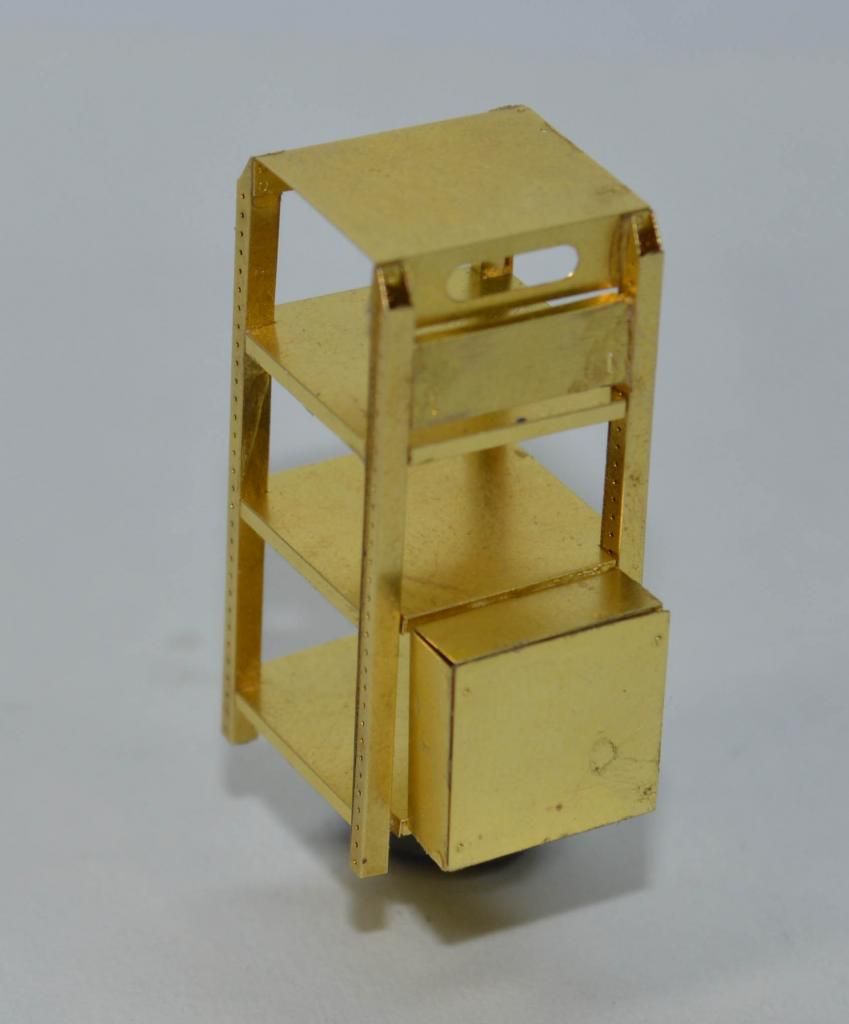 Mock up of the interior 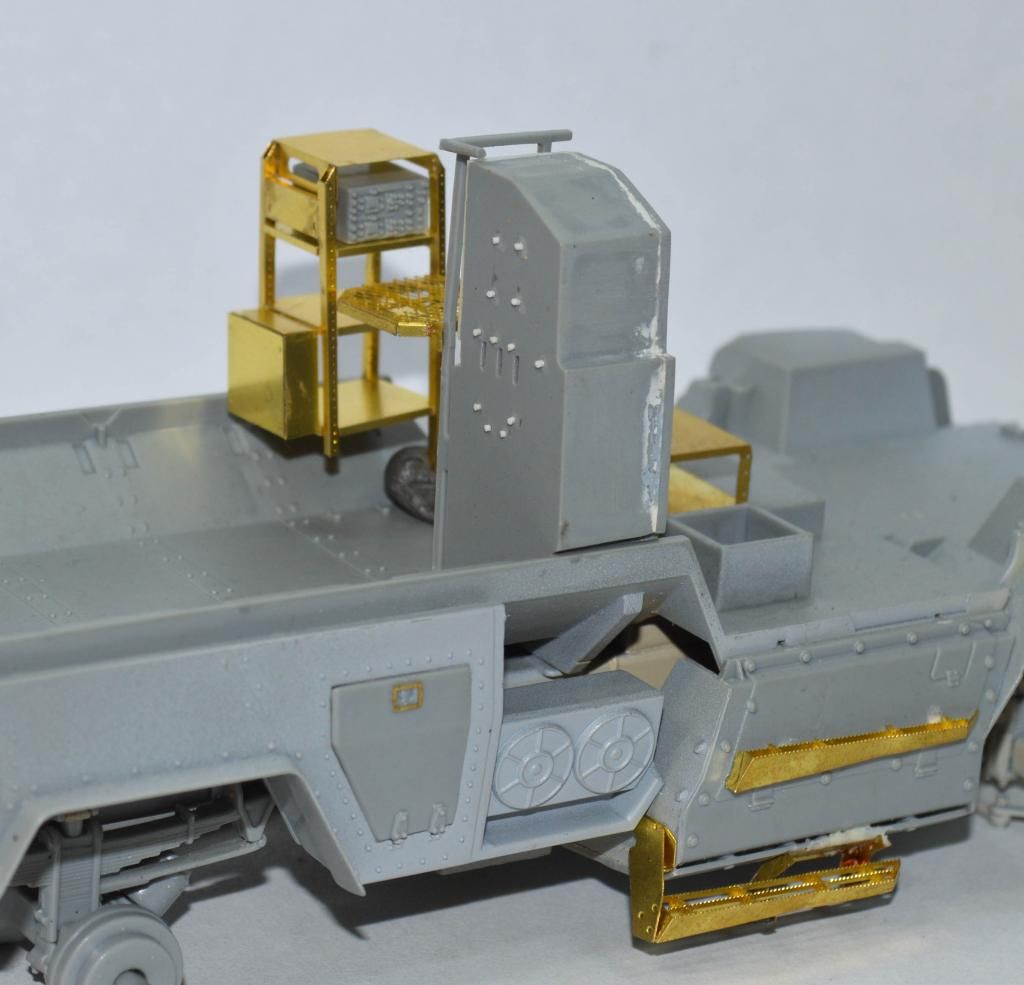 Cheers!! |
|
|
|
Post by TRM on Dec 15, 2014 7:12:23 GMT -5
Being sober is overrated ER!  Nice work on the interior workings!! Every little bit is getting you that much closer!!! |
|
|
|
Post by wbill76 on Dec 15, 2014 13:25:35 GMT -5
Nice work on the stand, have to agree with T's assessment!  |
|
|
|
Post by deafpanzer on Dec 15, 2014 23:58:30 GMT -5
You are kicking pig's arse on this... keep it coming my friend!
|
|
|
|
Post by eastrock on Dec 18, 2014 12:30:39 GMT -5
Totally need to work on this... since I already started priming and jumping around steps... Now did a little work on the doors... and Hatch, start again prepping for primer. 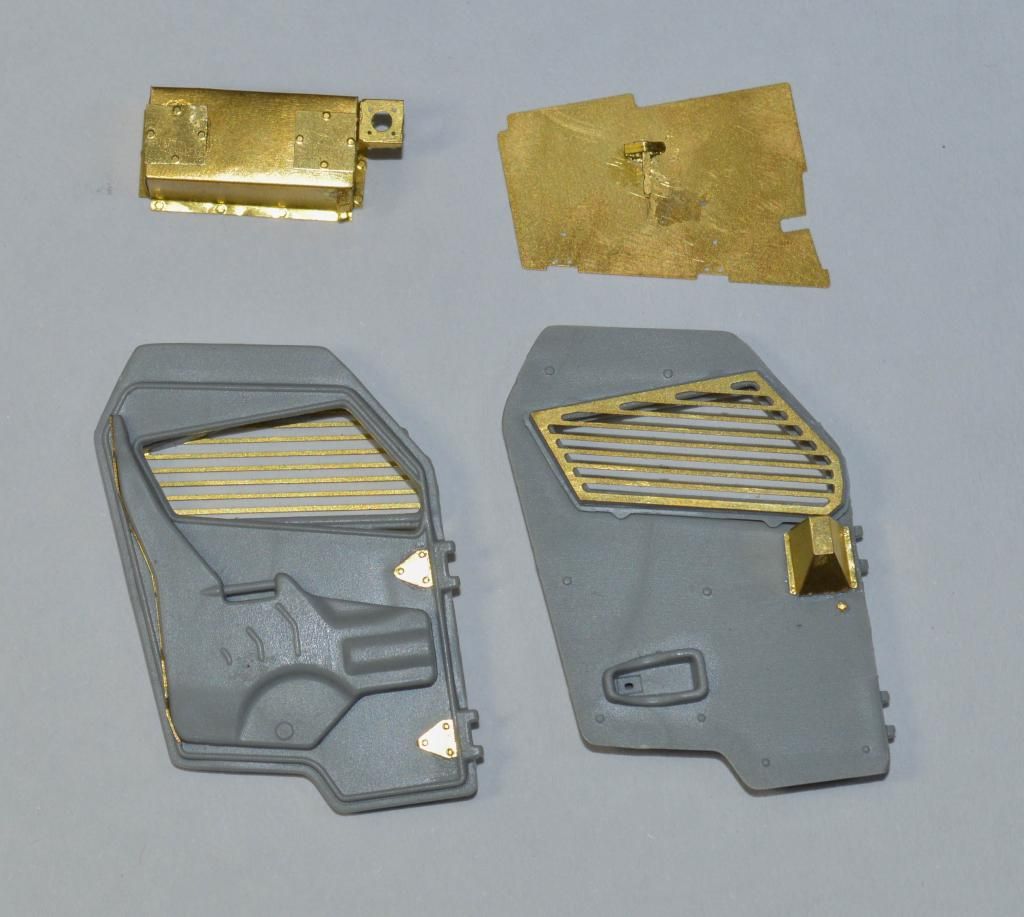 Happy Holidays, Cheers!! |
|
M1Carbine
Senior Member
    November '23 Showcased Model Awarded
Member since: November 2012
Posts: 1,739
Nov 16, 2012 2:49:11 GMT -5
Nov 16, 2012 2:49:11 GMT -5
|
Post by M1Carbine on Dec 18, 2014 17:49:46 GMT -5
ER - fantastic PE work buddy.
Bob
|
|
|
|
Post by Leon on Dec 18, 2014 18:25:05 GMT -5
Great looking PE work ER!  |
|
|
|
Post by deafpanzer on Dec 18, 2014 18:30:58 GMT -5
Agree with guys... great PE work!
|
|
|
|
Post by eastrock on Dec 25, 2014 7:18:40 GMT -5
Thanks for Checking it out, Guys!!! Merry Christmas to all of you!!! Just small repair update, aside from Voyager PE correction parts the kit is still riddled with issues... just right after I fit the cover of the AC, found out there should be a frame inside it, its has a very visible gap... its a molding issue, did check some reference. made a rough frame will be smoothen out with filler. 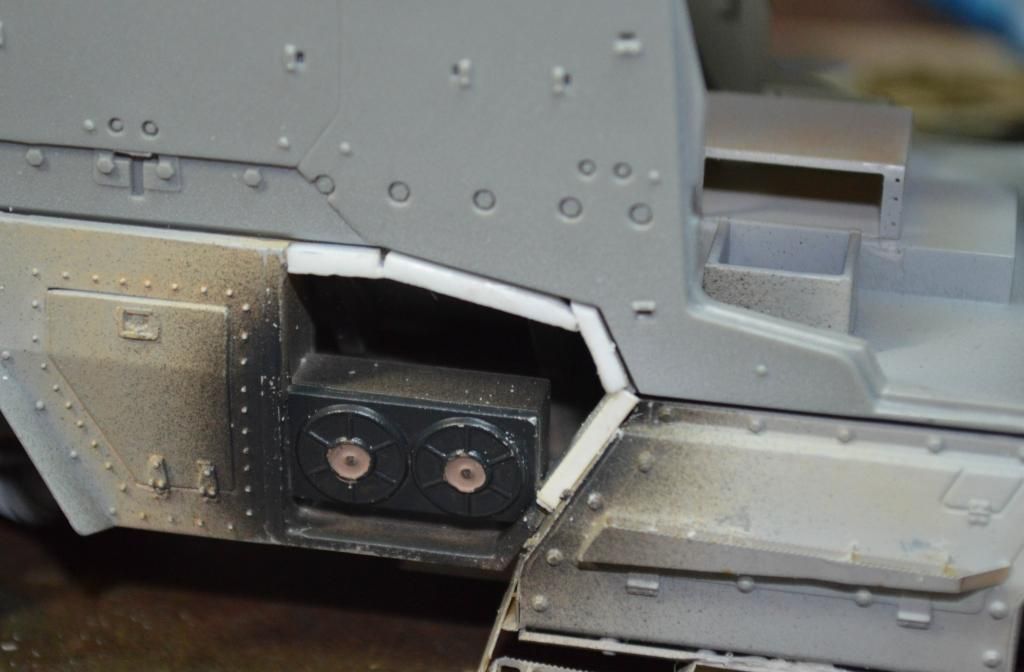 and a transmission cover is missing, the cover is a cut out from a used call card. 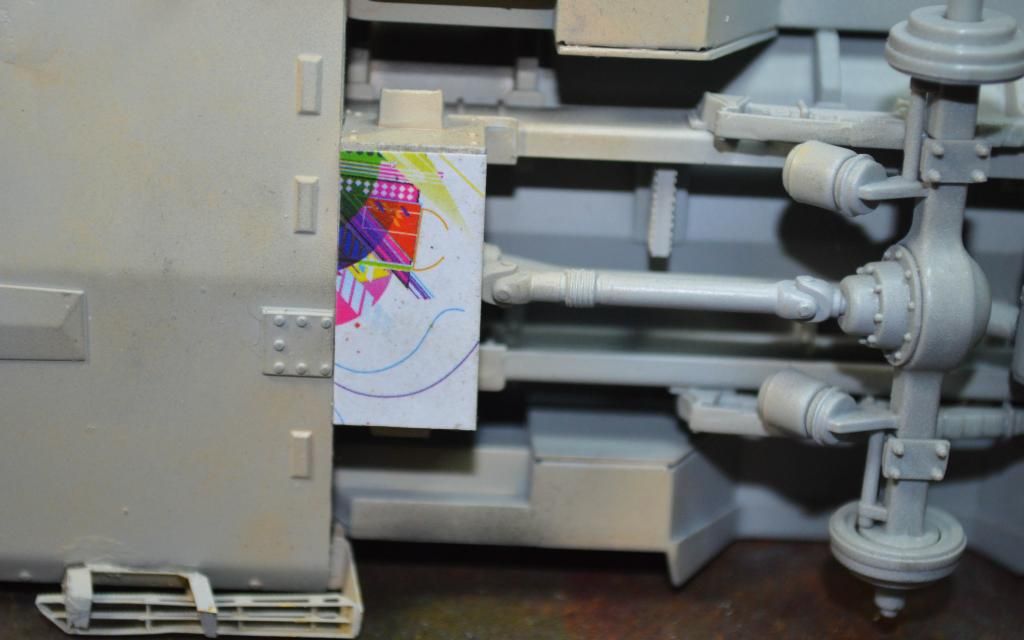 Cheers!!! |
|
pantherf..-Email Not Valid
Full Member
  
Member since: July 2013
"Best Job I've Ever Had"
Posts: 1,253 
|
Post by pantherf..-Email Not Valid on Dec 25, 2014 7:40:19 GMT -5
I'm sold, I want one! Very nice work!  Jeff |
|
|
|
Post by Leon on Dec 25, 2014 7:42:36 GMT -5
Nice catch on the frame and tranny cover ER!
Merry Christmas to you.
|
|
pantherf..-Email Not Valid
Full Member
  
Member since: July 2013
"Best Job I've Ever Had"
Posts: 1,253 
|
Post by pantherf..-Email Not Valid on Dec 25, 2014 7:50:26 GMT -5
Need to push myself on this one... working with PE stuffs, there are mistakes on assembly but need to work on it to cover it up. below the turret assembly is almost ready for Priming some parts will be assembled last after the paint and the clear part is installed. 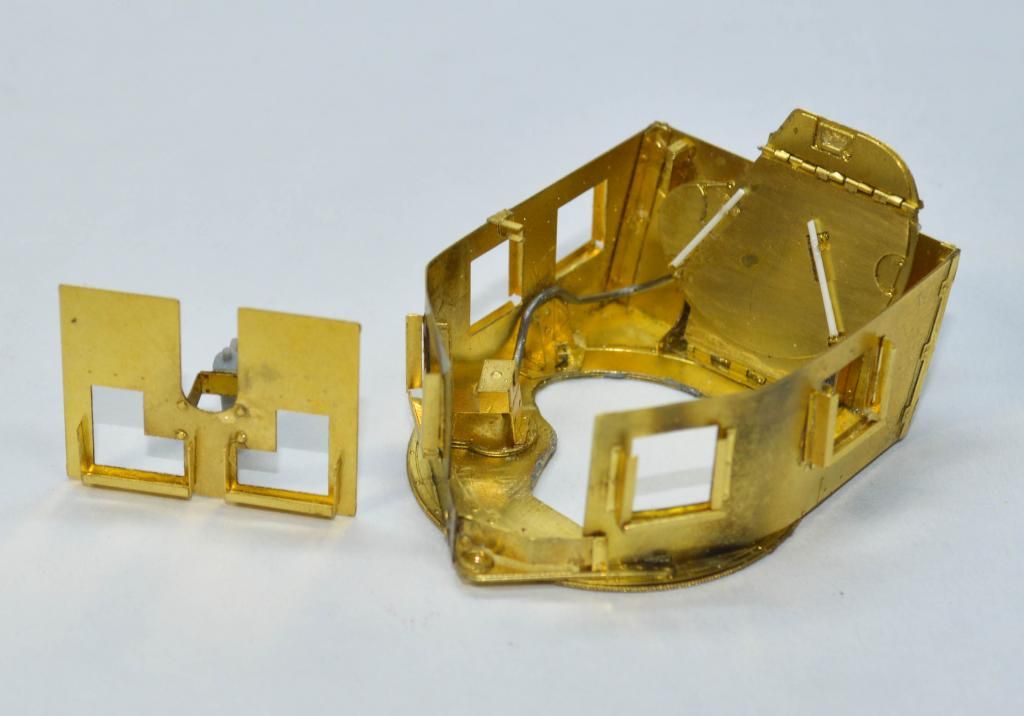 Here's the mock up with the O-GPK the lower part will be prime and paint specifically on the AC area for weathering and details before covering it up. 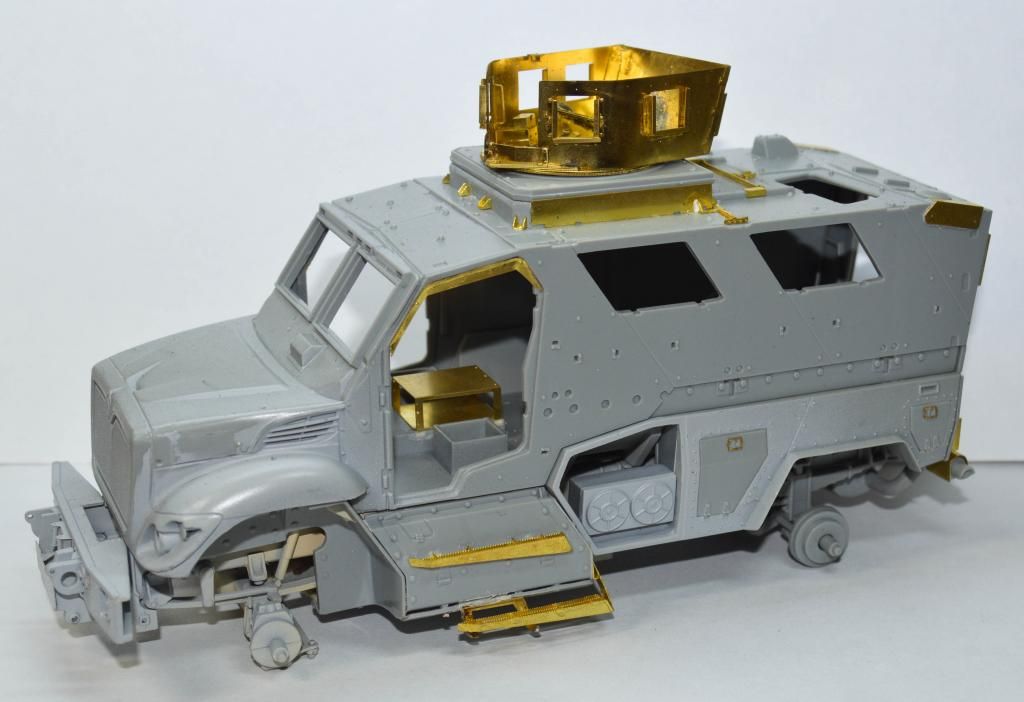 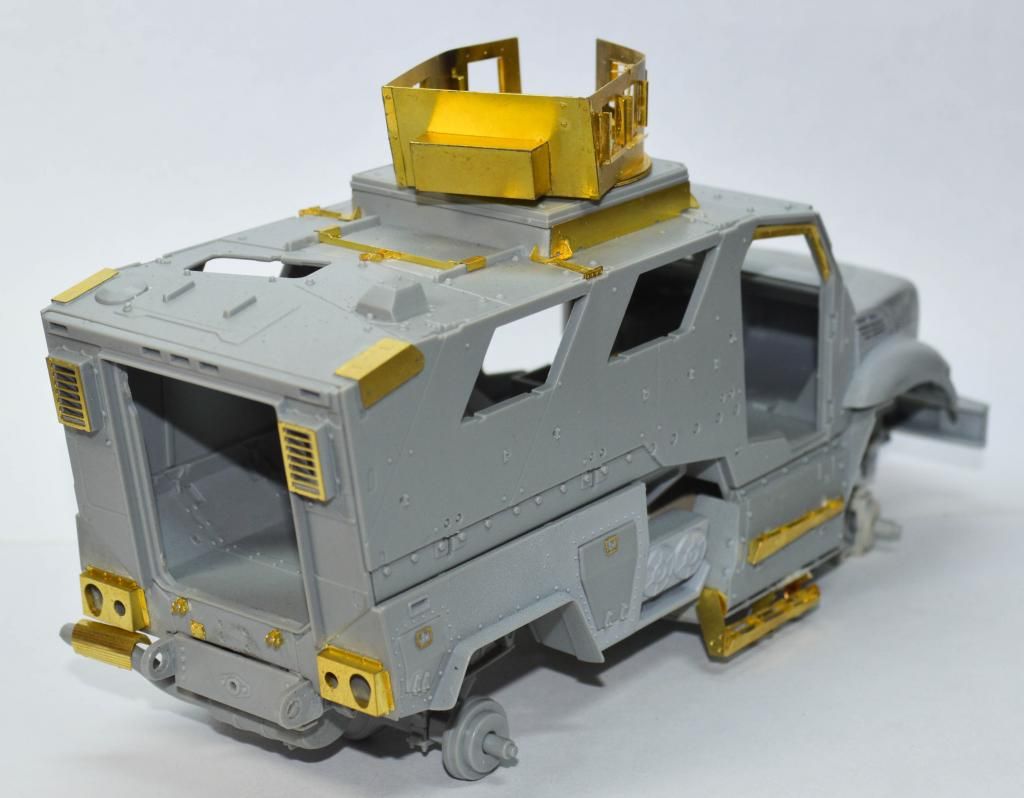 as always thanks for looking, Cheers!!! JUST out of curiosity, what did you use to bend the curved portion of the PE? Battery, sewing spool? I know it's a temptation to leave the bare model alone (I think I would)... I still want to do up a Marder III with as much PE as possible and just decal and seal it.  Maybe photos along side your painted model to show off the PE? Merry Christmas! Jeff |
|
|
|
Post by TRM on Dec 25, 2014 8:17:11 GMT -5
Merry Christmas ER!! Making some excellent progress!! Good luck with that vent cover!!
Jeff, you basically bend the PE with whatever is around the shape of what you are working with. I have and old radio antenna. There are several sizes to choose from all in one tool. There are a few on the market as well...RP Toolz and Mission Models to mention a couple But in most cases the trusty #11 shaft does the trick! If you want to have the metal bend even easier, set it on a hot burner for a few seconds or over a candle/lighter flame. Heating the metal anneals it and makes easy to bend!
|
|
|
|
Post by eastrock on Dec 25, 2014 9:00:47 GMT -5
Hi JeFF, T is right you need to annealed the PE (let it cool to touch) to bend it slightly but you need to fit it bit by bit to get the correct curve and placement  Merry Christmas and Advance Happy New Year to you  Thanks Todd, inspite of the issues, will still finish this one way or another I already invested much to it and it would be a shame not to finish it... its just plastic right? lol Cheers!!! |
|
|
|
Post by eastrock on Jan 1, 2015 12:33:45 GMT -5
For Today the rear part of the Maxxpro as shown in the image the rear is 1mm of the center to the right, as seen in the voyager PE rack at first I thought its a bit oversize but when I fitted the Gas can it fits perfectly... still you can use the kit provided part but its way to small to fit a Gas can on it, recommended for OOB or if you plan not put some can on the back... but on photo reference the can is essential part of the MRAP. 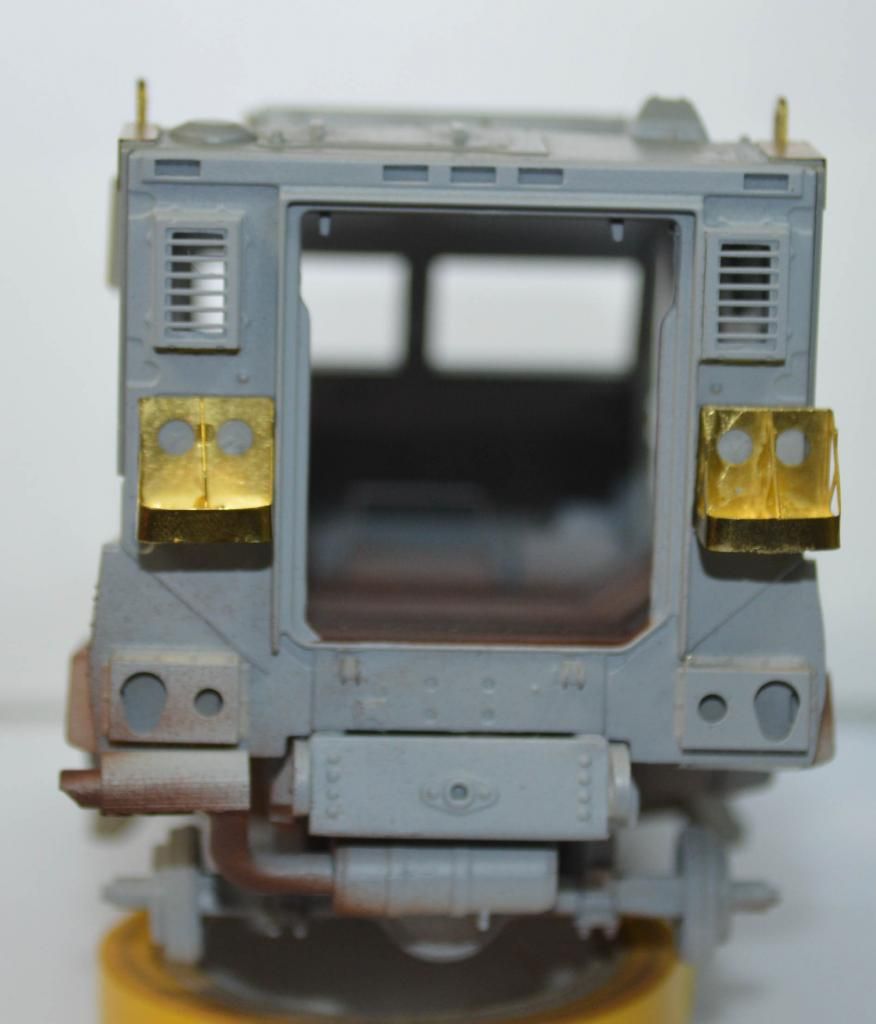 This one's bugging me... dunno what is called? the right part is the voyager PE, most of the reference I've seen uses the one with a button. 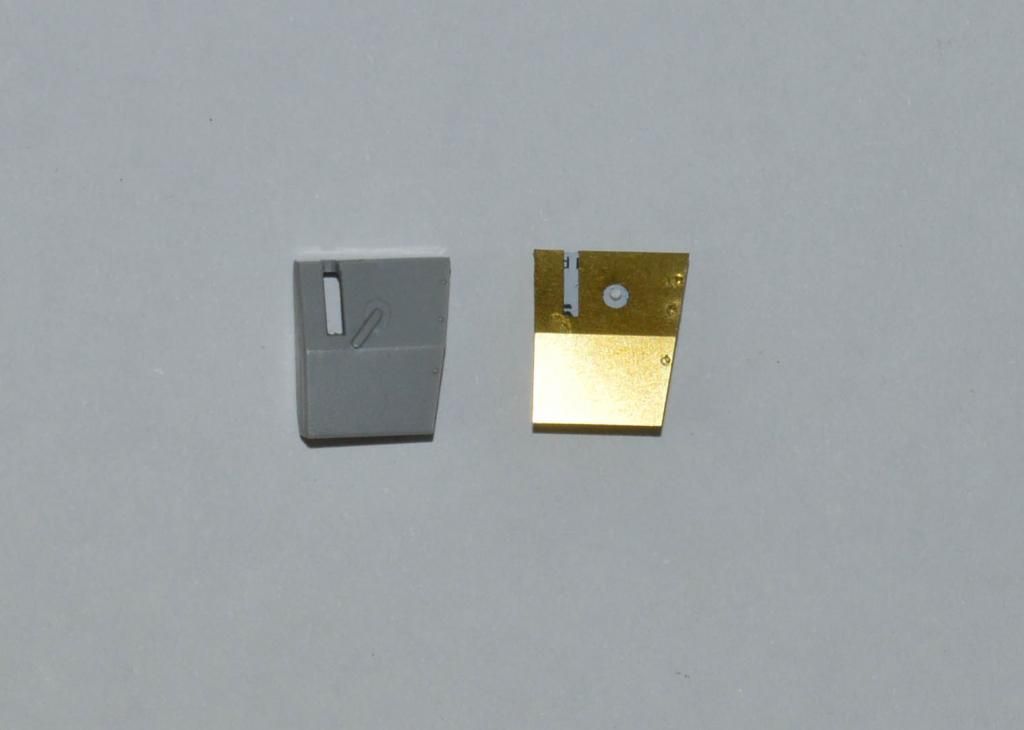 Cheers |
|
|
|
Post by deafpanzer on Jan 2, 2015 2:43:48 GMT -5
Your PE work amaze me... it is going to be stunning at the end!
|
|
|
|
Post by eastrock on Jan 10, 2015 7:57:14 GMT -5
Another week has past and still working on the attack most of the PE already been done, wheels painted... still need to work on the details... Still need to work and finish the interior... lacking of accessories and communications 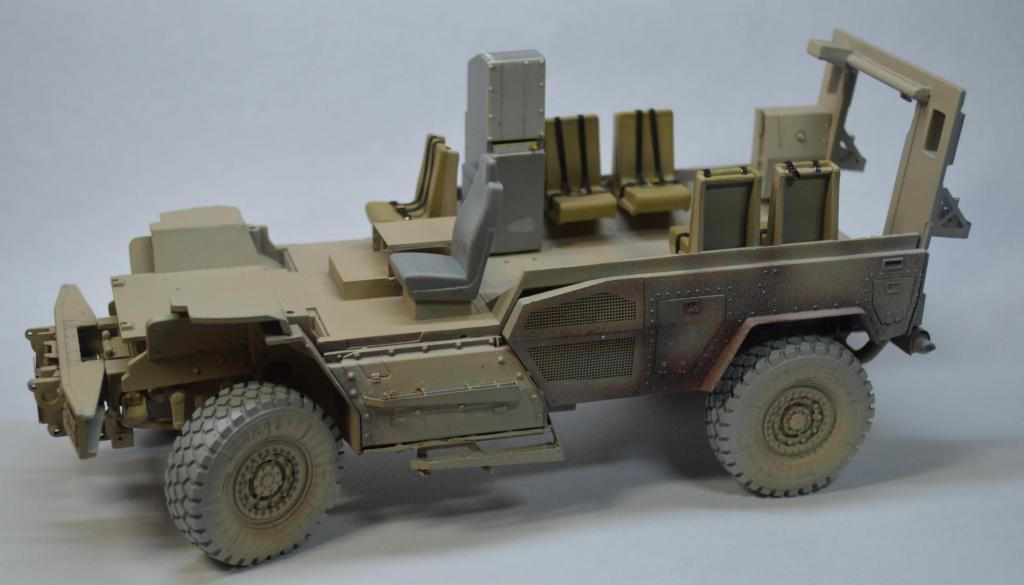 another mock up of kit, as you can see unable to fit the Jerry Cans the clearance to the window is low, if I adjust the basket I won't be able to attach the brace of the cab. just manage to fit one can just to give a picture it just came back from a mission... 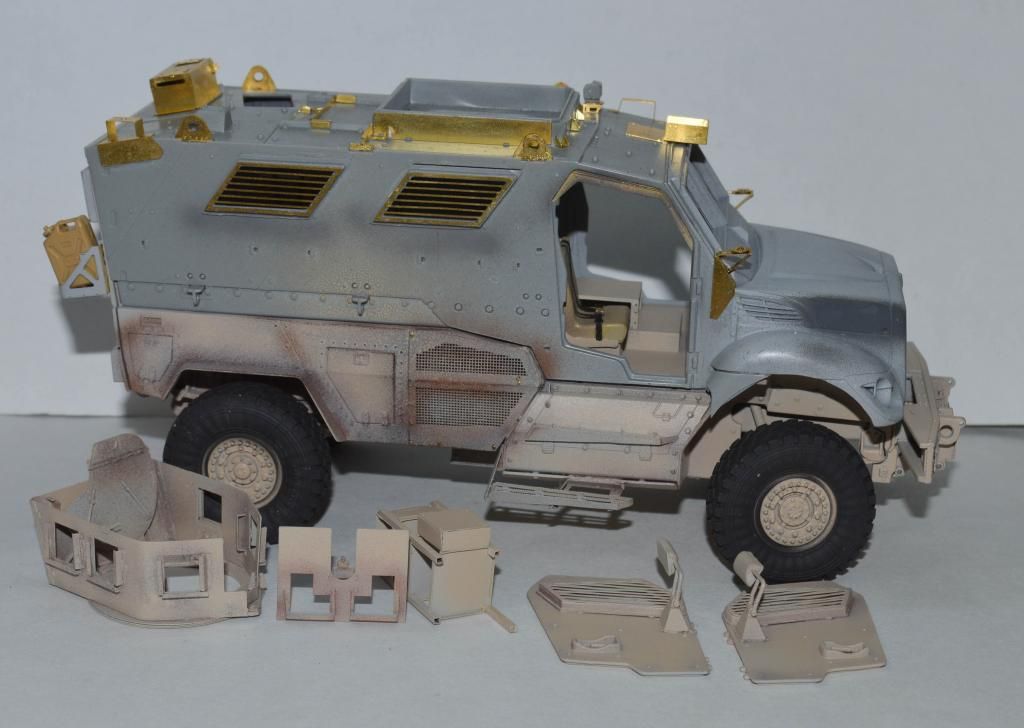 Cheers!!! |
|
|
|
Post by Leon on Jan 10, 2015 10:02:08 GMT -5
Great progress ER! This is coming along nicely.  |
|
|
|
Post by deafpanzer on Jan 10, 2015 10:47:22 GMT -5
Agree with Leon... getting closer to the next stage... paint! Those PE additions do make a huge difference...
|
|
|
|
Post by wbill76 on Jan 10, 2015 16:19:46 GMT -5
Coming along nicely ER!
|
|
|
|
Post by eastrock on Jan 14, 2015 11:41:01 GMT -5
Thanks guys for checking in!!! still have a about less than 2 weeks to finish and pack this one for a local show... major updates will be posted by the weekend need to work on the bolt heads for details. Just a bit of scratch building... the kit actuator for the rear door had a mold slide and decided to correct this one... 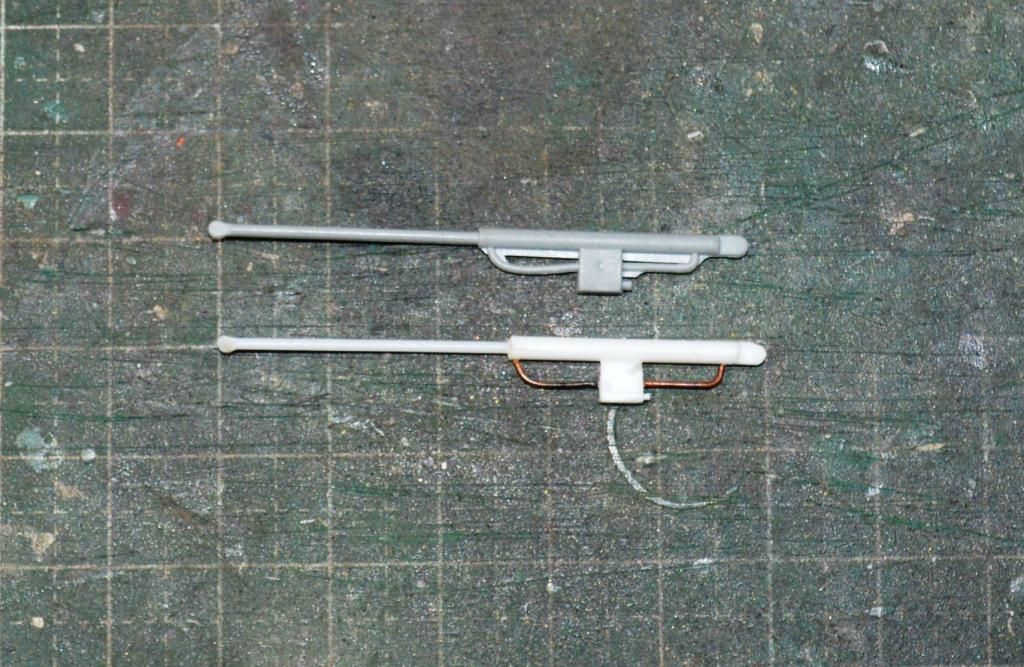 cheers!!! |
|
M1Carbine
Senior Member
    November '23 Showcased Model Awarded
Member since: November 2012
Posts: 1,739
Nov 16, 2012 2:49:11 GMT -5
Nov 16, 2012 2:49:11 GMT -5
|
Post by M1Carbine on Jan 15, 2015 0:23:53 GMT -5
ER - freaking wow!
Bob
|
|
|
|
Post by TRM on Jan 15, 2015 6:56:05 GMT -5
You have plenty of time to get this one to the finish line brother!! Looking great, keep plugging away!!
|
|
|
|
Post by wbill76 on Jan 15, 2015 13:53:40 GMT -5
Getting closer to the finish line ER, nice work on the actuator replacement.
|
|
reserve
Senior Member
   
Member since: July 2012
Si vis pacem para bellum
Posts: 2,373
Jul 11, 2012 9:11:45 GMT -5
Jul 11, 2012 9:11:45 GMT -5
|
Post by reserve on Jan 15, 2015 14:57:07 GMT -5
You guys and your PE...I get a headache just thinking about it.
ER, that is one great lookin build
Regards,
Mark
|
|
|
|
Post by Leon on Jan 15, 2015 17:35:56 GMT -5
Nice scratch work on the new actuator ER.  |
|
|
|
Post by eastrock on Jan 23, 2015 13:56:10 GMT -5
Bob - Thanks for checking in  T - looks like this will be on the finish by next month, caught up with some errands... Bill - I think kinetic needs to improve their moldings much of the issue of their mold slides in on the exterior. Mark - hey there!!! in the long run you will get use to it... especially when get the Panda and kinetic kit lol Leon - Thanks much better choice to scratch one than repairing the kit part.  by the way here is what I right now just finish base painting of the cab. with Camera Flash 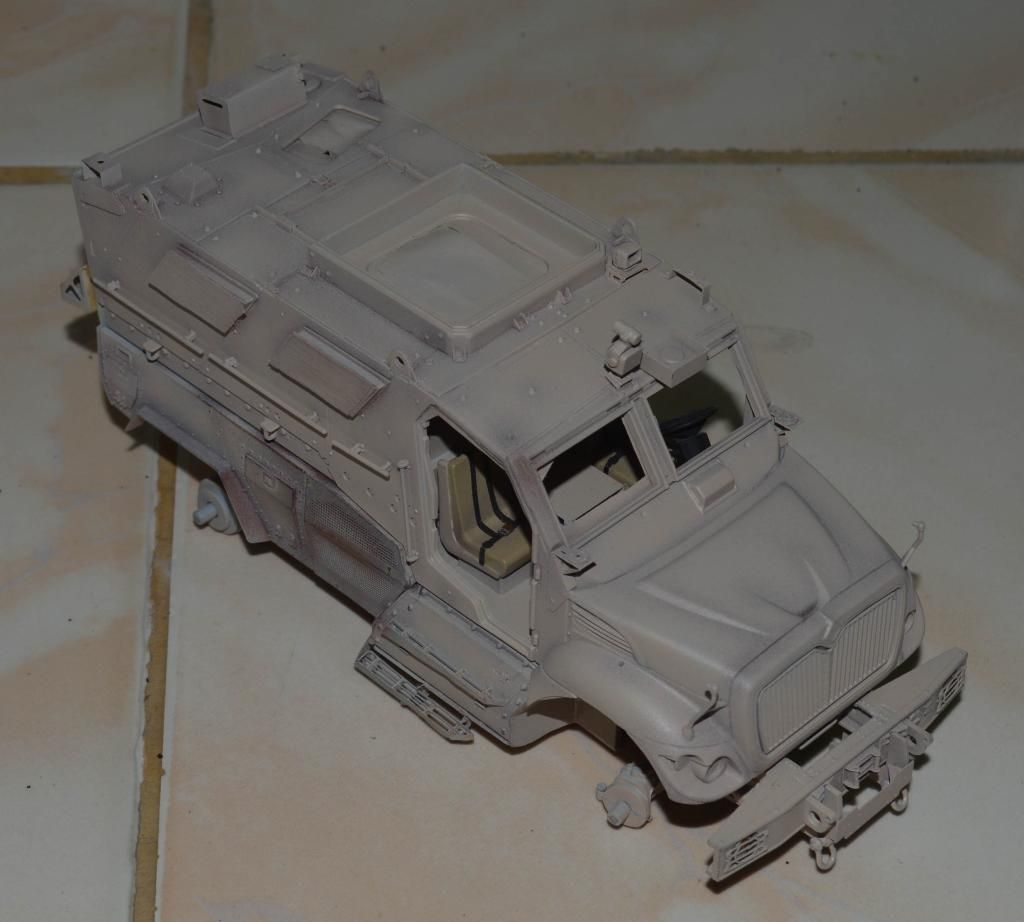 Without 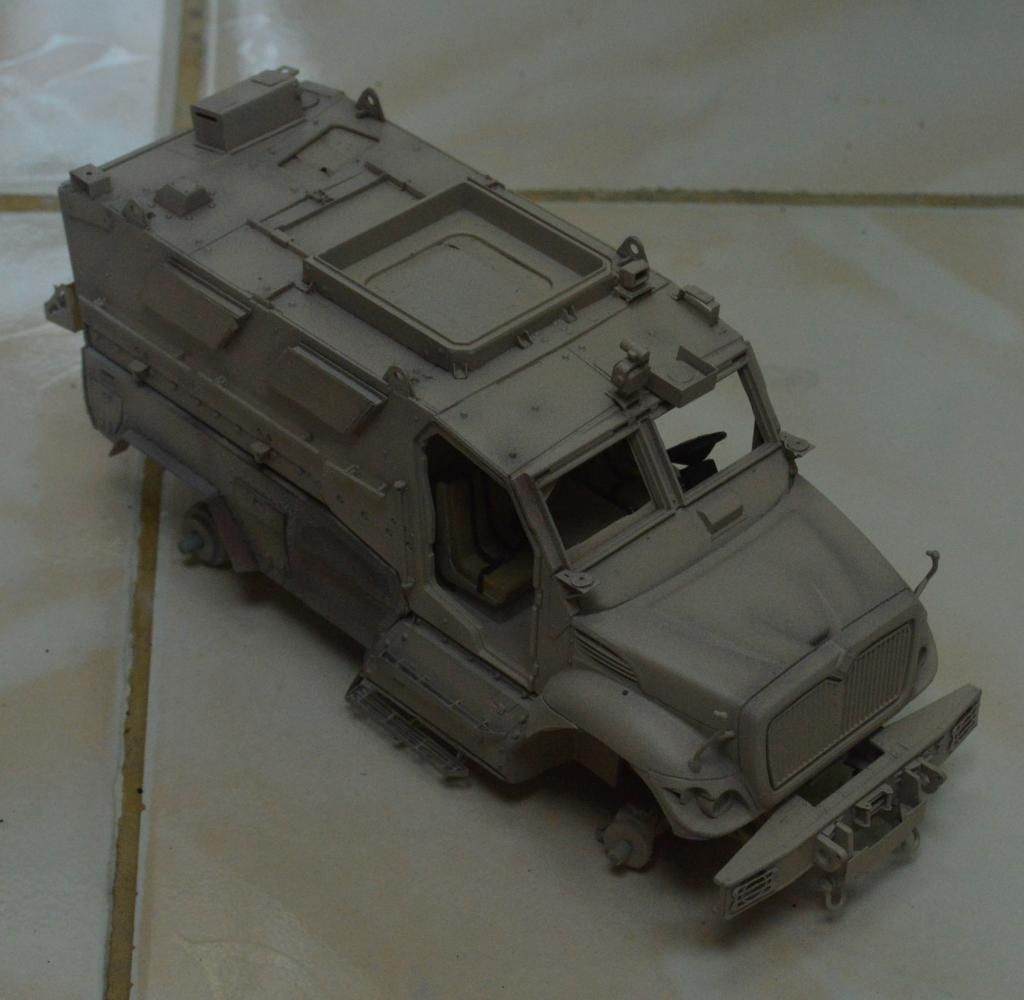 Cheers!!! |
|
|
|
Post by Leon on Jan 23, 2015 18:03:43 GMT -5
Nice work on the base color ER.  |
|
|
|
Post by eastrock on Jan 26, 2015 6:42:12 GMT -5
Thanks, Leon!!! another update installed the clear window on the cab... Note need to sand it to size one by one to fit the frame... 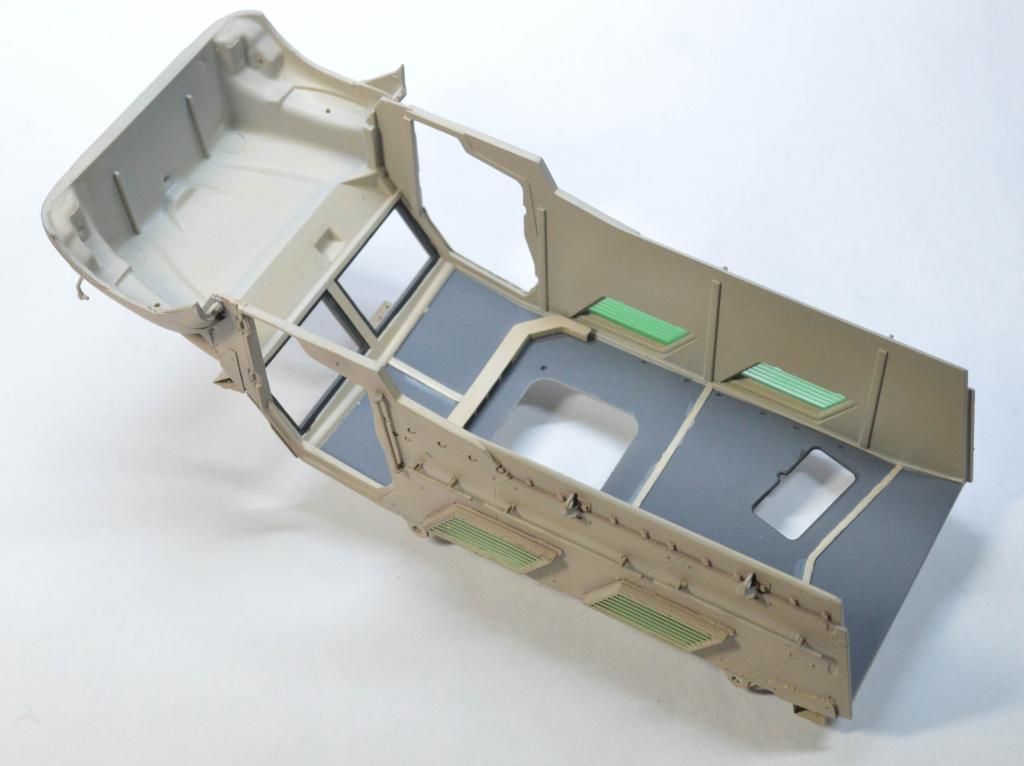 just encountering a slow down, have to rely on reference pics some parts are not included in the instructions.. mostly the interior parts... no location no colors indicated... 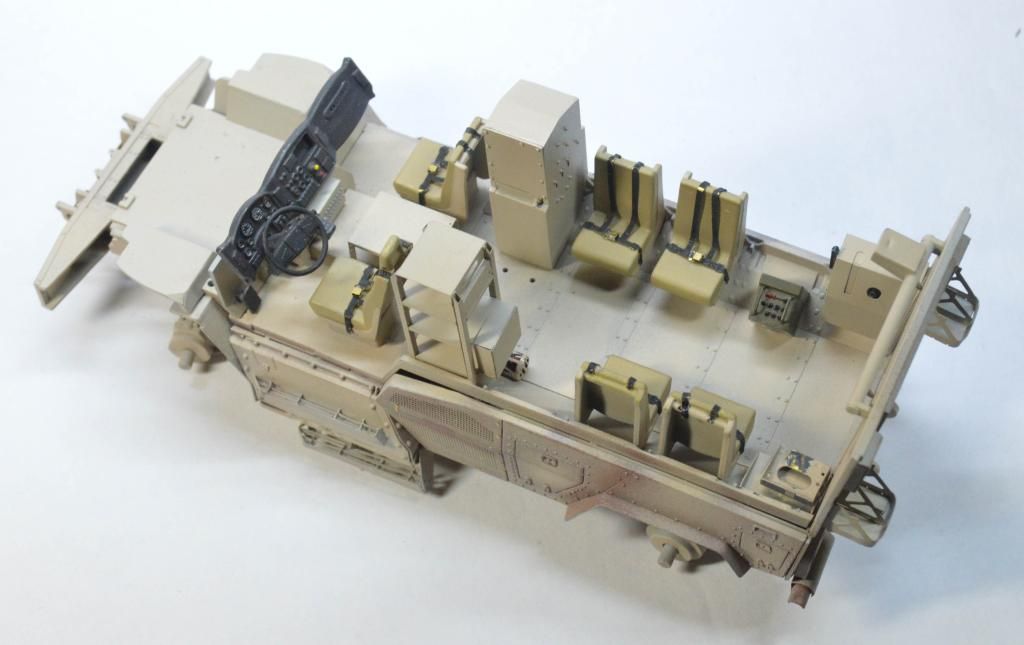 Cheers!! |
|