BezoulaBuilds
Full Member
  
Member since: July 2013
Posts: 136 
|
Post by BezoulaBuilds on Nov 1, 2014 1:31:55 GMT -5
Wow! its been over a year since I last posted. Life got crazy with some knee issues, chasing my kids and a good dose of reality. So bench time has been a premium. Some really nice stuff here and am happy to be back. I feel compelled to start with a build I shelved in August 2013. So with little fanfare here we go. Hasegawa's 1:32 P47D "Slick Chick" 368FG/395FS. Slick Chick will get plenty of love with AM belts/wheels/blast tubes/bombs and some scratch build action on IP/gunsight/ignition wires and M10 bazookas.  I started this as a double build last March. Slick Chick took a back seat to 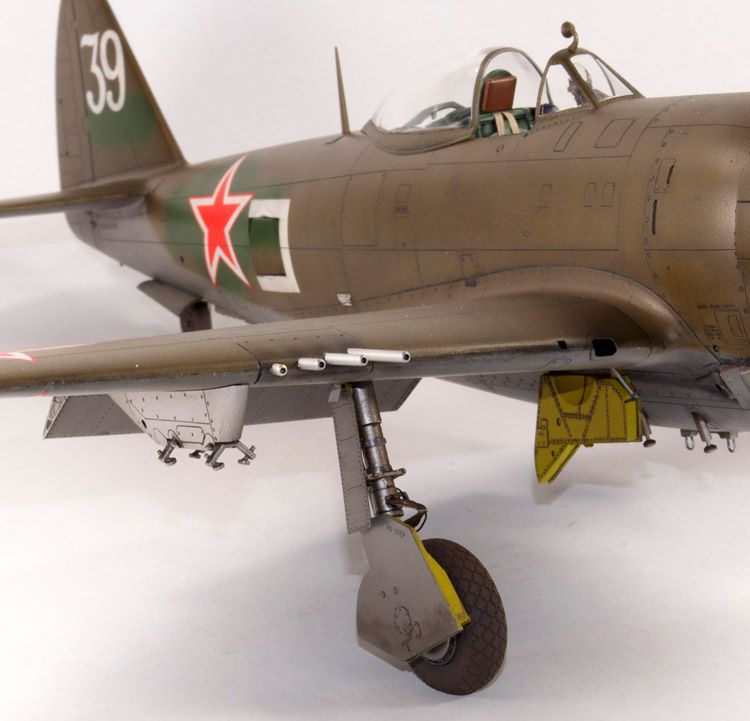 the Russian Jug and 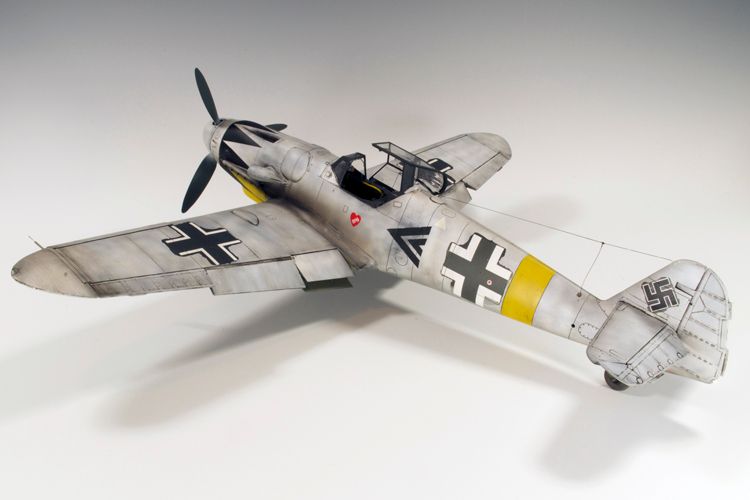 my Revell Bf109G6. WIP thread on this is promised. Back to "Slick Chick"I wanted to figure out the M10 Bazooka build. Just was not happy with the bazookas I raided from my Trumpy P47N. I have found a build solution for the M10's so here we go. Some images will look familiar from the Double Jug thread, so enjoy the rehash. Aftermarket items include: - Eduard Belts
- Barracuda Wheel set
- Hasegawa brass Blast Tubes
- Kits World decals
|
|
BezoulaBuilds
Full Member
  
Member since: July 2013
Posts: 136 
|
Post by BezoulaBuilds on Nov 1, 2014 2:09:16 GMT -5
TEST FIT 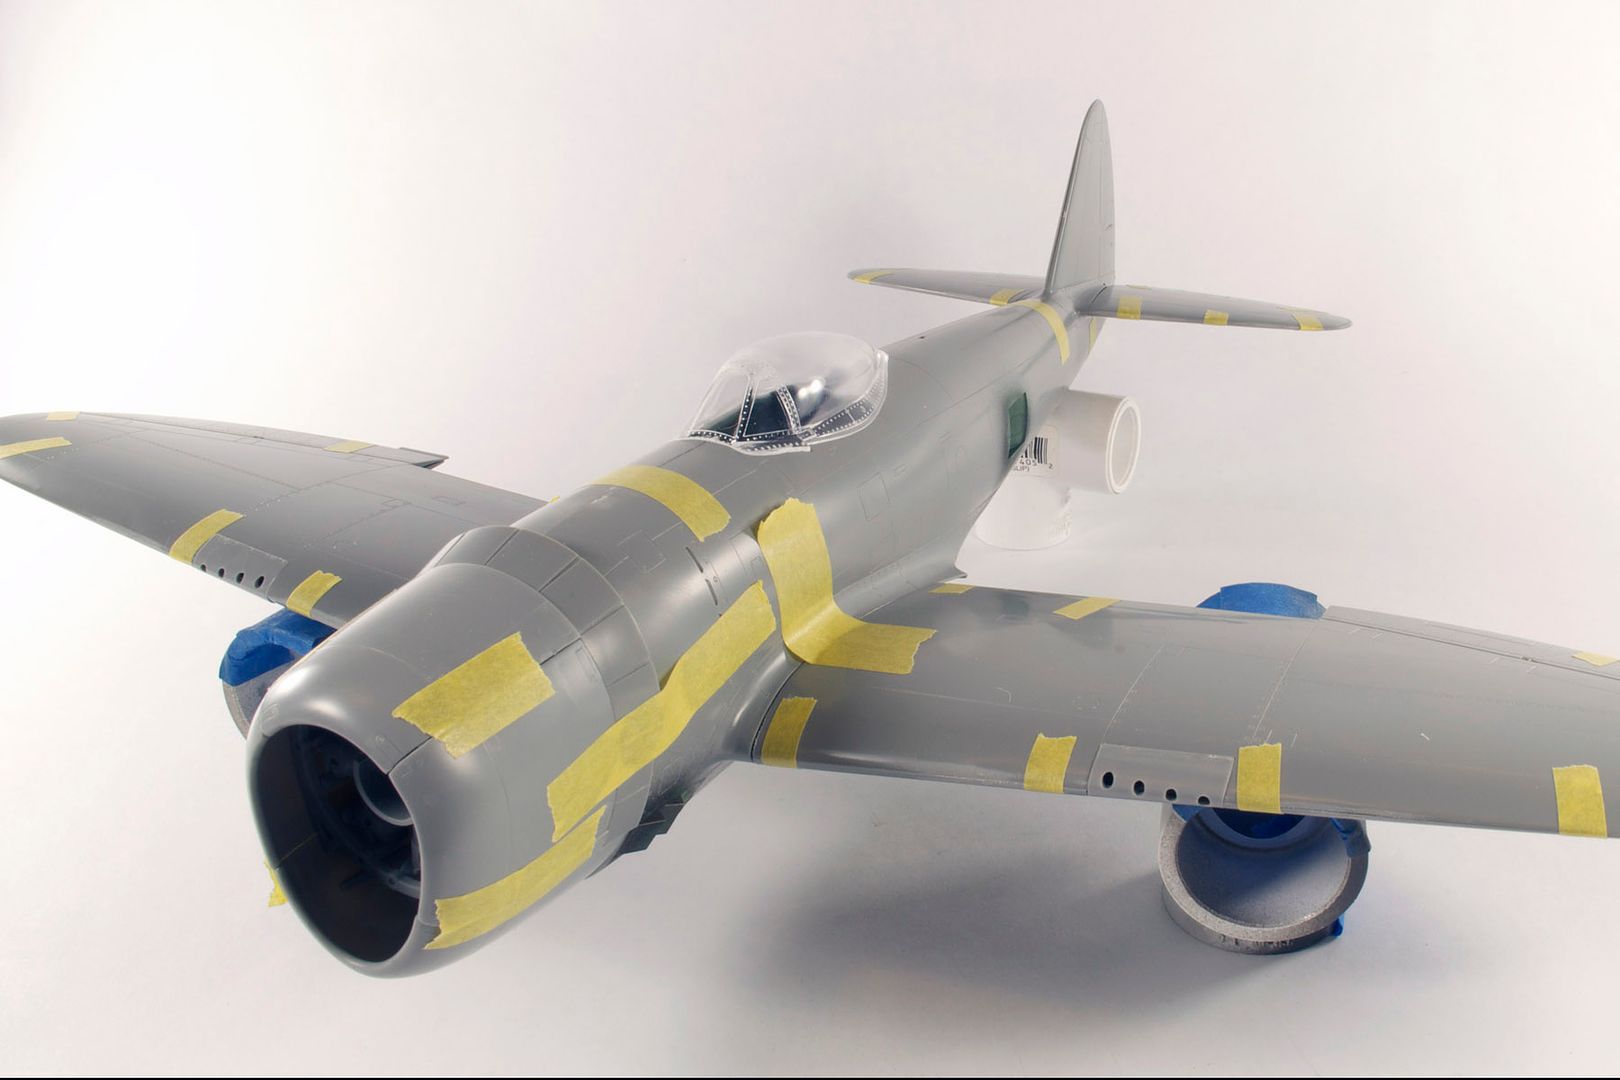 General fit seems pretty good with no issues projected on seams, wing roots...however 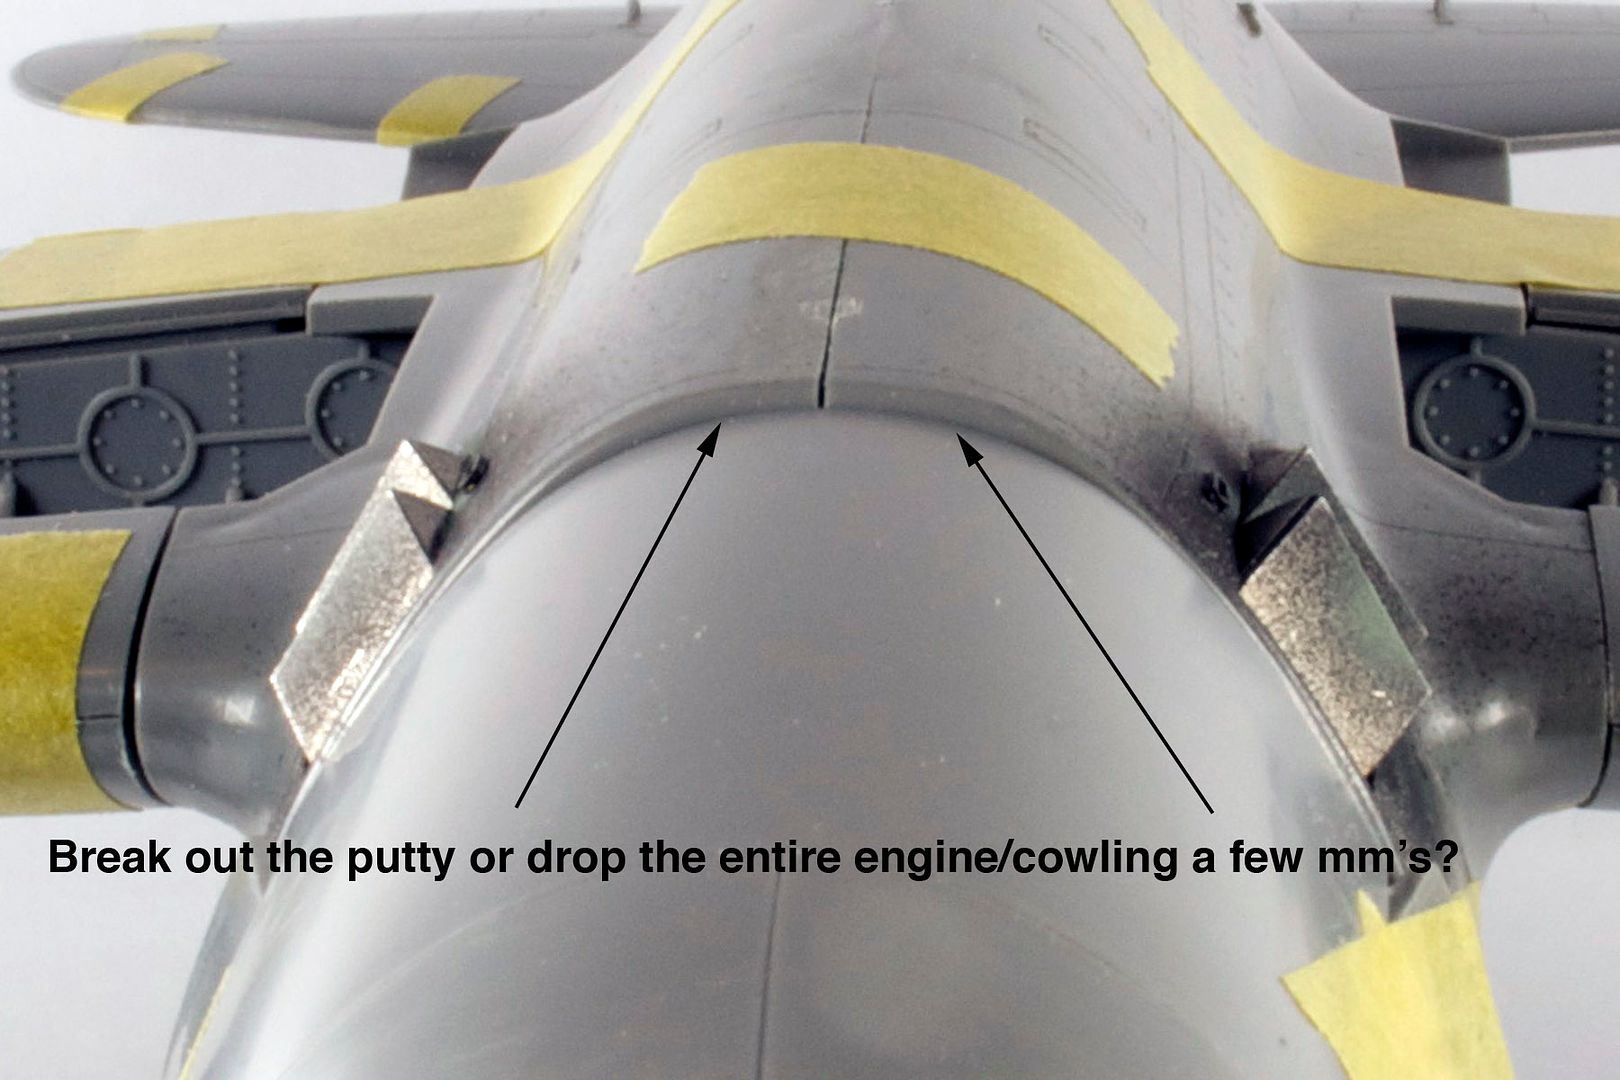 The complete engine/cowling fitting on the fuselage mount is off by about 1mm. 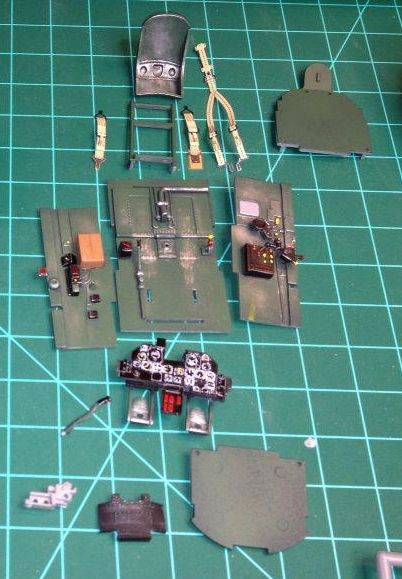 The pit is OOB with exception of Eduard PE Belts. Multiple passes of setting solution needed to get the IP decal to settle. 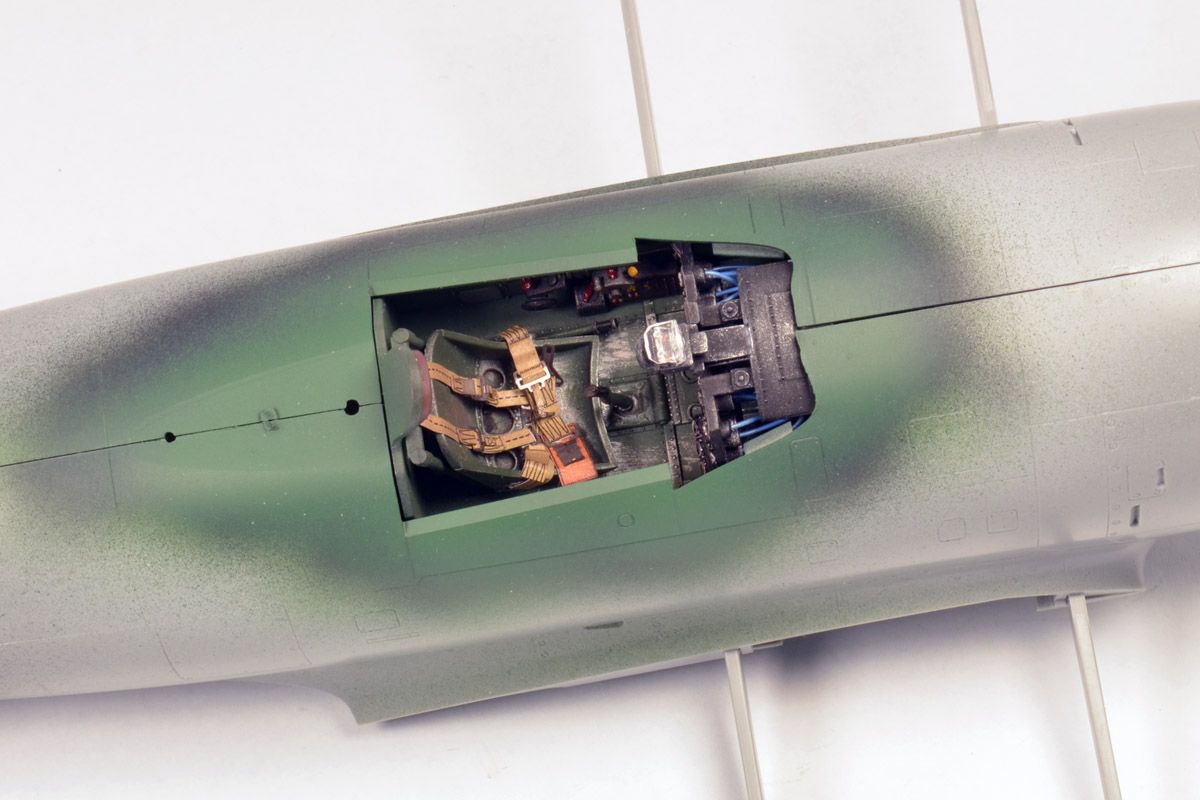 The thick gun sight ain't working so time for a little creative engineering. 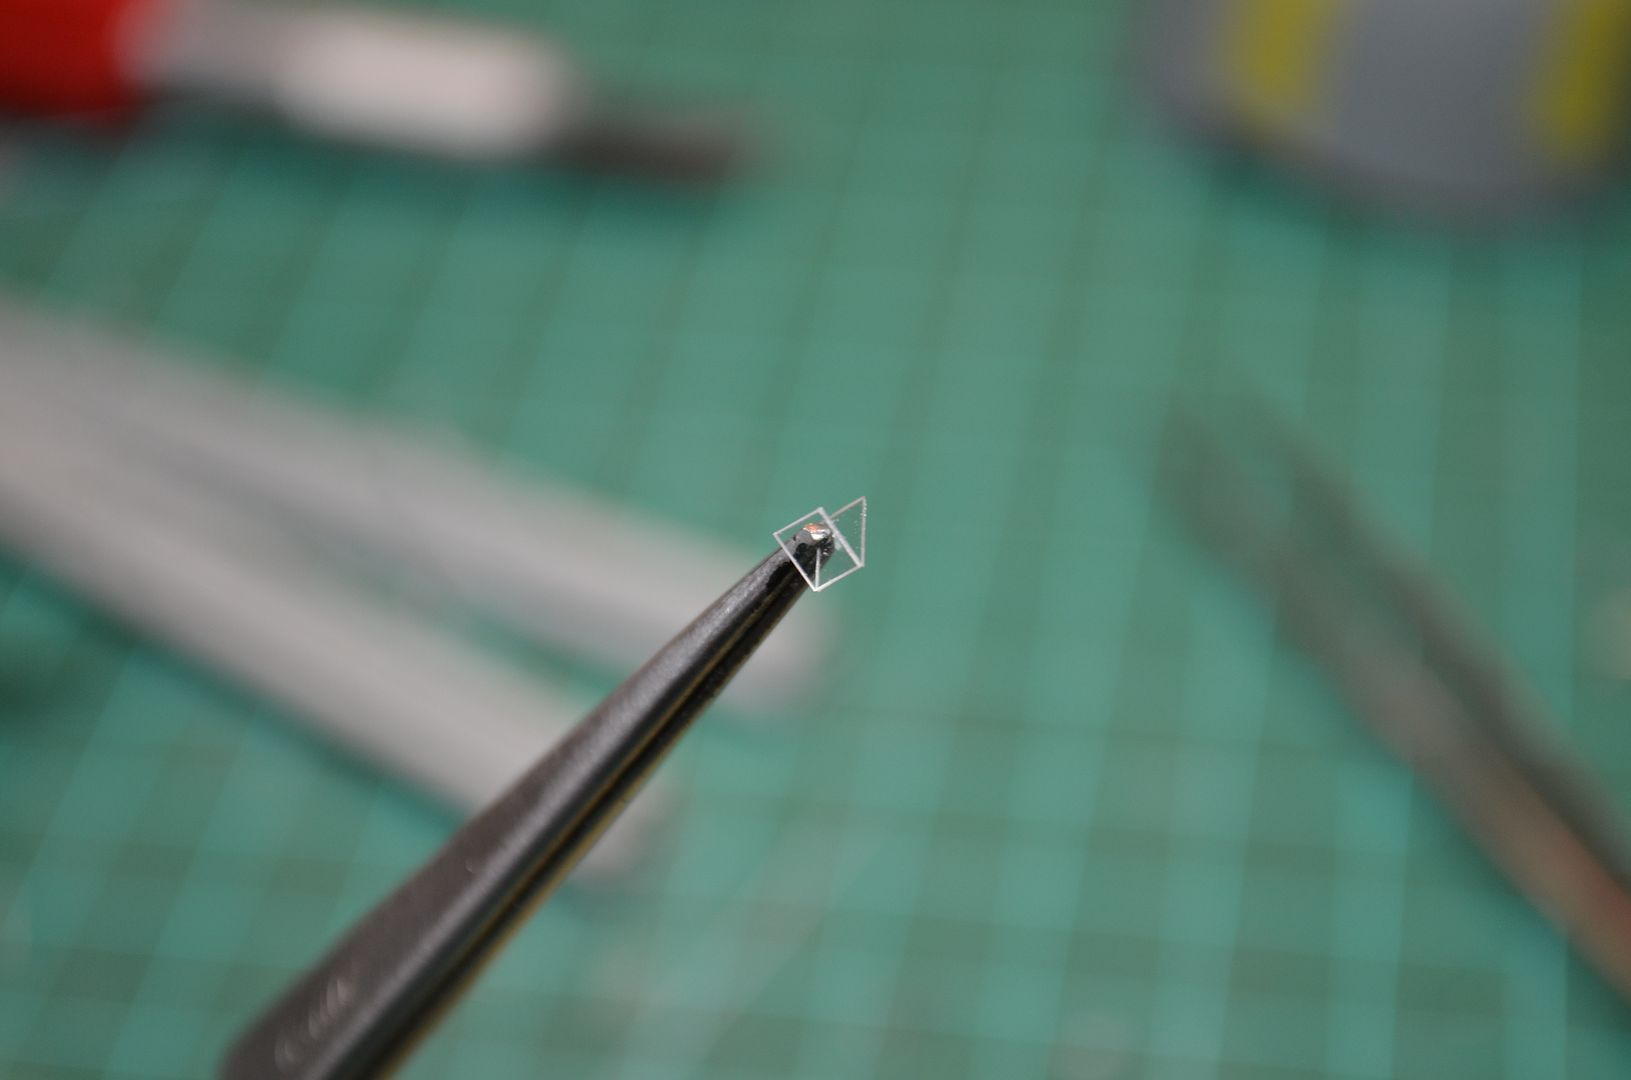 Cut from 0.13mm clear styrene, scored then folded. 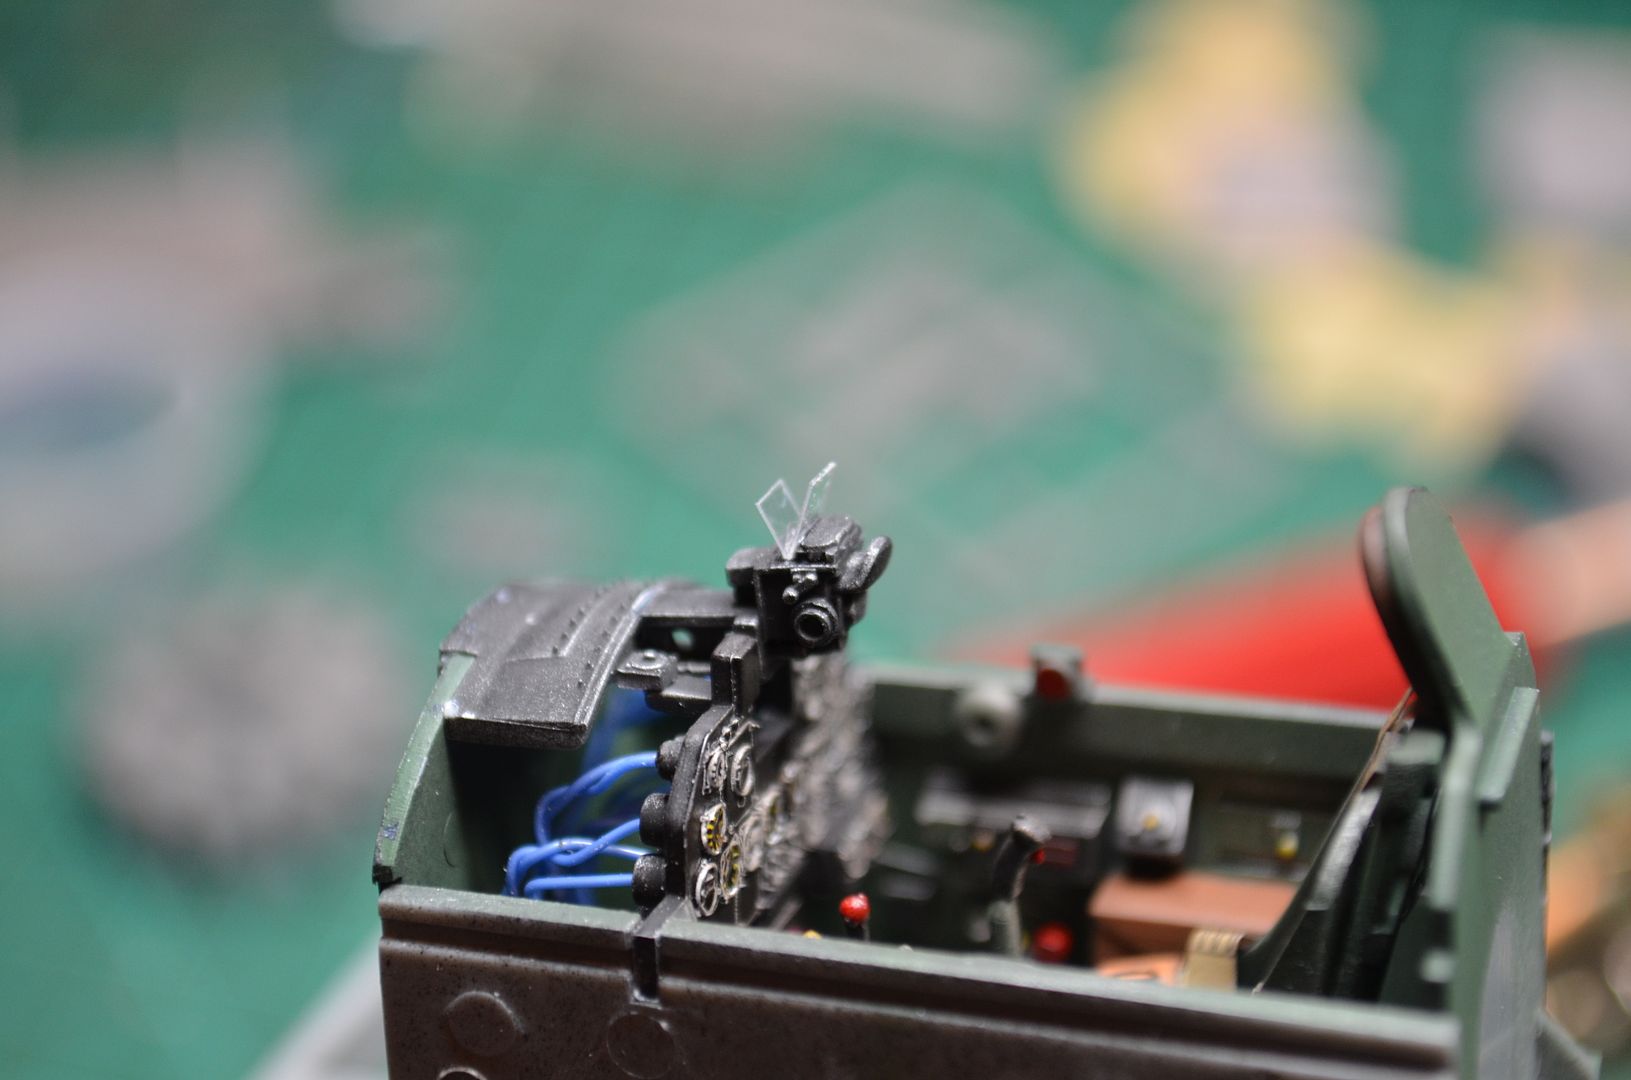 Color me happy. Paint crash pad and all done. Time to reposition the engine mount. 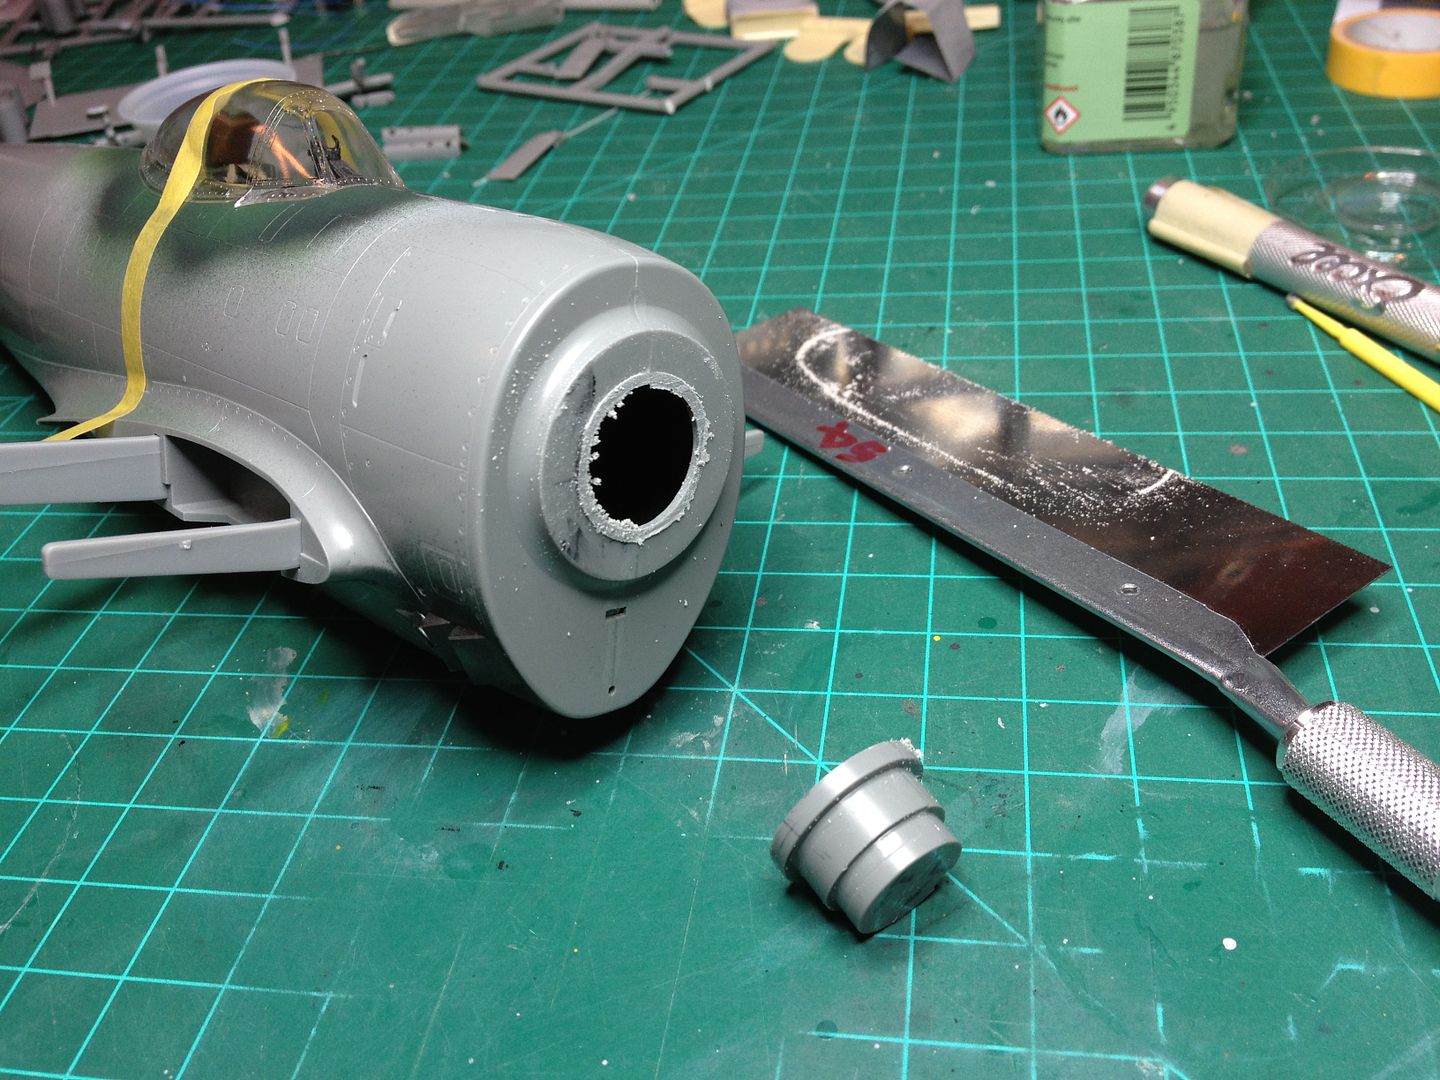 Cut off the engine mount plug. 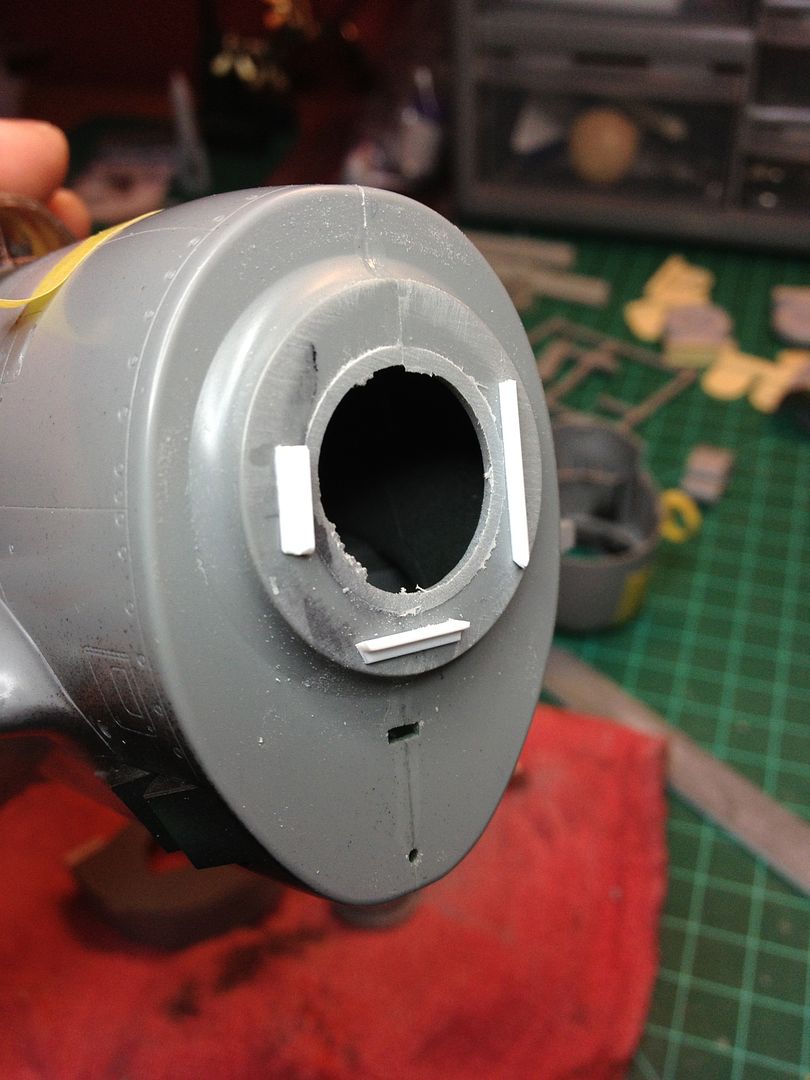 1.6mm styrene angle 3 pieces are cut and glued, port and starboard sides are easy to position however, the critical bottom piece is dropped 1mm. 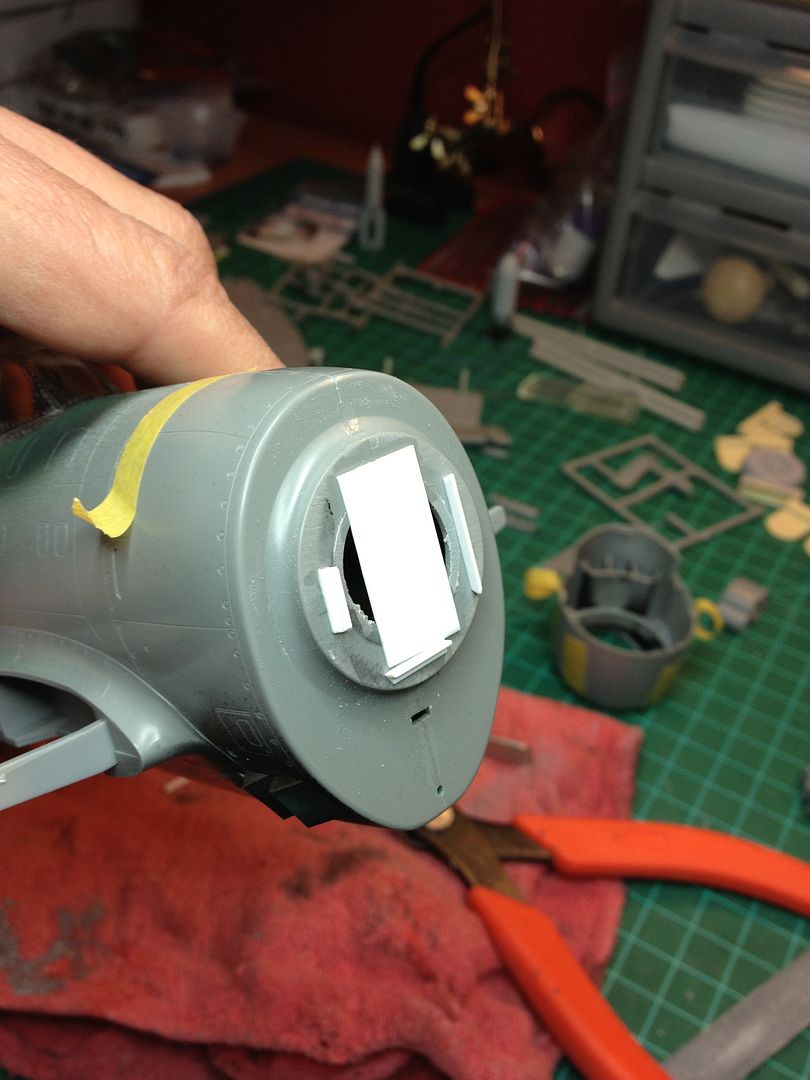 A .05mm styrene card placed to recapture space lost from the "saw off" and give the repositioned engine mount some glue area. 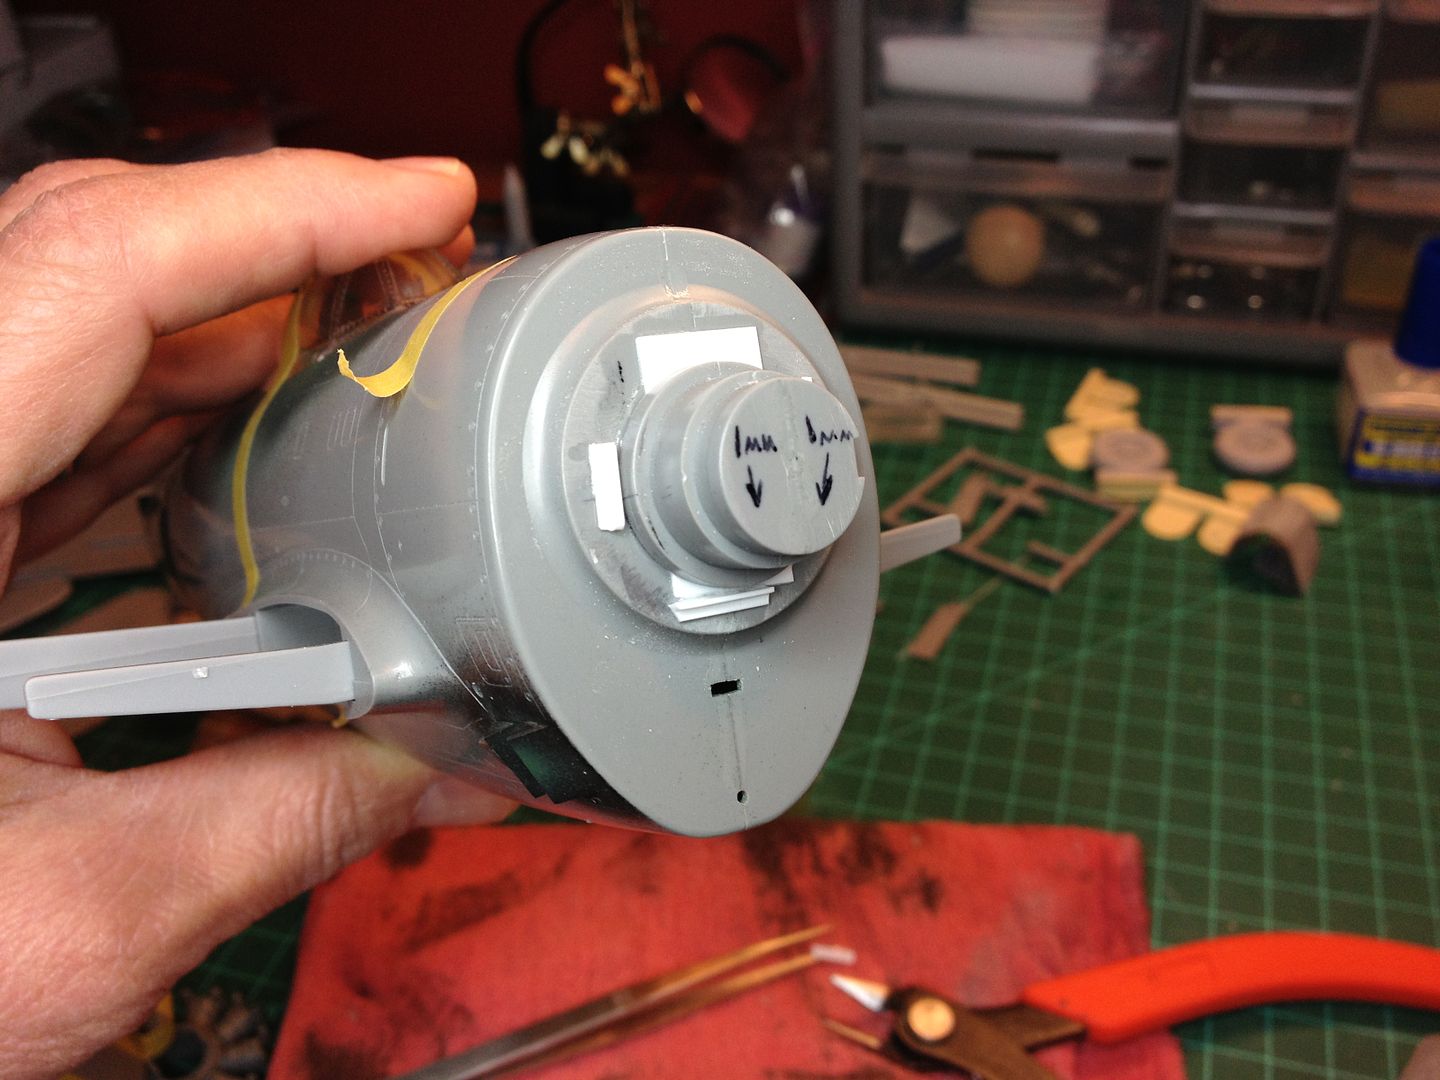 Engine mount plug positioned and glued 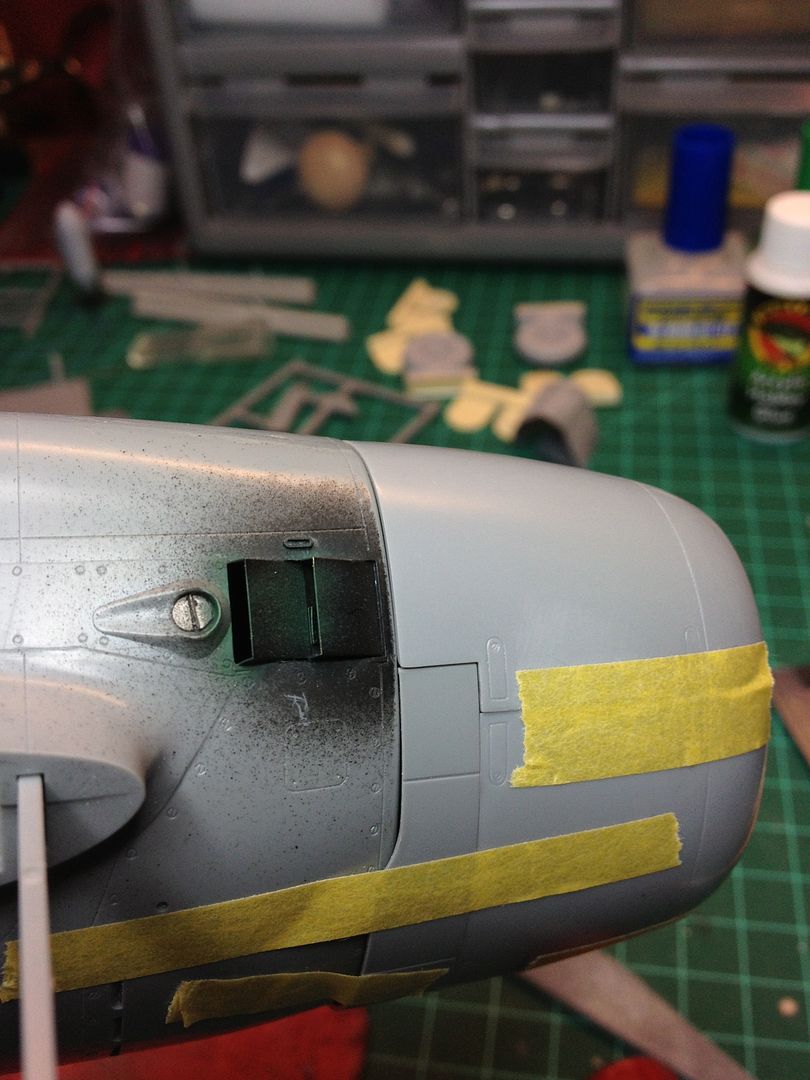 And the fit is good, nice and flush to bottom fuselage. |
|
BezoulaBuilds
Full Member
  
Member since: July 2013
Posts: 136 
|
Post by BezoulaBuilds on Nov 1, 2014 2:24:34 GMT -5
Kit 500 pounders got some enhancement using Eduards photoetch. 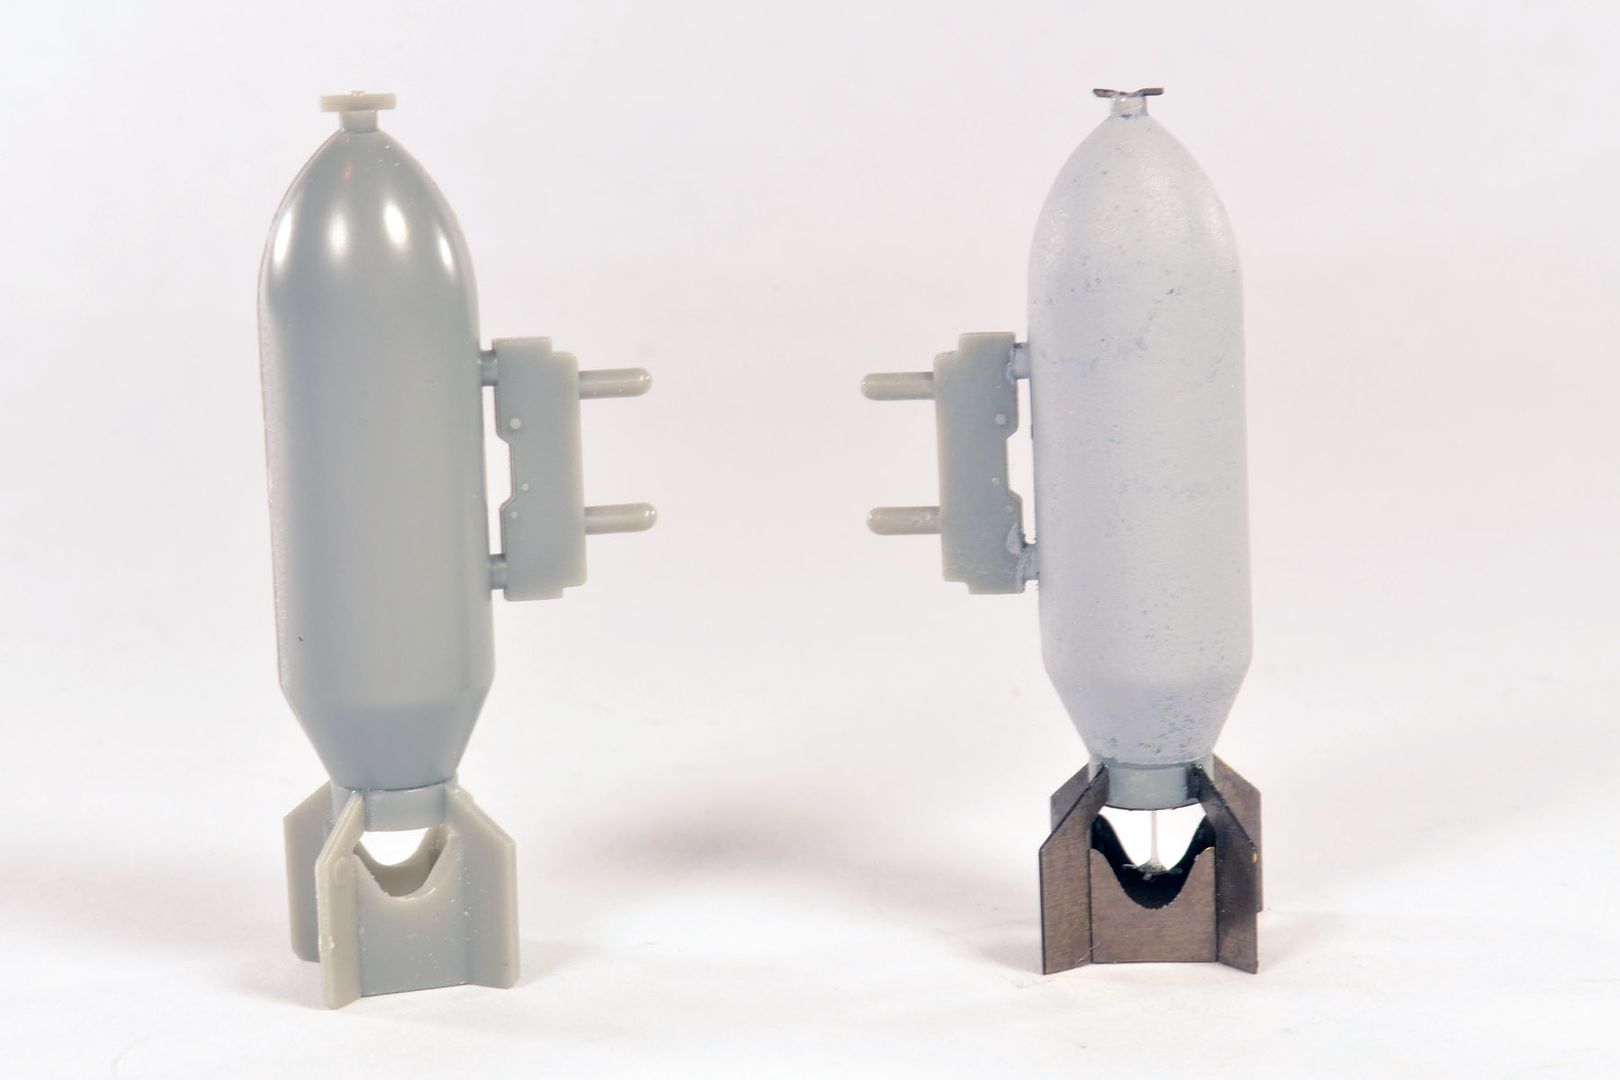 500lb GP bomb. Left - out of box kit bomb. Right - PE (brass) fins and front/rear fuse added, also painted with Mr Surfacer 500 then stippled with short brush for texture. 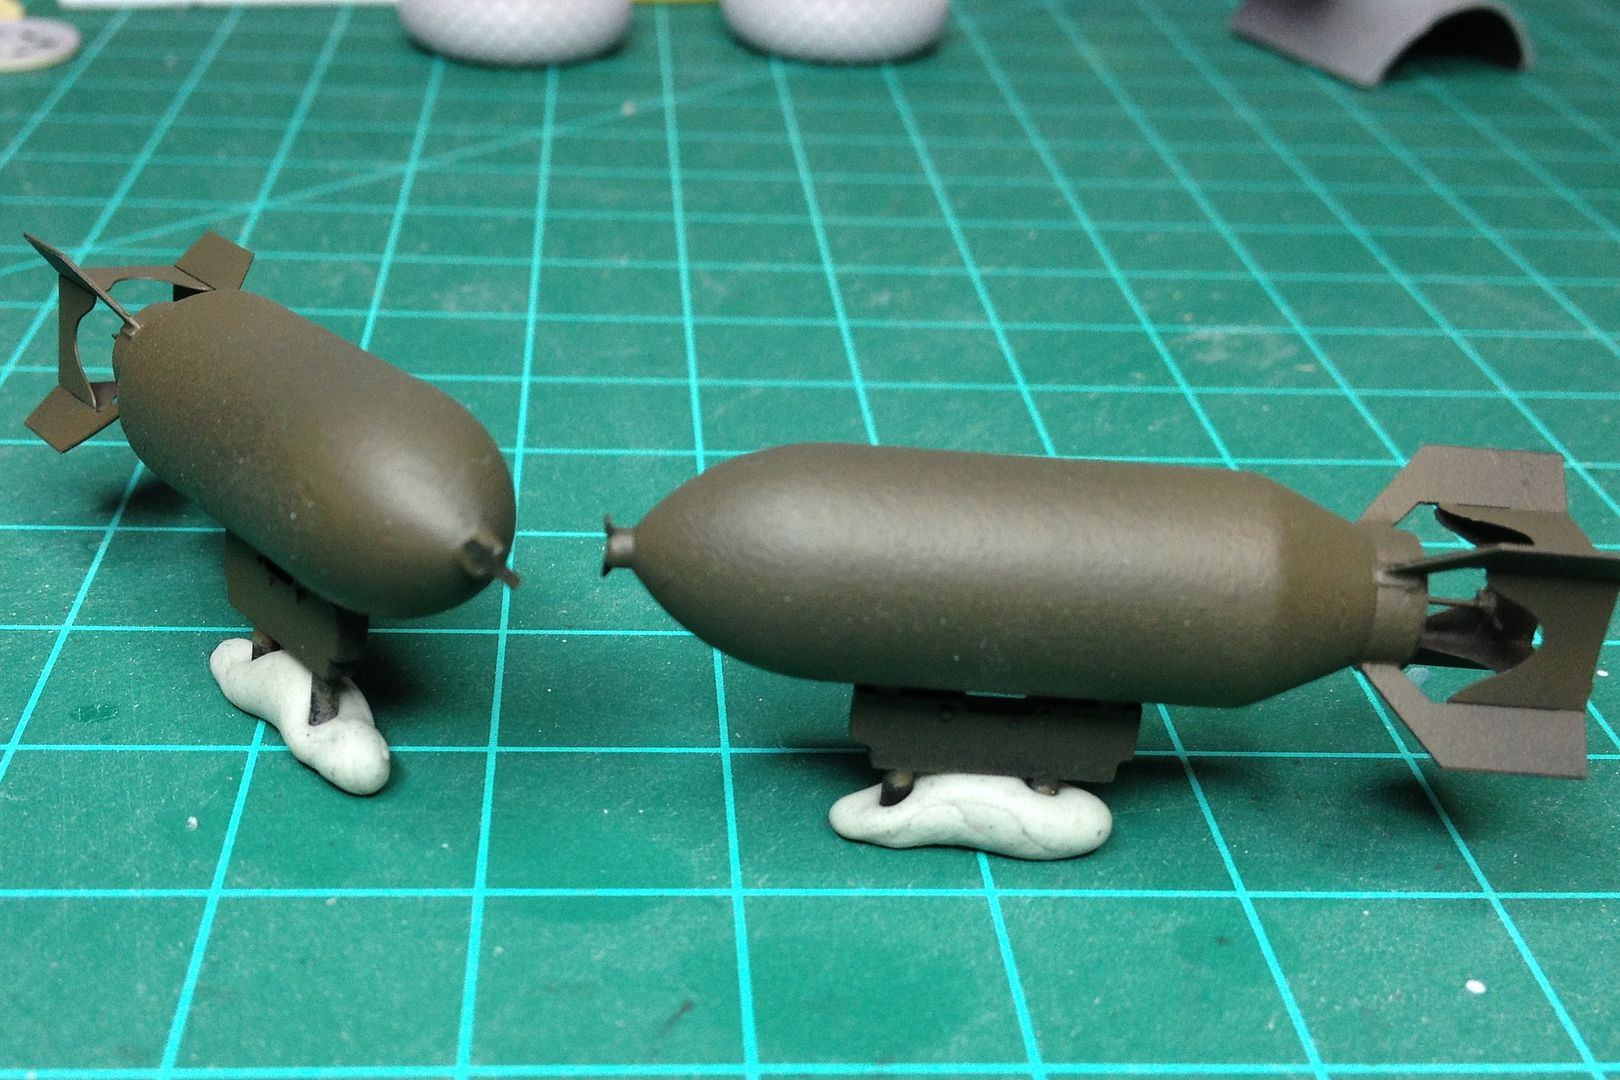 Bombs painted OD. Texture is hard to see in this pic, but I am happy with results. Yeah, more dust! Not sure if yellow ID stripes will be added. Weathering and fuse wires will be added later. 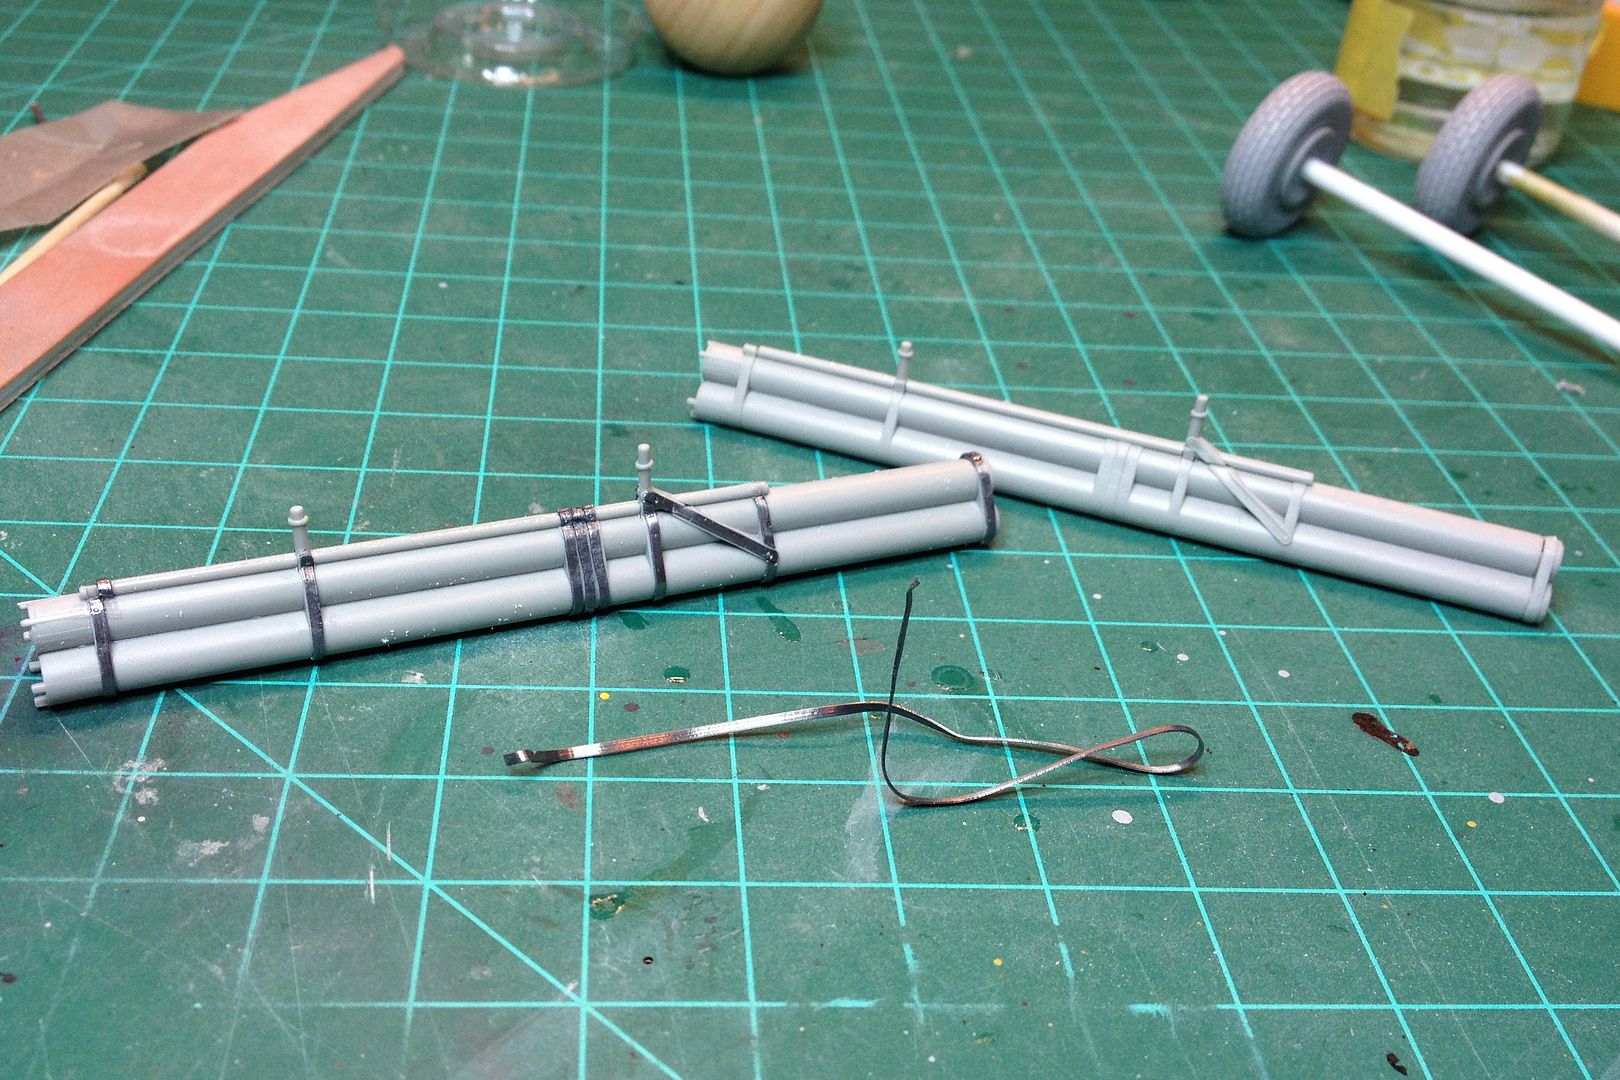 The bazookas are from a Trumpy P47N. Using flat lead wire (UMM-USA FLW103 Flat Lead Wires 1.0 X 0.3mm) and rivet tool I enhanced the detail on the tubes. The difference is markable. 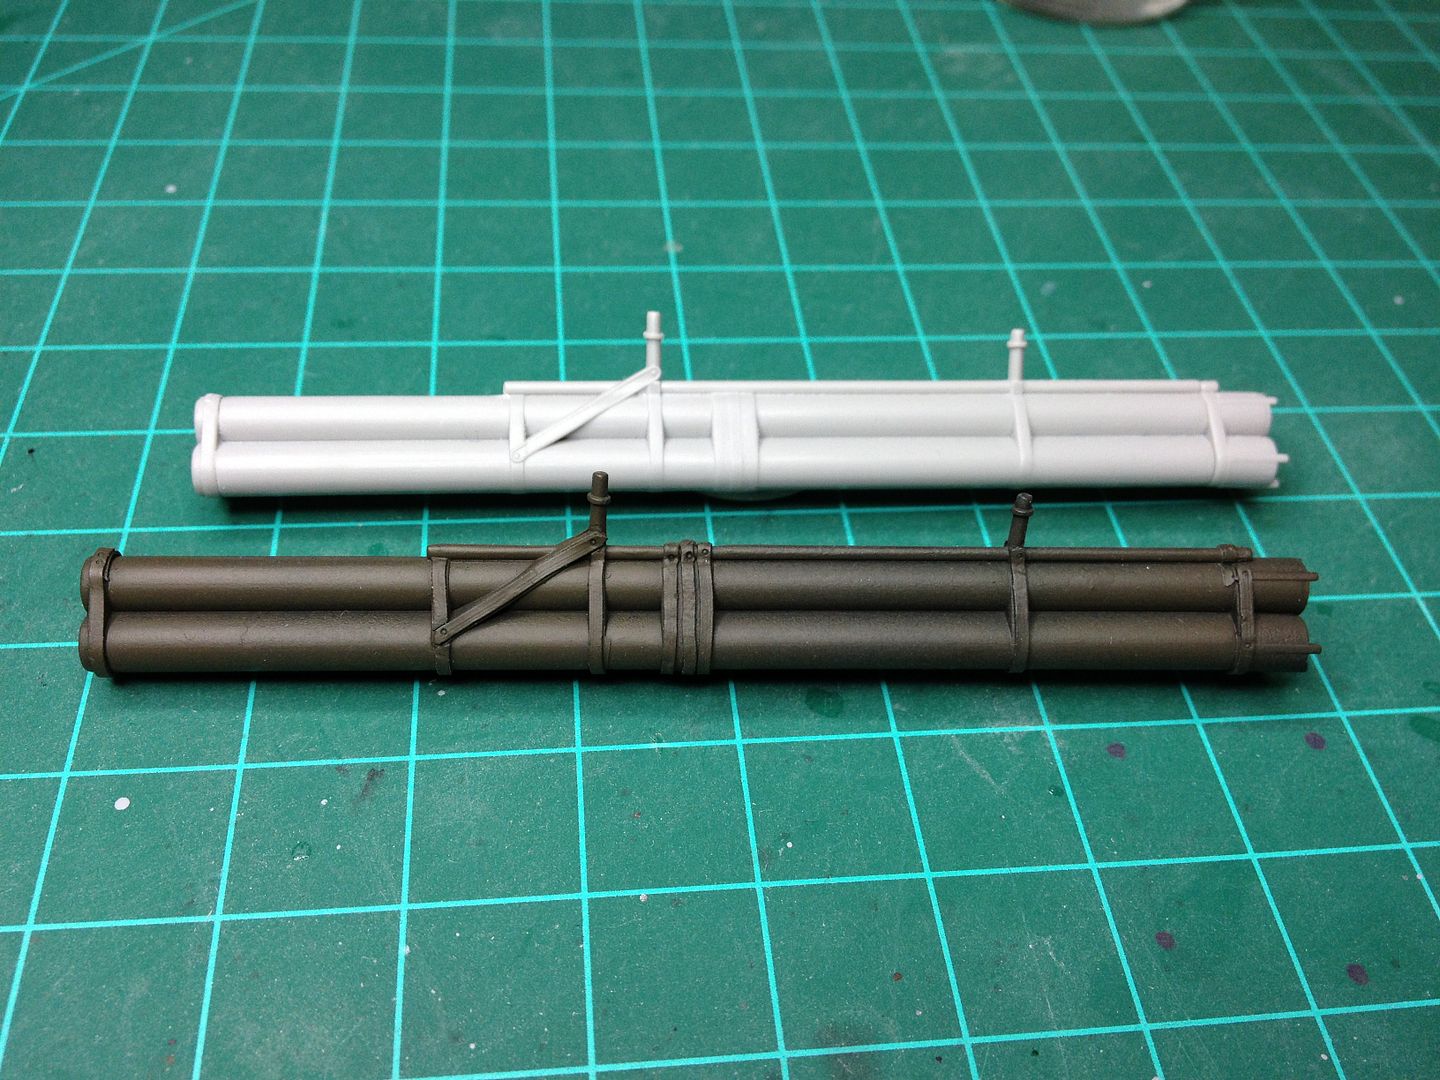 The painted bazooka (black then OD) shows good detail otherwise lost. After taking a long look at these I just was not happy. The lead wire certainly enhanced the M10 Bazookas. However, a closer look these were just a solid piece of plastic in the shape of tubes. 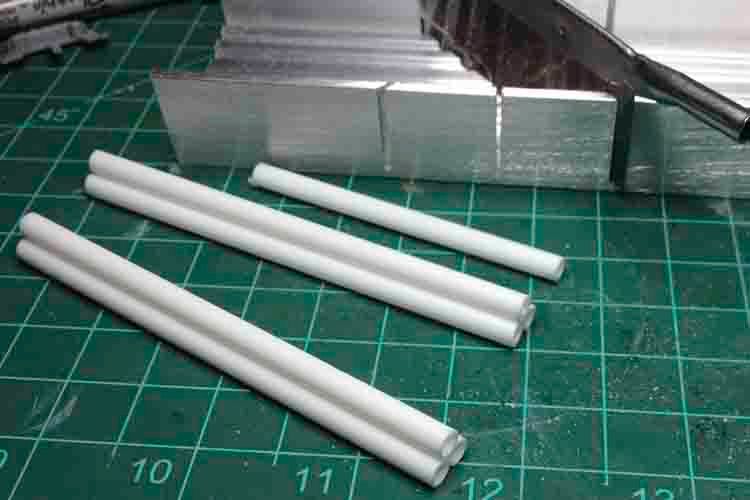 That said, I'm going to scratch build the M10 bazookas. Using styrene tube 4.8mm dia I cut 6 tubes to size and glued with Tamiya Thin Cement. 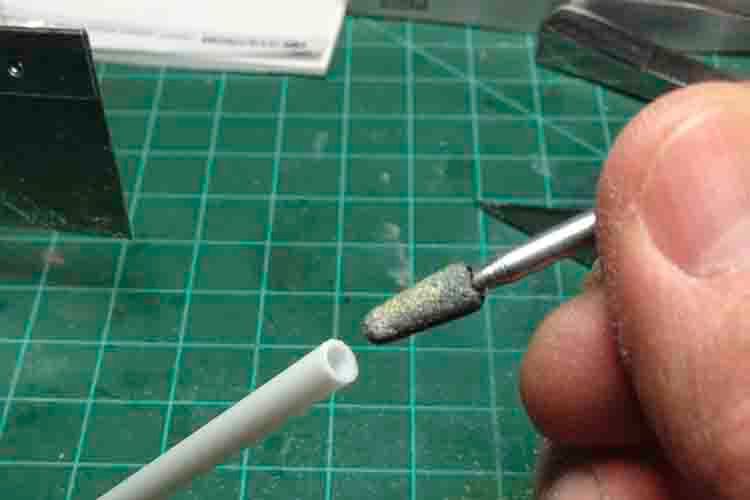 With a Dremel shaping bit I carefully thinned the walls of each tube. 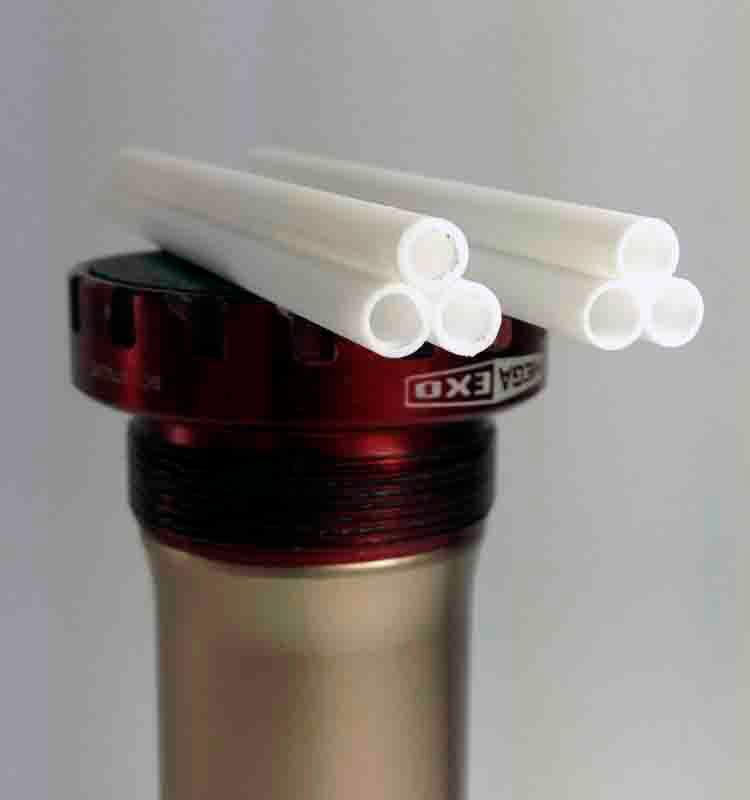 The set on the right had the walls thinned while the set on the left is on deck for some thin wall treatment. 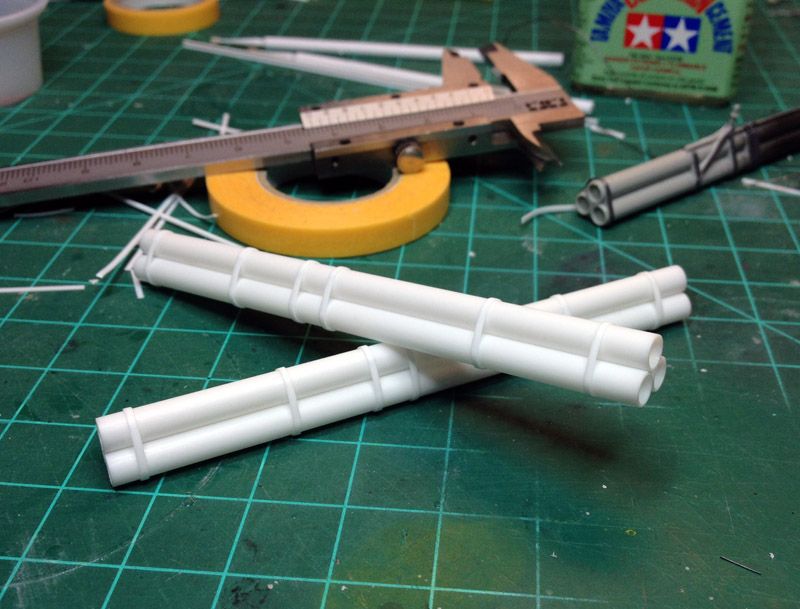 Straps added and secured with liquid cement. 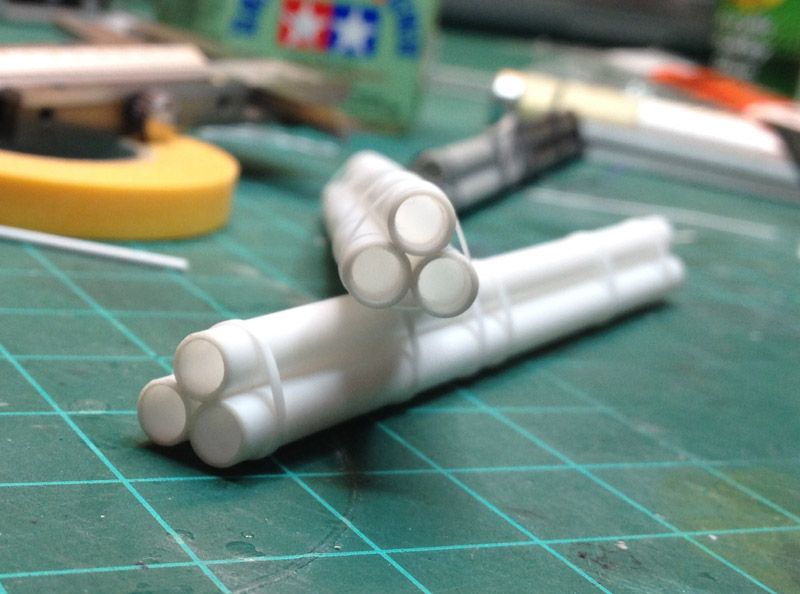 Already, I am happy with my decision to scratchbuild. This is my first effort scratchbuilding a complex component and I am enjoying the learning curve. |
|
BezoulaBuilds
Full Member
  
Member since: July 2013
Posts: 136 
|
Post by BezoulaBuilds on Nov 1, 2014 2:36:40 GMT -5
More progress on the M10 tubes. 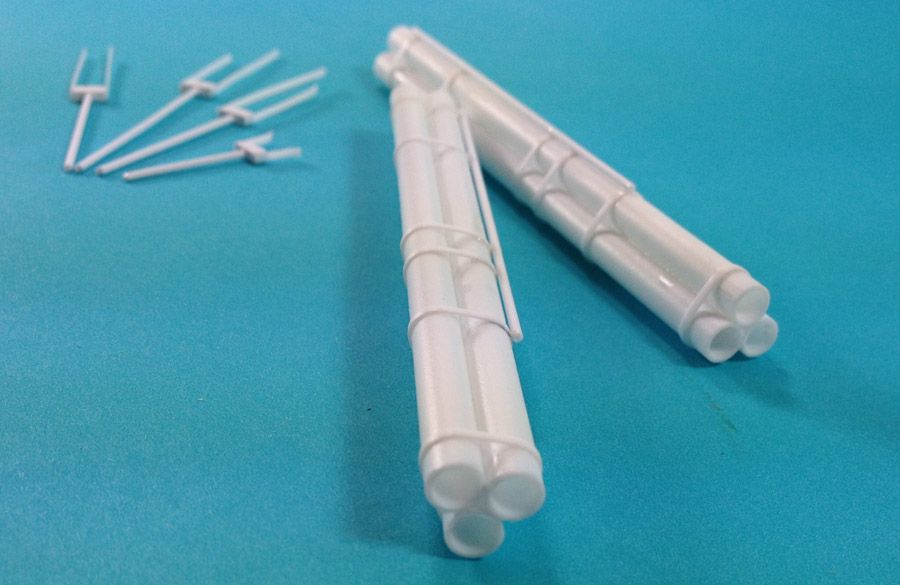 Those "tuning fork" thingys are the mounts. 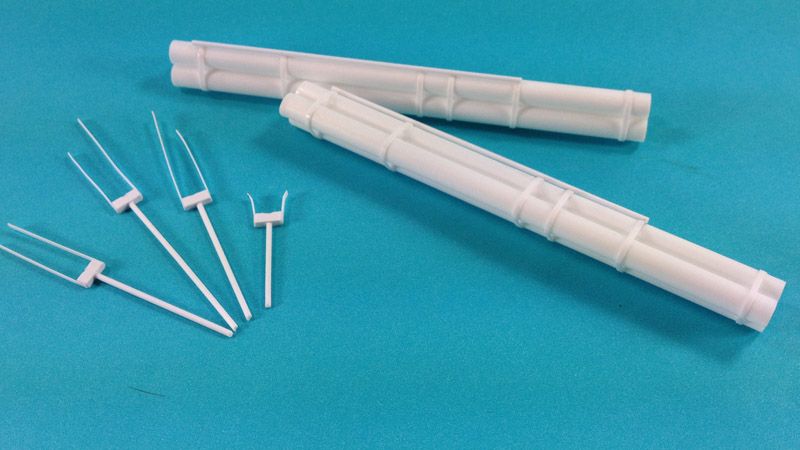 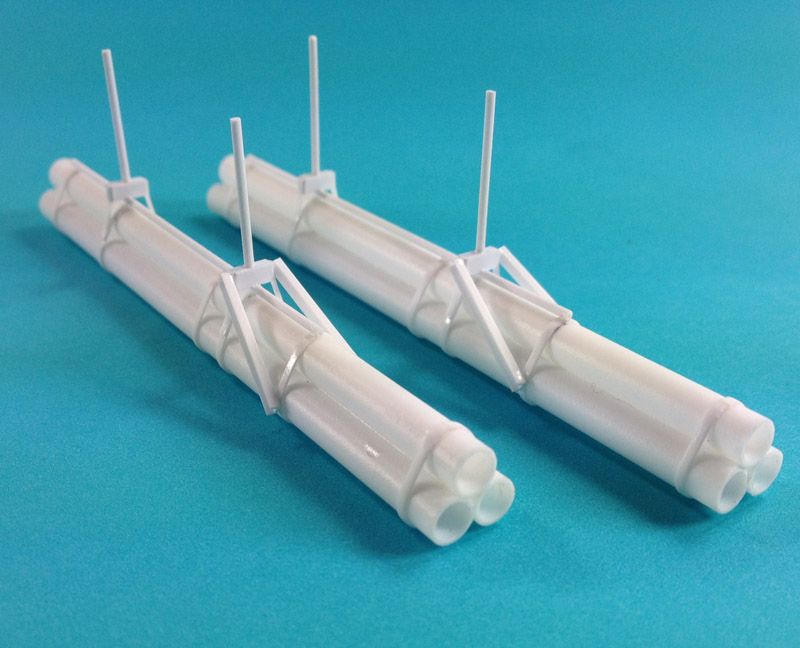 More progress on the M10's. A few more details and some bolt heads, rivets and I'll be done. 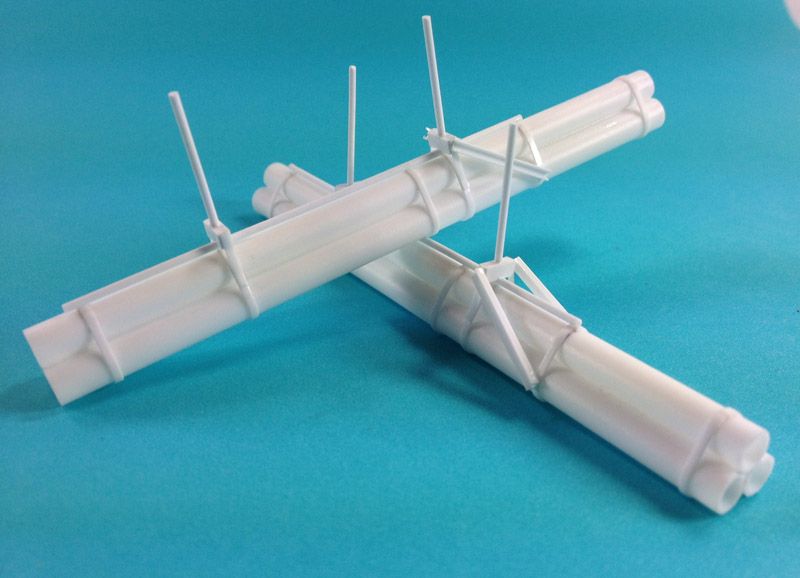 There are flaws too numerous to mention. However, I am happy with the results so far. Hopefully a coat of paint and weathering will do some magic. 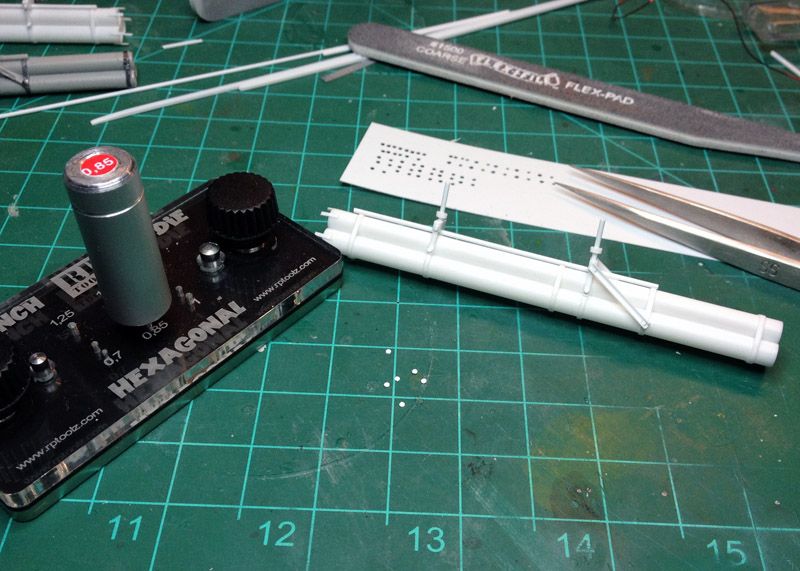 Nuts and washers punched with RP Toolz Hexagonal Punch Die.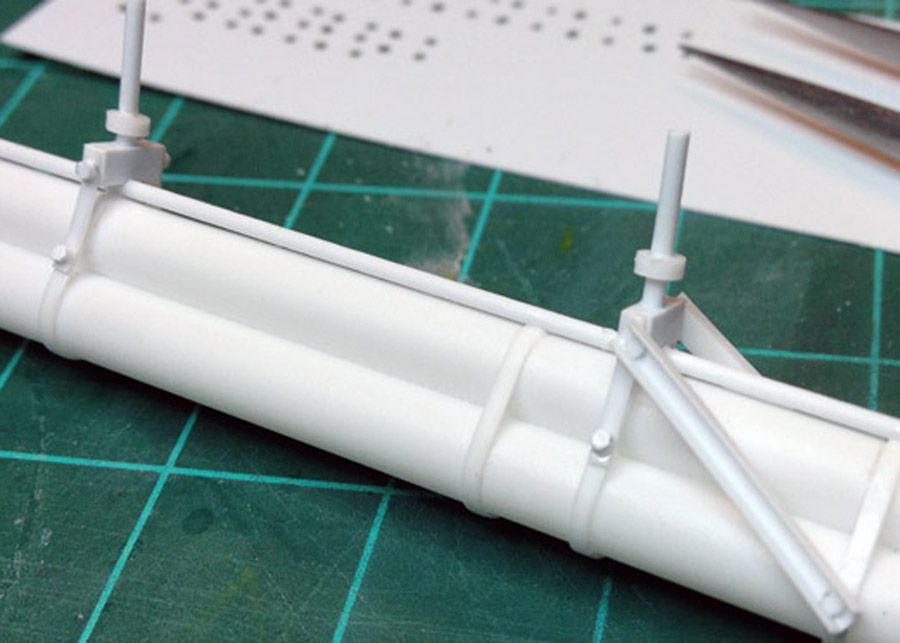 Not sure if 100% accurate, think FICE. Will yield interesting and nice detail though. 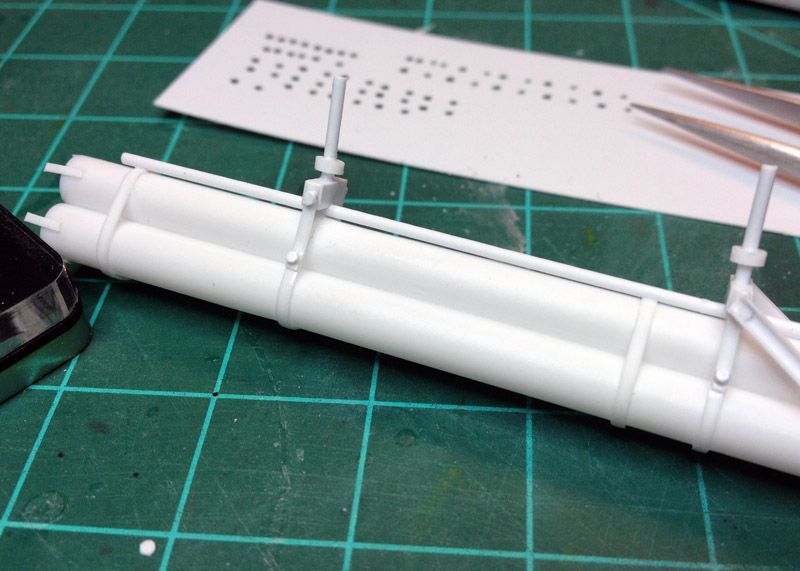 |
|
BezoulaBuilds
Full Member
  
Member since: July 2013
Posts: 136 
|
Post by BezoulaBuilds on Nov 1, 2014 2:50:44 GMT -5
Finishing touches on the M10's. My final pan is to add ignition wires and ordnance before mounting to "Slick Chick". Have yet to formulate an ordnance solution. 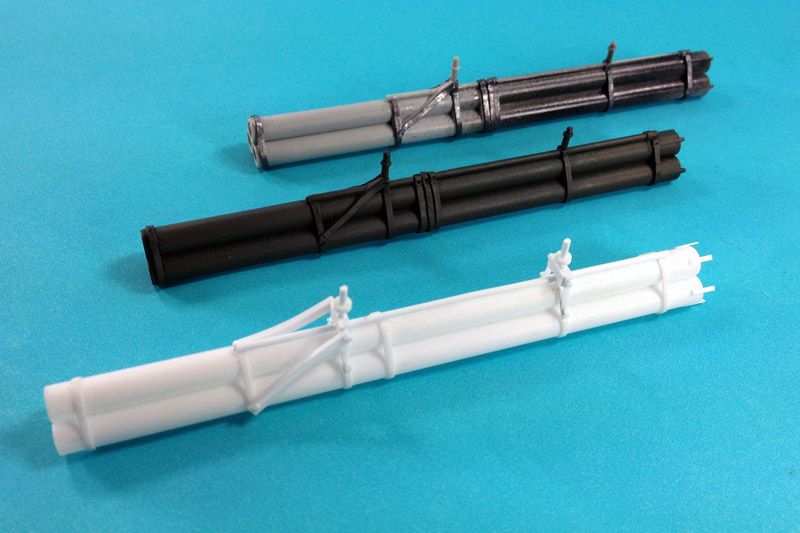 Comparison with 2 Trumpy M10's I detailed with flat lead wire. The Trumpy M10's came out ok. However, I am glad I pulled the plug on the enhancements and go with the scratch build M10's. 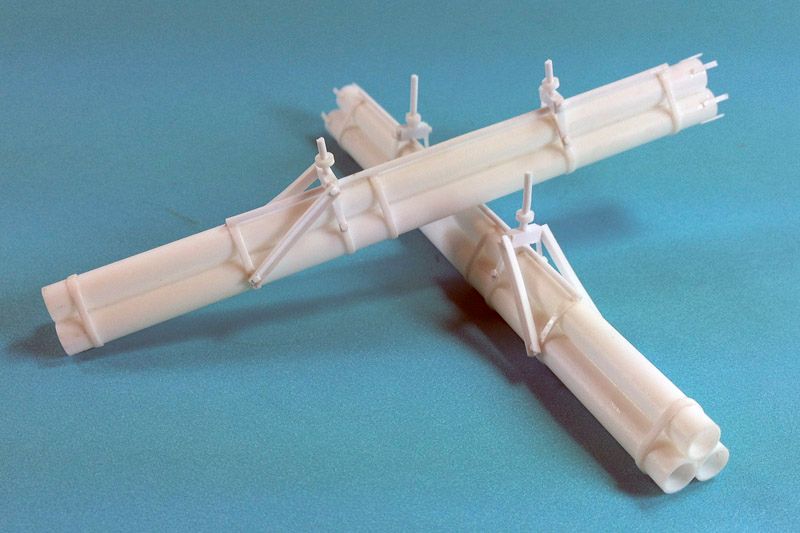 Styrene tube cut to 2mm slices set as mount stops. 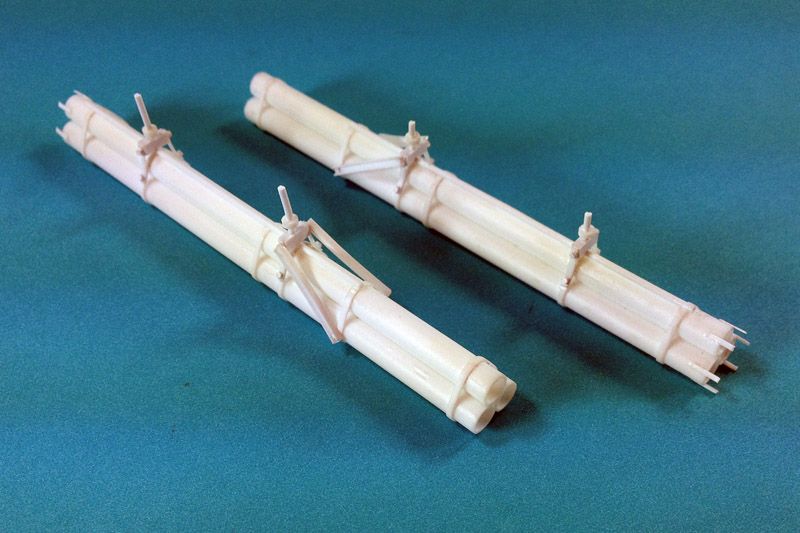 The M10 tubes need to be loaded so back to some creative engineering. Tubes primed with Mr.Color 1500 Black, olive drab will be main color applied. 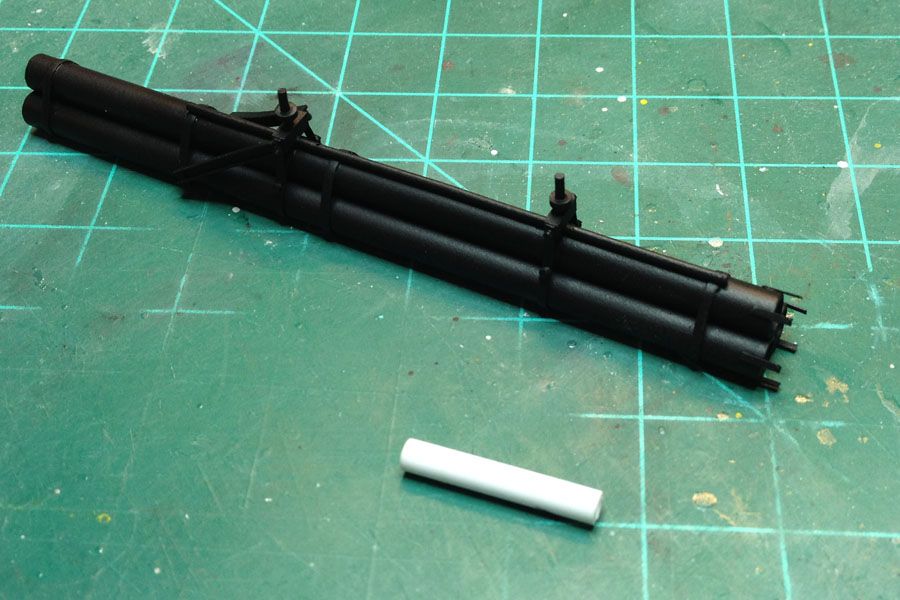 Using a 3.2mm (1/8") styrene tube I cut 6 pieces approx 2cm length. 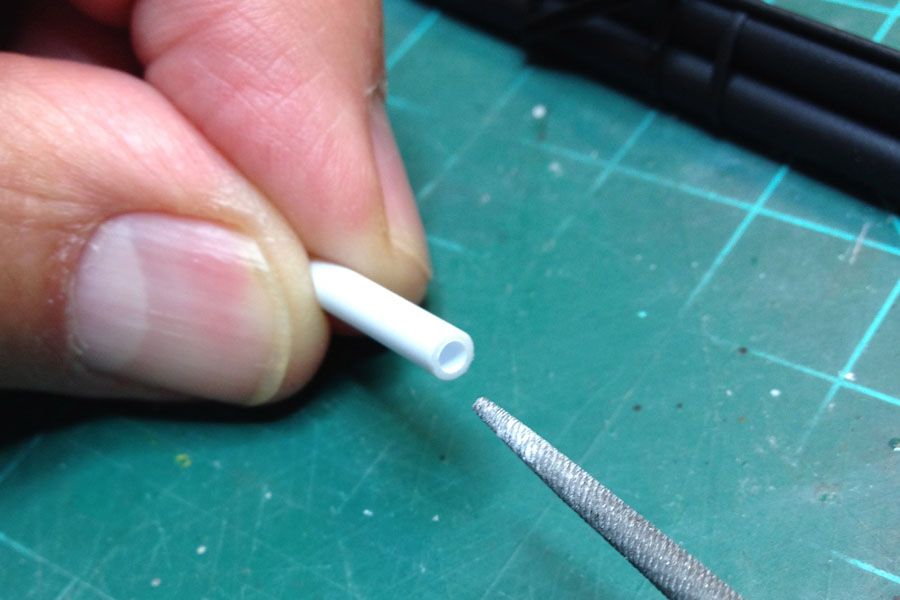 Thin the walls with a round file. 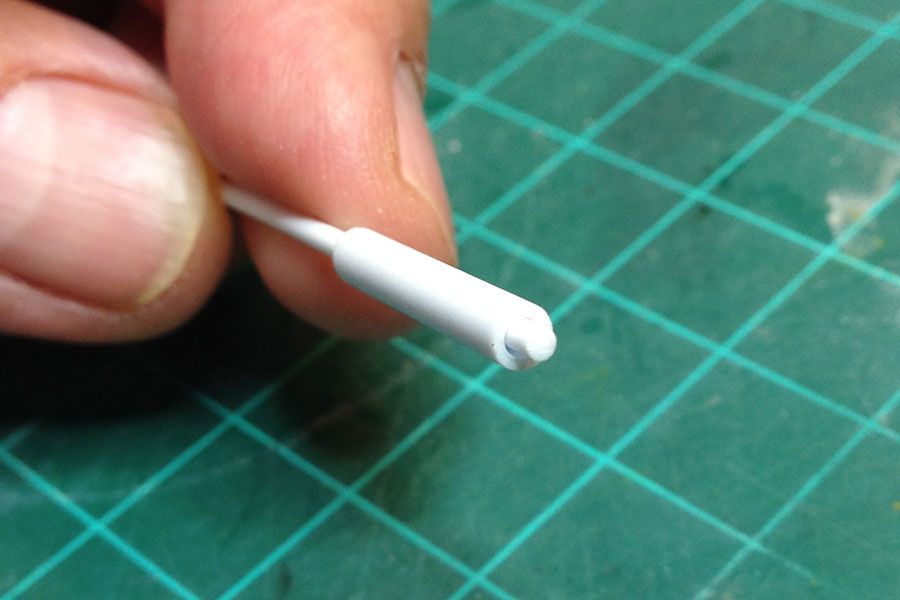 A 1.5mm round rod is inserted to create depth at the rocket nozzle. 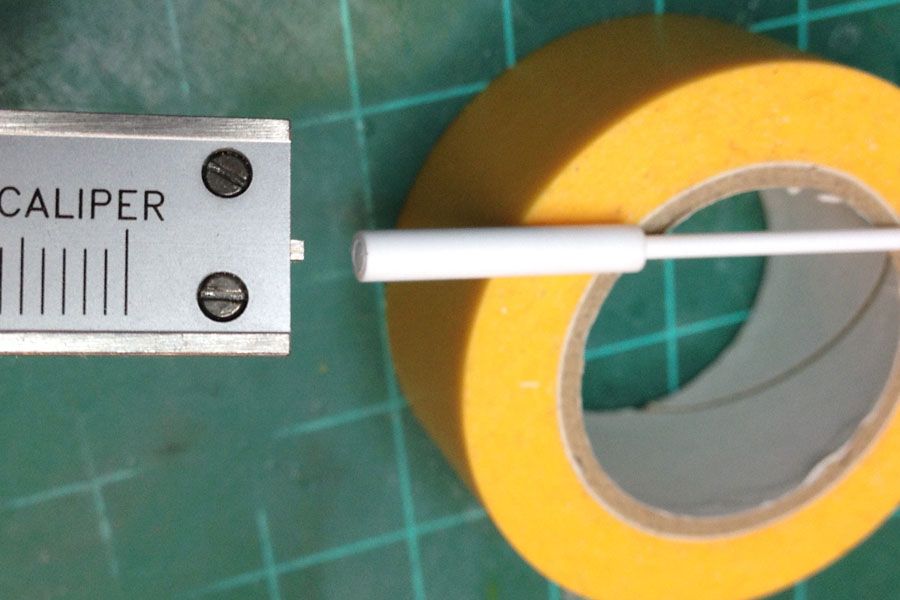 The 1.5mm rod is depressed about 1mm into the tube then liquid cement applied. 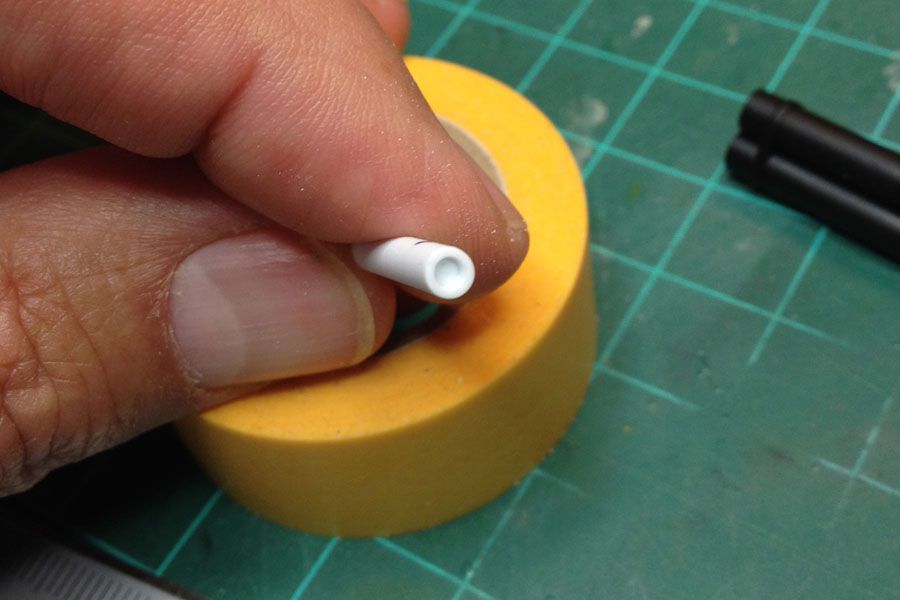 Will drill a small hole to accommodate the ignition wire. 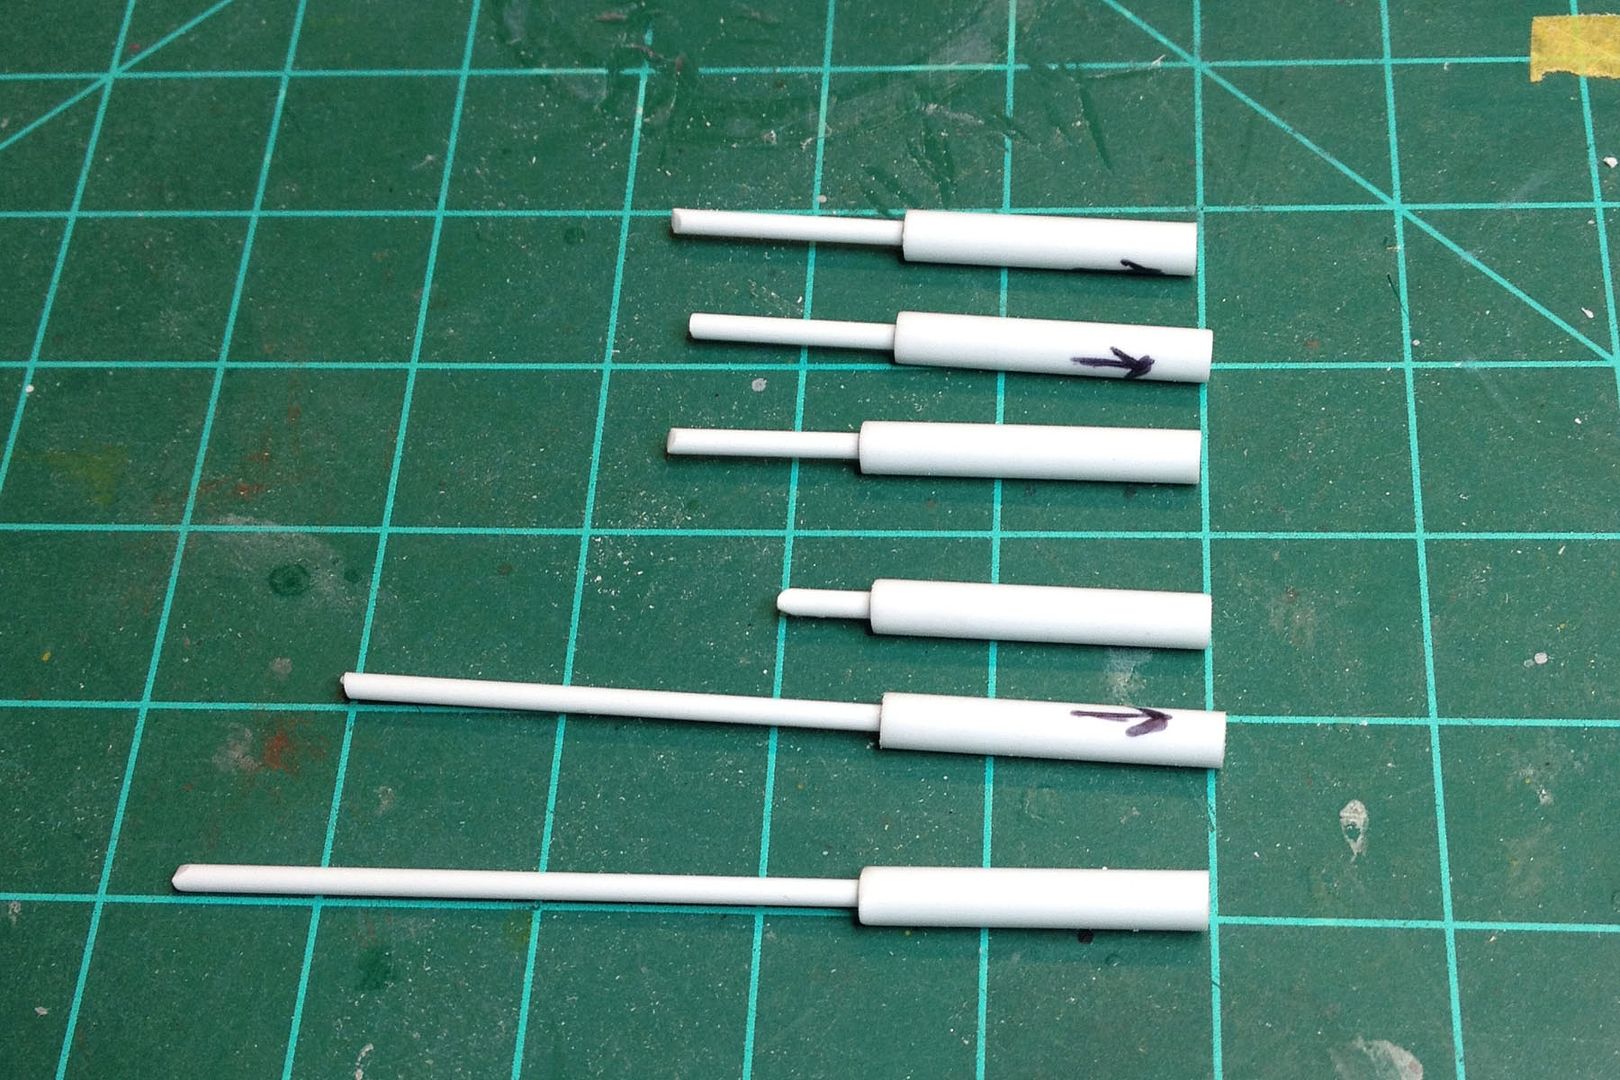 Will trim the rod about 3mm from tube. Plan is to paint some shade of dark aluminum. TBD. 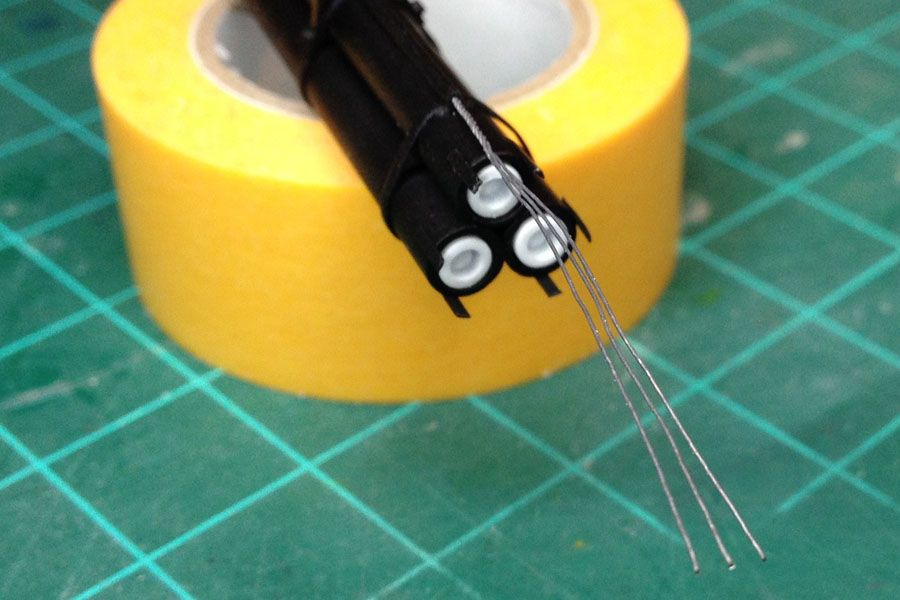 Test fit of M10 bullets and ignition wire. Wire will be trimmed and inserted into middle of each rocket. |
|
|
|
Post by Leon on Nov 1, 2014 3:51:13 GMT -5
Awesome scratch work on the tubes and rockets.They look great.
|
|
|
|
Post by wbill76 on Nov 1, 2014 11:47:12 GMT -5
Back with a bang! Nice job on those rocket tubes, definitely an improvement over the kit parts you showed earlier.
|
|
|
|
Post by dupes on Nov 1, 2014 22:58:06 GMT -5
Nice work on the ordinance and the pit...same goes for the Russian Jug! Got any more pics of that one?
|
|
BezoulaBuilds
Full Member
  
Member since: July 2013
Posts: 136 
|
Post by BezoulaBuilds on Nov 2, 2014 5:43:06 GMT -5
Awesome scratch work on the tubes and rockets.They look great. Thanks Leon |
|
BezoulaBuilds
Full Member
  
Member since: July 2013
Posts: 136 
|
Post by BezoulaBuilds on Nov 2, 2014 5:44:18 GMT -5
Back with a bang! Nice job on those rocket tubes, definitely an improvement over the kit parts you showed earlier. thanks Bill |
|
|
|
Post by deafpanzer on Nov 2, 2014 9:26:54 GMT -5
Amazing work on the rocket launchers!!!
|
|
BezoulaBuilds
Full Member
  
Member since: July 2013
Posts: 136 
|
Post by BezoulaBuilds on Nov 2, 2014 13:03:44 GMT -5
Nice work on the ordinance and the pit...same goes for the Russian Jug! Got any more pics of that one? Here is link: Russian Jug
|
|
BezoulaBuilds
Full Member
  
Member since: July 2013
Posts: 136 
|
Post by BezoulaBuilds on Nov 2, 2014 13:05:19 GMT -5
Amazing work on the rocket launchers!!! thanks DP. |
|
|
|
Post by dupes on Nov 2, 2014 13:50:57 GMT -5
Ooooh...very nice. Thanks for the link!
|
|
BezoulaBuilds
Full Member
  
Member since: July 2013
Posts: 136 
|
Post by BezoulaBuilds on Nov 3, 2014 16:53:33 GMT -5
Wheel wells, cockpit, engine cowl and various openings are masked and it's ready to start painting. I randomly shot primer on suspected areas to make sure the fill/sand/scribe/rivets are good. 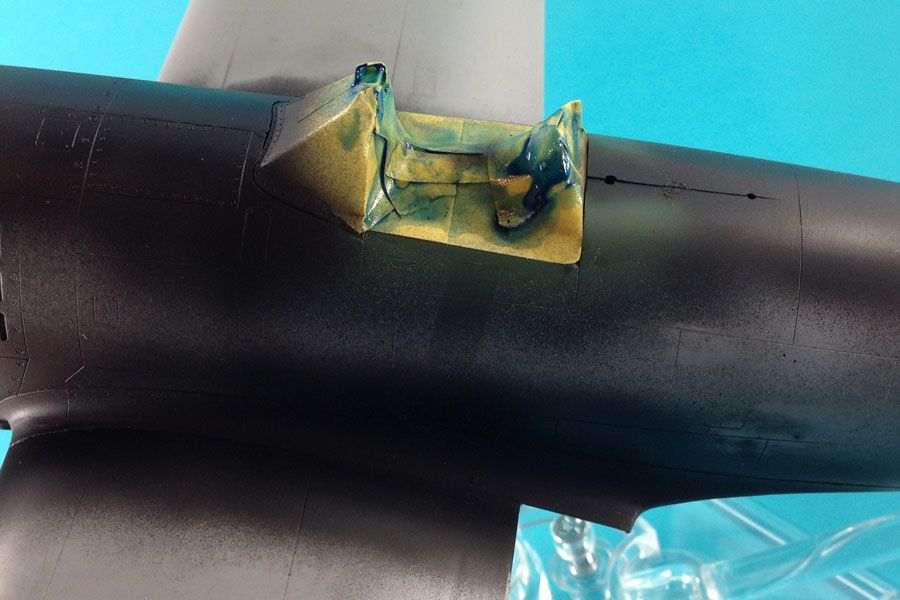 The windscreen is a spare and spot glued with acrylic. 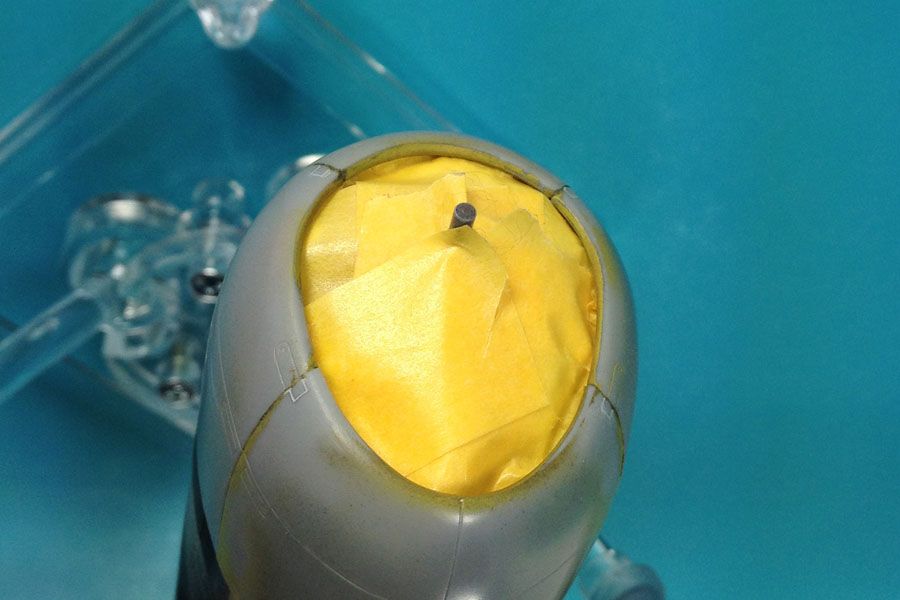 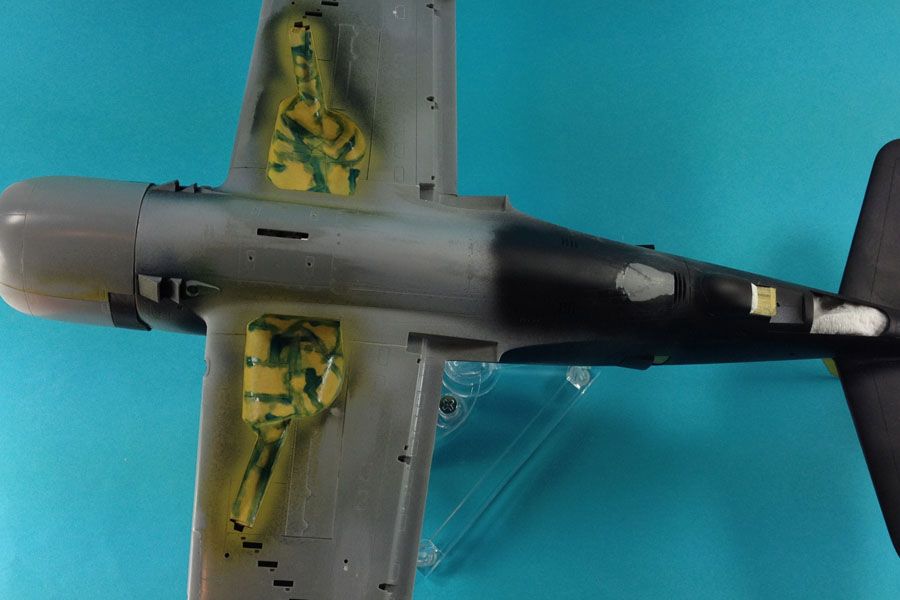 Wheel wells always a PITA. Lots of little pieces of Tamiya tape. Then all seams painted with liquid mask. 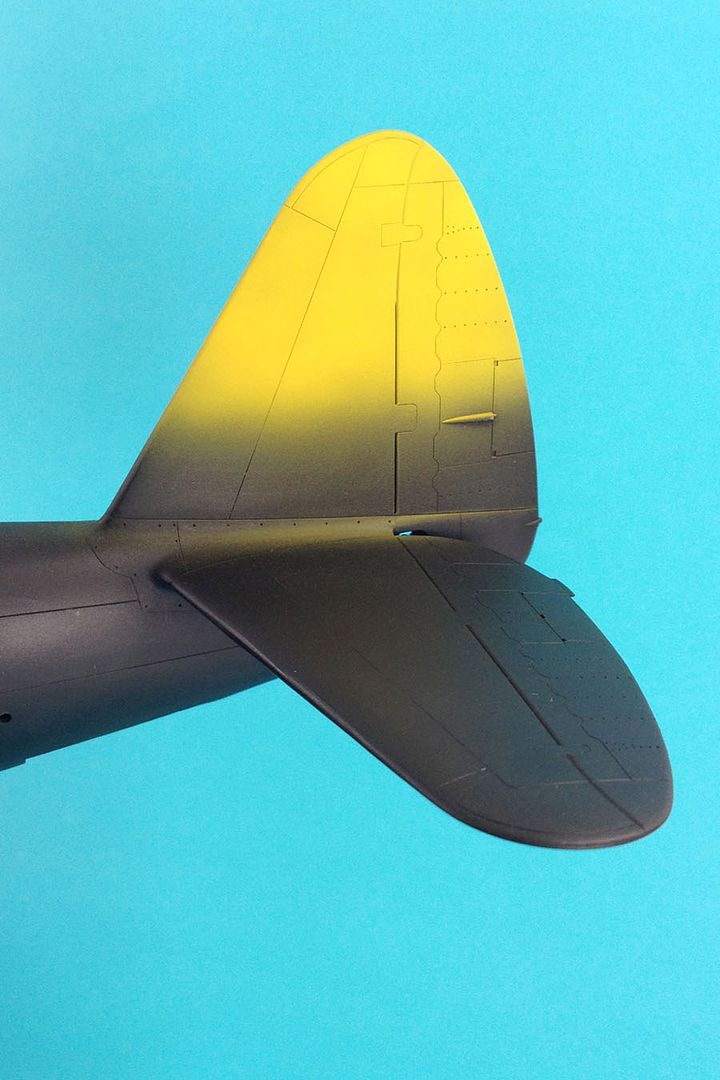 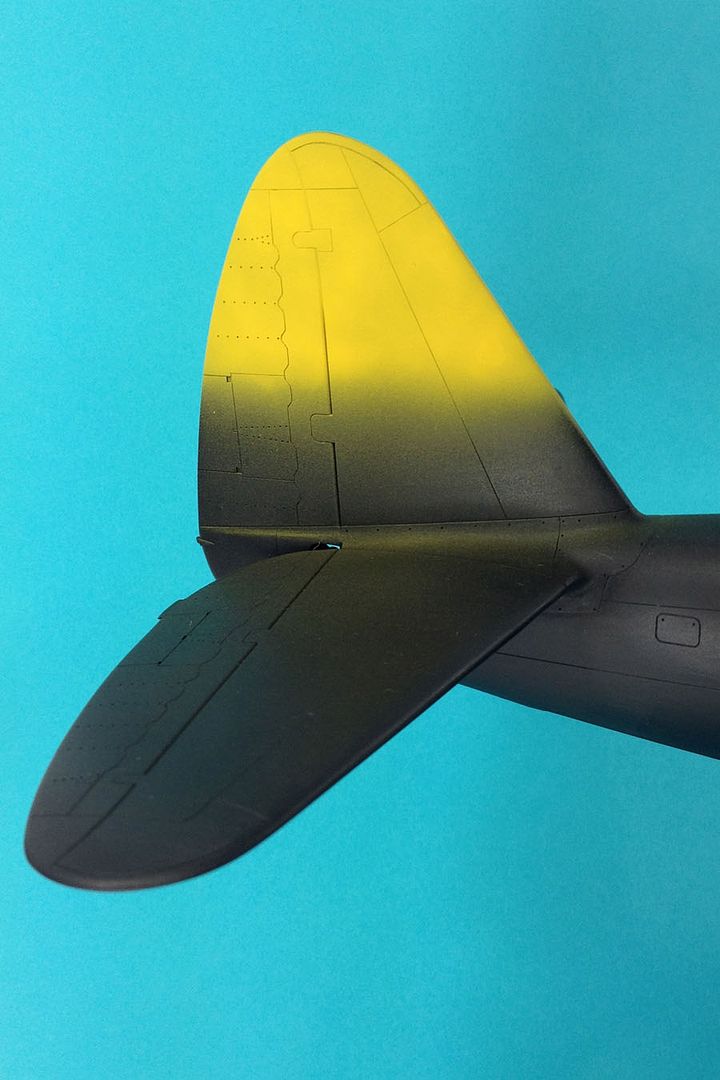 Step one for the 368FG/395FS tail color. Yellow applied. Next will be the red then mask and begin the surface prep for Alclad. WIll apply the black band on tail and stabilizers after Alclad is applied. The nose scheme mask will be done after Alclad applied. This is assured to give me plenty of masking angst. |
|
BezoulaBuilds
Full Member
  
Member since: July 2013
Posts: 136 
|
Post by BezoulaBuilds on Nov 3, 2014 16:58:35 GMT -5
Black from the attack. 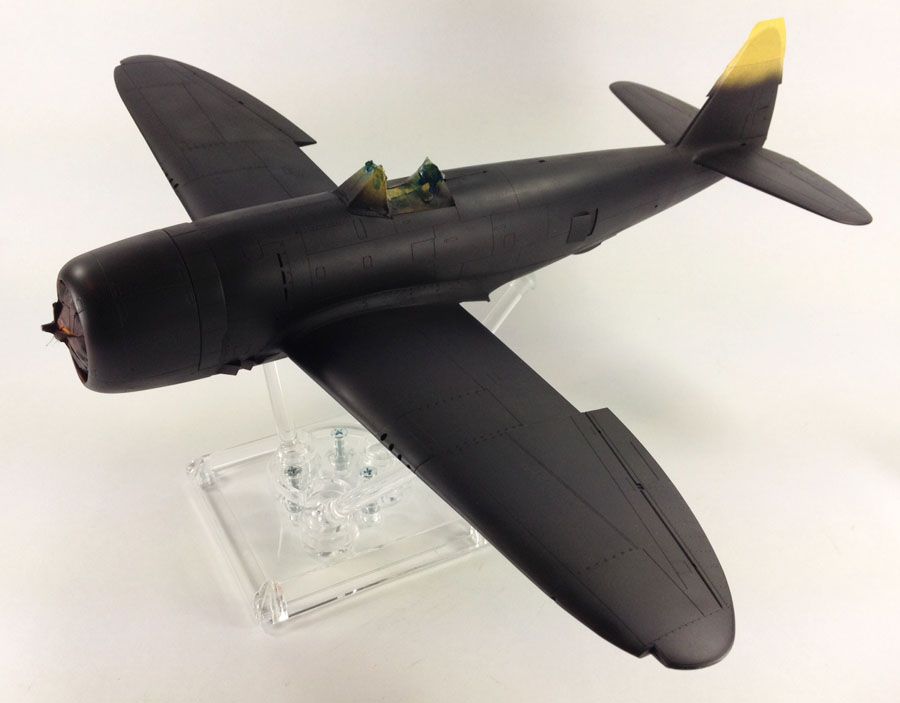 Yellow tail mased then entire plane is shot with Mr Surfacer 1500 Black followed by a light sanding with 4000 grit MicroMesh. 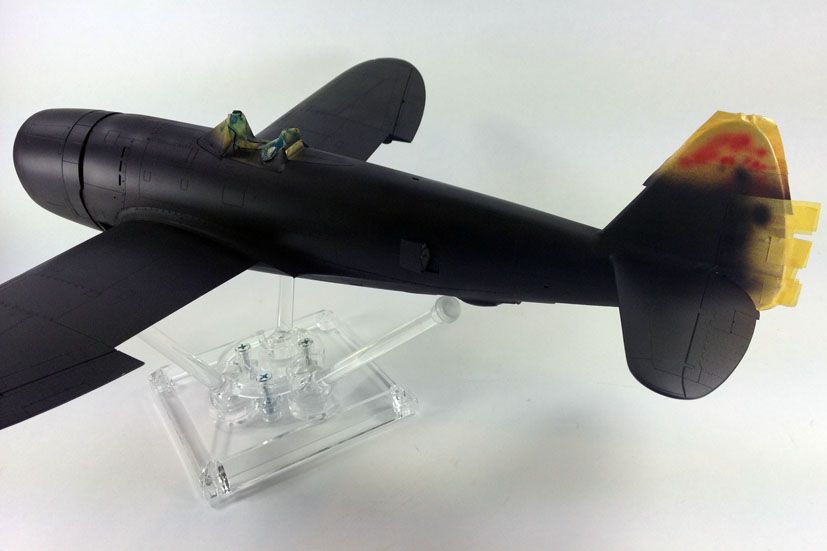 Red applied and masked. Primer covers red overspray with a light 4000 grit sanding. Tamiya Gloss Black X-1 + Tamiya Clear X-22 + Mr Color Leveling Thinner (1:1:2) will be applied for my Alclad base. |
|
|
|
Post by deafpanzer on Nov 3, 2014 19:14:50 GMT -5
Looking real good primed!!!
|
|
Rick
Full Member
  
Member since: March 2013
what to build, what to build . . . Ok THAT one!
Posts: 854 
|
Post by Rick on Nov 4, 2014 5:48:50 GMT -5
Looking great! Welcome back. I remember your start to this one as well as the Russian jug build. Superb scratchin' on the tubes. Will certainly keep an eye on the rest of your jug. I've never done an aluminum finish before and I've got two mustangs feeling lonely and forgotten in the stash. Glad to see you back and picking up where you left off.
Rick
|
|
BezoulaBuilds
Full Member
  
Member since: July 2013
Posts: 136 
|
Post by BezoulaBuilds on Nov 4, 2014 8:57:34 GMT -5
Looking real good primed!!! thanks Andy. next steps will be critical. lets hope the Alclad prop and Alclad application will yield similar results. |
|
BezoulaBuilds
Full Member
  
Member since: July 2013
Posts: 136 
|
Post by BezoulaBuilds on Nov 4, 2014 9:03:39 GMT -5
Looking great! Welcome back. I remember your start to this one as well as the Russian jug build. Superb scratchin' on the tubes. Will certainly keep an eye on the rest of your jug. I've never done an aluminum finish before and I've got two mustangs feeling lonely and forgotten in the stash. Glad to see you back and picking up where you left off. Rick thanks Rick. my expectations are high, lets hope for success or a great learning experience. perhaps both? |
|
|
|
Post by dupes on Nov 4, 2014 9:07:59 GMT -5
Love me a good jug...looking forward to the Alclad!
|
|
venom1
Full Member
  
Member since: October 2012
Posts: 1,369
Oct 10, 2012 2:40:03 GMT -5
Oct 10, 2012 2:40:03 GMT -5
|
Post by venom1 on Nov 6, 2014 2:37:46 GMT -5
Loving that nose art! Will be very interested to see this one come together.  Cheers, Sam  |
|
BezoulaBuilds
Full Member
  
Member since: July 2013
Posts: 136 
|
Post by BezoulaBuilds on Nov 8, 2014 23:46:24 GMT -5
"SLICK CHICK" IS WELL ENDOWED While applying the final coat of primer I found a few seams that needed some attention. While the liquid putty dries I decided to do a ordnance test fit. There is much work to be done, but this was fun. Detail, weather and wire fuses to the 500 GP bombs Paint, detail, weather, bullets and ignition wire for the M10's Prime and paint for the brass blast tubes Apologizes for the iPhone pics. 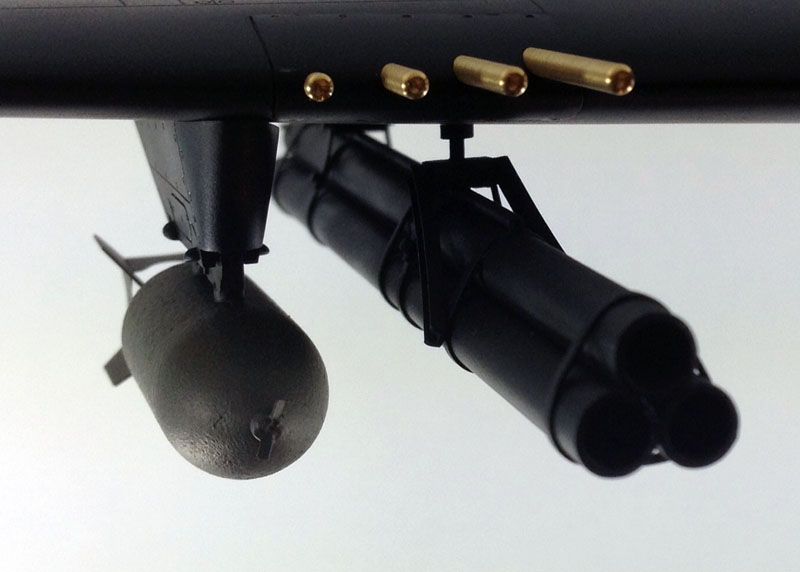 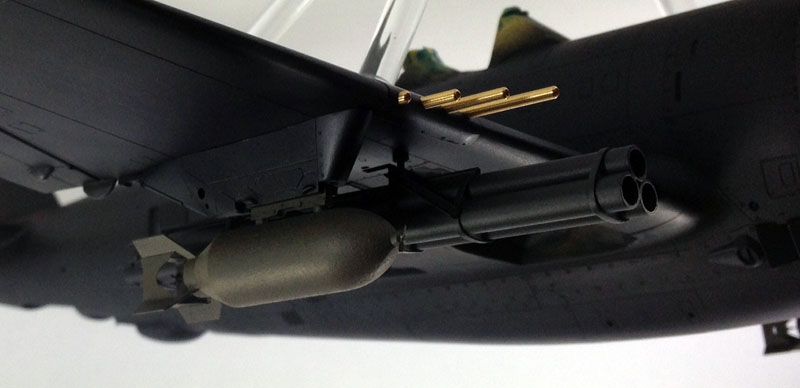 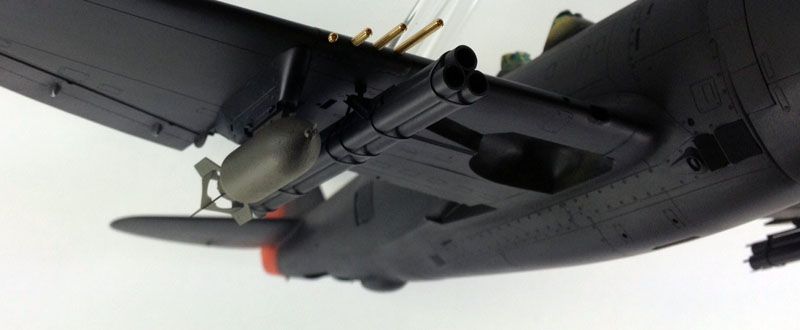 My modelling geekness got aroused and I look forward to the next phases of this build. Keep fingers crossed for a happy Alclad day. |
|
|
|
Post by deafpanzer on Nov 10, 2014 11:20:16 GMT -5
This is amazing... enjoying this build very much!
|
|
WigWag Workshop
Reviews member    
Member since: May 2012
"Keep The Glue On The Styrene"
Posts: 720
May 22, 2012 7:25:45 GMT -5
May 22, 2012 7:25:45 GMT -5
|
Post by WigWag Workshop on Nov 20, 2014 17:19:21 GMT -5
Outstanding work! I want to thank you for the tip, on using that dremal bit.
-Steven
|
|
|
|
Post by Leon on Nov 20, 2014 17:46:51 GMT -5
Ordinance and barrels look great.
|
|
captfue
Full Member
  
Member since: October 2012
Posts: 311
Oct 1, 2012 22:25:19 GMT -5
Oct 1, 2012 22:25:19 GMT -5
|
Post by captfue on Nov 20, 2014 18:17:47 GMT -5
Great Details..
|
|
4bogreen
Full Member
  
Member since: January 2014
On the bench; Yak-1B, T-30, T-34 model 1940
Posts: 568 
|
Post by 4bogreen on Nov 21, 2014 15:37:36 GMT -5
Awesome work! Looks very promesing. Nice decals. Impressive ordanance
|
|
BezoulaBuilds
Full Member
  
Member since: July 2013
Posts: 136 
|
Post by BezoulaBuilds on Mar 22, 2015 19:03:26 GMT -5
So sorry for the 4 month hiatus. Family, life and job has been keeping my forum activity limited. Look forward to catching up with the good folks and exceptional builds at MSCA. Finally time to begin with Alclad. Then....  image credit DoogsATX image credit DoogsATXI love Alclad, it works really well for me. Problem is every flaw shows on a NMF. That said a few sink marks I thought I took care of appeared. So out with the Mr. Putty and some future sanding, priming and painting. 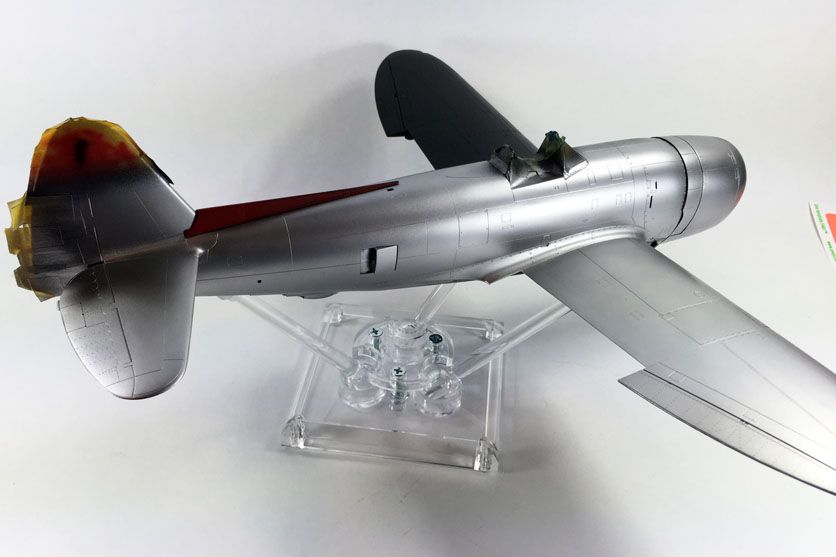 Barely visible is a sink mark running along the leading edge of the landing flap also to right of gun access panel. Sigh! 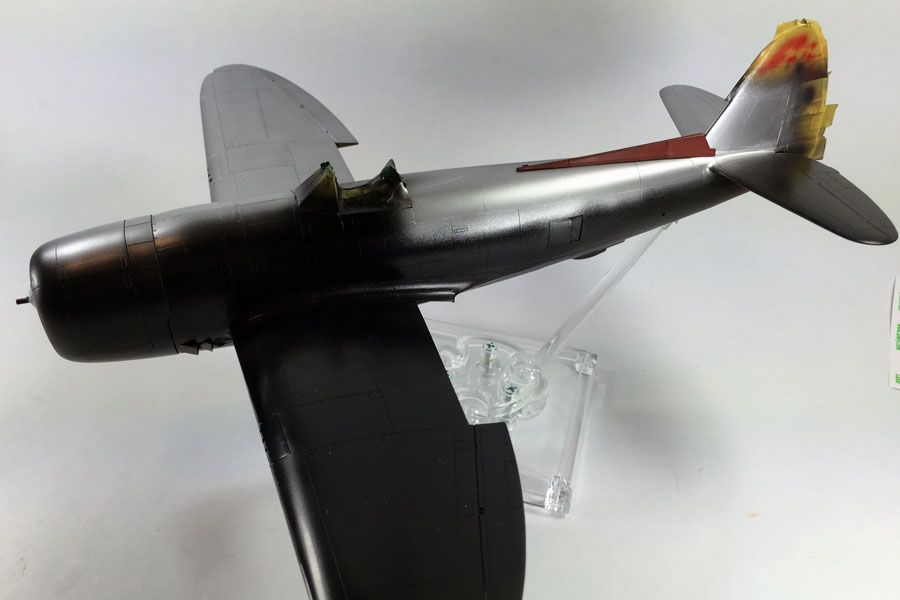 The fin fillet is dry fitted and may have a a revisit to the paint shop. Will reserve that action after all paint is on. |
|
|
|
Post by wing_nut on Mar 22, 2015 19:23:26 GMT -5
I had forgotten about this one. Glad to see it underway again.
|
|