|
|
Post by Tojo72 on Mar 22, 2015 19:26:20 GMT -5
Just a beautiful NMF
|
|
Rick
Full Member
  
Member since: March 2013
what to build, what to build . . . Ok THAT one!
Posts: 854 
|
Post by Rick on Mar 22, 2015 19:28:32 GMT -5
Glad you are back and having another go at your jug. I'm sure we can all relate to life and priorities.
Rick
|
|
BezoulaBuilds
Full Member
  
Member since: July 2013
Posts: 136 
|
Post by BezoulaBuilds on Mar 22, 2015 20:35:53 GMT -5
PUTTY SAND REPEAT 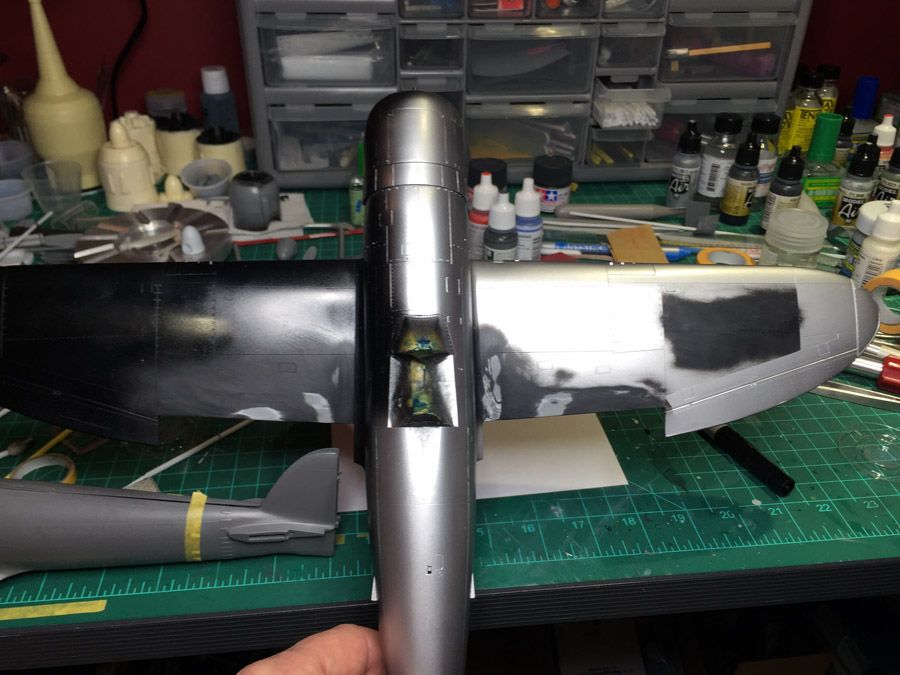 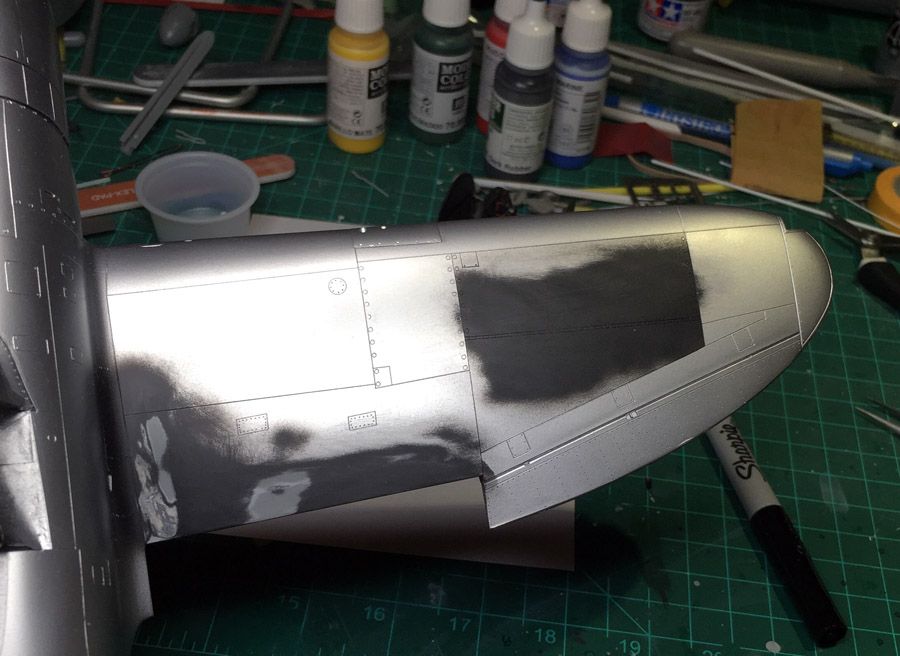 Hopefully this will solve the sink mark issue. Time for primer and paint. |
|
BezoulaBuilds
Full Member
  
Member since: July 2013
Posts: 136 
|
Post by BezoulaBuilds on Mar 22, 2015 20:49:45 GMT -5
|
|
BezoulaBuilds
Full Member
  
Member since: July 2013
Posts: 136 
|
Post by BezoulaBuilds on Mar 22, 2015 20:58:07 GMT -5
ANTIGLARE After some masking and black base applied, Mr Color 304 Olive Drab thinned 3:1 painted for the antiglare. Masking tape removed from the tail shows some touch up needed on the rudder hinges. Will most likely do this before I add the black stripe on the rudder and stabilizers, TBD. Then the Scalloped red cowling, yikes! 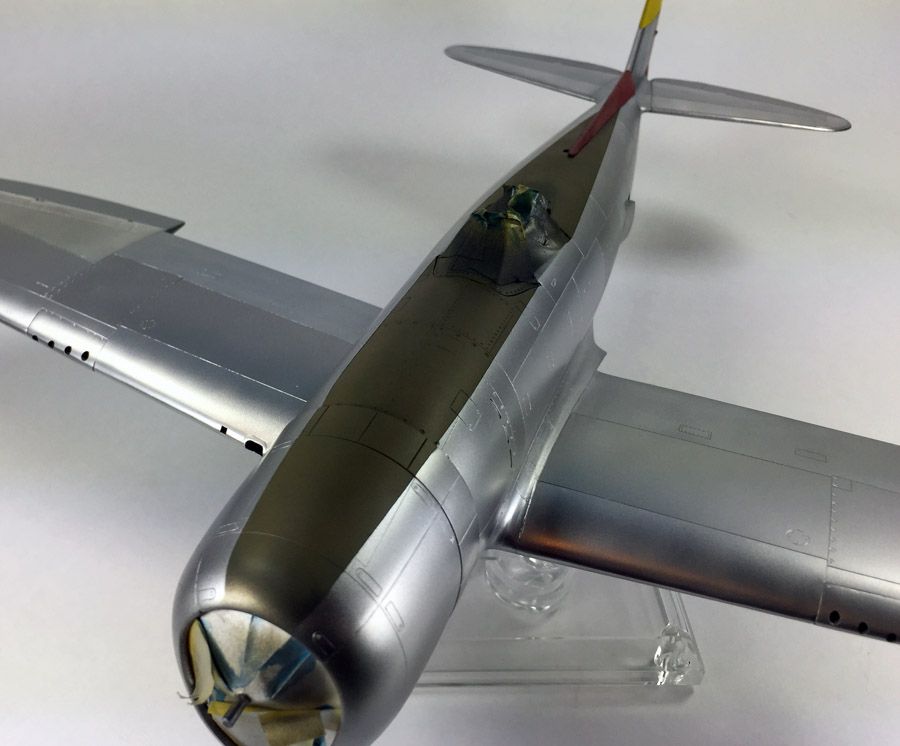 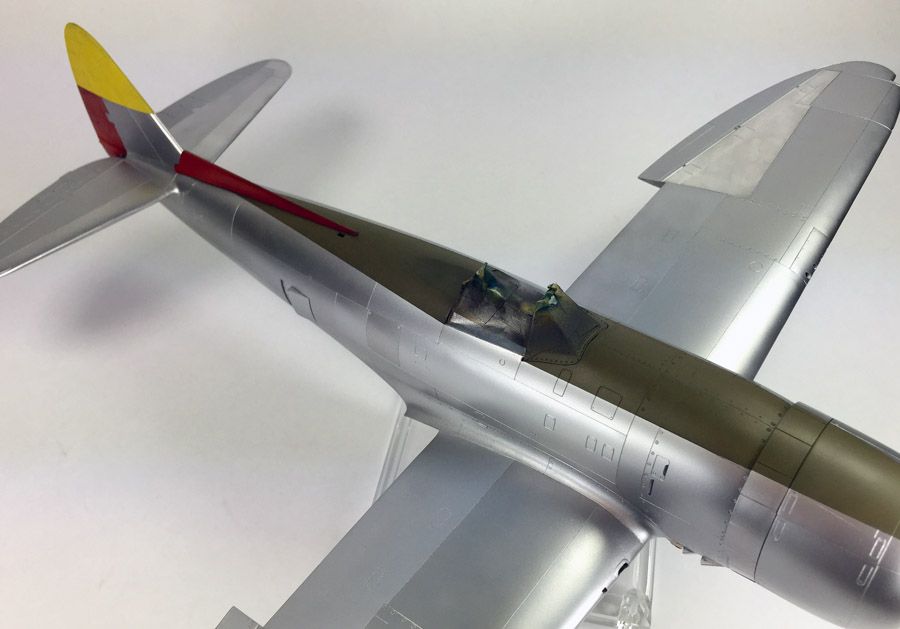 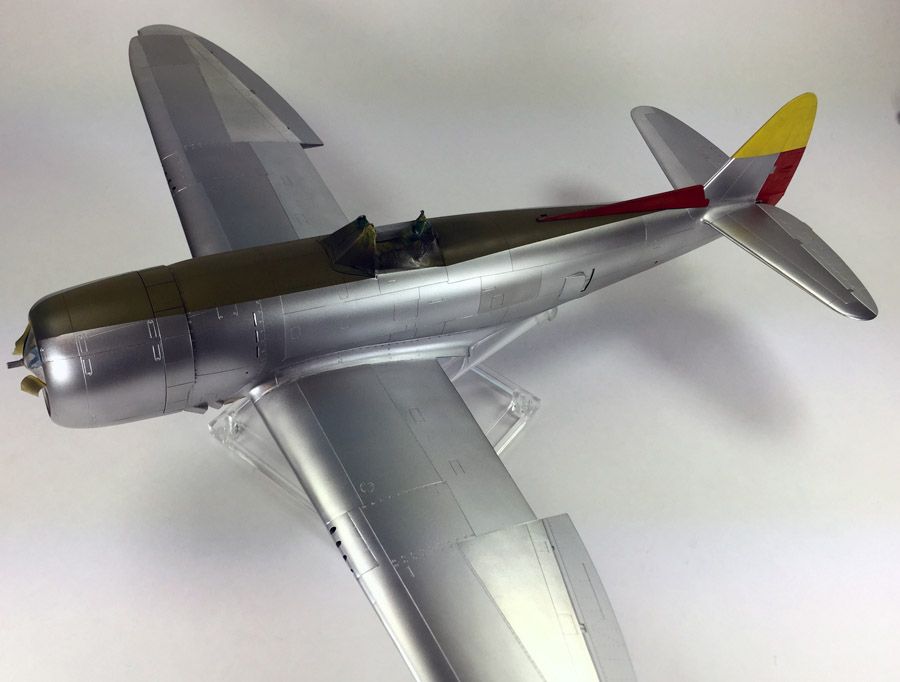 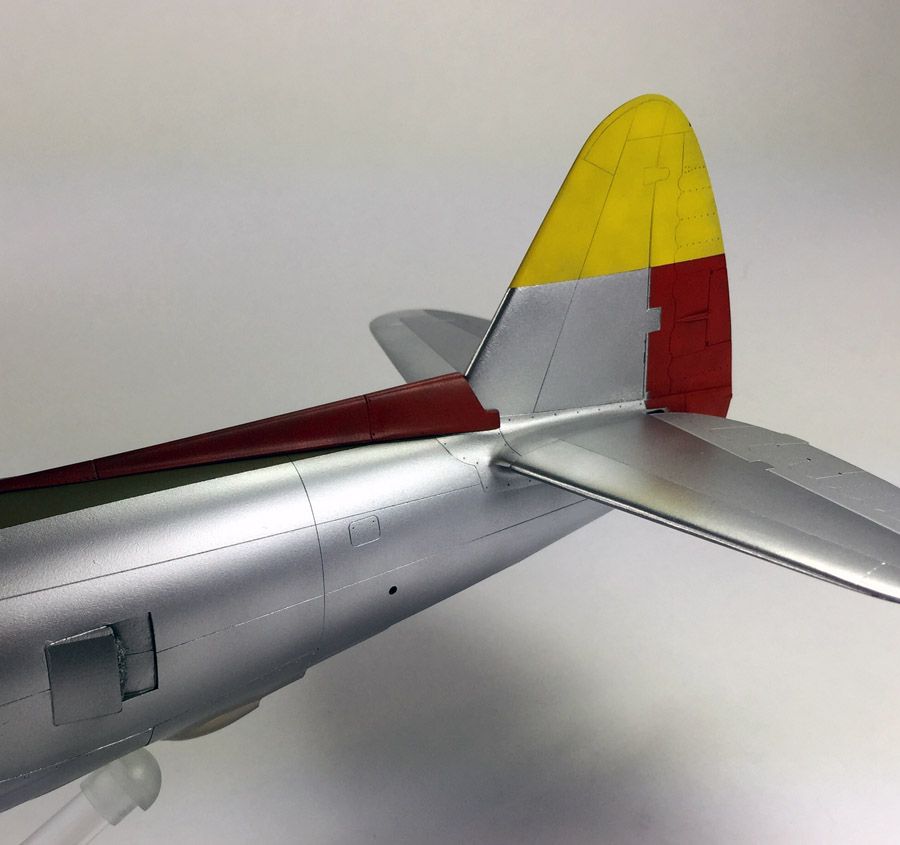 Will need to clean/touch up around the hinges. Fin Fillet dry fitted. |
|
BezoulaBuilds
Full Member
  
Member since: July 2013
Posts: 136 
|
Post by BezoulaBuilds on Mar 22, 2015 21:04:30 GMT -5
COWLING MASK This will indeed be a most daunting task for me. With copy of a line drawing from Yellow MMP's P-47 Thunderbolt, straight edge and French Curve I rendered the Scalloped Cowling art. 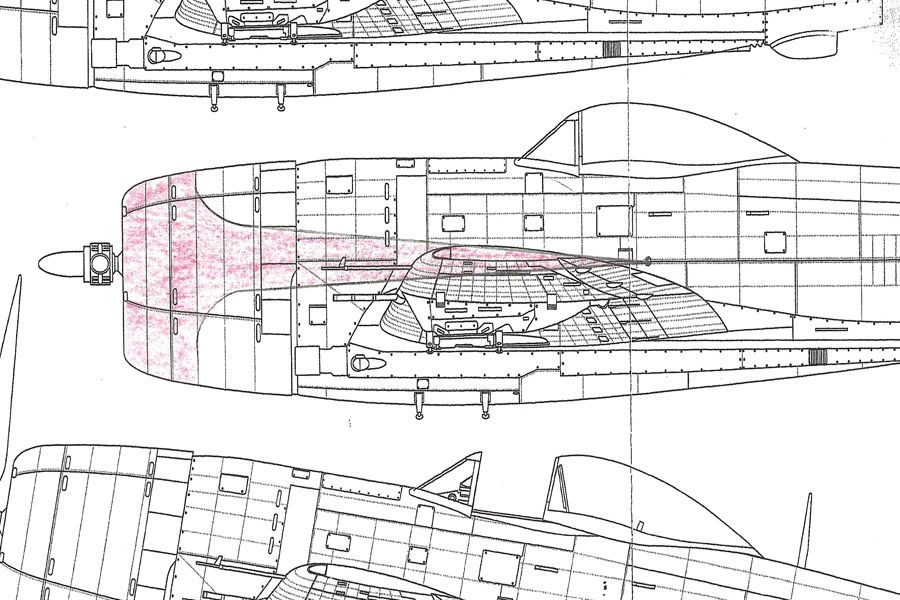 Port side. 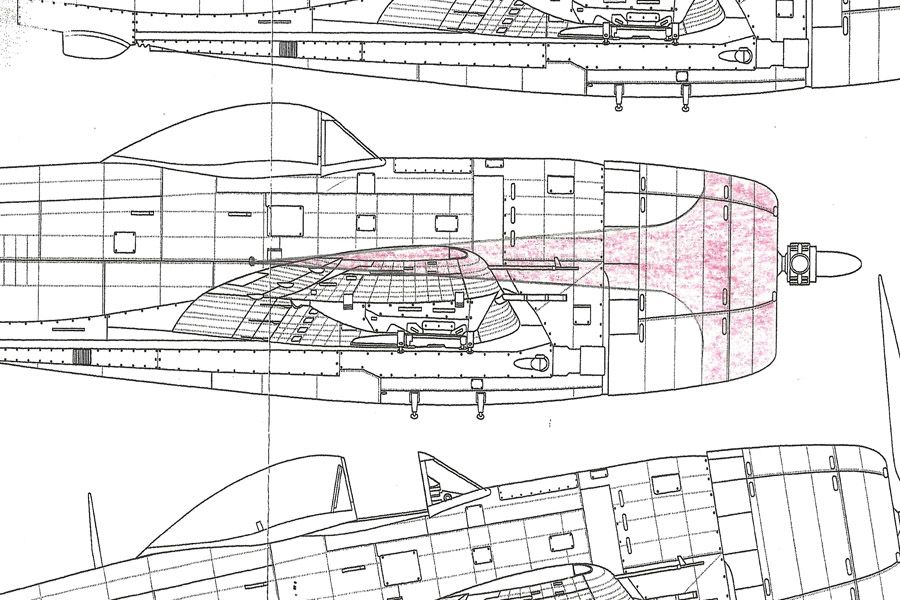 Scanned then a horizontal flip for the starboard side. 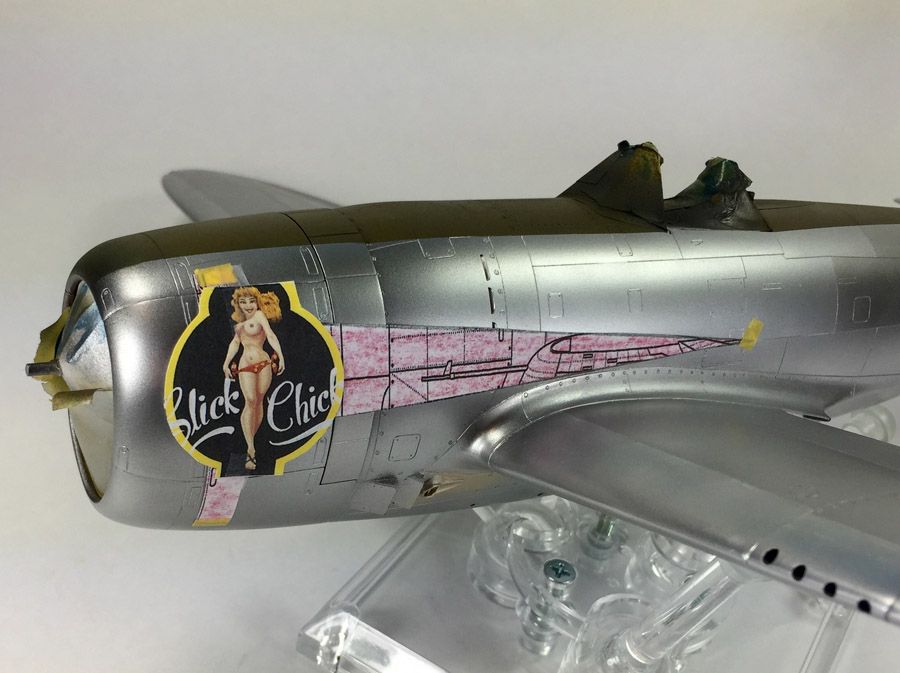 Execute a FPO for test fit. Looks good. Now on to some cutting. Meanwhile, the M10's got a pass of Mr. Color OD. 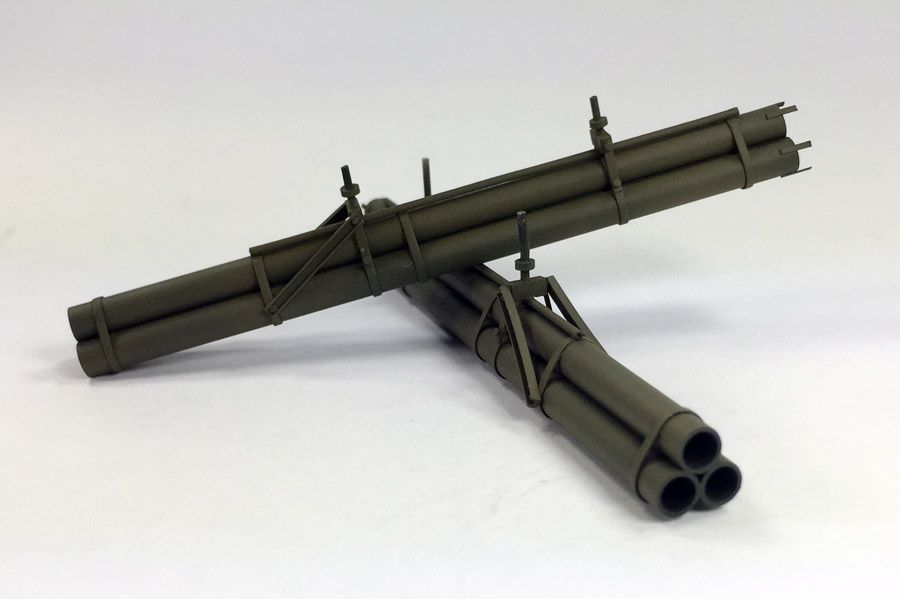 |
|
BezoulaBuilds
Full Member
  
Member since: July 2013
Posts: 136 
|
Post by BezoulaBuilds on Mar 22, 2015 21:07:18 GMT -5
Thanks Tojo!
|
|
BezoulaBuilds
Full Member
  
Member since: July 2013
Posts: 136 
|
Post by BezoulaBuilds on Mar 22, 2015 21:09:05 GMT -5
Glad you are back and having another go at your jug. I'm sure we can all relate to life and priorities. Rick Thanks Rick |
|
|
|
Post by deafpanzer on Mar 23, 2015 10:55:09 GMT -5
LOL! Glad you are back... fantastic paint job she is really looking good!
|
|
|
|
Post by wbill76 on Mar 23, 2015 17:59:47 GMT -5
You know you've got a smooth finish when your shirt colors are reflected back in the photos.  Nice progress in the paint department, looks like you've got the cowling laid out, looking forward to it! |
|
BezoulaBuilds
Full Member
  
Member since: July 2013
Posts: 136 
|
Post by BezoulaBuilds on Mar 23, 2015 20:29:35 GMT -5
LOL! Glad you are back... fantastic paint job she is really looking good! thanks DP. Glad to get my sorry butt back here. she's been a fun build...so far. |
|
BezoulaBuilds
Full Member
  
Member since: July 2013
Posts: 136 
|
Post by BezoulaBuilds on Mar 23, 2015 20:30:45 GMT -5
You know you've got a smooth finish when your shirt colors are reflected back in the photos.  Nice progress in the paint department, looks like you've got the cowling laid out, looking forward to it! thanks Bill. for some reason, I have had good luck with Alclad...so far. Ah, now I'm doomed! |
|
BezoulaBuilds
Full Member
  
Member since: July 2013
Posts: 136 
|
Post by BezoulaBuilds on Mar 23, 2015 20:35:04 GMT -5
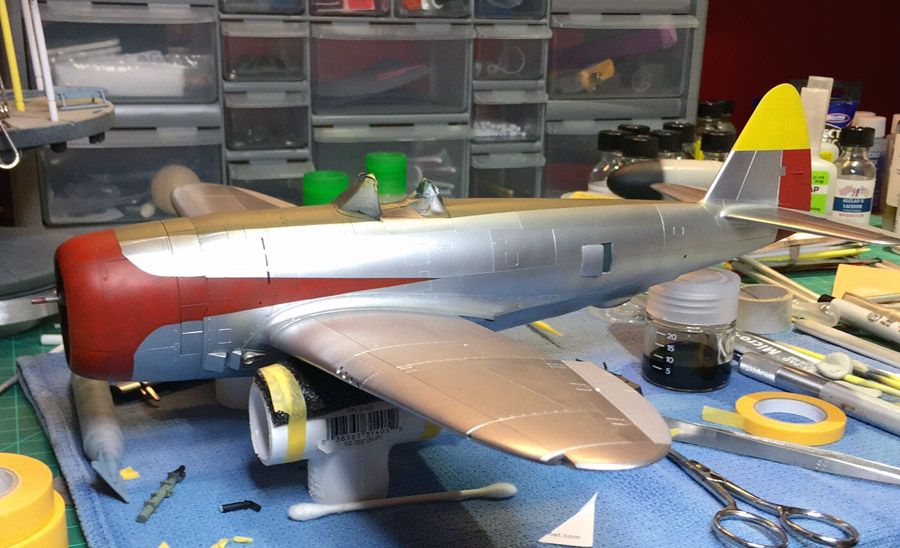 Cowling and scallop painted. Results not as I hoped with mask lifting where the scalloped edge joined the straight edge. Will attempt to clean/blend the edges. The port side scallop will be covered with nose art. So I will only need to focus on the starboard side. 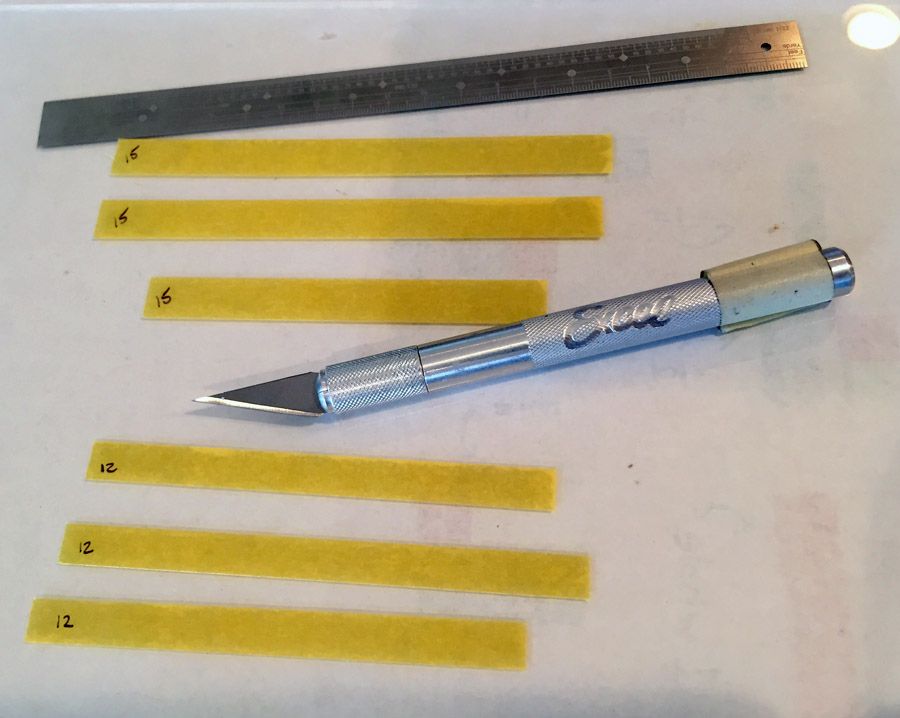 Masks cut for ID Bands. Using Radu Brizan's 1:32 scale ruler the 12" is for the rudder and the 15" is for the stabilizers. 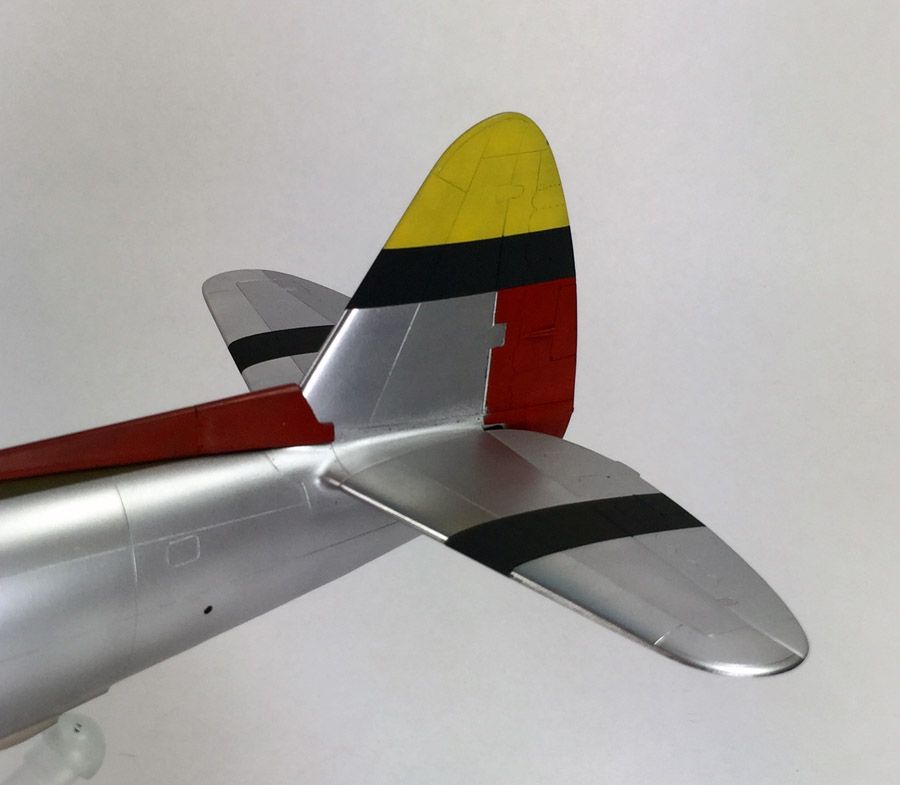 ID Bands are Tamiya NATO Black. Fin Filet is dry fitted. Will address the rudder lines later. 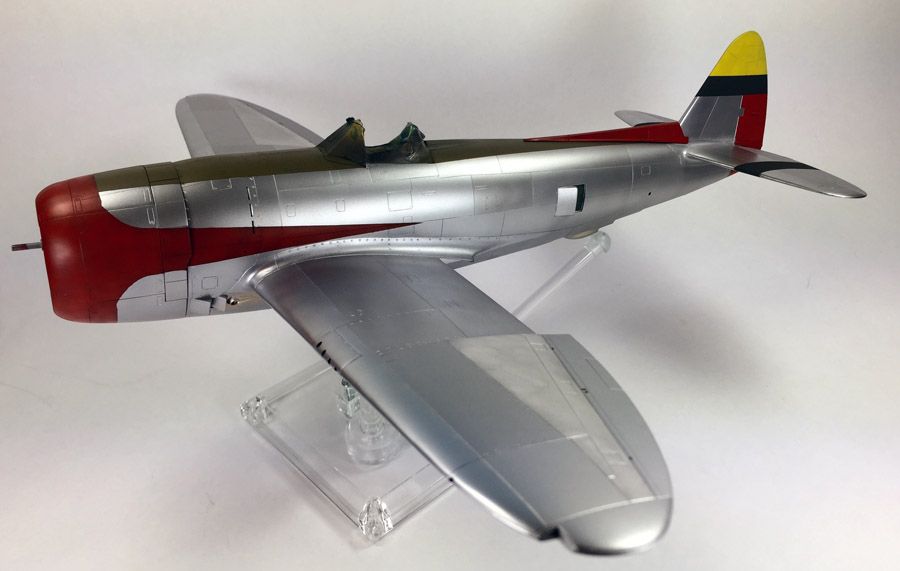 Next will be cleaning the scallop edges, rudder lines, replace the windscreen then hit with varnish for decal prep.
|
|
|
|
Post by deafpanzer on Mar 24, 2015 14:13:22 GMT -5
Love the colors... it is really looking great!
|
|
BezoulaBuilds
Full Member
  
Member since: July 2013
Posts: 136 
|
Post by BezoulaBuilds on Mar 26, 2015 4:57:58 GMT -5
Love the colors... it is really looking great! thanks...I've never uses so much masking tape in a build before. |
|
BezoulaBuilds
Full Member
  
Member since: July 2013
Posts: 136 
|
Post by BezoulaBuilds on Mar 26, 2015 5:05:36 GMT -5
TOUCH UP ON COWL, RUDDER AND APPLY SOME DECALS A little touch needed for the cowling and rudder. Certainly an improvement. I am counting on weathering will blend the offenders I could not fix. The windscreen was replaced as well. 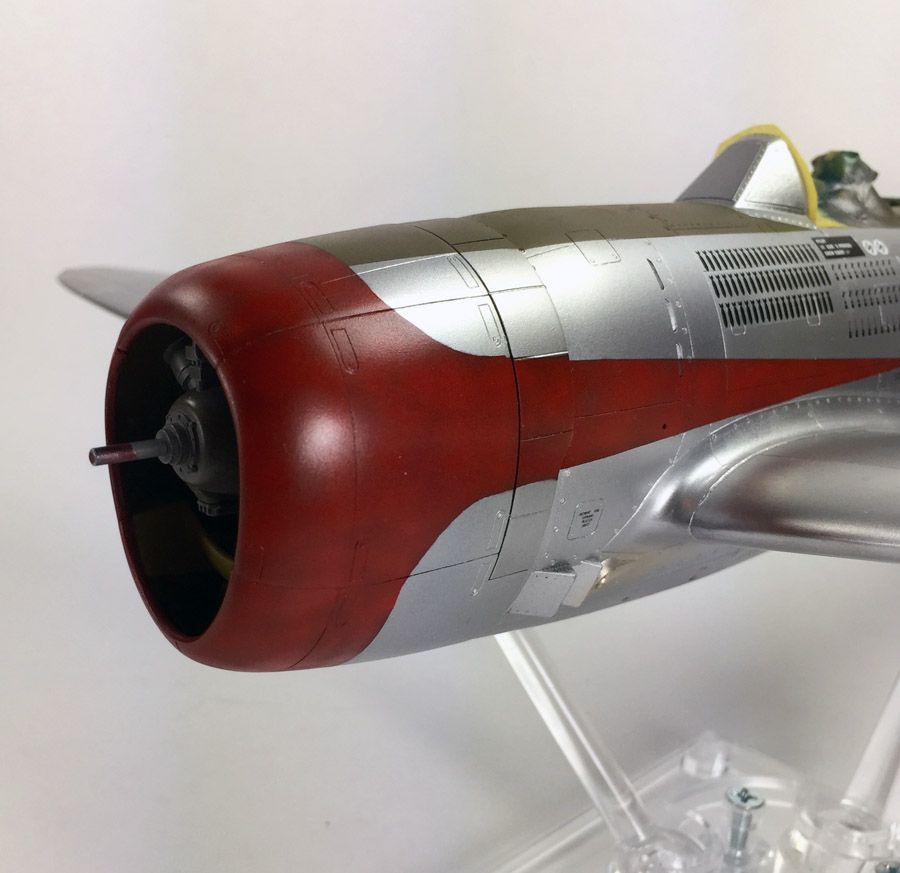 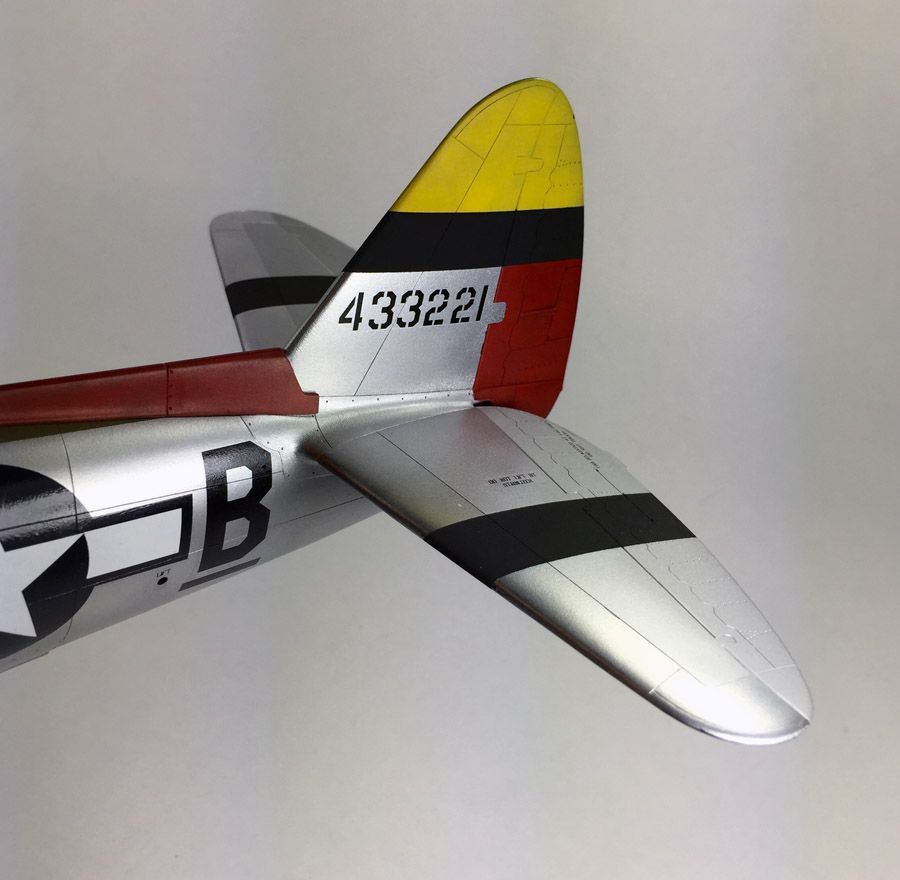 Decals applied using Kits-World War Birds # 132028 for Perego's mount and EagleCal #107 for national insignia and stencils. Kits-World decals went down beautifully and the carrier film almost disappeared. EagleCal went down beautifully with no issues as well. Both responded very well to setting solutions. Only issue was with the national insignias as the setting solution gave me fits by leaving little deposits of "crystallized" spots. 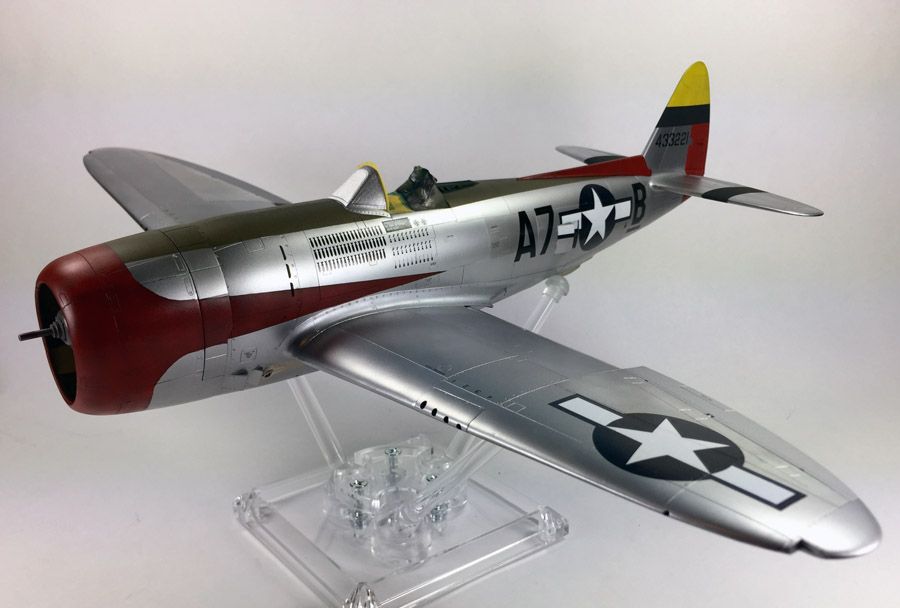 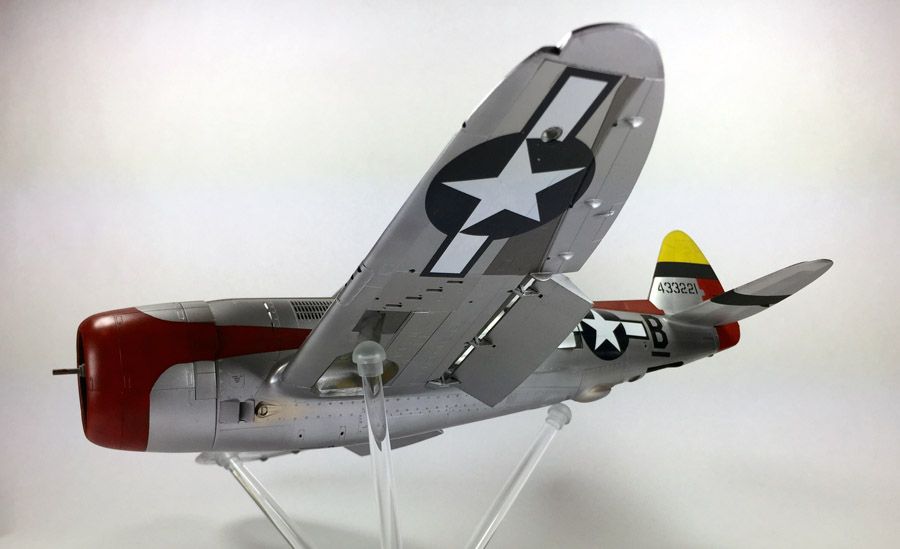 50" national insignias for both side of lower wings. 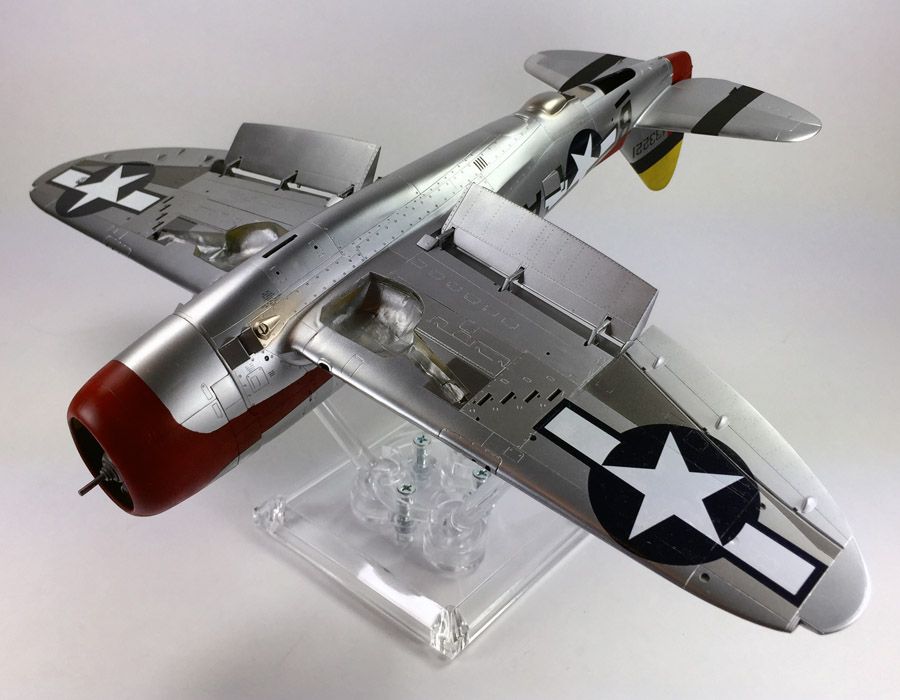 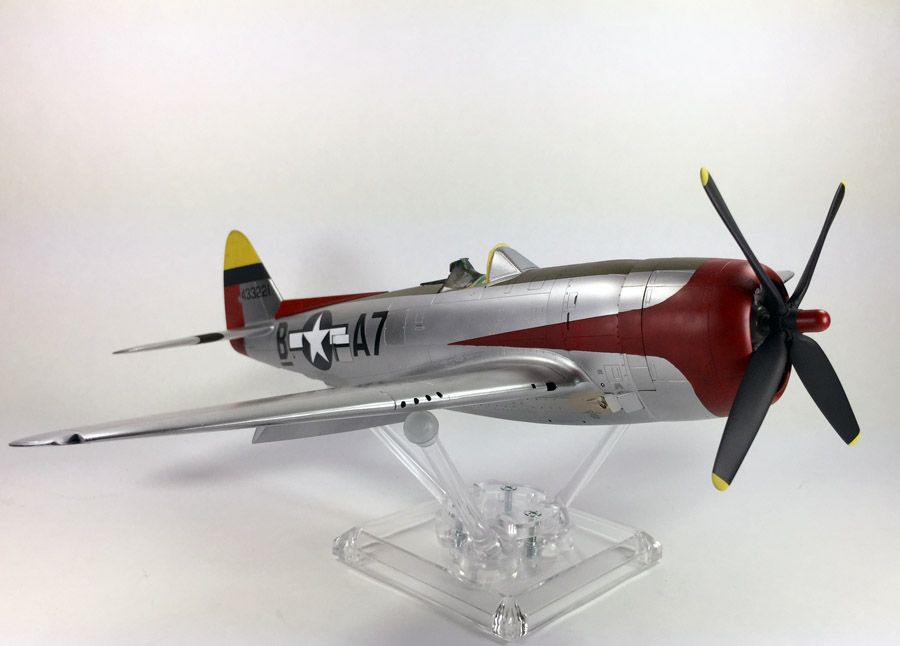 I threw on the (almost completed) Hamilton Standard 13' prop for a test fit. Will also finish the Curtiss Electric 13' prop so I can switch out from time to time. I like the look of the stubby prop boss on the HS. 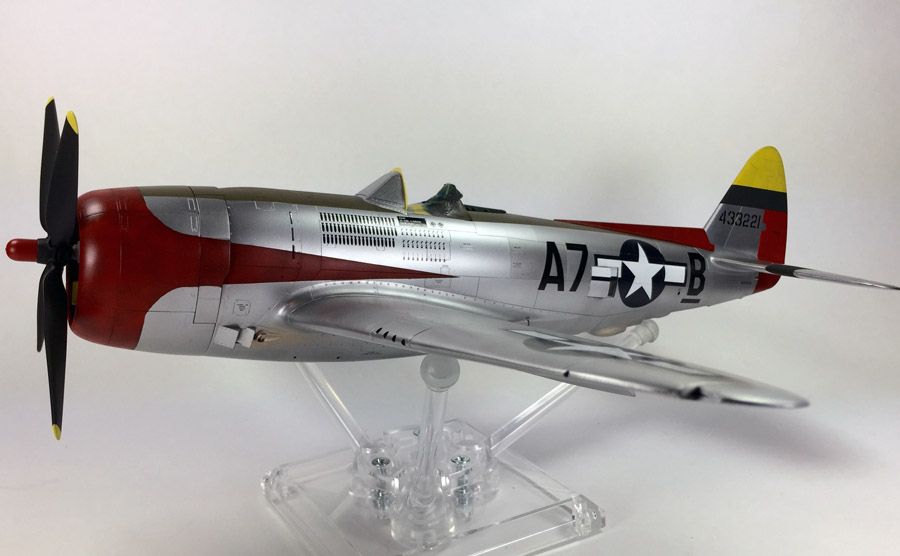 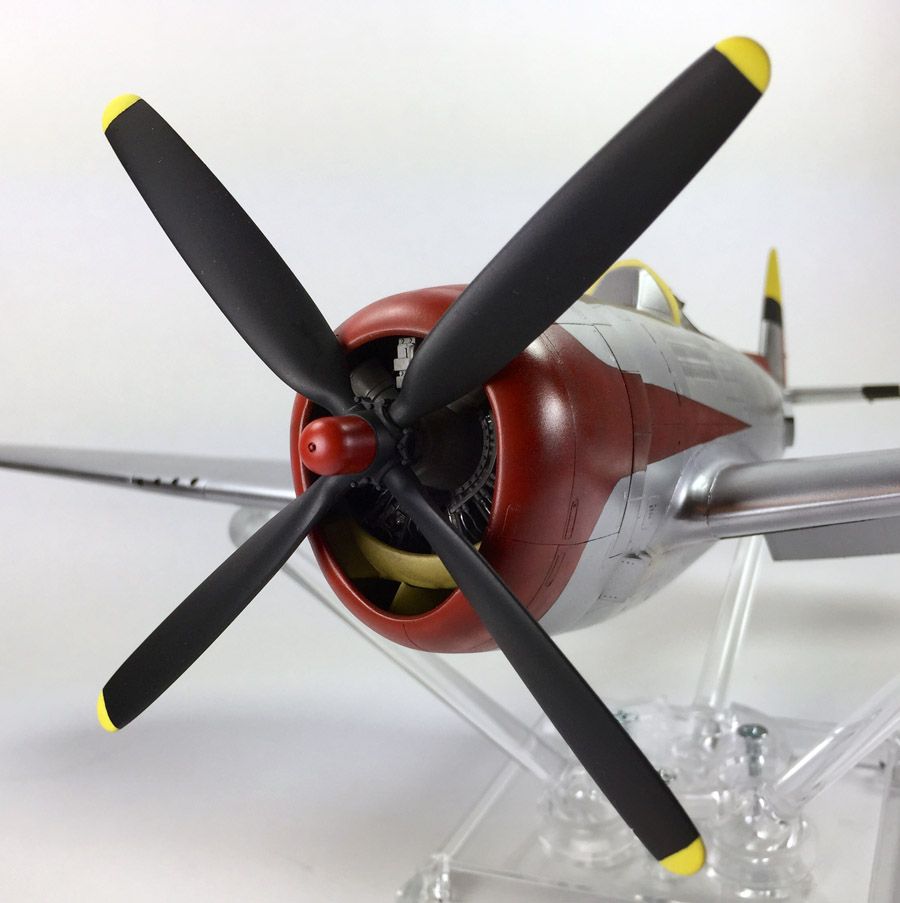 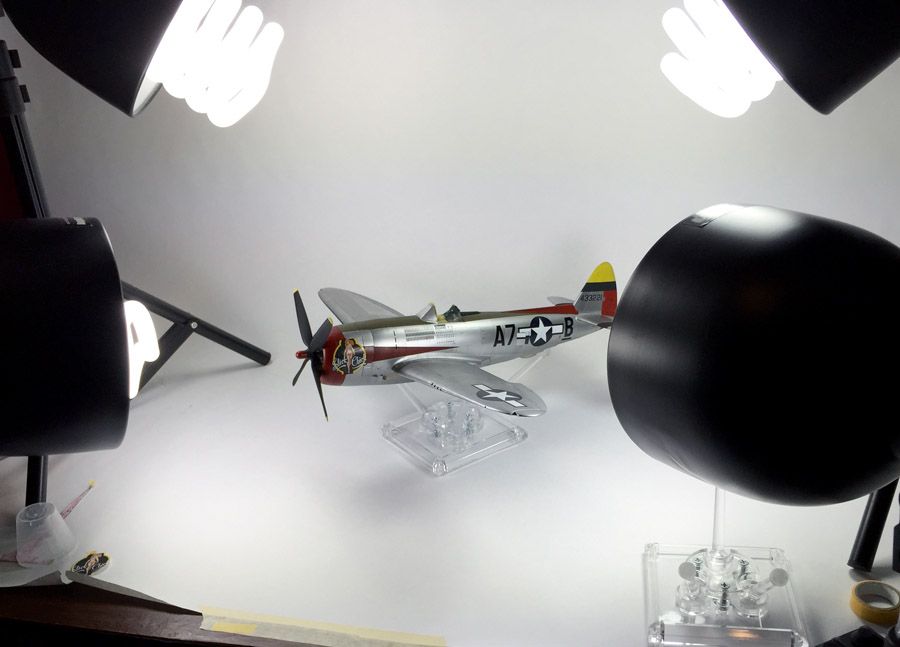 "Slick Chick" finally showed up and is all settled in and currently finishing her photo shoot. |
|
|
|
Post by dupes on Mar 26, 2015 9:27:11 GMT -5
Dang, man - that is HOOOOOT!
|
|
|
|
Post by deafpanzer on Mar 26, 2015 9:40:54 GMT -5
SWEET!!! Somebody please get Dupes a fan!!!
|
|
|
|
Post by Tobi on Mar 27, 2015 8:50:33 GMT -5
Show me the chick again!!! Great!  |
|
BezoulaBuilds
Full Member
  
Member since: July 2013
Posts: 136 
|
Post by BezoulaBuilds on Mar 28, 2015 2:28:08 GMT -5
Dang, man - that is HOOOOOT! Thanks Dupes. A few days ago: My 10 yo daughter: "Daddy, are you finished with your model airplane?" Me: "Which one?" My 10 yo daughter: "The silver one with the naked lady." |
|
BezoulaBuilds
Full Member
  
Member since: July 2013
Posts: 136 
|
Post by BezoulaBuilds on Mar 28, 2015 2:29:50 GMT -5
SWEET!!! Somebody please get Dupes a fan!!!  |
|
BezoulaBuilds
Full Member
  
Member since: July 2013
Posts: 136 
|
Post by BezoulaBuilds on Mar 28, 2015 2:30:30 GMT -5
Show me the chick again!!! Great!  Thanks Tobi, here she comes..... |
|
BezoulaBuilds
Full Member
  
Member since: July 2013
Posts: 136 
|
Post by BezoulaBuilds on Mar 28, 2015 3:26:45 GMT -5
SHE CAVED AND GAVE IN After begging, pleading, whispering sweet nothings and plenty of setting fluid, Slick Chick gave in to my charms and laid down just the way I like it. Kudos to Kits-World for their very workable decals. Due to the panel size on the Hasegawa kit the nose art right edge will be touching the cowling flaps. I considered trimming the top and bottom so I could move forward and pull the nose art away from the cowling flaps. Several test cuts on copies resulted in altering the nose art in an unacceptable way. So, FICE. 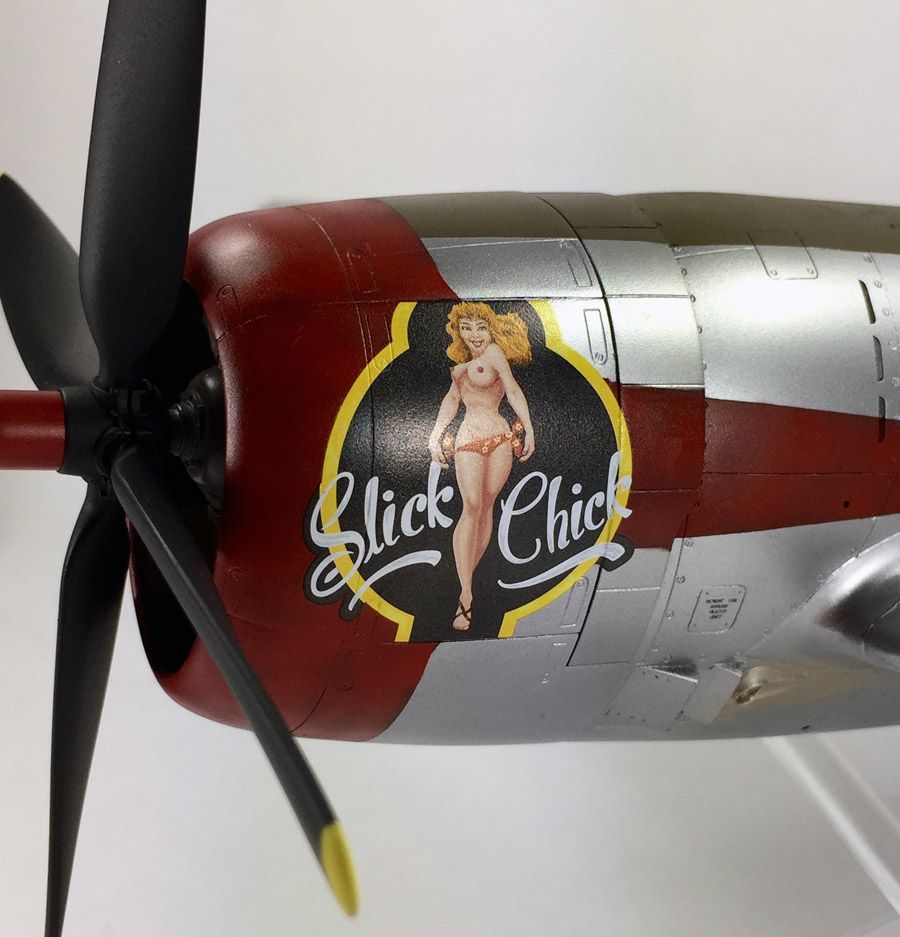 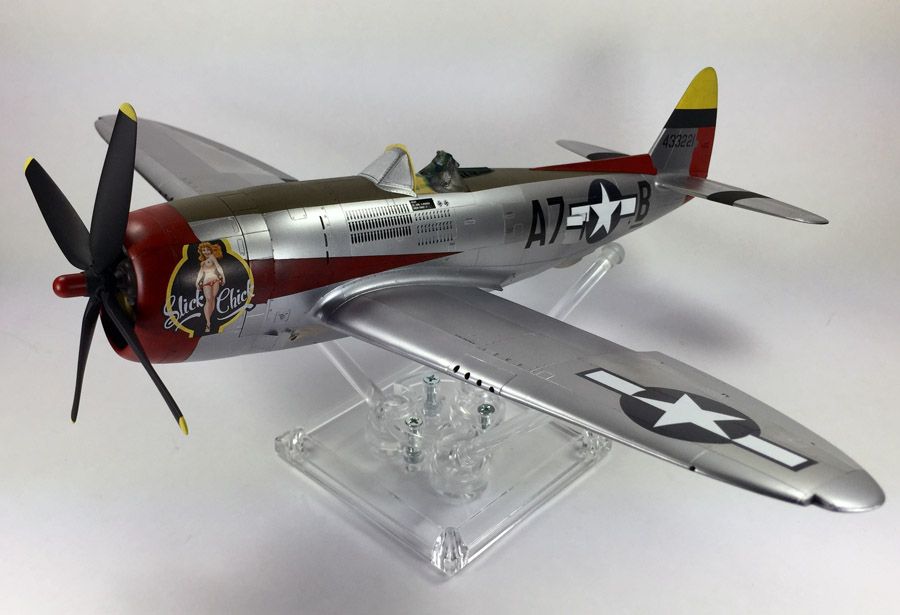 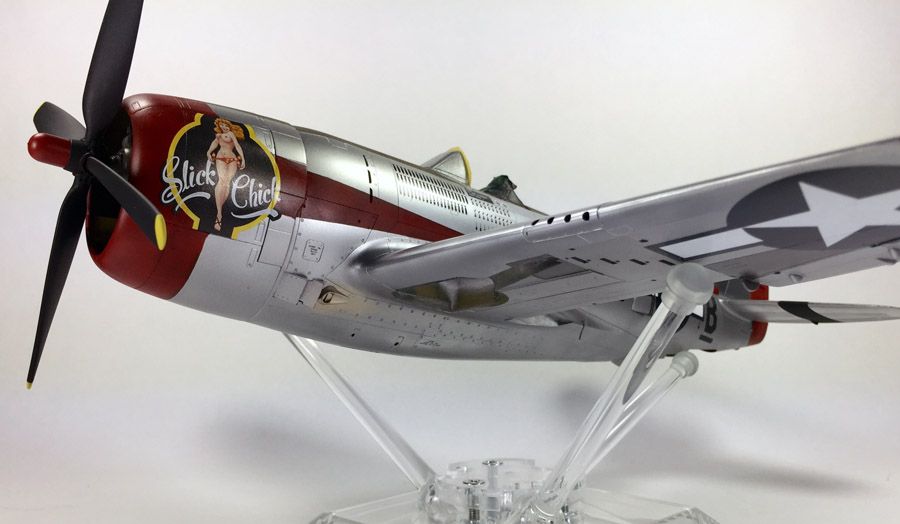 A few more stencils then seal with gloss varnish and the weathering will begin. TALK DIRTY TO ME Flory Wash applied to upper and now working on the lower. An overall wash of highly diluted brown/black to come next. Then the exhaust staining begins as well as some leg work, ordnance. 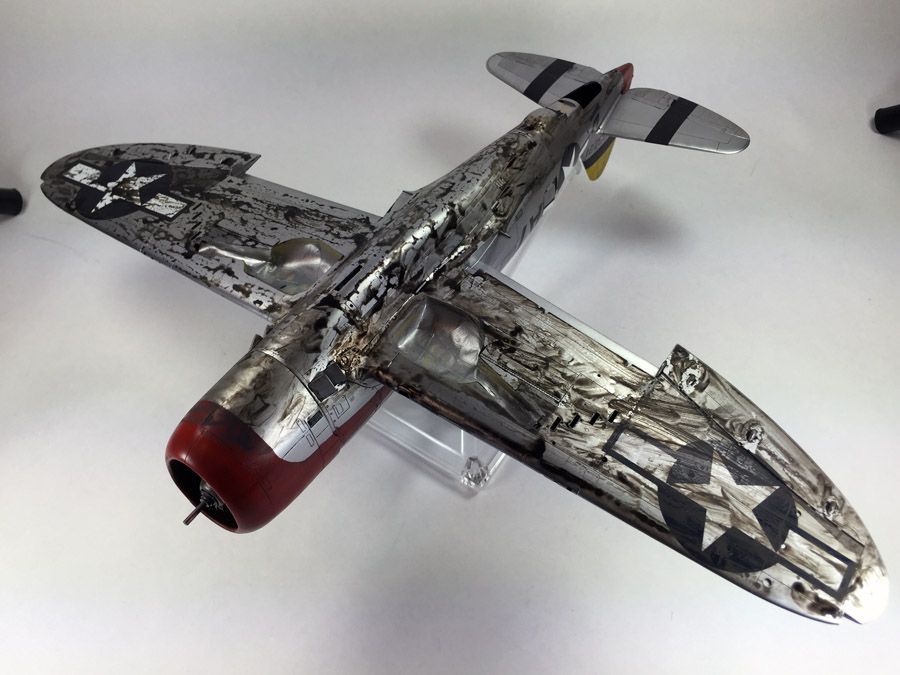 WORKING HER LEGS Phase one of landing gear finish. Detail painting done. Added stencils, brake lines and holding straps. Will work 'em over with MiG wash. Tape is holding brake line until legs are installed. 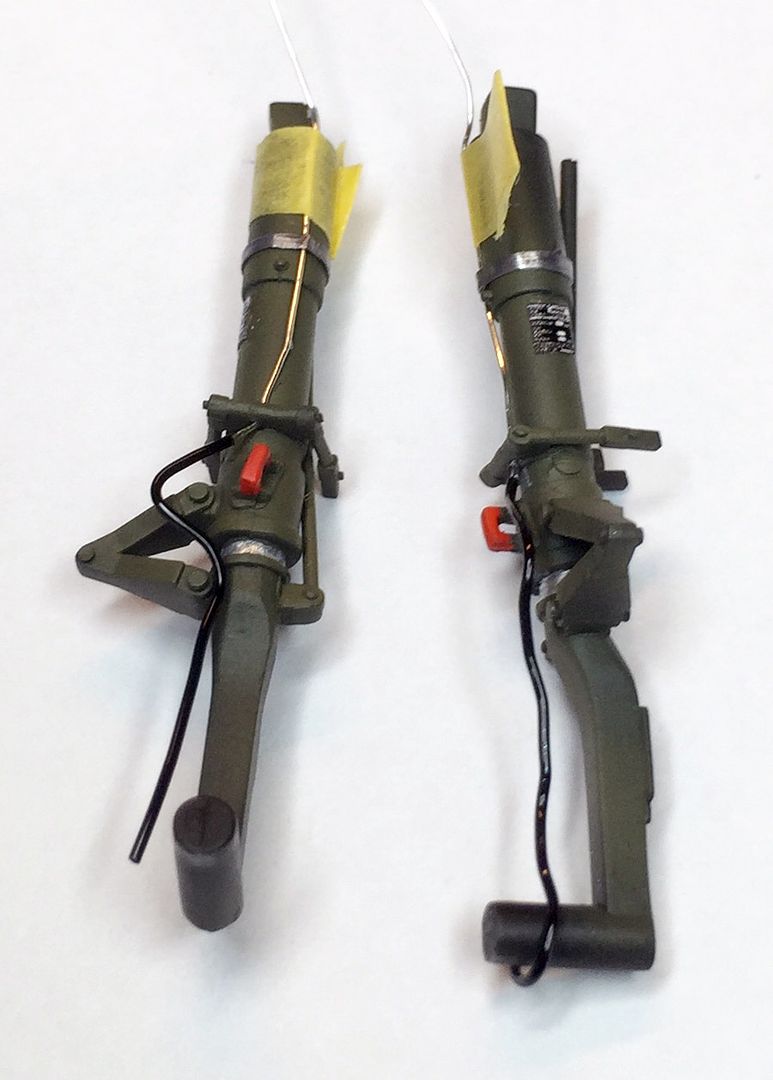 Mud Wrestling event scheduled for Tuesday. |
|
BezoulaBuilds
Full Member
  
Member since: July 2013
Posts: 136 
|
Post by BezoulaBuilds on Mar 31, 2015 20:24:45 GMT -5
WEATHERING FIRST STEPS Florys Wash applied then a filter of diluted black/brown applied. Exhaust filter and MiG pigments on deck. This is my first complete NMF using Alclad and I really like the difference that Flory's wash offers. 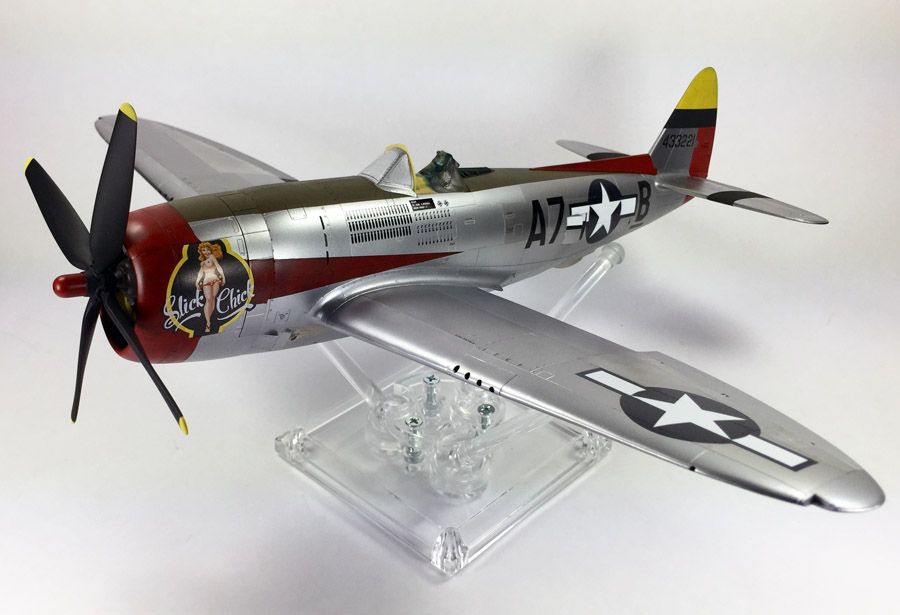 Before Florys. 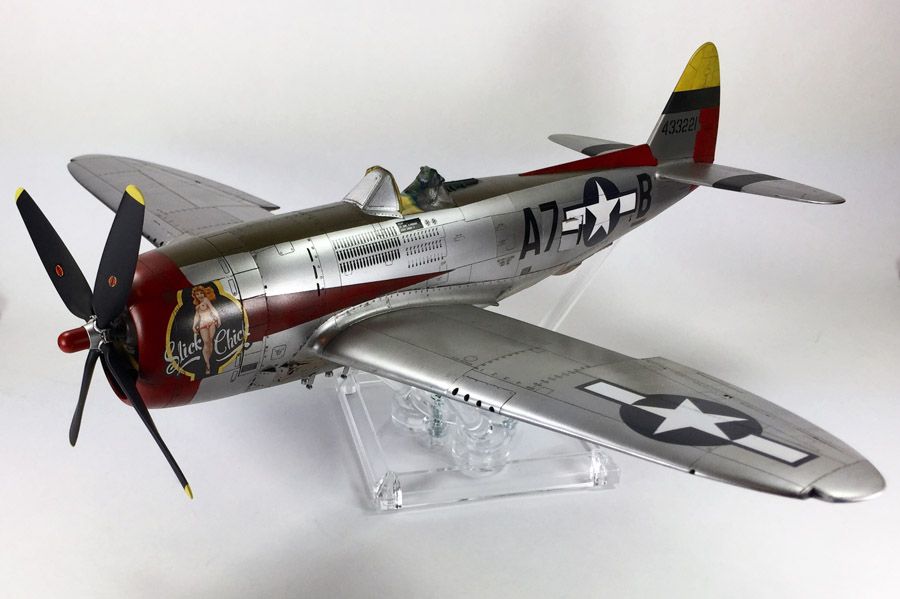 Hey! I'm a P47D-25 RA with "retro/field fitted" bomb racks, compression flaps and fin fillet! 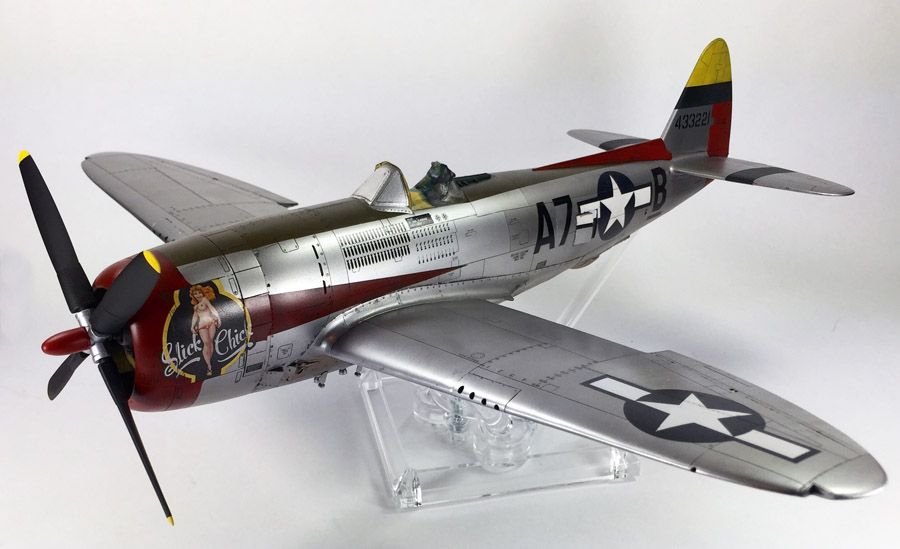 Wait! I'm a P47D-26 RA with "retro/field fitted" bomb racks, compression flaps and fin fillet. |
|
sabre
Full Member
  
Member since: September 2013
Posts: 414 
|
Post by sabre on Mar 31, 2015 21:04:33 GMT -5
WoW!! That's one Slick Chick Bezoula "excuse the pun". She really came up a treat, beautifully painted in Alcad and the markings dressed her up nicely.
|
|
|
|
Post by wbill76 on Apr 2, 2015 11:23:03 GMT -5
Can't argue with those wash results! Nice trick with the propeller swap-out option too...you get a 2-for-1!  |
|
Wes
Full Member
  
Member since: November 2011
Posts: 686
Nov 16, 2011 9:34:50 GMT -5
Nov 16, 2011 9:34:50 GMT -5
|
Post by Wes on Apr 2, 2015 13:43:00 GMT -5
That is on very sexy plane.
|
|
Rick
Full Member
  
Member since: March 2013
what to build, what to build . . . Ok THAT one!
Posts: 854 
|
Post by Rick on Apr 3, 2015 6:10:45 GMT -5
Wow ! Beautiful jug Bez! Superb finish and lovely decal work too! You haven't lost your touch from being away for so long.
Rick
|
|
|
|
Post by TRM on Apr 3, 2015 6:19:30 GMT -5
Simply some beautiful modelling!! Really an amazing job so far, keep it going!!
|
|
|
|
Post by Leon on Apr 3, 2015 6:58:03 GMT -5
Fantastic results on the washes Bez!  The old girl looks awesome with the markings.  |
|