destrozas.
Full Member
  
Member since: August 2012
Posts: 240
Aug 28, 2012 8:30:14 GMT -5
Aug 28, 2012 8:30:14 GMT -5
|
Post by destrozas. on Jan 9, 2015 15:21:24 GMT -5
|
|
|
|
Post by deafpanzer on Jan 9, 2015 15:26:46 GMT -5
Love the camo seen in the picture... great start you have my attention of course!
|
|
|
|
Post by TRM on Jan 9, 2015 15:41:44 GMT -5
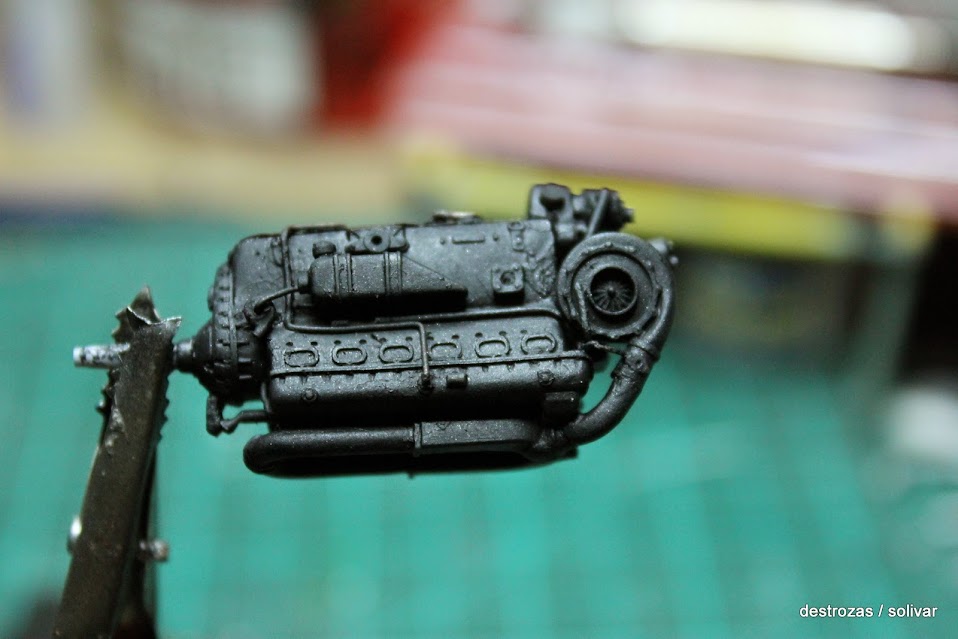
Great look to this bird!! Count me in Sergio! I can see some of what you were talking about with the quality of the plastic...with the engine! But you are doing some fine work to overcome that!! Keep it coming!!
|
|
|
|
Post by dupes on Jan 9, 2015 20:41:18 GMT -5
Haven't heard many good things about the Tauro kits...but I LOVE the 205! Looking forward to the painting.
|
|
|
|
Post by JimD on Jan 9, 2015 22:16:40 GMT -5
Never heard of these kits but I like the subject. Looking forward to seeing what you have in store for it.
|
|
destrozas.
Full Member
  
Member since: August 2012
Posts: 240
Aug 28, 2012 8:30:14 GMT -5
Aug 28, 2012 8:30:14 GMT -5
|
Post by destrozas. on Jan 17, 2015 7:19:05 GMT -5
thanks to three for your comments. the process continues am slowly given you shape the engine, gave the base layer of aluminum and black above, I have placed some of the pipes leading but still left me for doing something else.     as for the rest of the lines I need to have the engine placed in position I have prepared everything for placement, all the brackets and parts of the engine compartment I primed and painted   Now before mounting on the bulkhead'll give some weathering since it is part of the free access to do so after |
|
|
|
Post by wbill76 on Jan 17, 2015 17:59:27 GMT -5
Off to a good start Sergio.
|
|
|
|
Post by TRM on Jan 17, 2015 20:42:15 GMT -5
Nice bit of work there Sergio!!  |
|
|
|
Post by Leon on Jan 17, 2015 21:57:09 GMT -5
Looking good Sergio.
|
|
destrozas.
Full Member
  
Member since: August 2012
Posts: 240
Aug 28, 2012 8:30:14 GMT -5
Aug 28, 2012 8:30:14 GMT -5
|
Post by destrozas. on Jan 23, 2015 5:07:00 GMT -5
|
|
|
|
Post by TRM on Jan 23, 2015 7:12:24 GMT -5
Nice detailing on the engine Sergio!! Keep up the good work!
|
|
|
|
Post by deafpanzer on Jan 23, 2015 13:10:27 GMT -5
Excellent work on the engine!
|
|
destrozas.
Full Member
  
Member since: August 2012
Posts: 240
Aug 28, 2012 8:30:14 GMT -5
Aug 28, 2012 8:30:14 GMT -5
|
Post by destrozas. on Jan 28, 2015 11:47:03 GMT -5
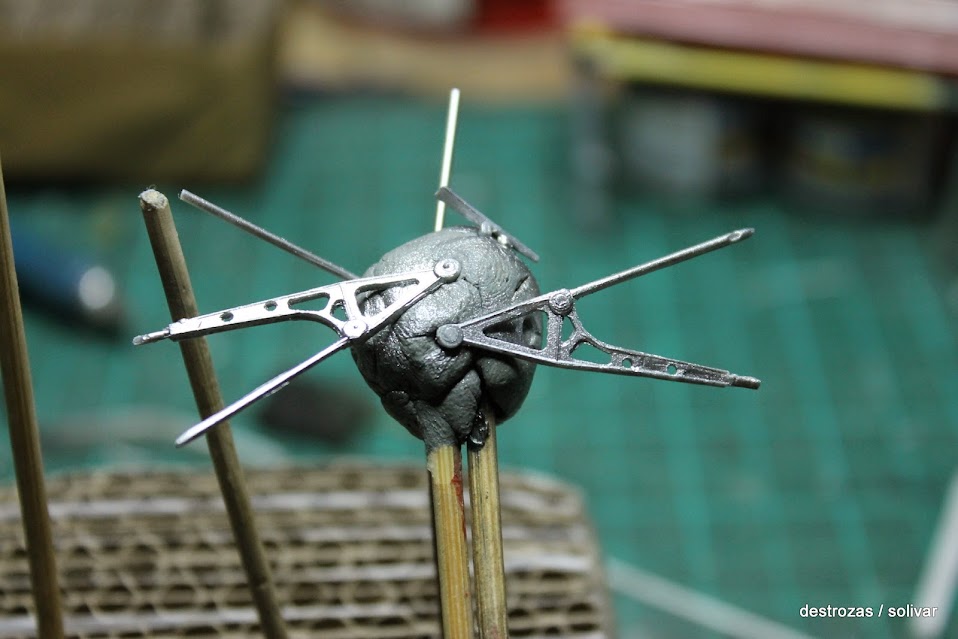
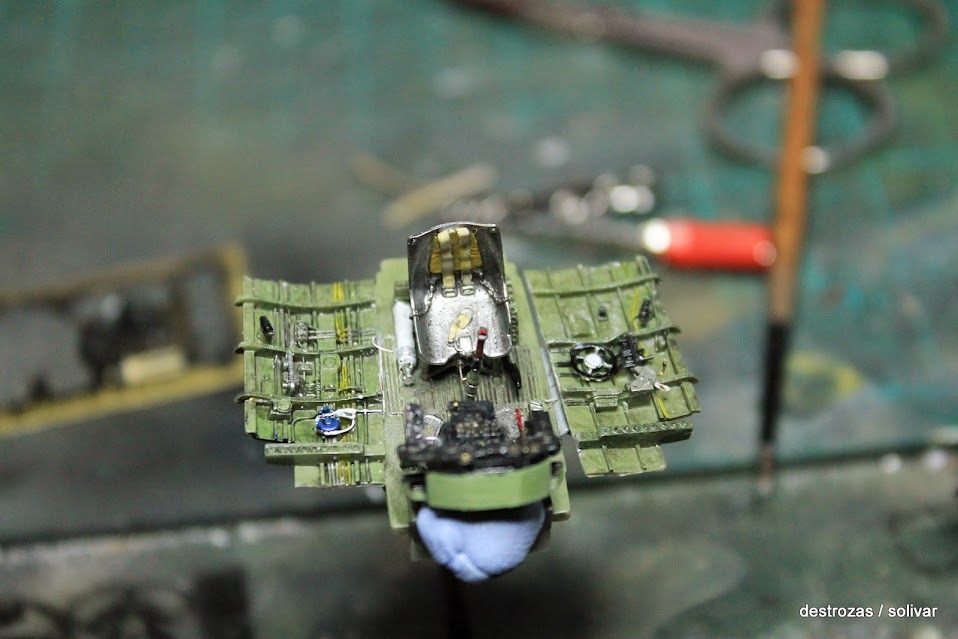
thanks you. finishing engine  breda machine guns the capo the delete and make some new tubes  and finished before entering cabin within the fuselage    control column is tilted because no fence in that position but the detail of the seat looked better after the photos went to his position. |
|
|
|
Post by deafpanzer on Jan 28, 2015 13:05:26 GMT -5
WOW! I am blown away by your work on the interior! Keep it coming...
|
|
|
|
Post by wbill76 on Jan 28, 2015 13:27:49 GMT -5
Sharp work on that interior for sure Sergio. Dressing it up nicely!
|
|
|
|
Post by wing_nut on Feb 5, 2015 10:51:52 GMT -5
Very nice detailing Sergio. I did a 205 some years back and used Mike Grant's smoke ring decals since I knew then,(and sadly more so now) I don't have the hands steady enough to do that with an airbrush.  .JPG) |
|
|
|
Post by deafpanzer on Feb 5, 2015 15:23:11 GMT -5
It looks great... sometimes the alternative option is best.
|
|
destrozas.
Full Member
  
Member since: August 2012
Posts: 240
Aug 28, 2012 8:30:14 GMT -5
Aug 28, 2012 8:30:14 GMT -5
|
Post by destrozas. on Feb 6, 2015 11:15:27 GMT -5
thanks mate is think your work is one of the examples I've seen online to support my assembly.
|
|
|
|
Post by deafpanzer on Feb 6, 2015 12:31:56 GMT -5
Glad it helped... hope to see more of your work here!
|
|
destrozas.
Full Member
  
Member since: August 2012
Posts: 240
Aug 28, 2012 8:30:14 GMT -5
Aug 28, 2012 8:30:14 GMT -5
|
Post by destrozas. on Feb 11, 2015 5:33:00 GMT -5
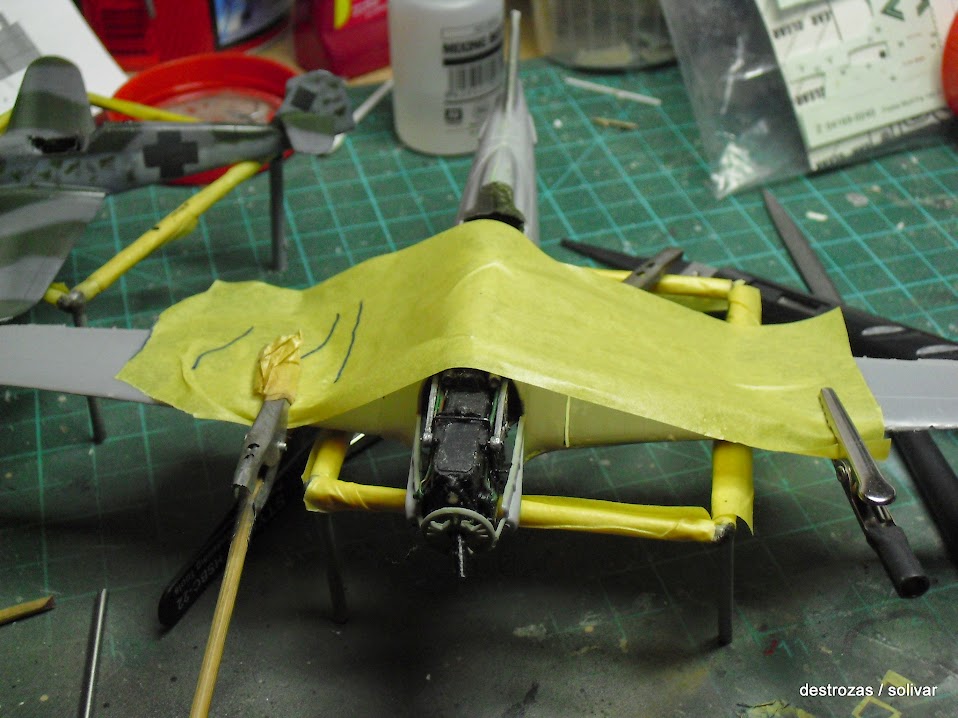
Glad it helped... hope to see more of your work here! I delay long a little in advance because I put this out problems joints parts of the fuselage and wings I have to go to work the plastic to continue with it |
|
destrozas.
Full Member
  
Member since: August 2012
Posts: 240
Aug 28, 2012 8:30:14 GMT -5
Aug 28, 2012 8:30:14 GMT -5
|
Post by destrozas. on Feb 21, 2015 10:01:01 GMT -5
|
|
|
|
Post by TRM on Feb 21, 2015 10:25:37 GMT -5
WOW Sergio, those are some big gaps to deal with. Wish you good luck in getting things filled up soon!
|
|
destrozas.
Full Member
  
Member since: August 2012
Posts: 240
Aug 28, 2012 8:30:14 GMT -5
Aug 28, 2012 8:30:14 GMT -5
|
Post by destrozas. on Feb 24, 2015 5:04:02 GMT -5
thanks TRM good with a little patience and after placing the wings in position and plug the holes left caulking the plane   |
|
Wes
Full Member
  
Member since: November 2011
Posts: 686
Nov 16, 2011 9:34:50 GMT -5
Nov 16, 2011 9:34:50 GMT -5
|
Post by Wes on Feb 24, 2015 5:30:35 GMT -5
Thats some serious corrective surgery going on there.
I would have given up and binned the thing long ago.
|
|
|
|
Post by wing_nut on Feb 24, 2015 7:53:04 GMT -5
That's some job you have ahead of you. Good for you taking it on. Looking forward to see you whip this into shape.
|
|
destrozas.
Full Member
  
Member since: August 2012
Posts: 240
Aug 28, 2012 8:30:14 GMT -5
Aug 28, 2012 8:30:14 GMT -5
|
Post by destrozas. on Mar 30, 2015 6:18:25 GMT -5
|
|
|
|
Post by TRM on Mar 30, 2015 6:29:38 GMT -5
Well done so far Sergio! Nice job on the camo!! Keep up the good work over there!!  |
|
|
|
Post by deafpanzer on Mar 30, 2015 12:21:23 GMT -5
Fantastic camo work!
|
|
|
|
Post by wbill76 on Mar 30, 2015 15:07:16 GMT -5
Looking good Sergio! Especially considering all the fit issues this one gave you.
|
|
|
|
Post by Leon on Mar 30, 2015 15:42:40 GMT -5
WOW!!!! Your really whipping this into shape Sergio  .Nice work on the fill in and camo.  |
|