BezoulaBuilds
Full Member
  
Member since: July 2013
Posts: 136 
|
Post by BezoulaBuilds on Apr 10, 2015 15:29:41 GMT -5
I have had this kit in my stash for a few years and I have decided begin this build. The Tiffy is one of my favorite WWII Allied aircraft. I am fully aware of all the challenges of this kit and my hopes are to address each one with positive results with little use of colorful metaphors. Not sure which scheme. However, be assured there will be some black and white stripes. About this kit. At first glance everything looks fine. Some of the panel lines are weak and will need some attention. Several warping issues will need to be tended to, especially along the wing root. By all means this is a well manufactured kit and will build into a very nice bird. Not taking anything away from MDC. Bob at MDC has been quick to respond to my questions and part replacements. 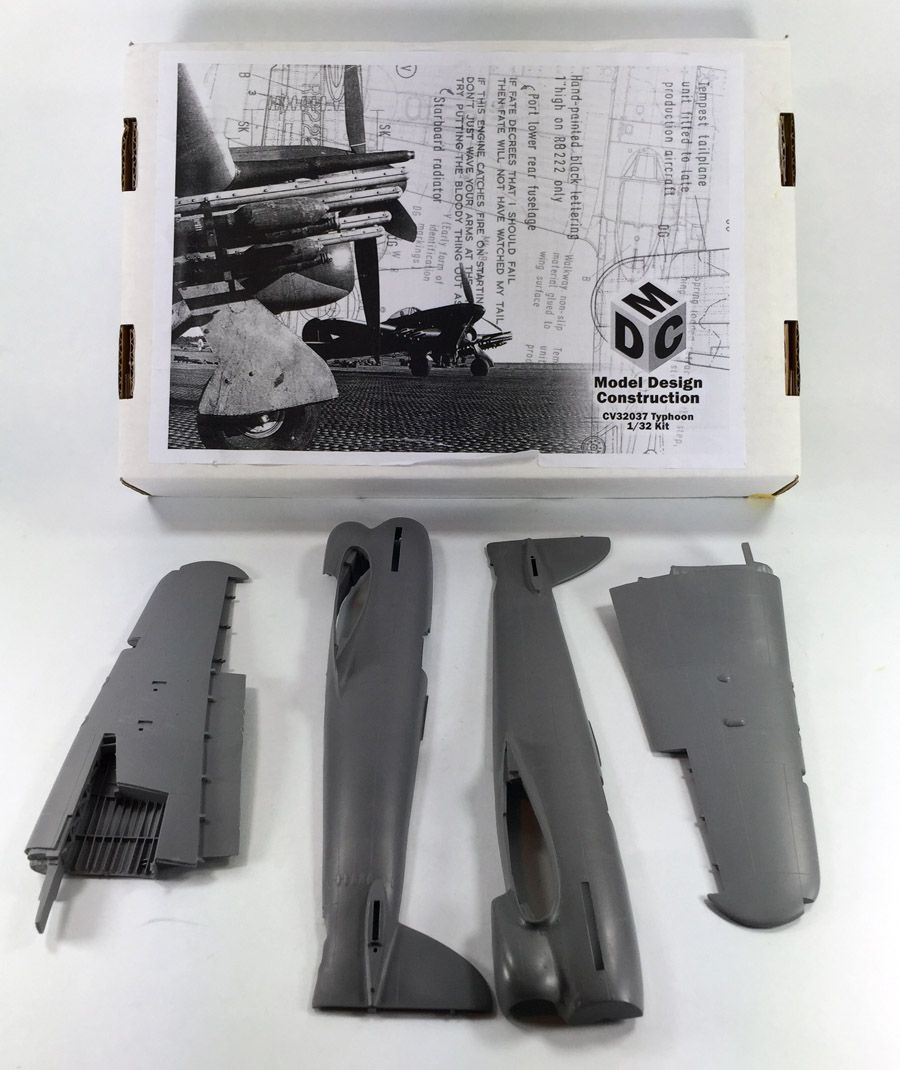 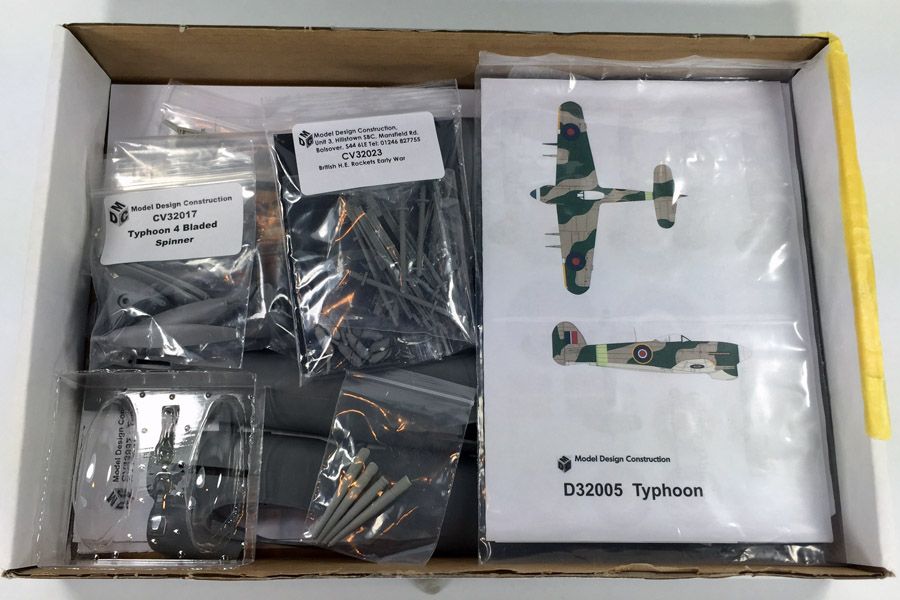 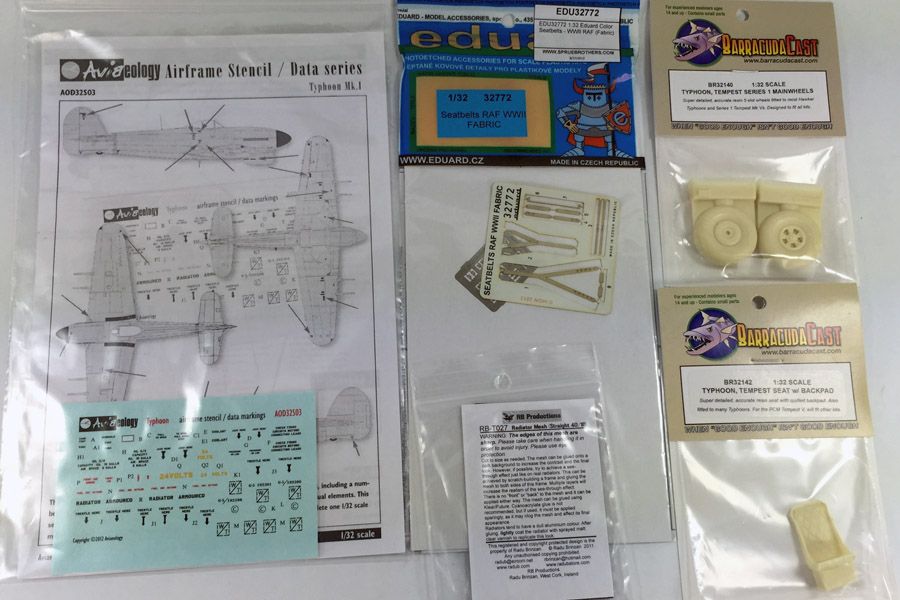 Aftermarket items include: Aviaeology Typhoon stencils Eduard fabric RAF Seatbelts RB Productions Radiator Mesh (for screen in front of radiator) BarracudaCast Main wheels BarracudaCast Typhoon, Tempest Seat Paul Fisher Sea Fury Canopy The cockpit detail is spartan so I will use Valiant Wings' "Airframe & Miniature No.2 The Hawker Typhoon" for reference. This book is full of details which will certainly come in handy during this build. 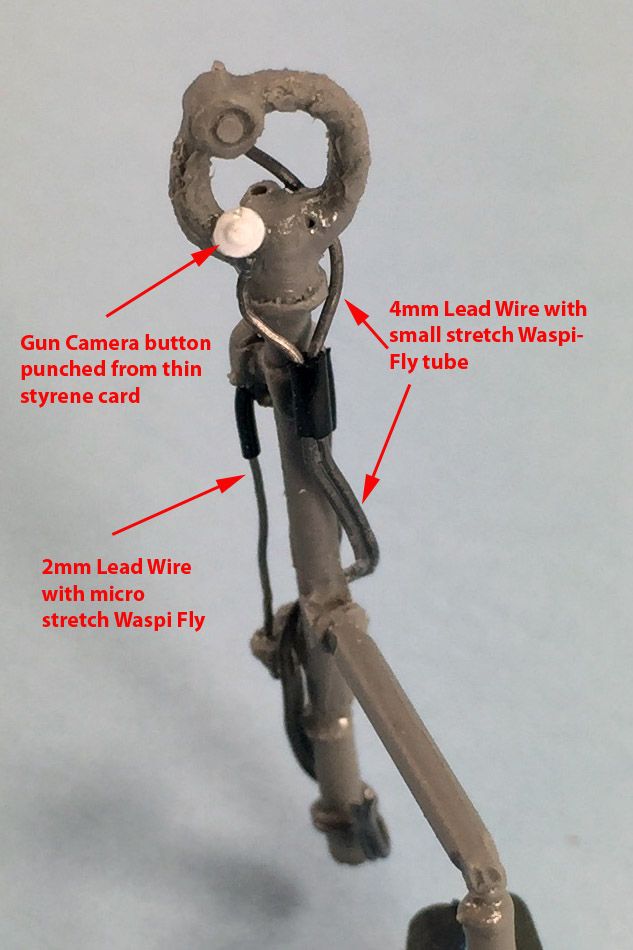 The control stick got some attention with lead wire, Waspi Fly stretch tubing and styrene card. 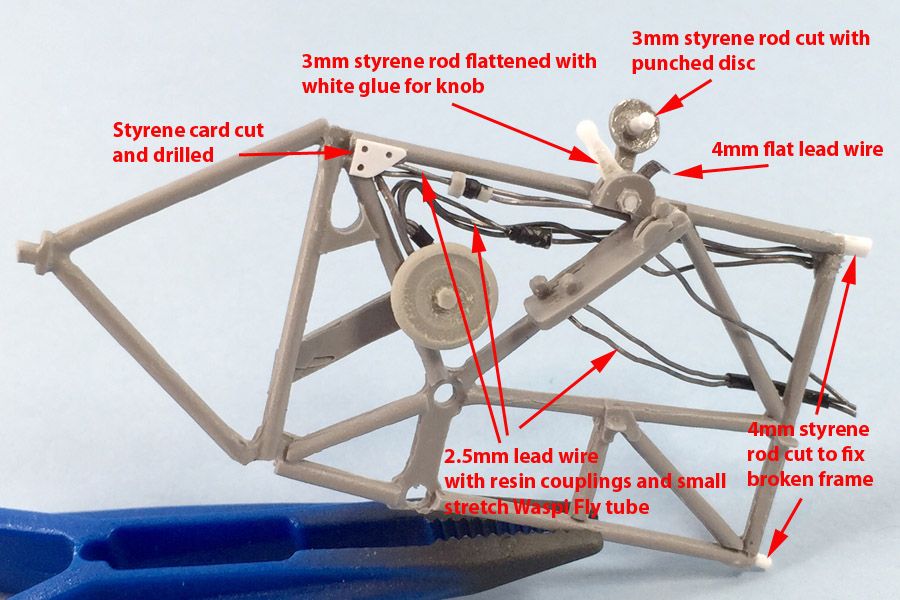 The port side of the cockpit tube frame got some lead wire, stretch tubing and styrene enhancement. 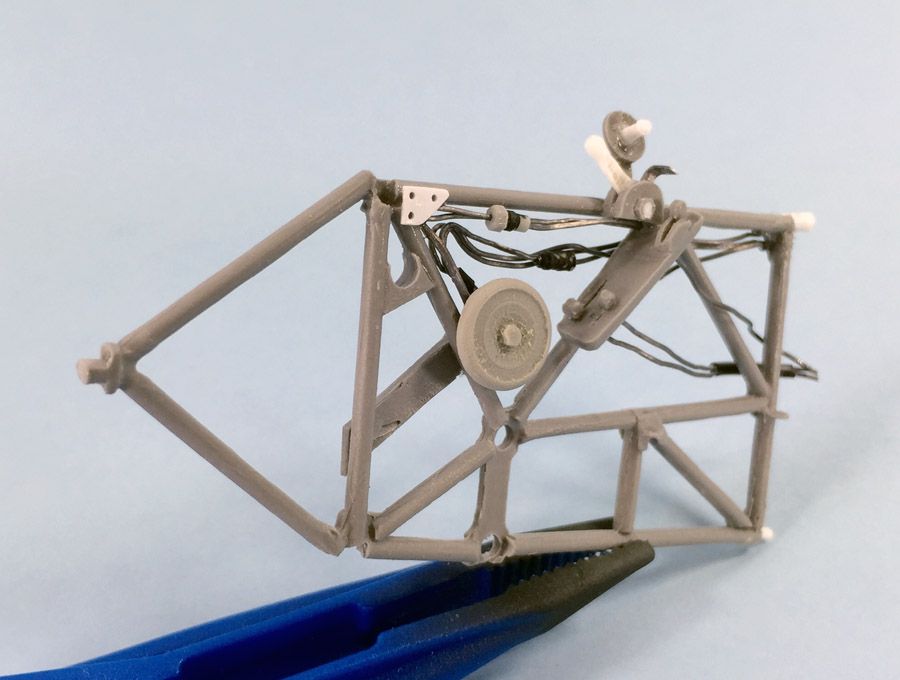 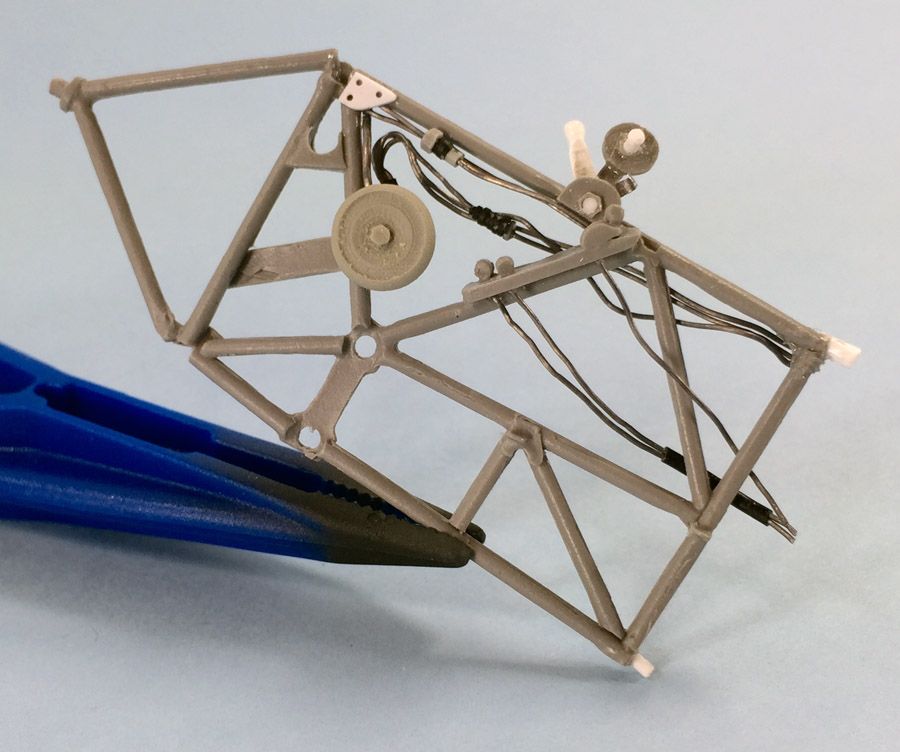 To date this effort to detail the cockpit is truly time consuming. Slick Chick and Mistel 2 FW190 are somewhat angry at me and may shove some karma my way at a later date. ![]() ![]() |
|
|
|
Post by TRM on Apr 10, 2015 17:23:35 GMT -5
Nothing wrong with pulling another big bird out of the closet Rick!! Fine choice too!! You are making some decent progress...keep it coming!!
|
|
|
|
Post by Leon on Apr 10, 2015 17:41:07 GMT -5
Nice work on the control stick and frame Rick!
|
|
Rick
Full Member
  
Member since: March 2013
what to build, what to build . . . Ok THAT one!
Posts: 854 
|
Post by Rick on Apr 10, 2015 21:38:36 GMT -5
Hope you guys are not confusing Ricks here. Correct me if I'm wrong, not sure if Mr. Bezoulabuilds first name is Rick. I'm on the sidelines for this one just trying to get some mojo back after building my Tiffy.
Rick
|
|
Rick
Full Member
  
Member since: March 2013
what to build, what to build . . . Ok THAT one!
Posts: 854 
|
Post by Rick on Apr 10, 2015 21:46:33 GMT -5
By the way, mighty fine start to this one. With the after market goodies, you're off to a flying start.
Rick
|
|
|
|
Post by Tobi on Apr 11, 2015 8:12:02 GMT -5
I'm so excited! Recently I bought an old Revell 1/32 Typhoon on Ebay and your build will be one of my references for sure!
Bookmarked...
|
|
BezoulaBuilds
Full Member
  
Member since: July 2013
Posts: 136 
|
Post by BezoulaBuilds on Apr 11, 2015 12:14:43 GMT -5
Hope you guys are not confusing Ricks here. Correct me if I'm wrong, not sure if Mr. Bezoulabuilds first name is Rick. I'm on the sidelines for this one just trying to get some mojo back after building my Tiffy. Rick You be correct Rick, this is Rick. BTW your Tiffy will be a tough act to follow.  |
|
BezoulaBuilds
Full Member
  
Member since: July 2013
Posts: 136 
|
Post by BezoulaBuilds on Apr 11, 2015 12:33:17 GMT -5
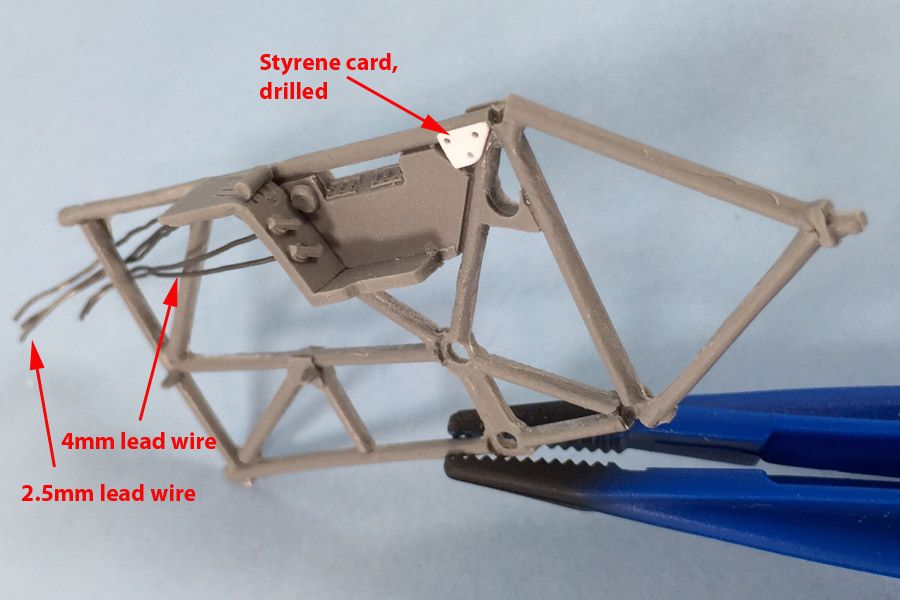 The starboard side of the cockpit tube frame got some lead wire, stretch tubing and styrene enhancement. 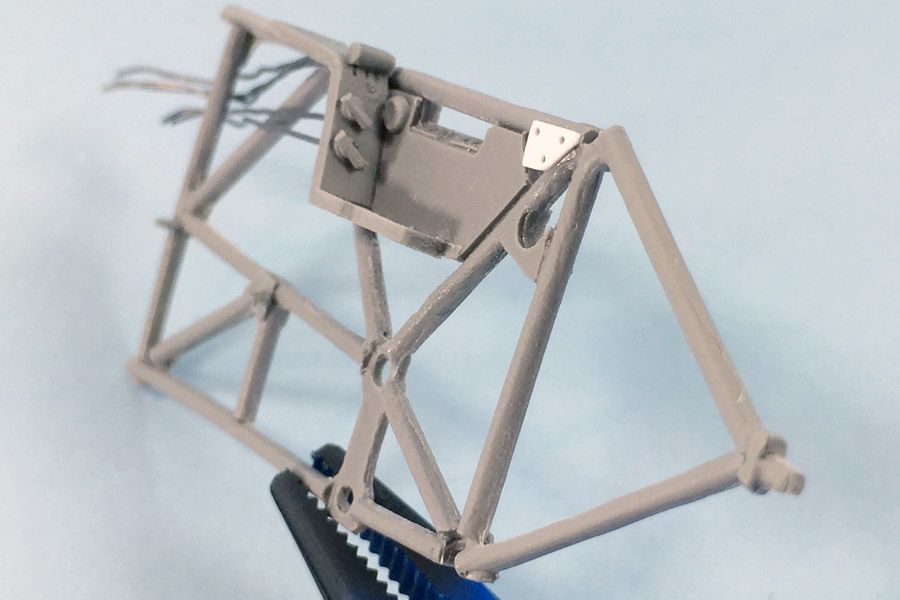 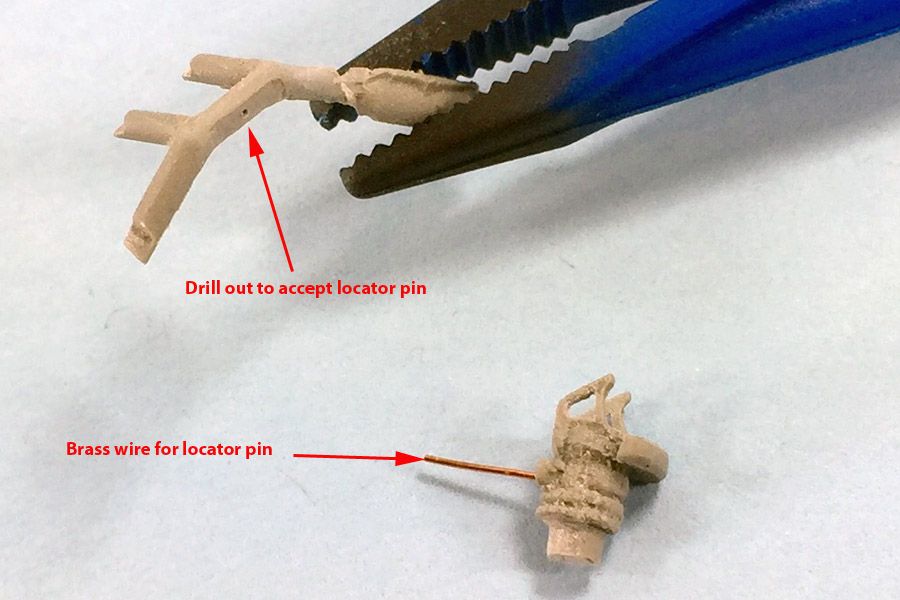 Gun sight is a lesson of model building by braille. Instructions are non existent. After some dry fitting I figured it out. This will be a common practice with this build. Added a brass wire for a locator pin. The casting on the Barr & Stroud gunsight is very rough. I am waiting for a replacement. Meanwhile I'll move on. 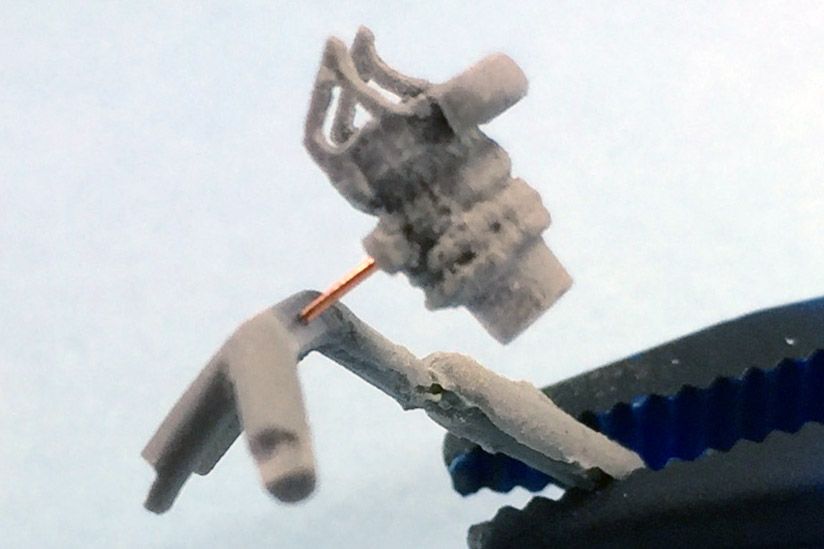 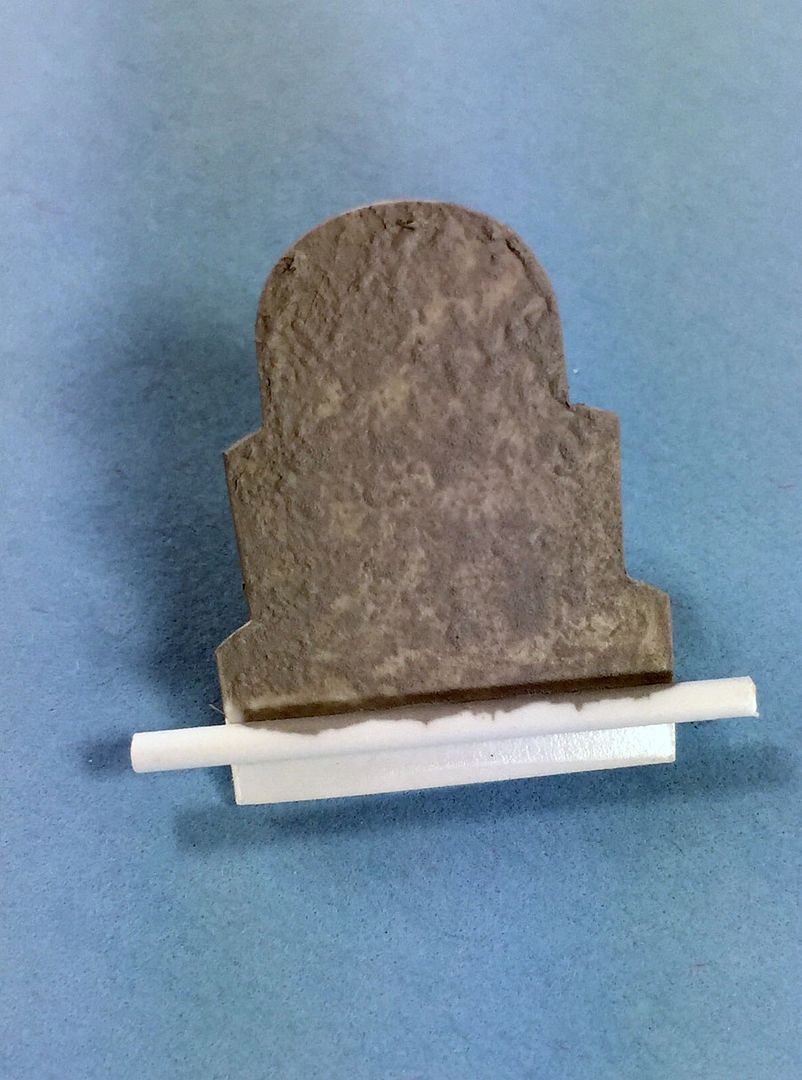 Seat armor plate was so warped I decided to cut out of styrene card and add some Mr. Surfacer for texture. 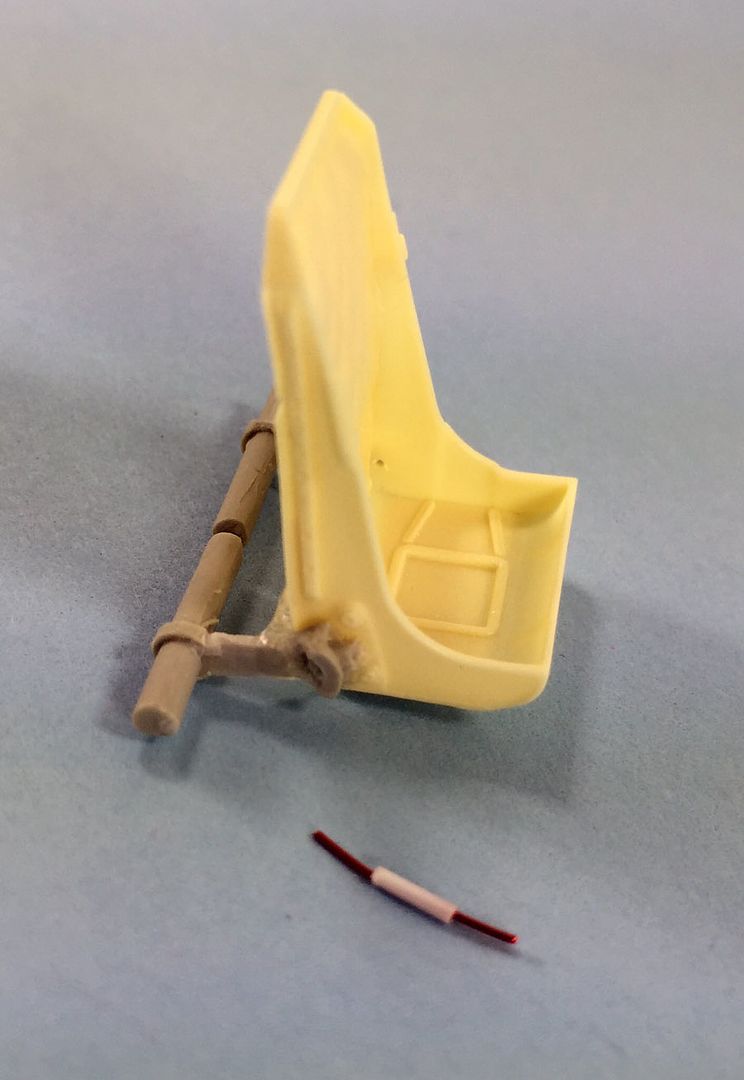 Seat is Barracudas offering with original mounting frame, oxygen parts grafted in. 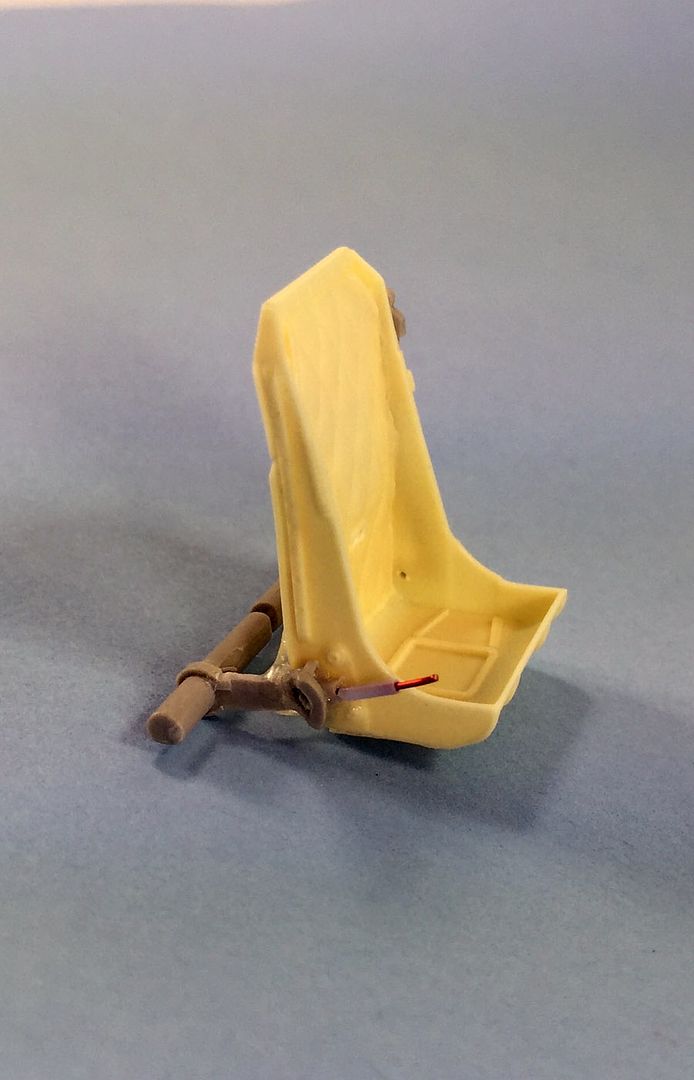 Hand seat adjustor or brake? Original replaced with styrene rod and brass wire. 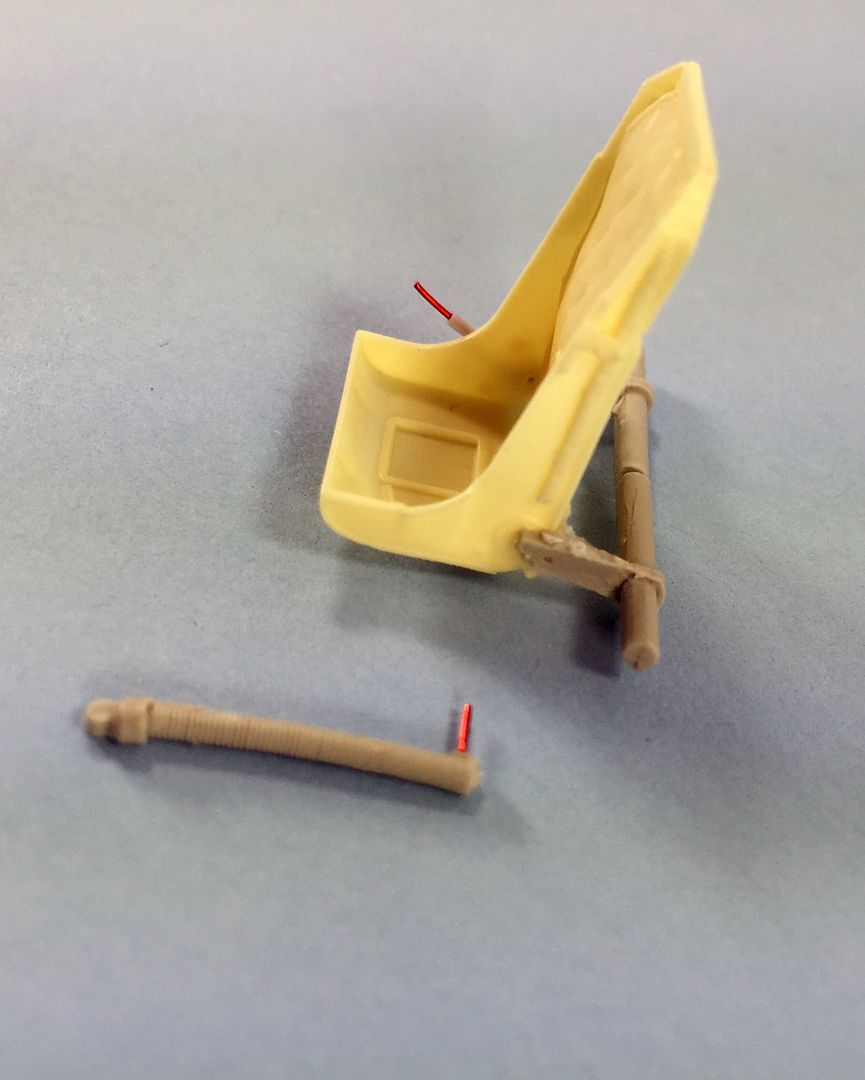 Port side is oxygen hose removed from original seat. Brass wire locating pin added. 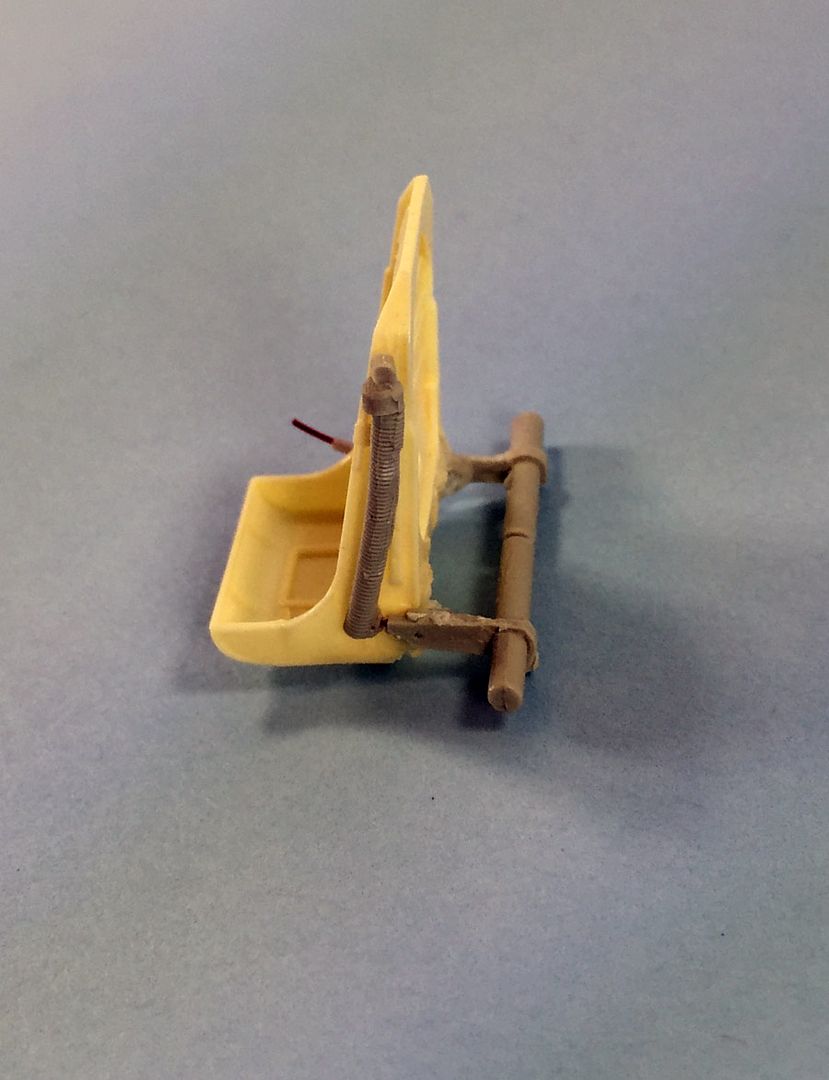 Dry fit is ok. 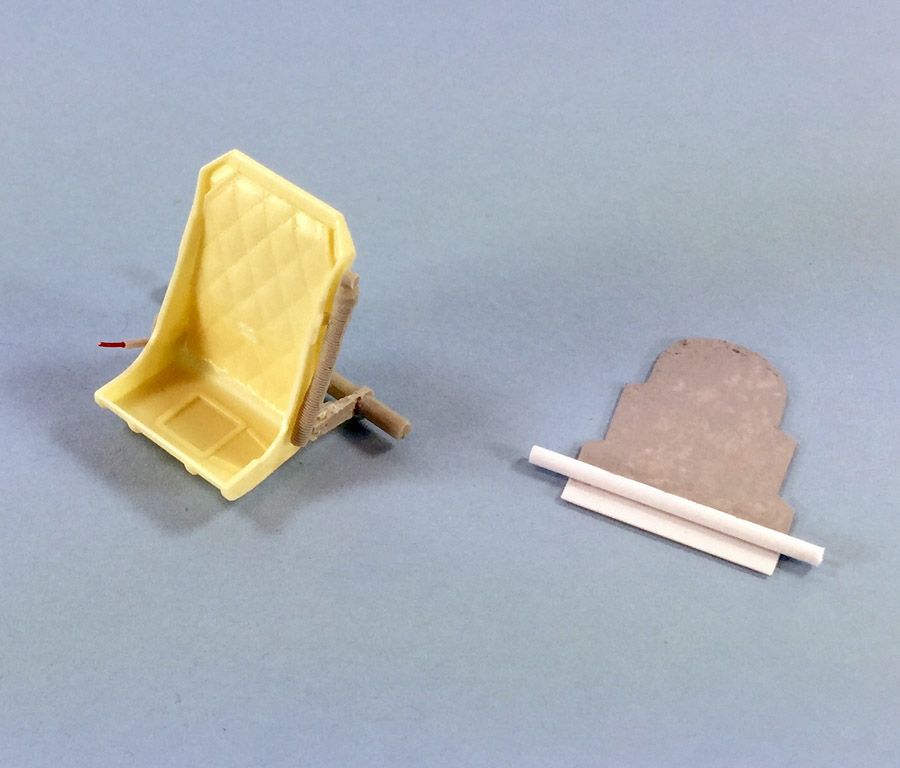 Seat and armor ready for painting. That's a wrap for now. |
|
Rick
Full Member
  
Member since: March 2013
what to build, what to build . . . Ok THAT one!
Posts: 854 
|
Post by Rick on Apr 11, 2015 21:34:05 GMT -5
Whew. Thanks for clearing me up Rick. I get confused easily. I haven't seen this kit built before. The added details you are adding are really going to make a difference.
Rick
|
|
venom1
Full Member
  
Member since: October 2012
Posts: 1,369
Oct 10, 2012 2:40:03 GMT -5
Oct 10, 2012 2:40:03 GMT -5
|
Post by venom1 on Apr 13, 2015 2:15:46 GMT -5
Looks like you have your work cut out for you here Rick, some of that casting looks pretty rough! Looking forward to seeing how this comes together.  Cheers, Sam  |
|