SdKfz 233 (Almost) OOB Build updated 8/5
Jul 16, 2015 13:45:36 GMT -5
TRM, deafpanzer, and 1 more like this
Post by BJ---Rest In Peace on Jul 16, 2015 13:45:36 GMT -5
I just couldn't help myself, I just had to start building the AFV Club 233.
On Initial opening of the box you are pretty loaded with parts, (See Sprue Shots post)
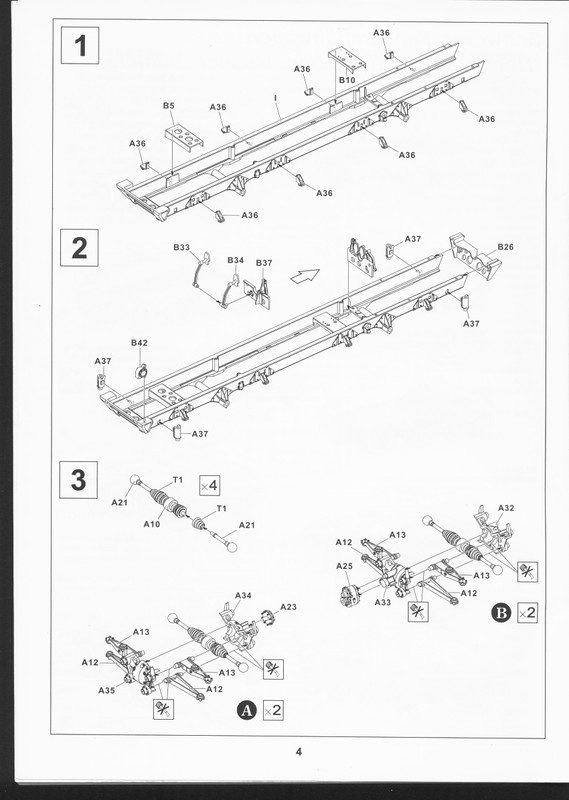
Starting to build. Step #1-2
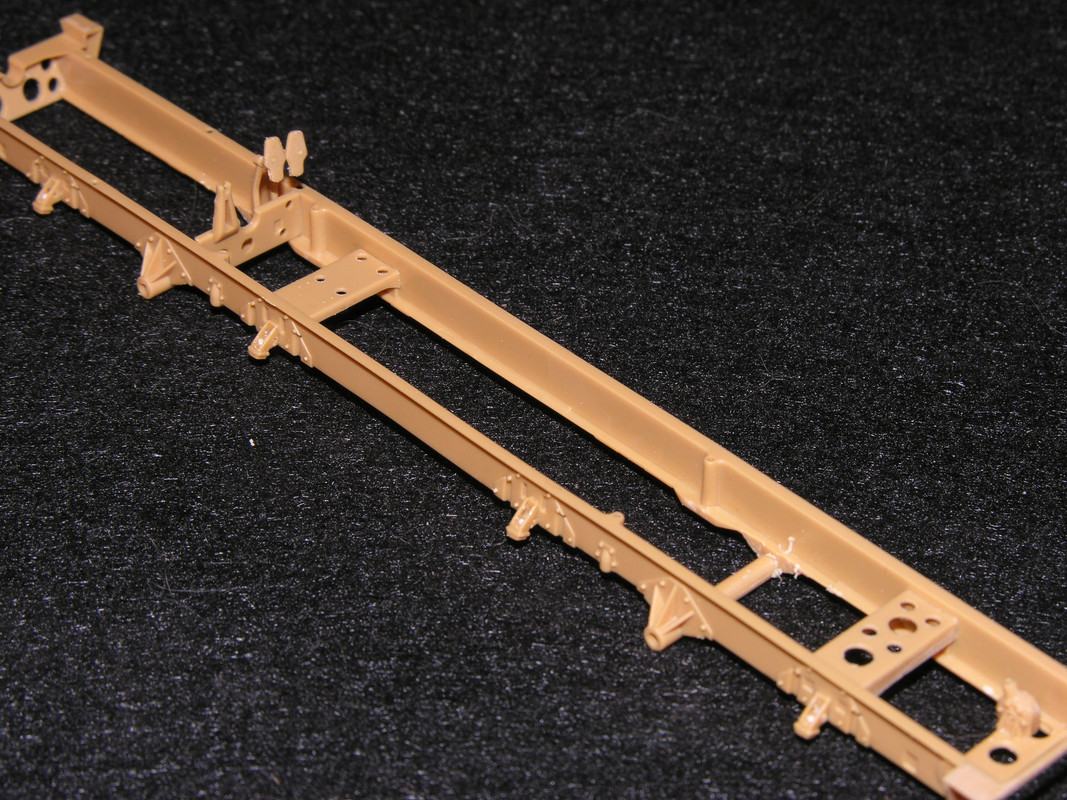
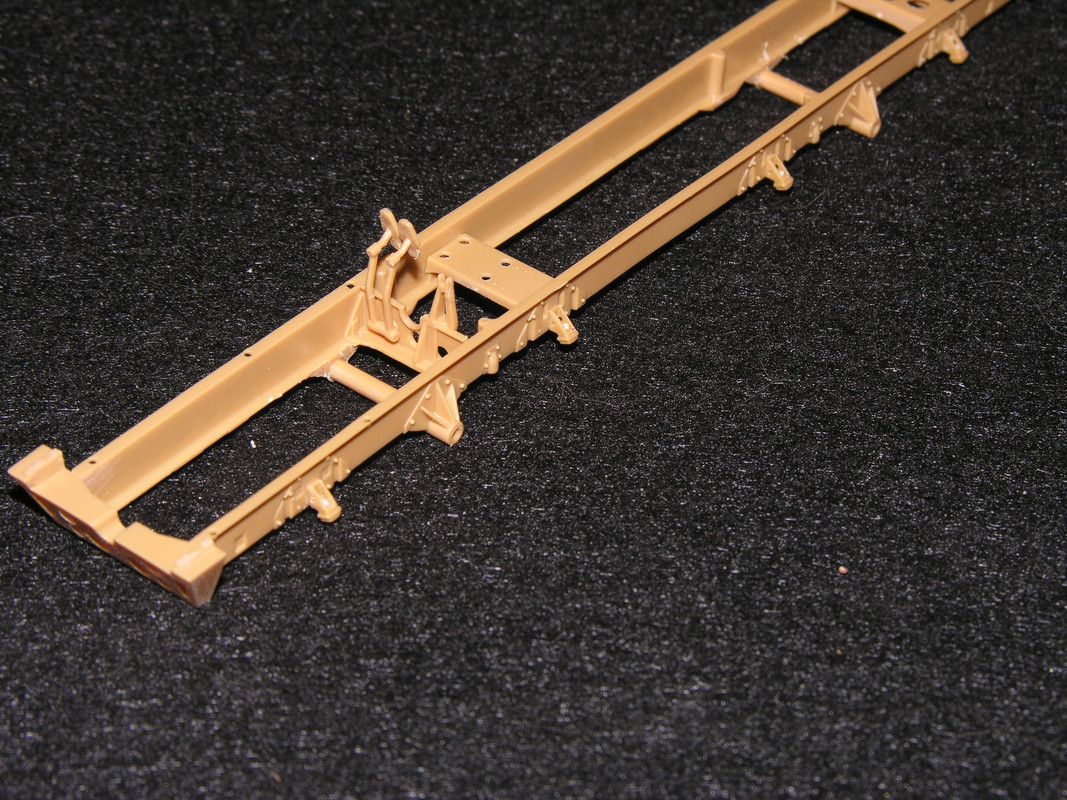
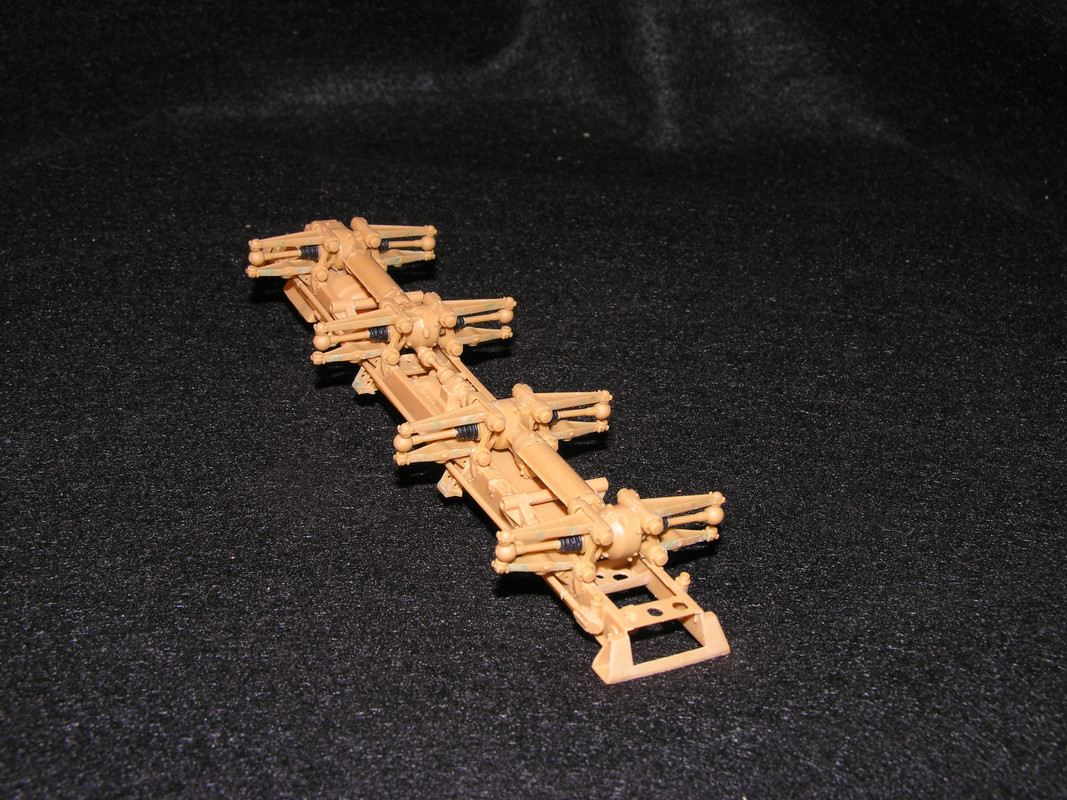
The frame is in it is own Blister pack to keep it from damage which is great as this is a very delicate/thinly molded part.
Very nice molding a little bit of flash and parting lines to clean up Mostly in all the lighting holes.
On Parts A-36 there should be a oval lighting/access hole and a Bolt inside for the Bumper attachment so I drilled and reamed it out with a .5mm drill and added the bolt head from .005 styrene.
I recommend not attaching parts B-33-34 until later on in the build as these are very delicate and you're almost guaranteed to break them off while building the rest of the frame. I tacked my on for the photo then took them off for later.
Step #3
The CV Boots have a little flash on the ends I found the easiest way to remove this was with a pair of Cuticle.Finger Nail Cutters or sharp Nippers.
If you're careful while glue this together the suspension will be fully articulated which is nice for all kinds of Diorama poses but will need to be fixed once the springs go on so plan ahead.
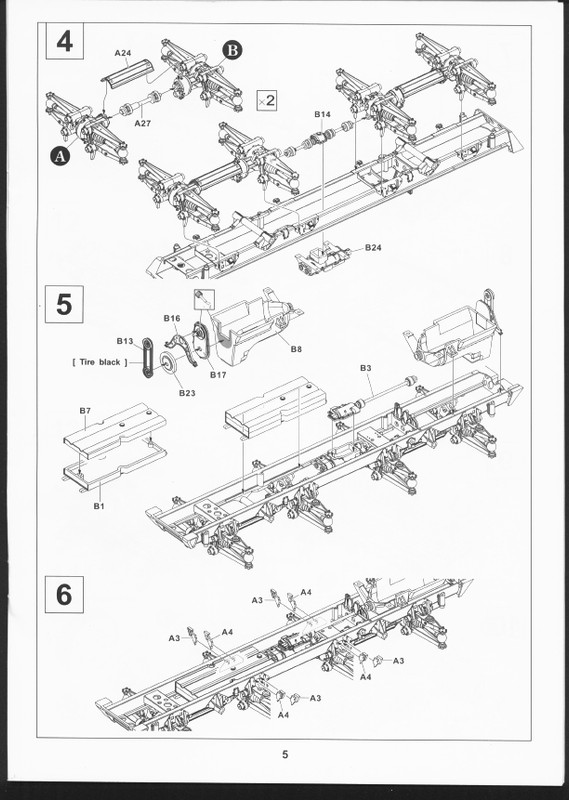
Step 5
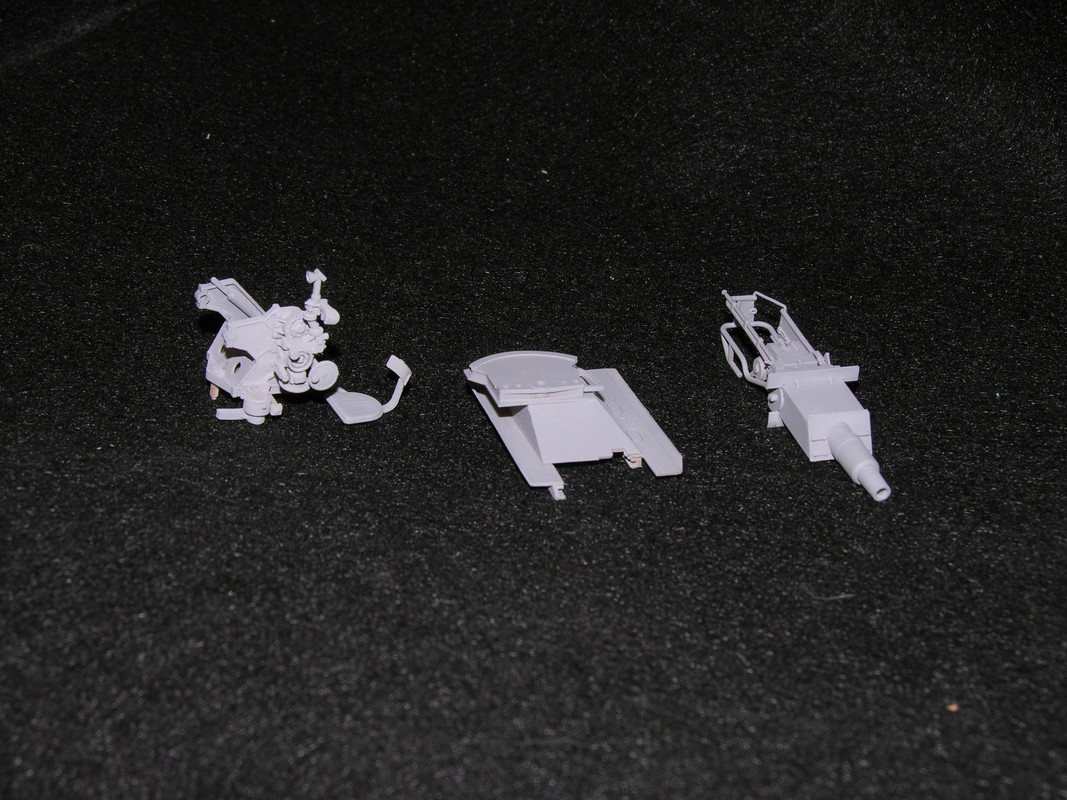
Was a little disappointed that they didn't at least include a basic engine to work from. It took all my strength to not scratch build a new engine. (Future project) But I told myself this was going to be almost OOB Build so I restrained myself and will just leave the engine hatches closed.
The fuel tank B-1/7 Will take a little sanding and filling to get rid of the seam but it is pretty well hidden. There should be some hanger bars/bolts on the tabs sticking out but once again this will be pretty well hid once the floor goes in. I will be drilling and adding them anyway once I get to the floor assembly.
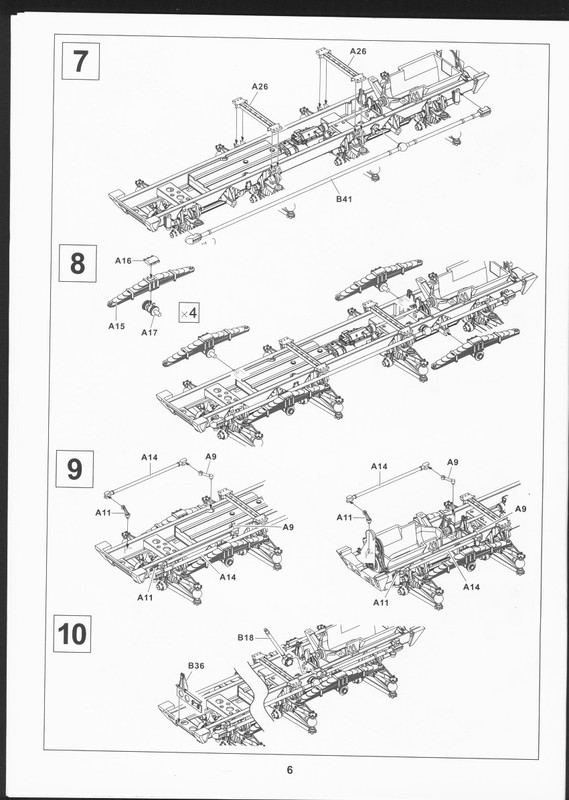
Step 6-7
Combine these steps as parts A-26/3/4 all need to line up together. I took a small break before putting on 26 and I had to loosen up parts 3&4 to get 26 to line up.
There were a few push pin scars on A-26 but they are on the top so won't be seen but I filled them anyway.
(This is where I went to bed. Will start Step 8 Tonight)
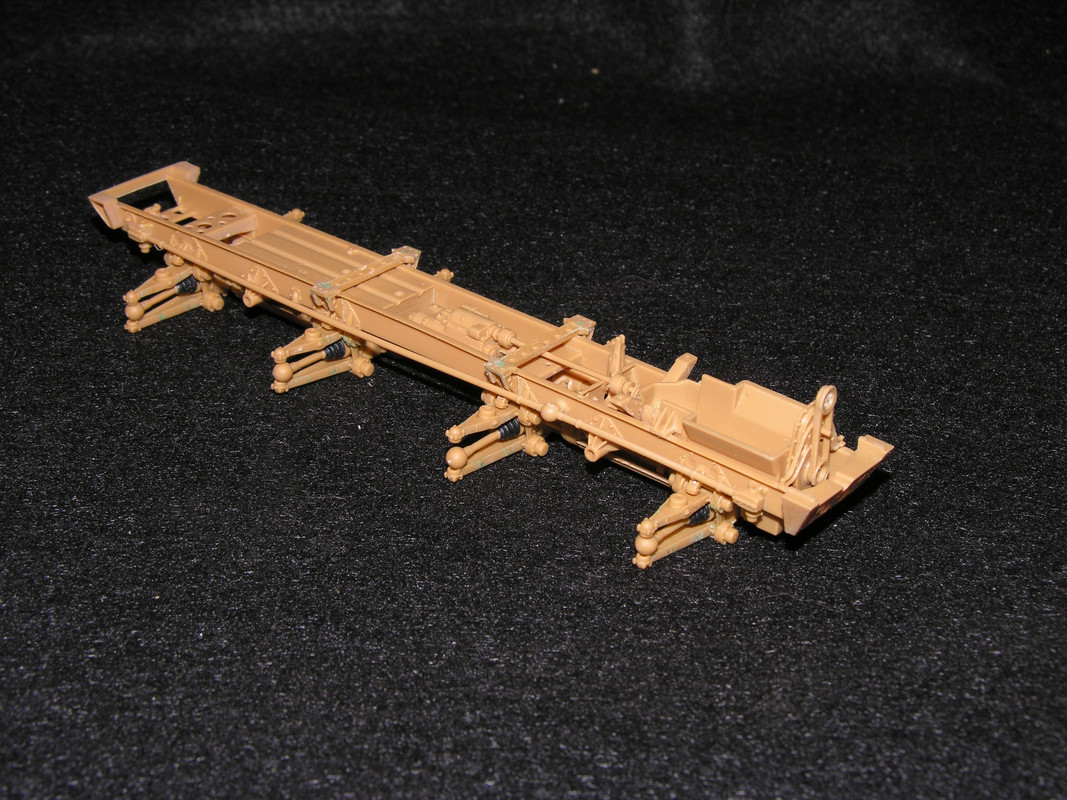
The fill marks on the suspension arms are the results of an Idiot and her snippers removing the parts from the tree, Cut them off back a little then trim the connection points to avoid scarring like I didn't do.
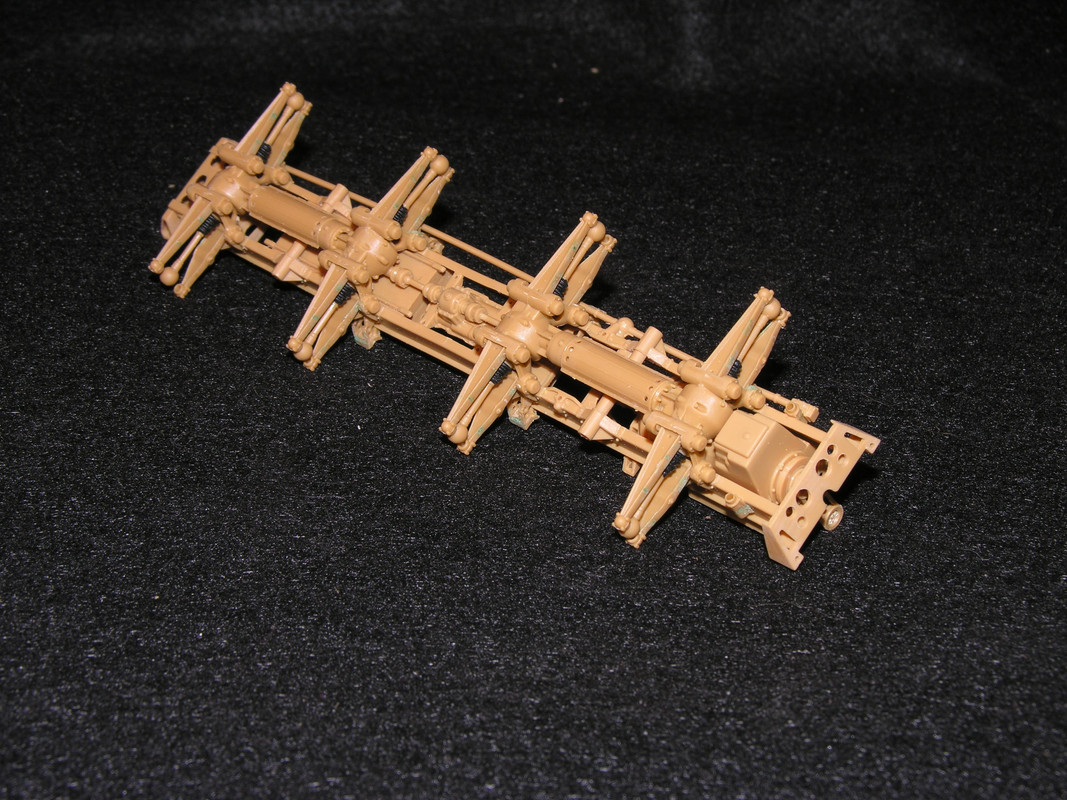
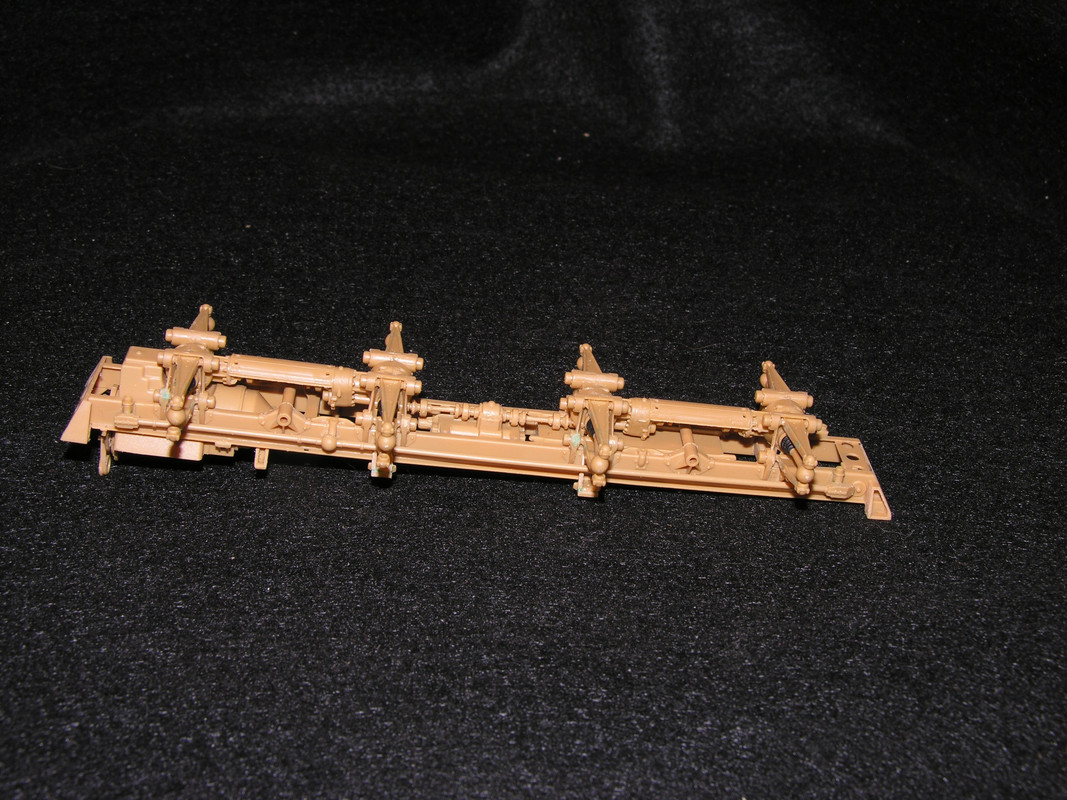
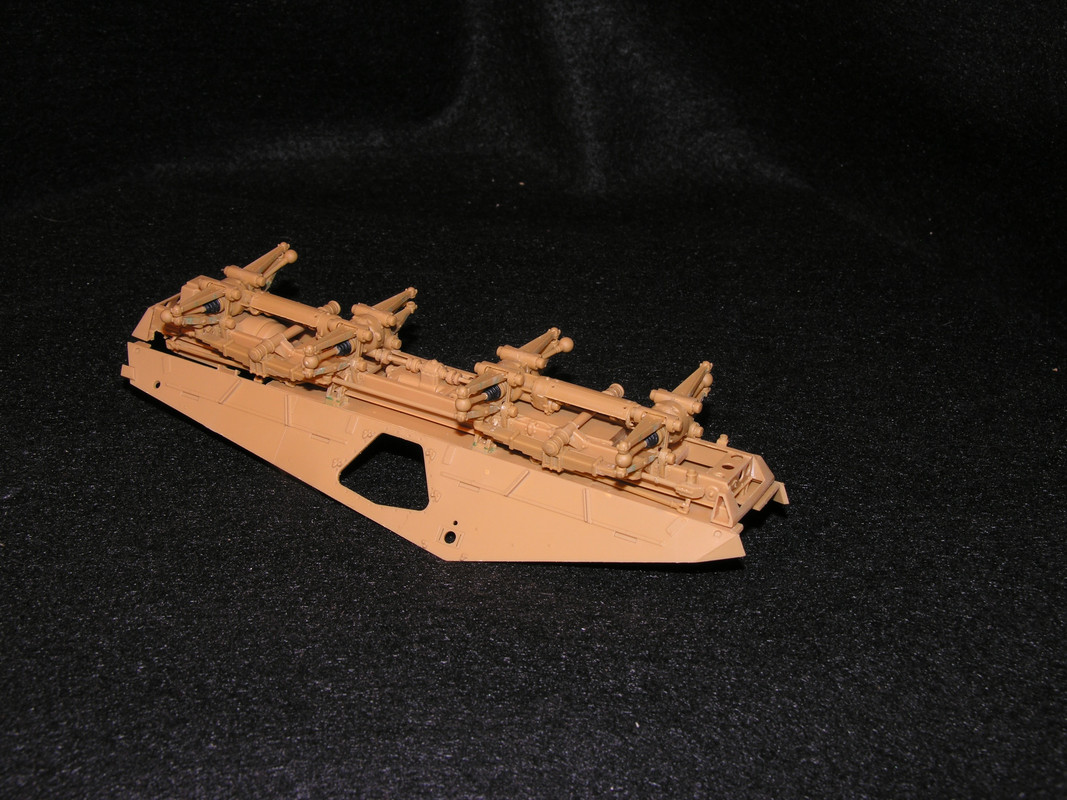
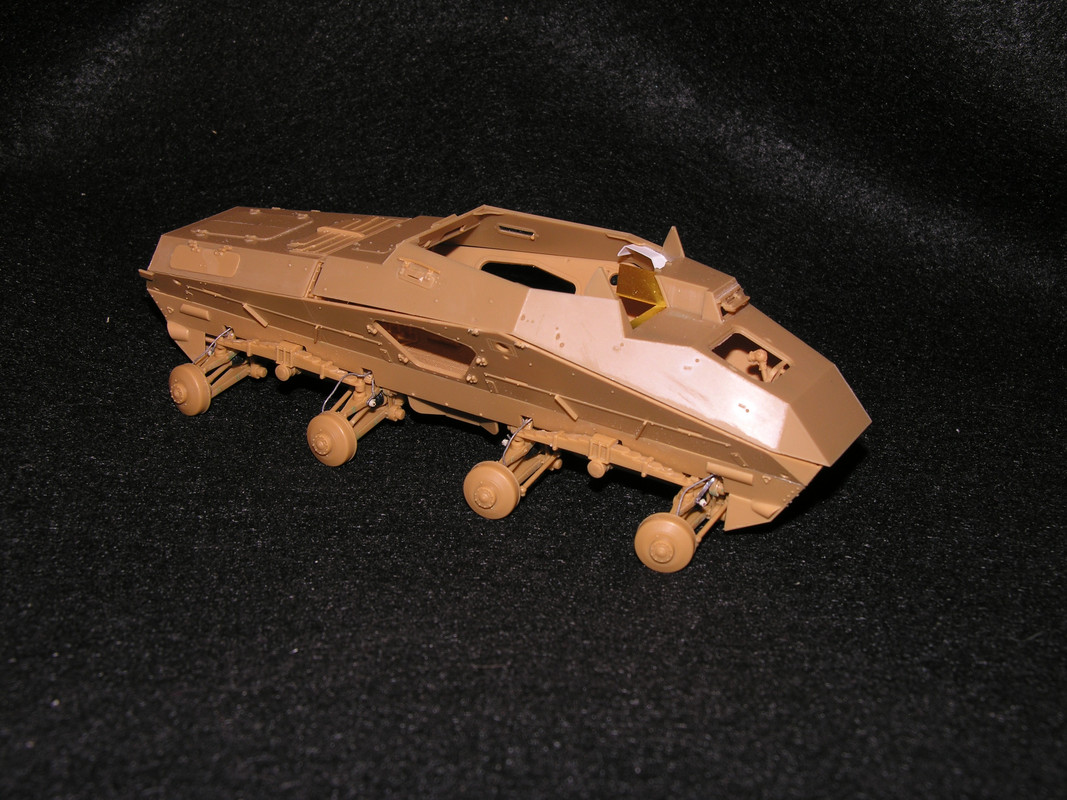
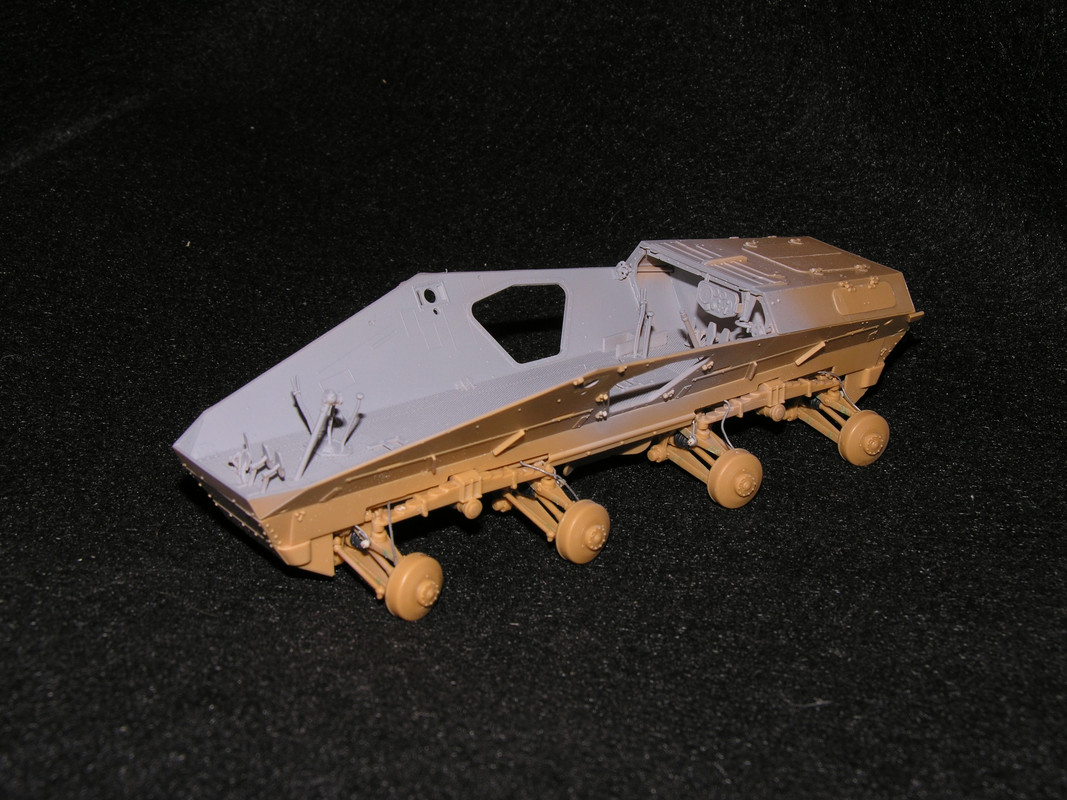
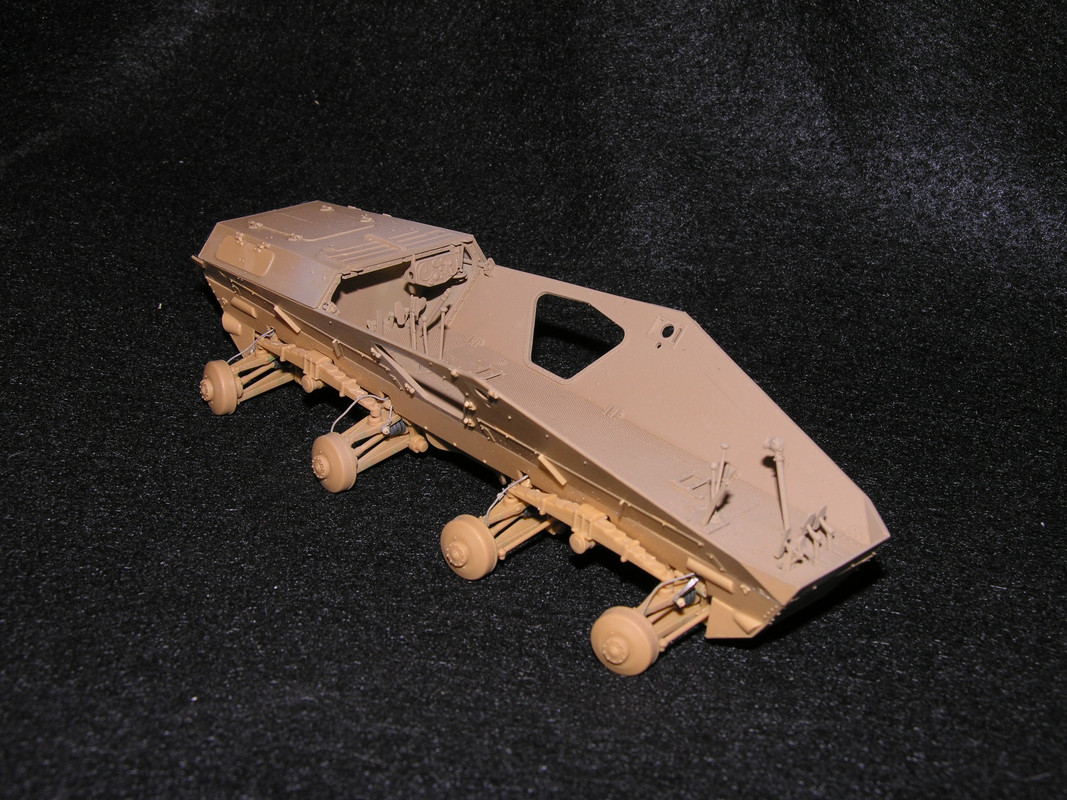
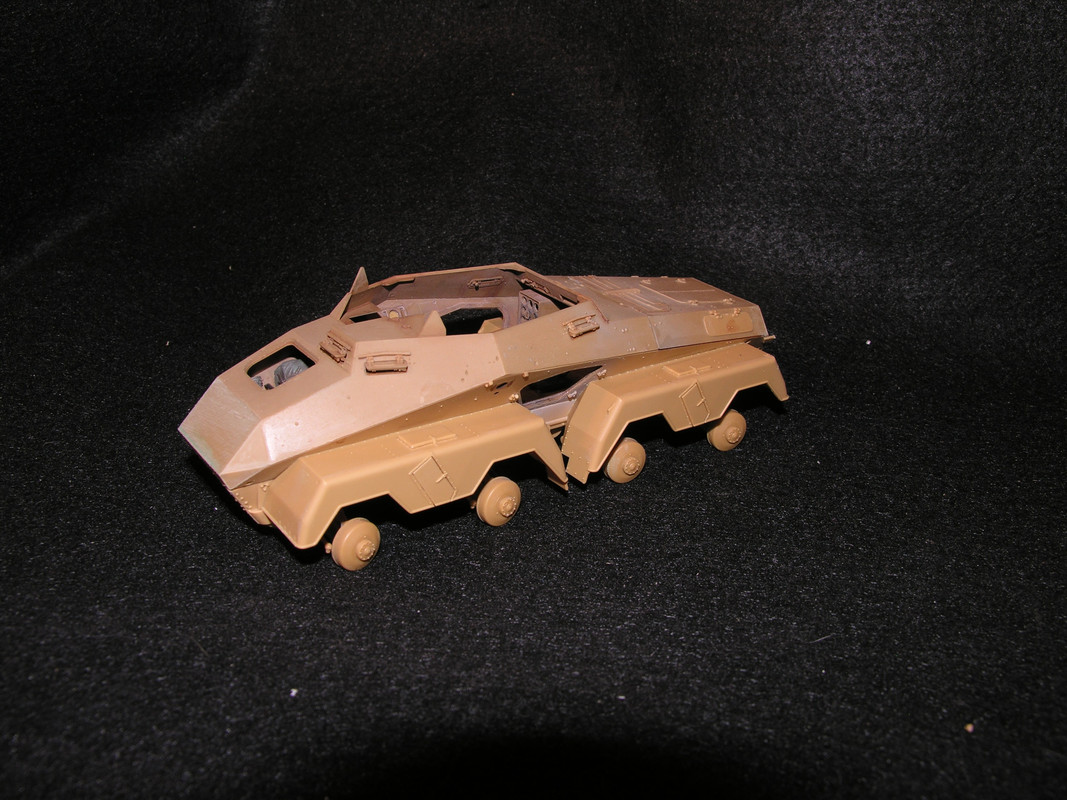
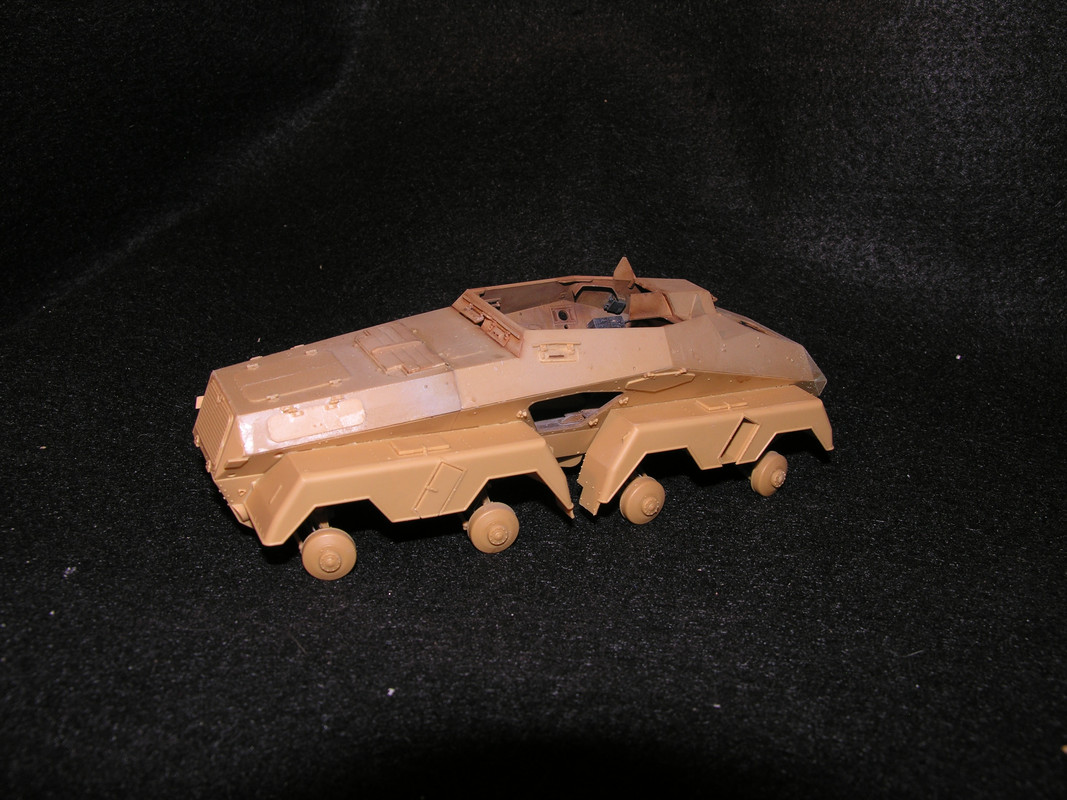
You can see the Gap on the end of body where it meets the frame. It ended up that my Frame is/was Bowed and if I pulled the body down to meet it would have thrown off all the body alignment. So I took the frame and ran it under hot water to try and remove the bow. Got it a little better but not perfect.
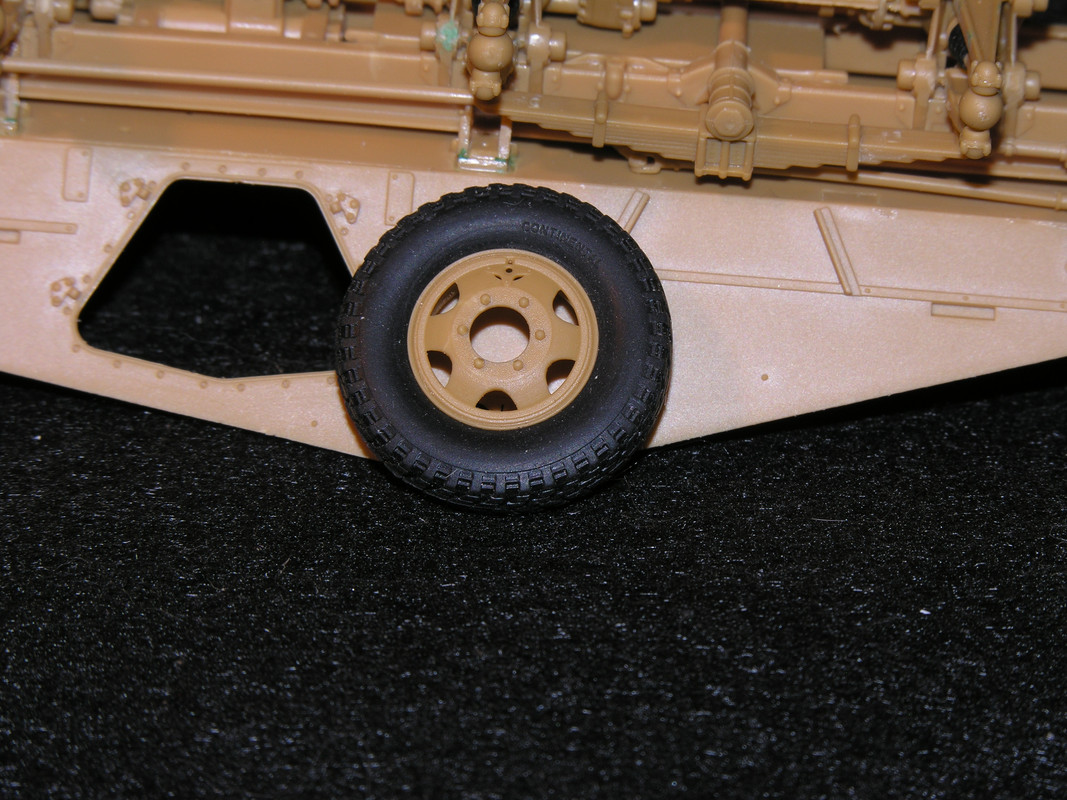
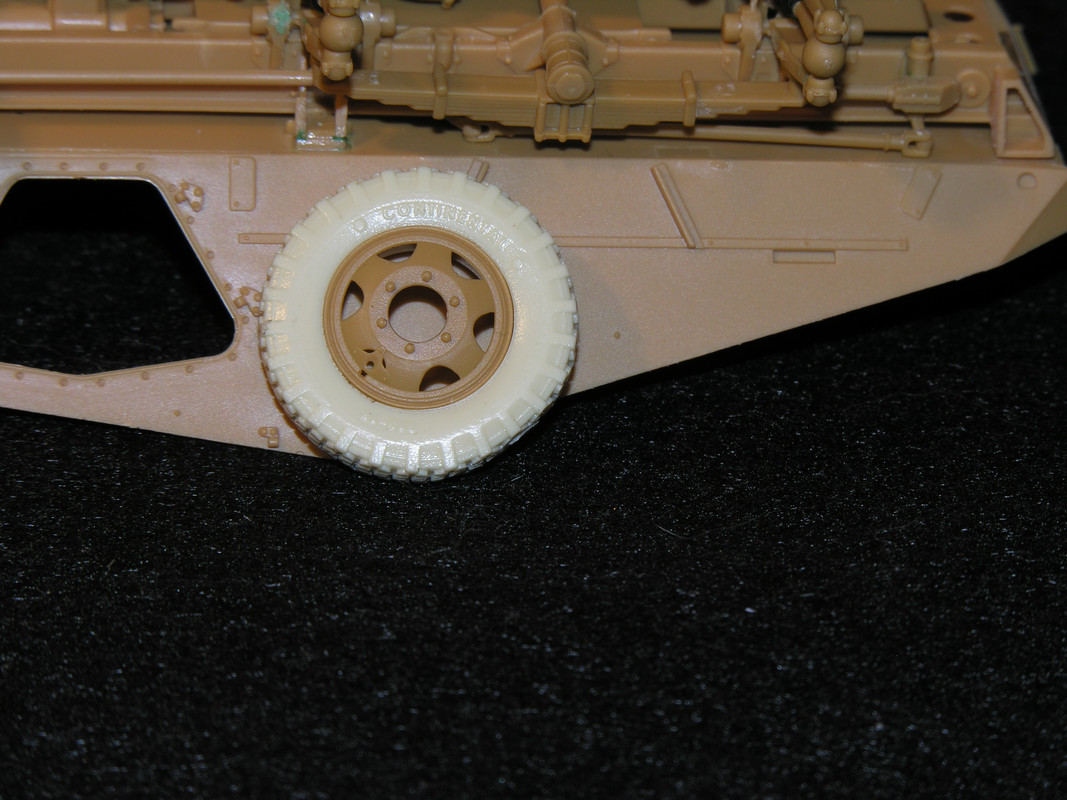
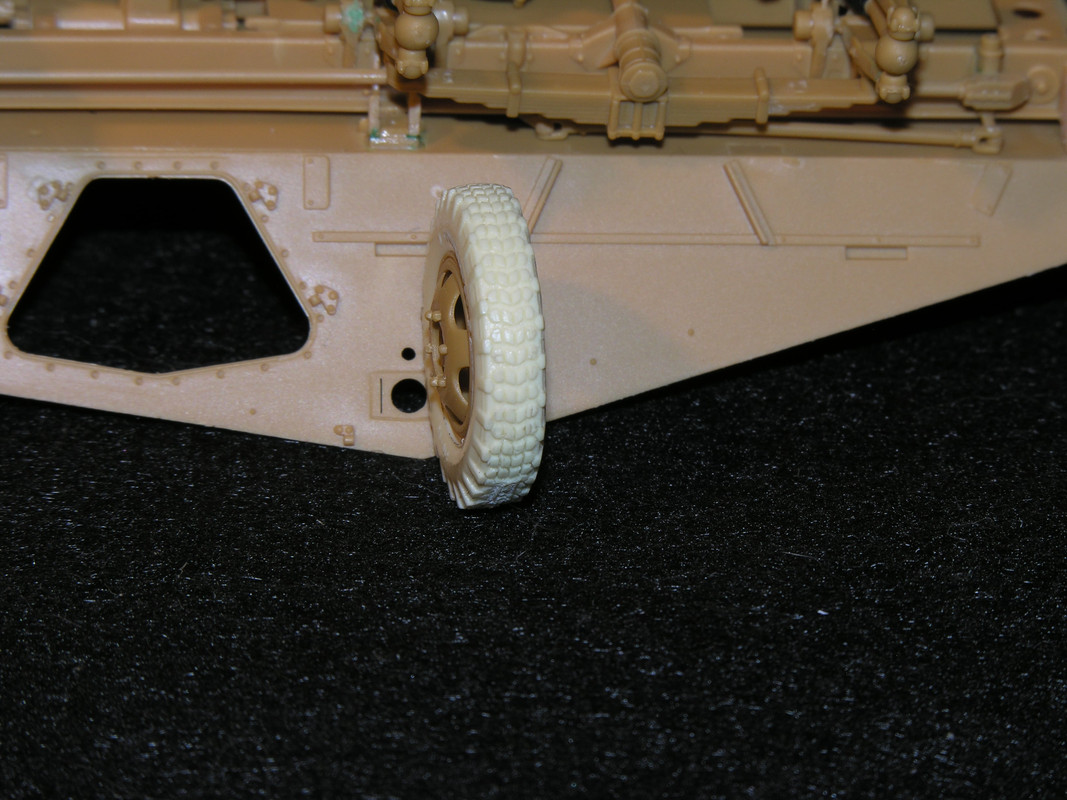
Nothing wrong with the tires, Just not a fan of rubber tires and wanted somthing a little different so I started off with the same size (18/210)Tire and Rim from DEF for the Sdkfz 222 and removed the cast in rim and turned/sanded off the flange on the AFV rim to fit.
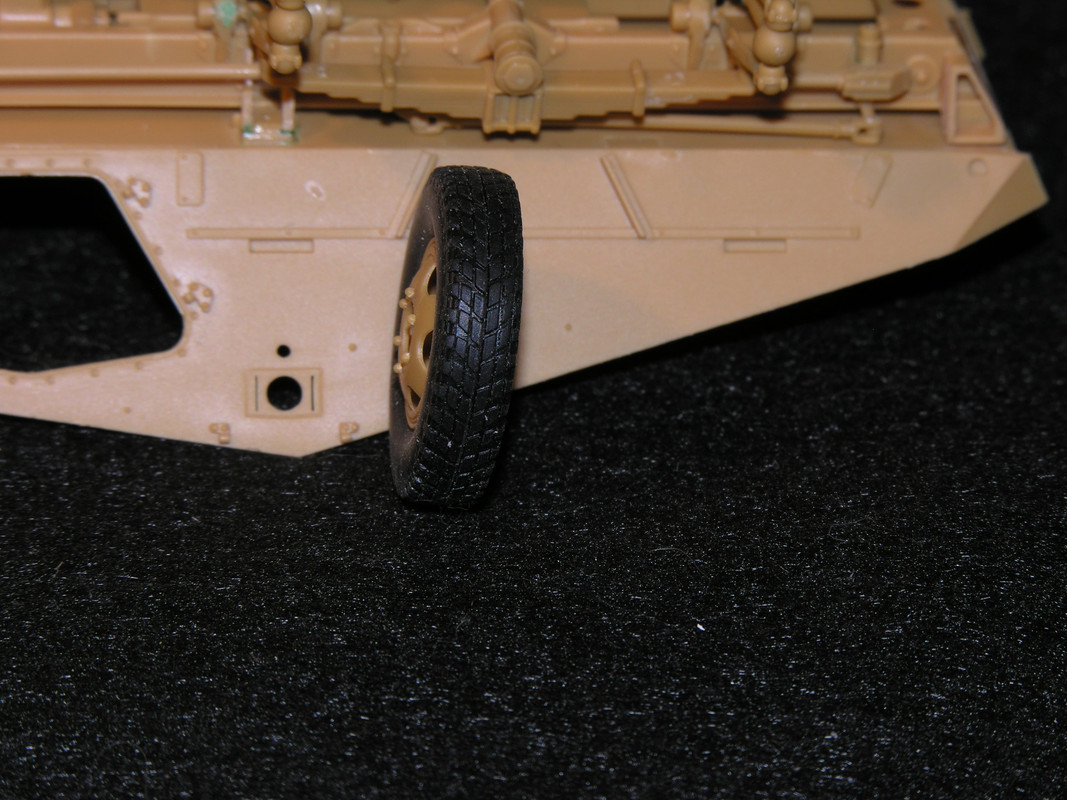
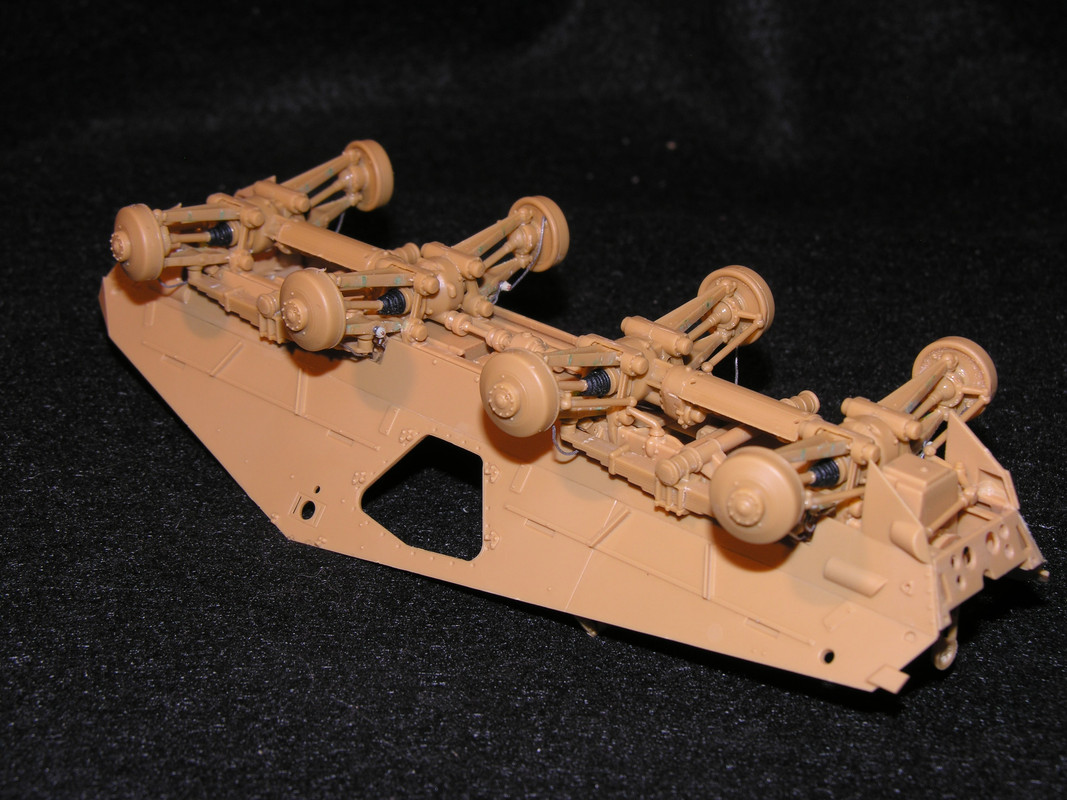
I went ahead and added the Braided brake lines with solder along with the pull straps. (These kept the suspension from over extending down,) It was very common to see them replaced with cable so this is what I did.
(Ref. Museum Ordinance Special #11 on the 231)
I created "Braided Lines" by rolling the solder between a piece of glass and a fine tooth file thus embossing the crisscross pattern on the surface of the solder.
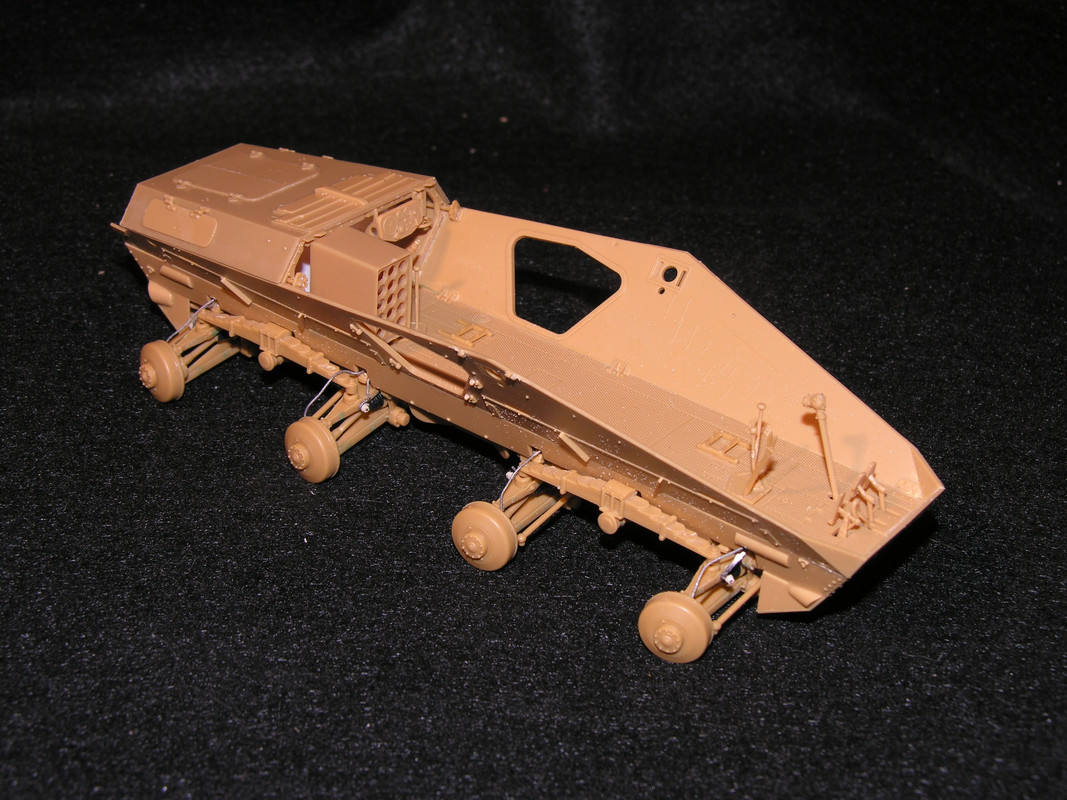
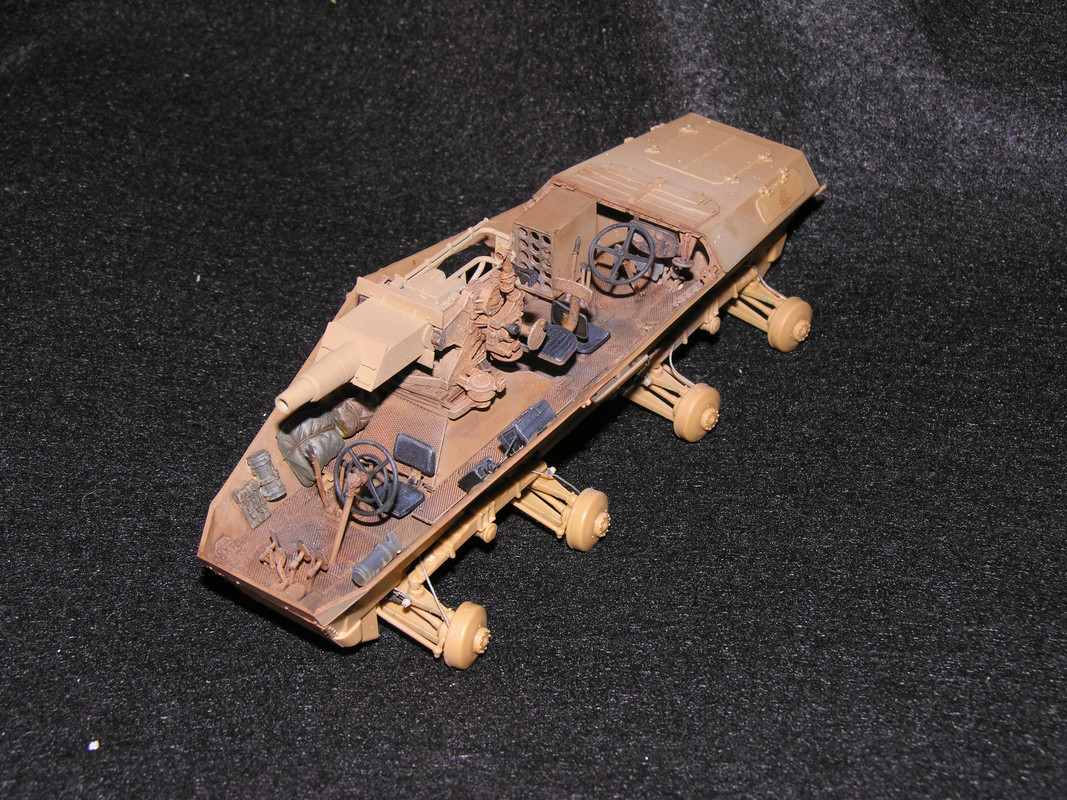
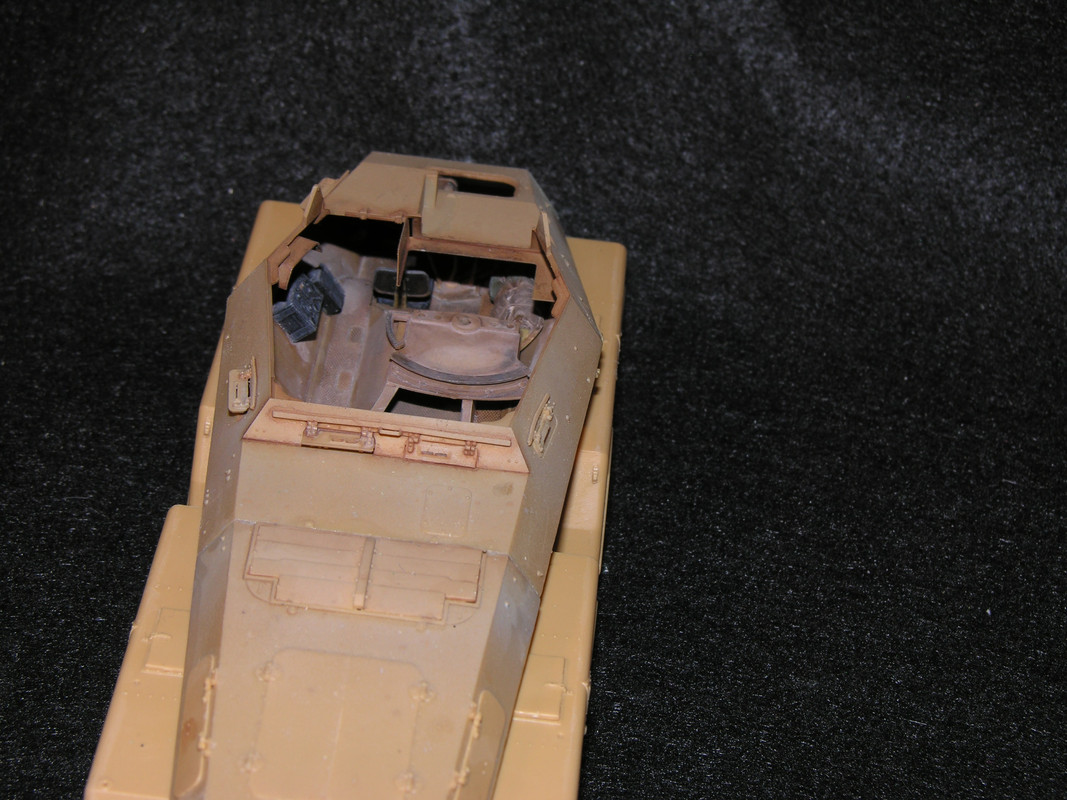
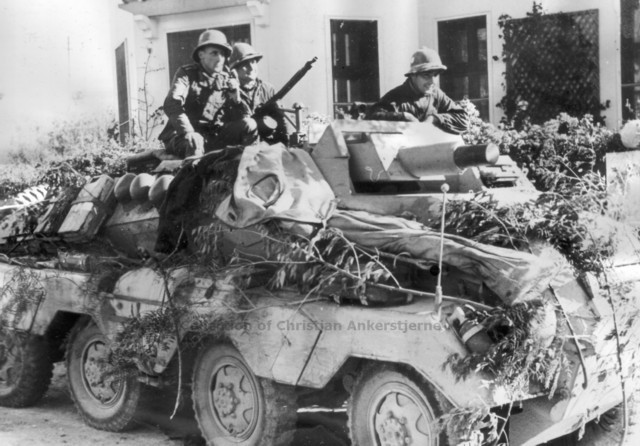
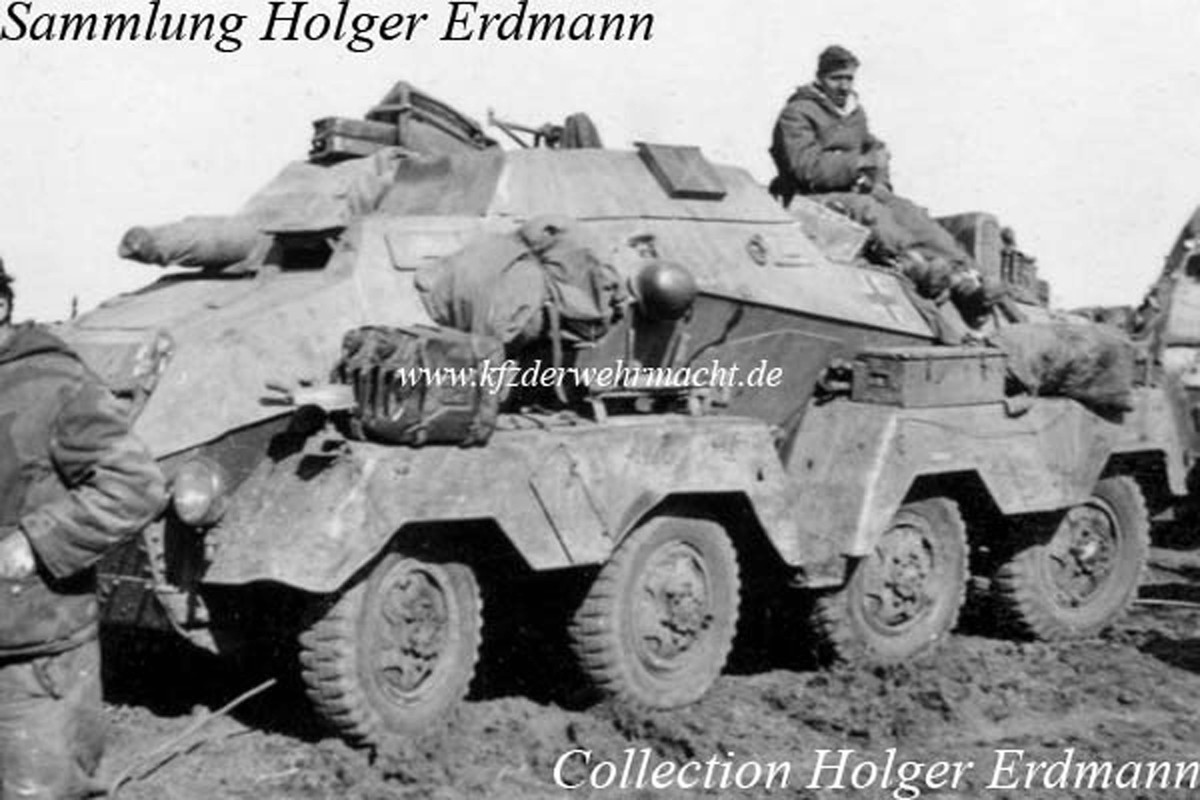
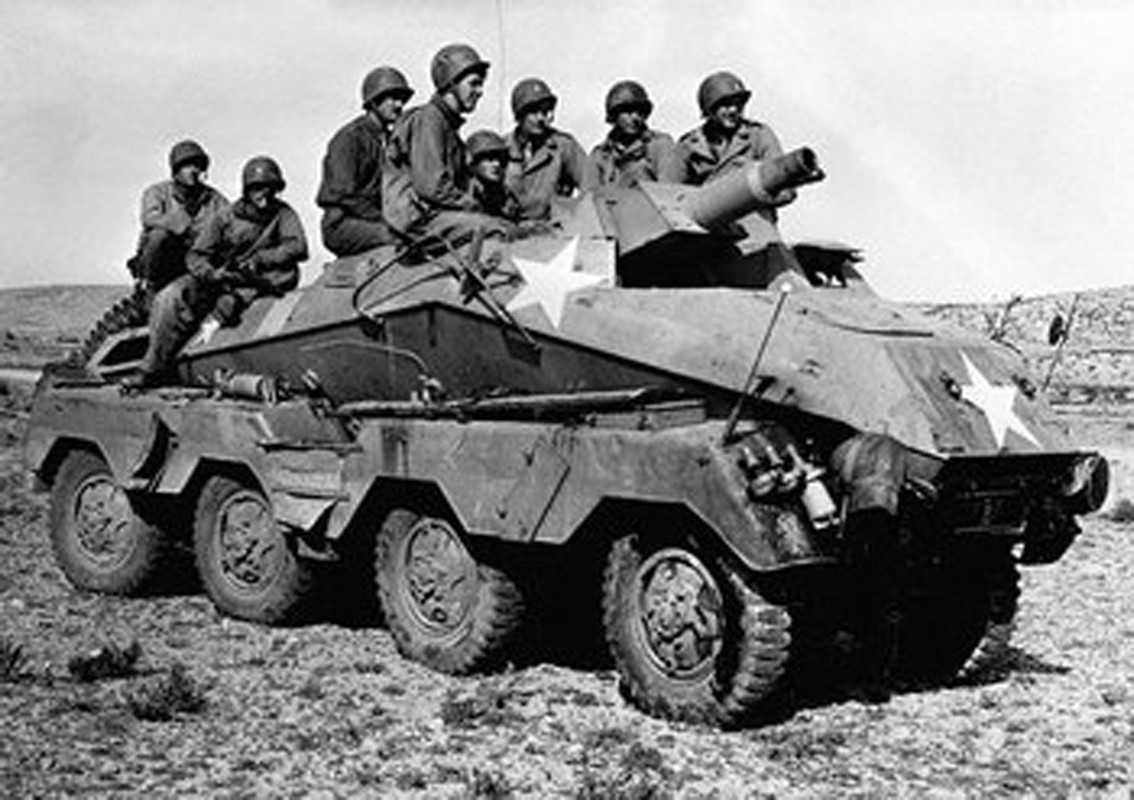
On all the photos of the 233 I have seen there is a definitive overlapping of the top armor plates over the bottom. (Same as the Sdkfz 250) So short of extending the top hull plates I just decided to "fake" it by removing the surface weld on the hull and filing down the lower hulls mating surface to create the look of and overlap and I will go back and add the weld underneath.
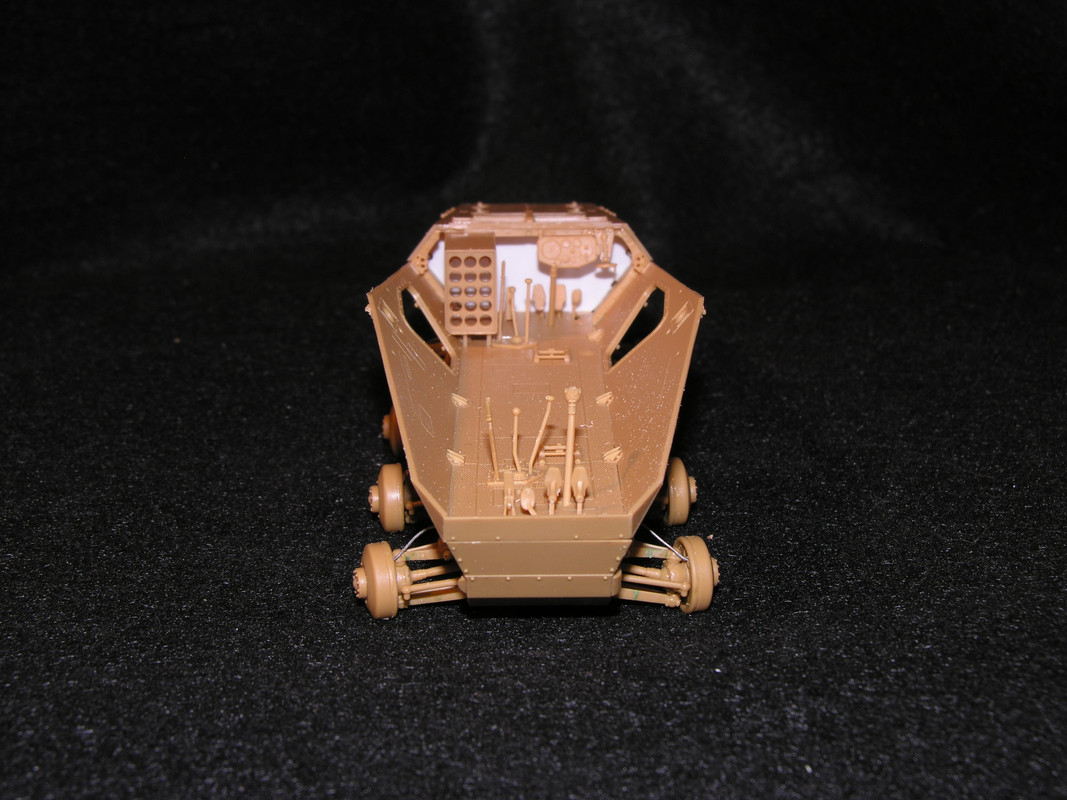
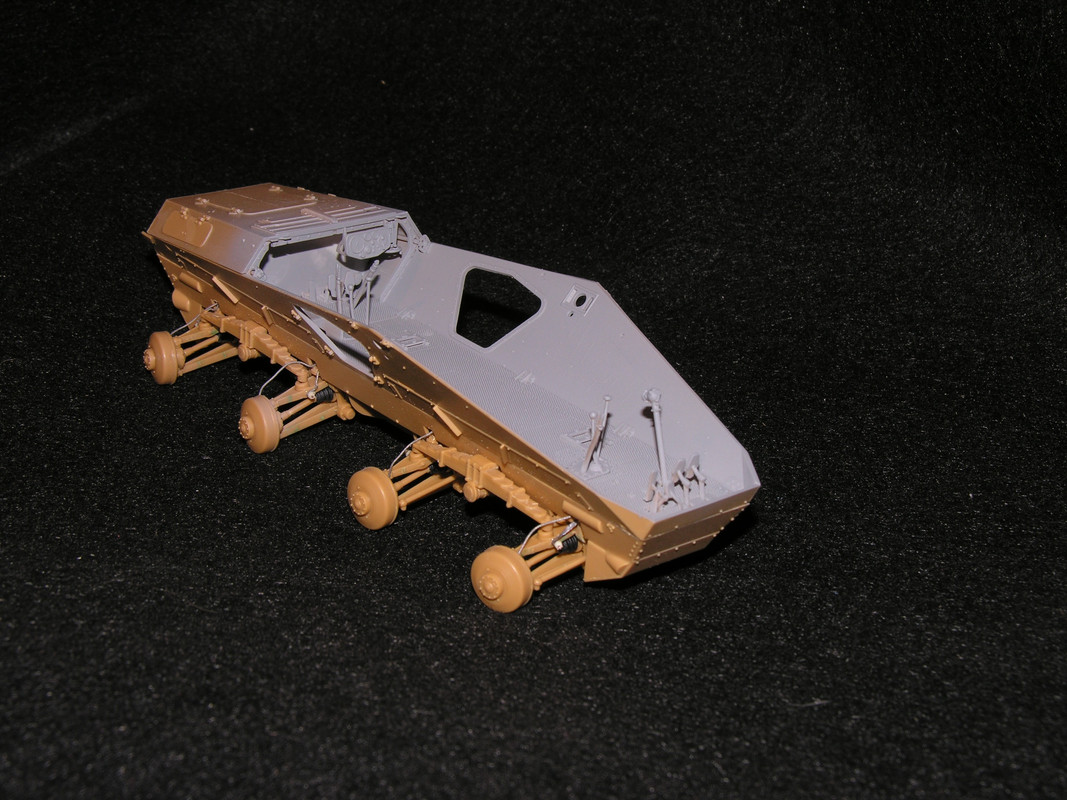
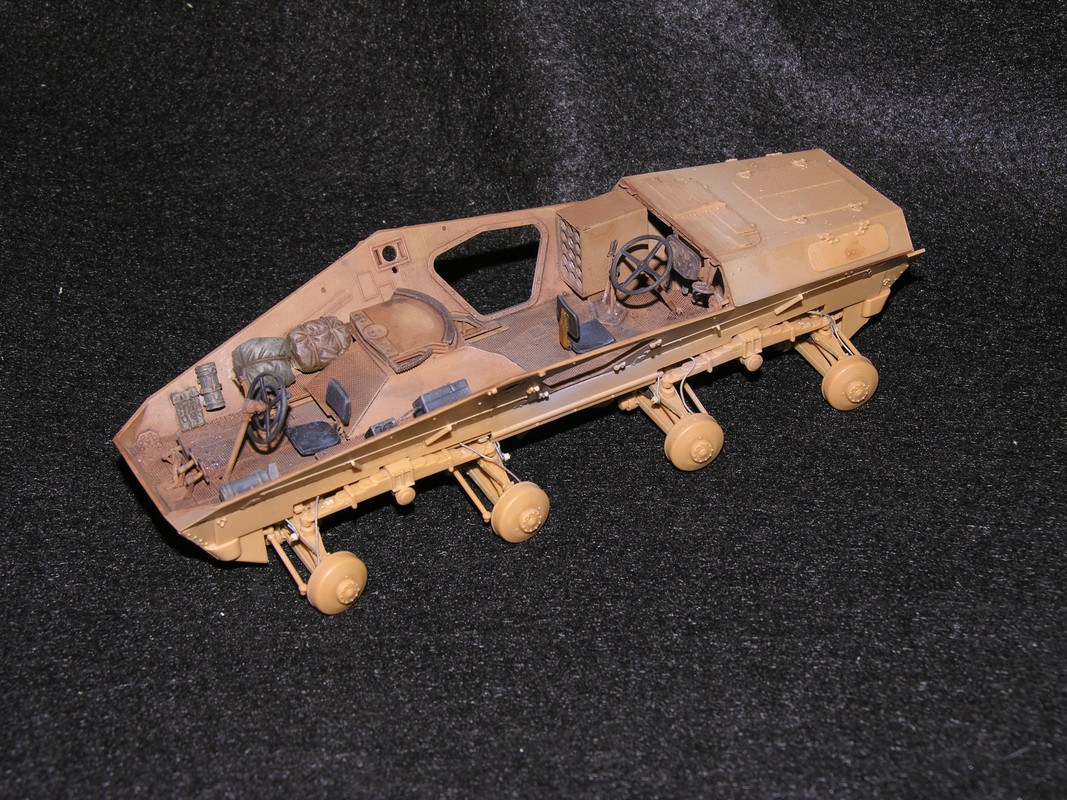
I went ahead and added a firewall just to block off the engine compartment. It won't be seen once the top is on.
There should be an auxiliary fuel tank hanging down from the top behind the instrument cluster. But for this "OOB" build I didn't add it.
Will be starting to put some paint down on the interior in a day of so now to figure out that never ending debate. Was the Interior Grey/green, Panzer Grey, or Off White.
Going to start a new thread to get opinions on this one.
On Initial opening of the box you are pretty loaded with parts, (See Sprue Shots post)
Starting to build. Step #1-2
The frame is in it is own Blister pack to keep it from damage which is great as this is a very delicate/thinly molded part.
Very nice molding a little bit of flash and parting lines to clean up Mostly in all the lighting holes.
On Parts A-36 there should be a oval lighting/access hole and a Bolt inside for the Bumper attachment so I drilled and reamed it out with a .5mm drill and added the bolt head from .005 styrene.
I recommend not attaching parts B-33-34 until later on in the build as these are very delicate and you're almost guaranteed to break them off while building the rest of the frame. I tacked my on for the photo then took them off for later.
Step #3
The CV Boots have a little flash on the ends I found the easiest way to remove this was with a pair of Cuticle.Finger Nail Cutters or sharp Nippers.
If you're careful while glue this together the suspension will be fully articulated which is nice for all kinds of Diorama poses but will need to be fixed once the springs go on so plan ahead.


Step 5
Was a little disappointed that they didn't at least include a basic engine to work from. It took all my strength to not scratch build a new engine. (Future project) But I told myself this was going to be almost OOB Build so I restrained myself and will just leave the engine hatches closed.
The fuel tank B-1/7 Will take a little sanding and filling to get rid of the seam but it is pretty well hidden. There should be some hanger bars/bolts on the tabs sticking out but once again this will be pretty well hid once the floor goes in. I will be drilling and adding them anyway once I get to the floor assembly.
Step 6-7
Combine these steps as parts A-26/3/4 all need to line up together. I took a small break before putting on 26 and I had to loosen up parts 3&4 to get 26 to line up.
There were a few push pin scars on A-26 but they are on the top so won't be seen but I filled them anyway.
(This is where I went to bed. Will start Step 8 Tonight)


The fill marks on the suspension arms are the results of an Idiot and her snippers removing the parts from the tree, Cut them off back a little then trim the connection points to avoid scarring like I didn't do.


You can see the Gap on the end of body where it meets the frame. It ended up that my Frame is/was Bowed and if I pulled the body down to meet it would have thrown off all the body alignment. So I took the frame and ran it under hot water to try and remove the bow. Got it a little better but not perfect.

Nothing wrong with the tires, Just not a fan of rubber tires and wanted somthing a little different so I started off with the same size (18/210)Tire and Rim from DEF for the Sdkfz 222 and removed the cast in rim and turned/sanded off the flange on the AFV rim to fit.


I went ahead and added the Braided brake lines with solder along with the pull straps. (These kept the suspension from over extending down,) It was very common to see them replaced with cable so this is what I did.
(Ref. Museum Ordinance Special #11 on the 231)
I created "Braided Lines" by rolling the solder between a piece of glass and a fine tooth file thus embossing the crisscross pattern on the surface of the solder.

On all the photos of the 233 I have seen there is a definitive overlapping of the top armor plates over the bottom. (Same as the Sdkfz 250) So short of extending the top hull plates I just decided to "fake" it by removing the surface weld on the hull and filing down the lower hulls mating surface to create the look of and overlap and I will go back and add the weld underneath.


I went ahead and added a firewall just to block off the engine compartment. It won't be seen once the top is on.
There should be an auxiliary fuel tank hanging down from the top behind the instrument cluster. But for this "OOB" build I didn't add it.
Will be starting to put some paint down on the interior in a day of so now to figure out that never ending debate. Was the Interior Grey/green, Panzer Grey, or Off White.
Going to start a new thread to get opinions on this one.


