mnrun.
Junior Member
 
Member since: May 2016
Posts: 75 
|
Post by mnrun. on Aug 31, 2016 12:58:54 GMT -5
I'm back.. After the Super Etendard I spent about 3 days building this little guy, and now I'm on to the next thing, which is AMK's MiG-31. Like all aircraft kits, step 1 is the cockpi..I mean the engines. Which is fine by me because I'm waiting on some MrPaint Russian Cockpit Turquoise to show up on my doorstep. I've tried mixing that color myself a couple of times, and never again. Here are all the parts. Really, do I need all of this? 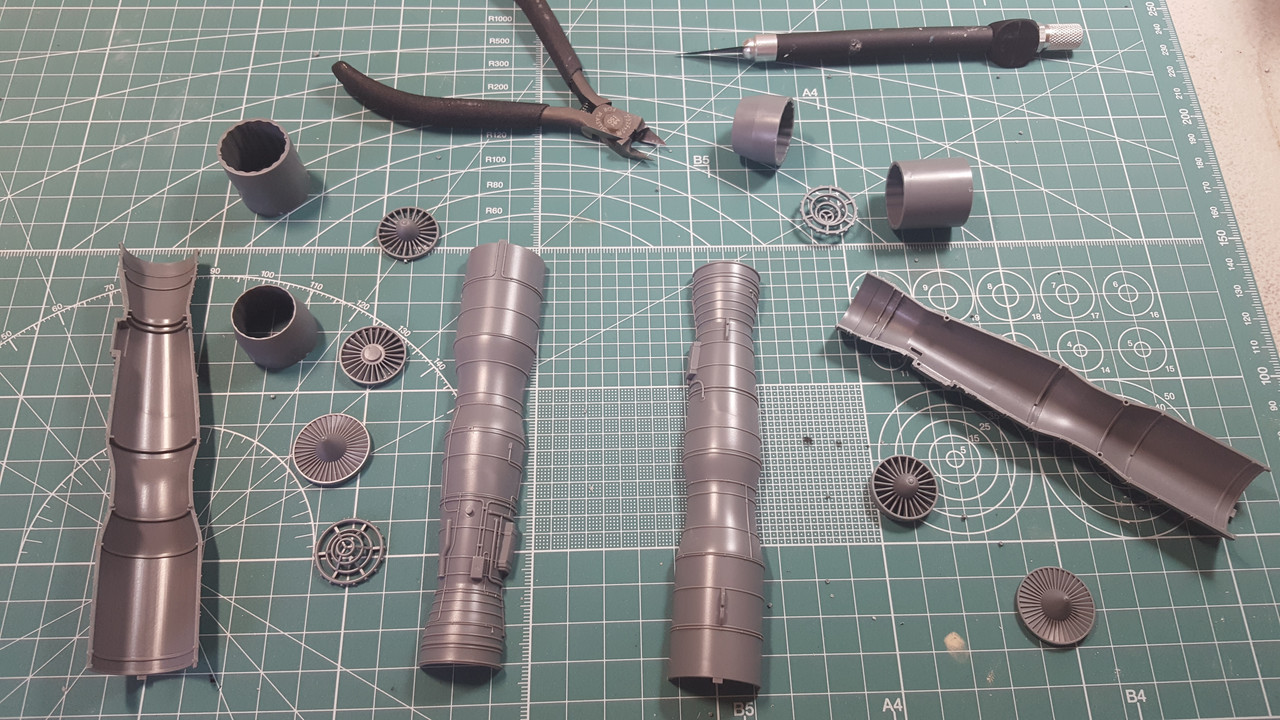 The relevant areas primed in Tamiya Semigloss Black, which for metallics buried deep within an airframe, is Good Enough. 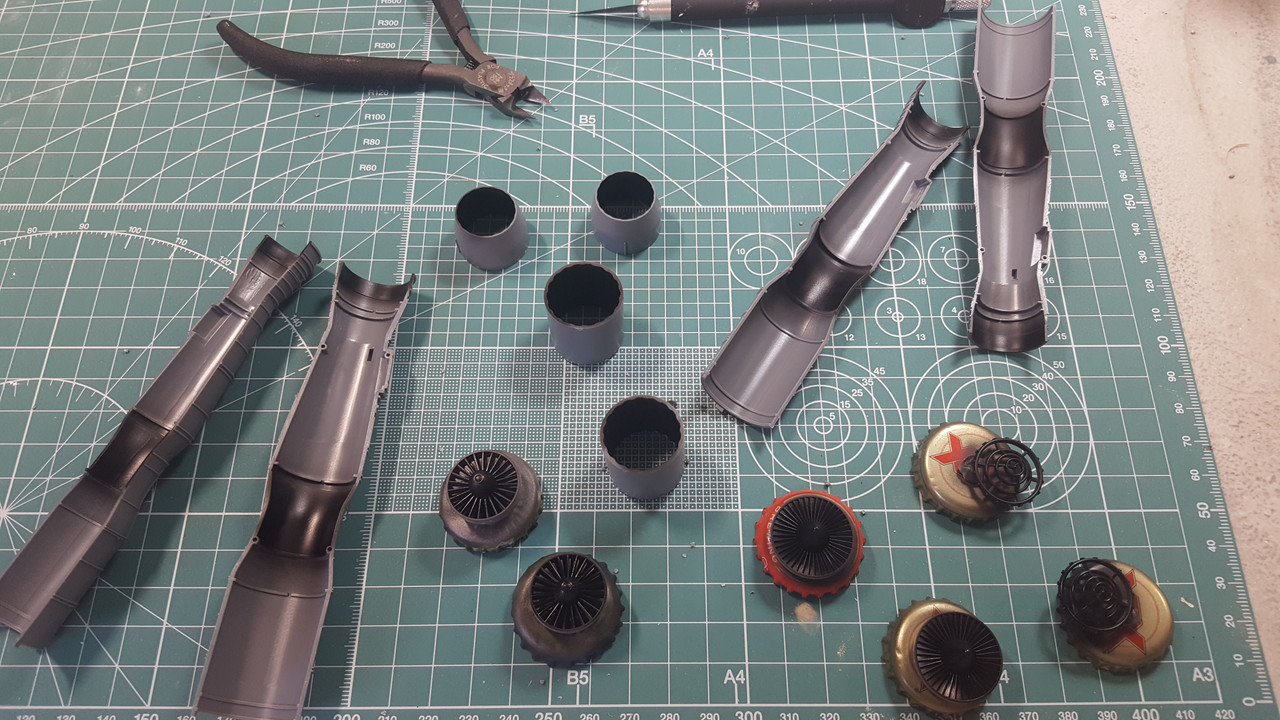 Some paint. The instructions call for burnt iron on the rotors and stators, but that never looks right to me, so I usually lighten it up with a little aluminum. And, that crazy green that shows up in the wierdest places on Russian planes makes an appearance as well. 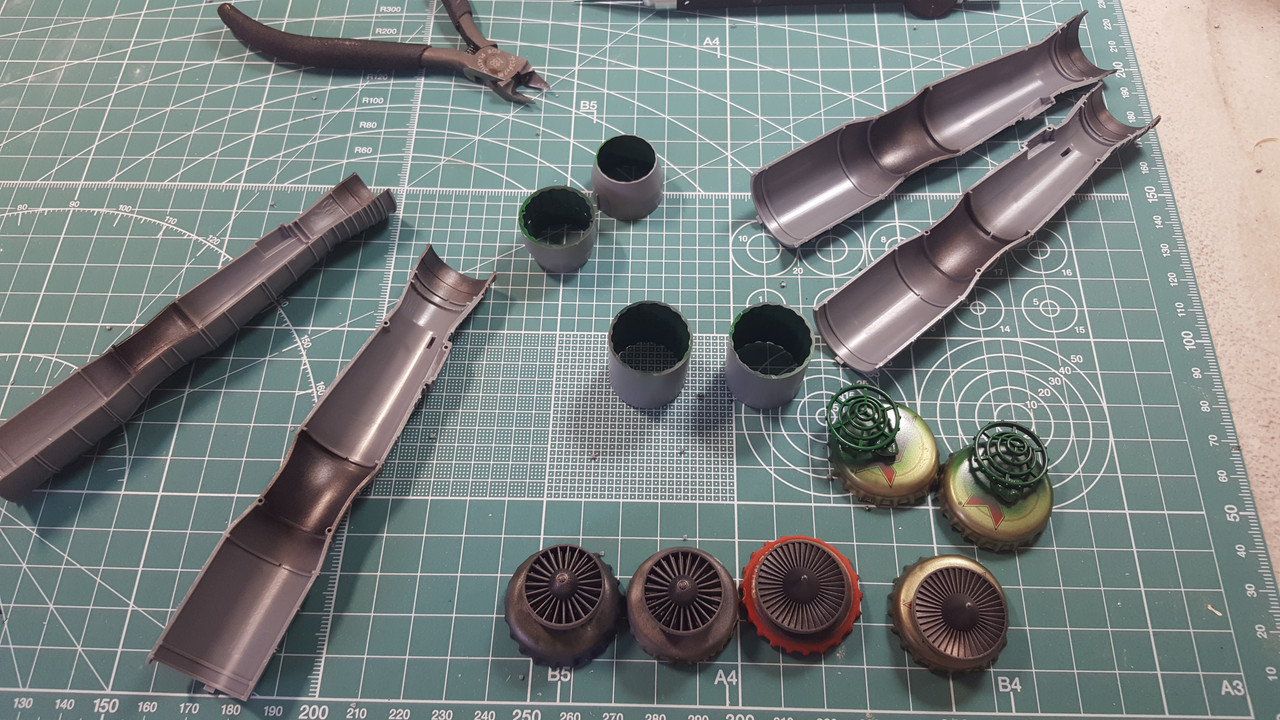 I got hungry, so I ate a sandwich.  A little before and after showing some drybrushing to tone down the GREEN 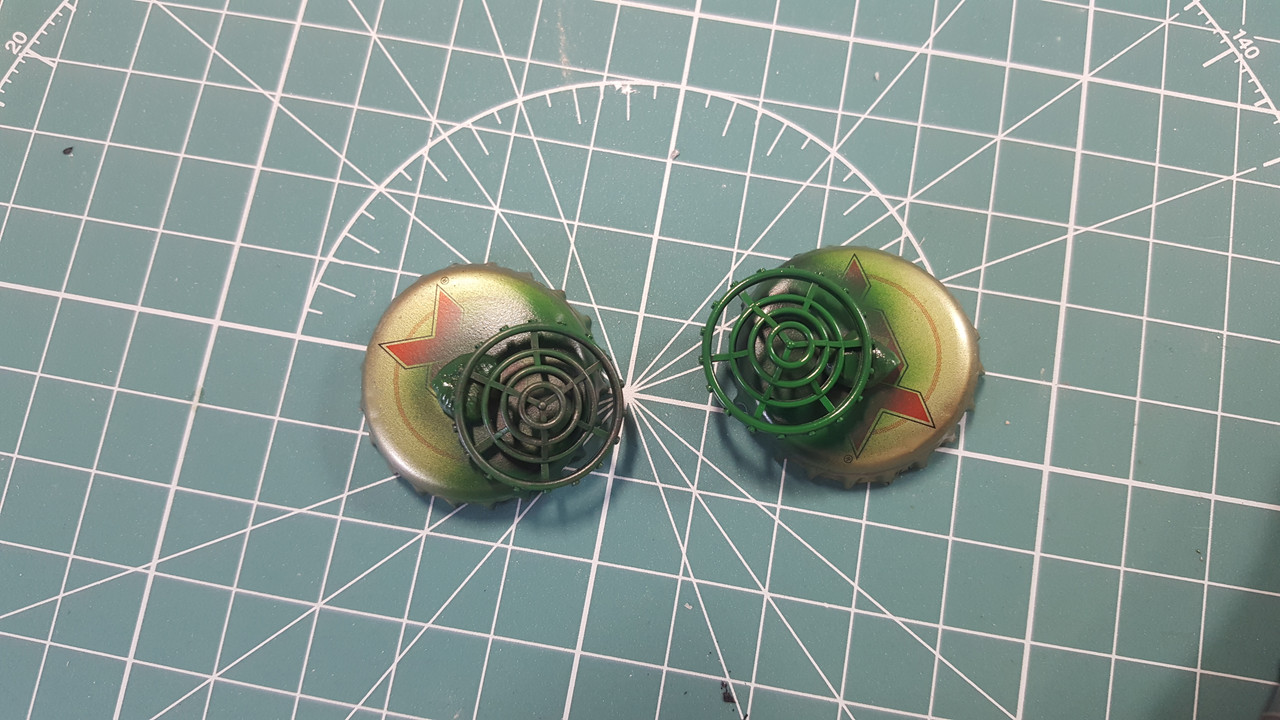 Some more drybrushing and pigments in here. I don't really know what I'm doing here; just looking to make it appear that the engines have been fired up once or twice. And I had some pigments on the shelf that said "Burnt Jet Engine" so that sounded promising. 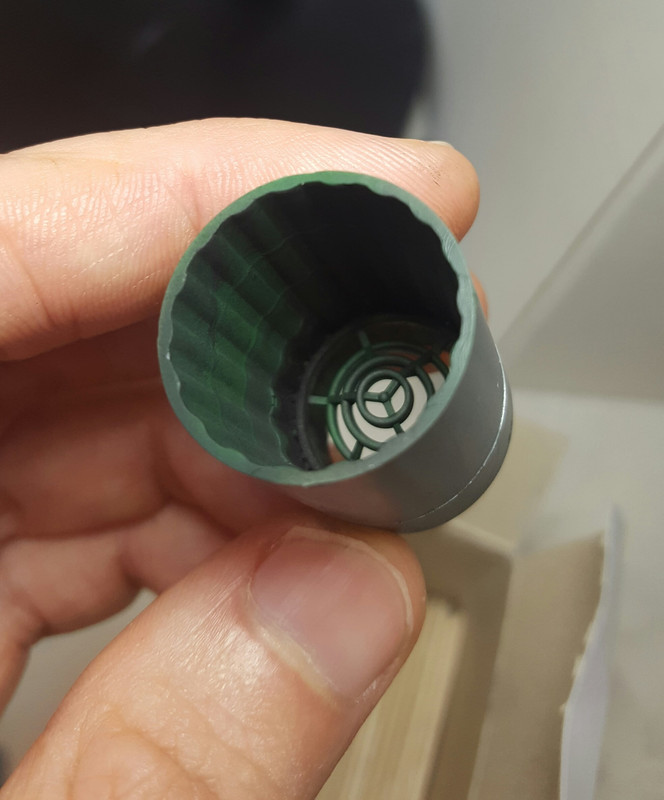 And that's Step 1! If everything fits together as well as these parts did, I'm in for some smooth, but detailed, sailing. 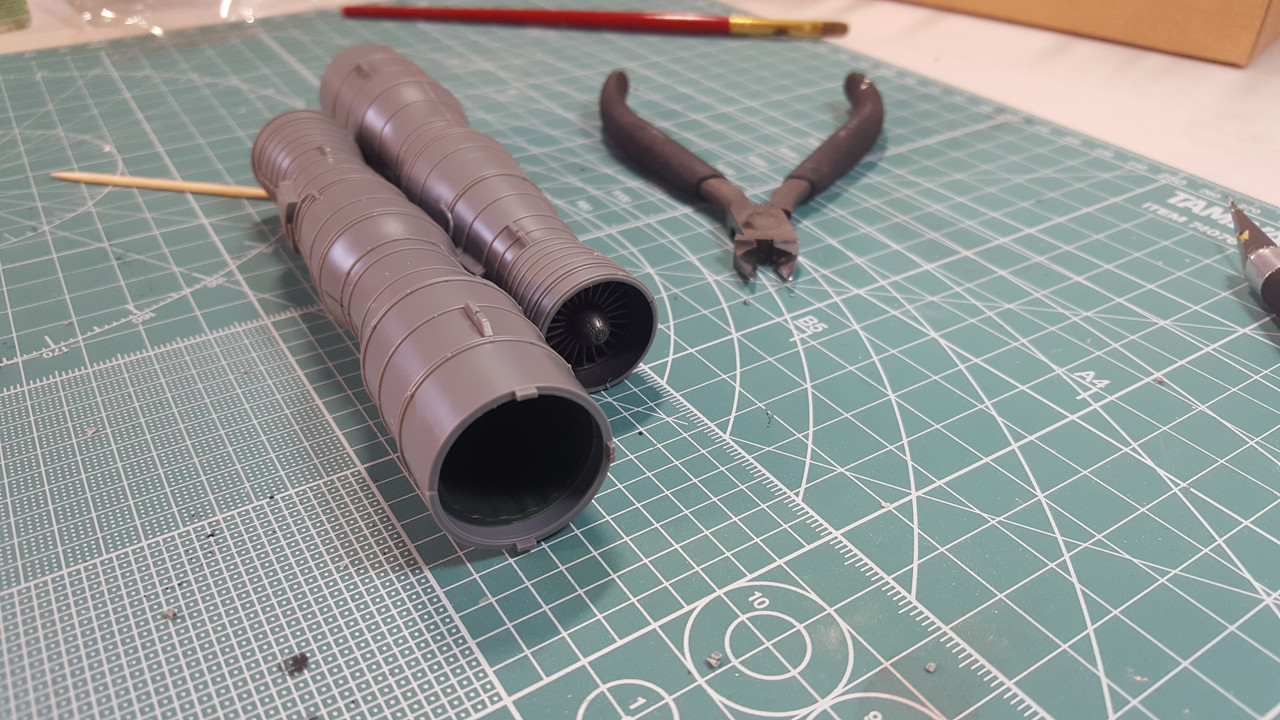 |
|
|
|
Post by wing_nut on Aug 31, 2016 13:29:53 GMT -5
Cool beans. I'll be watchin'
|
|
thug626
Senior Member
   
Member since: January 2013
Posts: 2,035
Jan 15, 2013 13:05:28 GMT -5
Jan 15, 2013 13:05:28 GMT -5
|
Post by thug626 on Aug 31, 2016 13:45:20 GMT -5
Count me in
|
|
|
|
Post by Tojo72 on Aug 31, 2016 13:49:51 GMT -5
I got one of these on the way,can't wait to get mine and see your blog.
|
|
mnrun.
Junior Member
 
Member since: May 2016
Posts: 75 
|
Post by mnrun. on Sept 1, 2016 21:39:56 GMT -5
Okey doke, another day or so of progress to report on... So next up is the intake trunking and the main gear wells which are attached to the intakes. Here are the parts for one side. 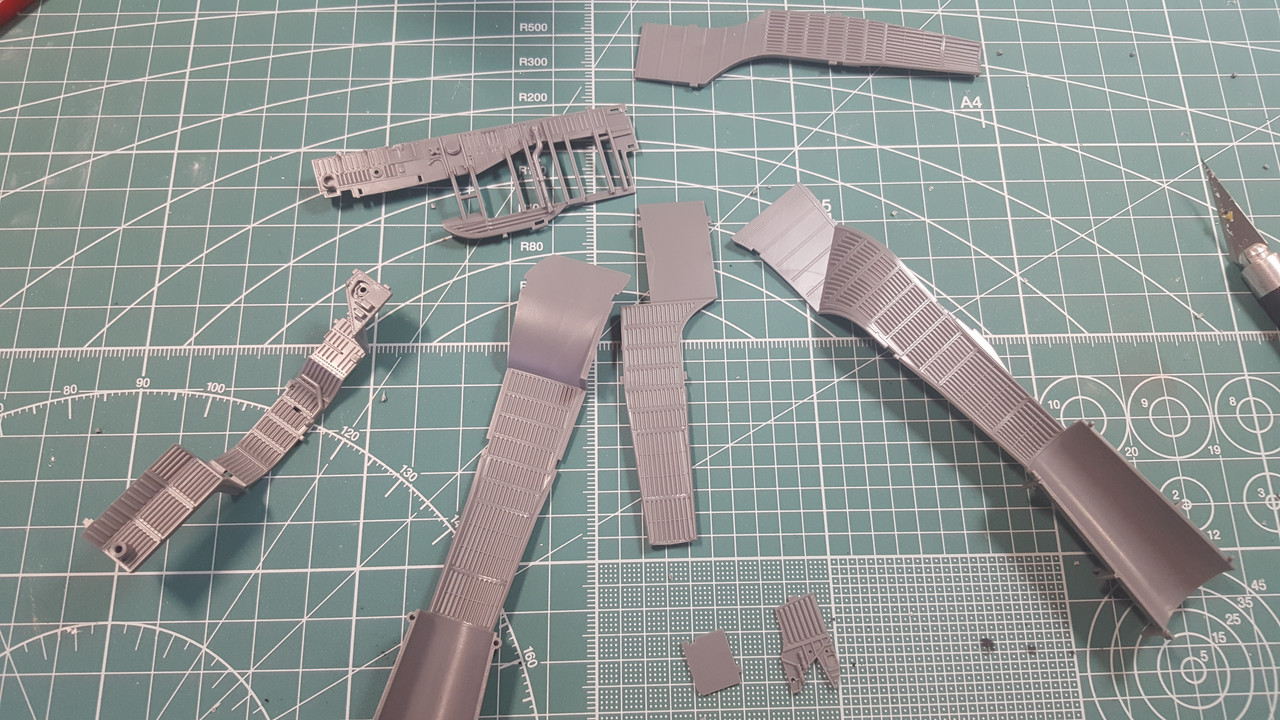 And painted with AK Xtreme ( !!!) Aluminum (good stuff, btw). It's all done rather thoughtfully...the forward part of the trunking is more or less rectangular in cross section, which means if it all fits together well (it does), there are no real seams to worry about. The aft part of the trunking in round in x-section so there are seams there. But that is pretty far back and more or less invisible once it all goes together: 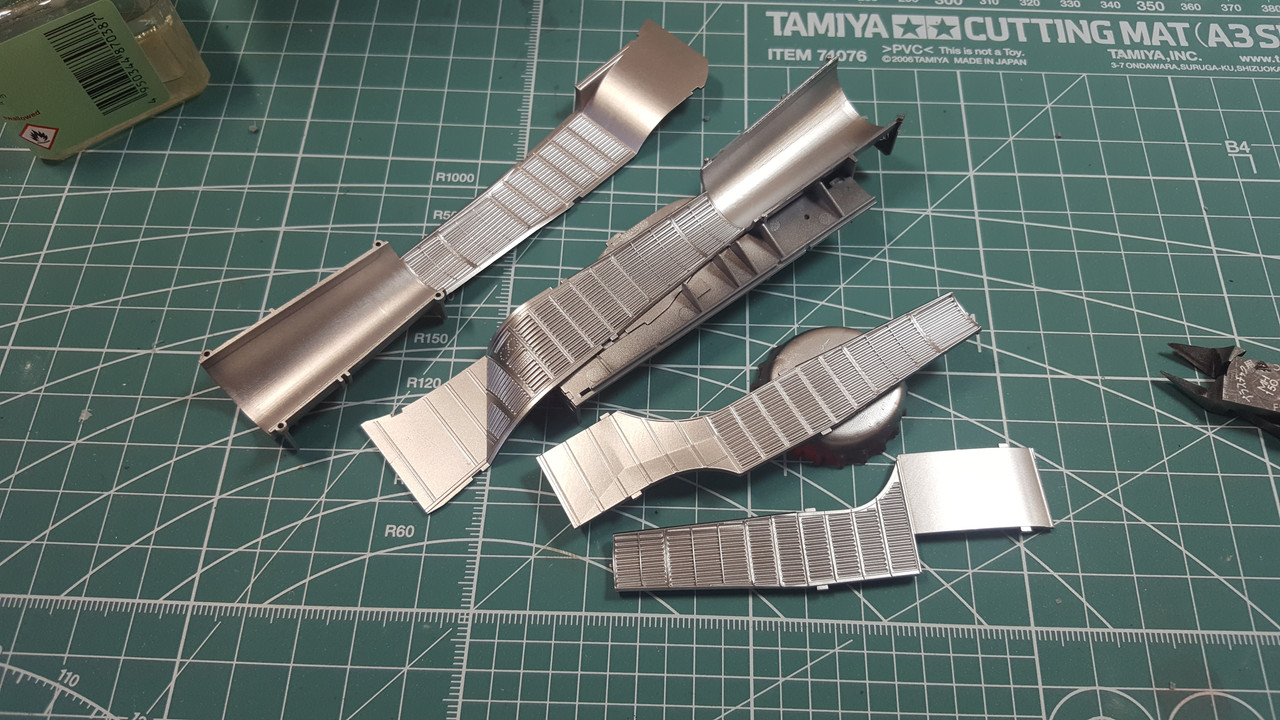 This is a main gear well, without any extra goodies glued in. 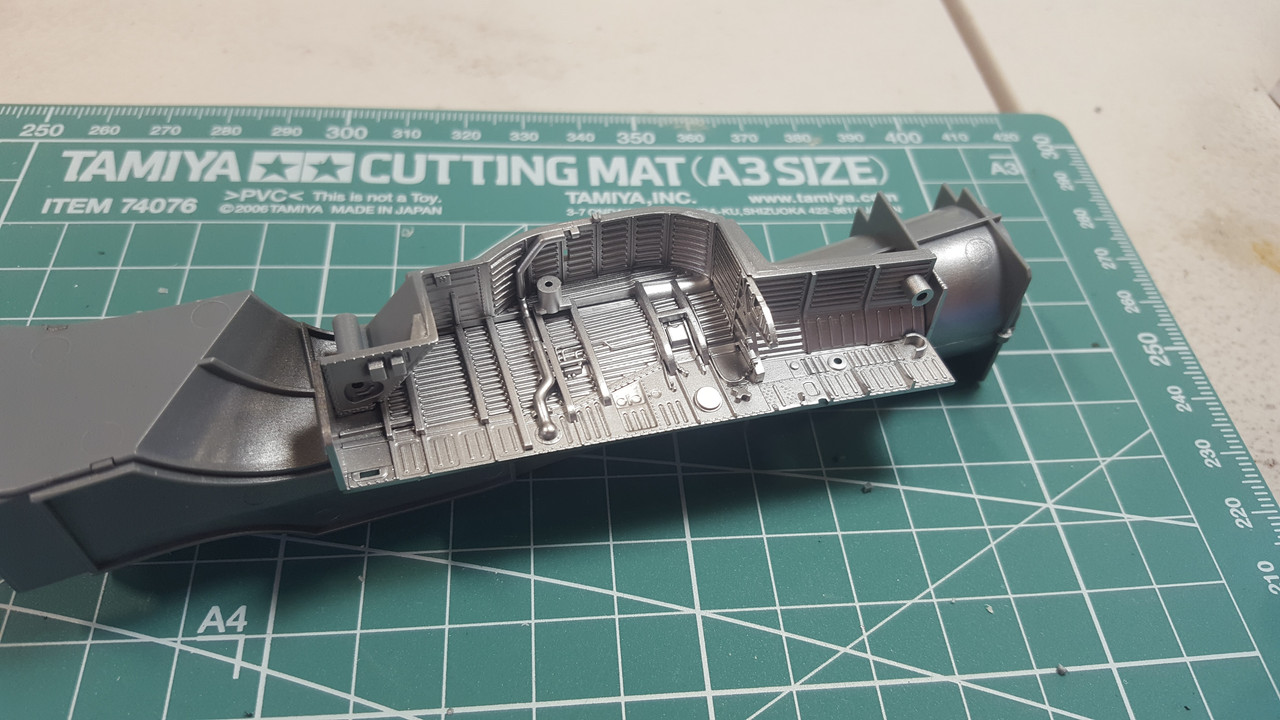 And here are the two of them, captured in a lousy photo. They have some Stuff glued into them and some things painted. 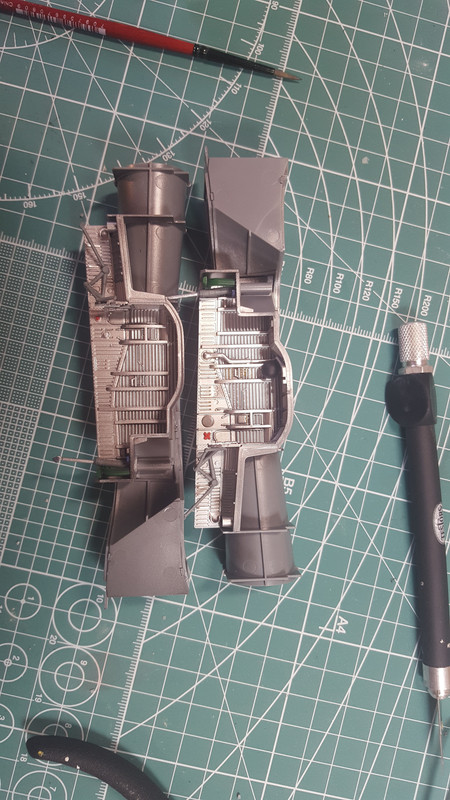 Most of the pics I've found on the internet don't show very dirty wheel wells. So I mixed up a dilute Yellow Ochre wash and gave the wells a general once over. Then in a few areas I mixed in some Burnt Umber and picked out some dirtiness. Not much. Usually I don't even like painting wheel wells, much less weathering, until I've done more or less everything else (easier to mask the area around the wells than the wells themselves)...But these are so deep I didn't think I could do much with them once they were in the fuselage. 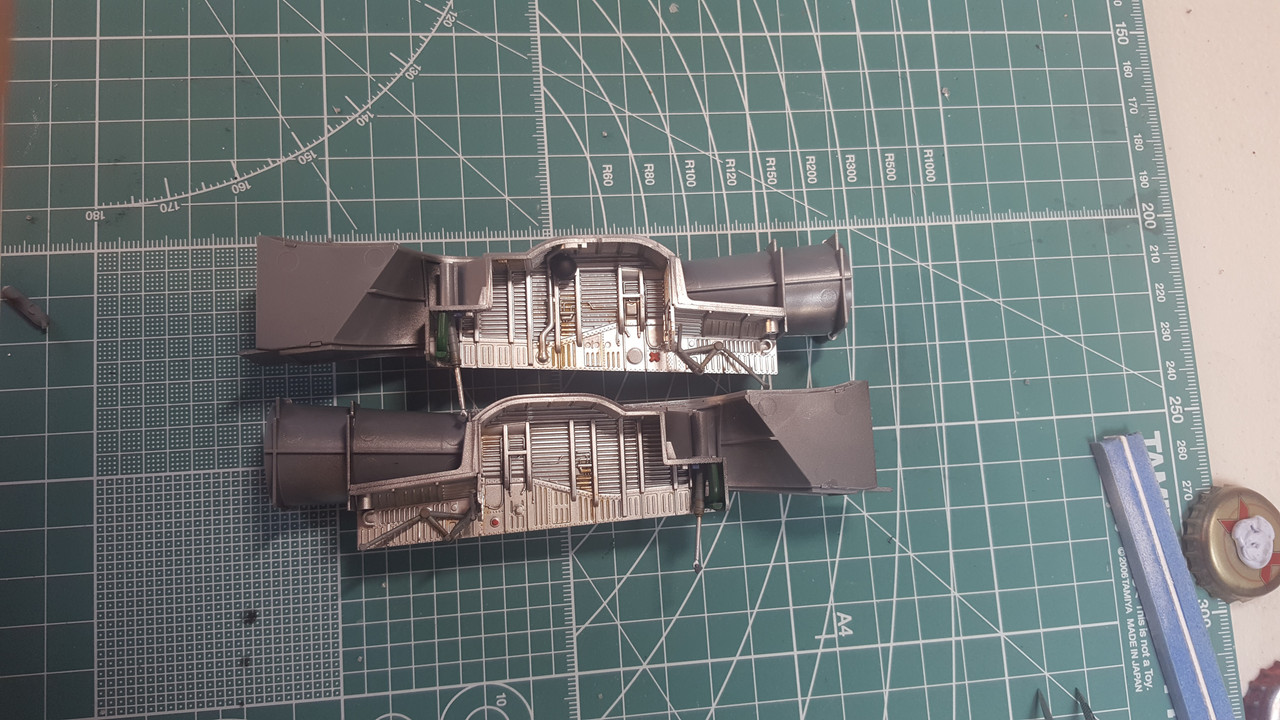 Ok here's the lower fuselage. Pretty impressive hunk of plastic. 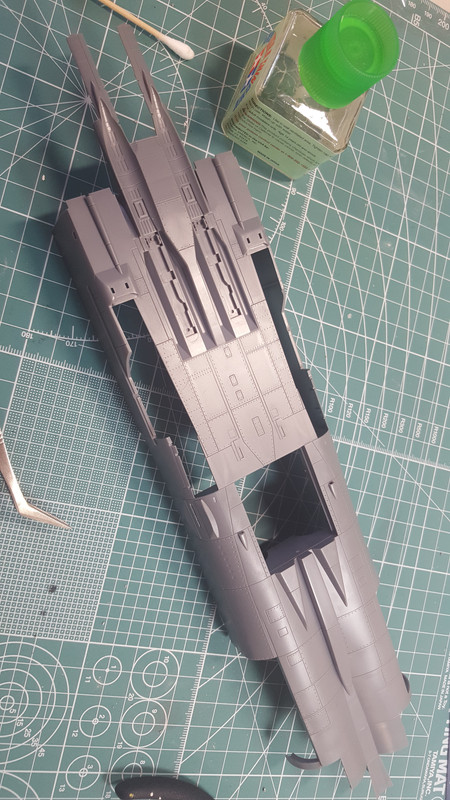 Next AMK wants me to glue a few bumps onto it. Not surprisingly, the fit is Rather Good. 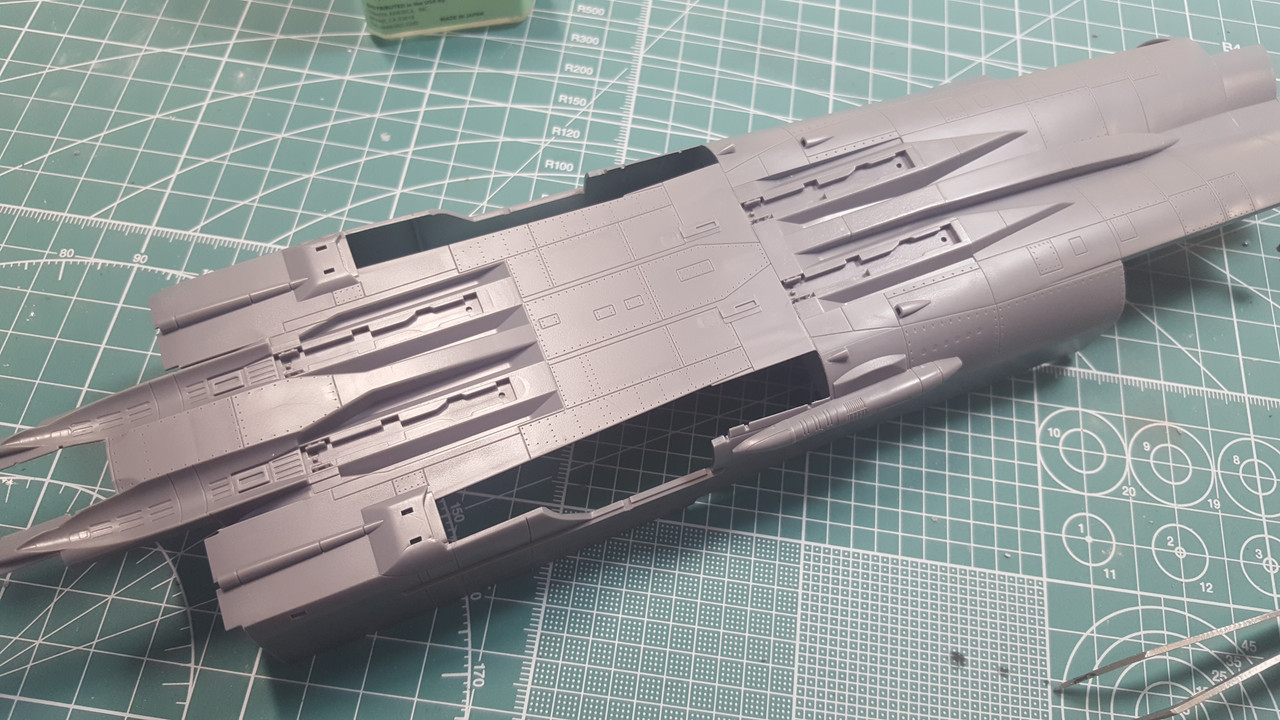 OK now they're saying the gear bay doors should go on the lower fuselage. I'm thinking that's a bit premature, so time for some test fitting. All of that Stuff is supposed to fit into there. At this point, I'm checking the charge on my Dremel to make sure I'm ready to do some surgery. 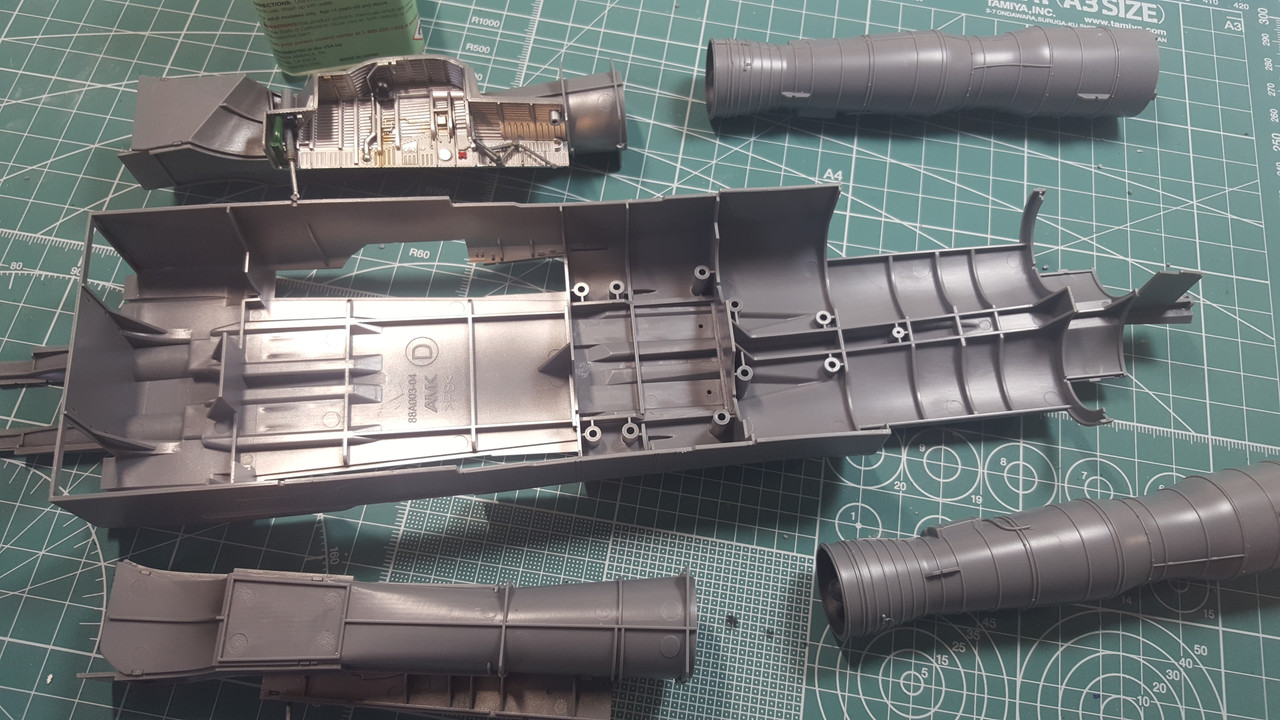 Well anyway I'll just check to see what plastic I need to grind away and OH MY GOD IT ALL FITS.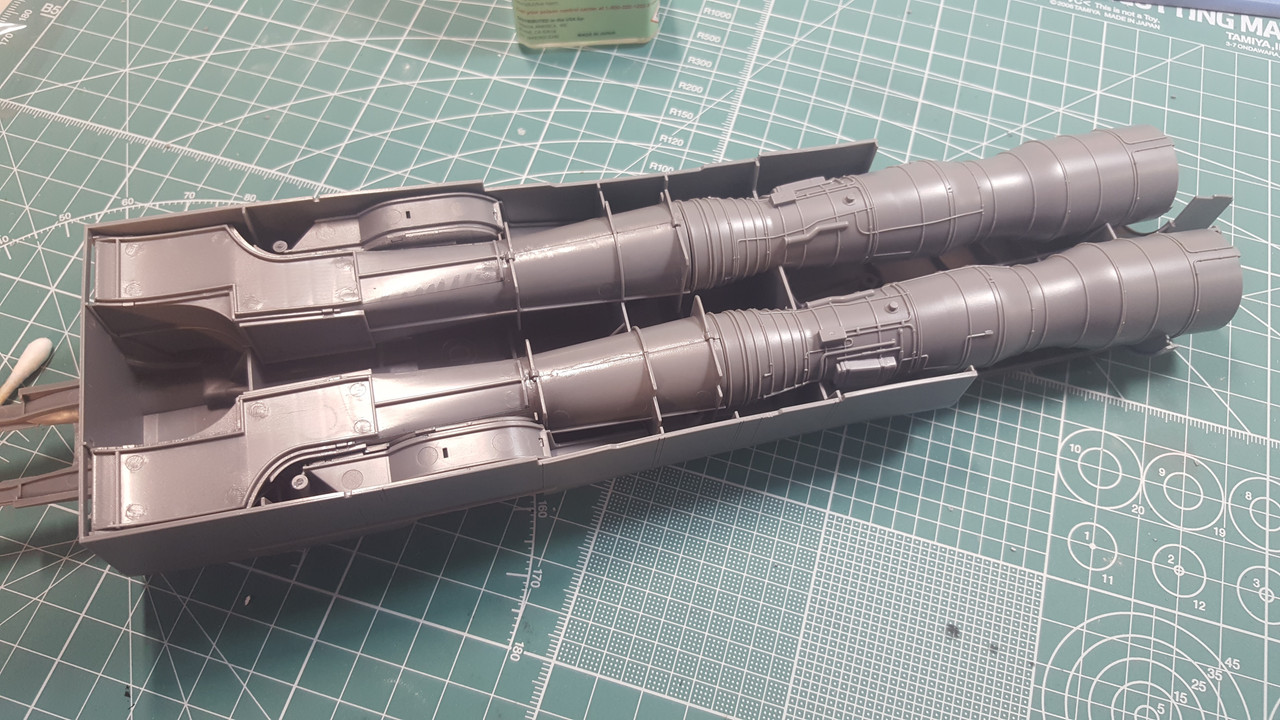 Fits. As in, pretty much perfectly. I can't believe that worked. It was tight, but once everything gets lined up, it all slides into place beautifully. 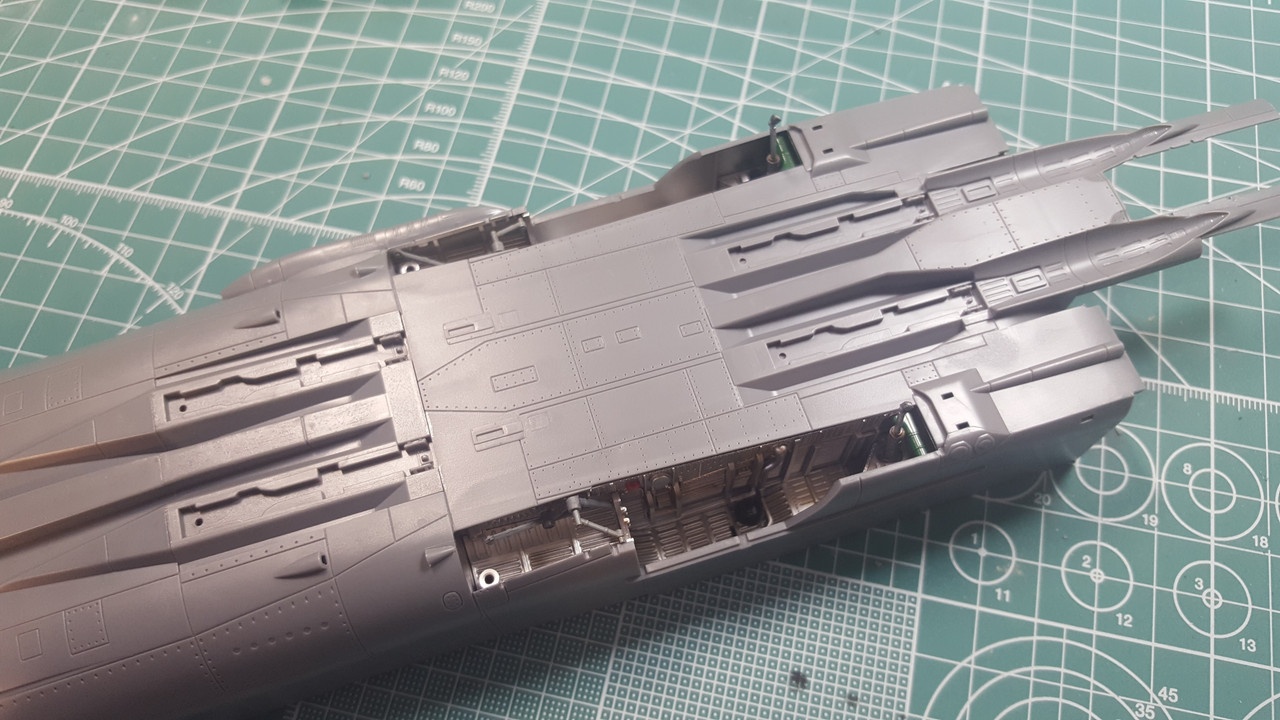 But before I whip out the Tamiya Extra Thin (or Xtra Thin Xtremez if it's an AK product), a little test fitting to make sure I'm not going to be screwed by waiting to glue in the gear bay doors and actuators. They're molded with pretty good sized "feet" to locate them positively, which is nice. 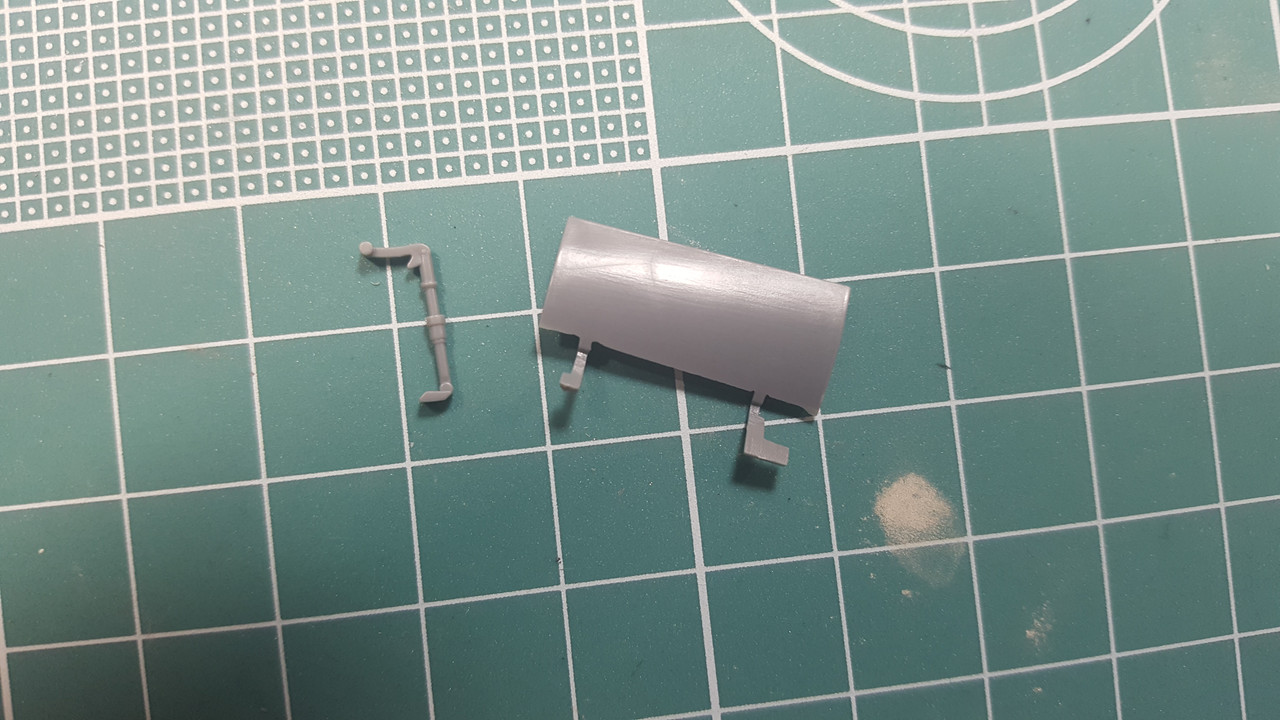 Yep, with a little toothpick pressure, they key in pretty well. Sweet, now I've just got some oleo struts hanging out the bottom of the fuselage and not the bay doors as well. I'm totally breaking those struts at some point, btw. 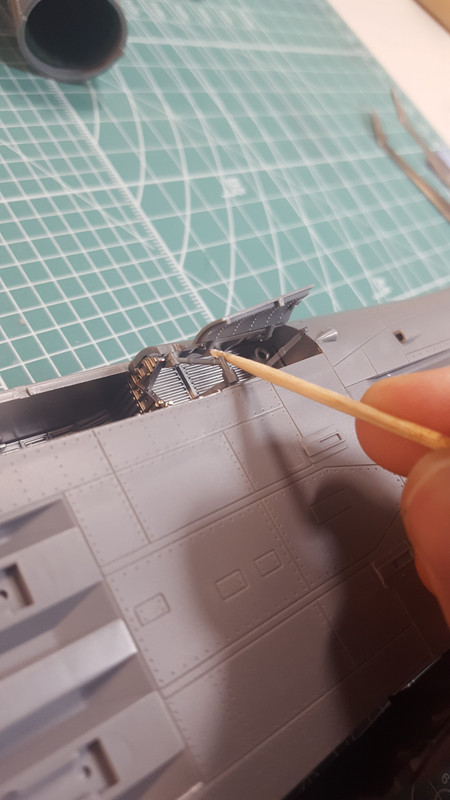
That's it for now. Working on the nose gear bay next. |
|
|
|
Post by JimD on Sept 2, 2016 8:12:34 GMT -5
You're going to love this kit. It's almost perfect.
One small tip...make dang sure you have the engines on the right side (looks like you do) if you put them in backwards you're left with a fit problem with the exhaust that you won't be able to fix. Lucky me that I obsessively dry fit everything before committing to glue.
Looking good
|
|
|
|
Post by JimD on Sept 2, 2016 9:33:49 GMT -5
WARNING. WARNING. WARNING.
Nope. I've just looked at my build and your engines are in backwards. If you don't switch them when you go to.put the afterburner cans on later they are going to be cockeyed. Test fit. Put the fuselage top half on and fit parts F2 and F1 to see what I mean.
|
|
|
|
Post by wing_nut on Sept 2, 2016 9:50:59 GMT -5
Yikes. Hope he sees this. His post was 12 hours ago. Lots of time for glue to set up rock hard. Curious. were you waving your arms and adding WILL ROBINSON at the end?  looks like it is coming along nicely. |
|
|
|
Post by JimD on Sept 2, 2016 12:05:03 GMT -5
I had glued mine in. I had to soak the joins with MEK and force them out. It worked but it wasn't fun
|
|
mnrun.
Junior Member
 
Member since: May 2016
Posts: 75 
|
Post by mnrun. on Sept 2, 2016 13:22:51 GMT -5
Whatchu talkin bout Willis? 
After a moment of crippling anxiety and self-doubt I went back and followed your advice: 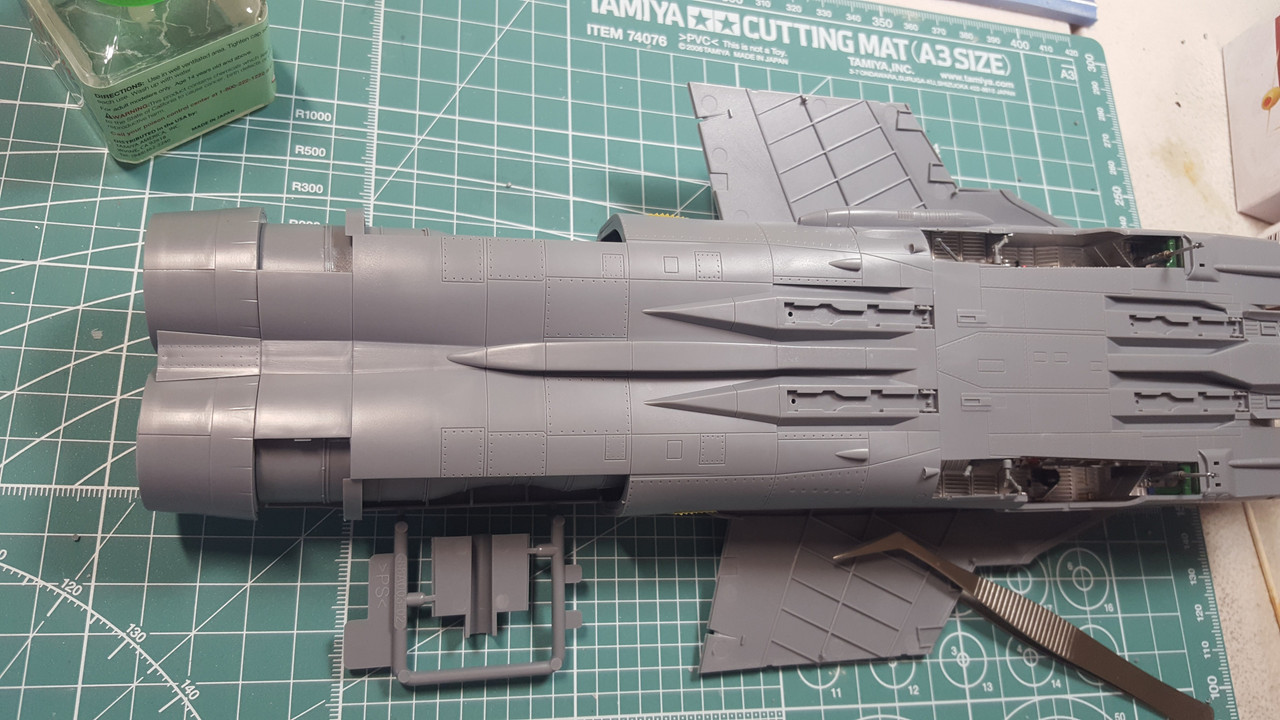
Everything seems A-OK, no? It looks like the error that's begging to be made there is due to the three alignment tabs on the rear surface of the engines, that key into the burner cans. It's not totally clear until about 5 steps later in the instructions that the "tab-less" portion of the engines should be inboard. So unless you look ahead (I didn't), there's a 50-50 chance of getting that wrong. Thanks for looking out for me  |
|
mnrun.
Junior Member
 
Member since: May 2016
Posts: 75 
|
Post by mnrun. on Sept 2, 2016 13:27:12 GMT -5
OK now I see the source of consternation: in the pic where I'm dry fitting everything I did indeed have the engines swapped left to right. Then, because there's no method to my madness, I swapped them back to the correct positions when I glued them in. The modeling gods were smiling on me that day...
|
|
|
|
Post by JimD on Sept 2, 2016 16:21:25 GMT -5
Those three tabs are part of the problem. If you put them on backwards you're left having to put the burner cans on the wrong sides. If you look at them they have an impressing on the insides, but if your engines are backwards they will be out facing. You also get this problem too...it looks fine to the naked eye, but there is a slight angle on them mating surfaces that will cant the burner can outwards like this...  You appear to be fine now though. I wasn't sure if you were just testing the fit or had glued them. |
|
sturmbird
Full Member
  
Member since: June 2012
Posts: 1,406
Jun 21, 2012 13:51:45 GMT -5
Jun 21, 2012 13:51:45 GMT -5
|
Post by sturmbird on Sept 2, 2016 22:23:48 GMT -5
I got one of these on the way,can't wait to get mine and see your blog. I ordered the new Special Addition Mig three weeks ago, and it's due out this month. Comes with metal landing gear, expanded photo etch, and even better decals. Apparently they will not accept orders for the kit after Sept. 10th. I'm kinda hot for the new F14 Tomcat. From what I see, it makes the Tamiya look like a toy gary |
|
|
|
Post by dupes on Sept 3, 2016 19:14:32 GMT -5
Wow. That's a hot looking kit. Nice work on the guts! ...that sandwich looks awfully good, too. Mmmmmm.  |
|
mnrun.
Junior Member
 
Member since: May 2016
Posts: 75 
|
Post by mnrun. on Sept 3, 2016 21:25:20 GMT -5
It was a good sandwich. Little bit of progress lately: Turned this: 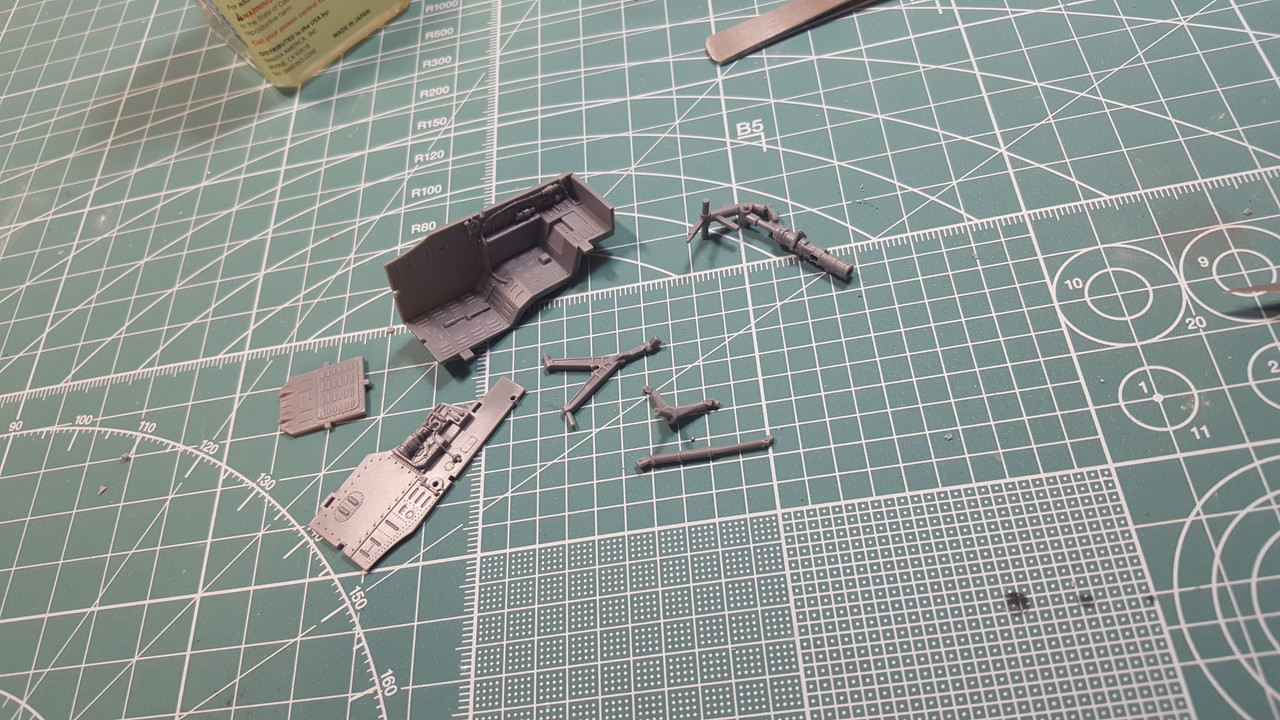 Into this: 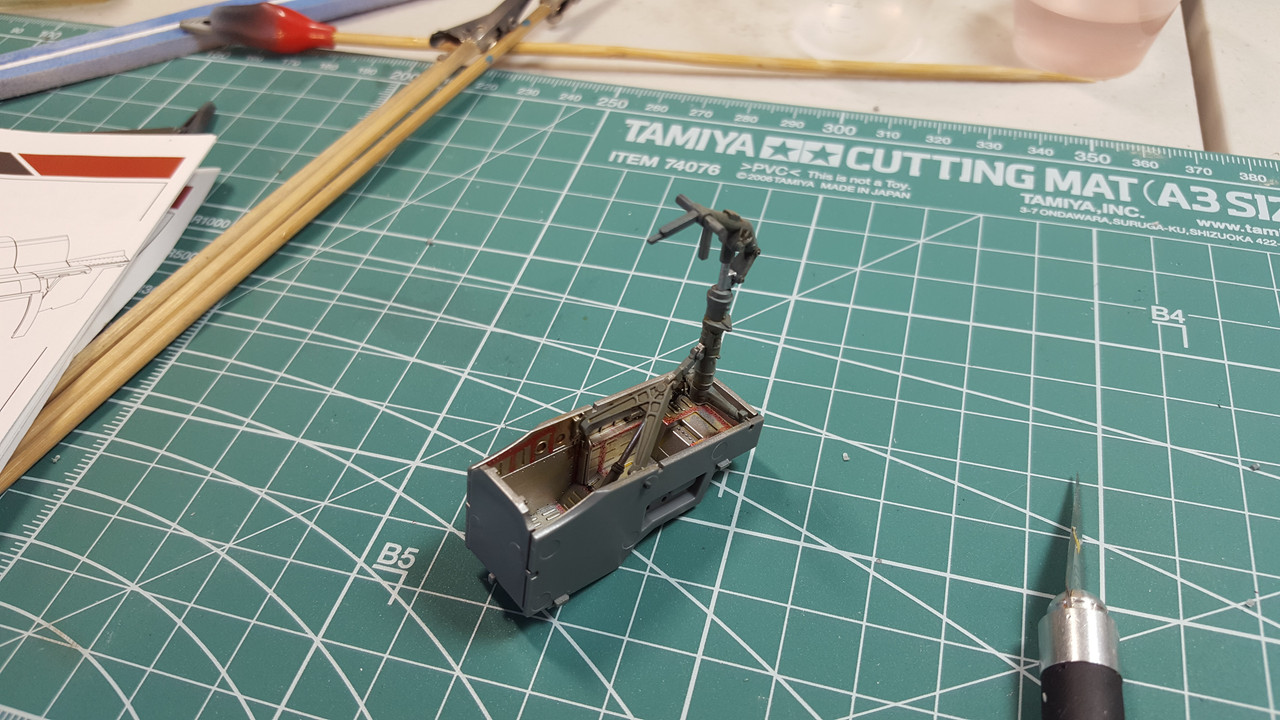 And started working on the upper fuselage/wings. Slats and flaps are in; I'll wait until (much) later to put the wing fences on. It's going to be a big model, for 1/48... 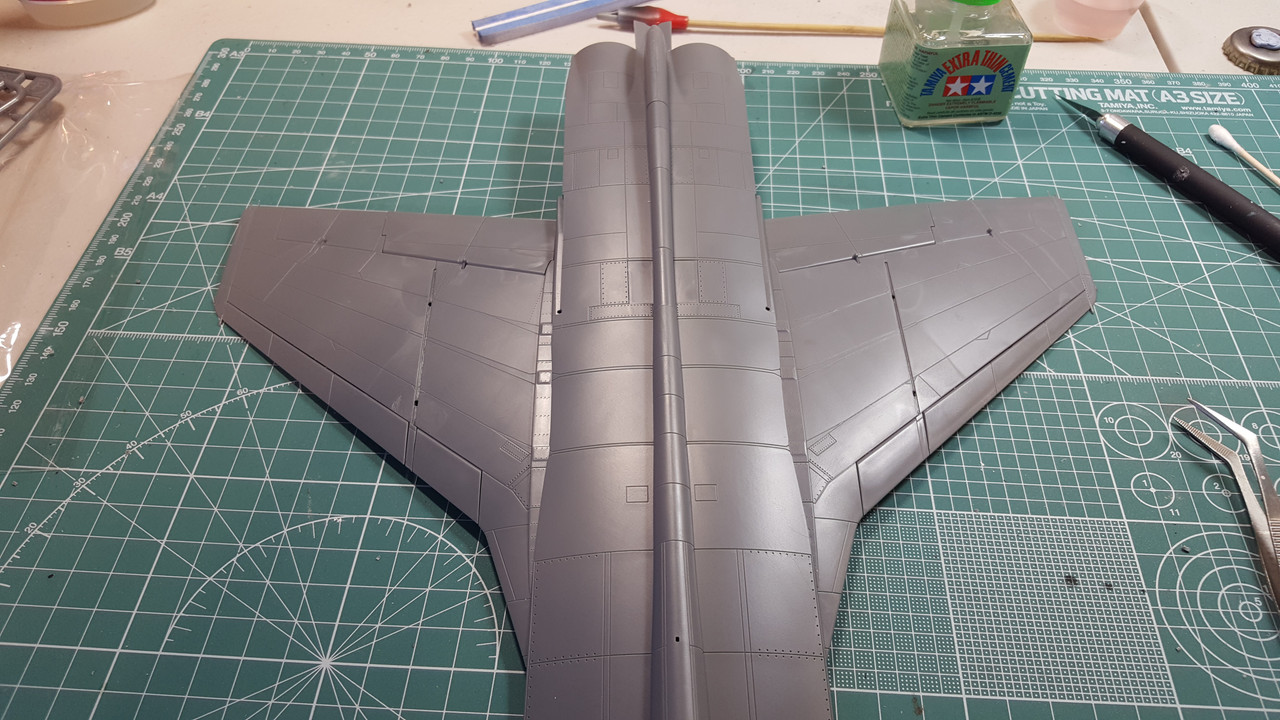 |
|
|
|
Post by Tojo72 on Sept 3, 2016 21:30:55 GMT -5
I have been following with interest as I am awaiting this one,is it necessary to add the nose gear early on,I know I usually wait till later so I don't bust it off.Is this just your preference.
|
|
mnrun.
Junior Member
 
Member since: May 2016
Posts: 75 
|
Post by mnrun. on Sept 3, 2016 21:59:01 GMT -5
No I'd rather leave it off, too. The good news is that what I have in the picture is just mocked up.
The nose gear strut itself (which extends down to the lower of the two cross braces you can see) is removable. So you can leave that off until the very end. The two cross braces and the oleo strut that runs up to the larger brace need to be installed as the nose gear well is going together, however. You don't need to glue them in, though, so you can rotate them as far out of danger as possible.
|
|
|
|
Post by Leon on Sept 4, 2016 6:56:07 GMT -5
Nice progress M! This is coming along nicely.  |
|
mrversatile
Full Member
   July '23 Showcased Build Awarded
Member since: January 2013
Posts: 682
Jan 20, 2013 10:52:24 GMT -5
Jan 20, 2013 10:52:24 GMT -5
|
Post by mrversatile on Sept 4, 2016 10:13:25 GMT -5
I liked the looks of this kit when I saw the review in FSM. It looks even better now. It also looked like a big bird. I didn't know these were that large, but it looks as big as an f-15.
|
|
thug626
Senior Member
   
Member since: January 2013
Posts: 2,035
Jan 15, 2013 13:05:28 GMT -5
Jan 15, 2013 13:05:28 GMT -5
|
Post by thug626 on Sept 4, 2016 10:59:08 GMT -5
That's a mighty winged beastie there! The nose gear looks awesome!
|
|
|
|
Post by wing_nut on Sept 4, 2016 20:38:40 GMT -5
Bonerific. Wow...spell check recognized that word  |
|
thug626
Senior Member
   
Member since: January 2013
Posts: 2,035
Jan 15, 2013 13:05:28 GMT -5
Jan 15, 2013 13:05:28 GMT -5
|
Post by thug626 on Sept 4, 2016 20:46:37 GMT -5
Bonerific. Wow...spell check recognized that word  Who said that's not a word. I used it just the other day and, I was understood.  |
|
mnrun.
Junior Member
 
Member since: May 2016
Posts: 75 
|
Post by mnrun. on Sept 5, 2016 12:15:50 GMT -5
Thanks lads. Bonerific is what I was going for.  As to the size of it; yeah it's a big one. Only a foot larger in wingspan than an F-15, but 10 feet longer. So 2.5" longer in 1/48. Here's a pic of the whole thing put together (couldn't resist throwing all of the sub-assemblies together just once): 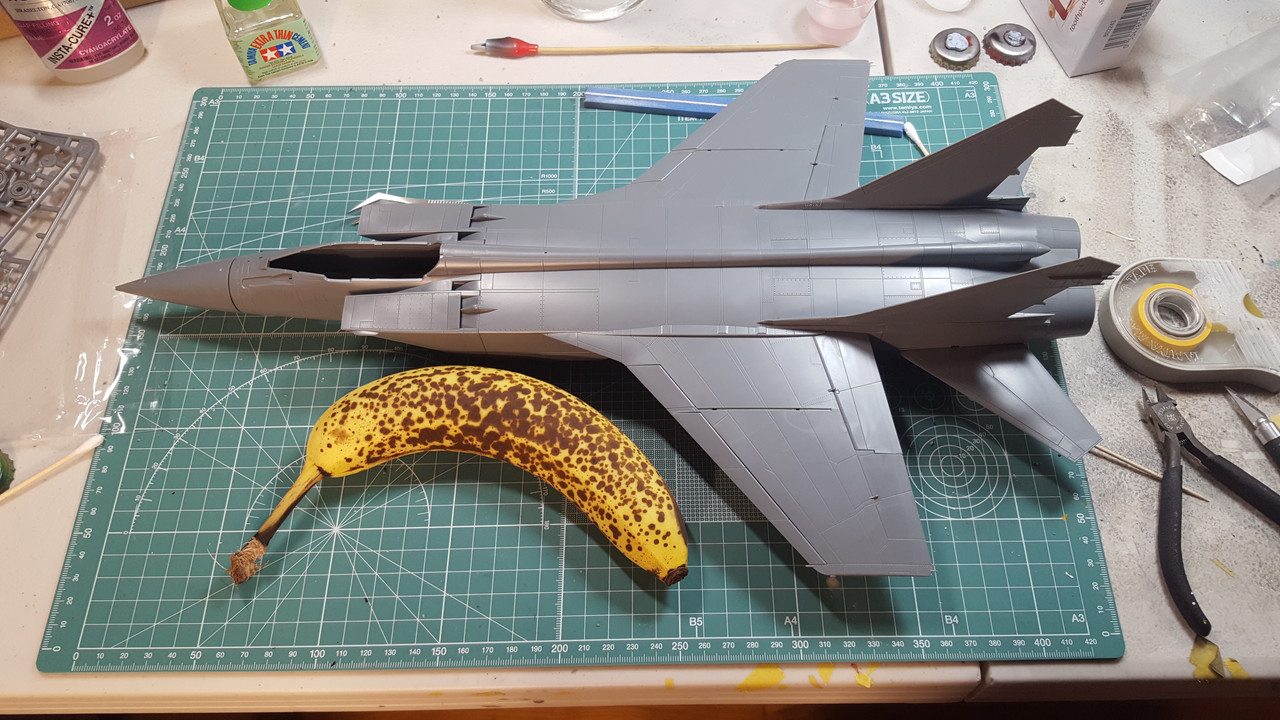
The fit around the nose cone is a bit loose but will join up well to the fuselage with some glue. Other than that it all slides together nicely. I'll need to do some filling around the left vertical stab; that's the only thing that's standing out to me at this point. |
|
|
|
Post by Leon on Sept 6, 2016 4:54:26 GMT -5
WOW...Great looking mock up M!  |
|
moramarth
Full Member
  
Member since: March 2014
Posts: 455 
|
Post by moramarth on Sept 6, 2016 6:15:42 GMT -5
Is it just me, or is the large yellow-and-brown external tank slightly warped?
Cheers,
M
|
|
mnrun.
Junior Member
 
Member since: May 2016
Posts: 75 
|
Post by mnrun. on Sept 6, 2016 21:45:17 GMT -5
^That problem has been taken care of  OK, I worked on mostly fiddly stuff for the last day or so since I'm still waiting on my Russian Turquoise to appear on my doorstep. Here are the intake ramps, with some chipping on the hinges and screen, as I've seen on a couple of walkarounds. The gray appears much darker in this pic than it is in person, but I think it's still a bit too dark. I think it's fine for being inside the intakes, but I'm going to have to try something else out for the rest of the paint. 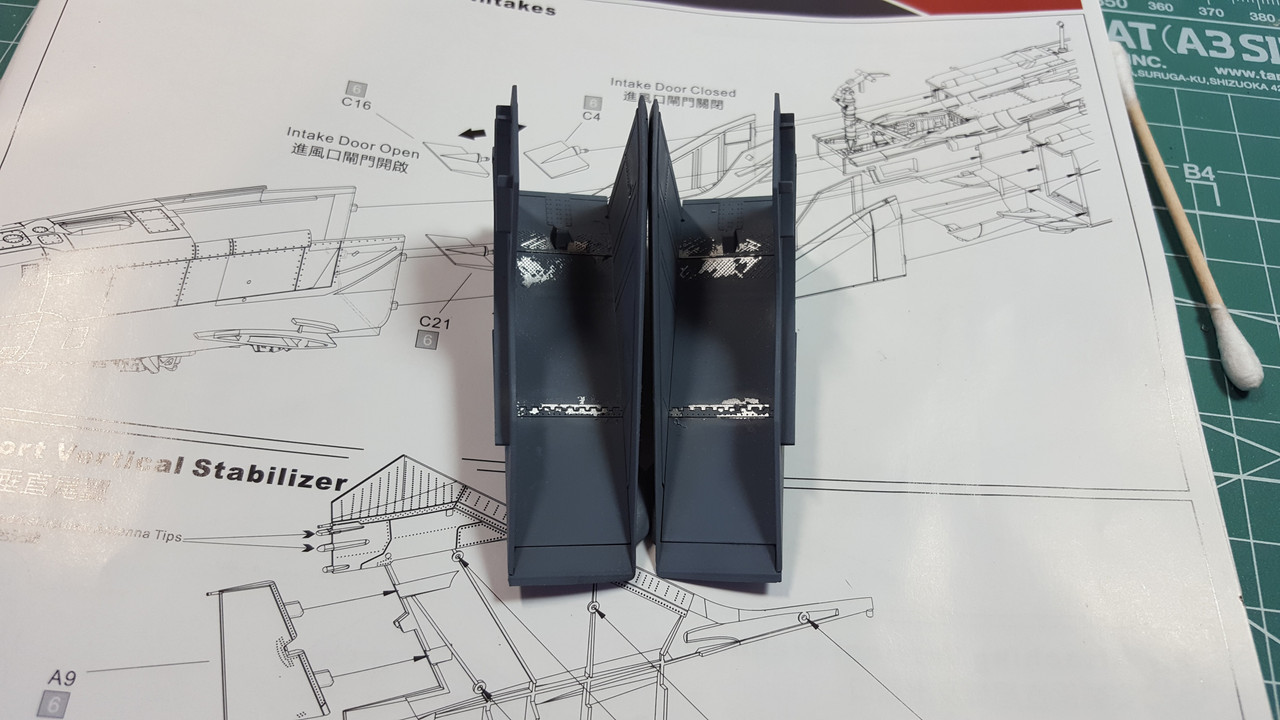 Ugh. Wheels.  Well they look OK now. More Russian Green.. Finished up the burner cans and test fit them on the fuselage, since JimD has me paranoid. 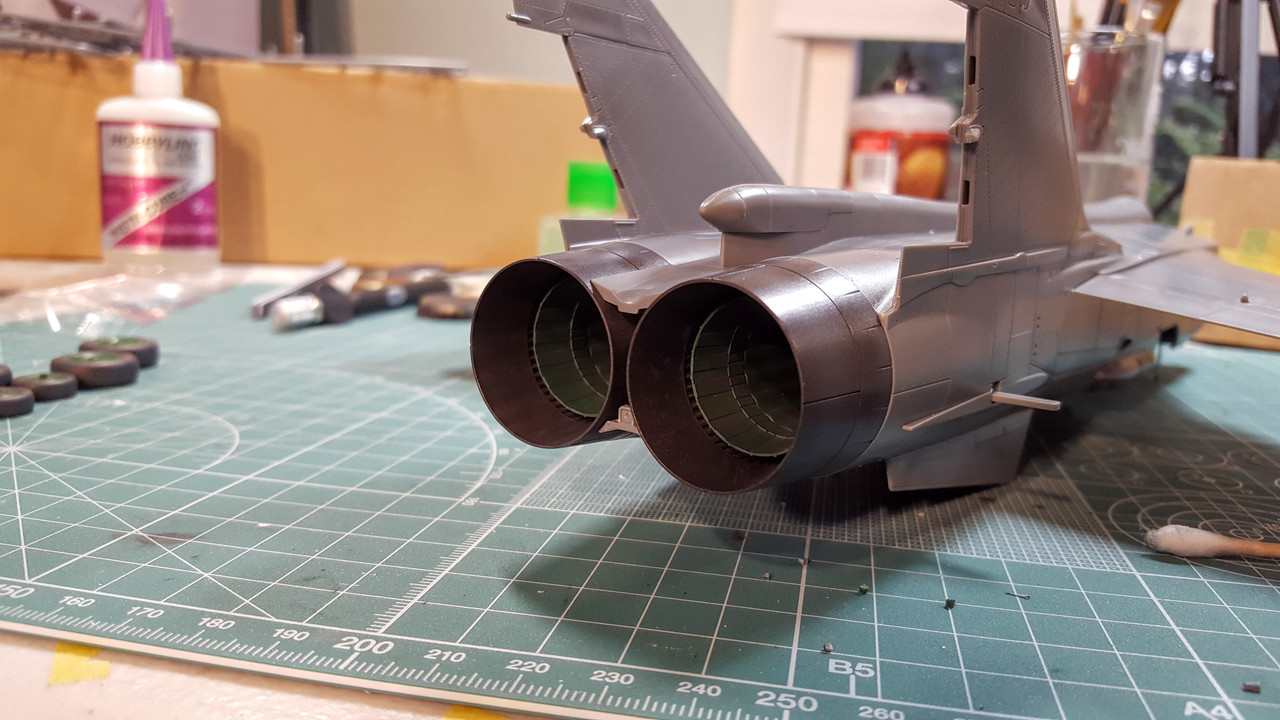 All of the parts for the main gear. Sheesh. Quite a bit of cleanup to do on these parts, actually. Some mold seams and flash, and a few ejector pin marks. 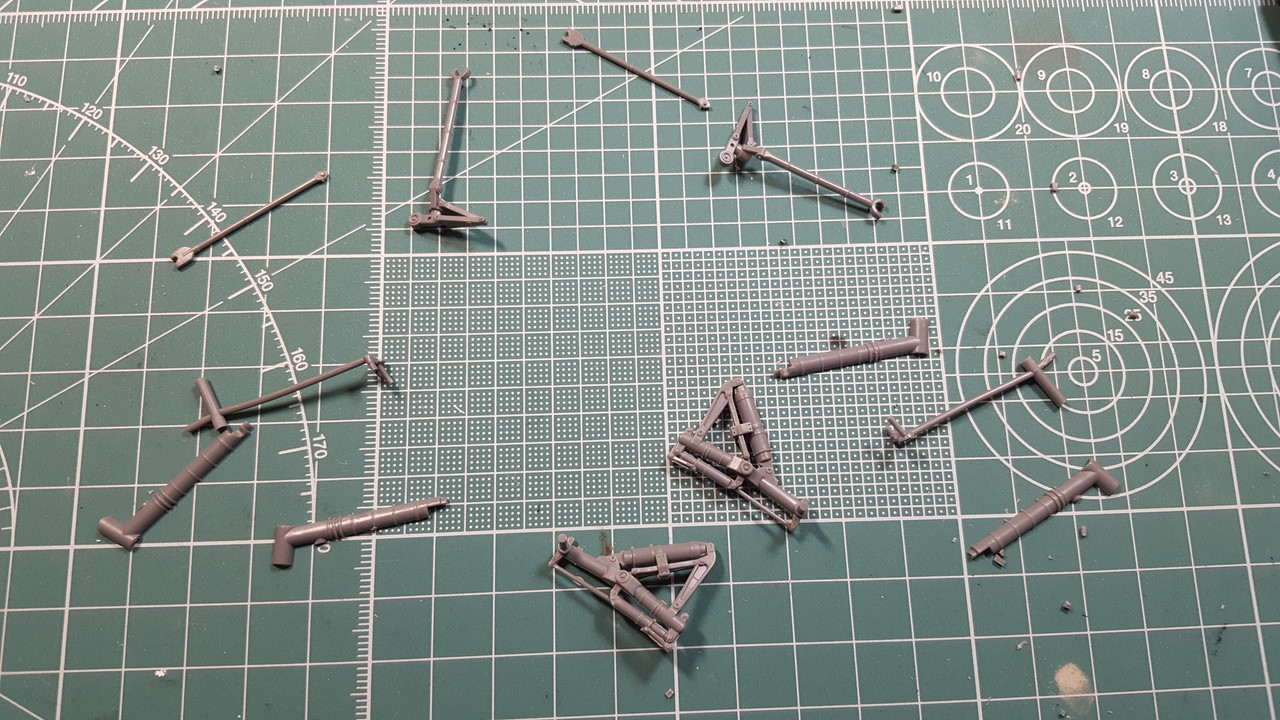 I had to mock it up to get an idea for how it was going together. At some point, the pin for the forward wheel broke off. Oh well that's an easy fix. 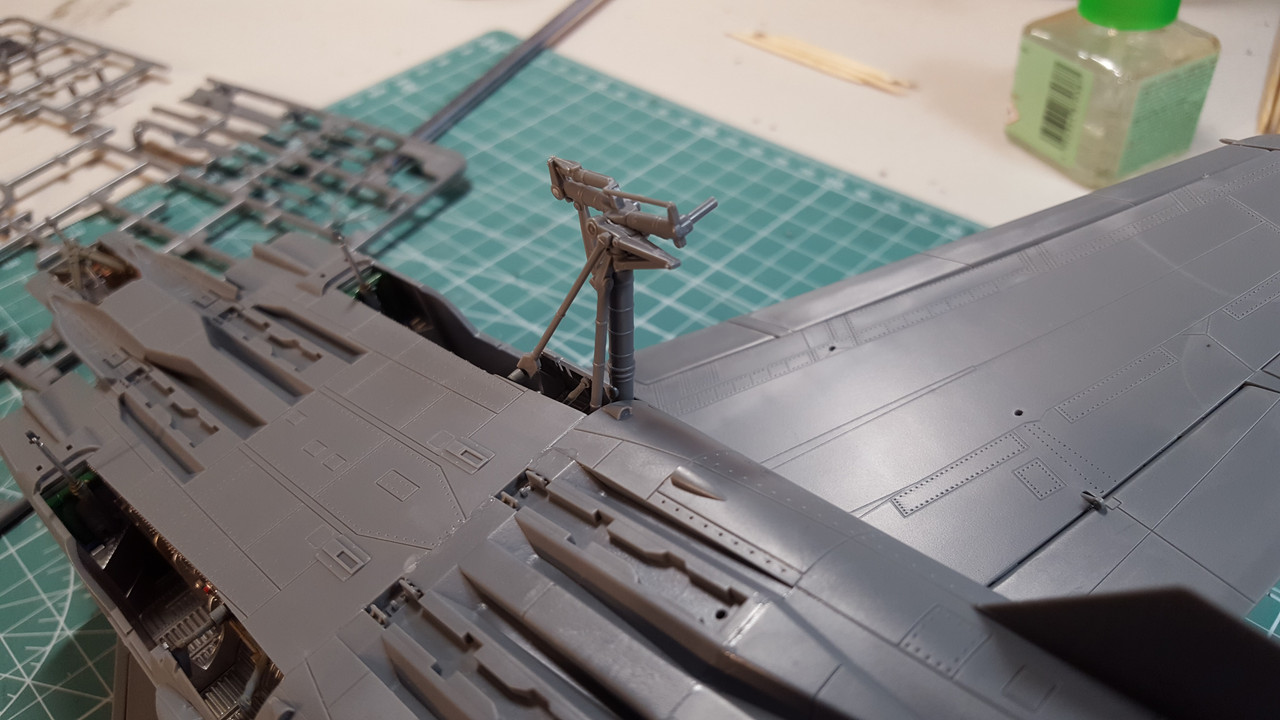 Here they are more or less finished up. The big truss that forms the top of the "T" is still removable, at this stage. 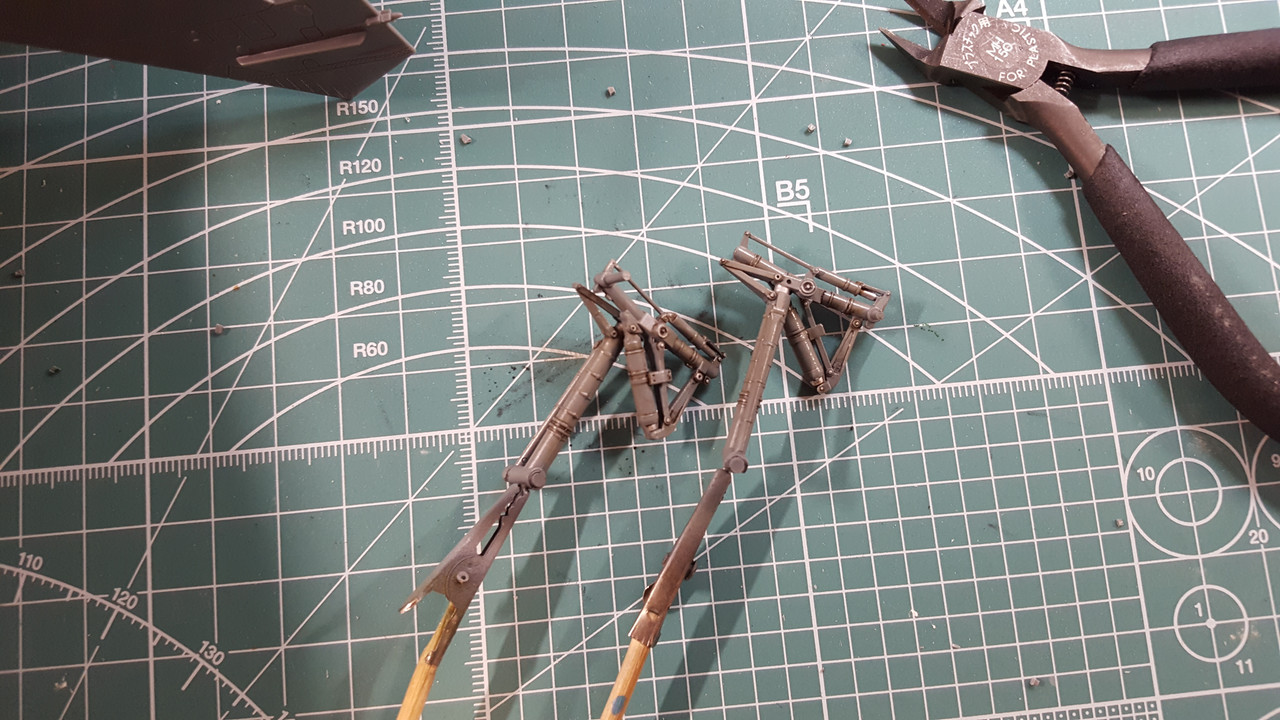 Another ugh. Seats. These will build up pretty well for PS parts, though. And the real-life examples seem to be mostly just black, which is kind of nice. 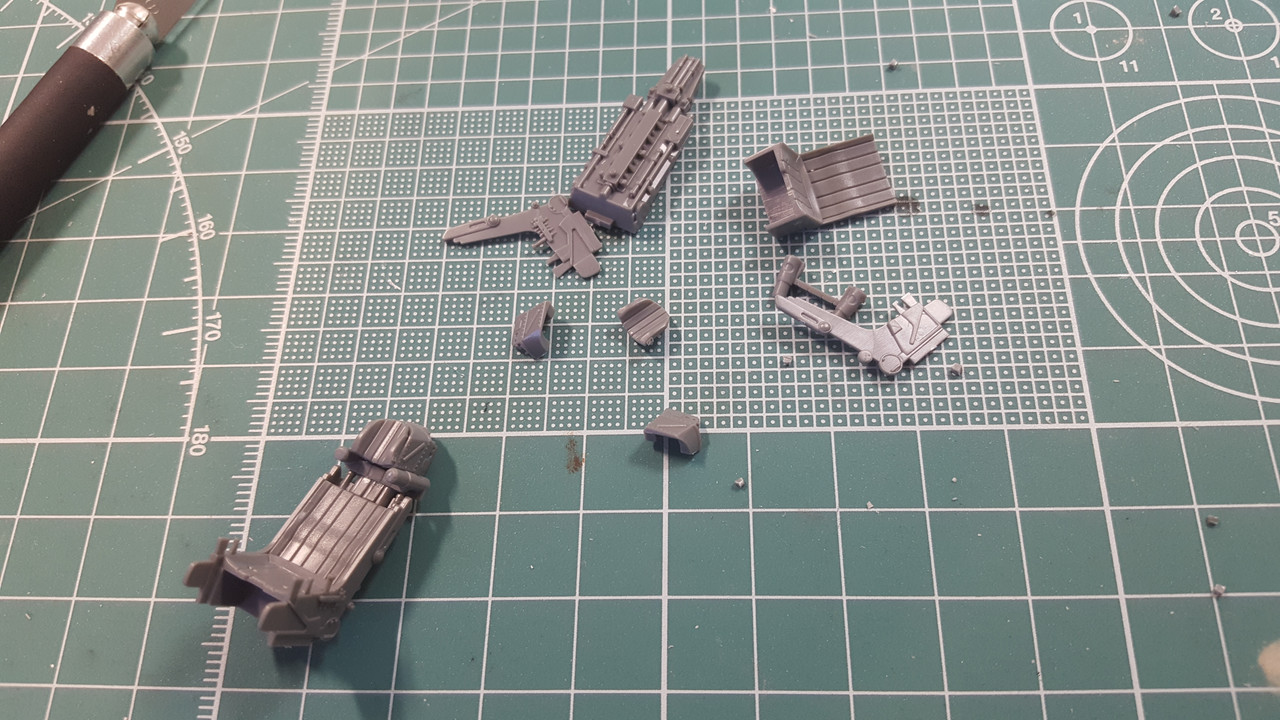 OK, I'm sorry, but just what in the hell is all of that PE work supposed to be showing me?? I stared at that for a good five minutes, said "Right...." and just started winging it. 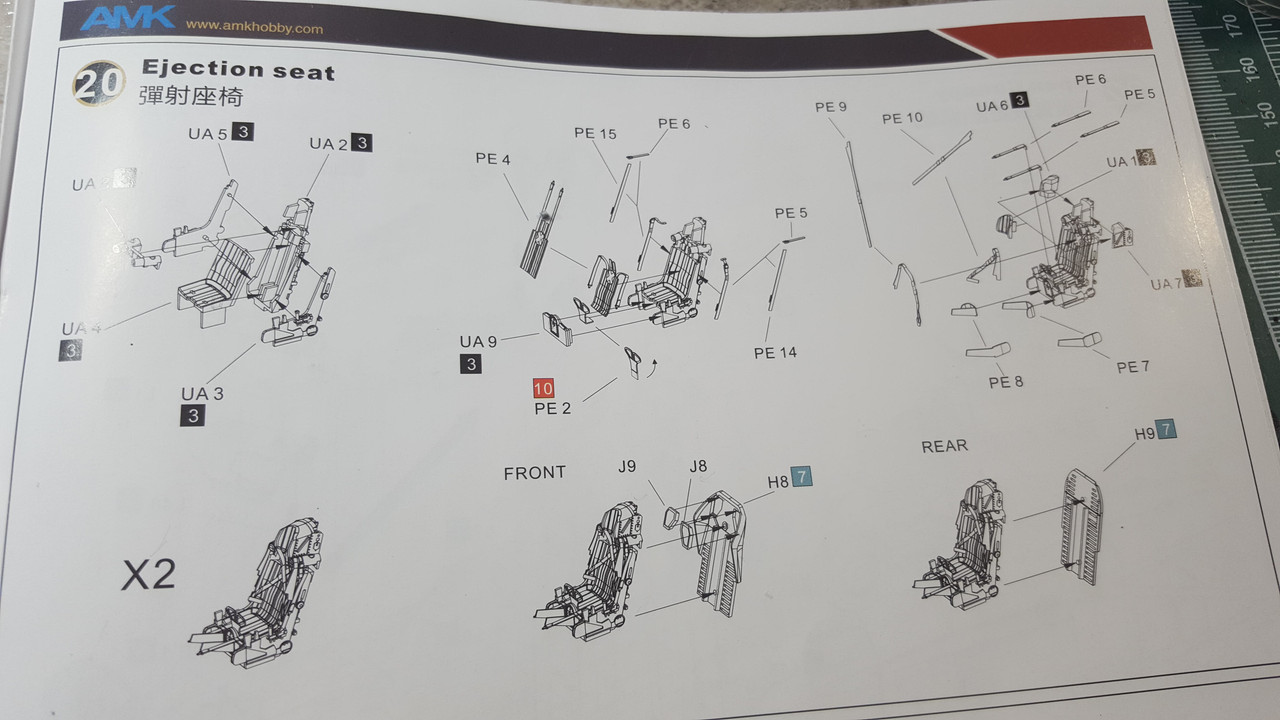 |
|
|
|
Post by Leon on Sept 7, 2016 4:44:43 GMT -5
Nice work on the wheels and landing gear M!
|
|
|
|
Post by wing_nut on Sept 7, 2016 6:42:02 GMT -5
Thanks lads. Bonerific is what I was going for.  Hmmm... and of all the fruit to chose from you opted for a banana. Well ya don't have to be Fellini to figure that one out... Nudge, nudge, wink, wink... know what I mean" The build is coming along really nice. Ditto the ugh on the wheels. That one of the things I don't like doing too. The LG looks nice and very detailed.
|
|
jpc1968
Full Member
  
Member since: May 2015
May '17 Co-Mom Winner, October '17 MoM Winner
Posts: 504 
|
Post by jpc1968 on Sept 8, 2016 7:14:59 GMT -5
Love the weathering on the banana
|
|
jpc1968
Full Member
  
Member since: May 2015
May '17 Co-Mom Winner, October '17 MoM Winner
Posts: 504 
|
Post by jpc1968 on Sept 8, 2016 7:16:08 GMT -5
That's looking sweet. Great detail in the kit
|
|