Deleted
Member since: January 1970
Posts: 0
Nov 24, 2024 6:44:31 GMT -5
Nov 24, 2024 6:44:31 GMT -5
|
Post by Deleted on Sept 29, 2016 7:31:40 GMT -5
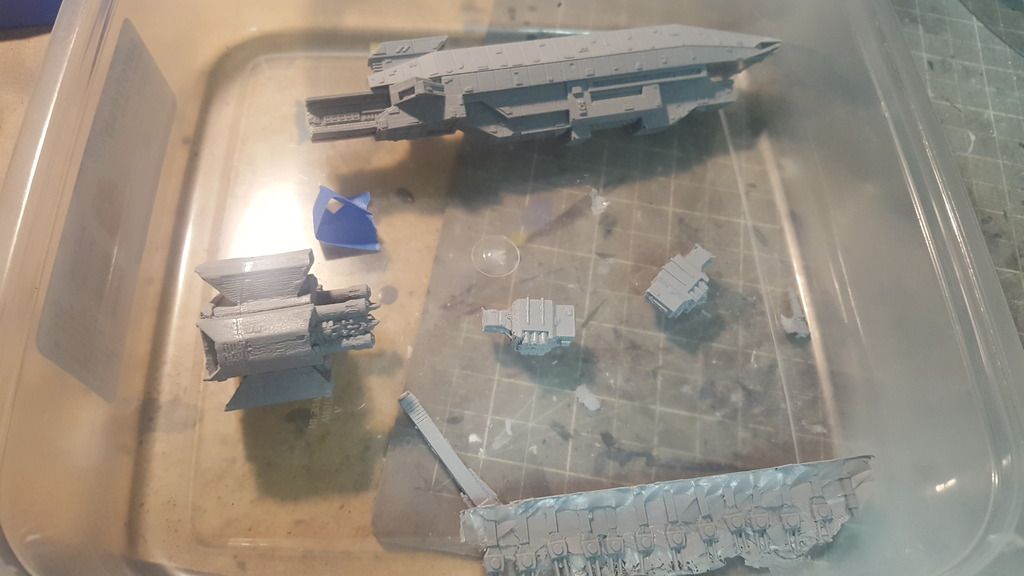
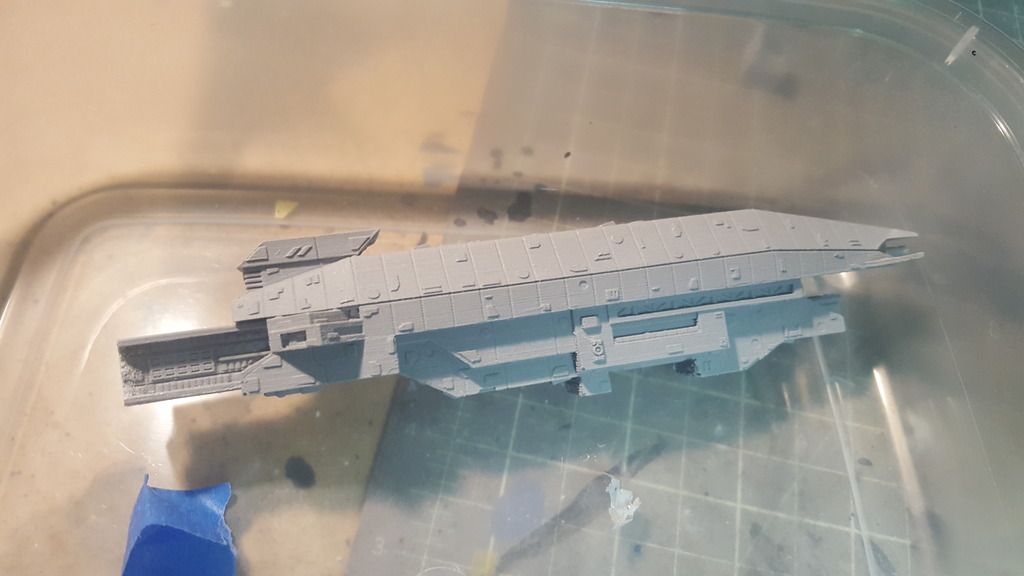
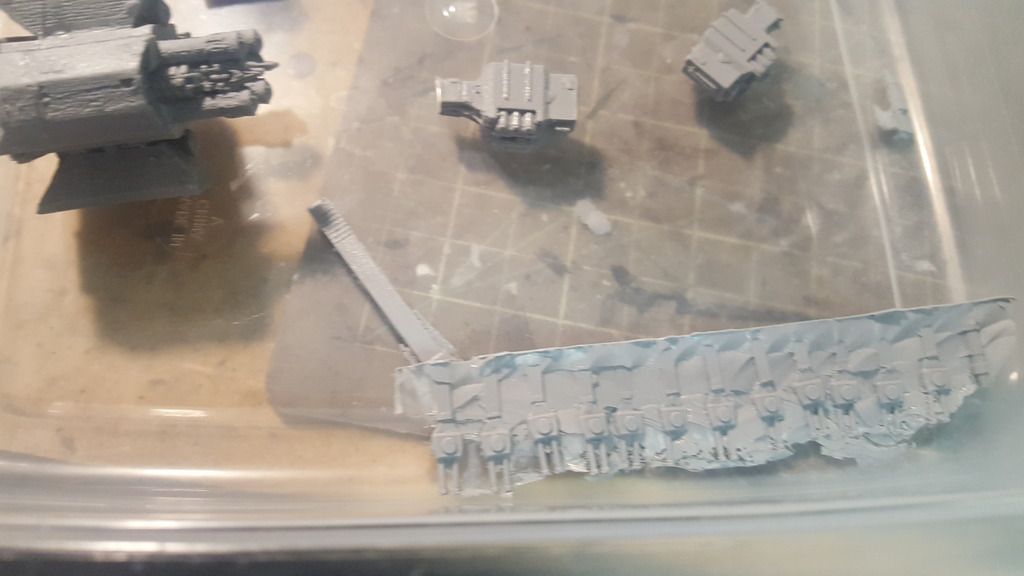
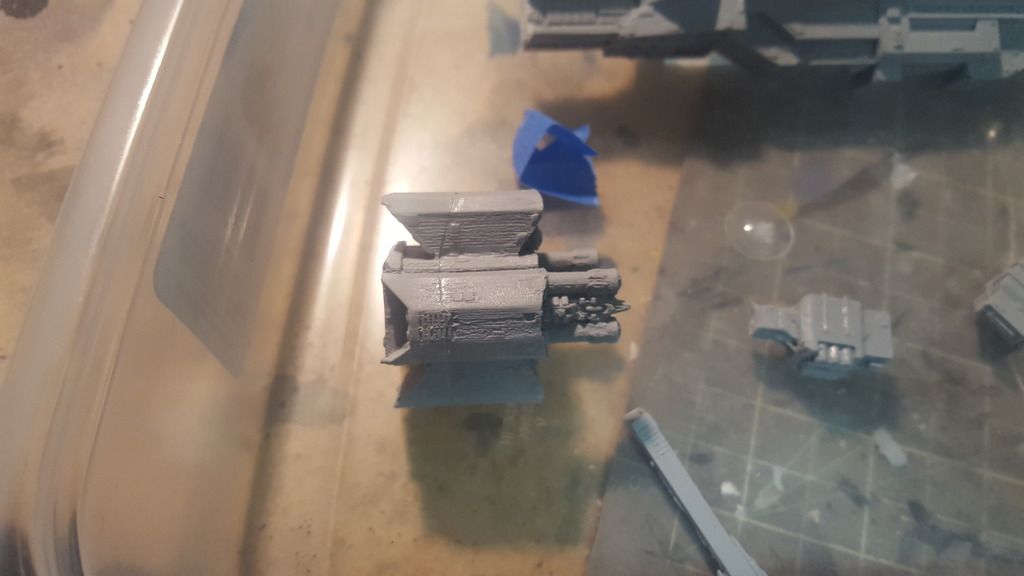
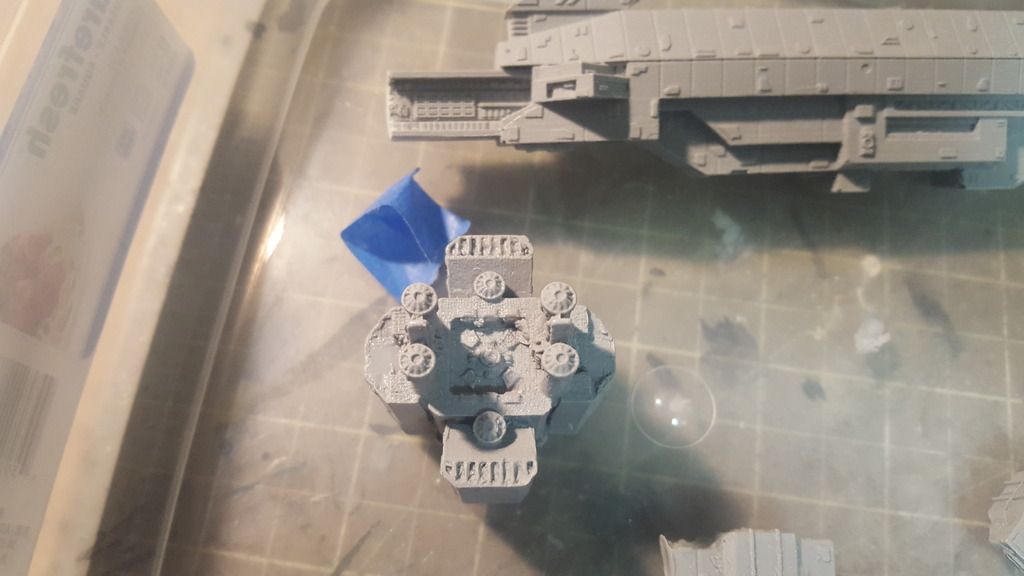
Currently putting my Mig-21 on hold since no one else in the competition even started!This is my first all resin kit. As I recall, this is from BamBam Productions(if I recall correctly), the Warlock Class Destroyer from Babylon 5. No instructions and from what I can tell online, no clear pictures or any CGI models that are not fan made. Should be a fun build. Looks pretty nice, mean mold line on one of the missile pods. To be honest... I have no idea what I am doing here! 
|
|
Deleted
Member since: January 1970
Posts: 0
Nov 24, 2024 6:44:31 GMT -5
Nov 24, 2024 6:44:31 GMT -5
|
Post by Deleted on Oct 6, 2016 7:28:56 GMT -5
|
|
jpc1968
Full Member
  
Member since: May 2015
May '17 Co-Mom Winner, October '17 MoM Winner
Posts: 504 
|
Post by jpc1968 on Oct 6, 2016 8:06:57 GMT -5
is it me or does the tail look like its sagging?
|
|
Deleted
Member since: January 1970
Posts: 0
Nov 24, 2024 6:44:31 GMT -5
Nov 24, 2024 6:44:31 GMT -5
|
Post by Deleted on Oct 6, 2016 8:13:23 GMT -5
It possibly is. It looked straighter as it was setting when I had the model positioned vertically. So I might have to do some surgery to fix it.
|
|
|
|
Post by dierk on Oct 6, 2016 12:15:12 GMT -5
I was going to mention the 'brewer's droop' but now I don't have to.  Intersting subject - don't often get to see stuff from the Babylon 5 universe. |
|
Deleted
Member since: January 1970
Posts: 0
Nov 24, 2024 6:44:31 GMT -5
Nov 24, 2024 6:44:31 GMT -5
|
Post by Deleted on Oct 14, 2016 9:13:50 GMT -5
Removed he rear engine section and ill try to level off the connections. trying to sand the mating surfaces and keep detail at the same time.
|
|
|
|
Post by dierk on Oct 14, 2016 9:44:50 GMT -5
Would it maybe be an idea to pin the two parts with some brass rod/wire?
|
|
Deleted
Member since: January 1970
Posts: 0
Nov 24, 2024 6:44:31 GMT -5
Nov 24, 2024 6:44:31 GMT -5
|
Post by Deleted on Oct 14, 2016 11:06:21 GMT -5
I've been pondering that. Trying to decide if I am skilled enough to find the mid-point on the two sections to do that. I honestly think that is the best route and then putty the gaps.
|
|
|
|
Post by dierk on Oct 14, 2016 11:15:37 GMT -5
Pin one side, stick some Blu Tack on the other, line the parts up, push together and you should have a good idea where to drill the other hole?
|
|
Deleted
Member since: January 1970
Posts: 0
Nov 24, 2024 6:44:31 GMT -5
Nov 24, 2024 6:44:31 GMT -5
|
Post by Deleted on Oct 17, 2016 7:24:43 GMT -5
Pin one side, stick some Blu Tack on the other, line the parts up, push together and you should have a good idea where to drill the other hole? That can work. Feel like an idiot for not thinking of that, thanks. |
|
jpc1968
Full Member
  
Member since: May 2015
May '17 Co-Mom Winner, October '17 MoM Winner
Posts: 504 
|
Post by jpc1968 on Oct 17, 2016 14:20:46 GMT -5
is that the "smoker's cough from smoking, brewers droop from drinking beer"?..........Dire Straits
|
|
Deleted
Member since: January 1970
Posts: 0
Nov 24, 2024 6:44:31 GMT -5
Nov 24, 2024 6:44:31 GMT -5
|
Post by Deleted on Oct 20, 2016 8:11:40 GMT -5
|
|
|
|
Post by dupes on Oct 20, 2016 12:05:10 GMT -5
Nice! Didn't realize that there was ever a kit of this. Looks like a pretty decent molding.
|
|
Deleted
Member since: January 1970
Posts: 0
Nov 24, 2024 6:44:31 GMT -5
Nov 24, 2024 6:44:31 GMT -5
|
Post by Deleted on Oct 20, 2016 13:56:54 GMT -5
This is my first all resin model. Looks a little rough, but no idea if that is the norm or the exception.
|
|
|
|
Post by dierk on Oct 23, 2016 7:41:07 GMT -5
Glad I managed to help out - to be honest, it was just an idea...never tried it myself  |
|
Deleted
Member since: January 1970
Posts: 0
Nov 24, 2024 6:44:31 GMT -5
Nov 24, 2024 6:44:31 GMT -5
|
Post by Deleted on Oct 24, 2016 7:55:30 GMT -5
Had the chance to work on this a little bit more, will post more images later. The missile pods are added, just trying to figure out how to handle the guns. Since this is smaller, the gun barrels are so close to the hull that to glue them on and then paint will be a hassle. So I may have to add them later. Also, thinking of the paint scheme. Trying to decide on which gray to use, or go with a HaveGlass color scheme.
|
|
Deleted
Member since: January 1970
Posts: 0
Nov 24, 2024 6:44:31 GMT -5
Nov 24, 2024 6:44:31 GMT -5
|
Post by Deleted on Oct 27, 2016 10:03:55 GMT -5
|
|
|
|
Post by dierk on Oct 27, 2016 11:55:10 GMT -5
Splendid!
|
|
Deleted
Member since: January 1970
Posts: 0
Nov 24, 2024 6:44:31 GMT -5
Nov 24, 2024 6:44:31 GMT -5
|
Post by Deleted on Oct 27, 2016 15:13:00 GMT -5
Thanks, next step will be to fill in some of the gaps and decide on how to mount this thing to the base...
|
|
|
|
Post by Leon on Oct 27, 2016 16:44:42 GMT -5
Nice progress and it looks strait as an arrow now!  |
|
Deleted
Member since: January 1970
Posts: 0
Nov 24, 2024 6:44:31 GMT -5
Nov 24, 2024 6:44:31 GMT -5
|
Post by Deleted on Oct 31, 2016 11:43:09 GMT -5
|
|
|
|
Post by dierk on Oct 31, 2016 12:02:59 GMT -5
Plenty of thoughts - none of them helpful to you  |
|
Deleted
Member since: January 1970
Posts: 0
Nov 24, 2024 6:44:31 GMT -5
Nov 24, 2024 6:44:31 GMT -5
|
Post by Deleted on Oct 31, 2016 12:39:17 GMT -5
Plenty of thoughts - none of them helpful to you  Better then what I manage!  |
|
|
|
Post by dierk on Oct 31, 2016 12:42:54 GMT -5
If it doesn't look like anything is oviously missing, chuck 'em in the (spares)bin  |
|
Deleted
Member since: January 1970
Posts: 0
Nov 24, 2024 6:44:31 GMT -5
Nov 24, 2024 6:44:31 GMT -5
|
Post by Deleted on Oct 31, 2016 13:24:28 GMT -5
Okay, found out what those pieces are. Got in touch with the person who made the kit, he informed me they go in front of the ship on either side of the launch bay.
|
|
Deleted
Member since: January 1970
Posts: 0
Nov 24, 2024 6:44:31 GMT -5
Nov 24, 2024 6:44:31 GMT -5
|
Post by Deleted on Nov 3, 2016 7:50:50 GMT -5
Just a quick update. The nubs removed to add the guns. 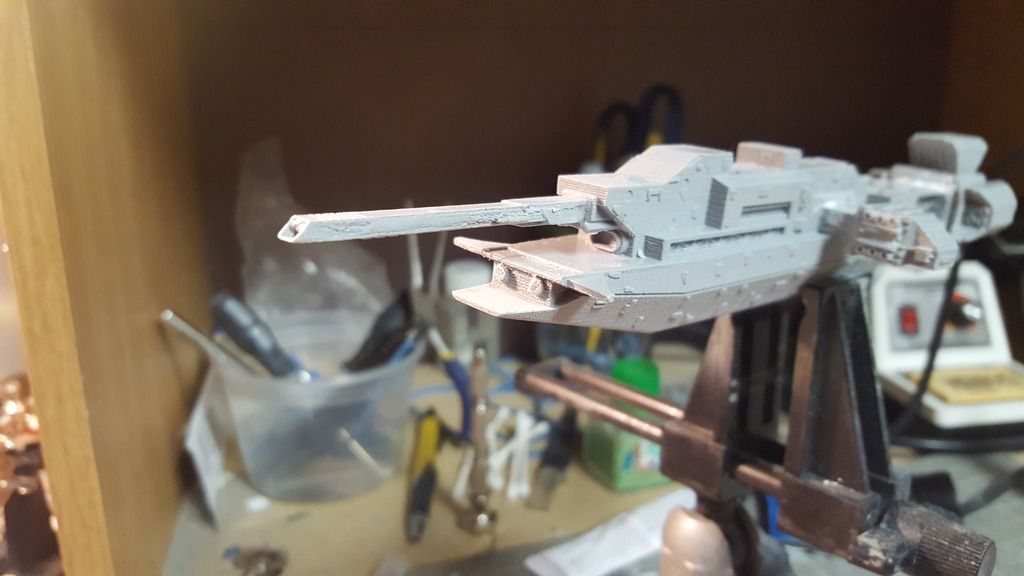 Guns added, that seam line will be dealt with later. 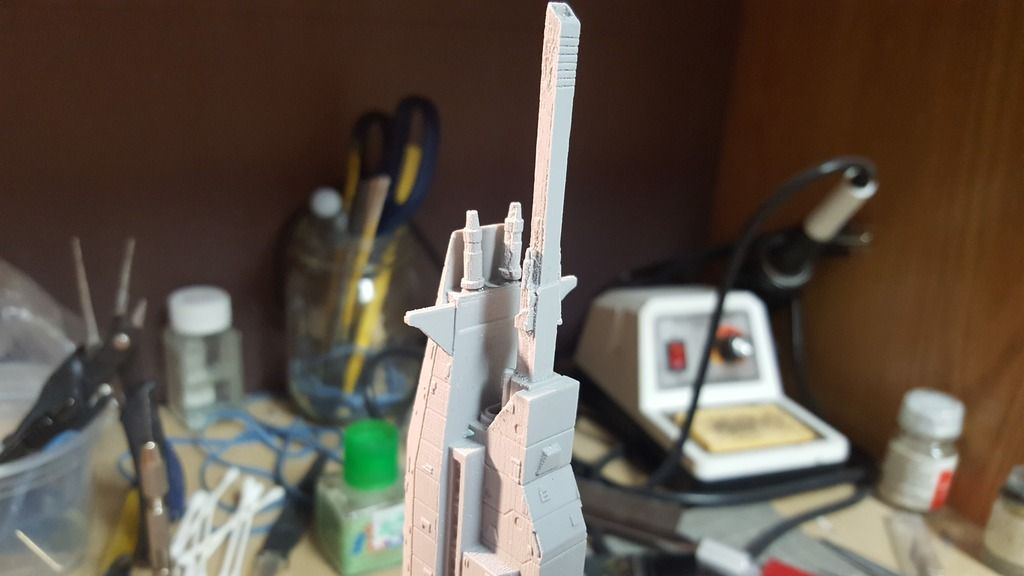 Looks more off-centered in the photo then it did in person. 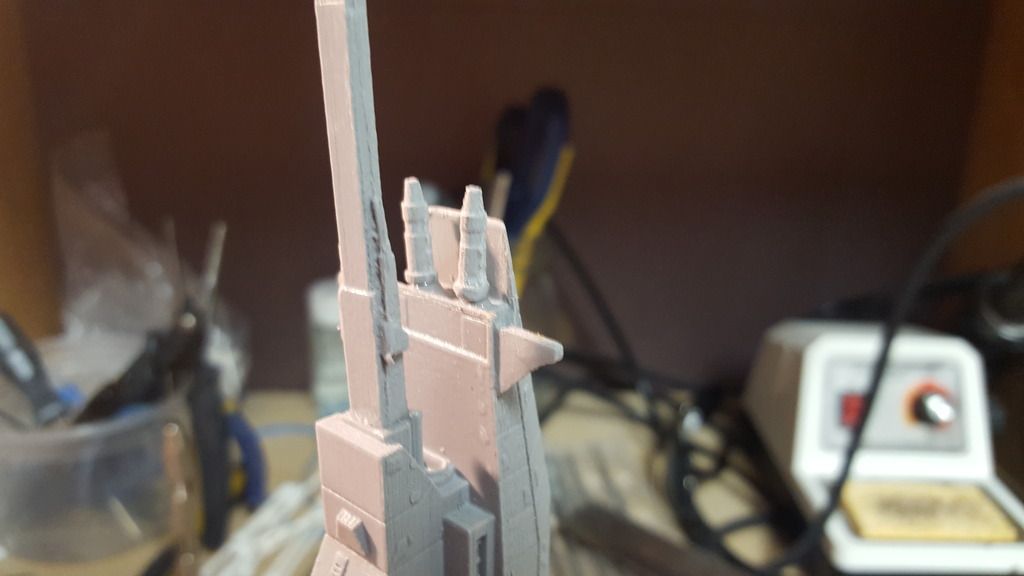 Might be hard to see, but had to fill in some holes along the ventral section with putty. 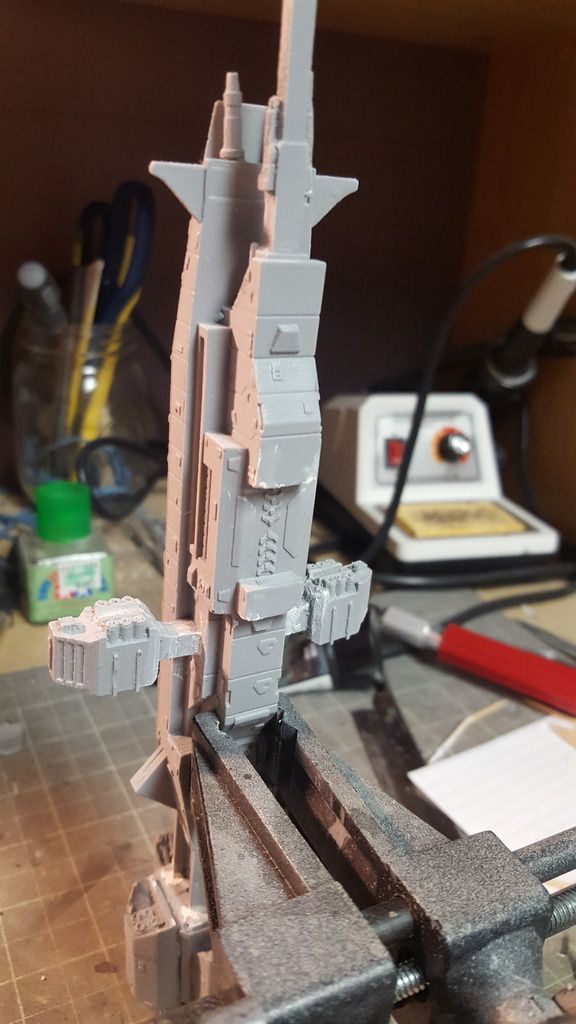 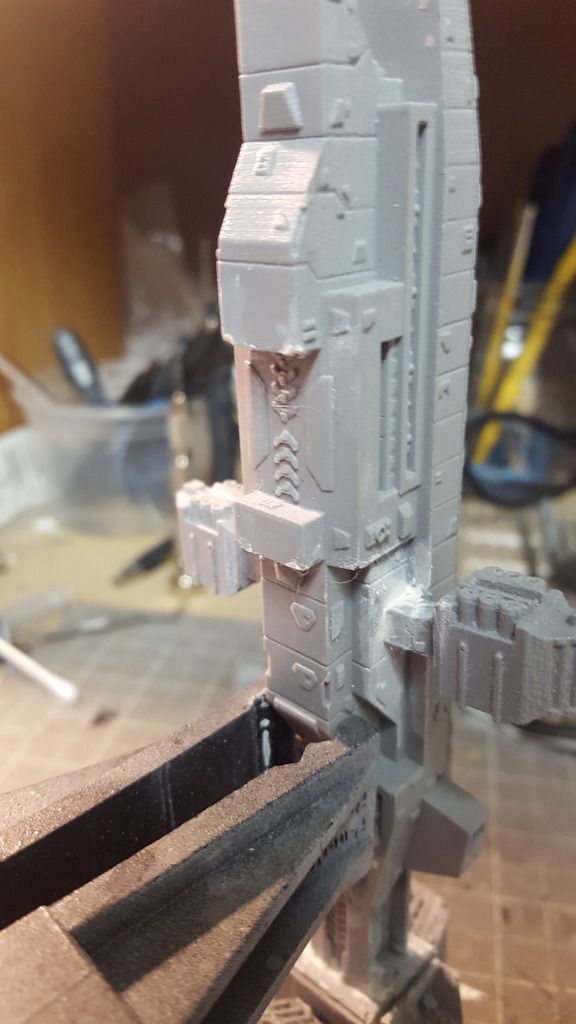 |
|
Deleted
Member since: January 1970
Posts: 0
Nov 24, 2024 6:44:31 GMT -5
Nov 24, 2024 6:44:31 GMT -5
|
Post by Deleted on Nov 10, 2016 8:22:47 GMT -5
|
|
jpc1968
Full Member
  
Member since: May 2015
May '17 Co-Mom Winner, October '17 MoM Winner
Posts: 504 
|
Post by jpc1968 on Nov 10, 2016 8:27:38 GMT -5
looking good. You should christen it "Narwhal"  |
|
|
|
Post by Leon on Nov 10, 2016 10:11:31 GMT -5
Looking good!
|
|
Deleted
Member since: January 1970
Posts: 0
Nov 24, 2024 6:44:31 GMT -5
Nov 24, 2024 6:44:31 GMT -5
|
Post by Deleted on Nov 14, 2016 9:03:36 GMT -5
Spent some time working on this build a bit more. Relearned that not all paints are created the same.  Used Pure Black from Master Series Paint. Create when used with a brush, not so well when you water it down too much to airbrush. I would chalk it up to my error, not the paint. Also trying to decide on the base color since I am not going with a Have Glass type look. Leaning more towards Blackened Steel or Natural Steel made by Vallejo. 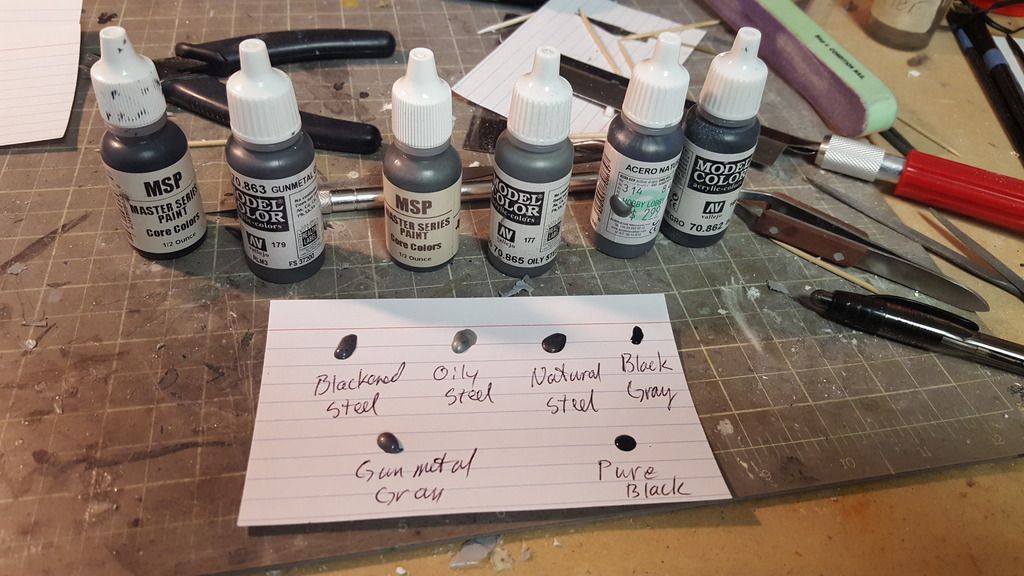 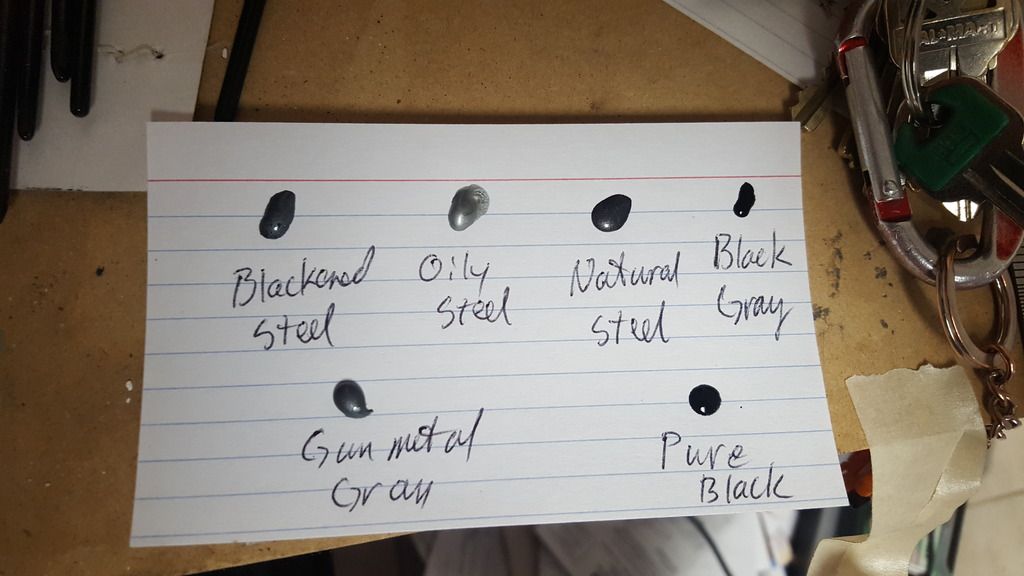 A very watered down group of turrets. These may need to be hand painted. 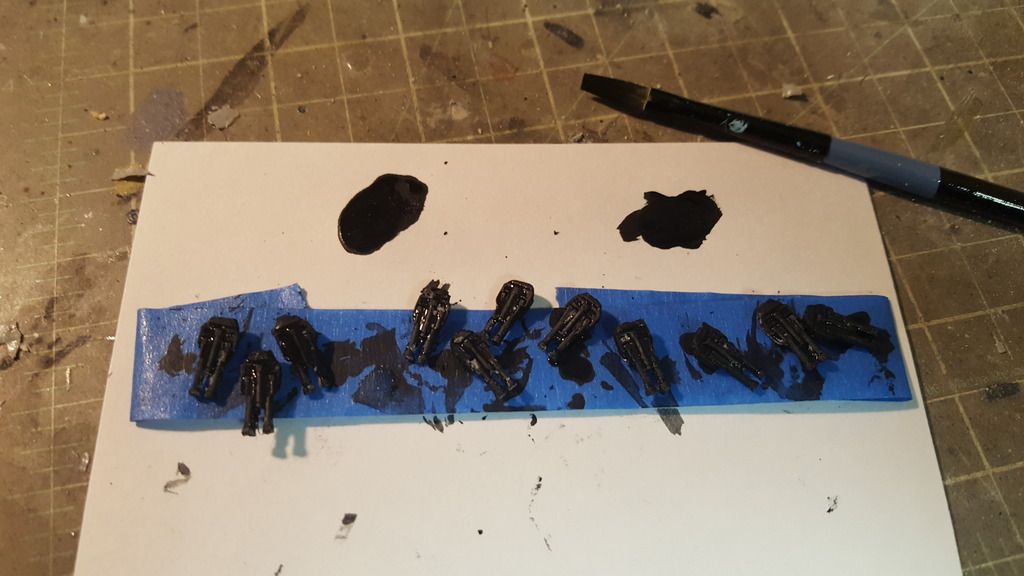 A still drying yet primed Warlock. 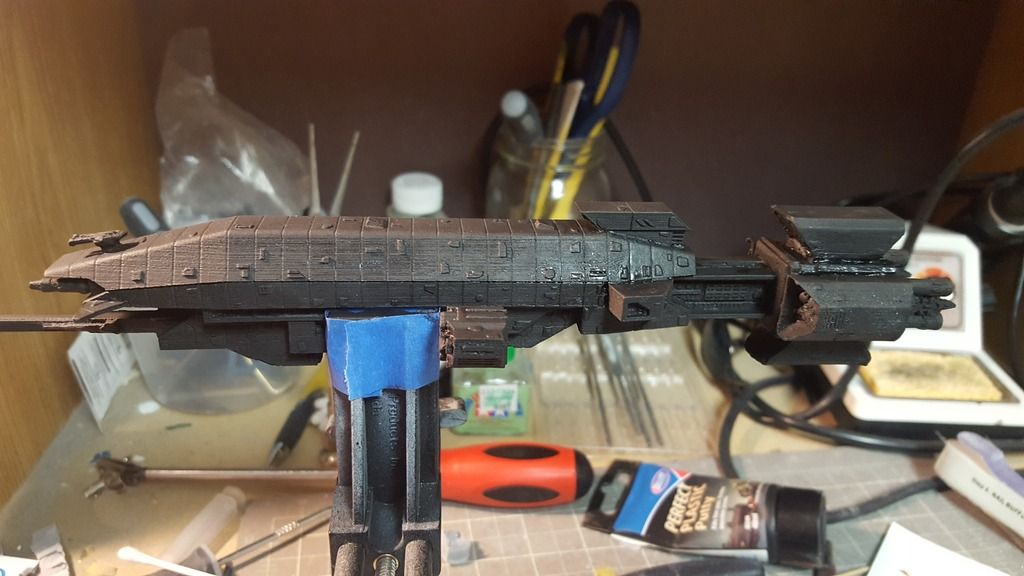 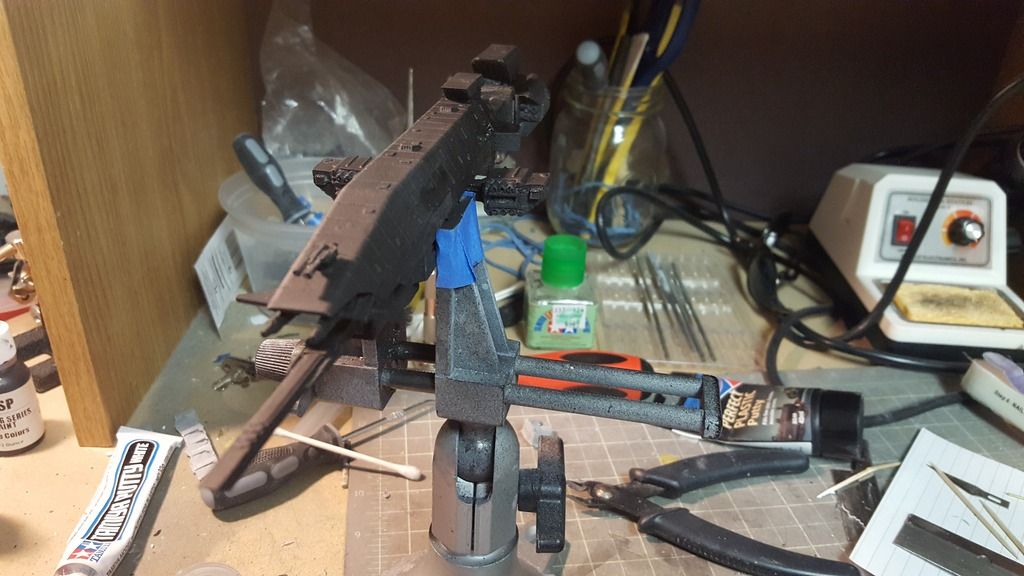 |
|