|
|
Post by hasenpfeffer on Feb 19, 2023 20:48:50 GMT -5
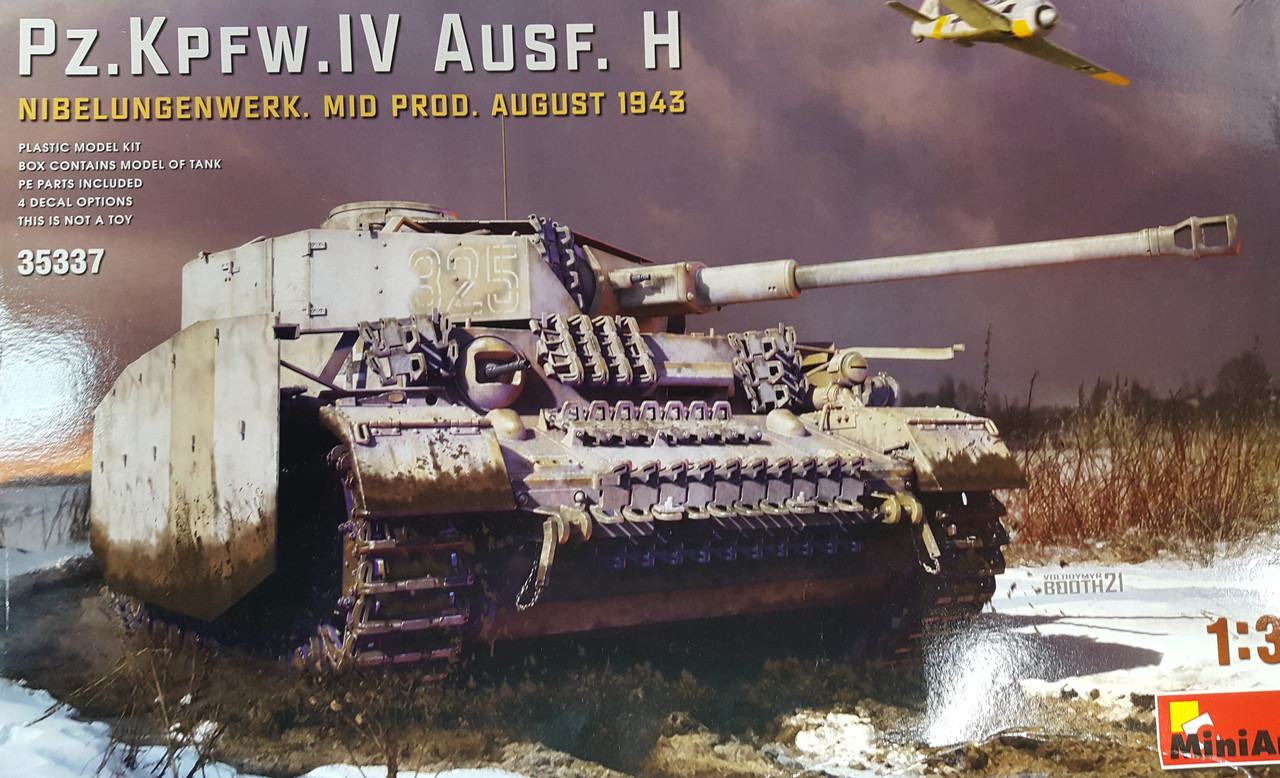
So, I'm not really sure how to start this thread as I began this build a few weeks ago. I suppose I won't waste too much time with what happened up to now and just post progress from here on out. Mini Art kits are new to me, even though I've known of their existence for quite some time. It's just one of those things where I've stayed within the boundaries of what I know. Like Dragon. And I seem to have been building planes lately...
Opening the box you're presented with a nicely packaged stack of sprues. The detail looks great. And I mean it has a lot of great detail. The plastic seems a little soft and thin for what you have to do in constructing this thing, but not terrible by any means. There are a lot of ejection pin marks - both raised and embossed in this bad boy. Like all kits - some of these are annoyingly visible and have to be dealt with. At least I feel the need to do so. There are also a fair amount of seam lines. Another thing that drives me crazy. Some parts have a bit of flash. I noticed especially in the delicate areas of the tracks. Enough so that I will be opting for some aftermarket RFM ones - which I really really like. The construction itself I would rate more towards an advanced level. Not because you couldn't do it as a beginner, but you build the tub. You build the hull. You build the turret. There are a bunch of ways this can go south if it isn't all square and nicely fitting. Tolerances stacking on tolerances. There are a bunch of really small parts in there too and PE. But if you can handle all that, you are in for a treat. At least from what I've seen so far.
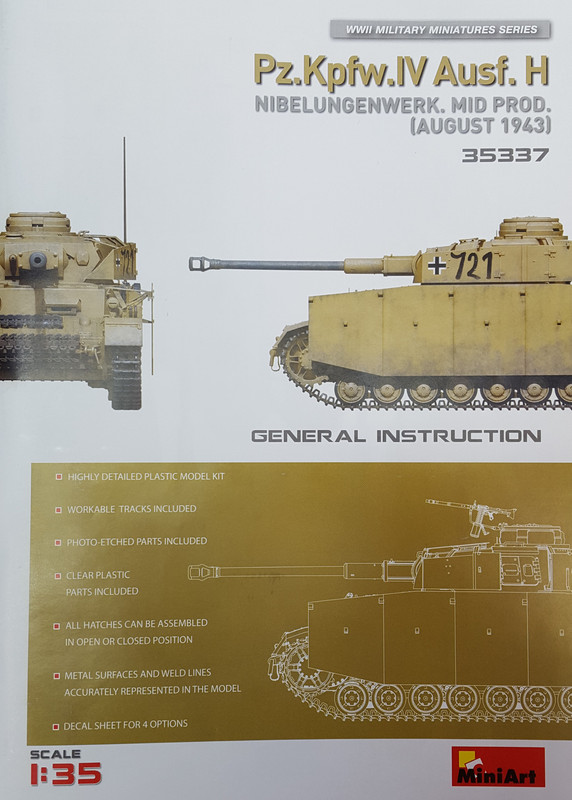
Here's the completed tub. At least there is a firewall to help with the location of the parts and to help make thigs square. You can see all the ejection marks. If this was an interior kit I'd be pulling my hair out. But as it is, they'll be nicely hidden inside.

Here it is with the upper hull sitting on top of it. I have no idea why they broke the top plate of the hull into 2 pieces. Maybe because of the slight angle? PITA

Skipping ahead a couple weeks, most of the tools on. I added a couple aftermarket brackets. I also didn't like their molded on wing nuts for most of the tool brackets that I did use, so I cut them off and replaced them with some better ones I had at my bench. Handy!
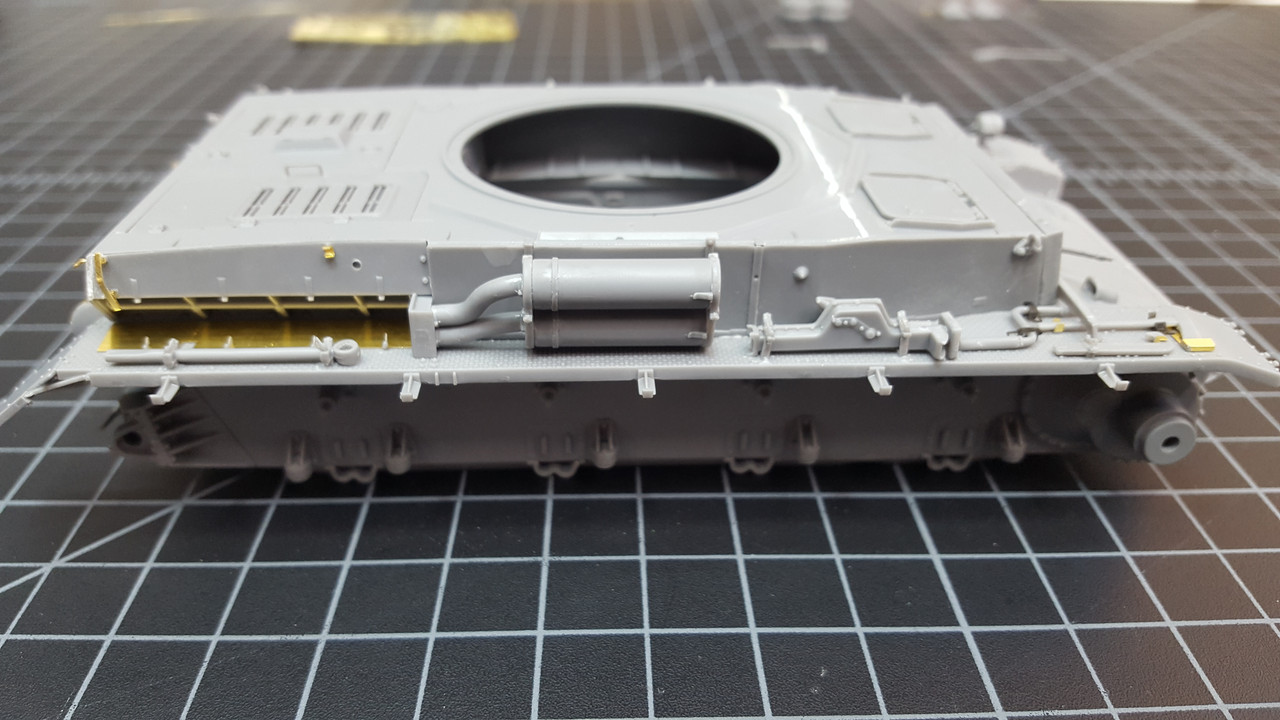
I surprised myself and actually soldered some of these small PE parts (axe bracket and fire extinguisher bracket).
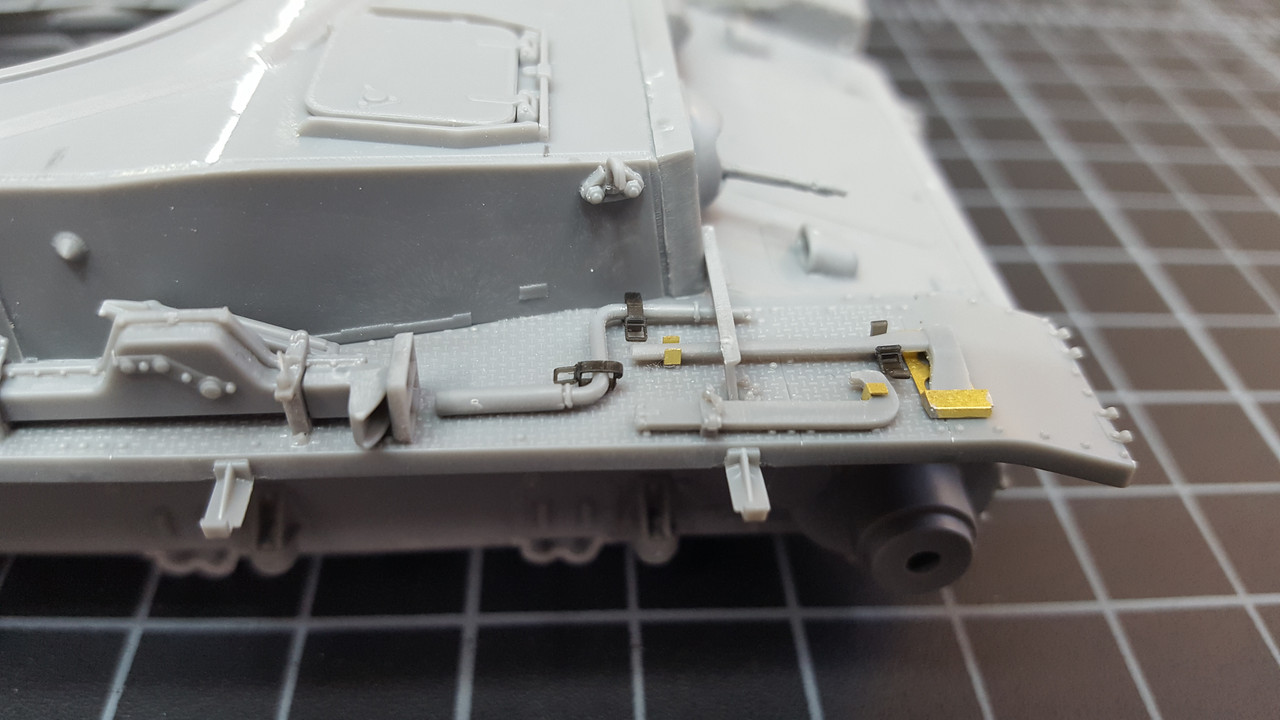

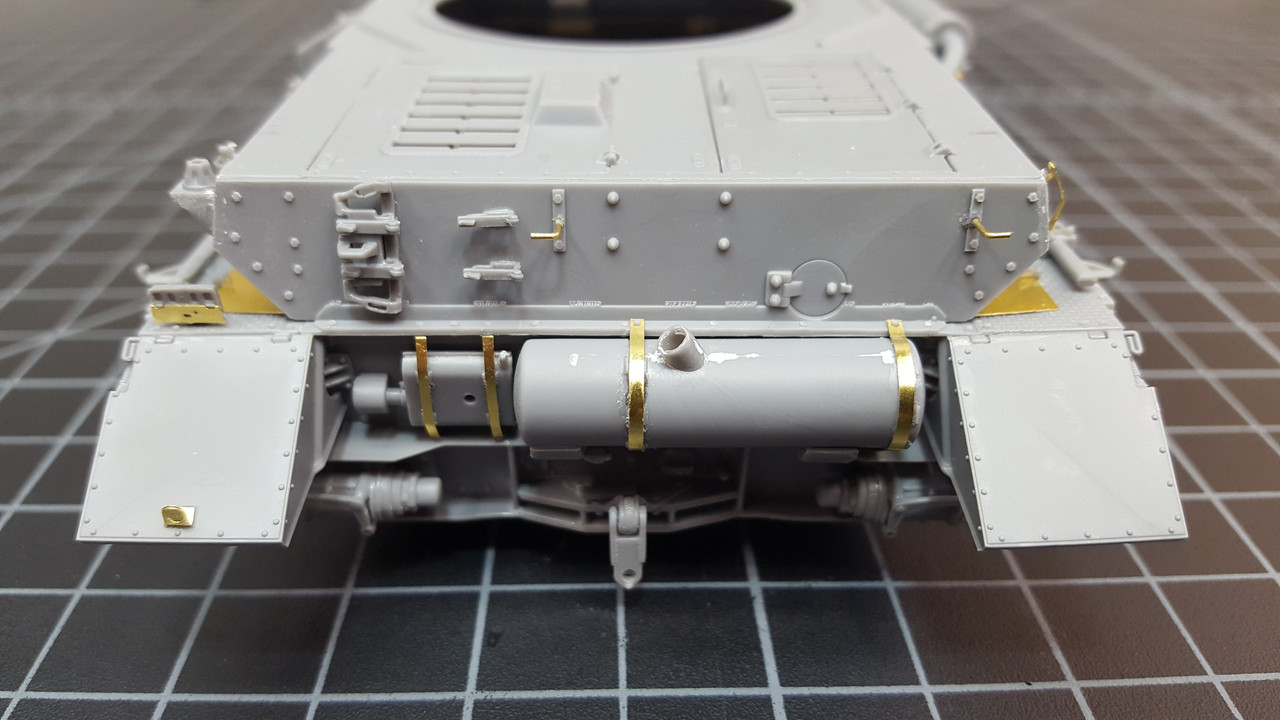
Most of the wheels and suspension. I feel the suspension is overly complicated with not enough checks to make sure the axles are perpendicular to the fore/aft axis, or to the z-axis for that matter. There may be some tweaking required as some of them appear a little off to me. You can cut off some nubs to make the suspension "work" if desired.

Anyway, like I said, there is a ton of great detail. Especially weld seams, welded brackets, nuts and bolts everywhere, PE. I like where it's headed.
Let me know what you think. And thanks for looking.
|
|
|
|
Post by chromdome35 on Feb 19, 2023 23:33:58 GMT -5
I think it looks great! Nice PE work!
|
|
|
|
Post by Tobi on Feb 20, 2023 3:12:35 GMT -5
It's the first time I actually see one of the Miniart Pz.Kpfw. IV Ausf.H in a build log
|
|
|
|
Post by mustang1989 on Feb 20, 2023 3:27:35 GMT -5
You're most certainly right about the amount of details that are crammed into this kit. I've heard that the parts count is quite high in these models.
|
|
reserve
Senior Member
   
Member since: July 2012
Si vis pacem para bellum
Posts: 2,372
Jul 11, 2012 9:11:45 GMT -5
Jul 11, 2012 9:11:45 GMT -5
|
Post by reserve on Feb 20, 2023 18:32:17 GMT -5
Other than their figures and vacuform buildings I've only done one MiniArt kit, the little Bantam 40. It built up into a nice model but it was very fiddly if I recall correctly. I did like the soft plastic since using LPC on it resulted in good strong bonds.
Looks like you're doing quite well with this one, I admire your sand for taking it on
|
|
|
|
Post by hasenpfeffer on Feb 21, 2023 9:33:59 GMT -5
Thanks, Brian. Hopefully that continues.  Tobi - me too! LOL Yeah Joe, it is right up there with any other kit I've built. (Especially for no interior) Mark, I agree the bonds are good, but there is definitely a trade-off. You really have to watch how much LPC you use or you get that "squeeze out". It's also easy to get heavy handed and change the geometry of parts with cleanup (sanding, filing, etc.,) which, of course, can affect the fit. |
|
Whiterook
Full Member
  
Member since: March 2013
Modeler & Wargamer
Posts: 905
Mar 13, 2013 15:29:19 GMT -5
Mar 13, 2013 15:29:19 GMT -5
|
Post by Whiterook on Feb 21, 2023 10:42:28 GMT -5
Sweet! I’ll be curious to see your road wheels assembly…do you put them on after painting the lower tub? I’ve seen models do that (taping the rods the wheels go on) and then put the road wheels on; and others that out the wheels on and then paint everything after assembly. I suspect the former is the typical method, but I always wonder which direction a builder is going to go!  |
|
|
|
Post by Steve Zuleski on Feb 21, 2023 11:37:01 GMT -5
Good start, Ruck On!
|
|
|
|
Post by hasenpfeffer on Feb 21, 2023 11:46:40 GMT -5
Sweet! I’ll be curious to see your road wheels assembly…do you put them on after painting the lower tub? I’ve seen models do that (taping the rods the wheels go on) and then put the road wheels on; and others that out the wheels on and then paint everything after assembly. I suspect the former is the typical method, but I always wonder which direction a builder is going to go!  TBH I have never made the wheels/tracks a single, separate sub-assembly, even though it does seem to have some advantages. I guess I've always worried how to paint the tracks around the wheels and vise-versa. I suppose it may have something to do with the tracks being used as well. Since I am foregoing the kit tracks for RFM indi/workable tracks, I think it will be better to do them separately. So, I'll probably paint the wheels some sort of tire rubber black and then hit the centers with dark yellow, etc., while using a circle template mask of some sort. I don't think I'll need to bother with the portions between the wheels, but I guess we'll see how visible they are. |
|
|
|
Post by chromdome35 on Feb 21, 2023 16:43:24 GMT -5
I always paint the tracks separately from the model. I find it too difficult to get into the nooks and crannies otherwise.
|
|
Joe Rix
Forum Moderator     
Member since: January 2023
Posts: 1,524 
MSC Staff
|
Post by Joe Rix on Feb 21, 2023 21:28:41 GMT -5
Outstanding undertaking has. I have yet to see a Mini Art kit built and they are indeed rather impressive from your take. I'll be sure to follow along as I'm excited to see you tackle this beauty.
|
|
|
|
Post by hasenpfeffer on Feb 26, 2023 16:36:19 GMT -5
So - a small update to report...
I spent the last hours of bench time finishing up the hull and chassis. For the most part anyway. I still have to add a few small bits that I left off so I wouldn't just break them or lose them altogether.
As I mentioned earlier, I am using the aftermarket RFM Workable tracks (not 3D printed) in lieu of the kit tracks. Below is the reason why. I didn't want to spend the time cleaning up the kit tracks. This has to be the biggest disappointment I've come across so far. Lighter color is the kit.

I drilled the end links so I could insert a pin all the way through to join them.


Building the runs was pretty easy and straight forward. The hardest part and what took the longest was cutting the links from the sprues. I would say this is the only real disadvantage to these. the links are flawless and clean. A decent set of nippers allows very little cleanup. I didn't do any. 
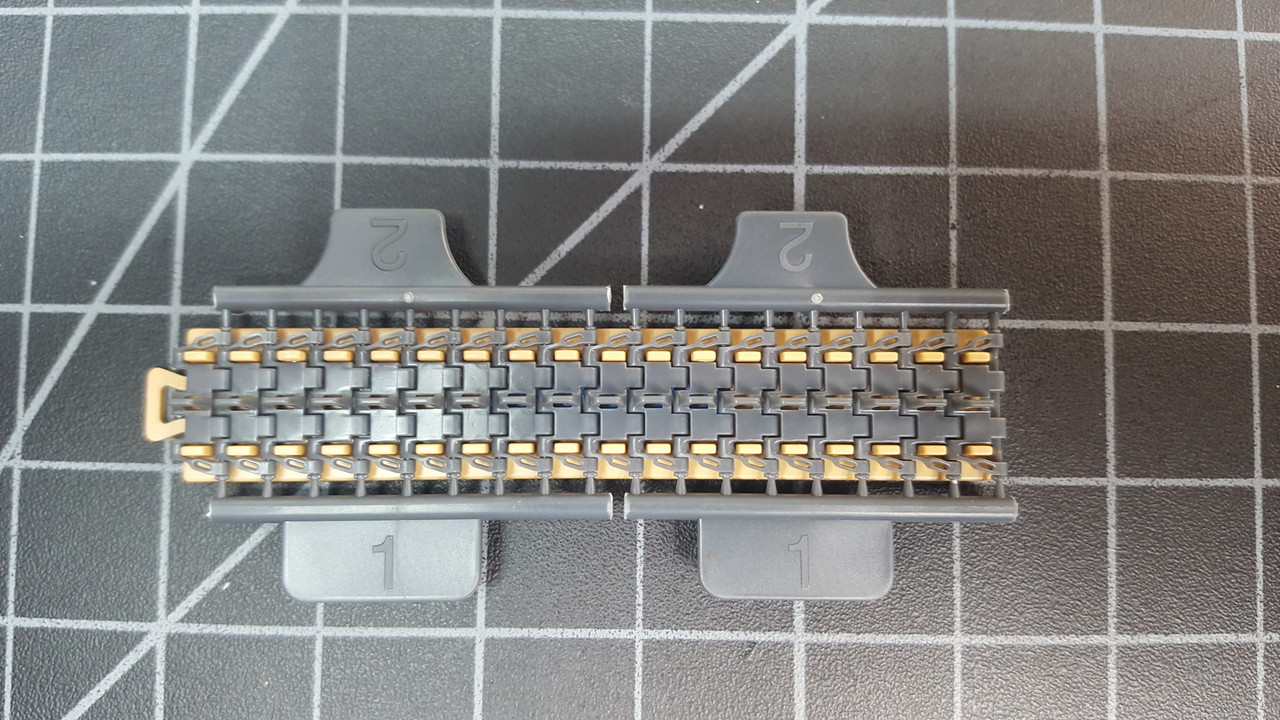
Where it stands. Let me know what you think and thanks for looking.


|
|
|
|
Post by mustang1989 on Feb 26, 2023 16:48:50 GMT -5
Where it stands. Let me know what you think and thanks for looking.
What I think??!!! Mister....there is one thing that I can say right now.......I'm not past detailing anything out or going the extra mile but DANG dude!! That is going the extra MILE right there!! The tracks look amazing and that's for sure but what really caught my eye was the work that you put into them. Blown..... away...  |
|
|
|
Post by mrt51 on Feb 26, 2023 18:37:29 GMT -5
Great progress!
|
|
|
|
Post by Tobi on Feb 27, 2023 1:19:32 GMT -5
The RF tracks look almost as good as Fruitloops (Friuls)!
I have never seen PZ. III/IV injection molded tracks like this before, without pin marks.
Too bad the kit tracks are so inferior.
Miniart made an effort including cast markings, but of what use are these if you have to heavily mudify the tracks to make them presentable?
Which diameter is your track bolt?
|
|
|
|
Post by hasenpfeffer on Feb 27, 2023 9:01:36 GMT -5
The RF tracks look almost as good as Fruitloops (Friuls)! I have never seen PZ. III/IV injection molded tracks like this before, without pin marks. Too bad the kit tracks are so inferior. Miniart made an effort including cast markings, but of what use are these if you have to heavily mudify the tracks to make them presentable? Which diameter is your track bolt? Thanks for looking, Tobi! To be clear, and I was hoping it came through in the series of pictures I posted, I only drilled the links out for the 1 join. I'll do this also for any exposed ends for spare tracks. Otherwise the supplied pins are very short and only engage the next link by maybe a millimeter or so. The pin I "made" was from 0.4 mm brass rod and is 11 mm long. I've been trying to figure out a way to replicate the pin head for standalone pins, but haven't figured that out yet. In the end, it seems that all of these different tracks have their advantages and disadvantages. I love the metal tracks. I love that you can burnish them and make them look pretty awesome just doing that. I love that the weight creates a natural sag, I hate cleaning off the flash and unplugging any holes. I hate re-drilling so pins will go through. I hate that they are $40-ish. IMO, these RFM tracks are some of the best I've worked with. The clean up is minimal and they are only $20 in comparison. I just have to be better at painting, LOL. So, a very long winded reply to a simple question. I'm never really sure how much people want to know. Or if they're even interested in my opinion.  |
|
|
|
Post by Tobi on Feb 27, 2023 10:50:20 GMT -5
Thanks for the long answer. I like to read these things.
Many people write about drilling out the Friuls. Funny thing, I never do. There may be two or three links in every set that actually need drilling. In general I have great success with just inserting the wire, but the old material was better IMHO.
What I really hate is that Friul decided to sell only directly and no longer via distributor, which makes them even more expensive because of postage.
I stocked up while I could and from time to time I find a set on Ebay, but I'll never order from them.
Agree upon the weight and sag thing, though it can become also a liability if the running gear is too delicate.
|
|
|
|
Post by Steve Zuleski on Feb 27, 2023 11:05:37 GMT -5
Smart move on the links, rod, etc. I haven't done many workable tracks, but the one set I did recently was brutal and cost a lot of time and frustration. I just need to up my brass rod stock, lol. Great work so far, Dave!
|
|
|
|
Post by hasenpfeffer on Feb 27, 2023 12:04:56 GMT -5
Smart move on the links, rod, etc. I haven't done many workable tracks, but the one set I did recently was brutal and cost a lot of time and frustration. I just need to up my brass rod stock, lol. Great work so far, Dave! For sure, we don't need any extra frustration... I'd say the worst track experience I've had so far is by far and away the Meng Leo 1A5. Each link basically consisted of 5 parts. And they ended up being pretty fragile. Never again. |
|
|
|
Post by Tobi on Feb 27, 2023 12:42:39 GMT -5
Over-engineering, the other extreme.  When it comes to durability, nothing beats bare metal tracks, that's my main argument. I'm clumsy. |
|
|
|
Post by chromdome35 on Feb 27, 2023 13:02:11 GMT -5
What do I think? I think it looks great!!!
Very very nice work on the details.
|
|
|
|
Post by hasenpfeffer on Mar 6, 2023 15:33:06 GMT -5
Alright, not much done this past week/weekend as I didn't have much bench time, and some of that was trying to practice some semblance of a realistic winter whitewash scheme that I will be using on one of the Pz.III builds.
Also, I just didn't feel like proceeding very much after working on this kit's supplied barrel. I suppose they (Mini Art) are trying to do us a favor by molding this one large piece? Maybe it is just my kit, or towards the end of these tool's life span, but the molding is not concentric. One half is shifted slightly leaving what appears to be a seam, but is in reality the two halves shifted. this presents a rather large problem in itself in trying to keep the thing round and barrel looking. The other thing I don't like is that the different diameters are all molded as one piece where most kits have these as separate parts. This is also a bit of a problem as most aftermarket barrels seem to conform to this type of assembly. I am really trying to build this thing out of the box, and I've already taken a pass on the kit tracks, so I sucked it up and will try fixing this thing so that it's somewhat presentable.
As is off the sprue. looks livable...

Until you work with it a bit and realize the aforementioned problems. Doesn't help with that sunken plastic where it is now either... So it's under repair. We'll see how well I can sort the shapes and weld lines, etc... but it's one of those things where this part doesn't seem to fit with the rest of the kit. The engineering here is lackluster and not very thoughtful. Sucks since this is a main feature of these things.

The only other thing I accomplished was some spare track runs. Drilled the ends and made some pins. Not a big deal, but it's all about the little things, right? This is what I had left over from the RFM track set. (18 links)
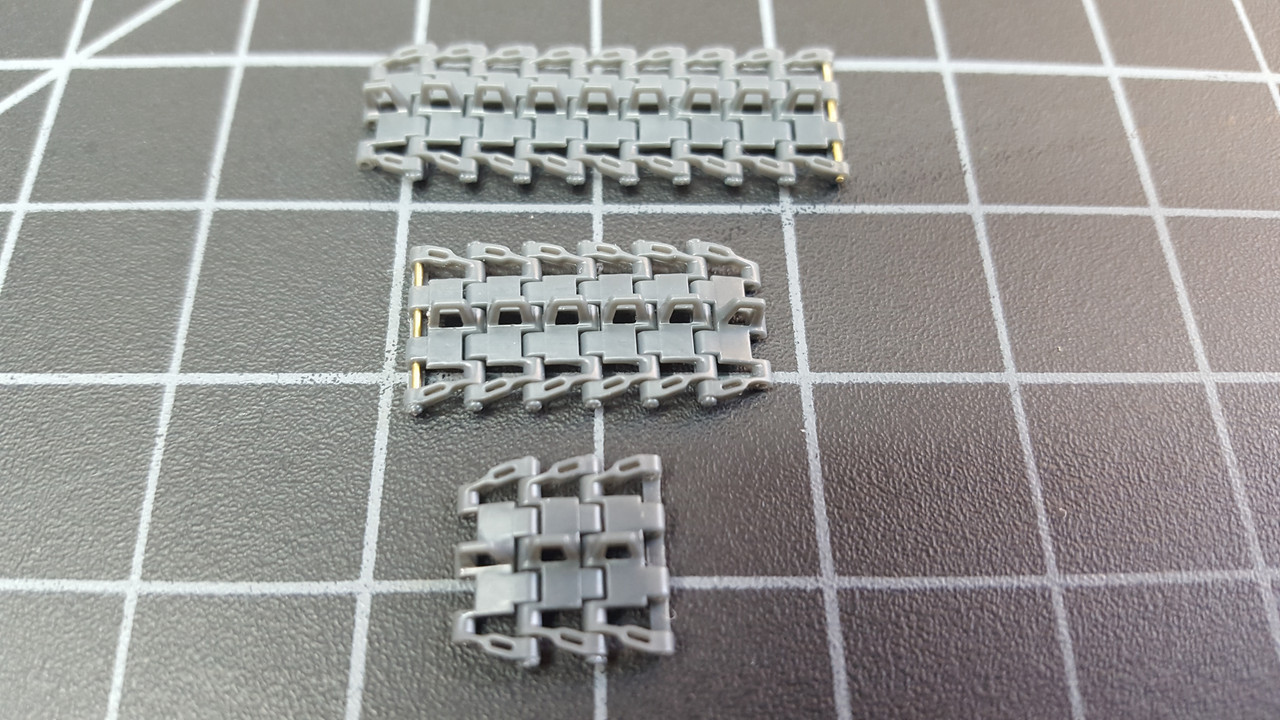
|
|
|
|
Post by Leon on Mar 6, 2023 16:16:48 GMT -5
Coming along nicely!
|
|
|
|
Post by hasenpfeffer on Mar 6, 2023 16:53:32 GMT -5
Thanks, Leon. Glad to see you were able to get your original ID back. |
|
bbrowniii
Full Member
  
Member since: March 2012
If you are not part of the solution, you are part of the precipitate.
Posts: 1,239
Mar 25, 2012 22:08:04 GMT -5
Mar 25, 2012 22:08:04 GMT -5
|
Post by bbrowniii on Mar 6, 2023 17:45:11 GMT -5
This is really coming together well. The work you did on those tracks it awesome.
I've had that issue - where you get parts where the molds seem to shift and the halves are off kilter. It's a huge PITA to deal with, though it looks like you are making progress dealing with it.
I'm a big Pz IV fan, so I'll be keeping tabs on this one. Keep up the great work!
|
|
|
|
Post by chromdome35 on Mar 6, 2023 19:30:24 GMT -5
Those tracks are looking good.
I feel your pain on kit barrels. I've gotten to where I swap them out with aftermarket ones every chance I get. Its too bad we have to do that, for what these kits cost we shouldn't have to.
|
|
|
|
Post by Leon on Mar 6, 2023 19:50:00 GMT -5
Dave, so am i buddy!
|
|
reserve
Senior Member
   
Member since: July 2012
Si vis pacem para bellum
Posts: 2,372
Jul 11, 2012 9:11:45 GMT -5
Jul 11, 2012 9:11:45 GMT -5
|
Post by reserve on Mar 6, 2023 21:10:34 GMT -5
Pretty good lookin I'd say
I frequently run into the concentricity problem with 2 piece gun barrels. When I do I just cut off the locating pins, give the mating surfaces a swipe or two with a file, then LPC the halves together with Testors so I have enough working time to make it all right. For sink marks I'll take a measure of LPC and dissolve some of the kit's sprue in it. Once the sprue is fully liquified it makes a dandy seam/gap/sink mark filler that sands out easily once dry
|
|
|
|
Post by chromdome35 on Mar 6, 2023 23:44:34 GMT -5
Pretty good lookin I'd say I frequently run into the concentricity problem with 2 piece gun barrels. When I do I just cut off the locating pins, give the mating surfaces a swipe or two with a file, then LPC the halves together with Testors so I have enough working time to make it all right. For sink marks I'll take a measure of LPC and dissolve some of the kit's sprue in it. Once the sprue is fully liquified it makes a dandy seam/gap/sink mark filler that sands out easily once dry At the risk of sounding ignorant...what is LPC? |
|
reserve
Senior Member
   
Member since: July 2012
Si vis pacem para bellum
Posts: 2,372
Jul 11, 2012 9:11:45 GMT -5
Jul 11, 2012 9:11:45 GMT -5
|
Post by reserve on Mar 7, 2023 0:32:03 GMT -5
First off, I gotta apologize, if I'd paid more attention to the post I'd have seen the kit supplied barrel is a one piece. Alot of guys like them because there's no seam to deal with, just a set of mold lines. MiniArt seems to have bungled this one pretty badly. All's not lost, however, if you scratch a replacement housing with some Evergreen tube you can get an Aber metal barrel from ScaleHobbyist for ninteen bucks. Probably not what you want to do but it's what I'd do rather than fight with a badly molded part.
CD LPC is liquid plastic cement. Think Testors in the glass jar, Tammy extra thin, or the old Tenax
|
|


