venom1
Full Member
  
Member since: October 2012
Posts: 1,369
Oct 10, 2012 2:40:03 GMT -5
Oct 10, 2012 2:40:03 GMT -5
|
Post by venom1 on Oct 19, 2012 21:15:57 GMT -5
Allrightythen! Here be-eth another WIP from lil ol' me! This time it's the Italeri 1/72 HU-5 Wessex. Gotta say, I'm pretty hooked on these little Italeri choppers, they really are pretty sweet, and I reckon this one is the best I've built so far! Most of these Italeri choppers I build will be OOB, and this one is no different. I am treating these little kits as a painting and weathering exercise, so the aim is to get them together as quick as I can, so the fun can begin! So, without further adieu, this is what I am building..... 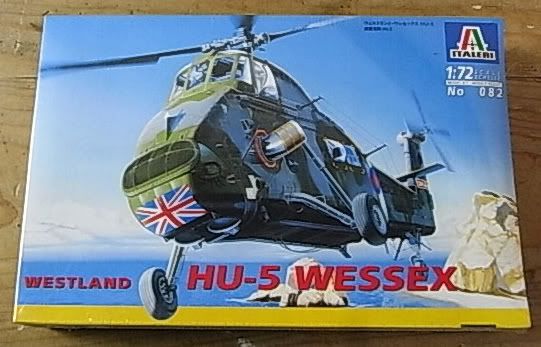 Here we are with most of the interior painted and ready for assembly... 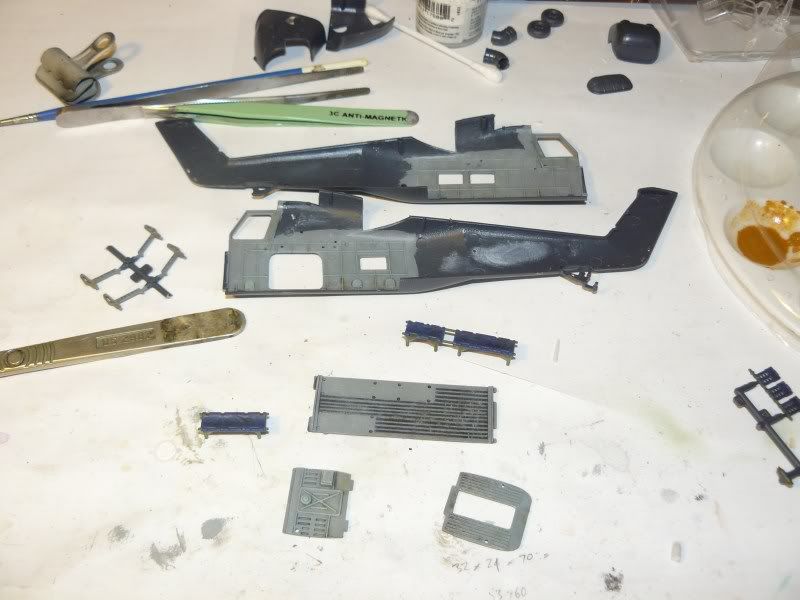 The main cabin. Decided to have a crack at trying the non skid strips you see in a lot of helos. Yes, I know the Wessex didn't have them, but as I said, "painting and weathering exercise"  Didn't turn out too bad for a first timer... 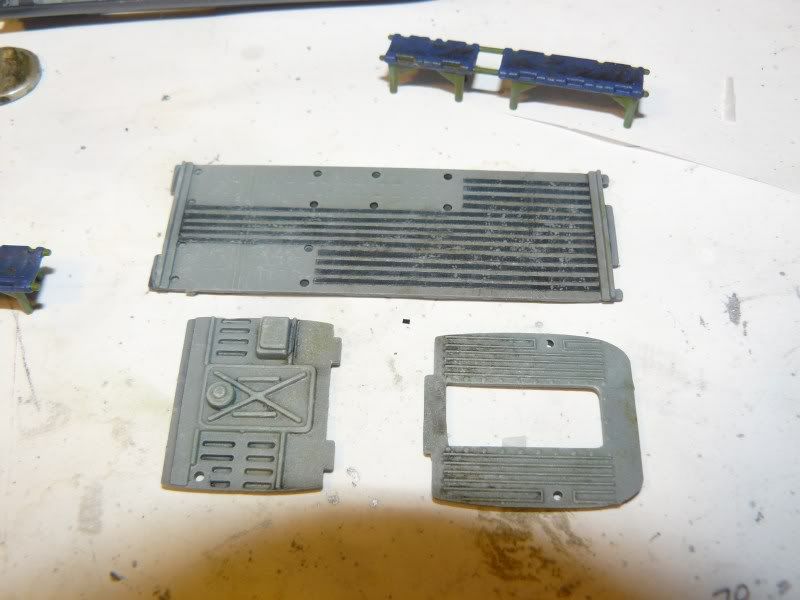 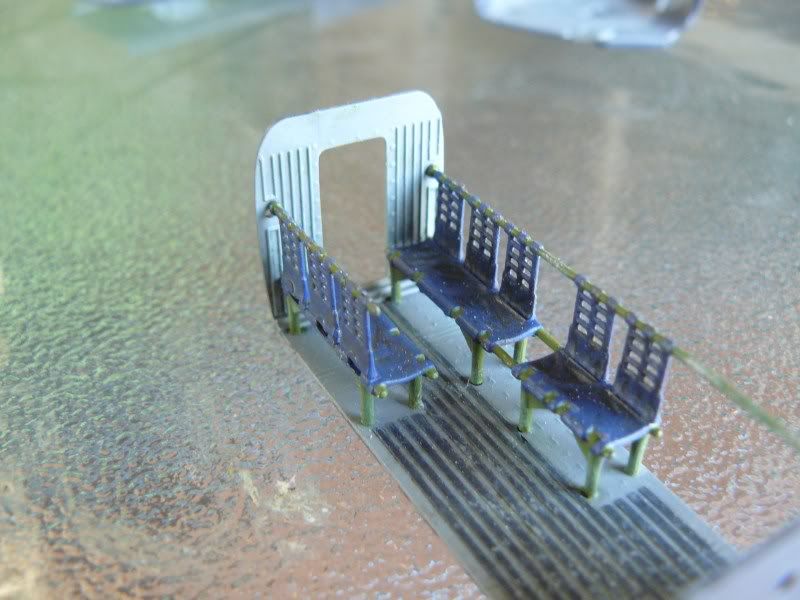 Cabin test fit... 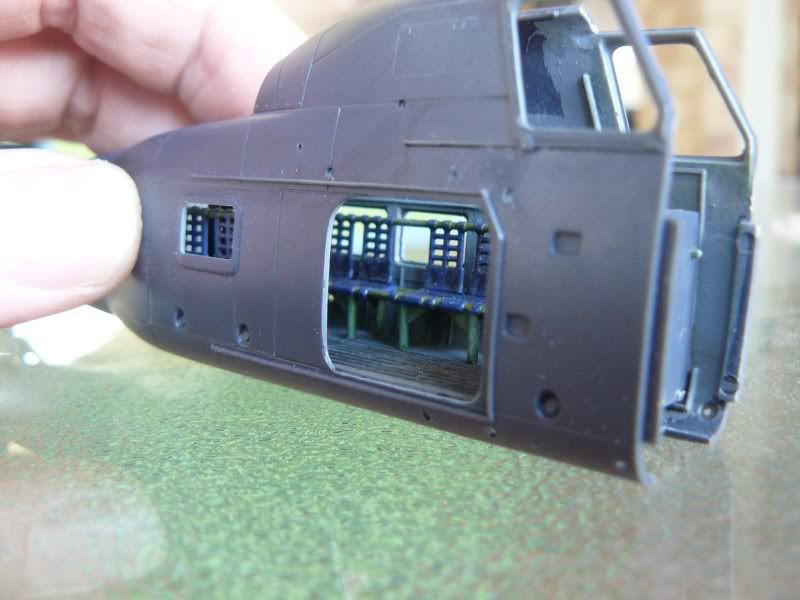 And finally this is where we are at the mo. Main fuselage all tickety boo, ready to add the cockpit glass, landing gear and other lumps and bumps before we hit the paintshop... 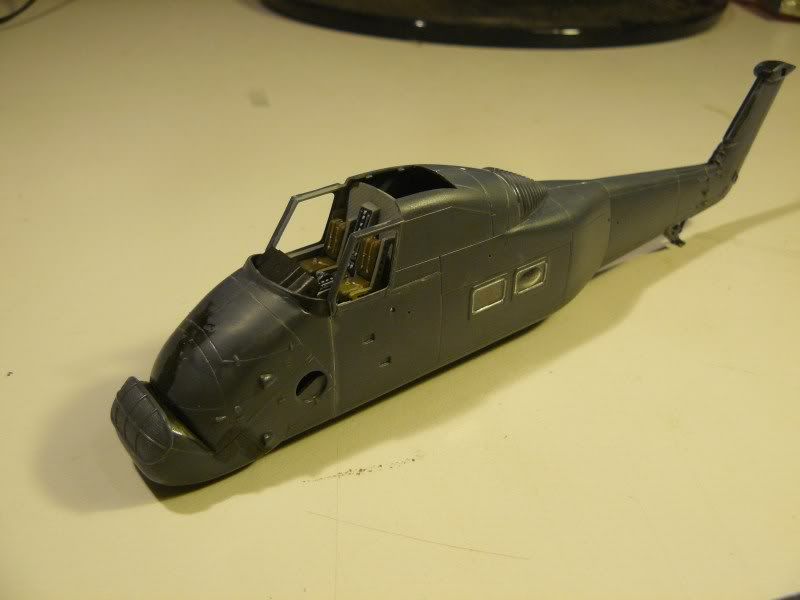 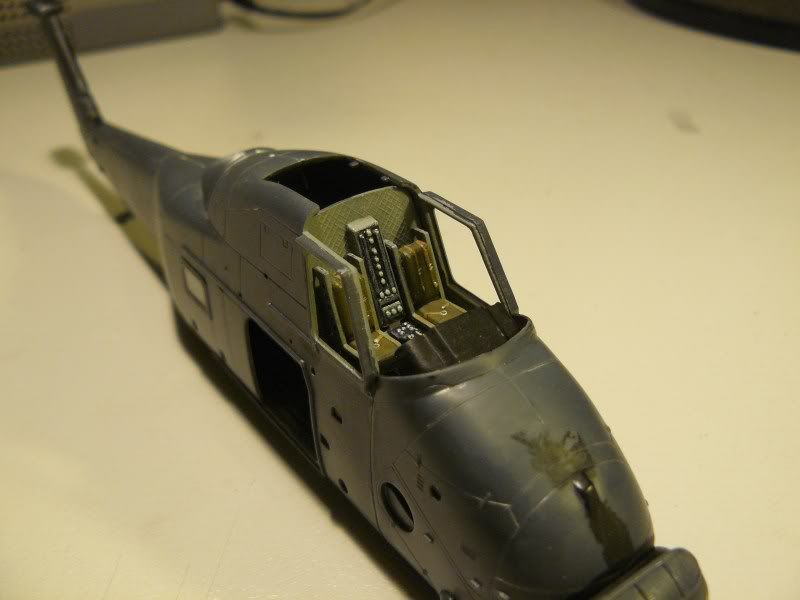 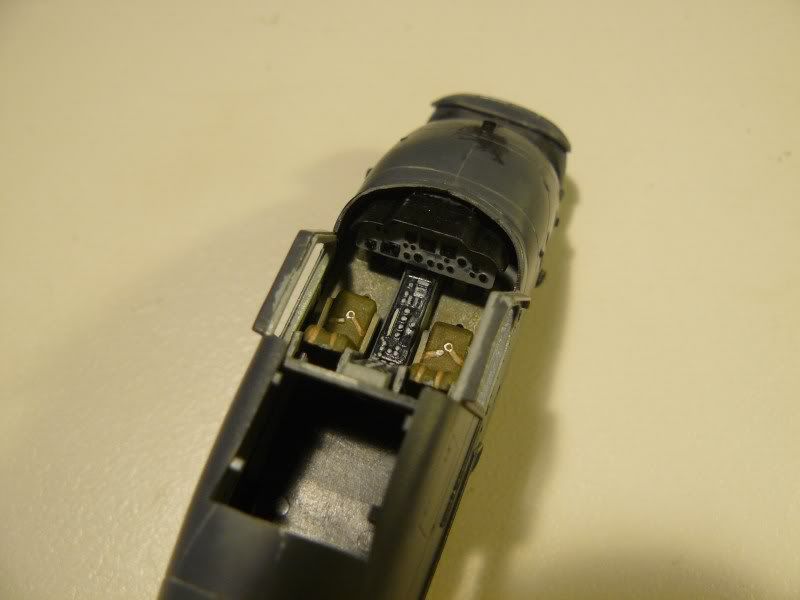 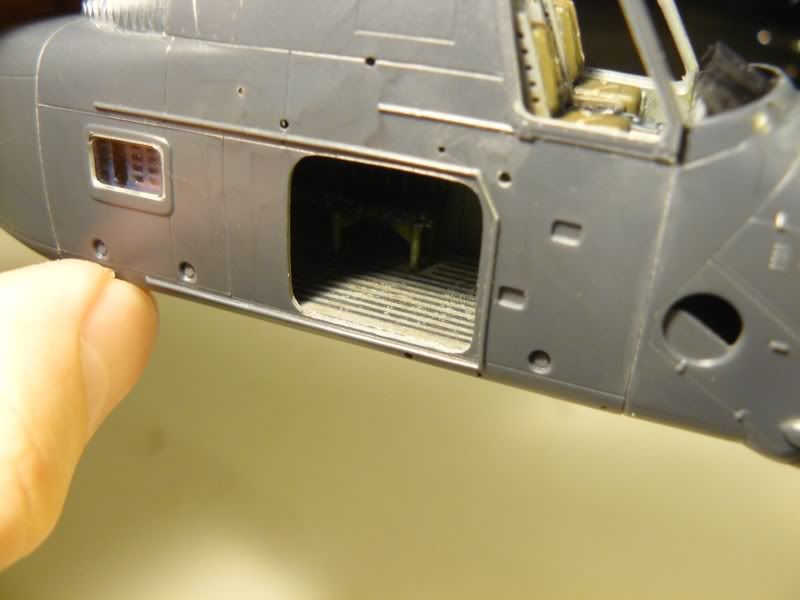 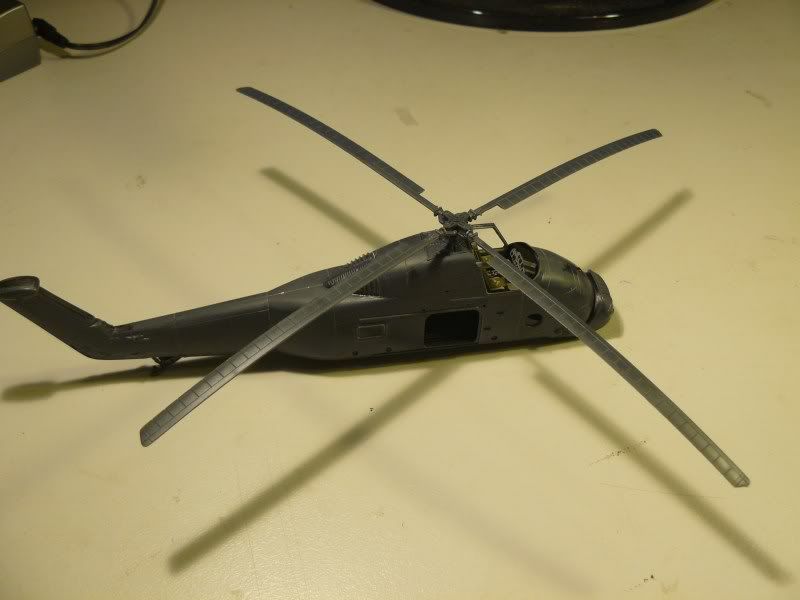 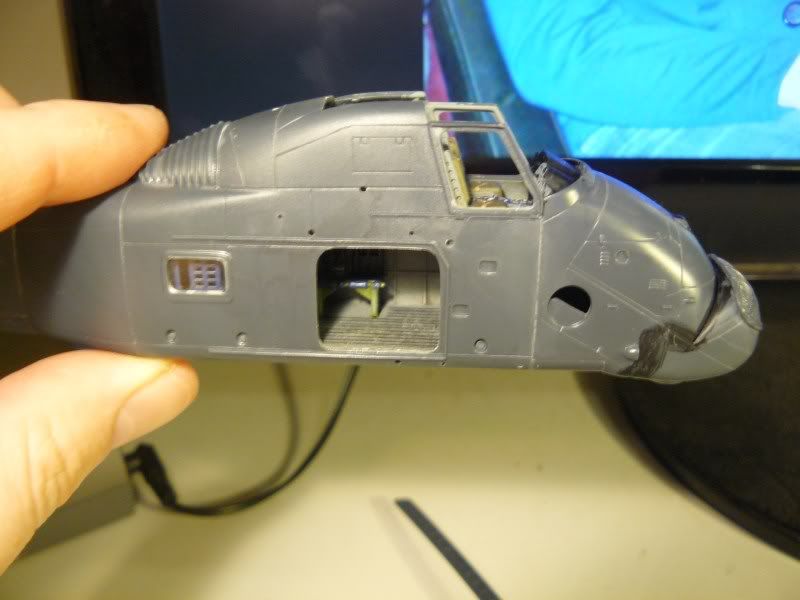 Gotta say, I love this kit! The fit is great, and if you take your time test fitting before glue and the odd gentle sand here and there, the fit is near perfect! ;D So here we are. Stay tuned for further updates, will post something when she is ready for the paint shop...  Cheers, Sam  |
|
|
|
Post by TRM on Oct 20, 2012 7:46:21 GMT -5
Nice one Sam!!! She is going to look great under some paint and of course weathering!!! A fair amount of detail in such a small craft too!!! Keep it coming!!
|
|
venom1
Full Member
  
Member since: October 2012
Posts: 1,369
Oct 10, 2012 2:40:03 GMT -5
Oct 10, 2012 2:40:03 GMT -5
|
Post by venom1 on Oct 20, 2012 9:18:20 GMT -5
Thanks T! Yeah, shes got great detail for such a small (and cheap!) kit. Can't "destroy" this one too much, she still has to be operational! They were a workhorse tho, so she definitely will not be pristine! ;D Cheers, Sam  |
|
|
|
Post by TRM on Oct 20, 2012 9:28:31 GMT -5
|
|
venom1
Full Member
  
Member since: October 2012
Posts: 1,369
Oct 10, 2012 2:40:03 GMT -5
Oct 10, 2012 2:40:03 GMT -5
|
Post by venom1 on Oct 20, 2012 10:00:52 GMT -5
Whoah dude, those photos are awesome! Especially the last one!! Love the well used look on that one!  The one I'm building is the same as on the box top, so it will have a Union Jack on the nose (tho not as big as your first pic!) You are tempting me with that first pic tho. May have to get another kit now..... Thanx dude...  Cheers, Sam  |
|
Deleted
Member since: January 1970
Posts: 0
Nov 25, 2024 11:48:28 GMT -5
Nov 25, 2024 11:48:28 GMT -5
|
Post by Deleted on Oct 20, 2012 16:34:23 GMT -5
Some nice detail on that little beauty,Sam.....and well shown,if you don't mind me saying! ;D. I was down at Dicky F's this morning,and we discussed how to get my Mojo flowing....and the 1/48 version of this came up.....(I've got one in the stash!!  ) |
|
|
|
Post by eastrock on Oct 20, 2012 20:46:24 GMT -5
progress looks great on the bird, Sam  |
|
venom1
Full Member
  
Member since: October 2012
Posts: 1,369
Oct 10, 2012 2:40:03 GMT -5
Oct 10, 2012 2:40:03 GMT -5
|
Post by venom1 on Oct 20, 2012 23:29:23 GMT -5
CB - Thanks mate! Hopefully my little helo has helped you in some way to find that mojo again! I know what it's like to lose it mate, makes me sad.  Gotta say, since I joined this forum and started "meeting" all you great guys and looking at your amazing build skills, it has definitely helped with my mojo! Hope yours comes back soon with a vengance mate  Eastrock - Thanks mate! I am going to try and progress with this as quick as I can, tho with limited modelling time (a familiar lament!) and so many builds on the go at the mo (a great joy! ;D ), I'm not sure exactly how quick!  Cheers, Sam  |
|
Deleted
Member since: January 1970
Posts: 0
Nov 25, 2024 11:48:28 GMT -5
Nov 25, 2024 11:48:28 GMT -5
|
Post by Deleted on Oct 21, 2012 3:19:30 GMT -5
great work on your wessex, I really must get back to my beastie
|
|
venom1
Full Member
  
Member since: October 2012
Posts: 1,369
Oct 10, 2012 2:40:03 GMT -5
Oct 10, 2012 2:40:03 GMT -5
|
Post by venom1 on Oct 21, 2012 6:37:47 GMT -5
Thanks snipersmudge, glad I have been a motivation! ;D Cheers, Sam  |
|
venom1
Full Member
  
Member since: October 2012
Posts: 1,369
Oct 10, 2012 2:40:03 GMT -5
Oct 10, 2012 2:40:03 GMT -5
|
Post by venom1 on Oct 22, 2012 22:14:57 GMT -5
(Insert best Lord Vader voice here) Dicky, you don't know the power of the Dark Side! Embrace it and fulfill your destiny! Then, and only then will you rule the galaxy. Or at least the MSC helo forum..... ;D You know you want to. Heh heh.  Cheers, Sam  |
|
Deleted
Member since: January 1970
Posts: 0
Nov 25, 2024 11:48:28 GMT -5
Nov 25, 2024 11:48:28 GMT -5
|
Post by Deleted on Oct 23, 2012 13:36:50 GMT -5
That's one nice Wessex you've got coming on there Sam. I'm amazed at the detail of these small rotorcraft sometimes  Looking forward to the post paint shop pics  Those pics from T are mighty temping... I'd love a 1/48 go at that..must resist , must resist....  |
|
venom1
Full Member
  
Member since: October 2012
Posts: 1,369
Oct 10, 2012 2:40:03 GMT -5
Oct 10, 2012 2:40:03 GMT -5
|
Post by venom1 on Oct 24, 2012 10:02:41 GMT -5
Thanks Steve, Refer to my comment to Dicky above! C'mon, you know you want to!! ;D Cheers, Sam  |
|
venom1
Full Member
  
Member since: October 2012
Posts: 1,369
Oct 10, 2012 2:40:03 GMT -5
Oct 10, 2012 2:40:03 GMT -5
|
Post by venom1 on Aug 10, 2013 12:21:20 GMT -5
Well folks, here we are again after a loooooong break! The helo section was looking a bit quiet, so I figured I should shake the tree a little and see who or what falls down!!   Figured it was about time I picked this old girl up again now that I have completed my Tammy Me-262. She was looking a bit lonely on the edge of my desk, and kept making helicopter eyes at me (whatever they are....)    So on with the show! Where were we? Ahh yes..... After winning a free trip to the paintshop with her helicopter eyes, the ol' girl got a fresh coat of matt black. This served a dual function of giving the whole chopper an undercoat and giving the belly of the beast it's final colour. Once completed, the belly was masked off with Blu-Tac in preparation for the first camo colour. You may also be able to see the pencil markings of the camo pattern...... 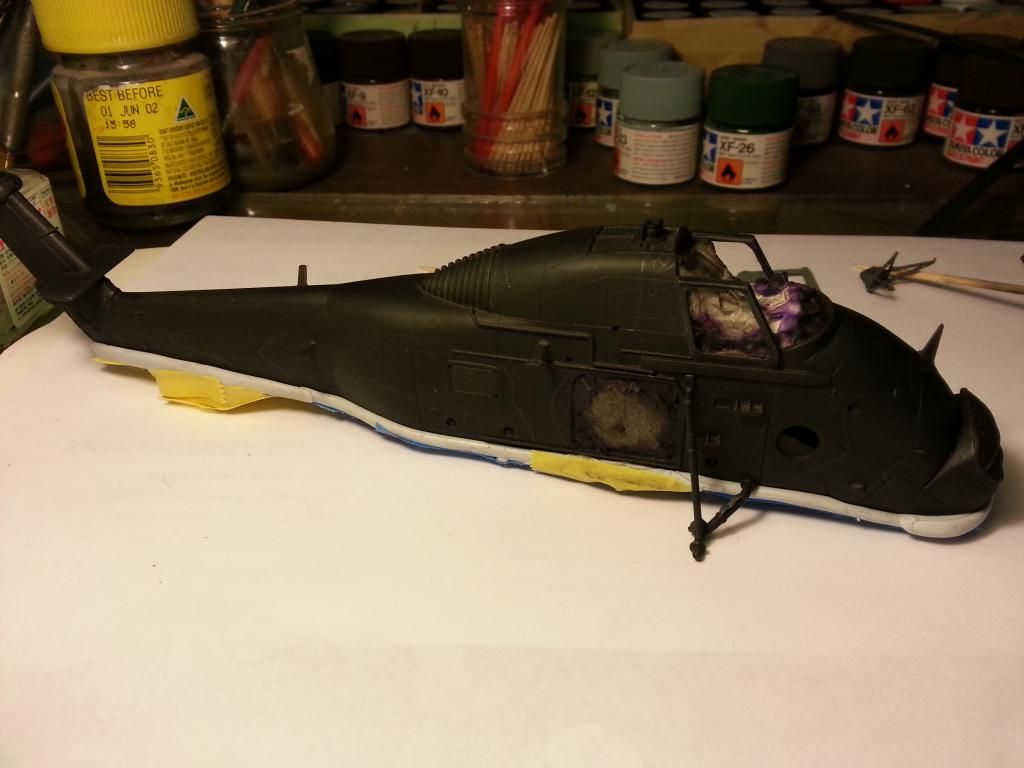 Next up, the grey. This was Dark gull grey, followed by an additional coat which was mixed with white and sprayed in a semi-random pattern with an emphasis on panel centres to give a faded paintwork appearance. 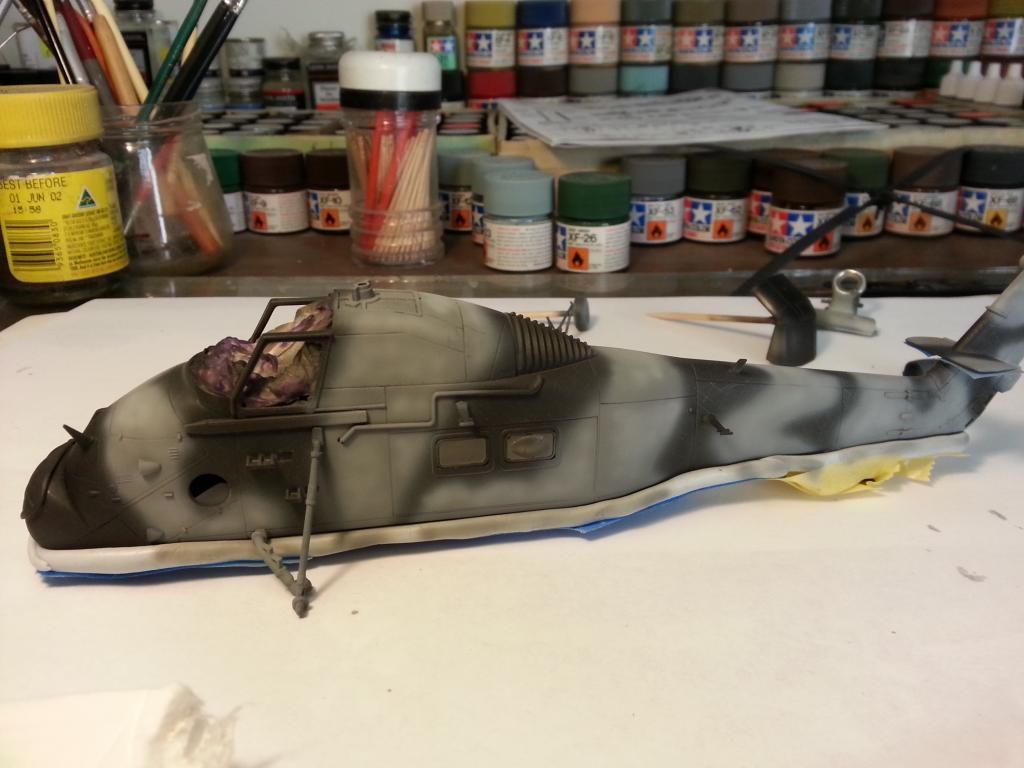 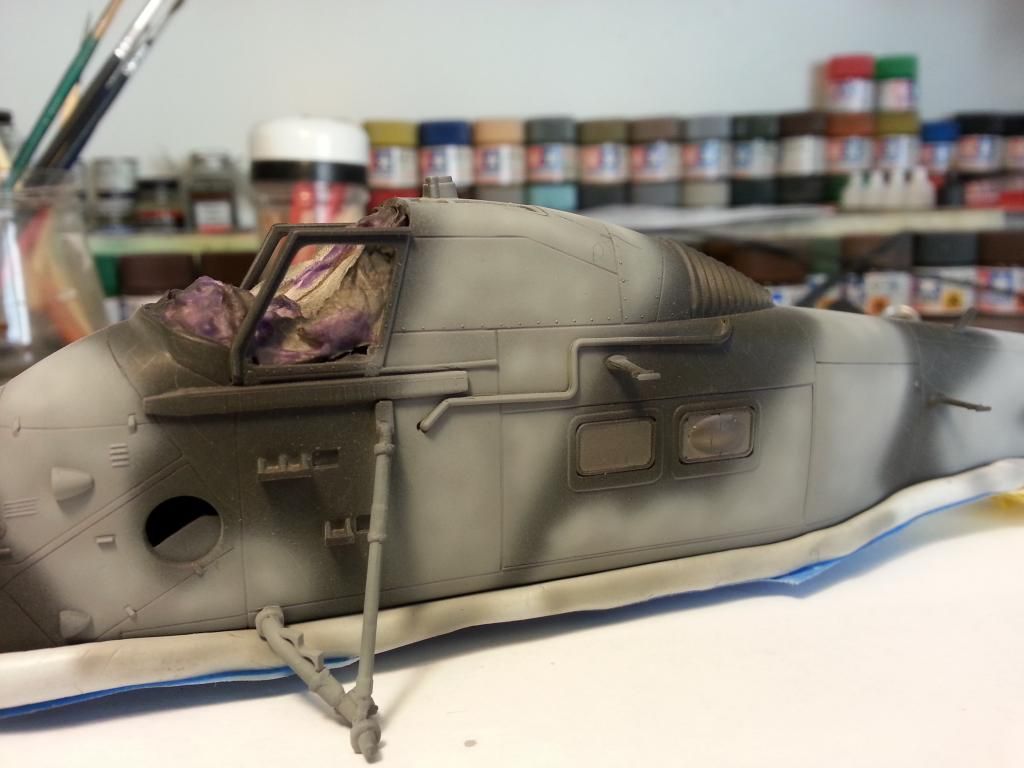 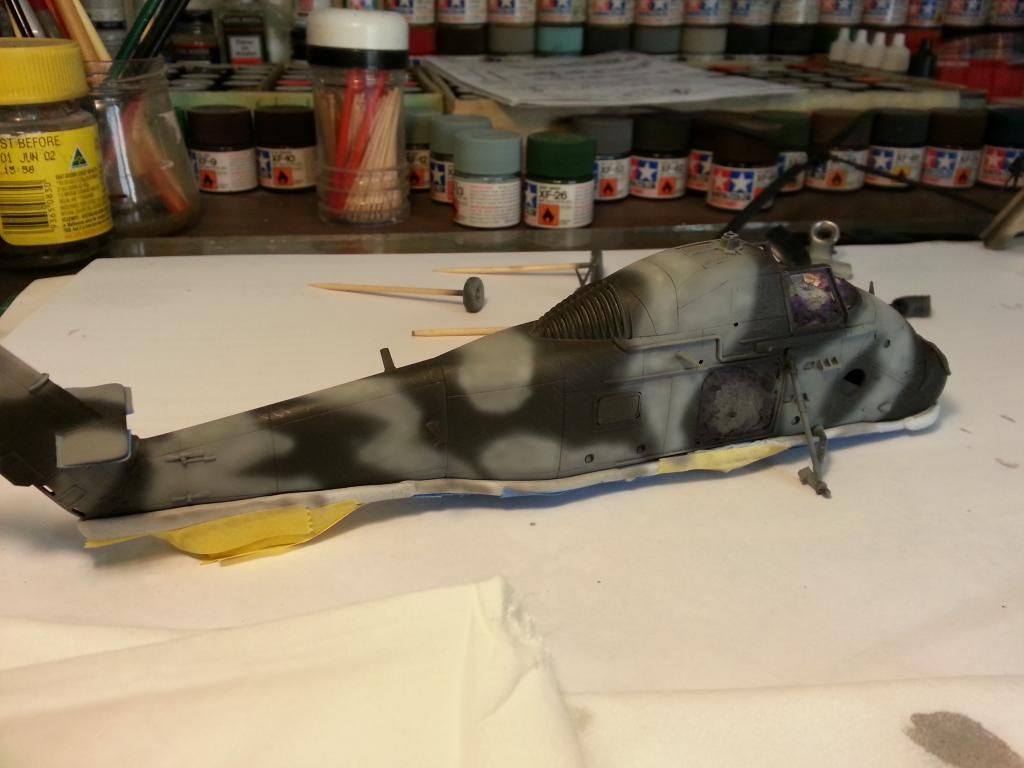 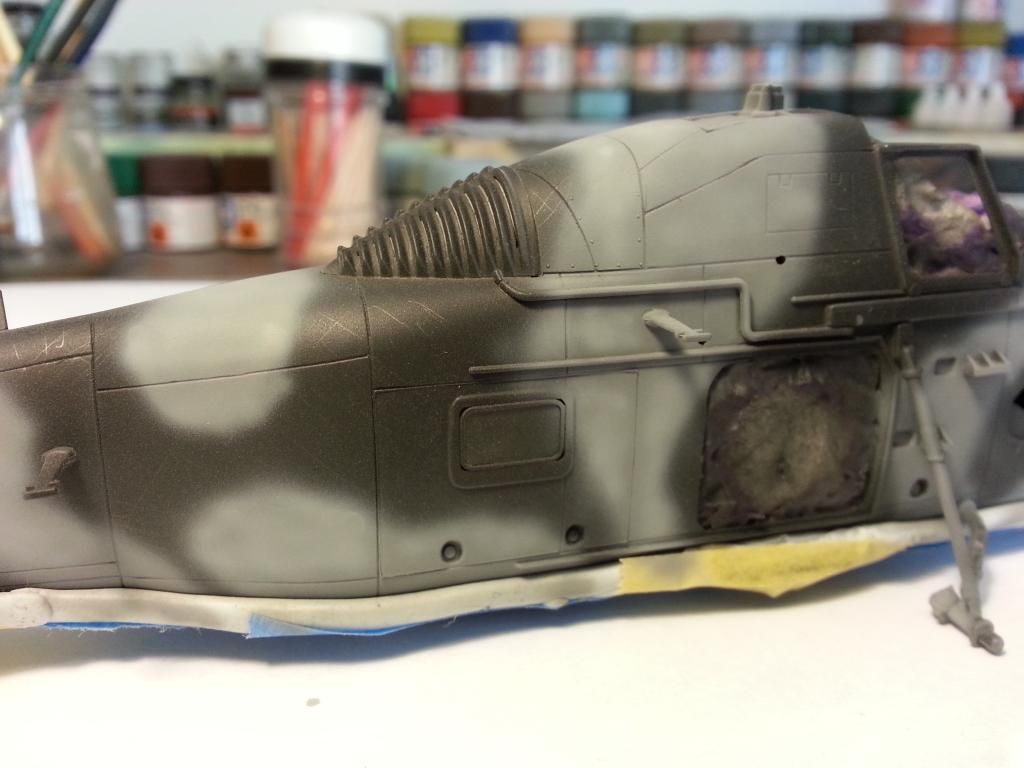 Once dry, the grey was then masked off with more Blu-Tac and masking tape in preparation for the green. 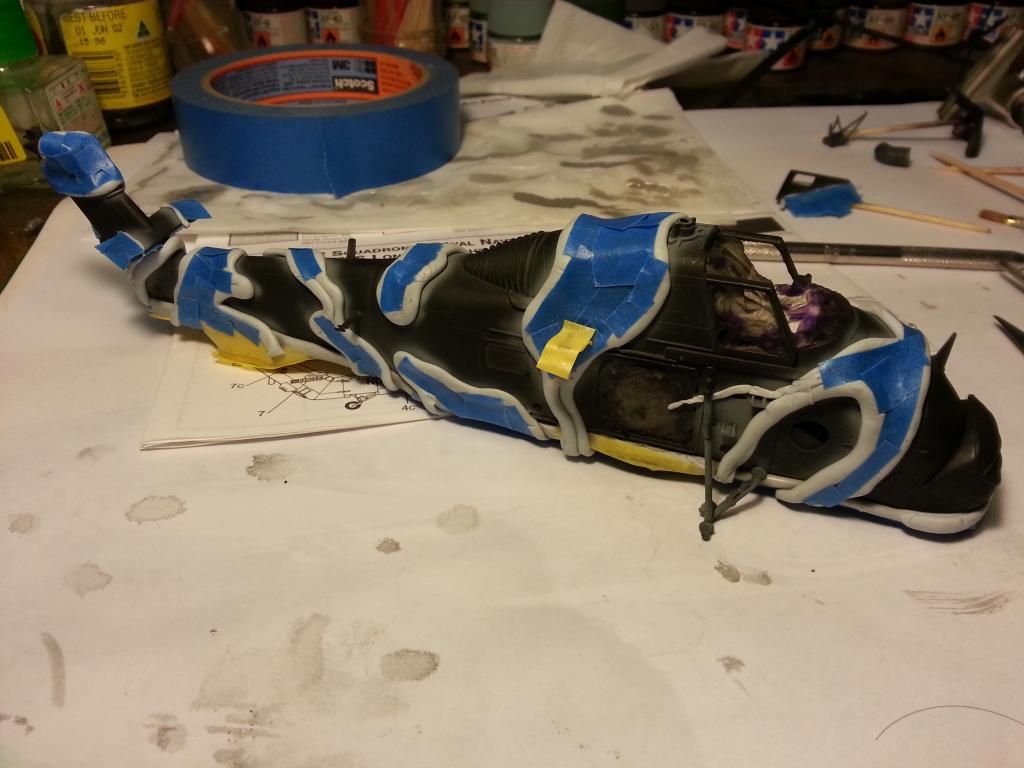 The green (in this case Dark Green) was laid down in the same fashion as the grey, with base green then lighter "fading" with Dark Green + White. This was then oversprayed lightly from a distance with the Dark Green/White mix just to blend the fading and base colour a little. We get this... 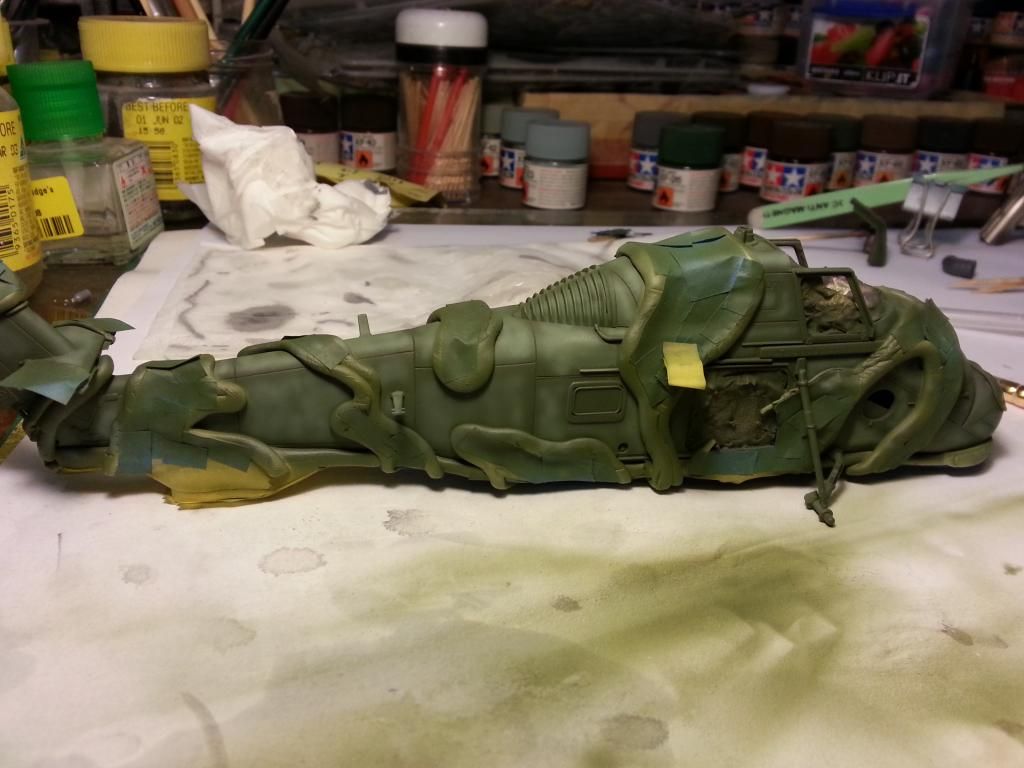 Then the moment of truth, we remove the masking. And this is the result! Not bad. Not bad at all.....  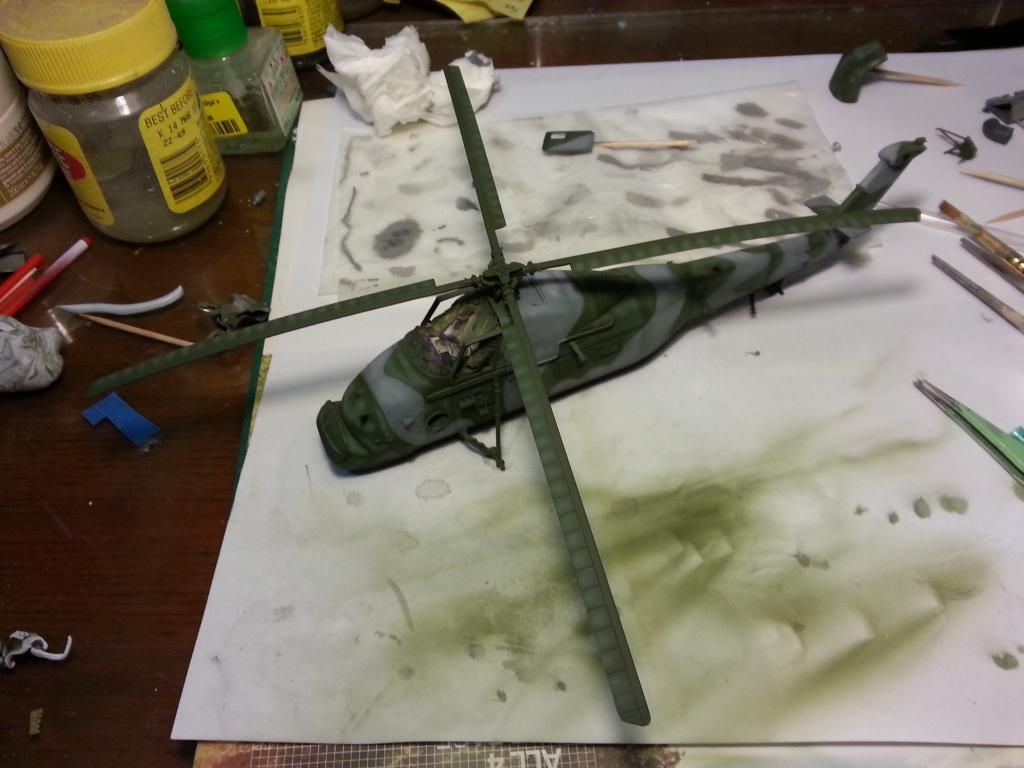 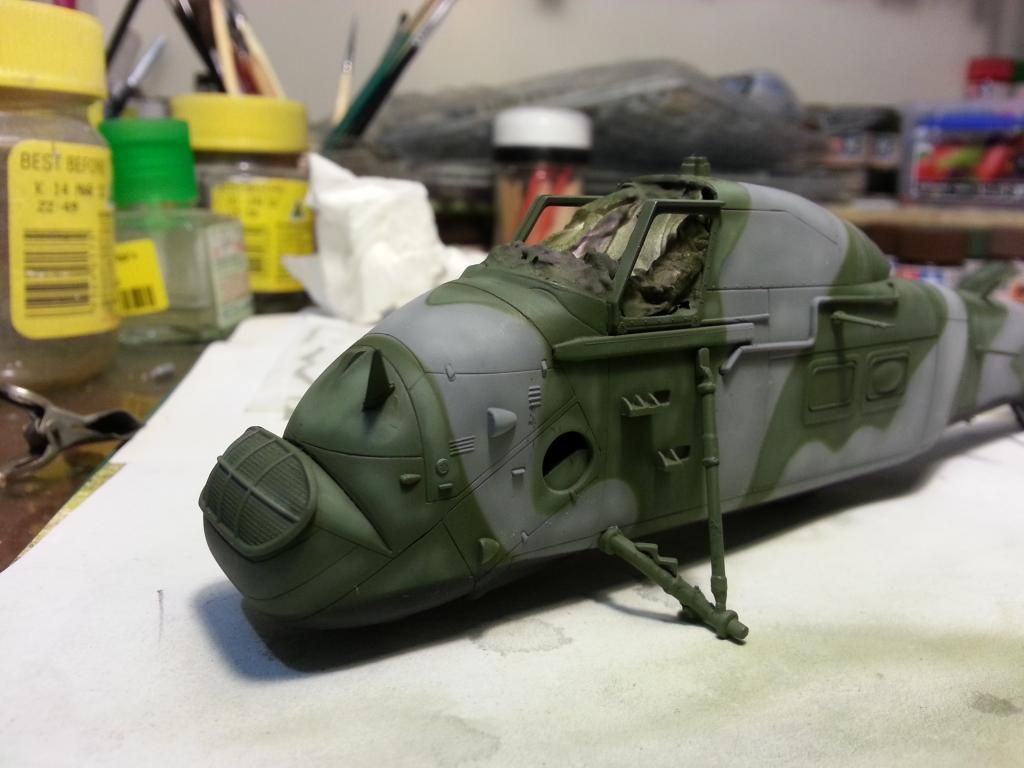 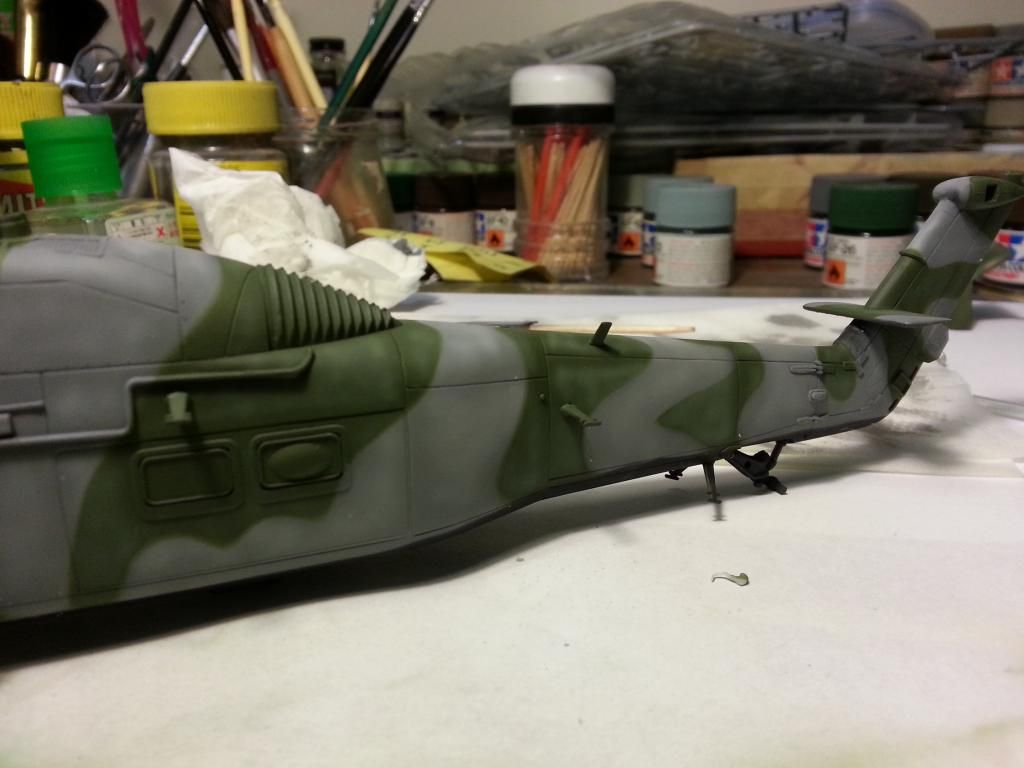 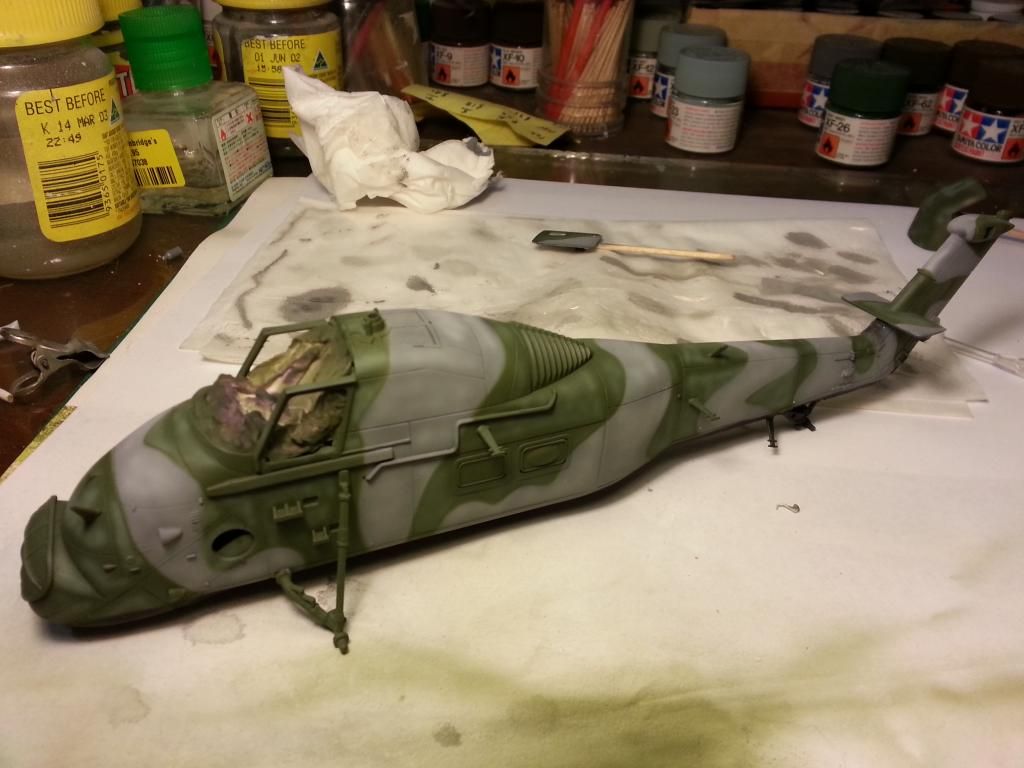 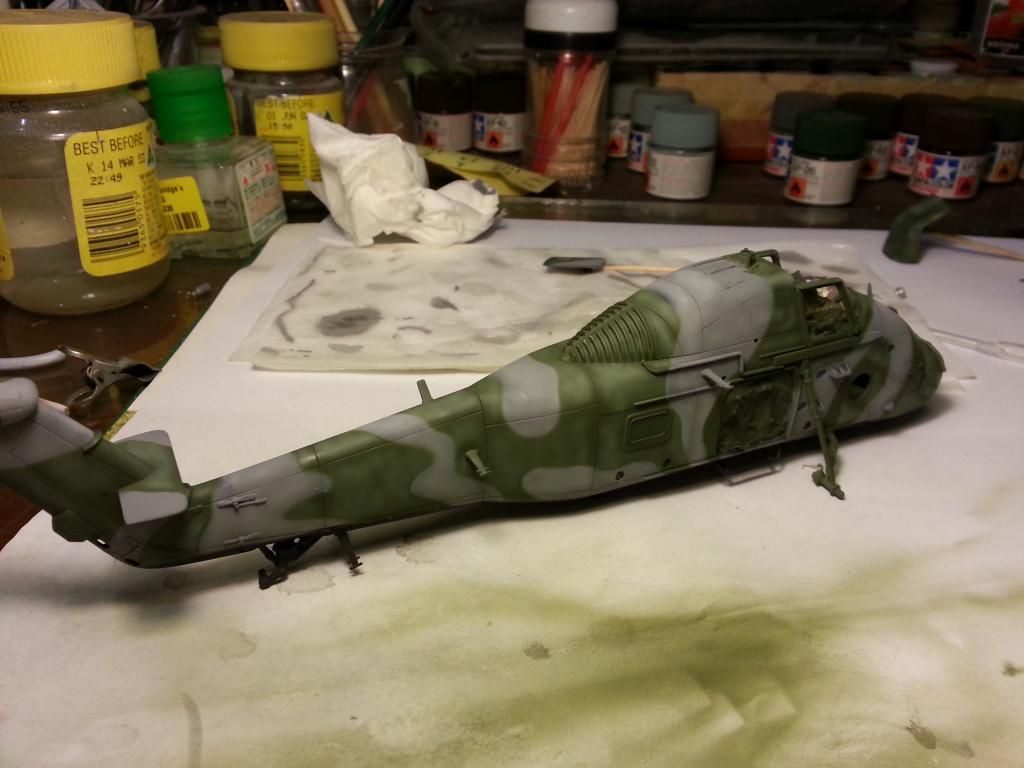 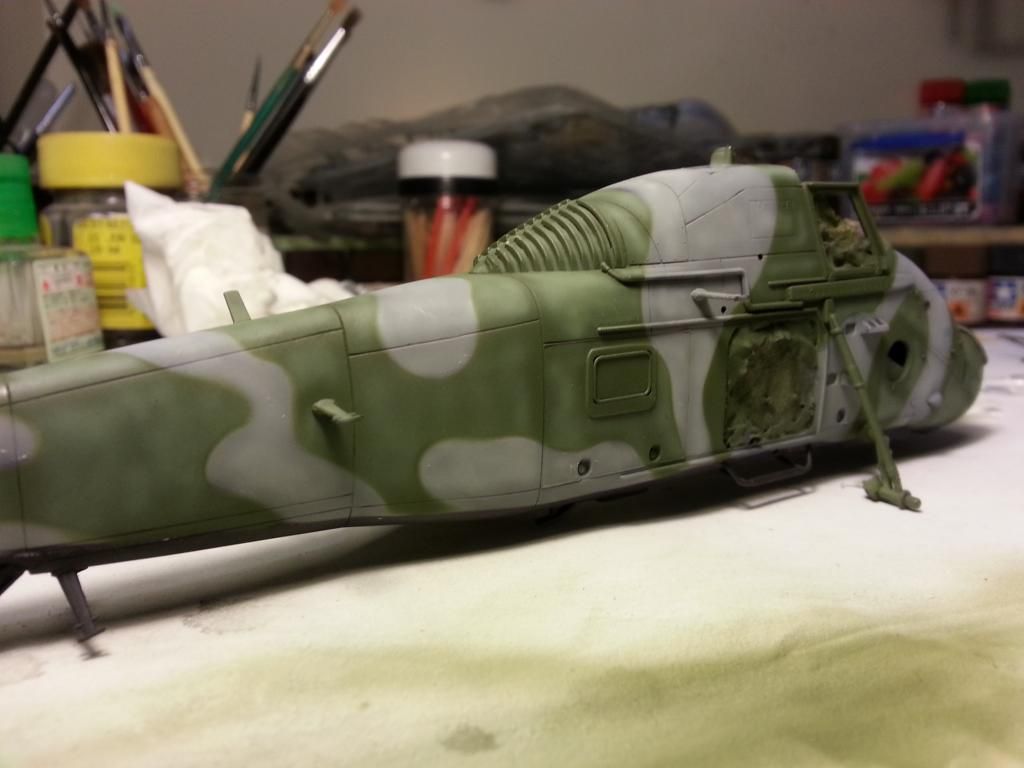 So there we go! Still a bucketload of work to do yet, but she is starting to look the part. Next up, I have to mask the rotors to spray the blade tips and rotor hubs, followed by masking the fuselage and painting a light blue fuselage band. Stay tuned for more fun and games, hopefully it wont take me another 9 months for the next post!!!  Cheers, Sam  |
|
Deleted
Member since: January 1970
Posts: 0
Nov 25, 2024 11:48:28 GMT -5
Nov 25, 2024 11:48:28 GMT -5
|
Post by Deleted on Aug 10, 2013 12:41:02 GMT -5
Nice work on the camo Sam.Last time I rode one of these,I free abseiled outta the beggar!!   |
|
|
|
Post by deafpanzer on Aug 11, 2013 8:03:34 GMT -5
WHOA! L-O-V-E the camo job! Makes me want to build another help soon... jeez!
|
|
|
|
Post by wbill76 on Aug 11, 2013 16:20:16 GMT -5
Nice to see this pop up again Sam, beautiful work on that camo!
|
|
DeafStuG
Full Member
  
Member since: May 2013
..
Posts: 1,283 
|
Post by DeafStuG on Aug 13, 2013 17:49:35 GMT -5
Good Job with British Camo & Pre-shading.
|
|
venom1
Full Member
  
Member since: October 2012
Posts: 1,369
Oct 10, 2012 2:40:03 GMT -5
Oct 10, 2012 2:40:03 GMT -5
|
Post by venom1 on Aug 26, 2013 0:36:28 GMT -5
Howdy lads, time for another update! So, the first hurdle. For those of you who are unfamiliar with the Wessex, it has an area around the steps which is painted matt black, and it is this weird oblongy shape (Oblongy. Is that a word? It is now....). I figured it was going to be a complete @#$%$# to paint, especially with the landing gear in the way. After mulling over it for some time, in the end it was not really that bad. I have this awesome vinyl sticker material which I use for masking. As an addition it is quite rigid which made it perfect for this situation. So, first thing was to cut out a paper template the right size..... 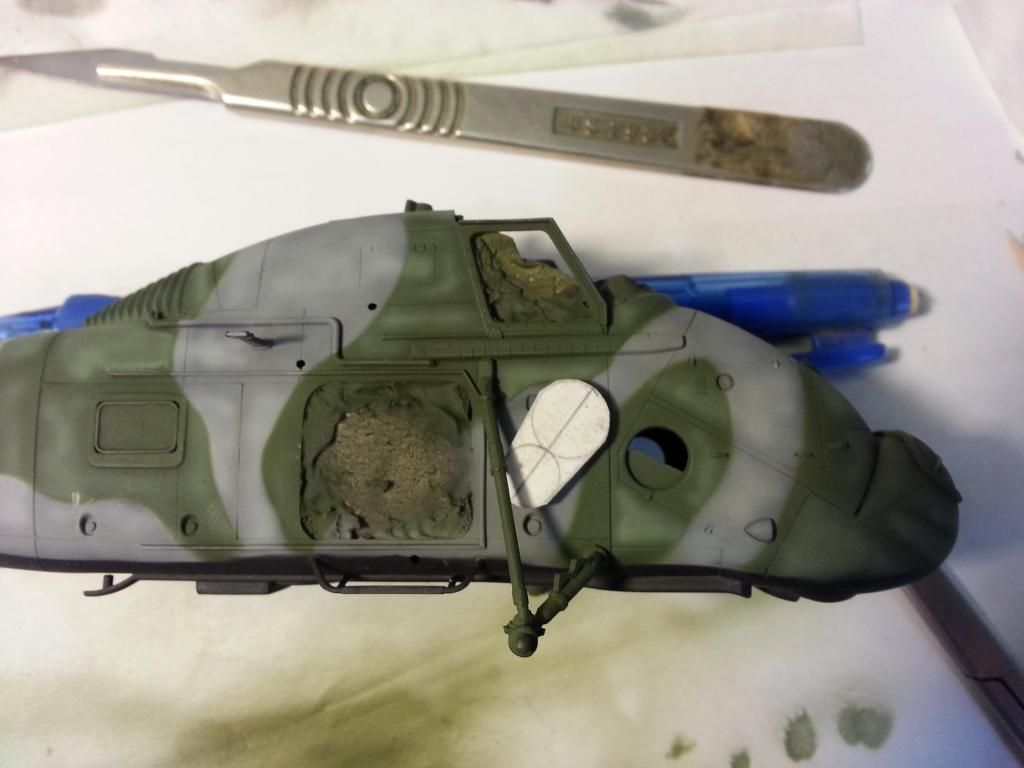 Bewdy mate!! Once done, I drew this onto the vinyl and trimmed the inside away with a sharp scalpel blade. I then butchered away the outside to be left with an "oblongy" shape, as such... 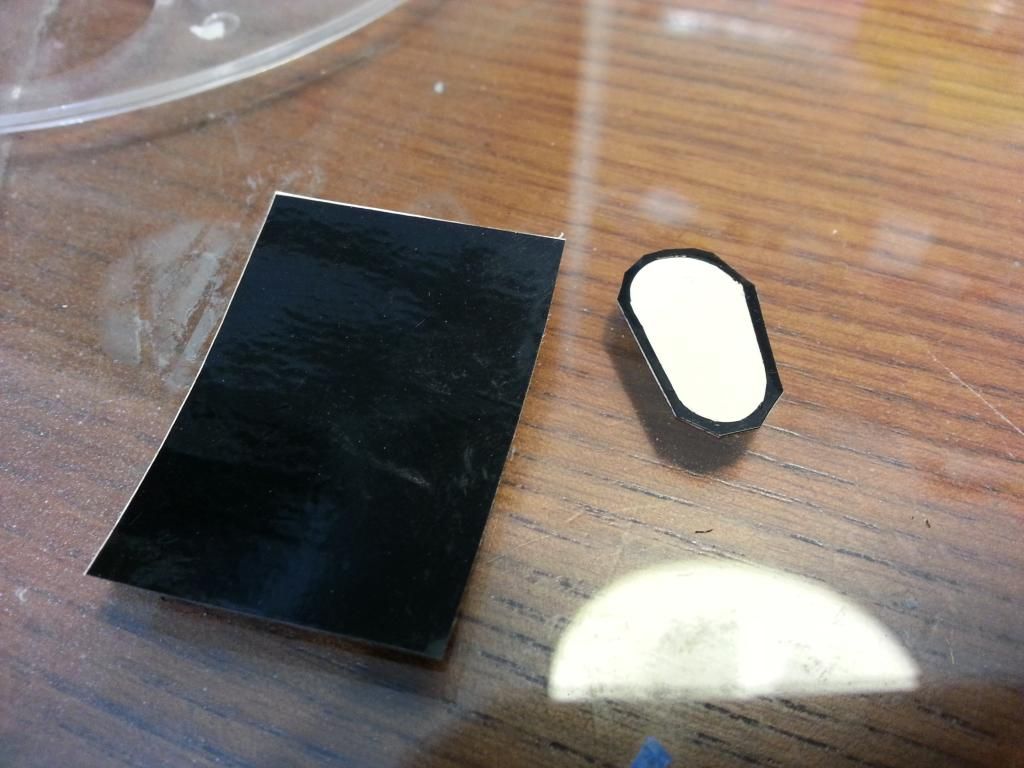 I then peeled the backing away, and laid it down in the right location using my trusty tweezers, just like this... 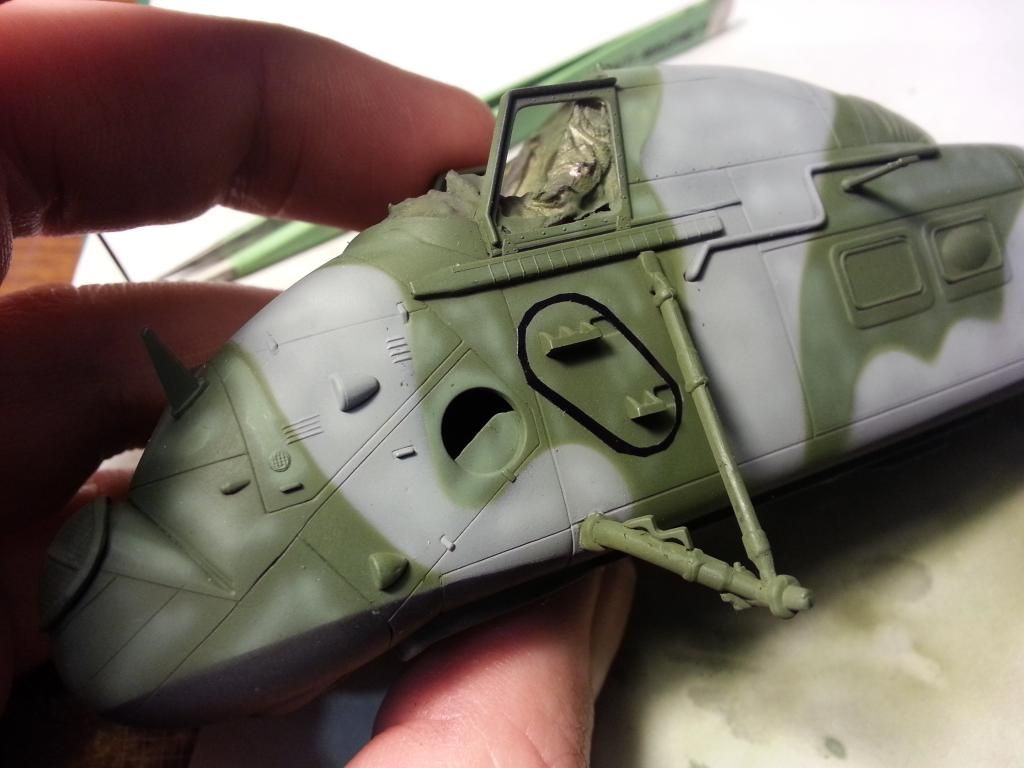 Repeat for other side.  Next up was to paint the light blue fuselage stripe. The fuselage in this location is a bit awkward to mask straight as the sides slope inwards. I started off by laying down a guide with 6mm Tamiya tape, which just happened to be the width I was after. I didn't bother to try and get it round the curves, just a small section on each "flat" to help locate the mask... 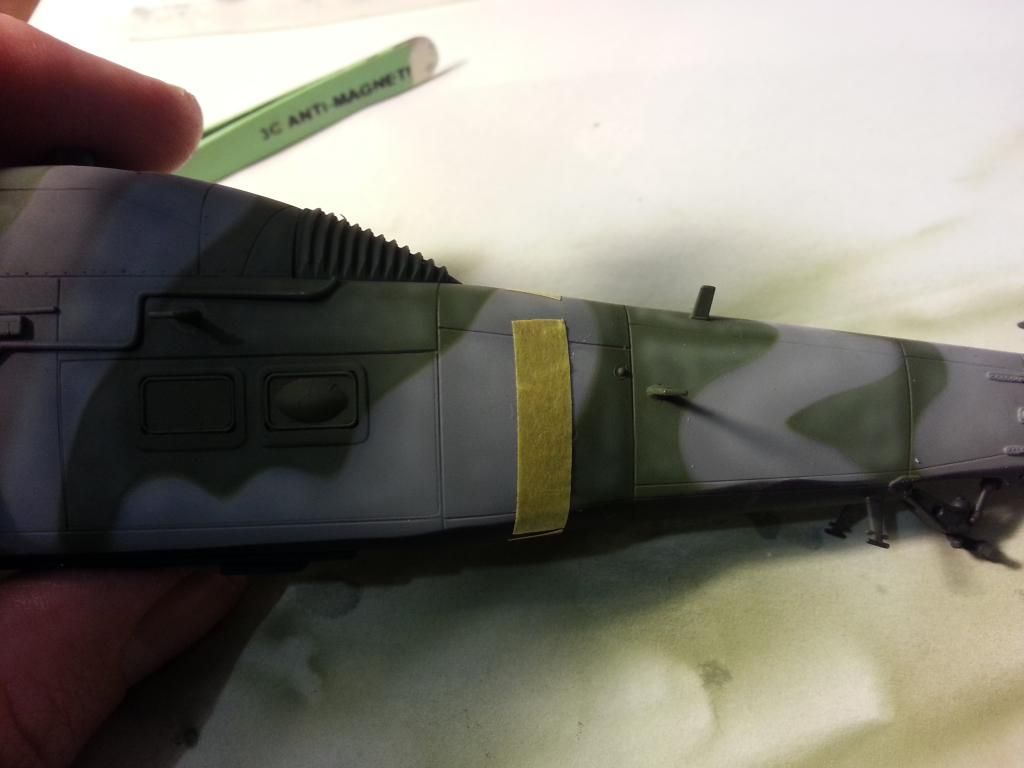 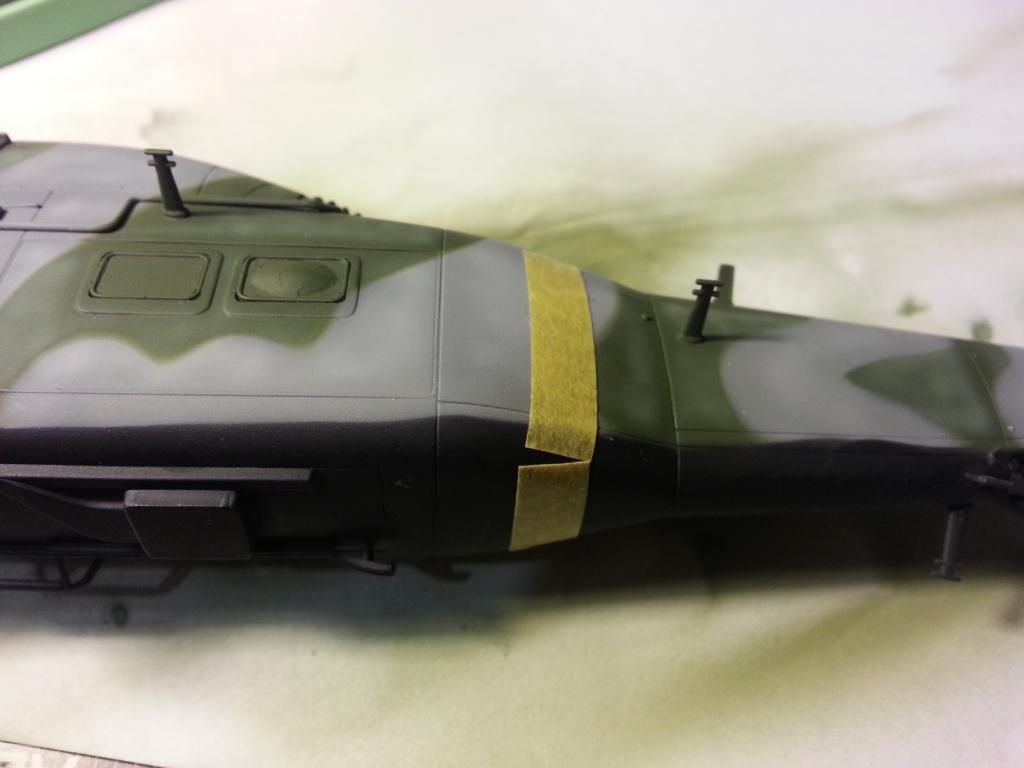 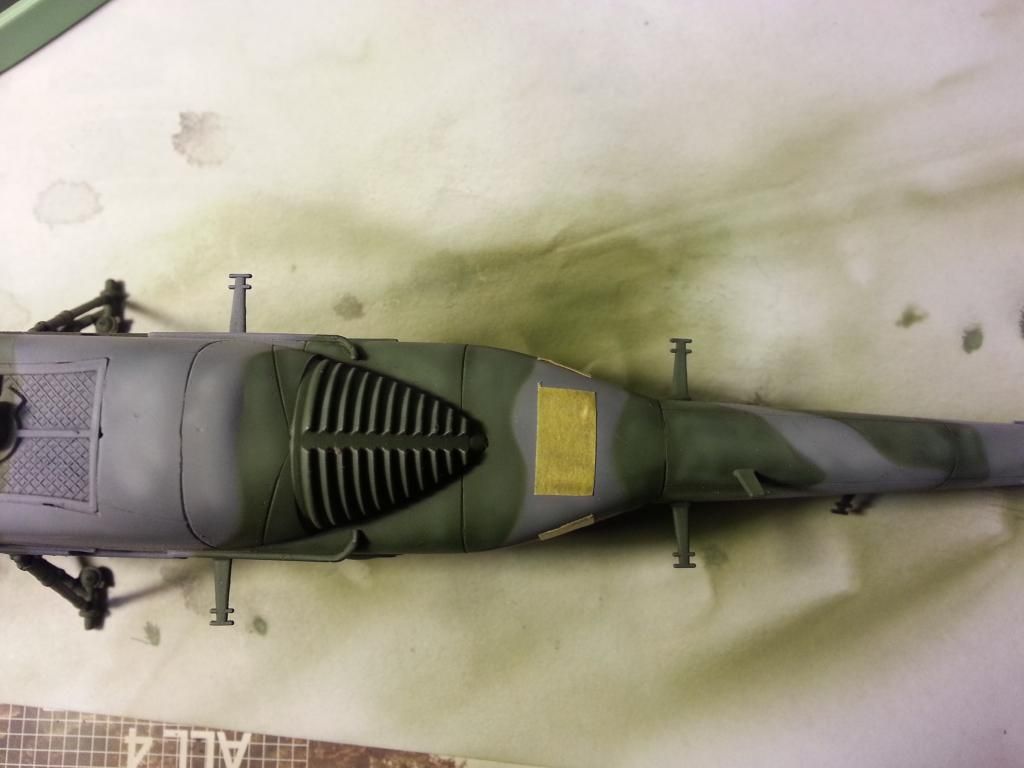 I then used my trusty (flexible) vinyl to mask along the edge of the tape. Once done, I used Tamiya tape and painters tape to mask the rest of the fuselage. Like this... 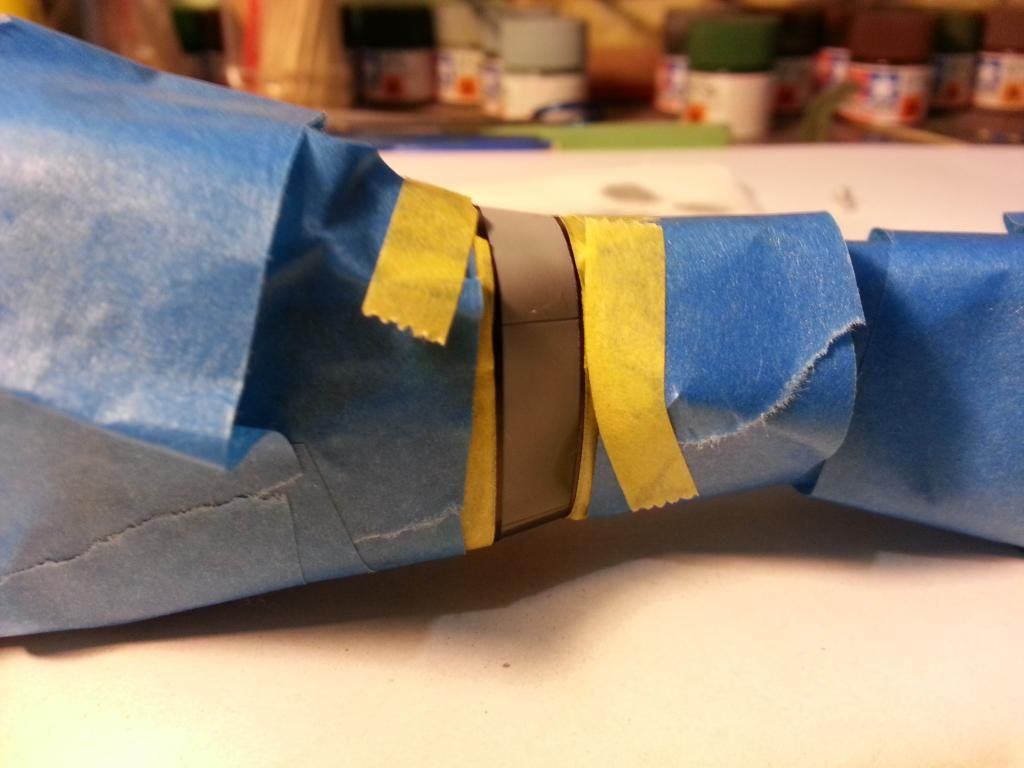 I also finished masking around the "oblongy" bit... 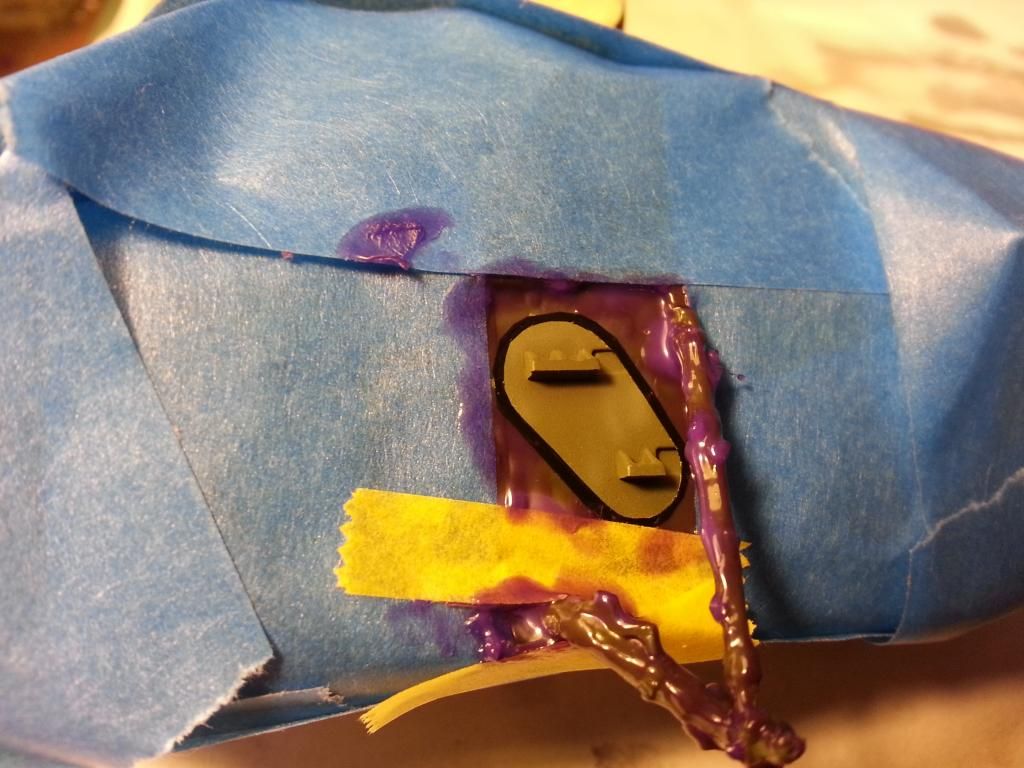 All buttoned up and ready for more painty bits!! 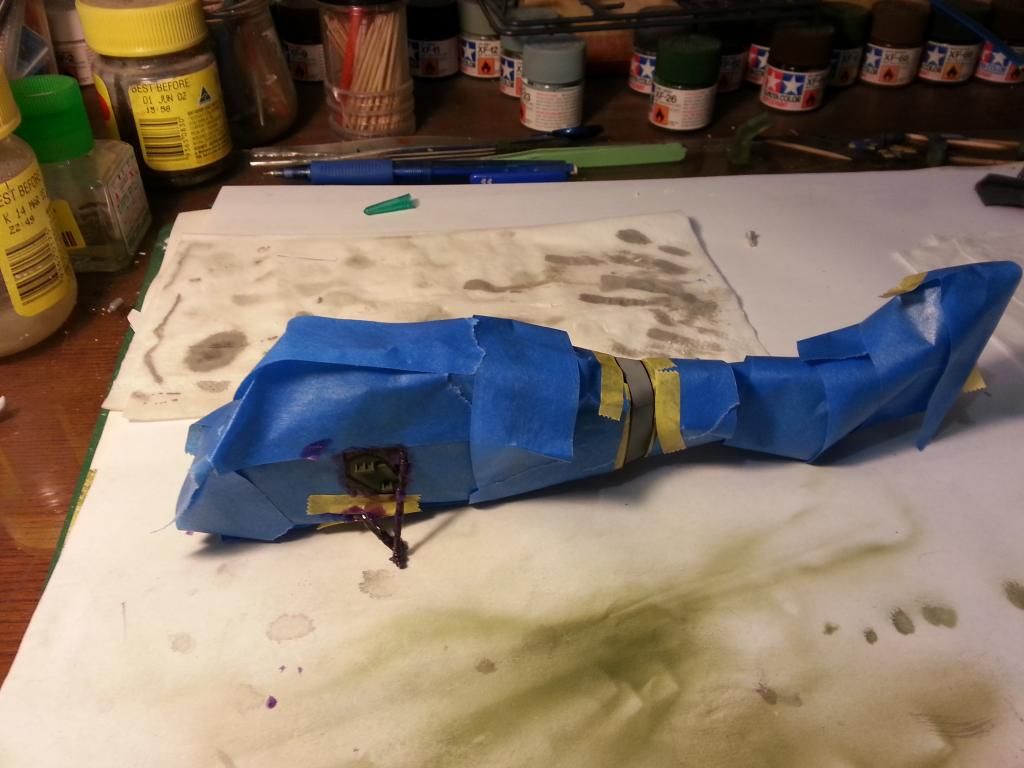 The end result! Pretty chuffed to say the least!!  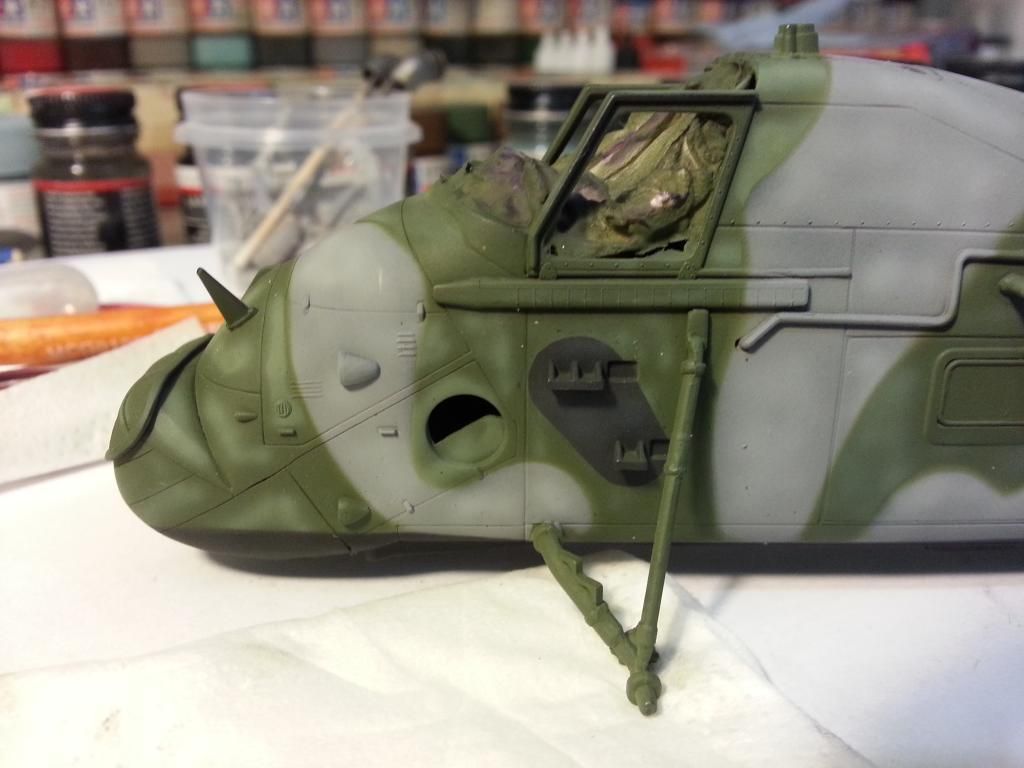 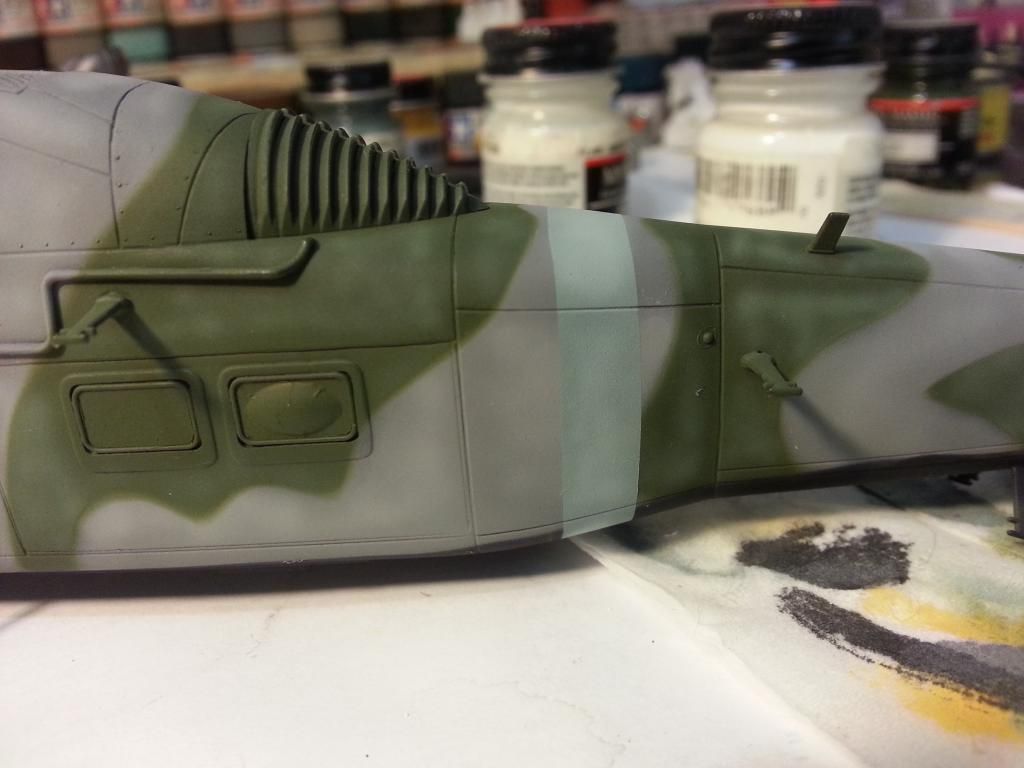 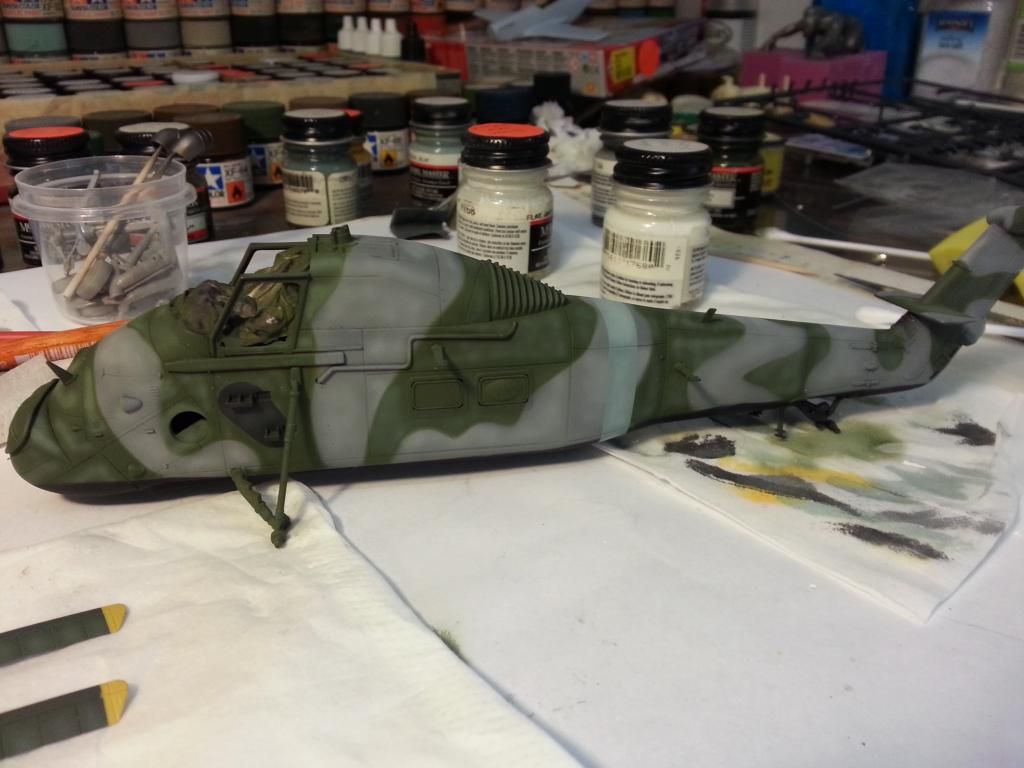 While I was at it, I threw down some Metalizer on the exhausts. Still not 100% sure about it, may redo them... 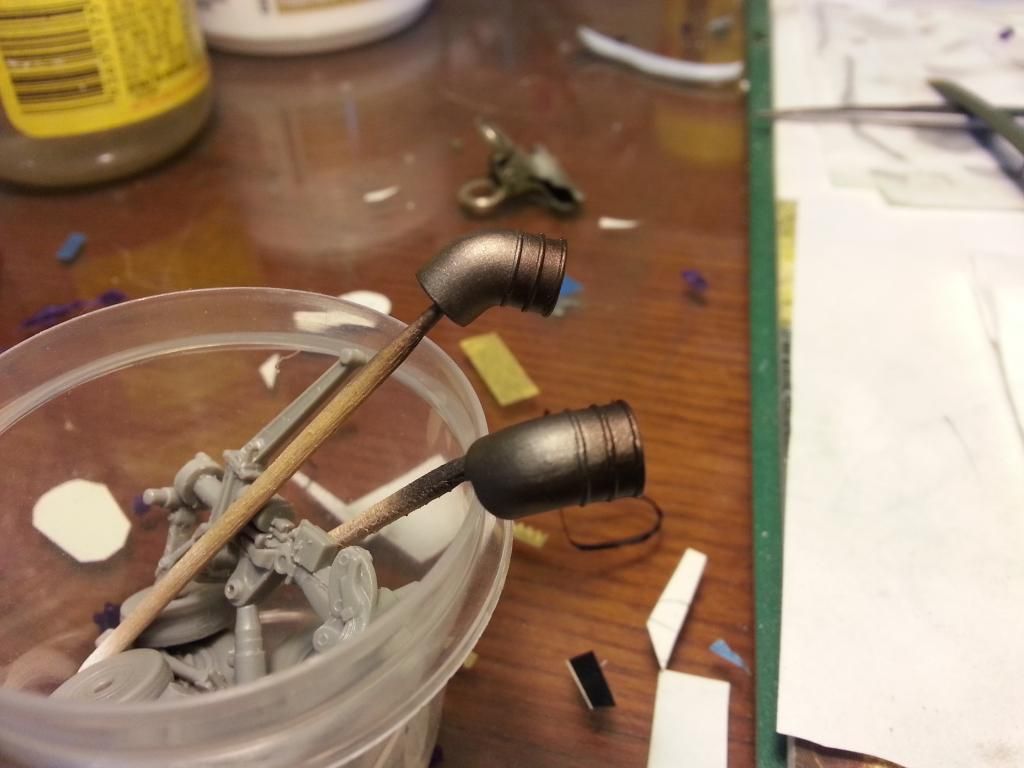 Finally, the decal stage swings around! Three or four coats of Future later and a bunch of decals and this is where we are at as of last night... 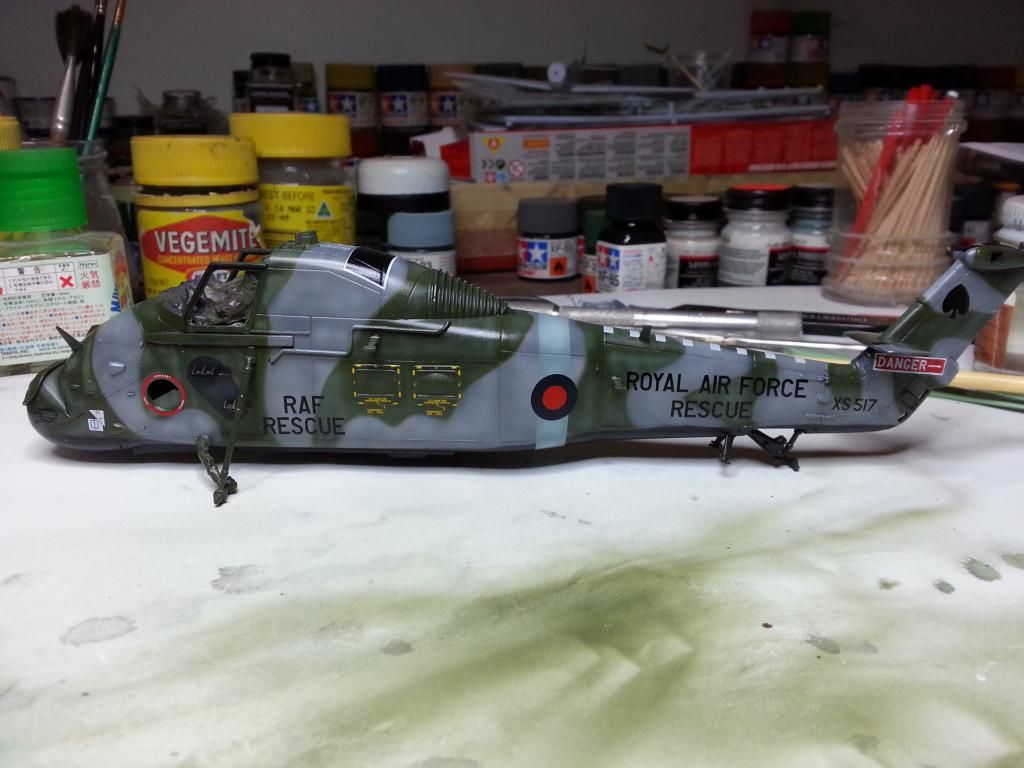 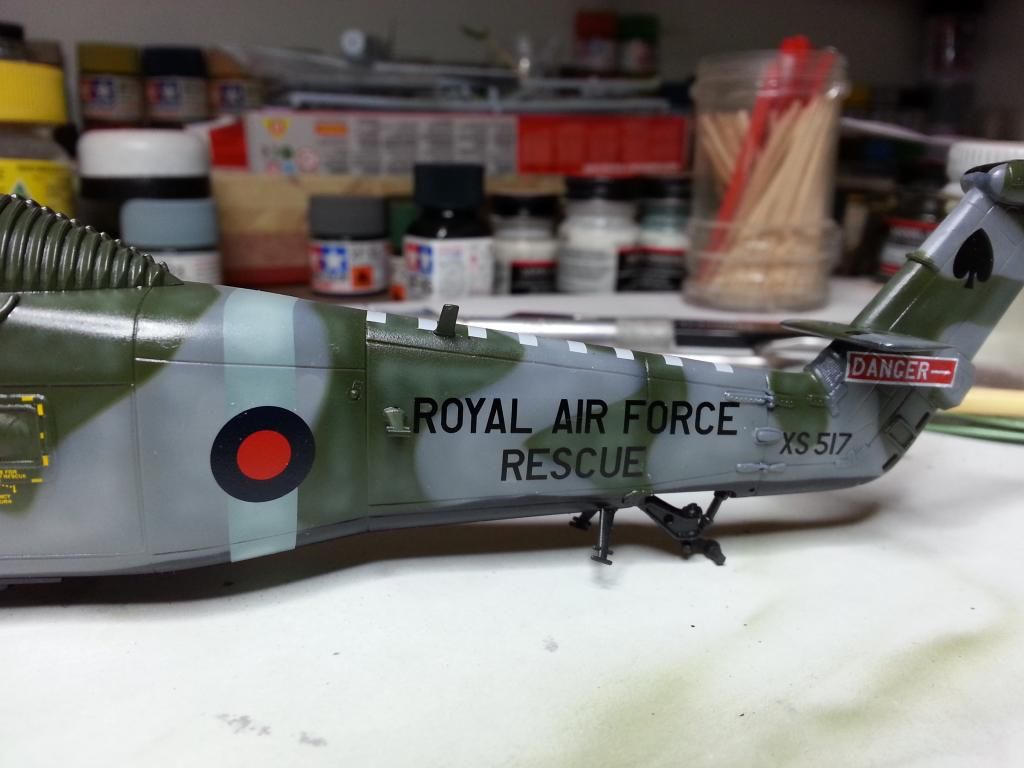 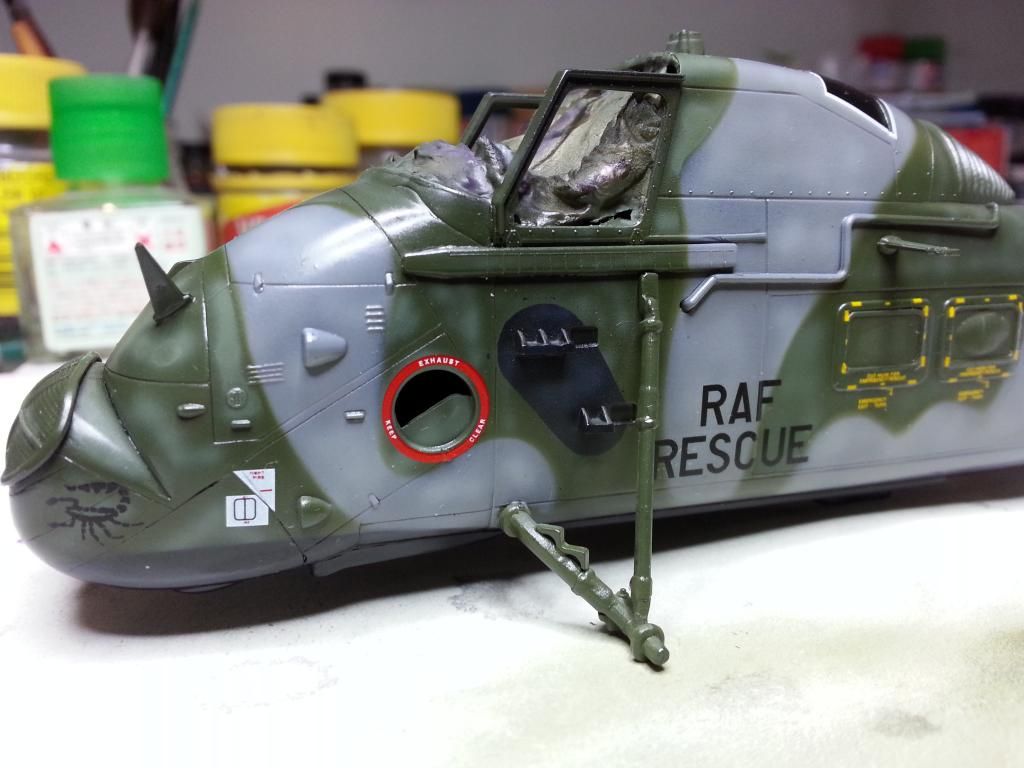 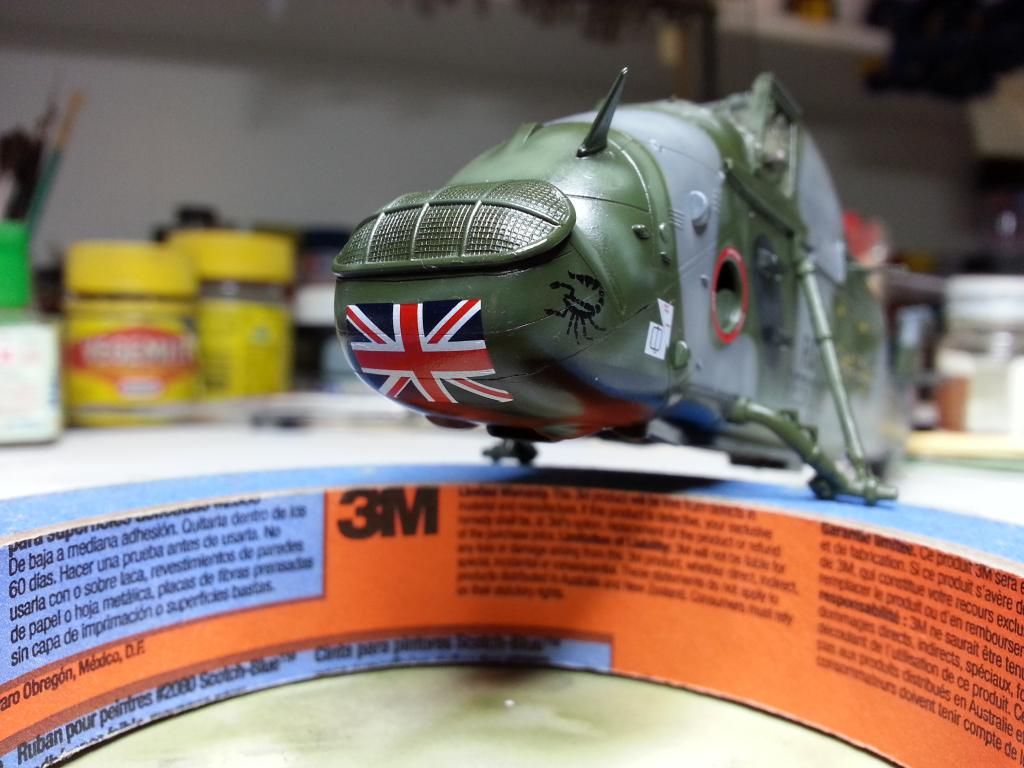 Love that Union Jack!!  There was also some striping done on the rotor blades. Next up will be a couple more coats of Future to seal in the decals, followed by a pin wash on the panel lines, then a flat coat in preparation for more weathering. Stay tooned folks!!  Cheers, Sam  |
|
|
|
Post by deafpanzer on Aug 26, 2013 0:52:49 GMT -5
It just get better and better every time! Still am in love with the camo...
|
|
destrozas.
Full Member
  
Member since: August 2012
Posts: 240
Aug 28, 2012 8:30:14 GMT -5
Aug 28, 2012 8:30:14 GMT -5
|
Post by destrozas. on Aug 26, 2013 2:29:42 GMT -5
great job, i like very much this painting job
|
|
Marcel du Long
Full Member
  
Member since: August 2013
Posts: 331
Aug 22, 2013 13:25:03 GMT -5
Aug 22, 2013 13:25:03 GMT -5
|
Post by Marcel du Long on Aug 26, 2013 10:17:32 GMT -5
Nice job so far.
Perfect base for washes & weathering imho.
Exhaust looks fine, why considering a redo?
Bye,
Marcel.
|
|
|
|
Post by Deano on Aug 26, 2013 11:07:20 GMT -5
This is looking great , nice camo and decal work !
Deano
|
|
|
|
Post by wbill76 on Aug 26, 2013 19:51:32 GMT -5
Very nice work with the masking and decal markings, very nice indeed!
|
|
venom1
Full Member
  
Member since: October 2012
Posts: 1,369
Oct 10, 2012 2:40:03 GMT -5
Oct 10, 2012 2:40:03 GMT -5
|
Post by venom1 on Aug 27, 2013 9:32:00 GMT -5
Thanks guys! Andy - Thanks mate, glad you like how it's going! Hope it continues to get better!  Destrozas Destrozas - Cheers mate, glad you approve!  Marcel Marcel - Thanks mate! As far as the exhaust is concerned, I am not 100% happy with the "graininess" of the finish, or the shade of the metal. The real things are a different shade, and actually quite polished a lot of the time, especially on the base of the exhaust. If you look at the photos above that T posted, you will see what I mean. I have some Alclad paints which I may try, or I may just leave it as is. Still not decided. Will let y'all know soon enough!!  Deano Deano - Thanks very much mate! Yes, it seems to be a very popular camouflage, it's definitely one of my favorites!  Bill Bill - Thanks buddy, I'm pretty chuffed with how well the paintwork and decals came out. Hopefully I can continue to do it justice!!  Will try and get a couple more gloss coats on the decals in preparation for the panel line wash in the next couple of days. Watch this space! Cheers, Sam  |
|
venom1
Full Member
  
Member since: October 2012
Posts: 1,369
Oct 10, 2012 2:40:03 GMT -5
Oct 10, 2012 2:40:03 GMT -5
|
Post by venom1 on Sept 25, 2013 0:37:28 GMT -5
Righto you scurvy dogs, time fer another update. Arrrrrrr!! (Don't ask why I was talking like a pirate. I just was.  ). Ennyhoo.....   Sorry about the lack of updates over the last month, I have been pretty busy lately (read "lazy"  ). So, on with the show...... So after the last post, I followed on with a pin wash through the panel lines to help them pop out a bit, followed by a couple of coats of Gunze acrylic flat coat to deaden it right down, as follows: 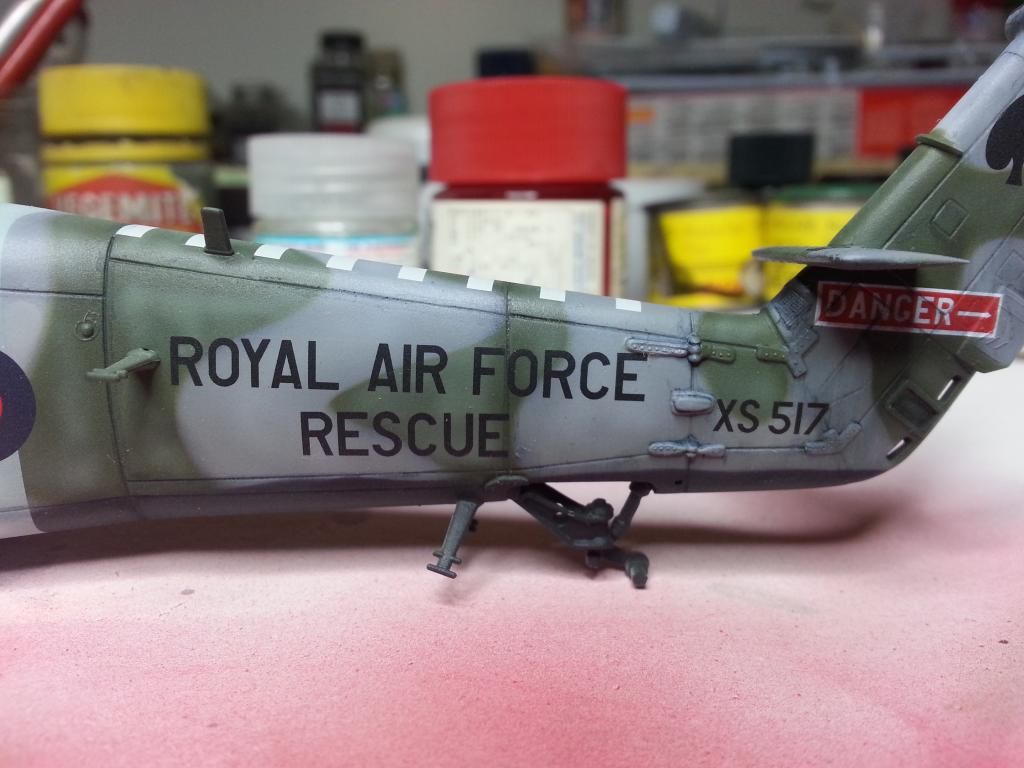 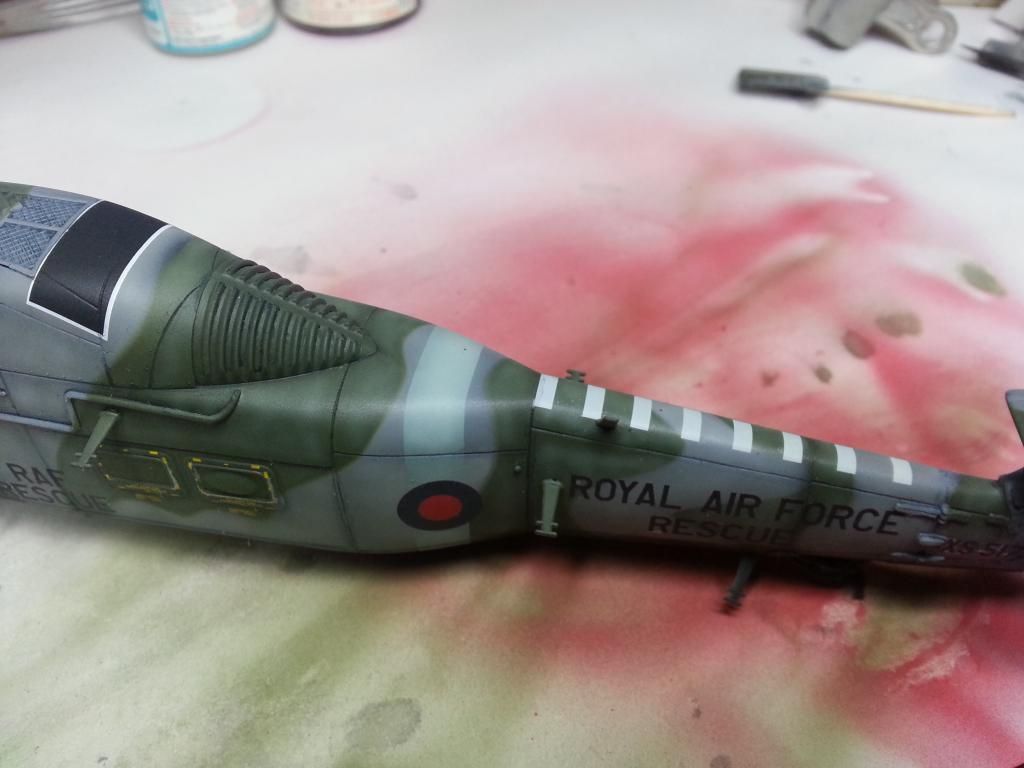 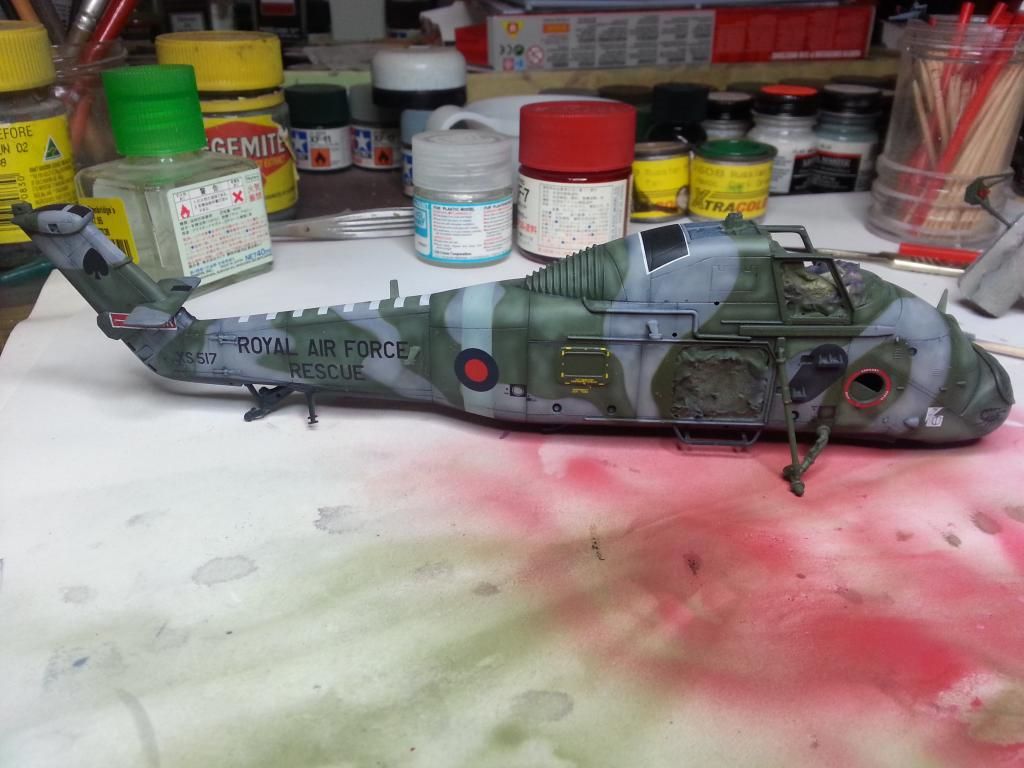 Following that was my new (for me at least!) technique of the oil dot weathering method. My colours are a bit limited at the moment, so I had to work with what I had. In the end, the results are very subtle, and dont really pick up well in the pics. Looks good in the flesh, trust me.   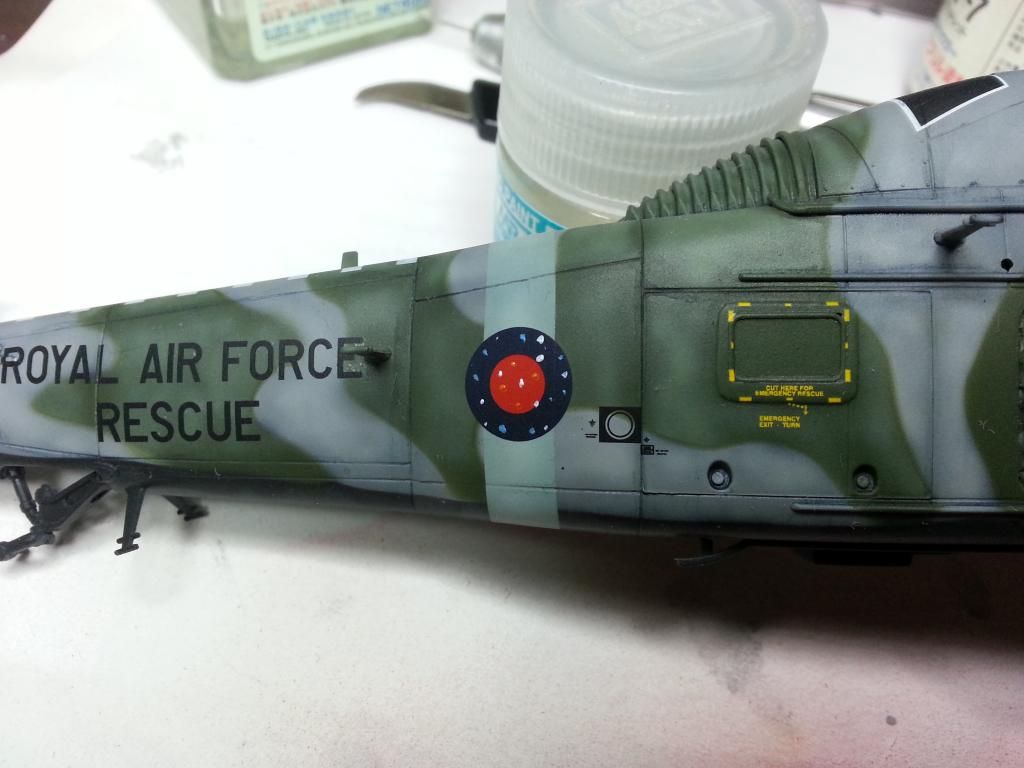 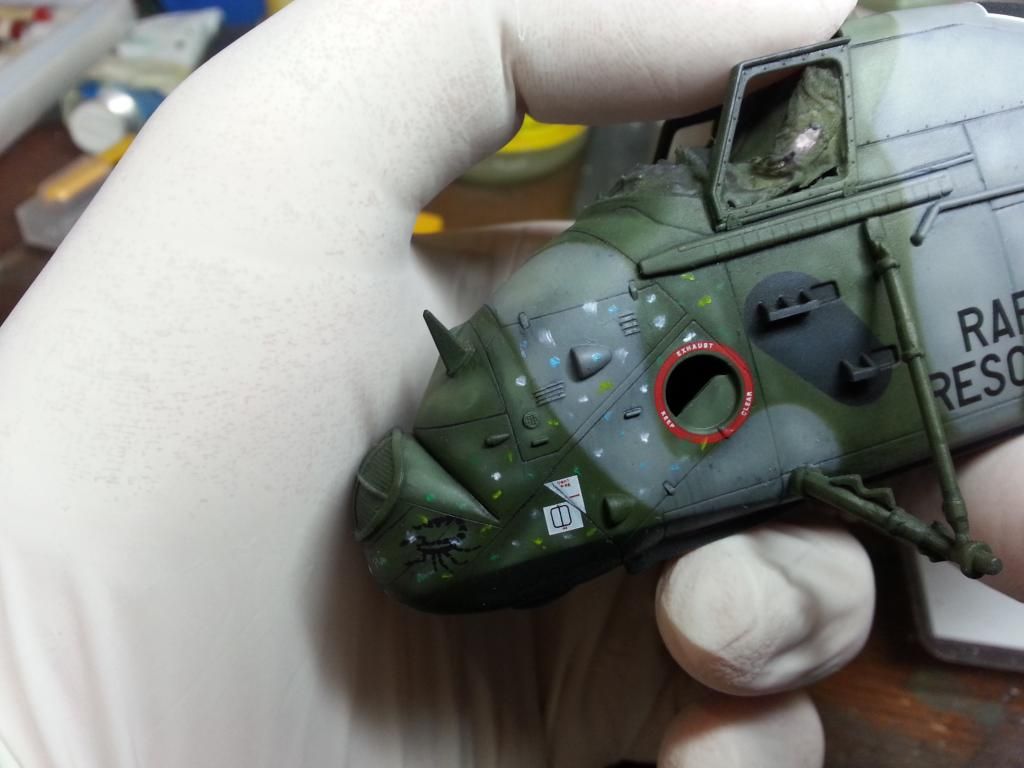 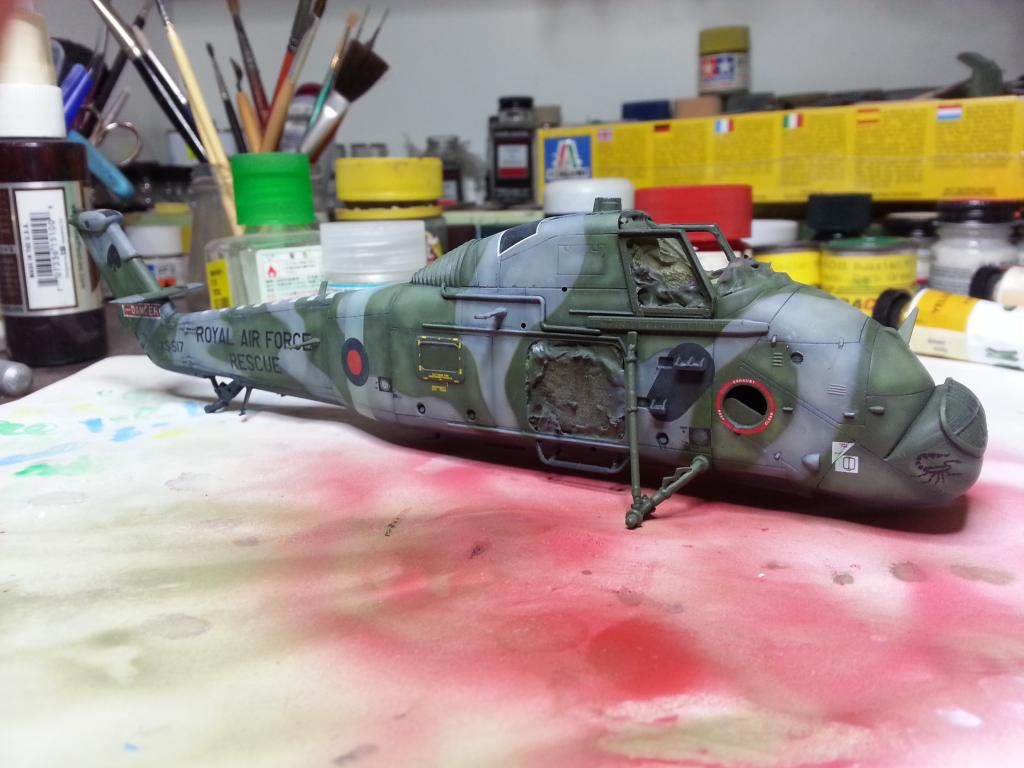 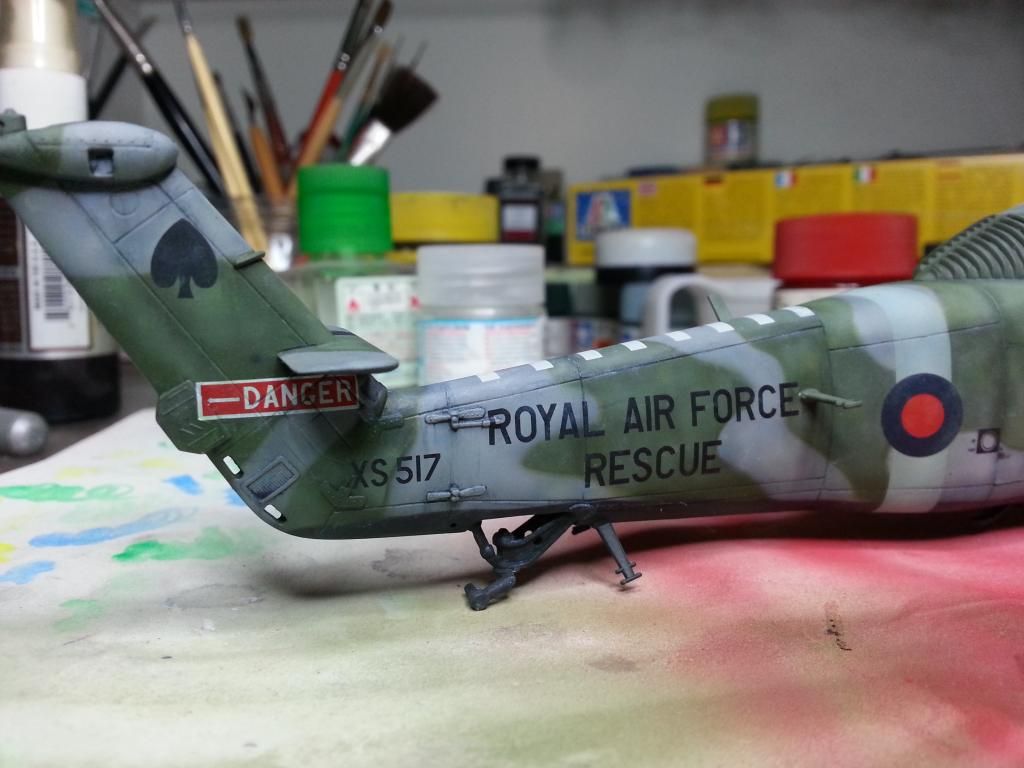 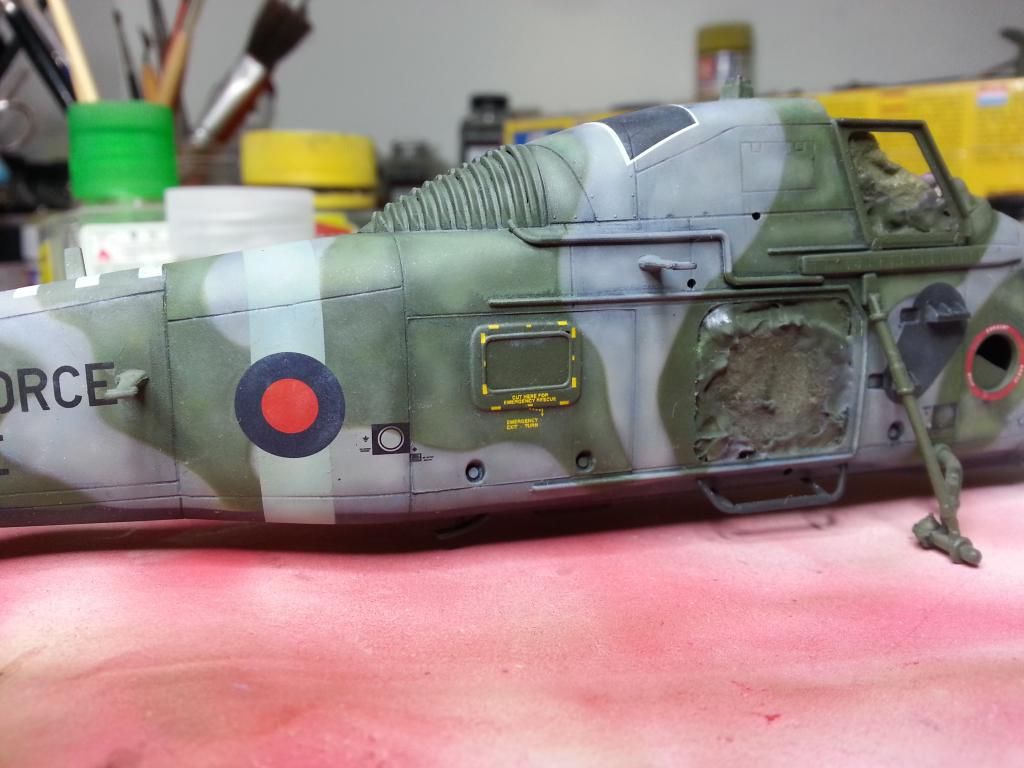 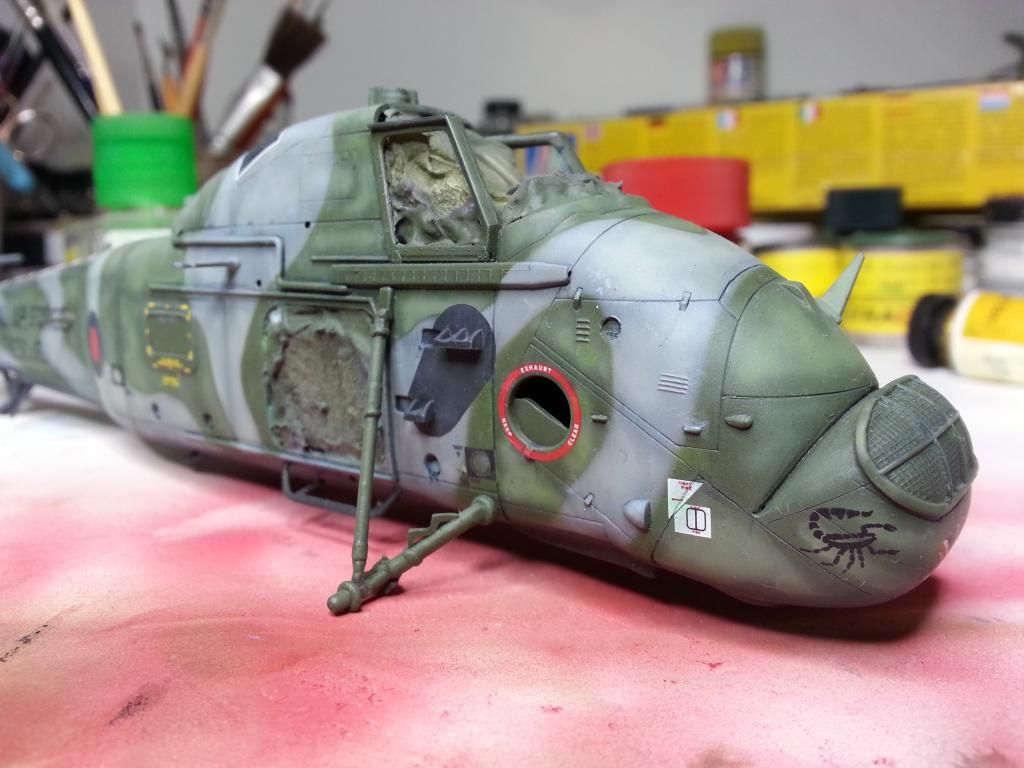 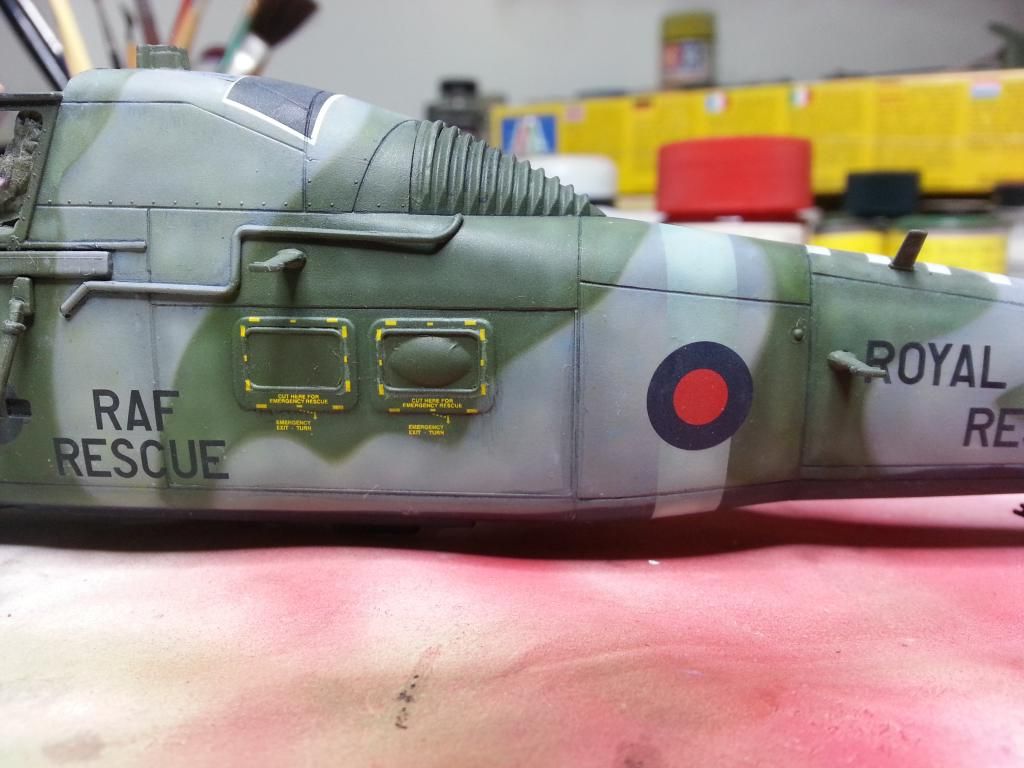 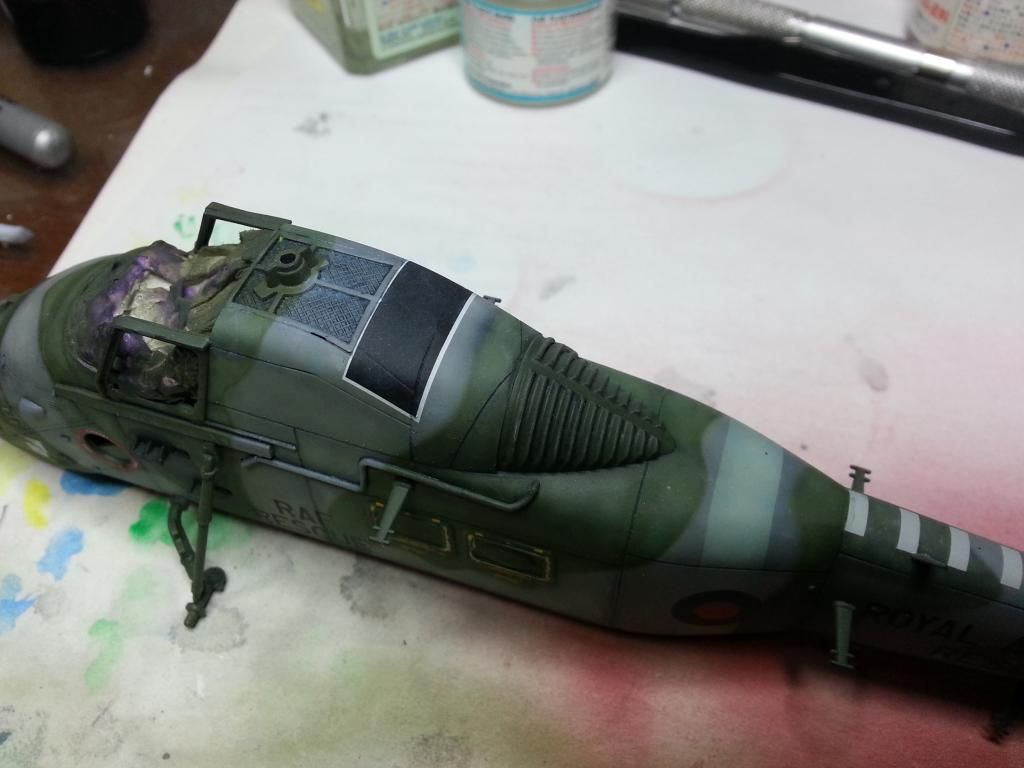 The decals are now a lot more faded and blend in with the rest of the paintwork. Noice!  So, the end is (fairly) nigh! Below are a couple of test shots with the canopy resting in place and the wheels on to give a bit of an idea of the end result. Looking good Billy-Ray! (Obscure movie reference..... 10 points for the one who guesses it first!!  ) 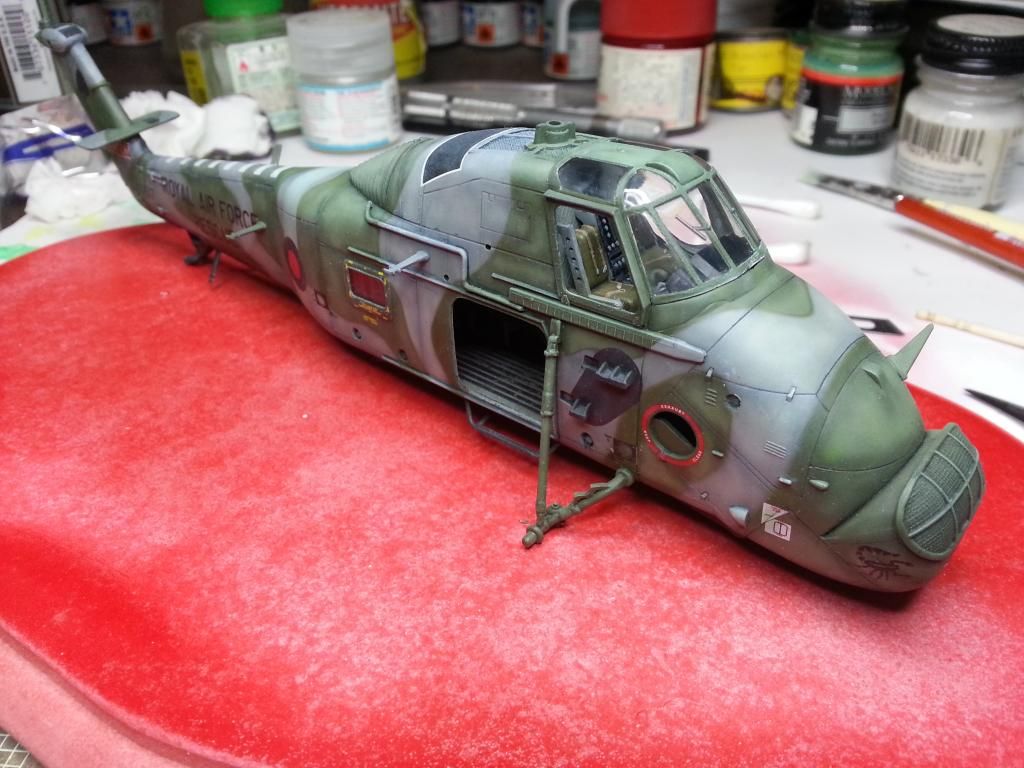 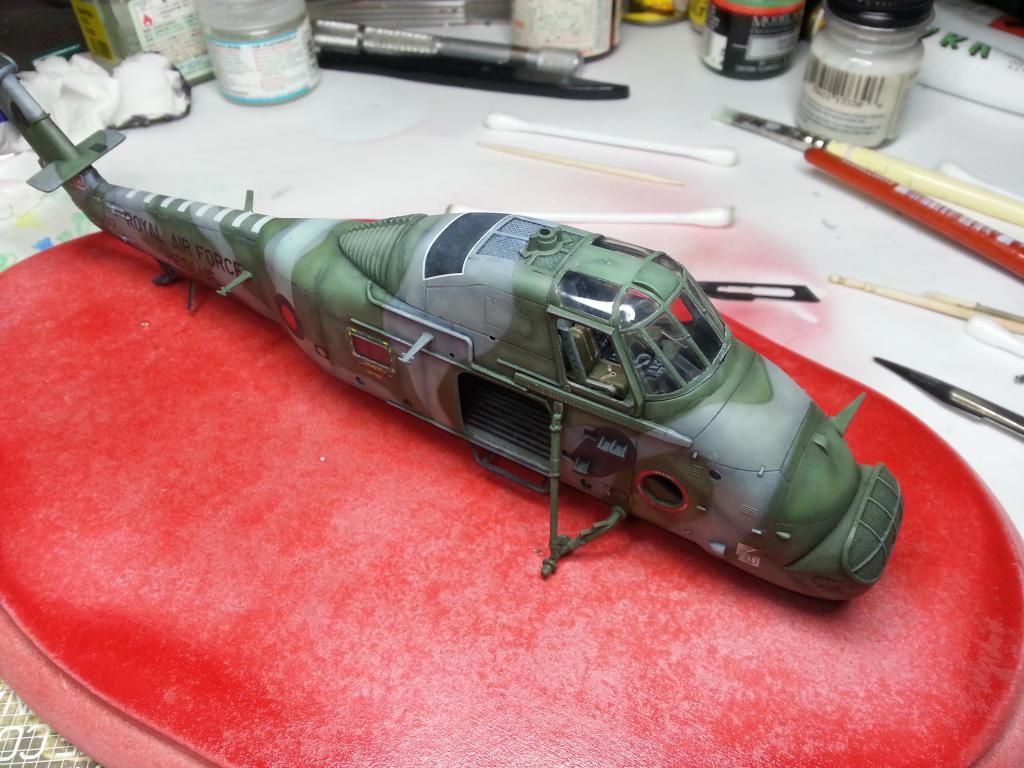 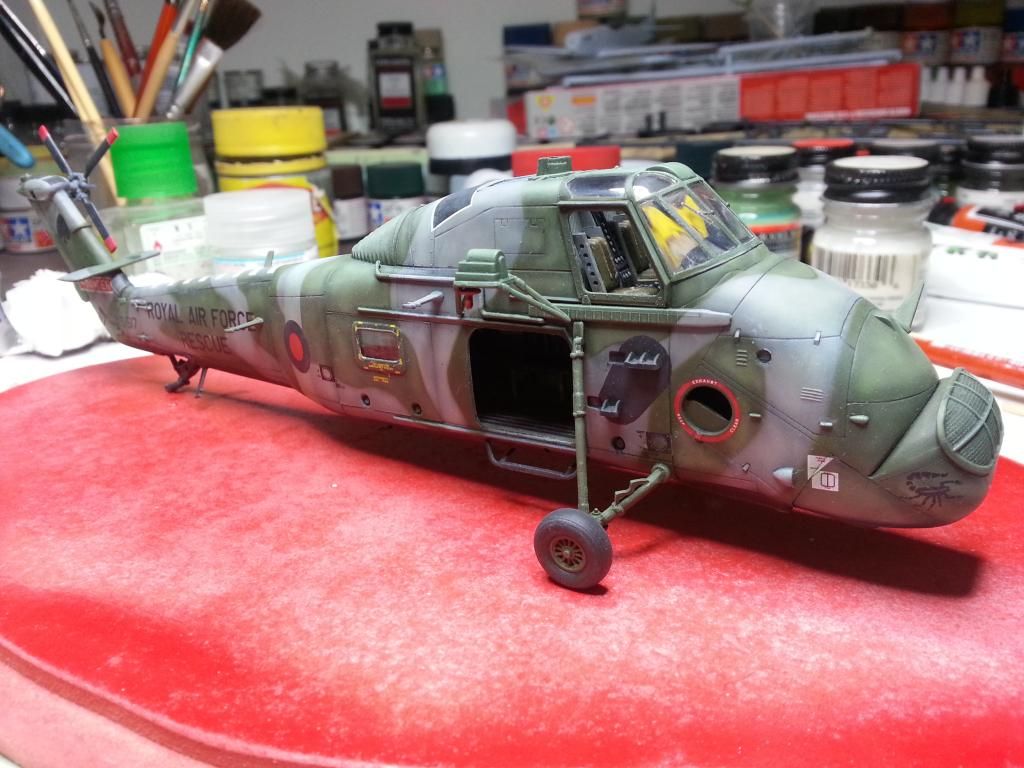 I have gotten a bit further since these pics were taken. The majority of the work is done, and I am just trying to finalise the radio wires around the fuselage. I wasn't happy with the last couple I did as shown below, so I have removed them and will have another crack. 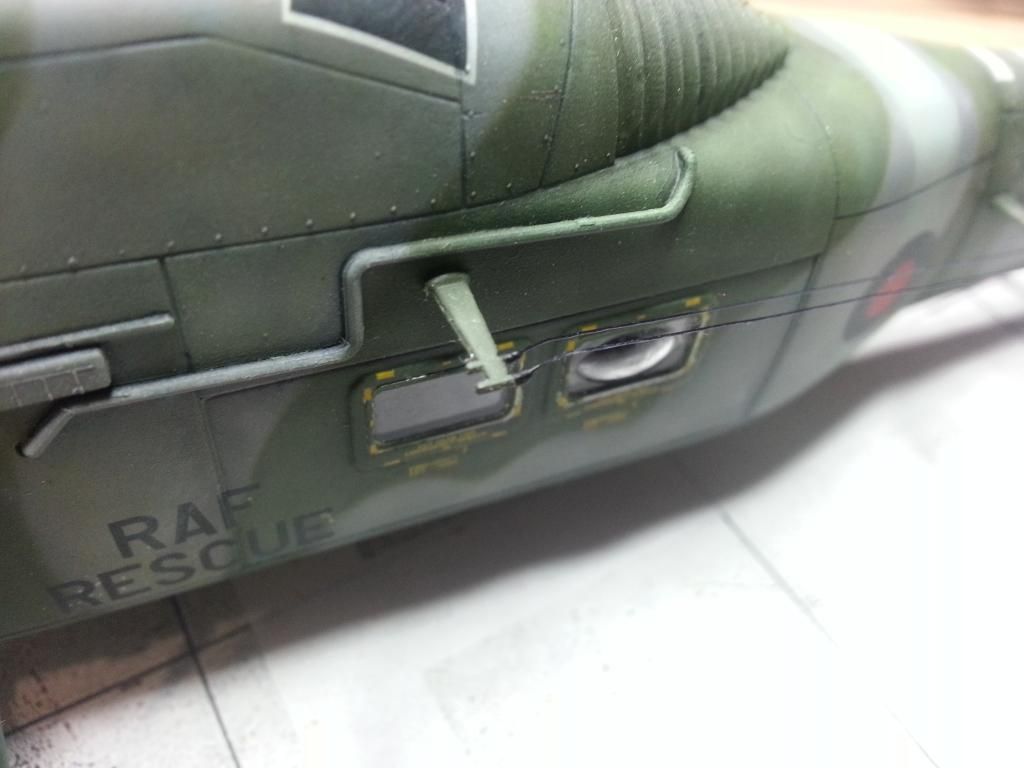 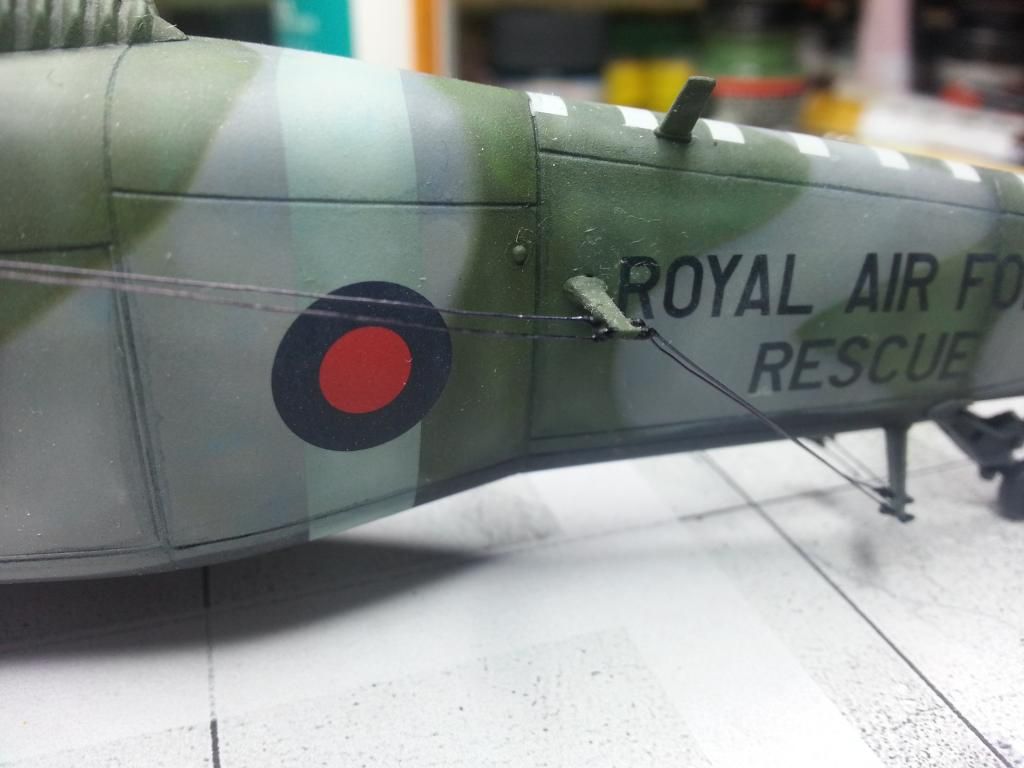 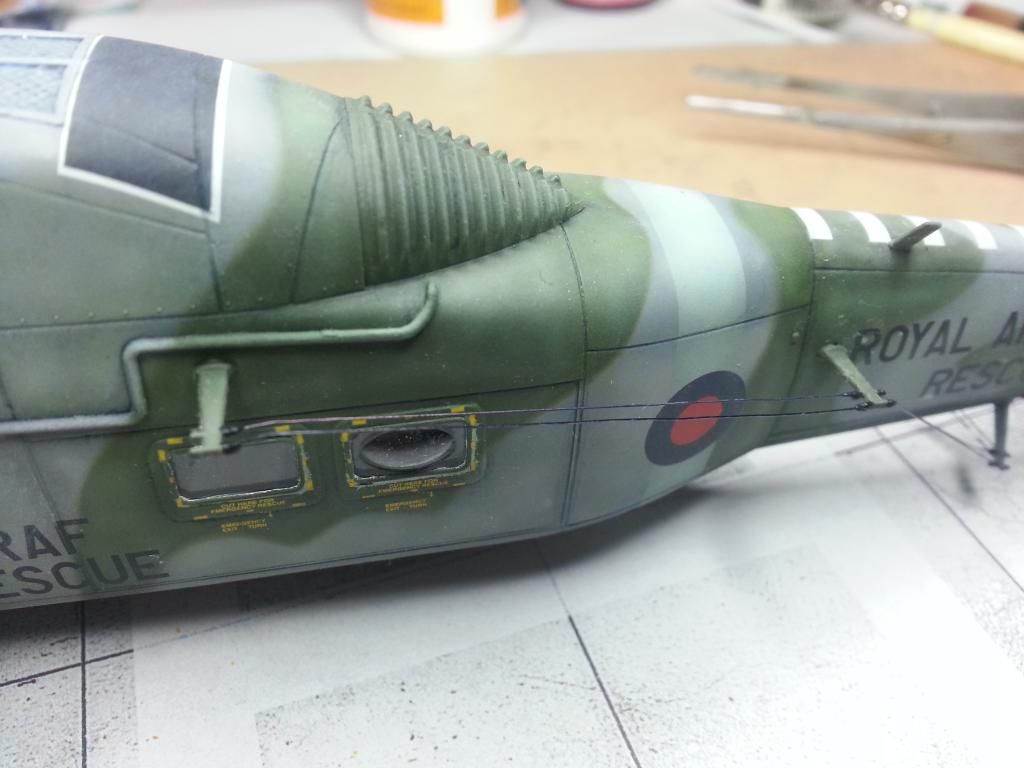 As you can see the are a bit loose and I don't like it! They have already been removed and I will redo them proper-like... So there we are. I have some more complete pics, but I want to hold off with the big unveil. Hopefully the next update she will be done and dusted. Will check in with y'all then!!  Cheers, Sam  |
|
|
|
Post by Leon on Sept 25, 2013 4:16:14 GMT -5
Sam that looks awesome buddy  .The camo,faded paint and decs look top notch.Very well done sir  .Looking forward to seeing the finished build.  |
|
venom1
Full Member
  
Member since: October 2012
Posts: 1,369
Oct 10, 2012 2:40:03 GMT -5
Oct 10, 2012 2:40:03 GMT -5
|
Post by venom1 on Sept 25, 2013 4:25:41 GMT -5
Thanks lots Leon, I'm pretty happy with how she's turned out thus far.  Hopefully it shant be long before she is all fineto!  Cheers, Sam  |
|
|
|
Post by deafpanzer on Sept 25, 2013 10:46:16 GMT -5
I don't think I will ever get tired looking at the camo. Still looking great!
|
|
Marcel du Long
Full Member
  
Member since: August 2013
Posts: 331
Aug 22, 2013 13:25:03 GMT -5
Aug 22, 2013 13:25:03 GMT -5
|
Post by Marcel du Long on Sept 25, 2013 13:23:37 GMT -5
Nice update Sam, very inspiring.
Perhaps adding some light coloured pinwashes in the dark area panel lines like the black rectangle on top and the black decals crossing panel lines? Could be a nice touch imho.
Bye,
Marcel.
|
|