|
|
Post by 406 Silverado on Feb 24, 2012 17:31:51 GMT -5
Nice work getting those two built up Tony. I'm liking that gun, the rest of the interior can be done with some white stuff.
|
|
|
|
Post by TRM on Feb 24, 2012 18:14:53 GMT -5
Nice work there Uncle T!!!!
|
|
bigjohn
Reviews member    
Member since: December 2011
John Hale
Posts: 3,438
Dec 21, 2011 2:17:45 GMT -5
Dec 21, 2011 2:17:45 GMT -5
|
Post by bigjohn on Feb 24, 2012 19:54:36 GMT -5
I can feel it coming, My wallet is gonna get a little thinner after seeing that Tristar kit..........  |
|
|
|
Post by tonylee-Rest In Peace on Feb 24, 2012 21:05:00 GMT -5
I found a weak point to be aware of coming up. It's not a show stopper but they should have known better.
I'll show & tell in the next up-date.
Thanks guys
Tony
|
|
|
|
Post by 406 Silverado on Feb 25, 2012 9:13:04 GMT -5
That will be a big help to many Tony. A heads up is always good Uncle. Keep at these.
|
|
|
|
Post by wouter on Feb 26, 2012 13:16:55 GMT -5
what can I say: yummie!!!! ;D Love the gun breech work!
Cheers
|
|
danb.
Reviews member     March 2013 MoM Winner
Member since: November 2011
Posts: 2,808
Nov 17, 2011 9:22:52 GMT -5
Nov 17, 2011 9:22:52 GMT -5
|
Post by danb. on Feb 26, 2012 13:58:37 GMT -5
The progress is looking really good Tony keep up the good work.
Dan B
|
|
|
|
Post by tonylee-Rest In Peace on Feb 26, 2012 16:43:15 GMT -5
Hey Everyone Here's that weak point I mentioned. 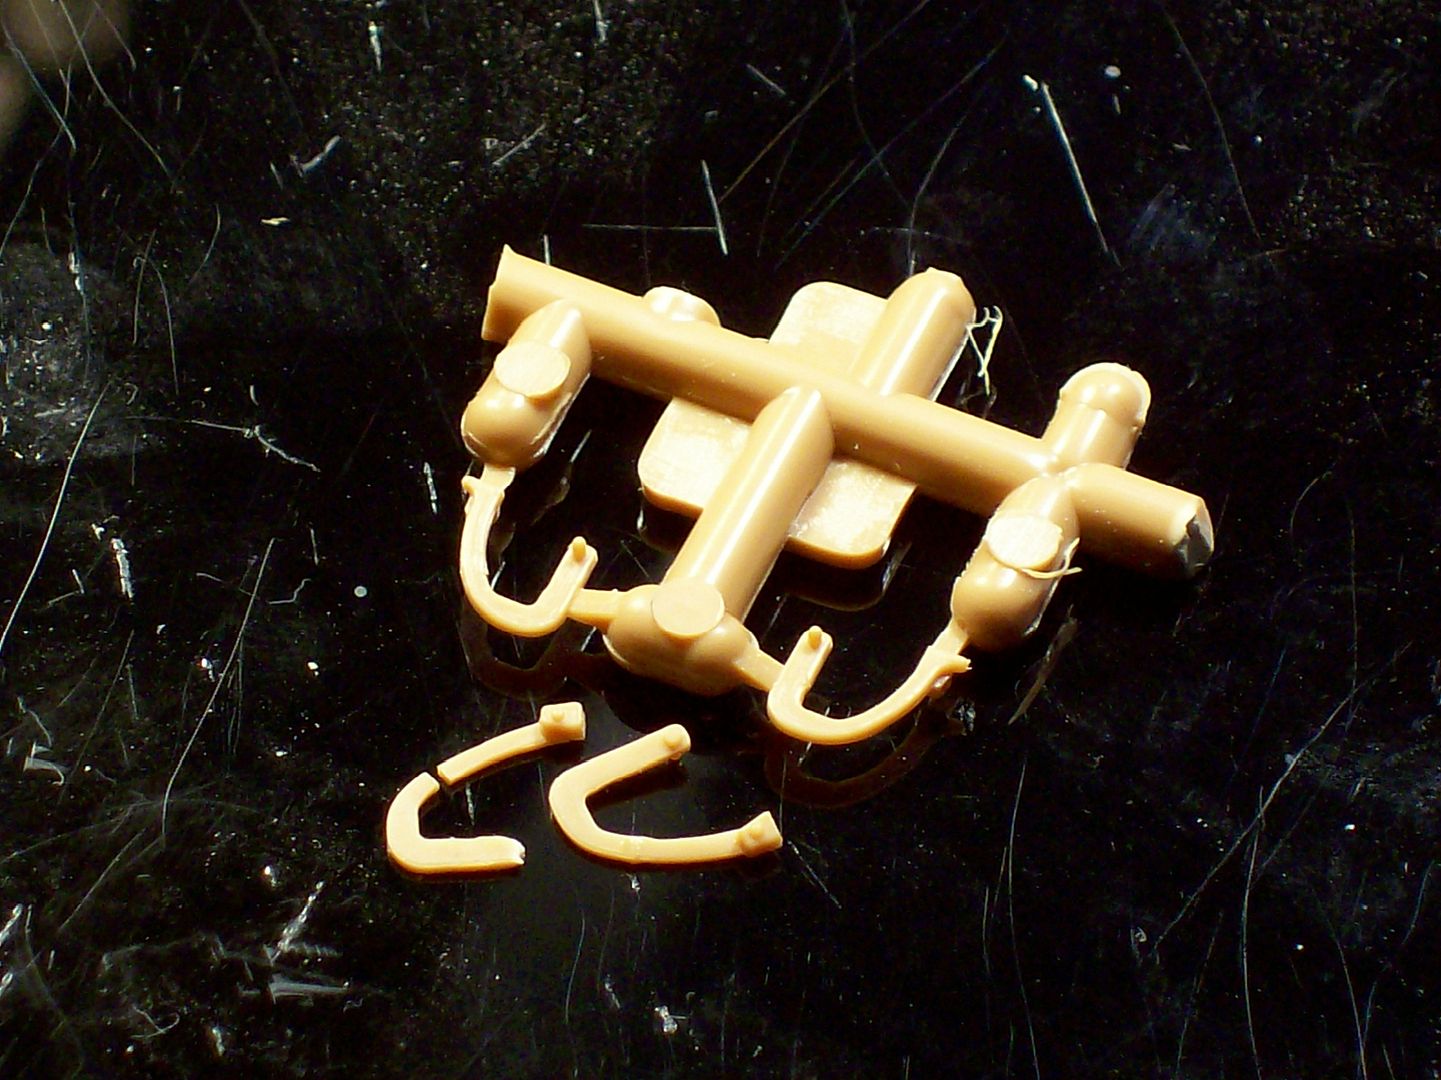 Those are the hinges for the top hatch lids and they are paper thin. I didn't break them cutting off the sprue,one broke just holding between my finger tips,I glued it back together. The other broke when I was gluing it to the lid being very careful too. I didn't even try using the other two.  These are the unused hinges from the DML A-O kit. Much heavier as pictures of the real thing show.  Tristar could've made them using the supplied PE and would have been much stronger. One thing Tristar missed was the splatter shield on the front of the casement at the base. I made one from a strip of PE sprue and took care of that. |
|
|
|
Post by 406 Silverado on Feb 26, 2012 16:49:16 GMT -5
Nice work Tony and thanks for the heads up on the fragile parts. I am surprised you haven't gone all PE on us.
|
|
|
|
Post by spud on Feb 26, 2012 17:01:45 GMT -5
nice save tony, i would have used some kind of brass rod but thats because i wouldnt have a spare kit ;D
|
|
|
|
Post by tonylee-Rest In Peace on Feb 26, 2012 17:31:29 GMT -5
The rest of the story. 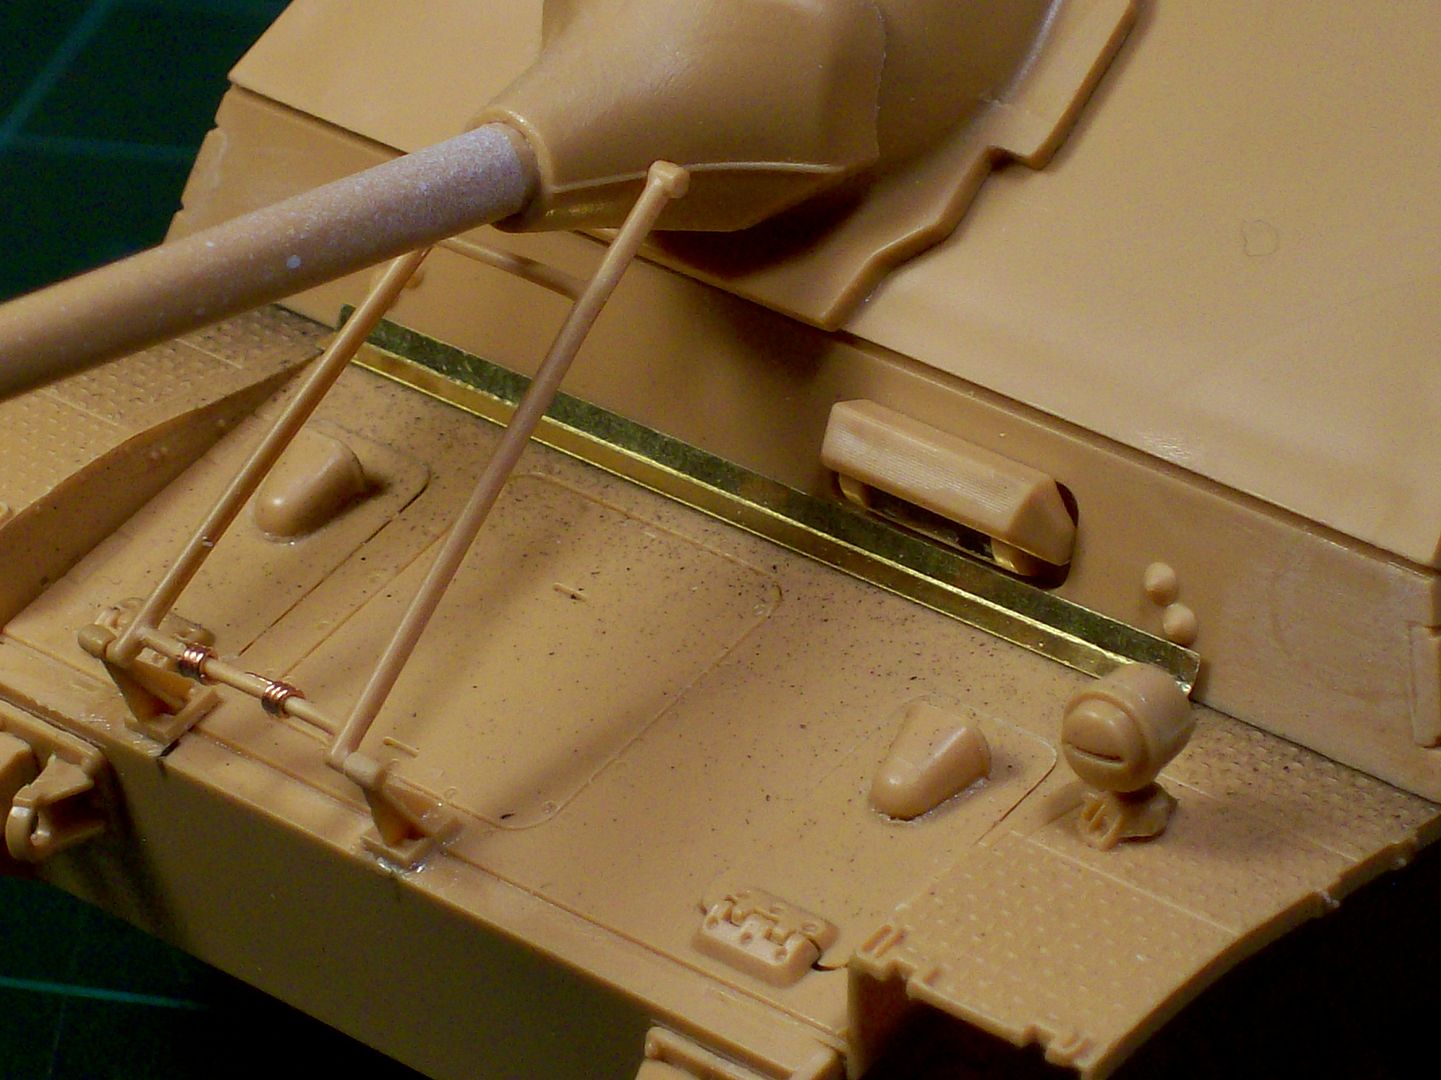 Wrapped copper wire around the base of the travel lock to simulate some kind of contraption. End of story  Tony |
|
|
|
Post by tonylee-Rest In Peace on Feb 26, 2012 17:54:08 GMT -5
Yeah the color is easy on the eyes Boo. Working with it I find medium to soft to hard plastic. Different styrene lots or different machine set ups?  Really no need for PE when the kit details are decent Rob. Spud that's the idea,use what ya got. ;D Thanks Tony |
|
bigjohn
Reviews member    
Member since: December 2011
John Hale
Posts: 3,438
Dec 21, 2011 2:17:45 GMT -5
Dec 21, 2011 2:17:45 GMT -5
|
Post by bigjohn on Feb 26, 2012 18:19:20 GMT -5
Nice work Tony, moving right along.
Should have more time to build tonight since Daytona got rained out.
|
|
|
|
Post by spud on Feb 26, 2012 18:30:54 GMT -5
very nice Tony.
|
|
modelfreak72
Full Member
  
Member since: January 2012
Why worry, each of us is wearing an unlicensed nuclear accelerator on his back.
Posts: 1,479
Jan 28, 2012 23:21:46 GMT -5
Jan 28, 2012 23:21:46 GMT -5
|
Post by modelfreak72 on Feb 27, 2012 16:44:34 GMT -5
Looking good tony!
|
|
|
|
Post by eastrock on Feb 27, 2012 16:53:52 GMT -5
You really make the kits stand-out Tony, especially with the added details and information.  |
|
|
|
Post by tonylee-Rest In Peace on Feb 28, 2012 11:43:12 GMT -5
Daytona Speed Week has come to an end and it's time to get back in gear. The tools have been cleaned up and ready for paint,even a few parts found the place where they're going to live. 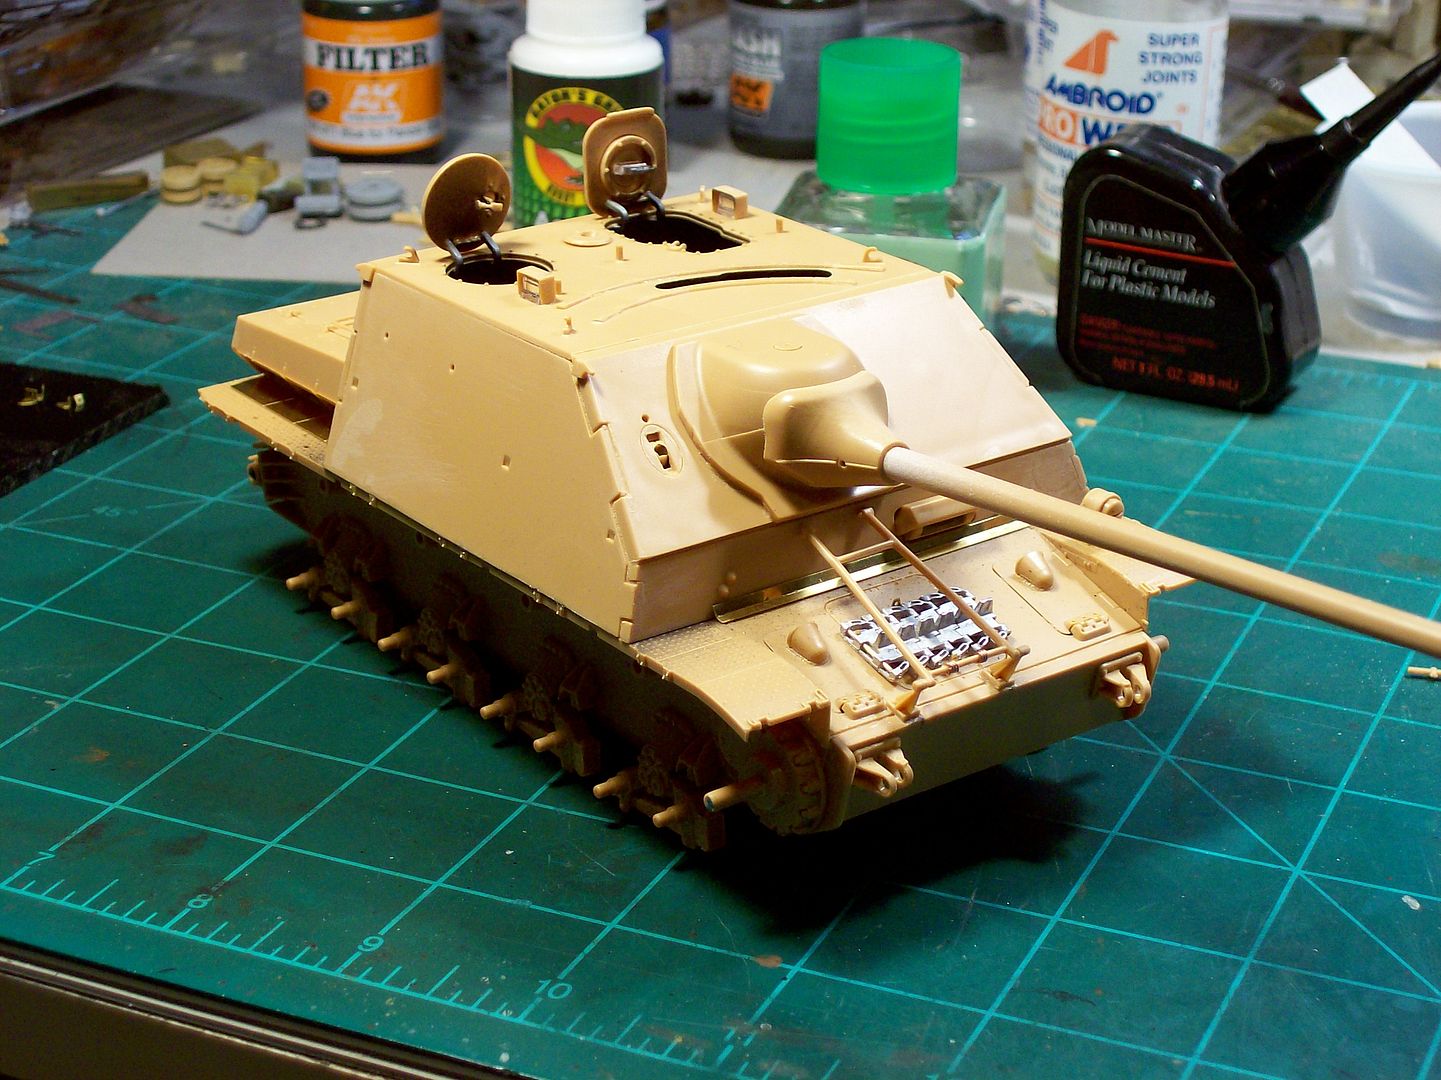 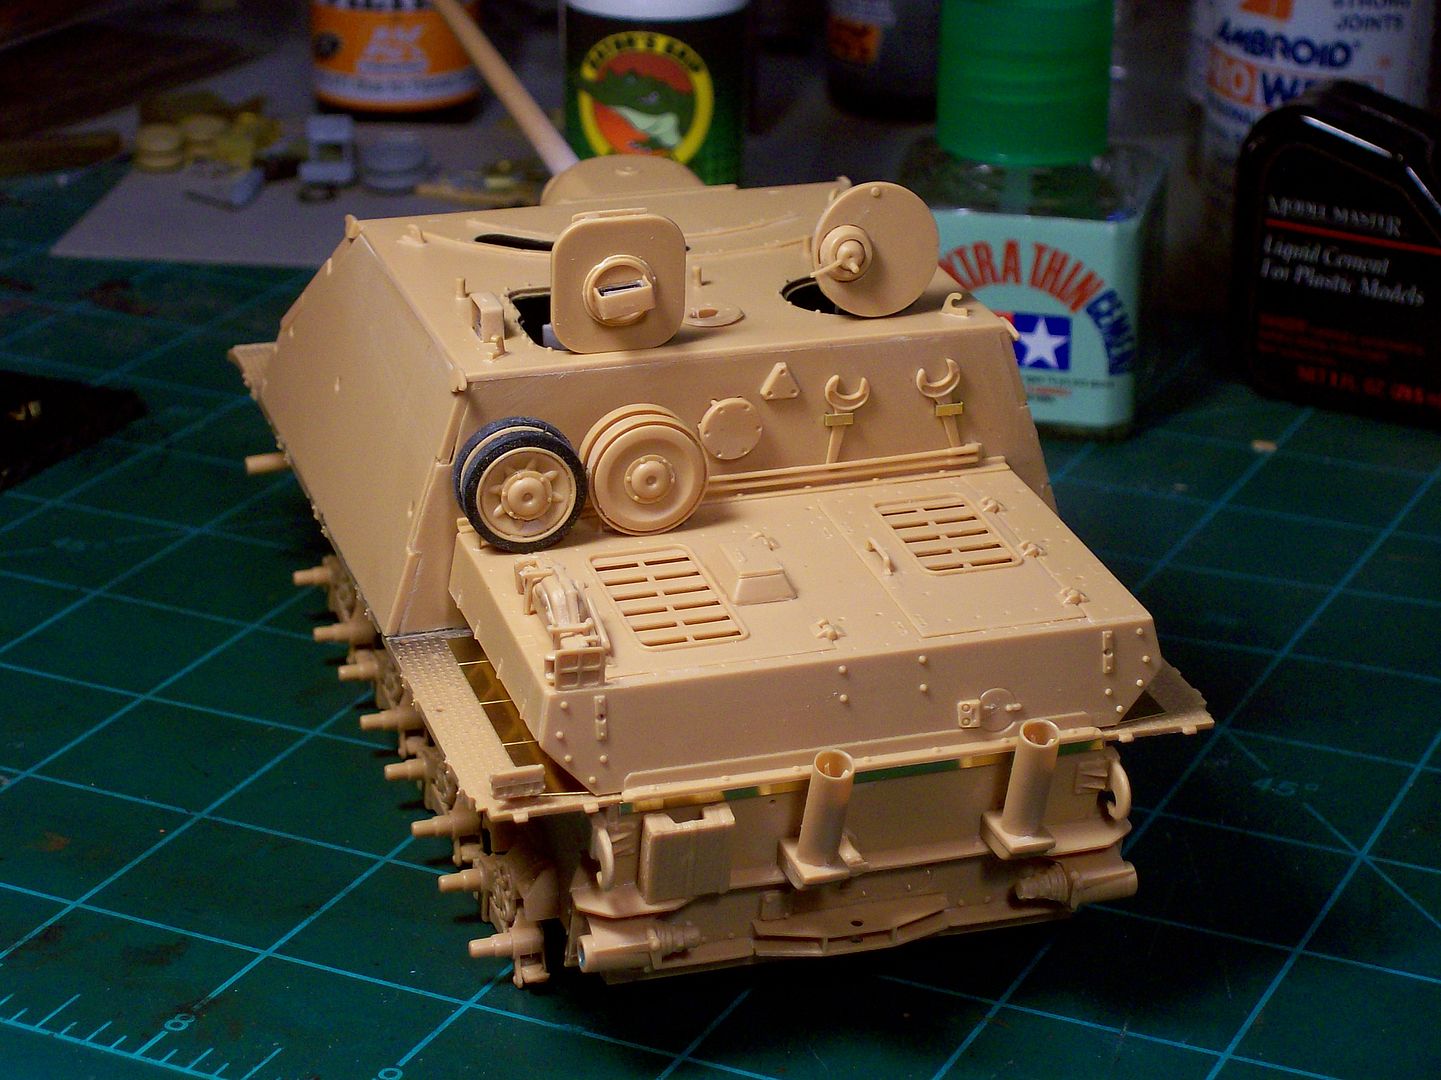 It's back to work again  Tony |
|
|
|
Post by spud on Feb 28, 2012 14:23:36 GMT -5
thats coming along nicly Tony
|
|
|
|
Post by 406 Silverado on Feb 28, 2012 15:18:57 GMT -5
I'm liking this kit more and more. Will try to get one at the next show.
|
|
|
|
Post by tonylee-Rest In Peace on Feb 28, 2012 15:21:26 GMT -5
Tristar L/70(A) Construction Alert Back at the bench this morning I continued on with step #10 of the instructions to assemble the mesh RPG skirt hangers found on sprue "G". The exploded view shows to make 12ea units from parts G-1 & G-2 so I clipped and cleaned those up but before I glued these hangers to the fender lip I checked ahead as I always do to make sure these didn't interfere with the installation of some other parts later. Low and behold sure enough there appears a third part to these hangers that are not mentioned but suddenly appear in the drawing of step #12 and #14-B.  I go on the hunt for that third part on sprue "G",not there,check all the other trees,not there.  ?? There are two PE frets and on fret PE-2 part #4 you'll find the 12 mystery parts. 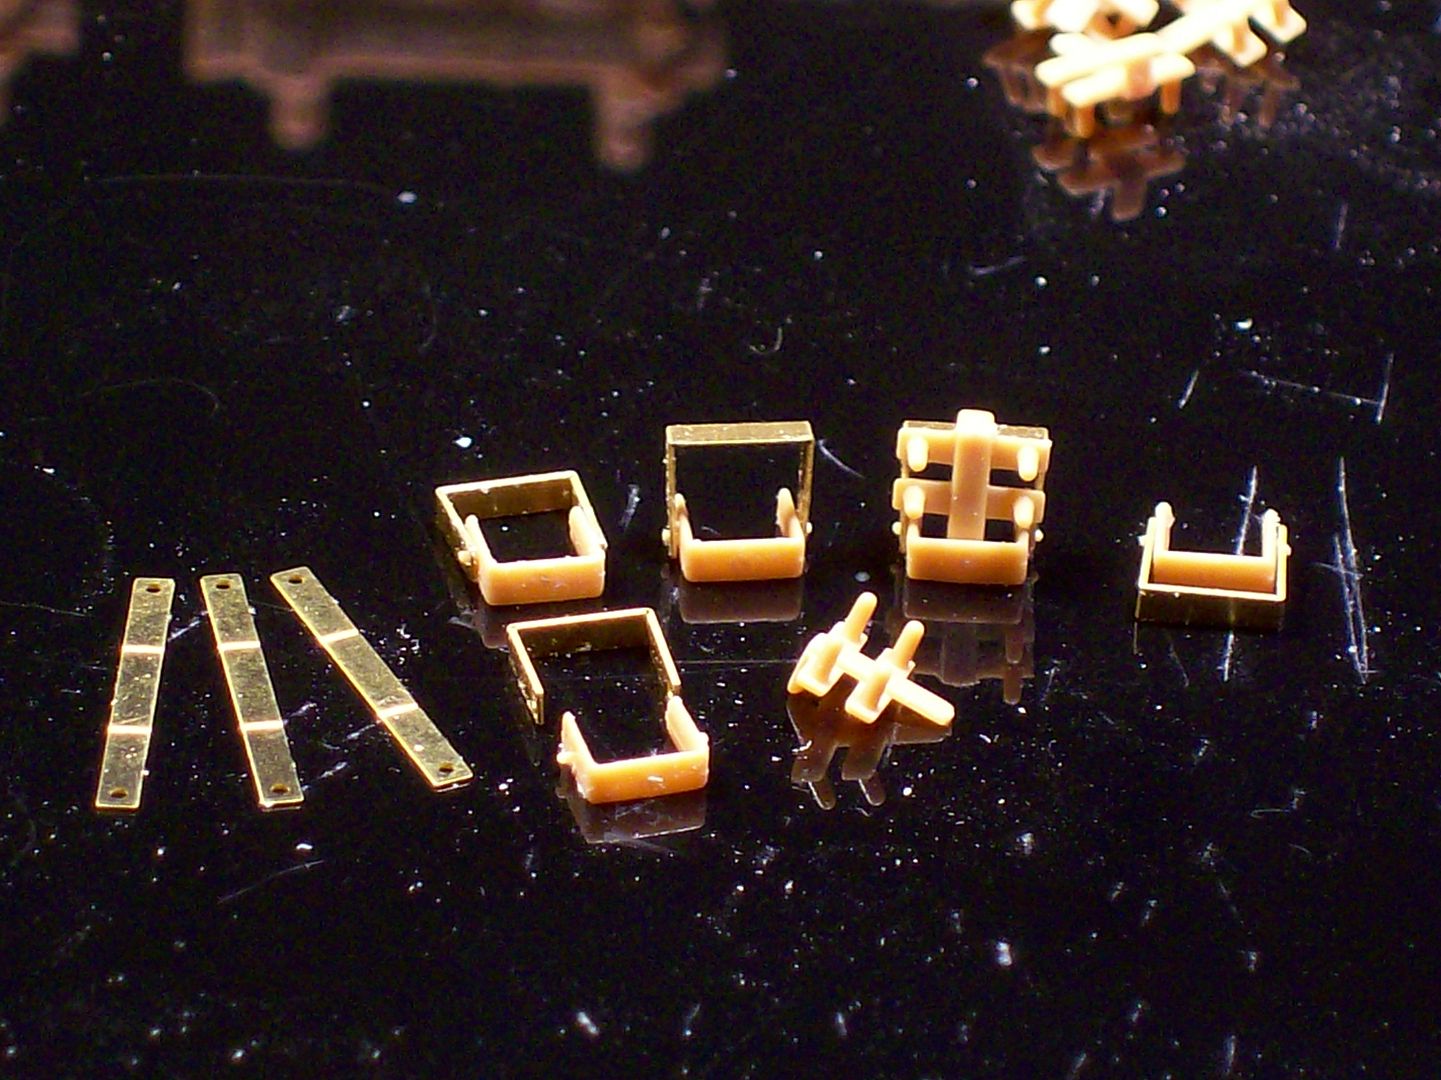 There they are on the left. What are they? One bracket mounts the skirts close in to the sides and there is less chance of them being knocked off. The PE hanger can be lowered and the skirts hung on these which holds the skirts farther away to keep mud and snow from building up on the suspension or when track extensions are used. When the hangers are assembled they should look like this.  Those four studs go through the mesh and a cap strip attached to hold the mesh to the hanger. I bet you're really confused now  Tony |
|
|
|
Post by tonylee-Rest In Peace on Feb 28, 2012 20:02:23 GMT -5
Well that's one side.   Those casement rail mounting arms are fragile too so go easy does it. See ya tomorrow for the other side. I know you're on the edge of your seats. ;D Tony |
|
|
|
Post by tonylee-Rest In Peace on Feb 28, 2012 20:27:05 GMT -5
I try to be as neat as I can Chris,that way I save on the cost of mud.  Tony |
|
bigjohn
Reviews member    
Member since: December 2011
John Hale
Posts: 3,438
Dec 21, 2011 2:17:45 GMT -5
Dec 21, 2011 2:17:45 GMT -5
|
Post by bigjohn on Feb 28, 2012 20:35:35 GMT -5
Cooking right along Tony. Nice build! waiting for paint....  |
|
|
|
Post by eastrock on Feb 28, 2012 20:37:22 GMT -5
also seems to wonder not alot of shiny parts this time  your on the groove, Tony!! |
|
|
|
Post by 406 Silverado on Feb 28, 2012 21:11:07 GMT -5
Tony, don't know if I missed it in the posts somewhere....but what tracks are you going to use.?
|
|
|
|
Post by tonylee-Rest In Peace on Feb 28, 2012 21:21:04 GMT -5
With these newer kits Rock there's not a big need for PE.
I might be getting cheap in my old age too. ;D
Tony
|
|
bigjohn
Reviews member    
Member since: December 2011
John Hale
Posts: 3,438
Dec 21, 2011 2:17:45 GMT -5
Dec 21, 2011 2:17:45 GMT -5
|
Post by bigjohn on Feb 28, 2012 21:29:50 GMT -5
Does this kit have MK tracks in it? I think the lil panzer I kit I have came with MK tracks.
|
|
|
|
Post by tonylee-Rest In Peace on Feb 28, 2012 22:01:34 GMT -5
Friuls on all four Rob.
BJ these two just have glue together indy links on sprues.
Tony
|
|
bigjohn
Reviews member    
Member since: December 2011
John Hale
Posts: 3,438
Dec 21, 2011 2:17:45 GMT -5
Dec 21, 2011 2:17:45 GMT -5
|
Post by bigjohn on Feb 28, 2012 22:20:41 GMT -5
Thanks for the info Tony,  |
|
multicam
Senior Member
   
Member since: January 2012
Nate
Posts: 2,039
Jan 10, 2012 14:35:41 GMT -5
Jan 10, 2012 14:35:41 GMT -5
|
Post by multicam on Feb 28, 2012 22:38:44 GMT -5
I'm really enjoying the education Tony. Keep it coming man  |
|