|
|
Post by TRM on Jul 24, 2012 18:50:59 GMT -5
Impressive shinny business as usual Tony!!! Very cool!  |
|
multicam
Senior Member
   
Member since: January 2012
Nate
Posts: 2,039
Jan 10, 2012 14:35:41 GMT -5
Jan 10, 2012 14:35:41 GMT -5
|
Post by multicam on Jul 24, 2012 18:54:34 GMT -5
Looks the part, Tony. Nicely done!
|
|
|
|
Post by wbill76 on Jul 24, 2012 19:10:35 GMT -5
Superb work on those ammo lockers and the gears look like they were from a single part. You've definitely mastered the PE on this one Tony!
|
|
|
|
Post by tonylee-Rest In Peace on Jul 24, 2012 19:32:45 GMT -5
What can I say guys other than "HOT DAMN".  Thanks Tony |
|
|
|
Post by deafpanzer on Jul 24, 2012 20:52:08 GMT -5
DAAAMMMNNNN! Like I always said... you are the KING!
|
|
|
|
Post by tonylee-Rest In Peace on Jul 24, 2012 21:18:29 GMT -5
Andy hold on buddy Don't put a jinxs on me now.  Thanks Tony |
|
danb.
Reviews member     March 2013 MoM Winner
Member since: November 2011
Posts: 2,808
Nov 17, 2011 9:22:52 GMT -5
Nov 17, 2011 9:22:52 GMT -5
|
Post by danb. on Jul 25, 2012 0:41:13 GMT -5
Excellent work Tony loving the PE as always that winch is super sweet keep it coming.
Dan B
|
|
|
|
Post by bbd468 on Jul 25, 2012 12:02:35 GMT -5
GOOD GAWD!!!  Thats some fine PE work there Tony. You a wrist watch maker in your spare time too?  ;D ;D Well done man. Gary |
|
|
|
Post by tonylee-Rest In Peace on Jul 25, 2012 13:31:23 GMT -5
Thanks Dan Spare time, who has any spare time Gary?  First thing on the list today was to assemble the larger gear wheels to complete the lift mechanism: 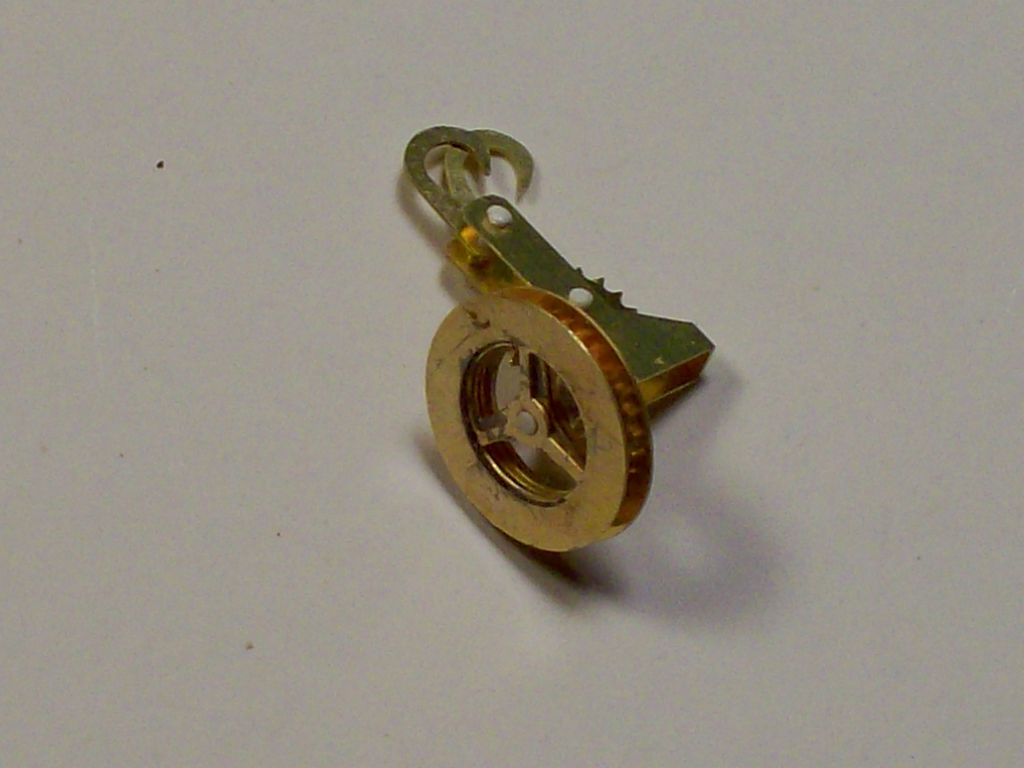 Then the casters that roll along the upright rails. I used a drill rod to roll that plate into a circle. I placed drill bits in the holes so the opposing wheel plate holes were in line and used a couple of clips to hold that wheel center in the grooves of the inner and outer plates. All that was needed was the solder. 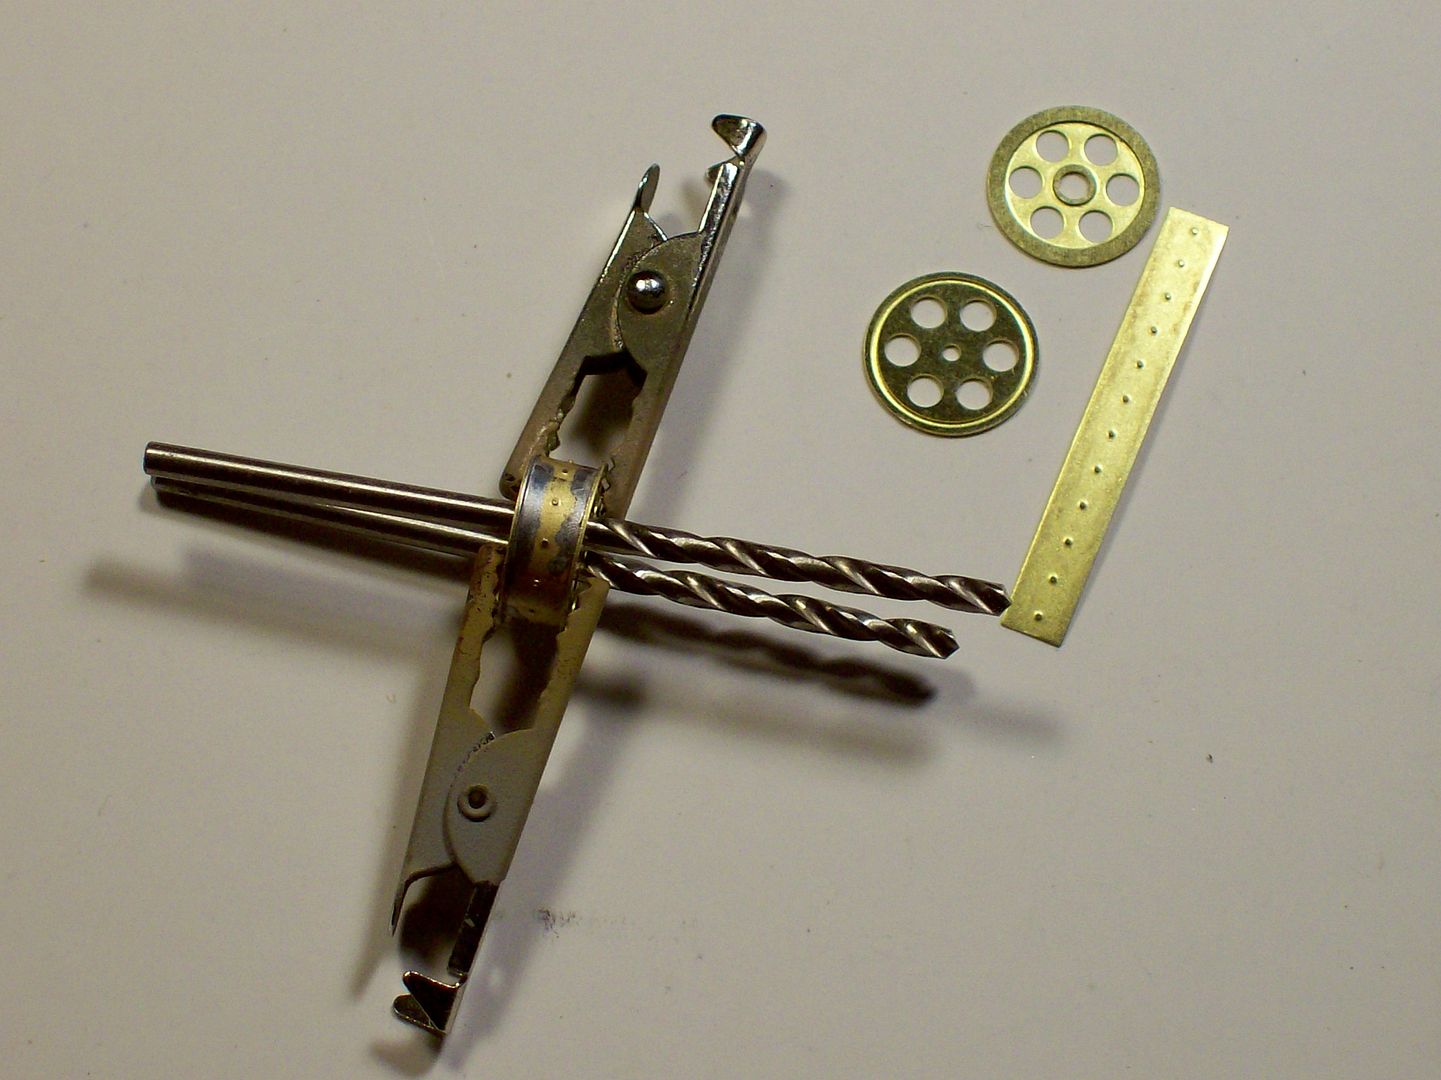 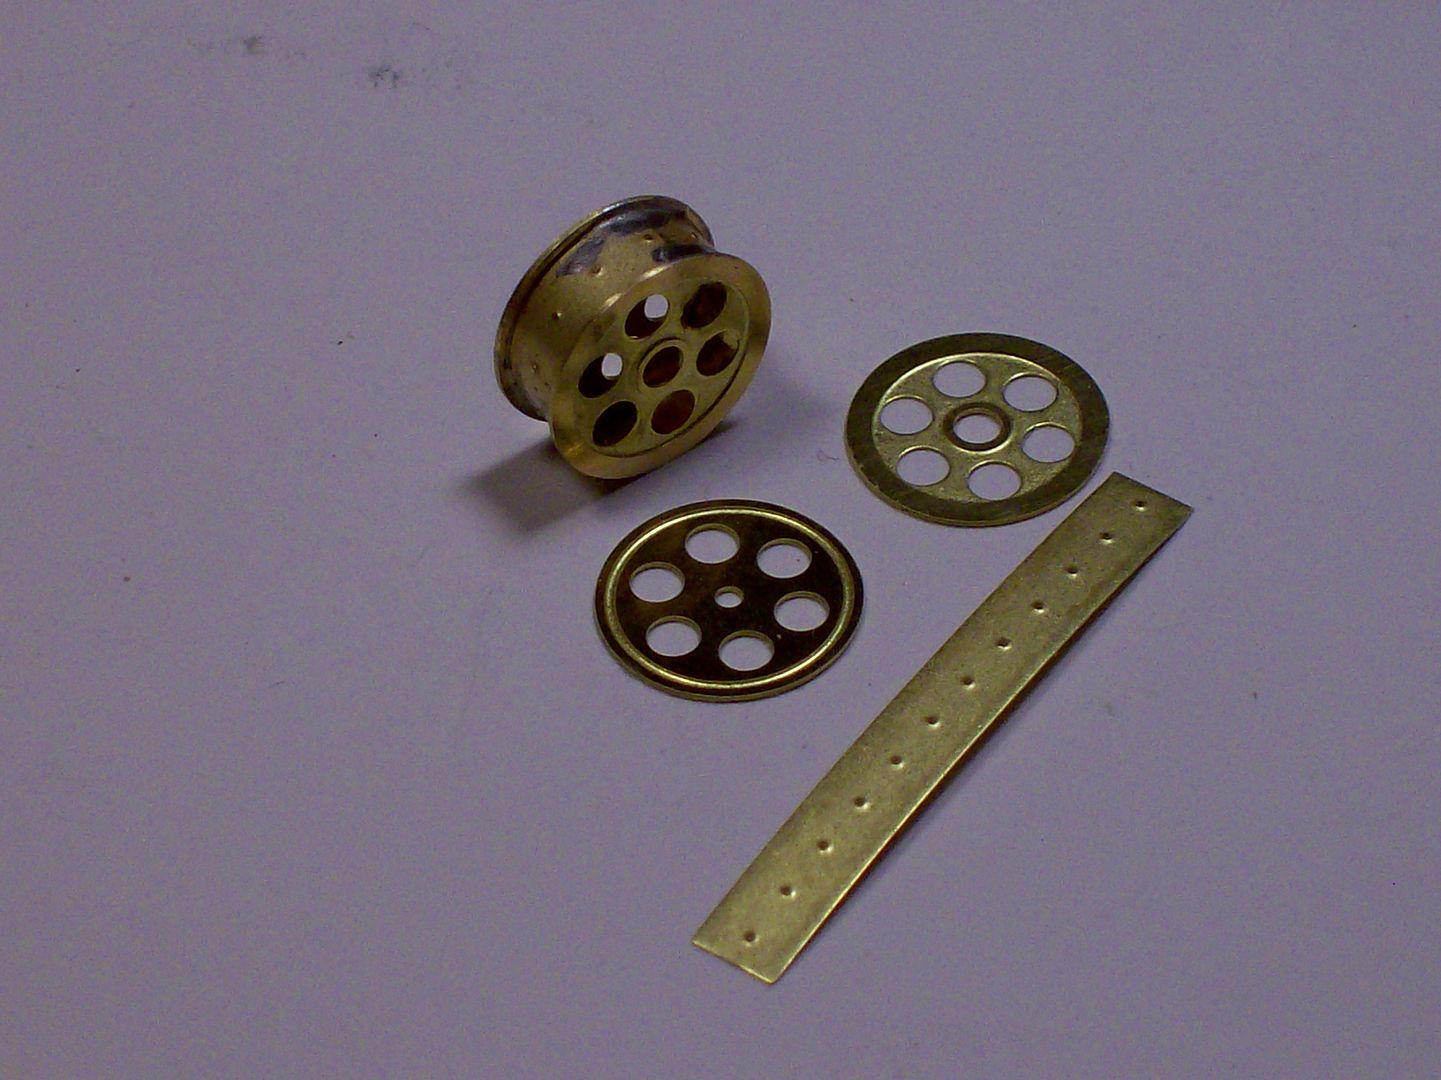 This is going better than I thought it would,you just never know until you try. I've got another set of large sprockets that attach to the casters and that should do it. ;D Later Tony |
|
|
|
Post by spud on Jul 25, 2012 14:30:18 GMT -5
outstanding Tony.
|
|
modelfreak72
Full Member
  
Member since: January 2012
Why worry, each of us is wearing an unlicensed nuclear accelerator on his back.
Posts: 1,479
Jan 28, 2012 23:21:46 GMT -5
Jan 28, 2012 23:21:46 GMT -5
|
Post by modelfreak72 on Jul 25, 2012 16:07:44 GMT -5
Wow Tony! I'm in awe every time I watch work your magic with PE!
|
|
danb.
Reviews member     March 2013 MoM Winner
Member since: November 2011
Posts: 2,808
Nov 17, 2011 9:22:52 GMT -5
Nov 17, 2011 9:22:52 GMT -5
|
Post by danb. on Jul 25, 2012 16:26:49 GMT -5
As what Dicky says Tony you are the master well done mate
Dan B
|
|
|
|
Post by tonylee-Rest In Peace on Jul 25, 2012 19:05:29 GMT -5
Alright guys you've got me so pumped I went ahead and put those last two chain sprockets together and be ready for the final assembly tomorrow. Only seven parts to make a sandwich. 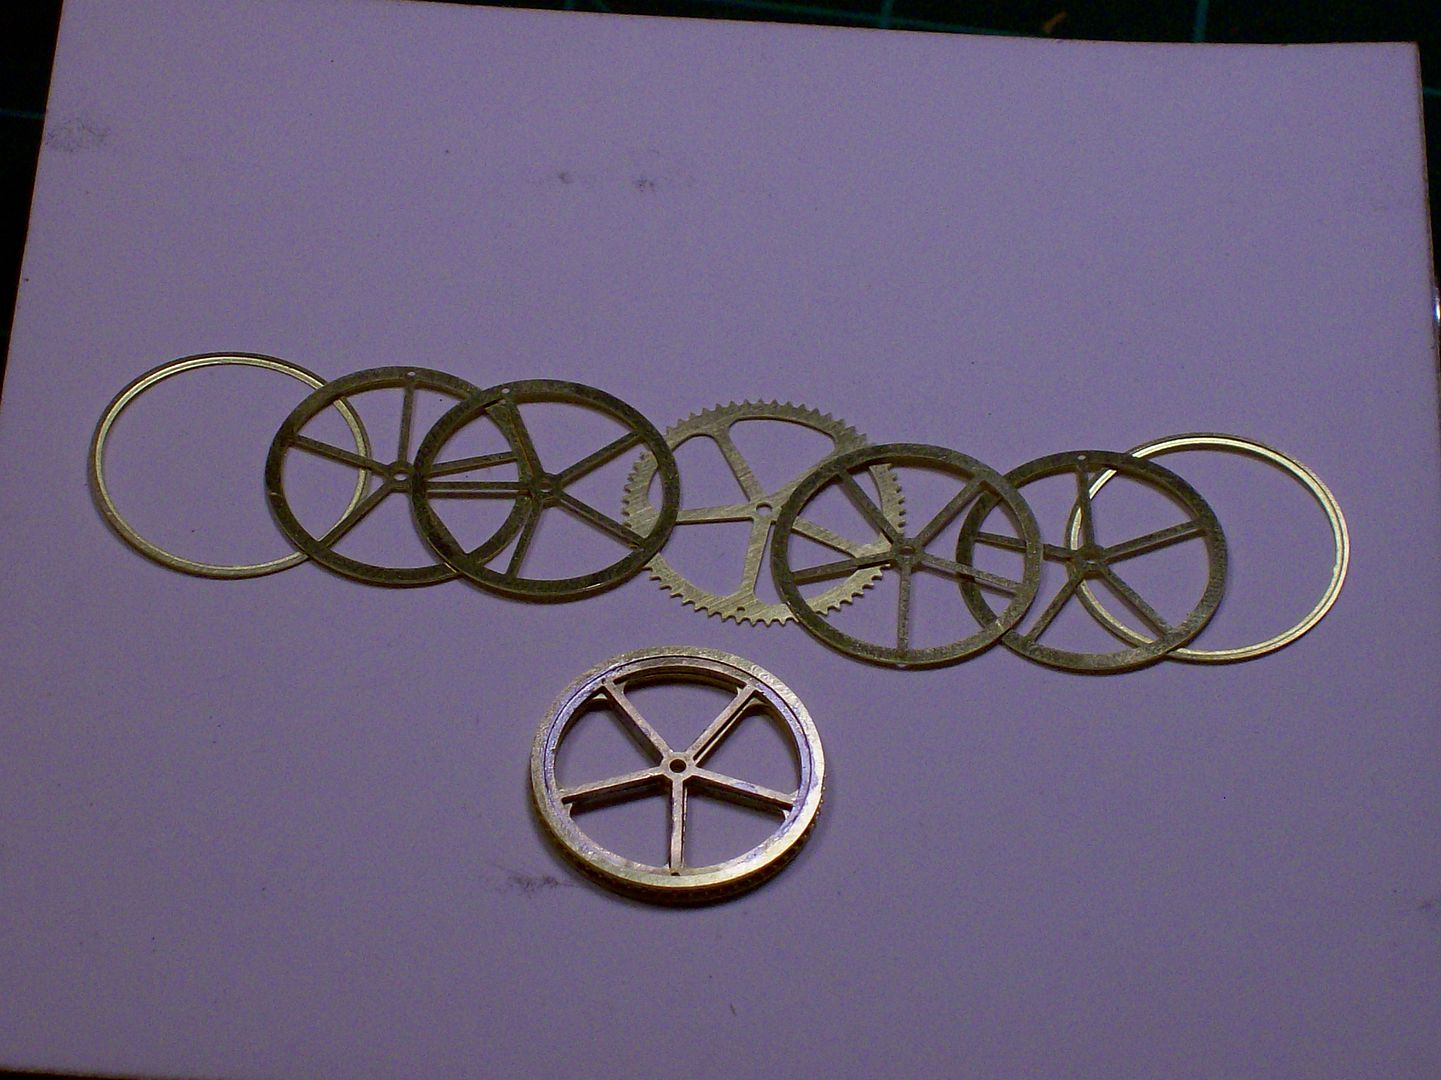 Thanks each and everyone of you for the compliments Tony  |
|
|
|
Post by wbill76 on Jul 25, 2012 19:36:01 GMT -5
You've outdone yourself on this one Tony...very clean assemblies on those complex parts. Nerves of steel and the patience of a saint (or at least a holy redneck!).  |
|
|
|
Post by tonylee-Rest In Peace on Jul 25, 2012 19:48:10 GMT -5
|
|
|
|
Post by tonylee-Rest In Peace on Jul 27, 2012 12:35:21 GMT -5
Hey guys here's a test fit: 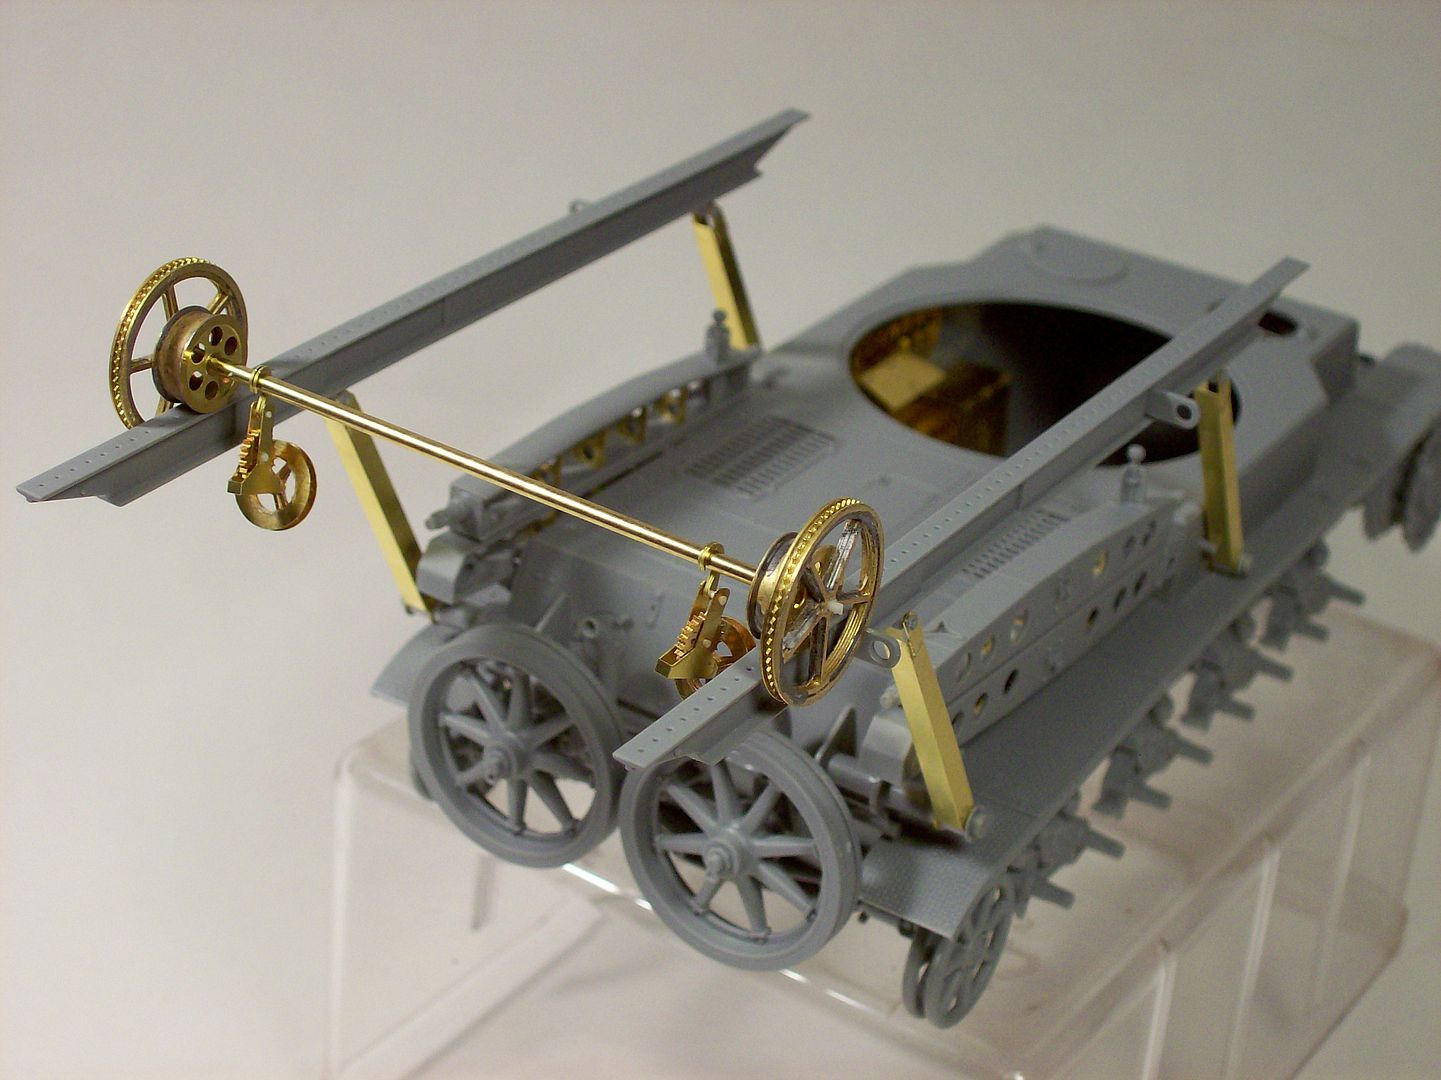 I found a problem, that's what testing is all about right? I told you the fat lady hadn't sung yet.  Tony |
|
|
|
Post by spud on Jul 27, 2012 12:37:43 GMT -5
looks great tony
|
|
|
|
Post by deafpanzer on Jul 27, 2012 13:04:01 GMT -5
What problem? I don't see any problem in the picture. It really looks good... now I don't want you to have it painted. Too beautiful... like a gold clock!
|
|
|
|
Post by wouter on Jul 27, 2012 13:11:27 GMT -5
lot's of brass stuff, but bang on mate, nice 'n tidy work! You can start makin' yer own watches with all those cogs and stuff ;D
Cheers
|
|
|
|
Post by tonylee-Rest In Peace on Jul 27, 2012 15:19:44 GMT -5
Oh come on guys noticing details is important while building models. Take another look at when the carriage is at the rear:  Now at the front when lifting the turret: 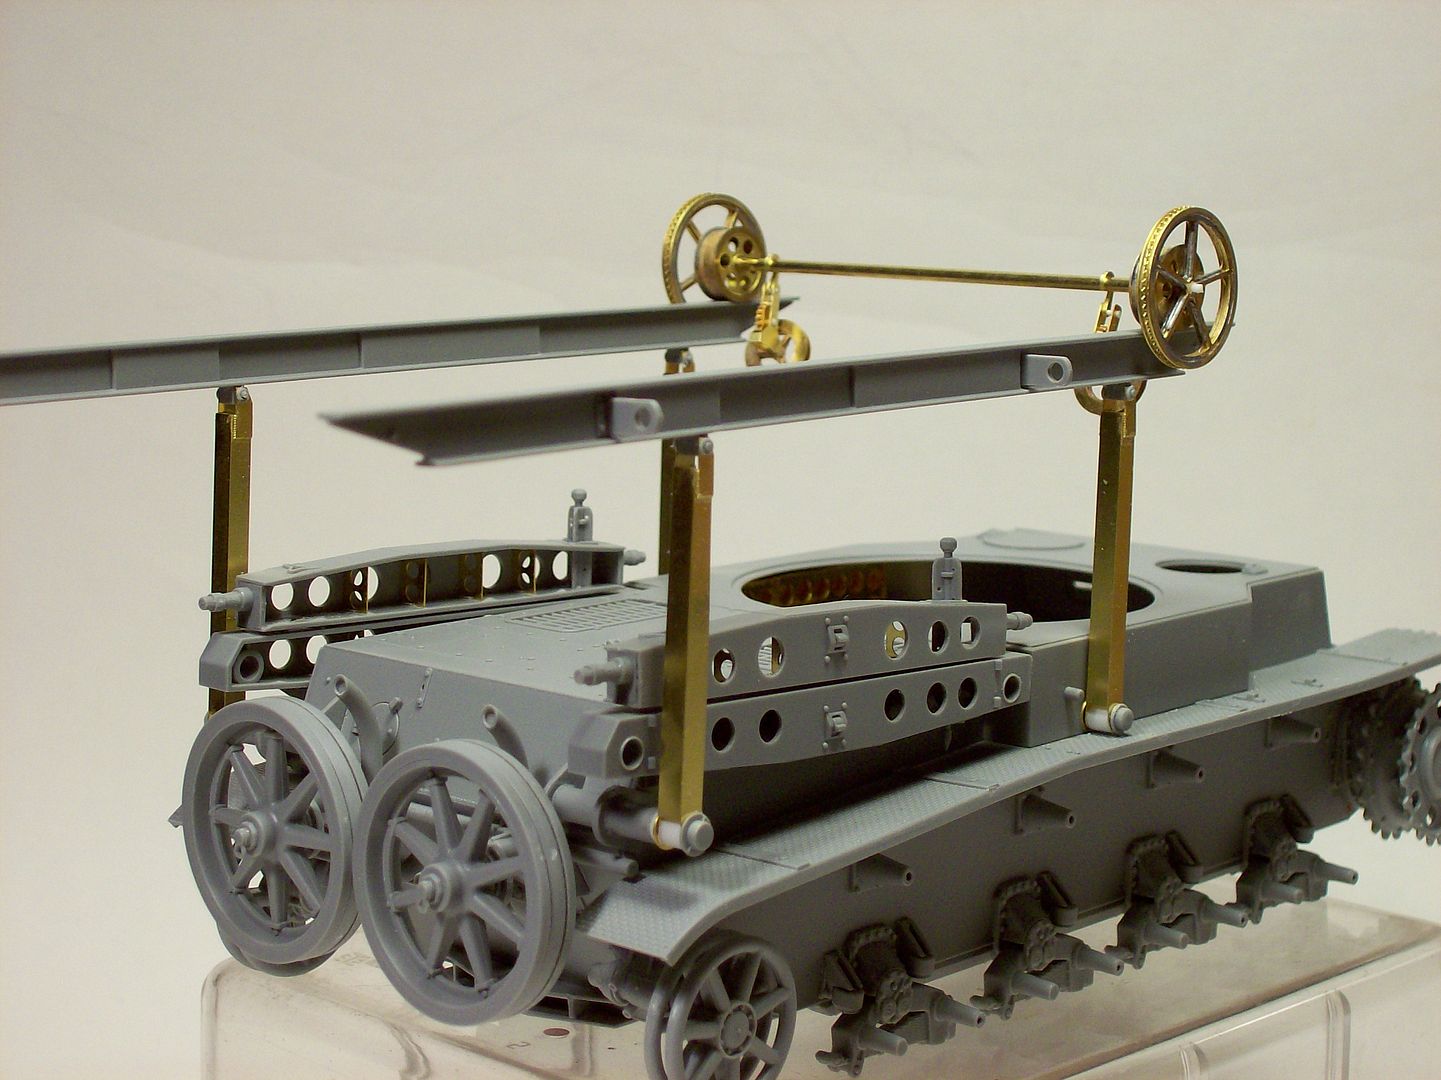 Now do you see the problem? Tony |
|
|
|
Post by wouter on Jul 27, 2012 15:45:28 GMT -5
yup, was just thinkin' the same thing as Dickstah!
Cheers
|
|
|
|
Post by tonylee-Rest In Peace on Jul 27, 2012 15:57:59 GMT -5
YYYYEEEEEEAAAAaaaa now you've got it. I don't blame this on Dragon they just copied what they had to go by: 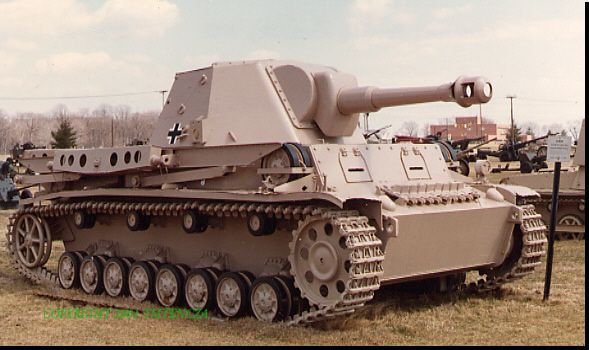 The fix, mount them lower on the fenders: 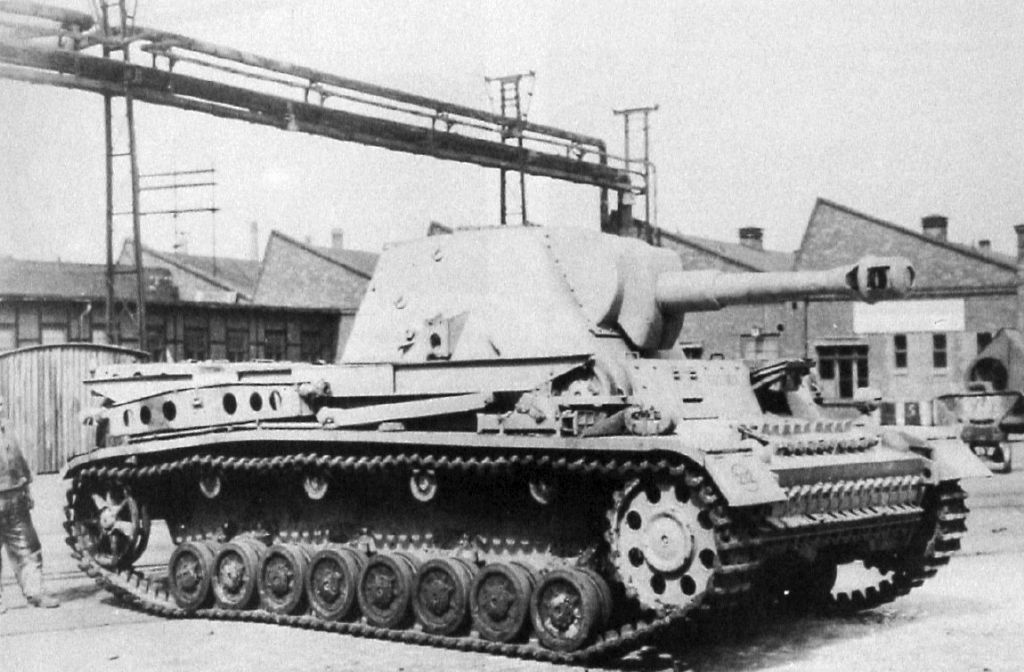 No brackets on the rails here: 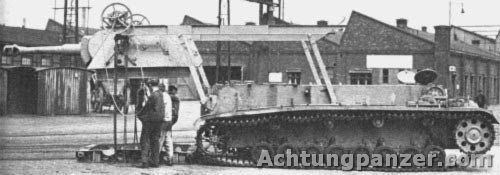 Somethings fishy, I can smell it ;D Tony |
|
|
|
Post by tonylee-Rest In Peace on Jul 27, 2012 16:19:12 GMT -5
Not this time jackwagon ;D I think we posted at the same time?  ?? Tony |
|
|
|
Post by wbill76 on Jul 27, 2012 16:38:35 GMT -5
Verrrrry interrrrestink! Wouldn't be the first time that an error got carried over from a surviving example that wasn't correct or accurate for whatever reason. So much for logic/physics coming into play in the kit design. Makes you wonder as to why the lifting eyes are there at all on the Aberdeen vehicle...looking closely at the pics it's almost like the Aberdeen vehicle has the turret base skids mounted upside down.
|
|
|
|
Post by tonylee-Rest In Peace on Jul 27, 2012 18:27:16 GMT -5
No room if you turn the rails around, they're right against the hull now jackwagon.
Those are not lifting eyes Bill. Those two pallet sides have threaded studs that fit into holes on the ends of the other two sides. Those studs fit in those eyes and the nut is put on to hold them in place for storage.
Are we all on the same page now? ;D
Tony
|
|
multicam
Senior Member
   
Member since: January 2012
Nate
Posts: 2,039
Jan 10, 2012 14:35:41 GMT -5
Jan 10, 2012 14:35:41 GMT -5
|
Post by multicam on Jul 28, 2012 9:54:08 GMT -5
Nice detective work, Inspector Tony;)
|
|
|
|
Post by wbill76 on Jul 28, 2012 12:06:15 GMT -5
I think so Tony! On the reference pics you posted the support skids have their "flat" side facing down to the fender...on the Aberdeen vehicle it's the reverse...the curved side is facing the fender. That and it would appear that DML got the size/dimensions of those mounting eyes wrong in comparison to the real thing...that's why your large gear wheels can't clear them.
|
|
|
|
Post by tonylee-Rest In Peace on Jul 28, 2012 13:05:31 GMT -5
Check this out, another factory photo sent to me by a lady in Germany. 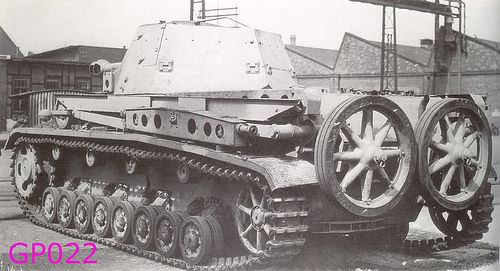 Could it be that APG has a early proto type model and these photos with the pallet panels on the fenders were later?  ?? Tony |
|
|
|
Post by wbill76 on Jul 28, 2012 13:59:48 GMT -5
Hard to say, I don't know the history/provenance on the APG vehicle. I'd be more inclined to say that it's likely that the APG vehicle's mounts have been modified/replaced for whatever reason (wouldn't be the first time) as opposed to having the original mounts that we see in the period photos.
|
|
|
|
Post by tonylee-Rest In Peace on Jul 28, 2012 15:24:23 GMT -5
All i've got to contend with now is the thicker plastic parts.  I thought Mr. Bean was the high spot of the show last night. ;D The fire works were really nice too. Tony |
|