|
|
Post by TRM on Jul 13, 2014 10:34:06 GMT -5
Hey fellas! Tossing one into the ring here! I should be cracking into some parts soon on this one...still finishing something else up at the moment. Might start things off tomorrow at some point. I just finished a full review on this kit (posting on Model Shipwrights in a day or so), will post a link if anyone ends up interested. Looks to be like a fun build ahead! The Kit  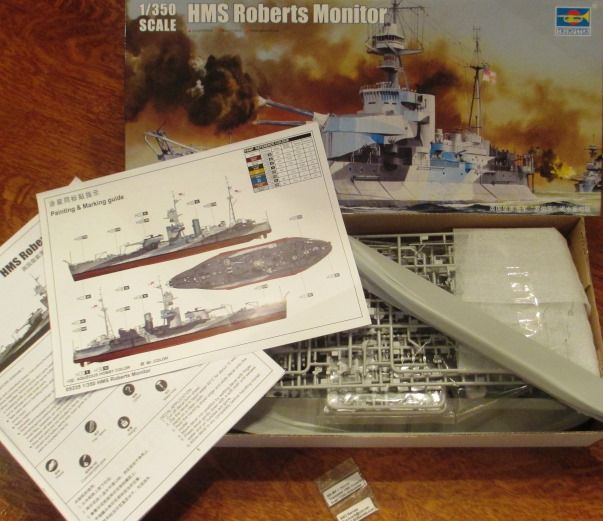 Recently I just completed a review of Trumpeter's 1/350 Scale that will soon be posted right here on Model Shipwrights. I wanted to get the ball rolling on building and start the blog. I will post the link to the review here as soon as it goes live. There is over 500 pieces to this kit including the healthy compliment of photo etch parts. Well, I guess the best place to start is always the hull. 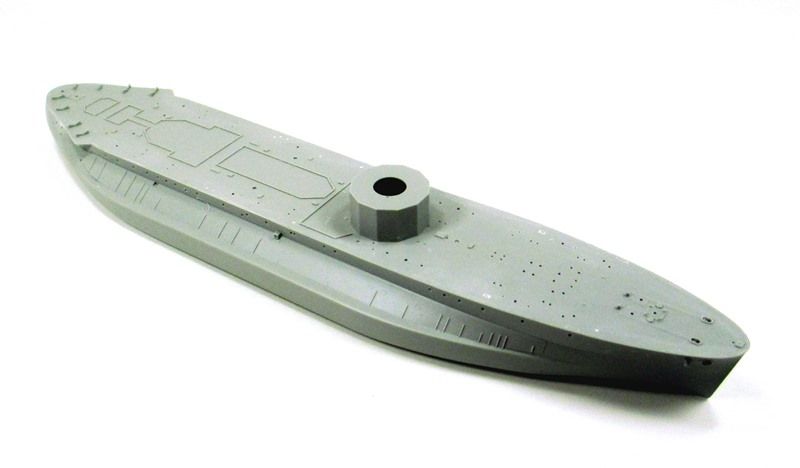 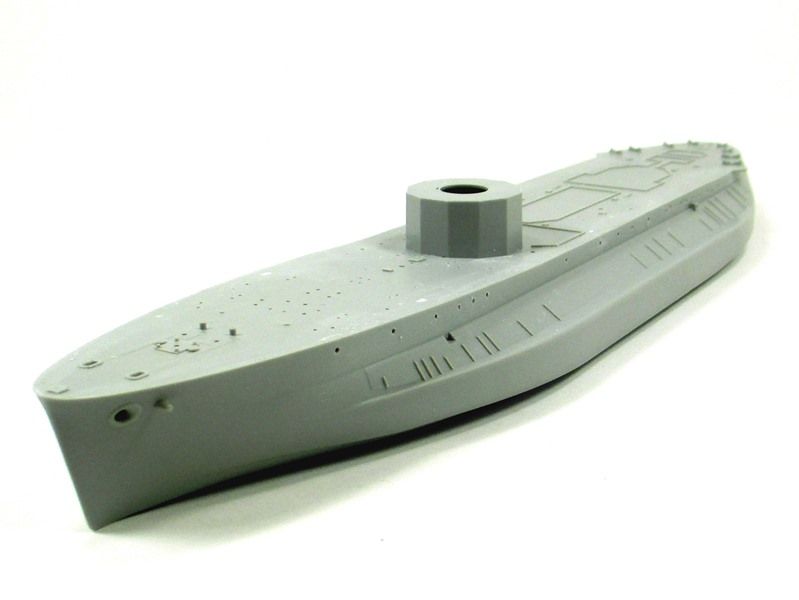 Pretty straightforward; two-piece hull and the weather deck. Everything went together okay with the exception of the hull sections. I noted in my soon to be published review the two pieces to the hull fit well together however there would be a small gap that will need tending to...nothing to out of the ordinary when it comes to molded hull sections. The main deck section fit like a dream though. 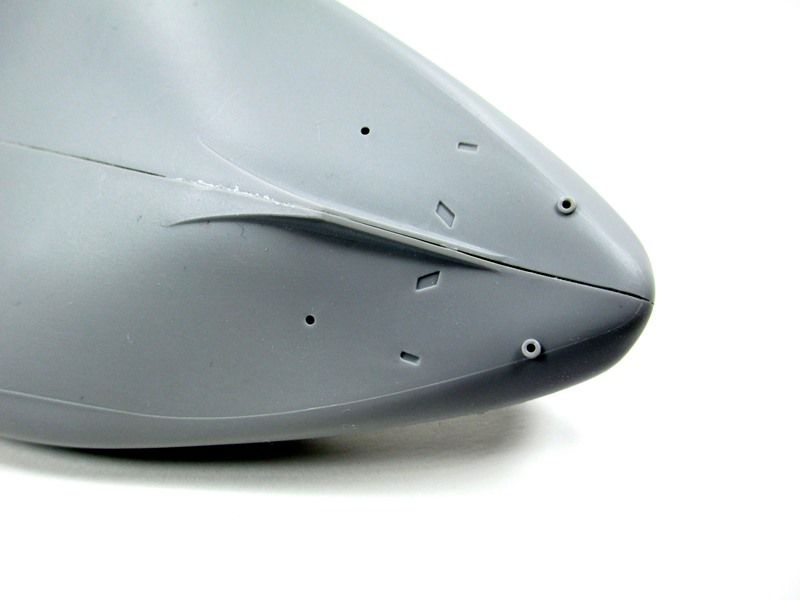 I managed to clean up some of the superstructure parts and drill out the port holes as I did with the hull as seen above. 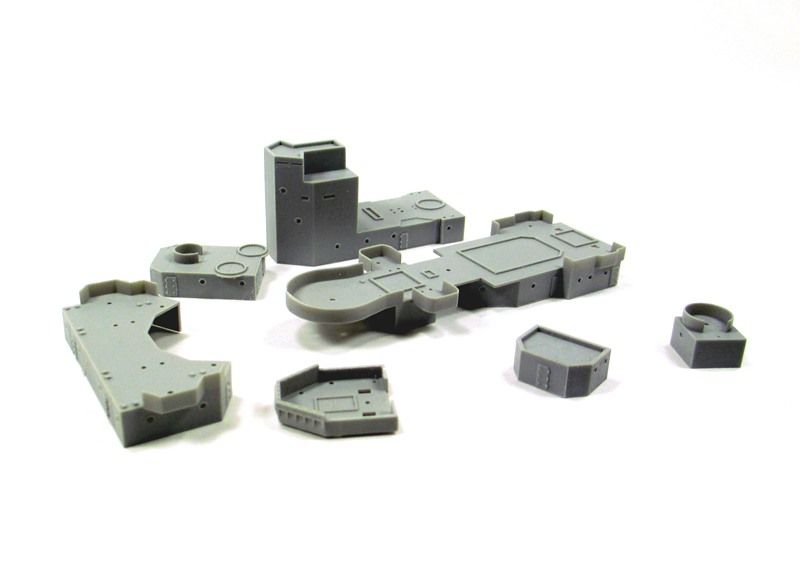 A little mocking up is always needed.... 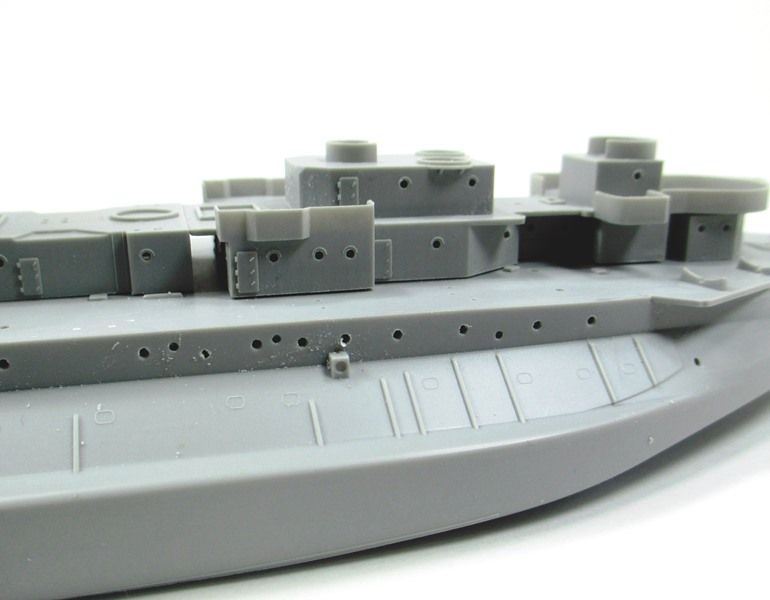 Another point I brought up in my review is in regards to the 15 inch barrels supplied with this kit. The ends of the barrels seemed to have an unnecessary collar around the muzzle end. I found a suitable replacement barrel set for this kit online from B & D Barrels last week and ordered a set. Even though I could have turned down the barrel ends , it was certainly a no brainier as the brass barrel replacement are correct, a super quick delivery and only set me back $6 US....no shipping since I am tethered here in the US. No worries to our friends outside the US, shipping runs a typical $2US for international. 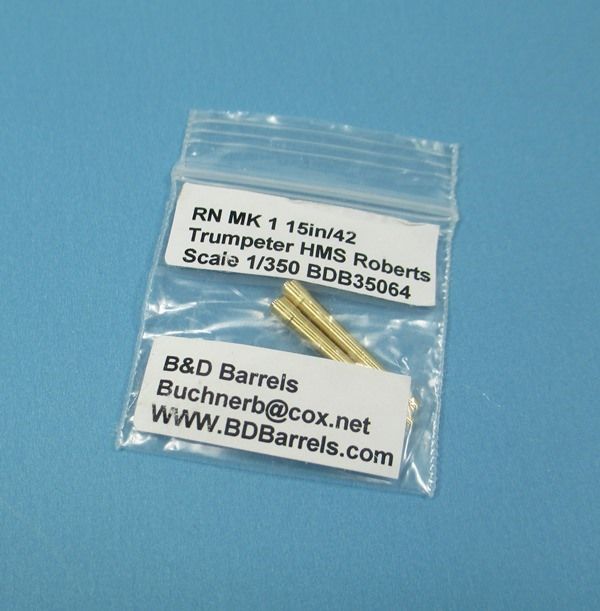 Here are the barrels altogether; B&D Barrels, and Option 1 & 2 with the kit. 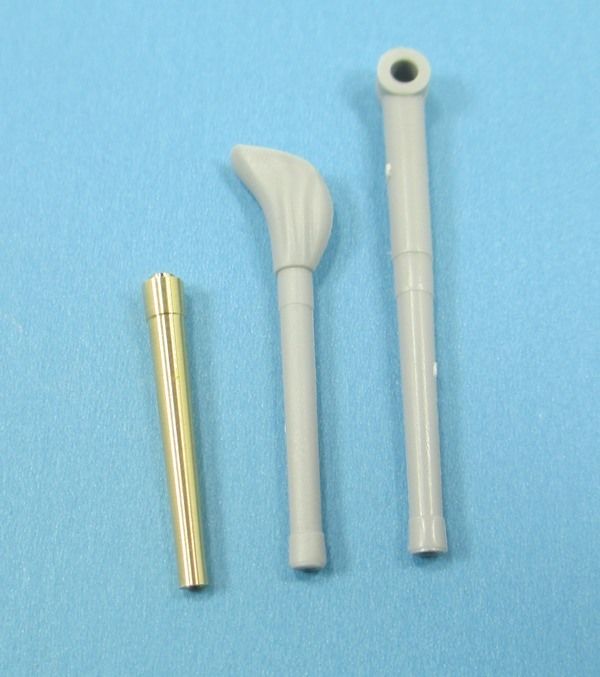 I gave the barrels go this morning and things turned out just fine I think! 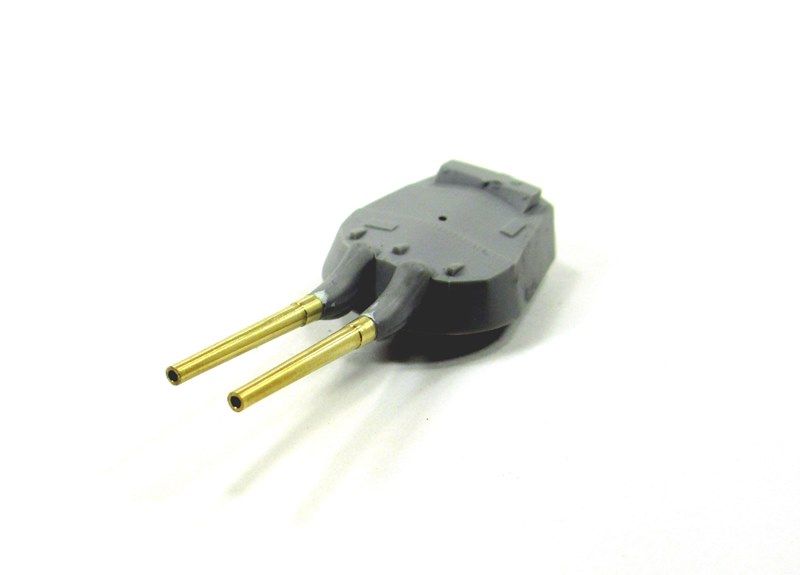 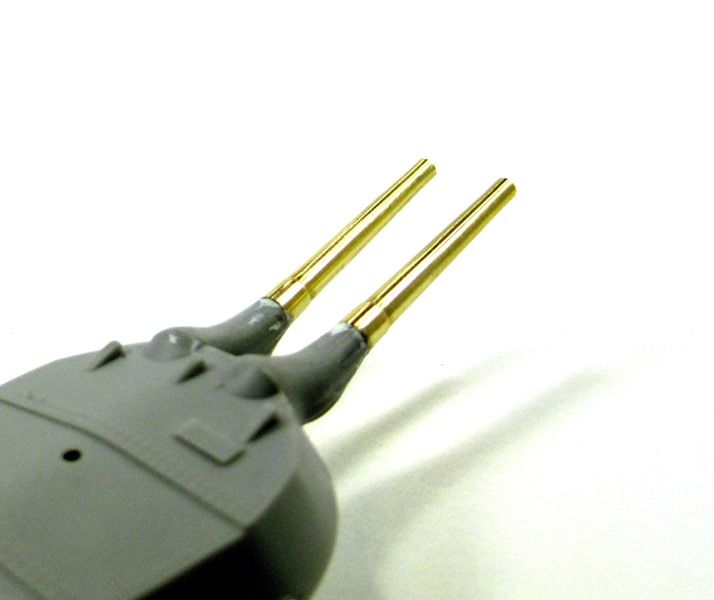 Always a good point to mock things up and see where I stand... 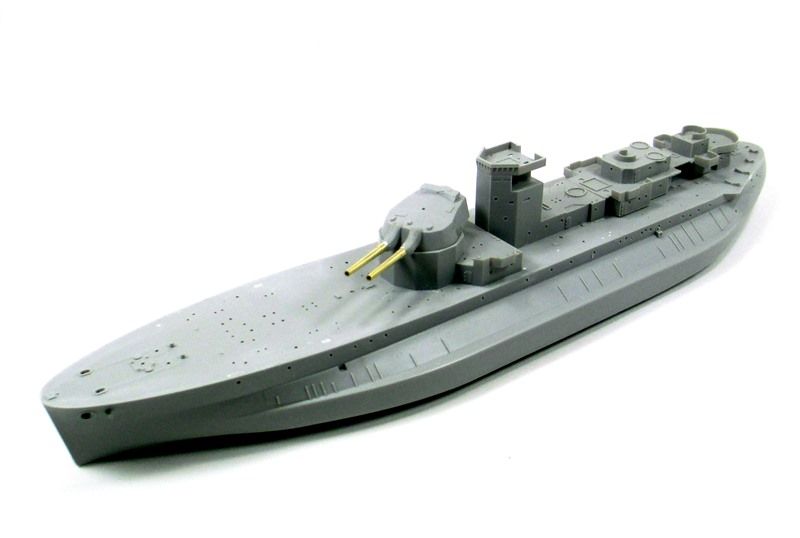 There is plenty of work ahead of me on this one still! Back to the bench I go!! |
|
|
|
Post by TRM on Jul 13, 2014 10:35:02 GMT -5
A small update for tonight. I am not rushing my way through this one, trying to have some fun and not drive myself too crazy yet. The kit parts a great and the added PE in the kit makes things that much better! Some lockers needed a face lift to start things off. 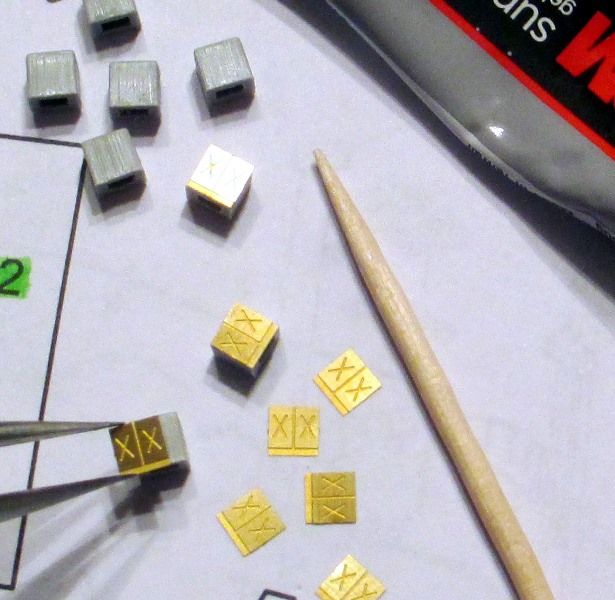 A little CA and things moved right along! I was going to only replace the Big Guns and have a go at building this more or less OOB...but after trolling the net last week and with too much time on my hands, I cave and ordered a couple extras. 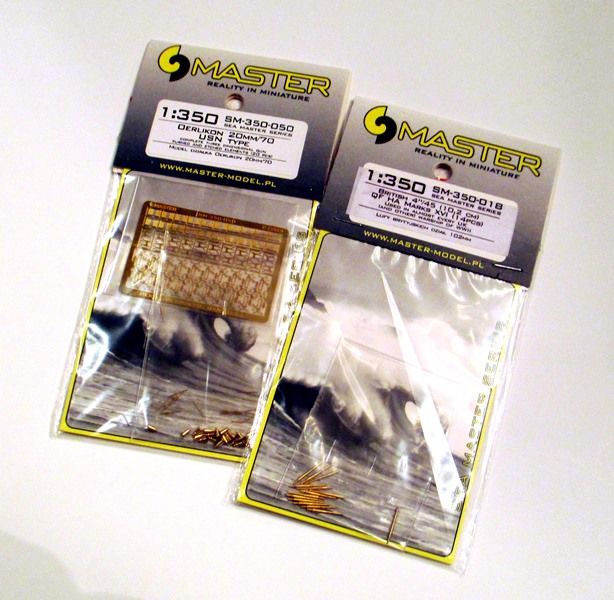 The 20mm single are not actually present from what I can tell.I seemed to have overlooked the placement in my review and where there would be 20mm AA there are what appears to be 40mm singles...in all honesty, this could be correct after a refit maybe but judging from most of the old grainy pics they look like single AA's to me...so I picked up the Master 20mm Oerliken set. Aside from a small handful of single 20mm AA's on board, the Robert was outfitted with the MKV duel 200mm/70. 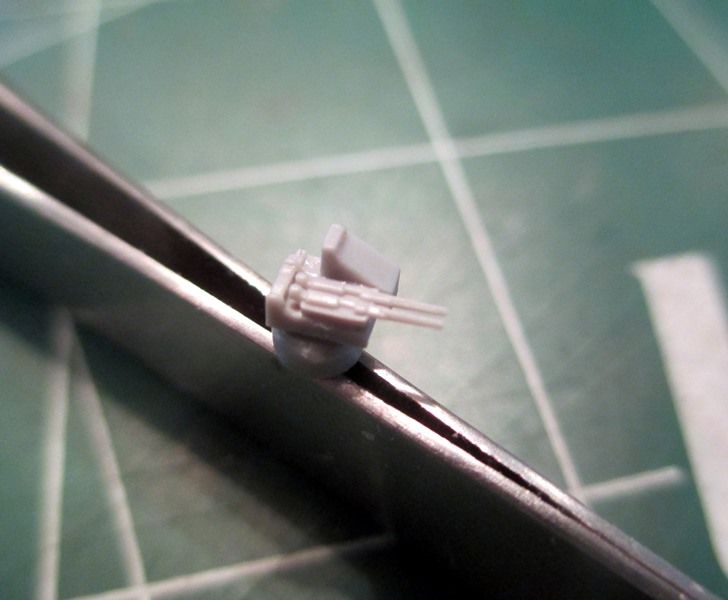 This is one tiny piece to mess with. Of course not knowing the configuration when I set the gun in haste, and before doing a little research on this gun, the guns are placed a bit forward more than they should be...no matter as I am changing things a little and this is for reference anyway. I had to make a couple of modifications to the existing part to make things come together. 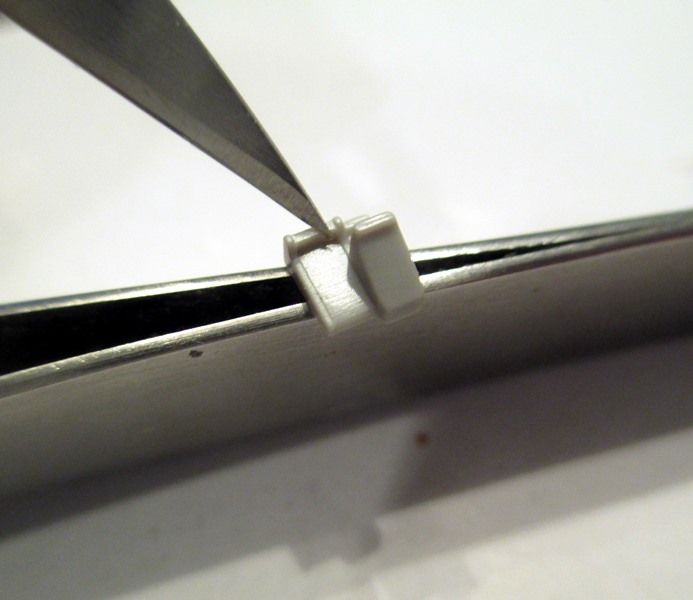 After a little trim, I cut the shoulder stops off a couple of the PE parts from Master's set, took the sighting and mounted it on the front of the shield and added a little seat. 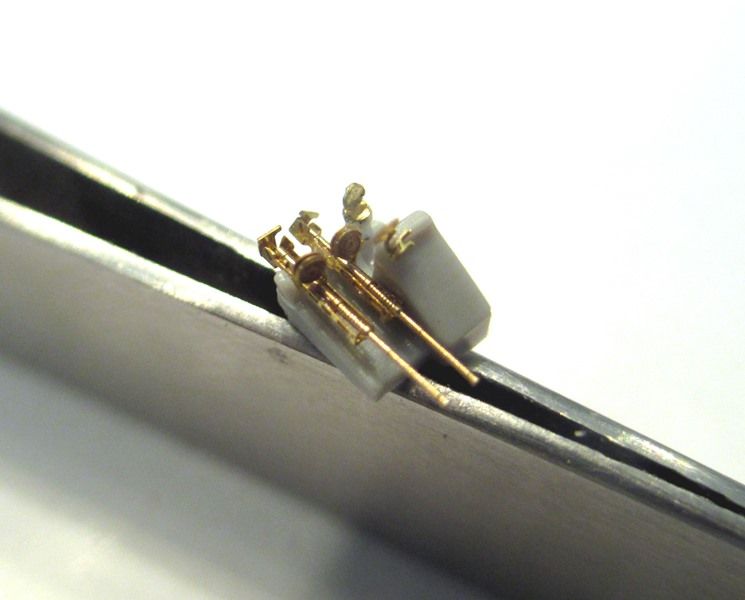 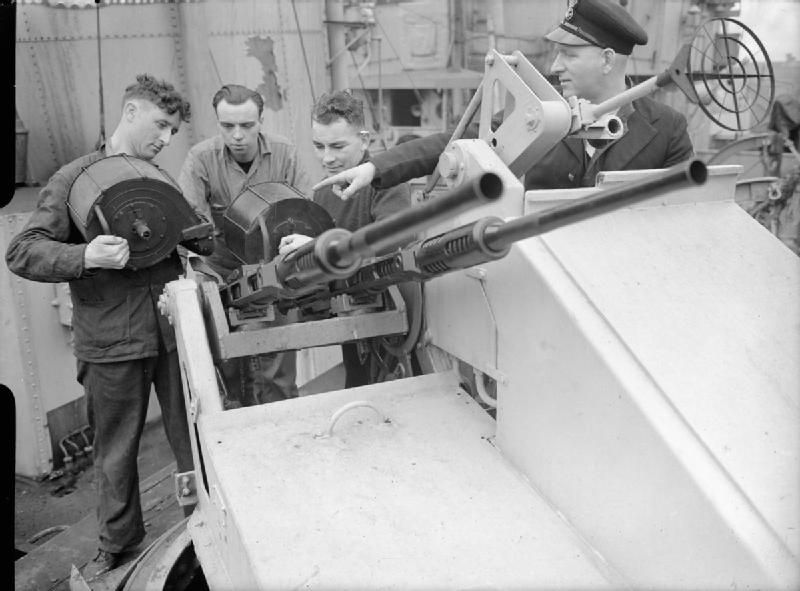 The shield is basically a block of plastic on the kit part and I was going to fashion a new one from brass shim stock but came to my senses and pushed on. Maybe the next time I will go that route...LOL!! I am noticing now, one of the back ends of the guns is rotated a bit. Like I said, these are tiny and even with the extra specs, hard to see! Once straightened out, these should pass! Next up was some surgery on the 4" guns. Again, I picked up a set from Master with more than I will need for the job but was cheap and ready to go. 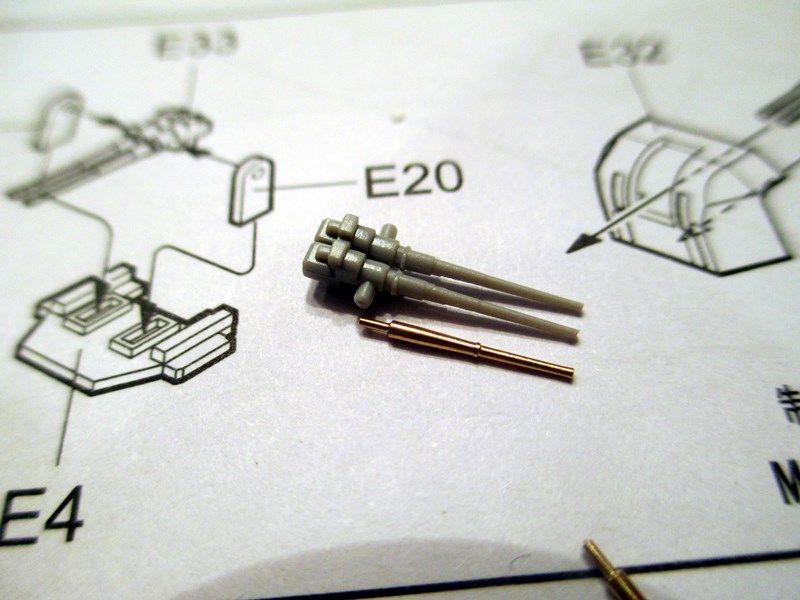 Basically I did this so I would not have to drill out the barrels! I think these will work well too! 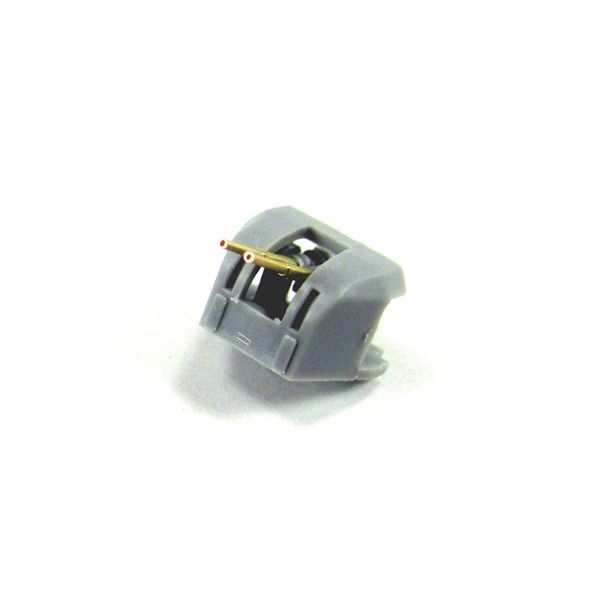 I also gave in and decided to pick up one last thing, a set of 40mm Pom Pom's from Flyhawk. There will be 4 in the set and I only need the one full and then some surgery to make two half jobbies. 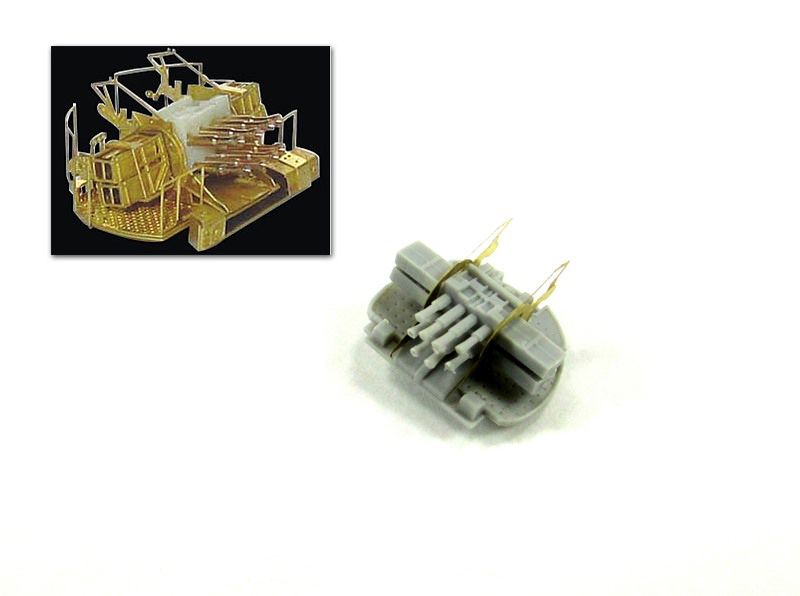 Should be a nice improvement. I do still think OOB this would dress out nicely, I just happen to be stuck on the couch waiting for the doctor to okay me to start a little rehab from my back surgery...so the fingers start clicking and the parts just magically show up! Onto some of the "other stuff". I have been making the rounds on some of the superstructure parts getting them ready. Railings and ladder work soon some of the deck fitting will pop up! 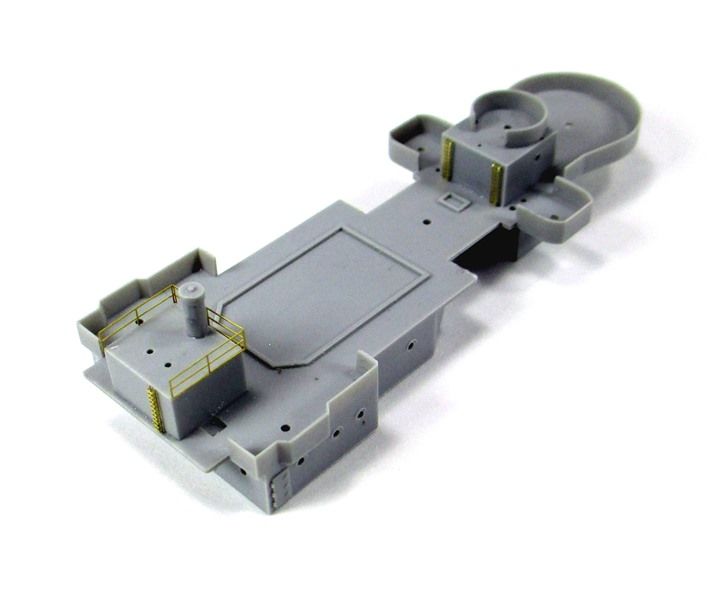 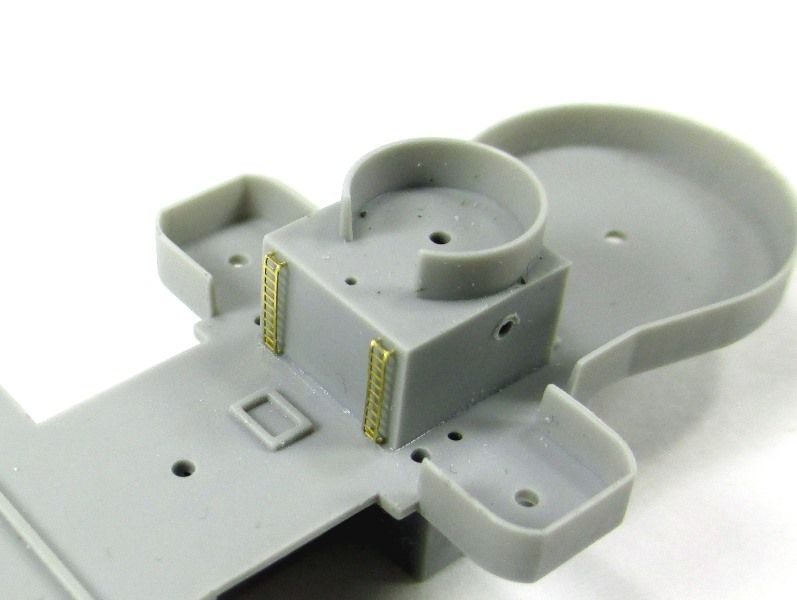 I am running out of blue-tape box top space for the parts so it it time to get some things together I think. 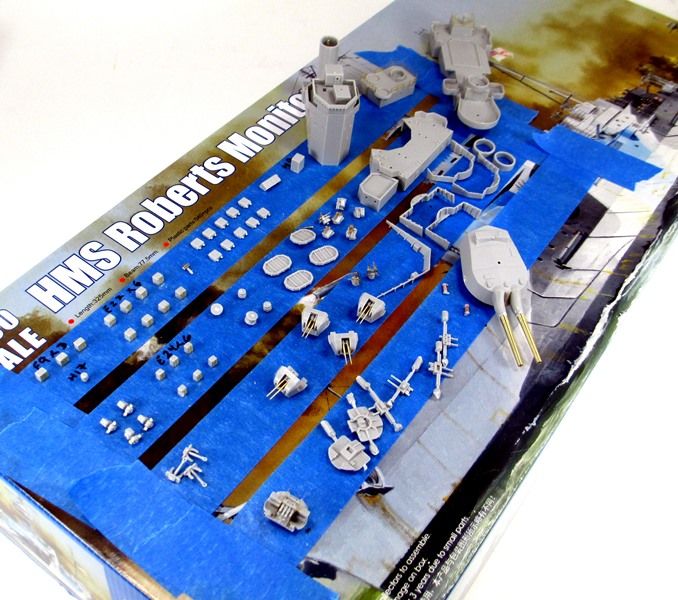 Well, that's it for the moment. I sanded the filling I added to a small gap in the hull and will be adding the wells, breakwater and the propeller shaft mounts soon and prepare to get the hull painting out of the way I think! Still out some on painting other things but all part of the game!! Almost forgot...some radar stuff...LOL!! 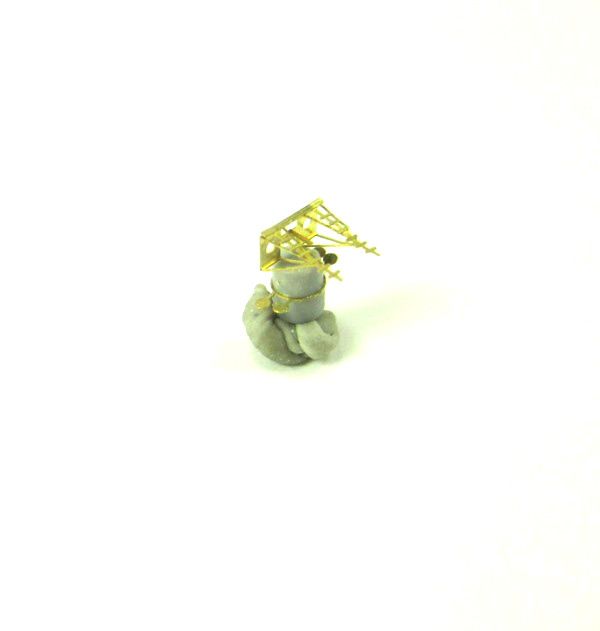 |
|
|
|
Post by TRM on Jul 13, 2014 10:36:05 GMT -5
Well this is not the biggest update in the world but then again, the parts aren't the biggest I suppose! Not much has changed from the last time except the pile of tiny pieces that are cleaned up is growing then the pages in the instruction booklet is dwindling as I check parts of the prep list. Not wanting to bore you too much at the moment, I will get right to this. I cleaned and test fit the rudders as well as drilled out the prop shaft brackets to receive some some brass tubing. This was not required really as the kit parts were not too bad at all, just something I like to do I guess!  The time had to come at some point where I was playing with more PE than plastic...the funnel. 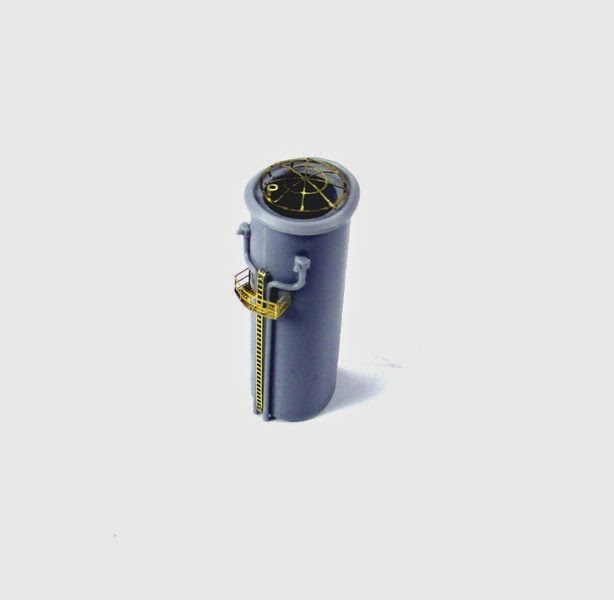 The starfish platform for the bridge. An interesting piece to say the least. 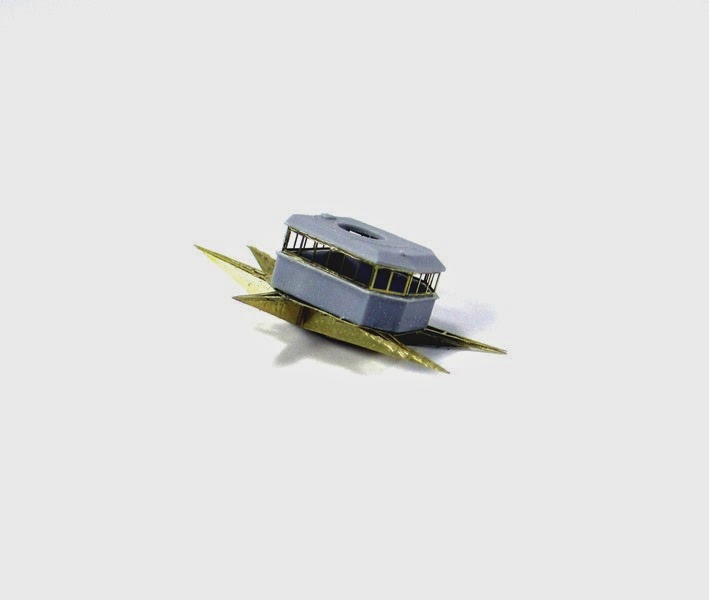 There are 11 PE parts to the platform.  I was able to bang out one of the masts so far. The only thing here that was close to being an issue, was handling the long sections of ladder without crushing or bending.  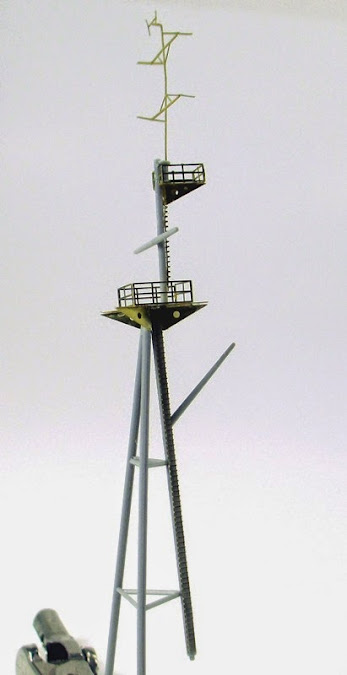 I did get the chance to play around with the POM POM's. The kit I purchased from Flyhawk has four full, 8 barrel setups in the kit. I actually only need one full and oddly enough, two 4 barrel setups which is essentially half of the 8...yeah, of course that makes sense. Anyway, I slapped only one together to see how it looked. Not bad I think. Huge improvement from the kit parts and saved me the trouble of drilling out the barrels. I will attempt the two half POM POM's next and if everything works out well, I will make the last one for the final version of the 8 barrel setup. 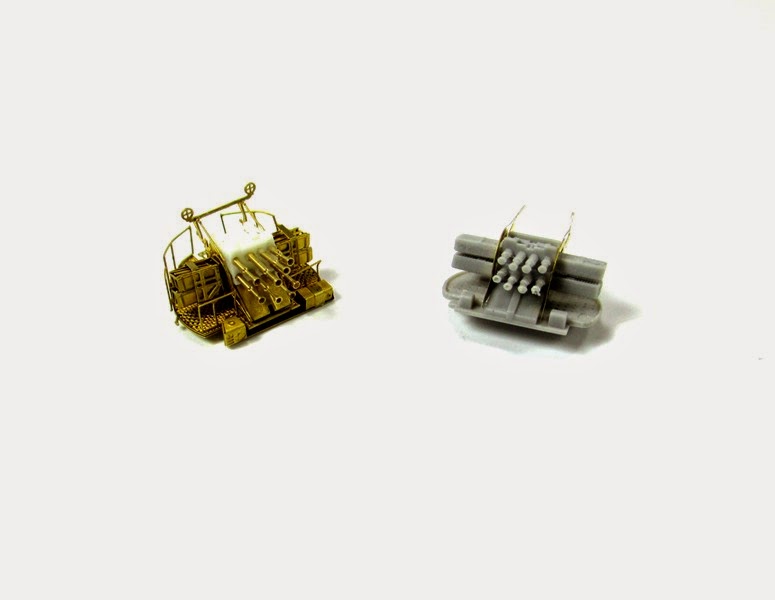 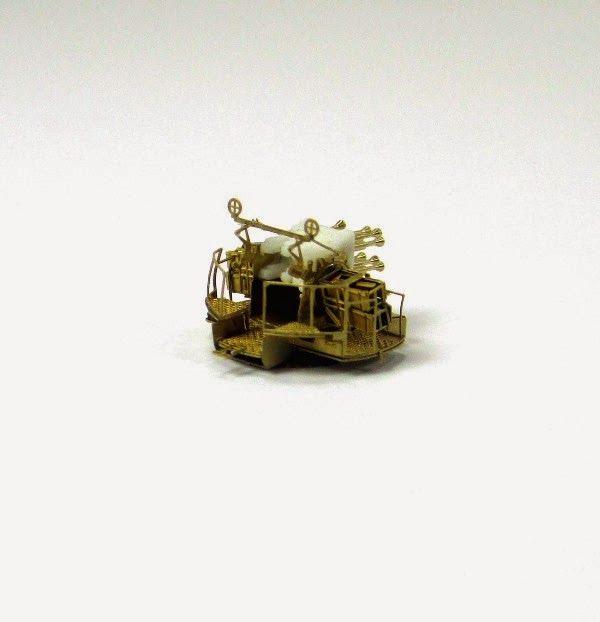 |
|
|
|
Post by dupes on Jul 13, 2014 10:38:15 GMT -5
You know that's a boat, right?  |
|
|
|
Post by TRM on Jul 13, 2014 10:39:49 GMT -5
LOL!!! Yes I do Sir!!  Actually love ships!!! Hopefully there will be more soon!! |
|
ogrejohn
Full Member
   Oct '23 Showcased Model Awarded
Member since: June 2012
Go away or I shall taunt you a second time!
Posts: 1,302
Jun 1, 2012 17:33:59 GMT -5
Jun 1, 2012 17:33:59 GMT -5
|
Post by ogrejohn on Jul 13, 2014 10:50:09 GMT -5
Lots of nice PE work going on there T! Everything looking ship shape!
|
|
|
|
Post by TRM on Jul 13, 2014 11:04:09 GMT -5
Thank you John!! I am really looking forward to getting back into the building schedule now!!! Maybe even this afternoon!!  |
|
|
|
Post by TRM on Jul 13, 2014 18:52:38 GMT -5
Thanks Marcus. This set has pretty much everything you will need though with the included PE sheets. I vaguely remember the only addition might have been some sections for the POM POM's which the $12 Flyhawk set took care of nicely! Thanks for swinging by!!
|
|
|
|
Post by deafpanzer on Jul 14, 2014 13:04:43 GMT -5
Oh man, H-U-G-E I really meant it... H-U-G-E improvement on the POM POM. Me curious how long did it take you to do one? Bet it will be quicker the more you build...
|
|
|
|
Post by TRM on Jul 14, 2014 21:22:46 GMT -5
Thanks Andy!! The POM POM's are really nice looking huh? You might like to know that it took just under 1/2 hour to assemble. The pieces bend quickly and the instructions were decent...the results speak for themselves I think!  |
|
|
|
Post by deafpanzer on Jul 14, 2014 21:30:56 GMT -5
Only half hour?!?!? I think I will do the same to my USS Indianapolis if they are available...
|
|
|
|
Post by TRM on Jul 14, 2014 21:51:06 GMT -5
Flyhawk has the POM POM's list on the package as 'British' but I believe these were made in the US at the time any way and pretty much look the same, you can get away with it. I don't know the complete armament on the Indy but you may also want to look Veterans Models, I think has what you are looking for with Bofors and such. The Master set of 20mm Oerlikons was cheap money really for 20 in the set...but you would have to check with the layout on the ship if you went that route...I think my Missouri has over 40....LOL! Check B&D Barrels website as well. He has numerous set for the big guns and you can cross check pricing with the various other makers.
btw, which kit is your Indy Andy?
|
|
|
|
Post by deafpanzer on Jul 14, 2014 22:03:37 GMT -5
Its Academy... Missouri has 40?!?!? I will never finish it that way. LOL
|
|
|
|
Post by TRM on Jul 14, 2014 22:12:16 GMT -5
The MO is a Big Girl for sure!! I was only curious about the kit as I head read a review of Trumpy's version that just cam out. I don't think it was much of an improvement but does come with some etch as this one did...no railing though which is just odd. GMM has a decent set that covers everything but is pricey for the one sheet...but there is a lot of stuff contained in it. www.goldmm.com/ships/gms350-52.htm I am looking at the same cost for something I just picked up recentlyfor and aircraft carrier conversion...personal indulgence!  |
|
|
|
Post by TRM on Jul 14, 2014 22:23:51 GMT -5
|
|
|
|
Post by deafpanzer on Jul 15, 2014 12:11:32 GMT -5
AWESOME! Yep, that's what I plan to buy when I am ready to build my little ship... not too soon I am not ready! LOL
Thanks for the link... man, I am in big trouble. Bought three more kits today... I am not kidding! Garage sale...
|
|
|
|
Post by Teabone on Jul 15, 2014 13:16:02 GMT -5
Todd
You are moving along so fast Im running as fast as I can to catch up. It is fantastic and your small refits with the guns are great even your mathematics on the pom poms was impressive. Is this another of those ships that fit in the palm of your hand like Gary was doing over there, he had some real nice rail work going on.
In any event all is beautiful and very well done those tall ladders being something only someone with surgeon genes could do.
Bones 
|
|
|
|
Post by TRM on Jul 15, 2014 13:45:06 GMT -5
Welcome Andy! LOL!! I can help spend you money better than anyone!!  Thanks Bones!! Not quite that small but she does only come right around 12 inches long. So I guess close to the MO in 1/700!! As for the surgeon genes, not too sure about that...at least the johnny the jeans were a bit tight!!  |
|
|
|
Post by `Boots` on Jul 15, 2014 16:08:48 GMT -5
Man thats some awesome work brother`T`......those guns look bloody fantastic especially that Pom Pom, fab job with all the other etch as well, look forward to more of this mucker Thumbs Up!  |
|
Deleted
Member since: January 1970
Posts: 0
Nov 27, 2024 22:09:24 GMT -5
Nov 27, 2024 22:09:24 GMT -5
|
Post by Deleted on Jul 15, 2014 17:38:05 GMT -5
Very nice build T  I like this one a lot !  |
|
|
|
Post by TRM on Jul 15, 2014 17:46:32 GMT -5
Boots and Steve...thanks fellas!! I am appreciating the encouragement! I am hoping to break away from this PC and get some modeling done!!  |
|
|
|
Post by imatanker on Jul 18, 2014 3:08:15 GMT -5
Don't know how I missed this one Bub. Bookmarked now though.  |
|
|
|
Post by Teabone on Jul 18, 2014 16:45:13 GMT -5
I was looking at some small parts on my Humber for a photo when I thought that you really have all the smallest parts in this build so I think you should get the award for working with the tiny stuff. Actually I suppose most floaty thing builds have a huge amount of little parts to deal with which is a good reason to avoid them.
Bones
|
|
|
|
Post by TRM on Jul 18, 2014 19:35:26 GMT -5
Thanks Jeff!! Glad to have you along for the ride....err, float!!  LOL, Bones, that Humber is neck and neck with with the floaty for teenie-weenies!! That is the one downside to ship building is all the little stuff, unless you go massive scale like 1/200...and even then the manufacturers go "it bigger, we can add more smaller things you can't see in 1/350!!  Here is one for some day down the road Bones.... 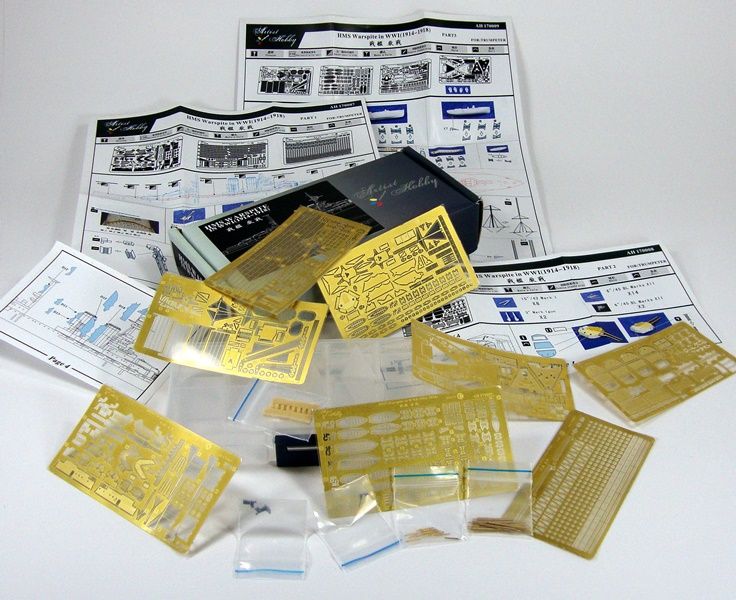 Just over 900 pieces of shiny things for the ship....and its 1/700!! Woo Hoo!! Gonna strap my daughter's microscope to my forehead for this one!!  |
|
|
|
Post by wbill76 on Jul 18, 2014 19:39:58 GMT -5
You're nuts T...a 1/700 Warspite with all that PE? you'll go blind before you finish it.  |
|
|
|
Post by TRM on Jul 18, 2014 20:06:36 GMT -5
LOL...I am blind thinking about it!!!
|
|
|
|
Post by Leon on Jul 18, 2014 20:21:34 GMT -5
Awesome etch work Todd.The Pom Poms look sweet.  |
|
|
|
Post by TRM on Jul 18, 2014 20:50:25 GMT -5
Thanks Leon!! Just finished the last of the plastic clean up!! Couple more items and I get to plot how to paint this sucker!!
|
|
|
|
Post by Teabone on Jul 18, 2014 22:10:33 GMT -5
If I was doing a lot of floaty things I would have to go this way with some surgical loupes.
Bones
|
|
|
|
Post by TRM on Jul 18, 2014 22:24:28 GMT -5
I was thinking of looking for a portable, personal electron microscope!  |
|


 Actually love ships!!! Hopefully there will be more soon!!


 )
) 


