Gordon Ferguson
Junior Member
 
Member since: April 2012
Posts: 85
Apr 3, 2012 10:22:22 GMT -5
Apr 3, 2012 10:22:22 GMT -5
|
Post by Gordon Ferguson on Aug 11, 2014 4:35:15 GMT -5
Morning, thought I had better post this before all the rusty boats come back from the show  I have done a few conversions from kit boats in the past and when I came across this picture it inspired me to have another go.  plan was to upscale the tug hull to 1/35 scale but after a few days into the build it became obvious that it would not work in this scale , so it's now 1/48. Will not bore you with lots of constructional photos, if anybody is interested in anything particular just shout and I will try to help. Still a bit of construction to do but major elements are sorted. Most bits are sub assemblies so it all placed loosely together at the moment 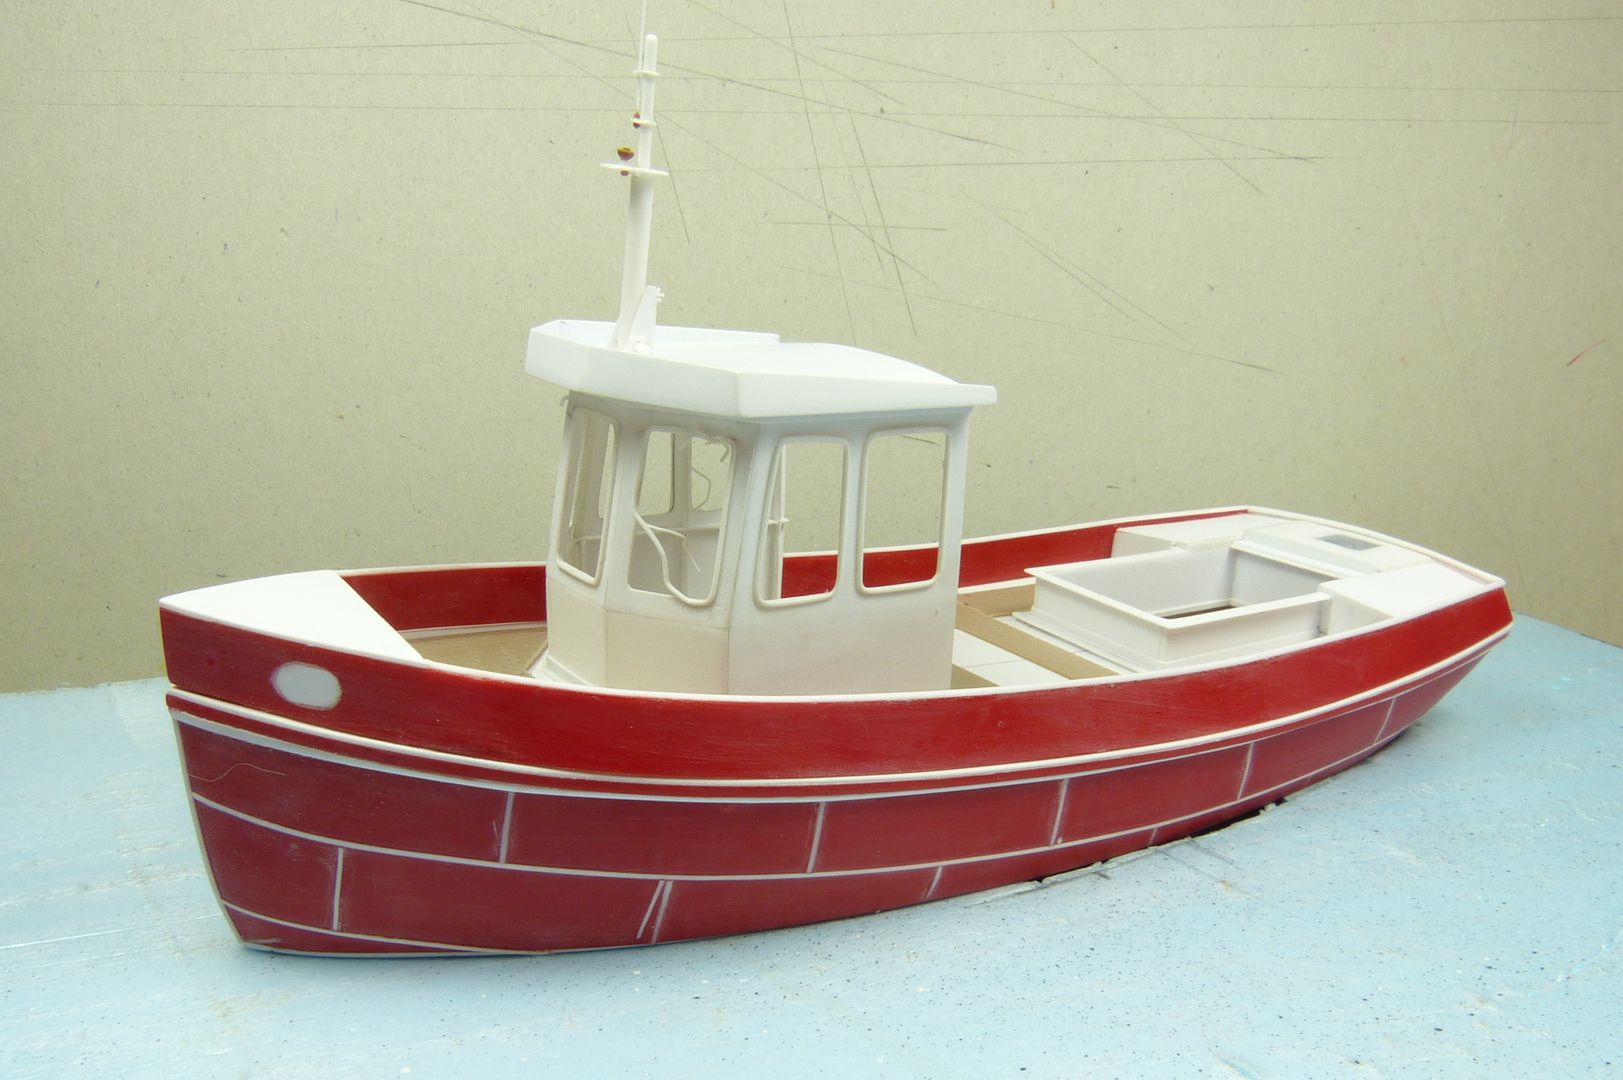 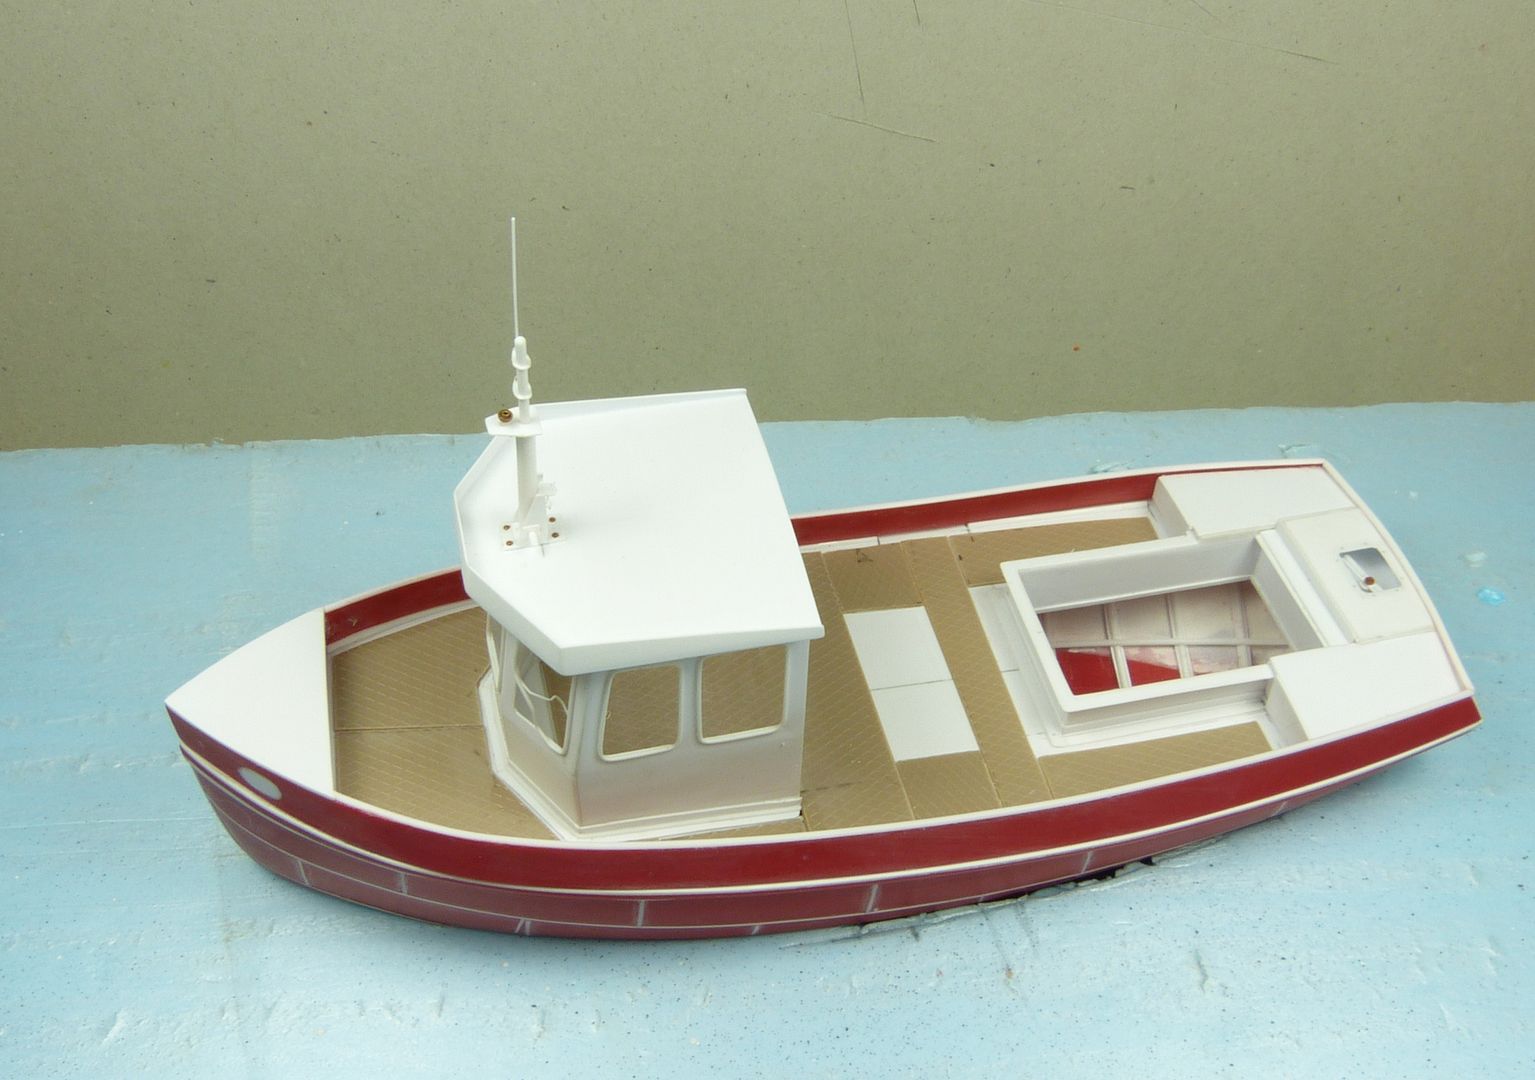 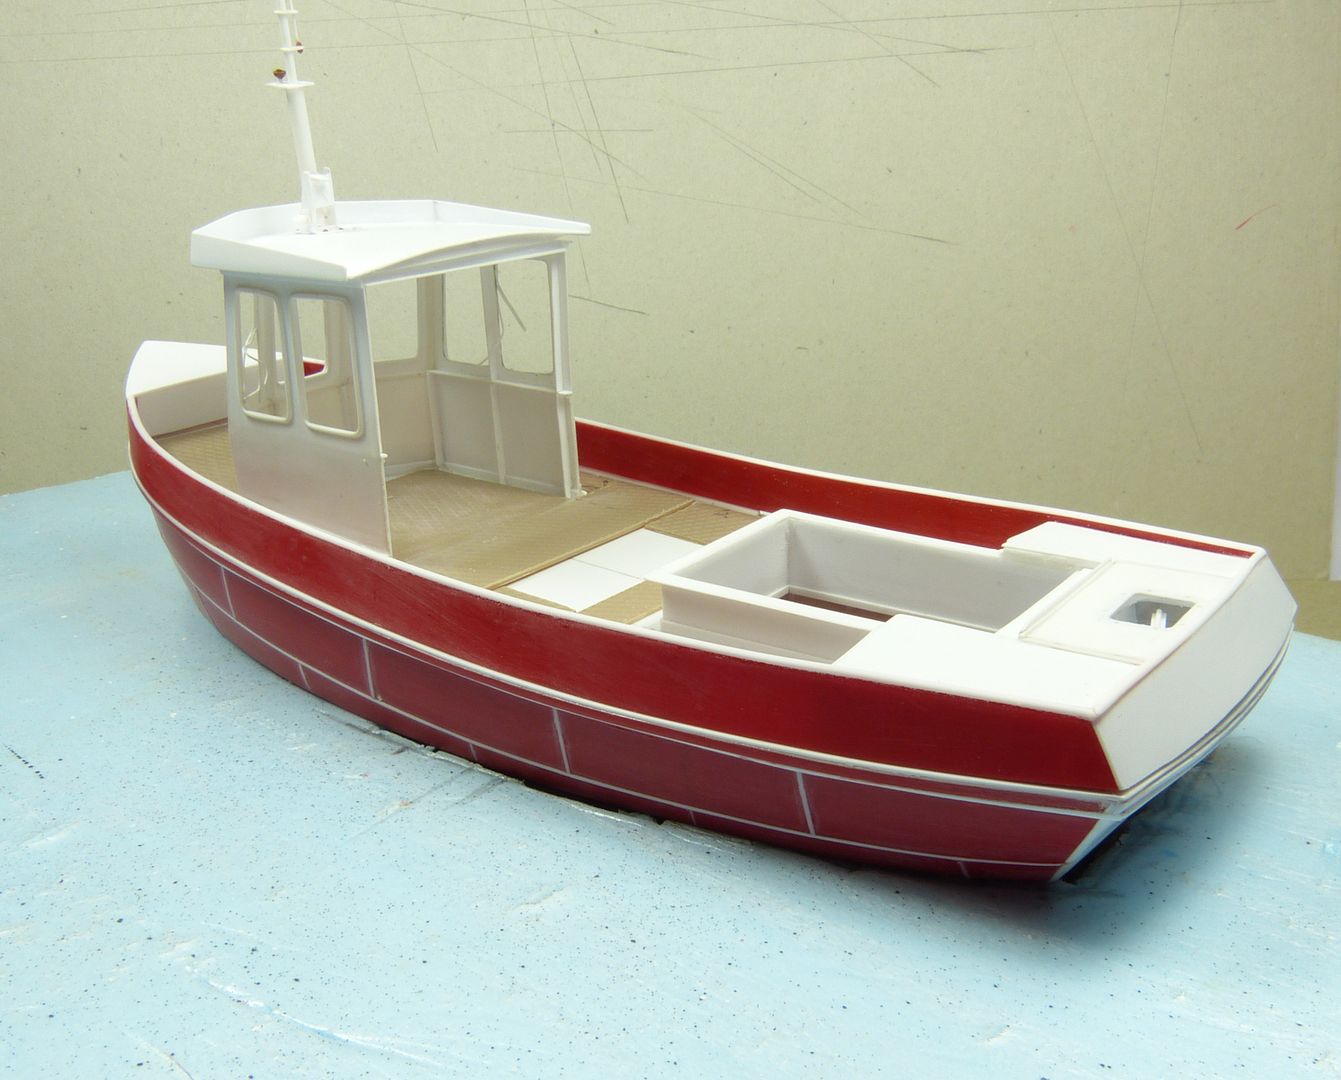 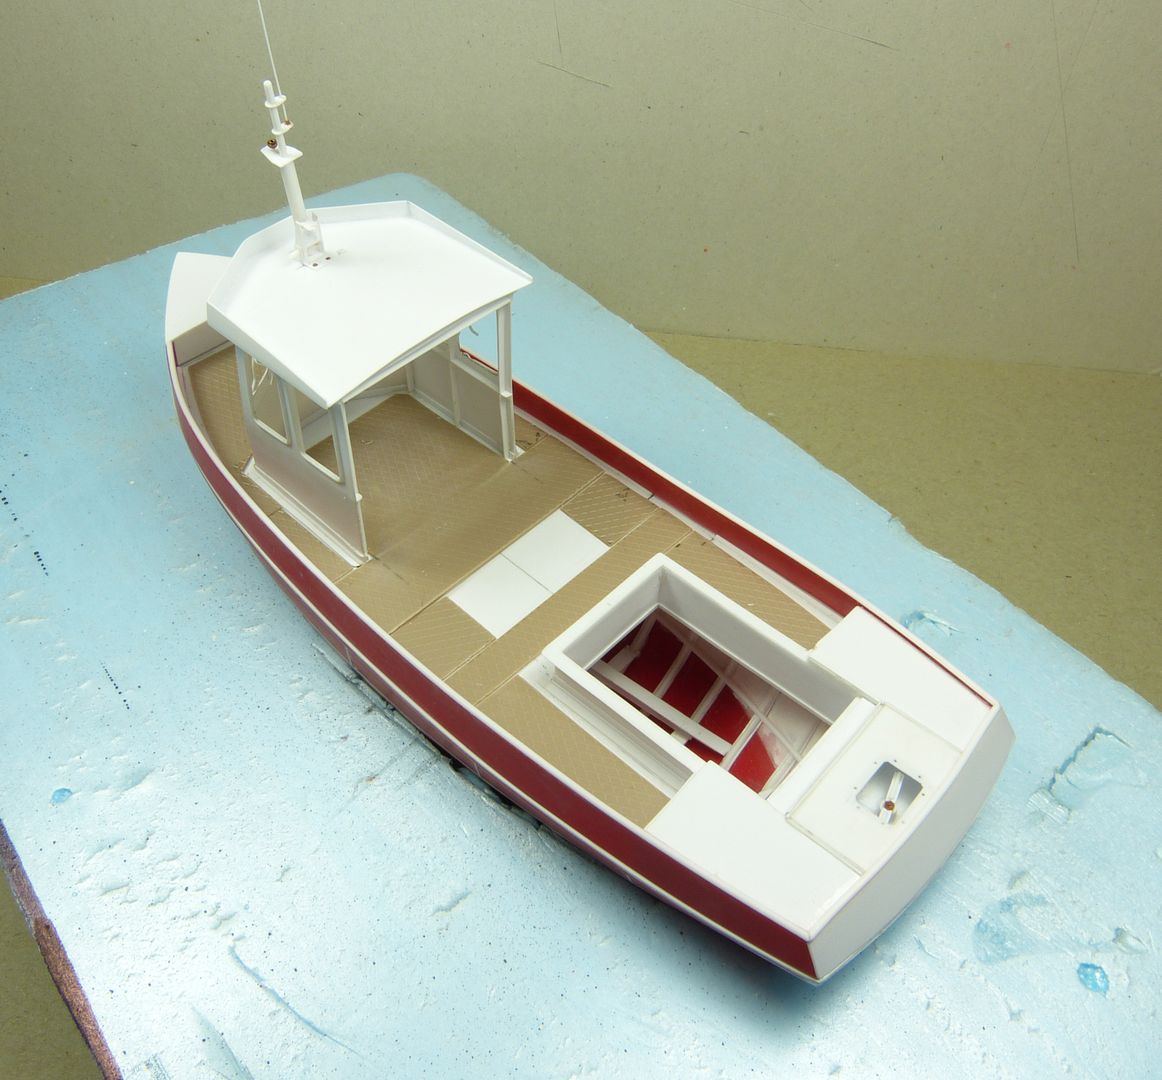 |
|
johnt
Full Member
   Feb 2012 MoM and 2012 Model of the Year Winner
Member since: November 2011
Posts: 1,174
Nov 15, 2011 5:38:32 GMT -5
Nov 15, 2011 5:38:32 GMT -5
|
Post by johnt on Aug 11, 2014 8:38:48 GMT -5
Hi Gordon,
Excellent scratch build skill on display again!
I do have a question: how did you do the seals round the windows? Thanks in advance.
Cheers
JT
|
|
DennisM
Full Member
  
Member since: January 2012
Posts: 214
Jan 24, 2012 8:18:54 GMT -5
Jan 24, 2012 8:18:54 GMT -5
|
Post by DennisM on Aug 11, 2014 8:38:51 GMT -5
No wonder it was abandoned, it is made out of brick!
I would actually be interested in seeing some of the boring construction photos.
Dennis
|
|
|
|
Post by TRM on Aug 11, 2014 8:43:37 GMT -5
This is fantastic Gordon! Nice bit of scratch work!! This should be real fun to bang around!! Count me in!!
|
|
Gordon Ferguson
Junior Member
 
Member since: April 2012
Posts: 85
Apr 3, 2012 10:22:22 GMT -5
Apr 3, 2012 10:22:22 GMT -5
|
Post by Gordon Ferguson on Aug 11, 2014 9:10:28 GMT -5
Hi John, trust you are well . The window "rubber" is just 20thou rod, decide where you want join to be ... It's usually at the top, glue the first few mm's of the rod on leave to dry then bend at first corner ..... It helps to bend rod around a former, I use the drill bit that drilled the corners in the sheet, then glue and let dry ...... And so on till you get back to the beginning. 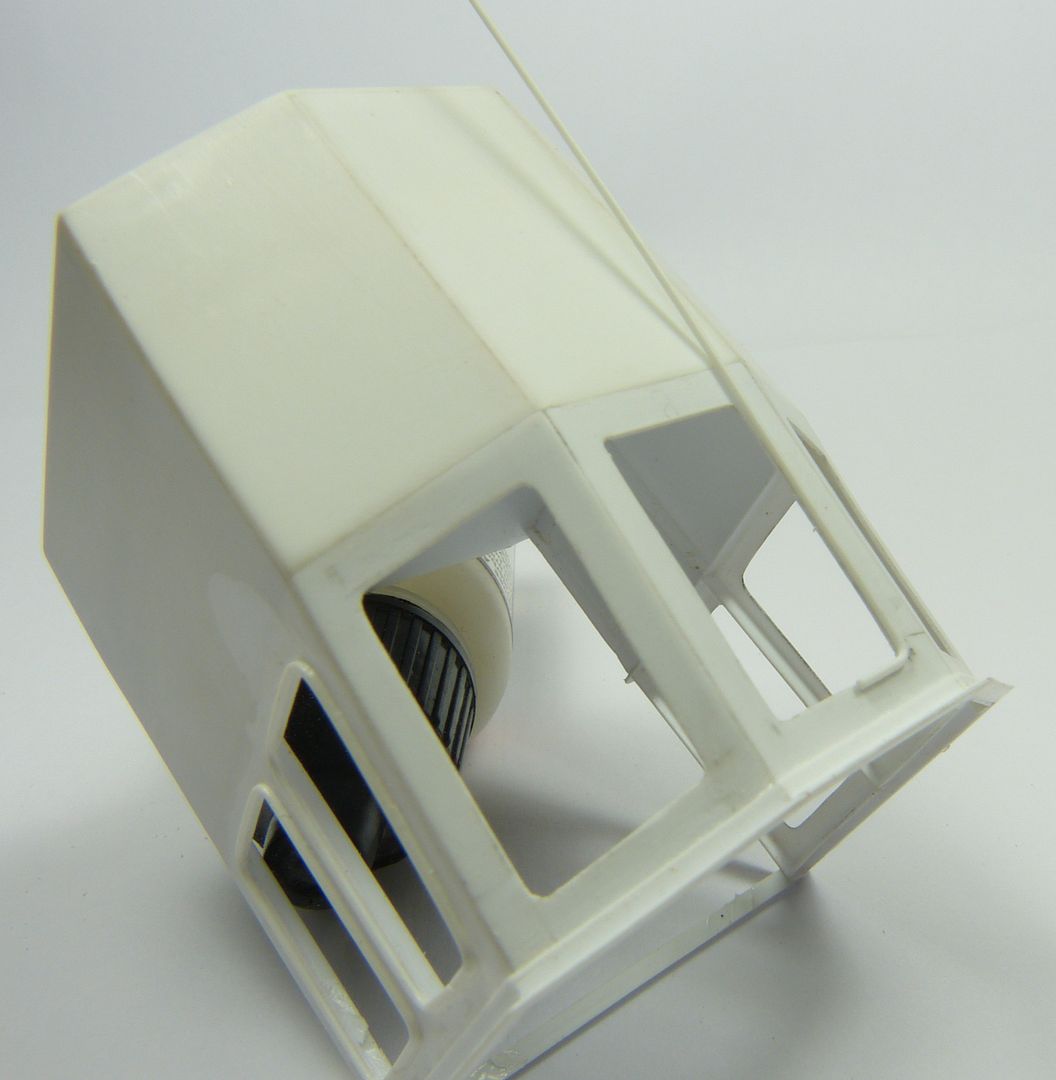 I have to admit it's a job I hate doing as I don't have the patience to wait each time for glue to dry ........ Obviously you could speed up process using super glue but you have to really accurate with your placement, the liquid poly type glue at least lets you manoeuvre the rod a little. Once it's all dry I lightly sanded the rod to get it closer to the D shape of the full size ones. In this case I also blended in a few bits of 10 thou rod to try to portray the rubber seal being split as it's a derelict and the glass has been removed ...... Which you might be able to see in the photo of the real one . Dennis , will post a few shots of construction later .......... "Bricks" see what you mean |
|
|
|
Post by tobias5555 on Aug 11, 2014 10:30:38 GMT -5
Cool, I love it when a model is build on a real picture.
|
|
Gordon Ferguson
Junior Member
 
Member since: April 2012
Posts: 85
Apr 3, 2012 10:22:22 GMT -5
Apr 3, 2012 10:22:22 GMT -5
|
Post by Gordon Ferguson on Aug 11, 2014 16:40:13 GMT -5
Dennis , a few construction shots......... Construction of rear engine compartment which is below waterline , made from bottom of rear hull with sides extended and rib & engine bed detail added. 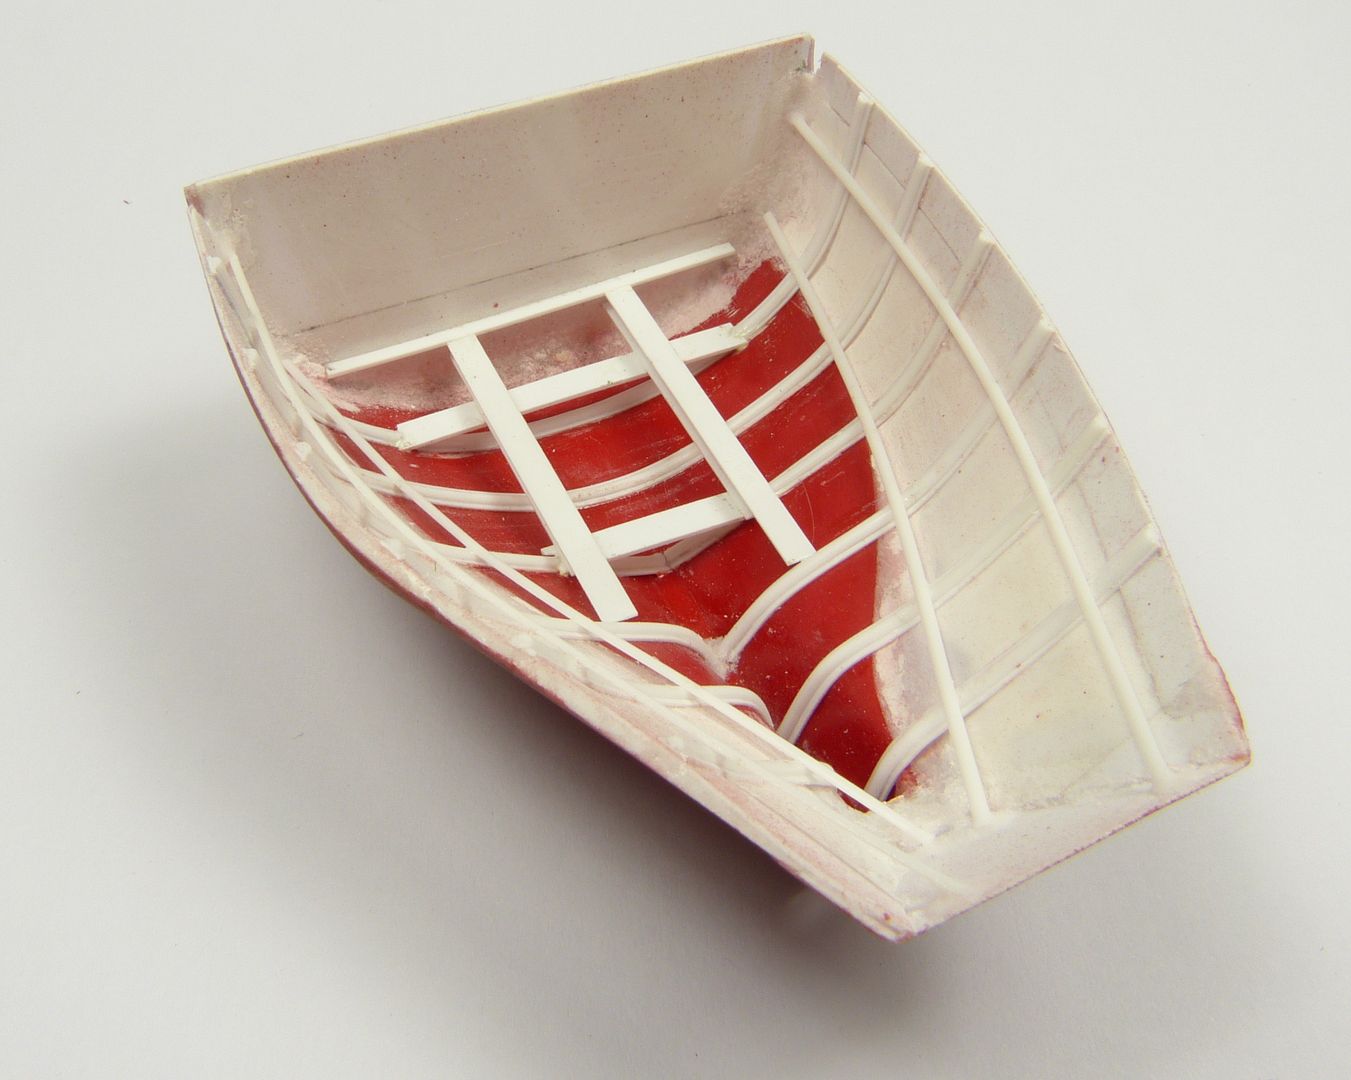 Construction of new wheelhouse 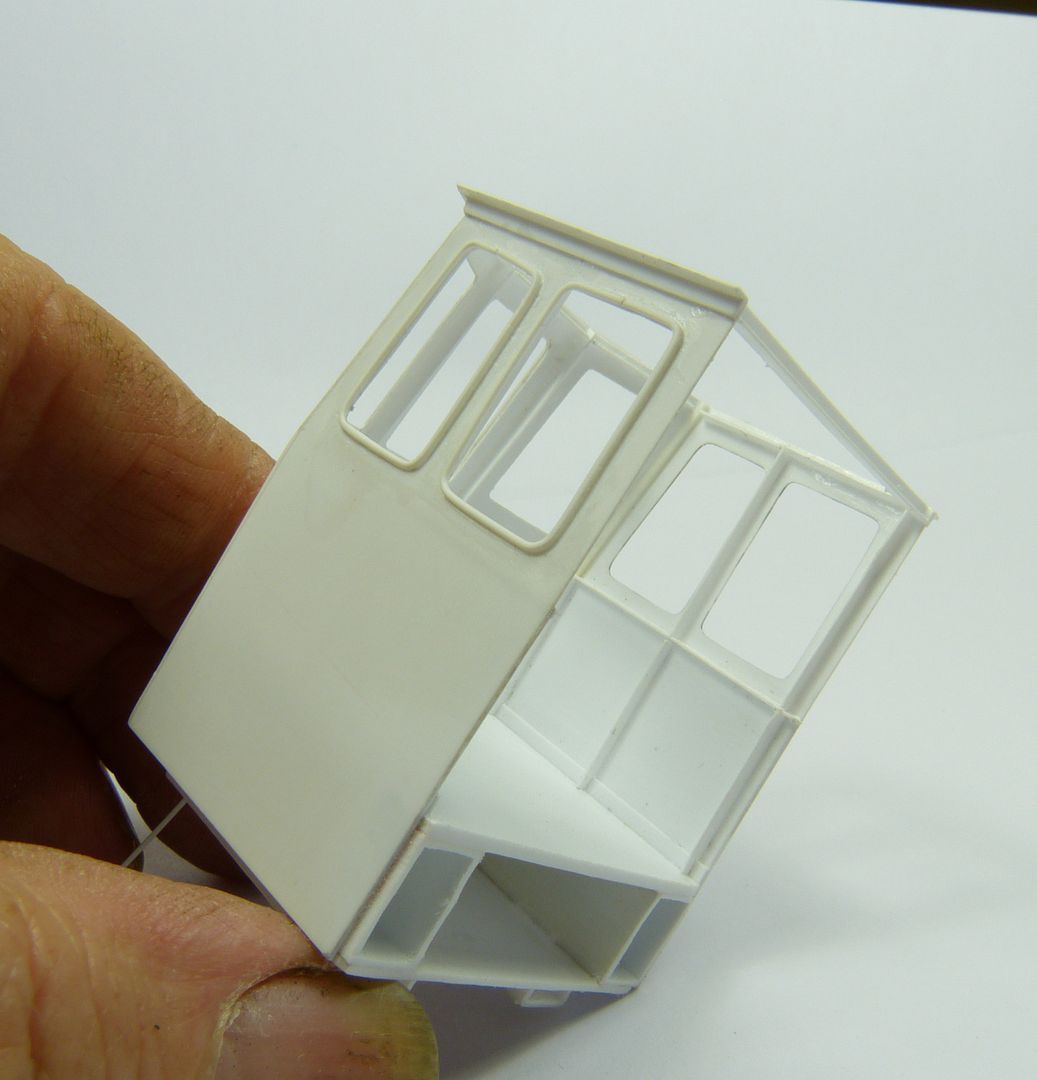 Mast/ariel detail 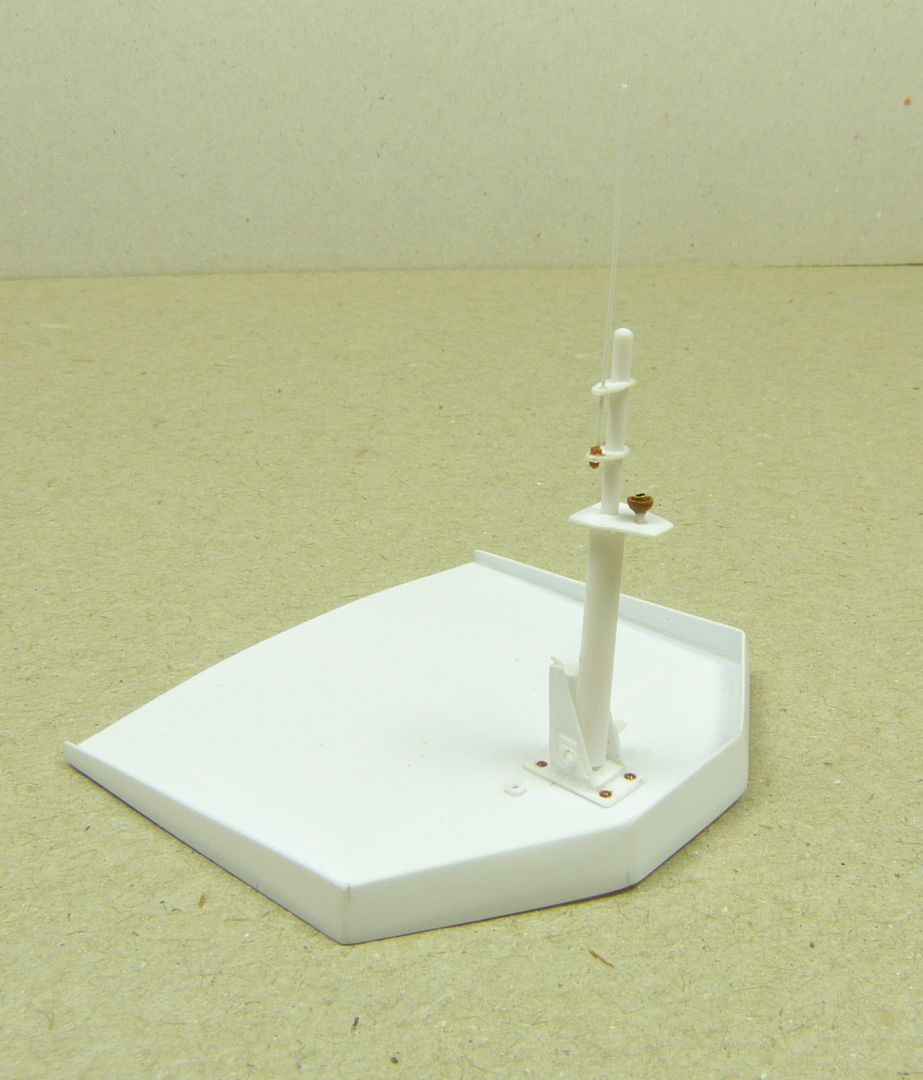 Modified bulwarks and rear hatch details 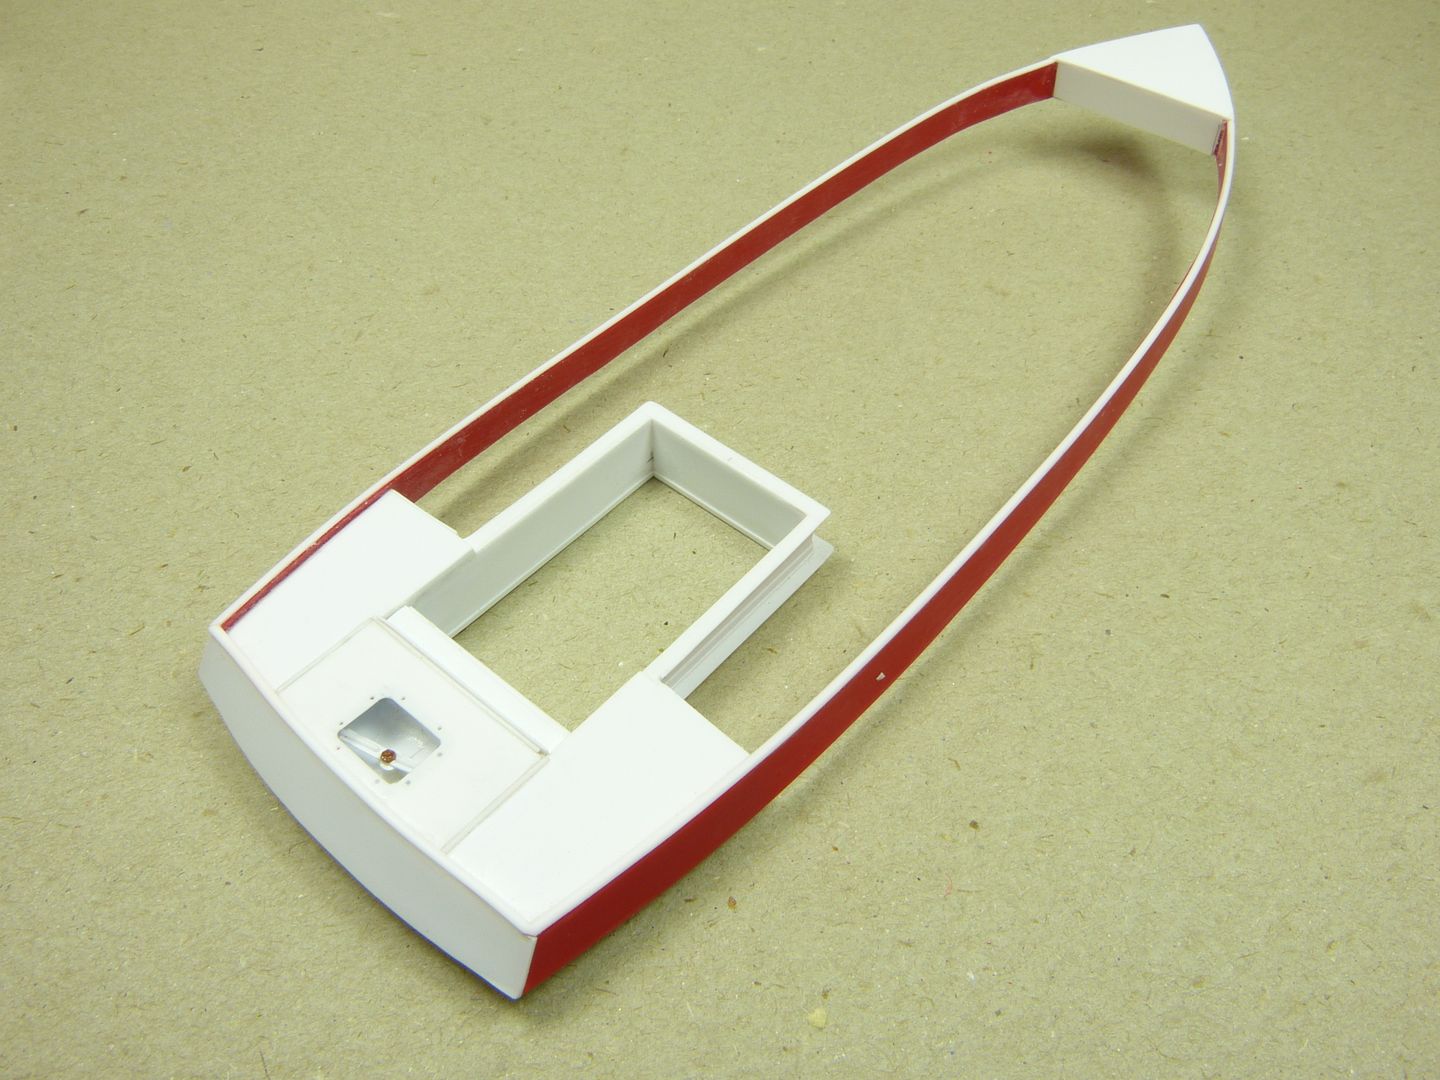 |
|
johnt
Full Member
   Feb 2012 MoM and 2012 Model of the Year Winner
Member since: November 2011
Posts: 1,174
Nov 15, 2011 5:38:32 GMT -5
Nov 15, 2011 5:38:32 GMT -5
|
Post by johnt on Aug 12, 2014 9:30:59 GMT -5
Awesome! Thanks mate, I've been tempted to build or convert some things that have that kind of window seal but I was stumped about how it would be done.
Cheers
JT
|
|
DennisM
Full Member
  
Member since: January 2012
Posts: 214
Jan 24, 2012 8:18:54 GMT -5
Jan 24, 2012 8:18:54 GMT -5
|
Post by DennisM on Aug 12, 2014 10:12:04 GMT -5
Thanks for the construction pics. Love seeing stuff like this even if it doesn't have tracks  |
|
Marcel du Long
Full Member
  
Member since: August 2013
Posts: 331
Aug 22, 2013 13:25:03 GMT -5
Aug 22, 2013 13:25:03 GMT -5
|
Post by Marcel du Long on Aug 12, 2014 10:33:15 GMT -5
Very nice progress so far Gordon.
Cheers,
Marcel
|
|
|
|
Post by deafpanzer on Aug 12, 2014 10:39:17 GMT -5
Rob is going to love this... looking real good!!!
|
|
|
|
Post by wbill76 on Aug 12, 2014 12:19:23 GMT -5
Very cool project here Gordon. Looking forward to more on this little tug.
|
|
Gordon Ferguson
Junior Member
 
Member since: April 2012
Posts: 85
Apr 3, 2012 10:22:22 GMT -5
Apr 3, 2012 10:22:22 GMT -5
|
Post by Gordon Ferguson on Aug 12, 2014 14:23:39 GMT -5
Thanks for the interest shown in this, and for the kind words Managed a couple of hours today so. Think all the major work is done and some paint can be thrown at it. There is still some bits to build for the wheelhouse but the "plan is to them while other bits are drying and add stuff such instrument console, wheel etc in at the end So this is what it looks like now, not a lot of difference but bow has been tricked up a bit, engine compt has some more detail plus towing beam & bollards added . Sorry about pics, was getting bored trying to photograph white plastic 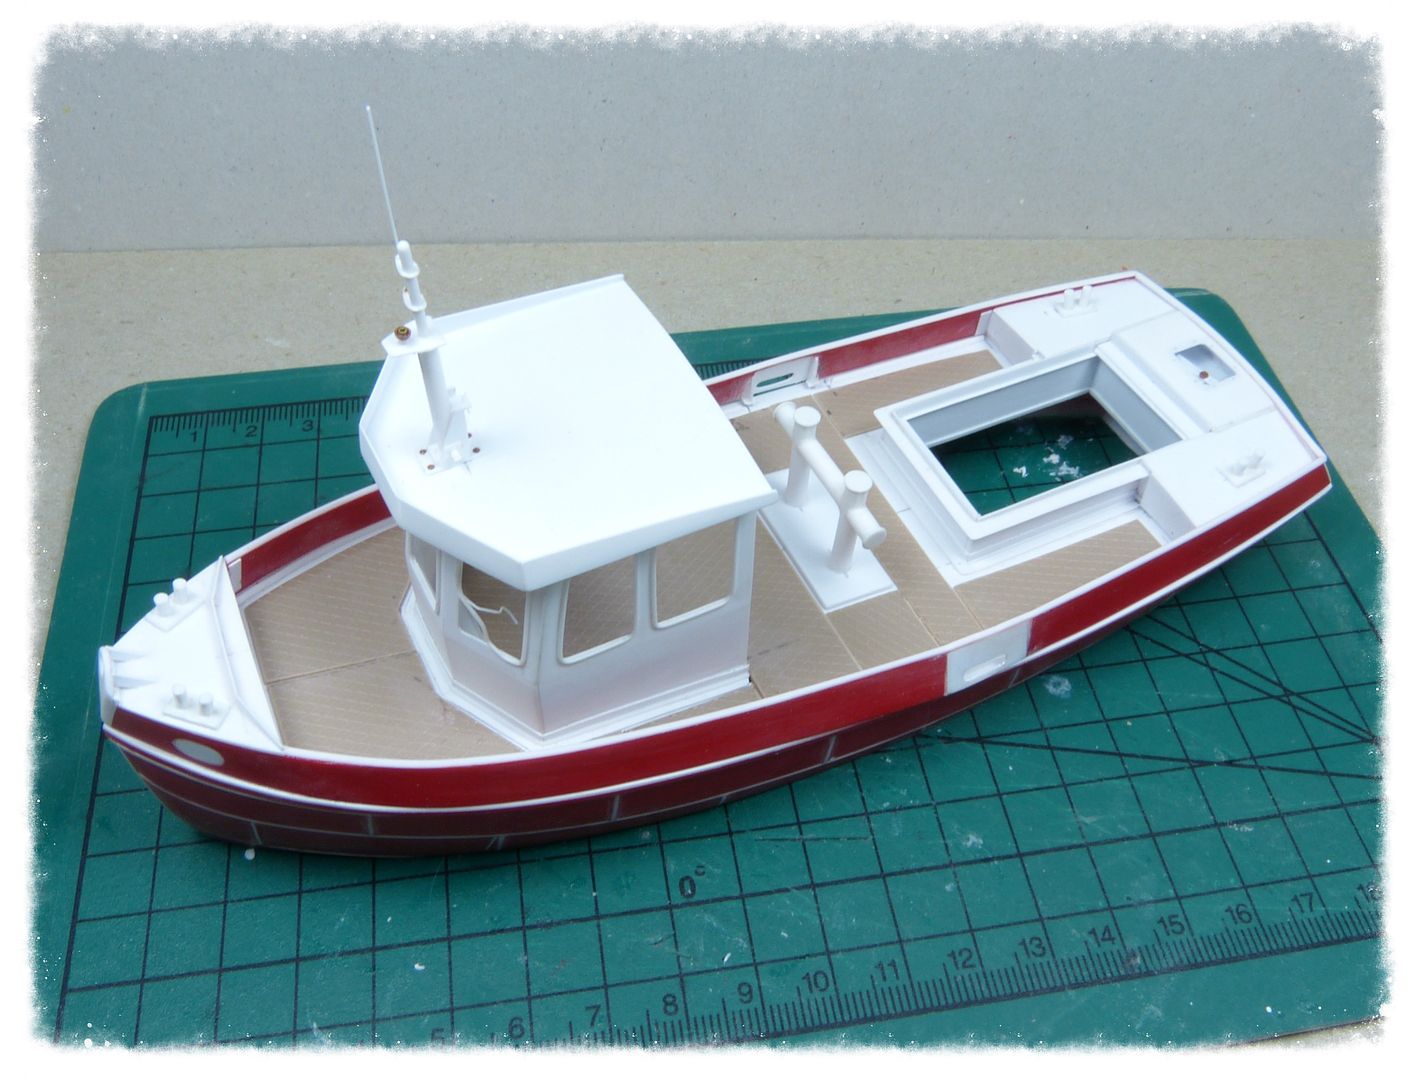 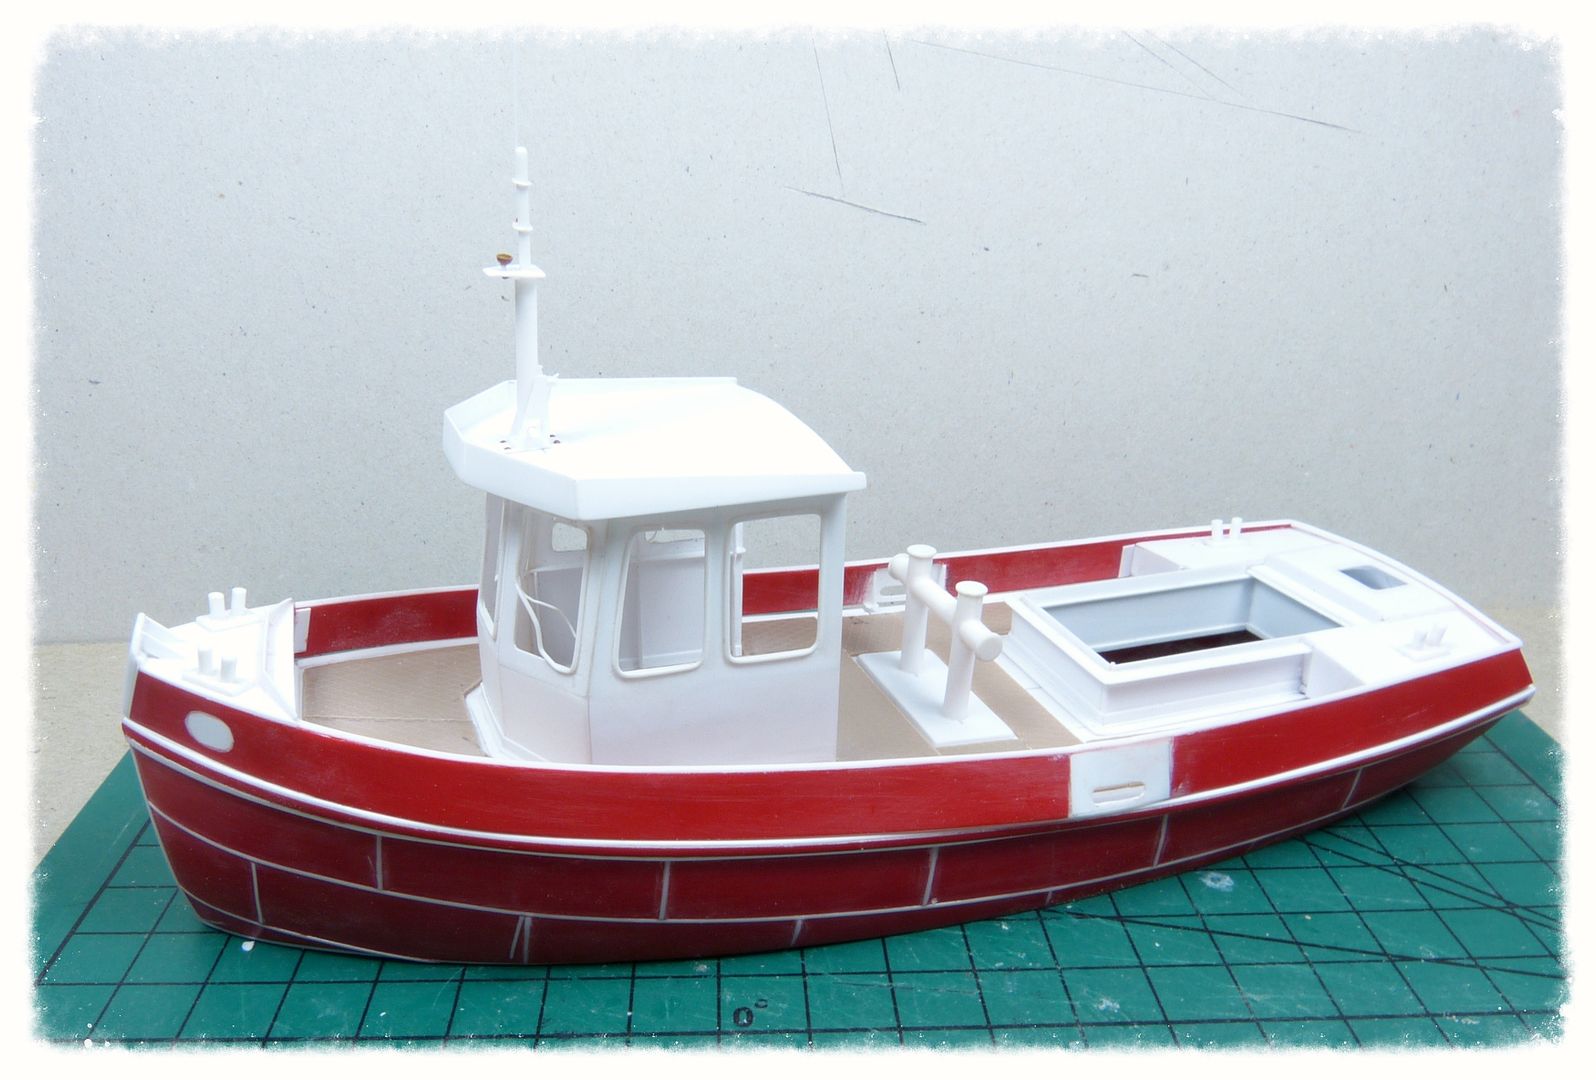 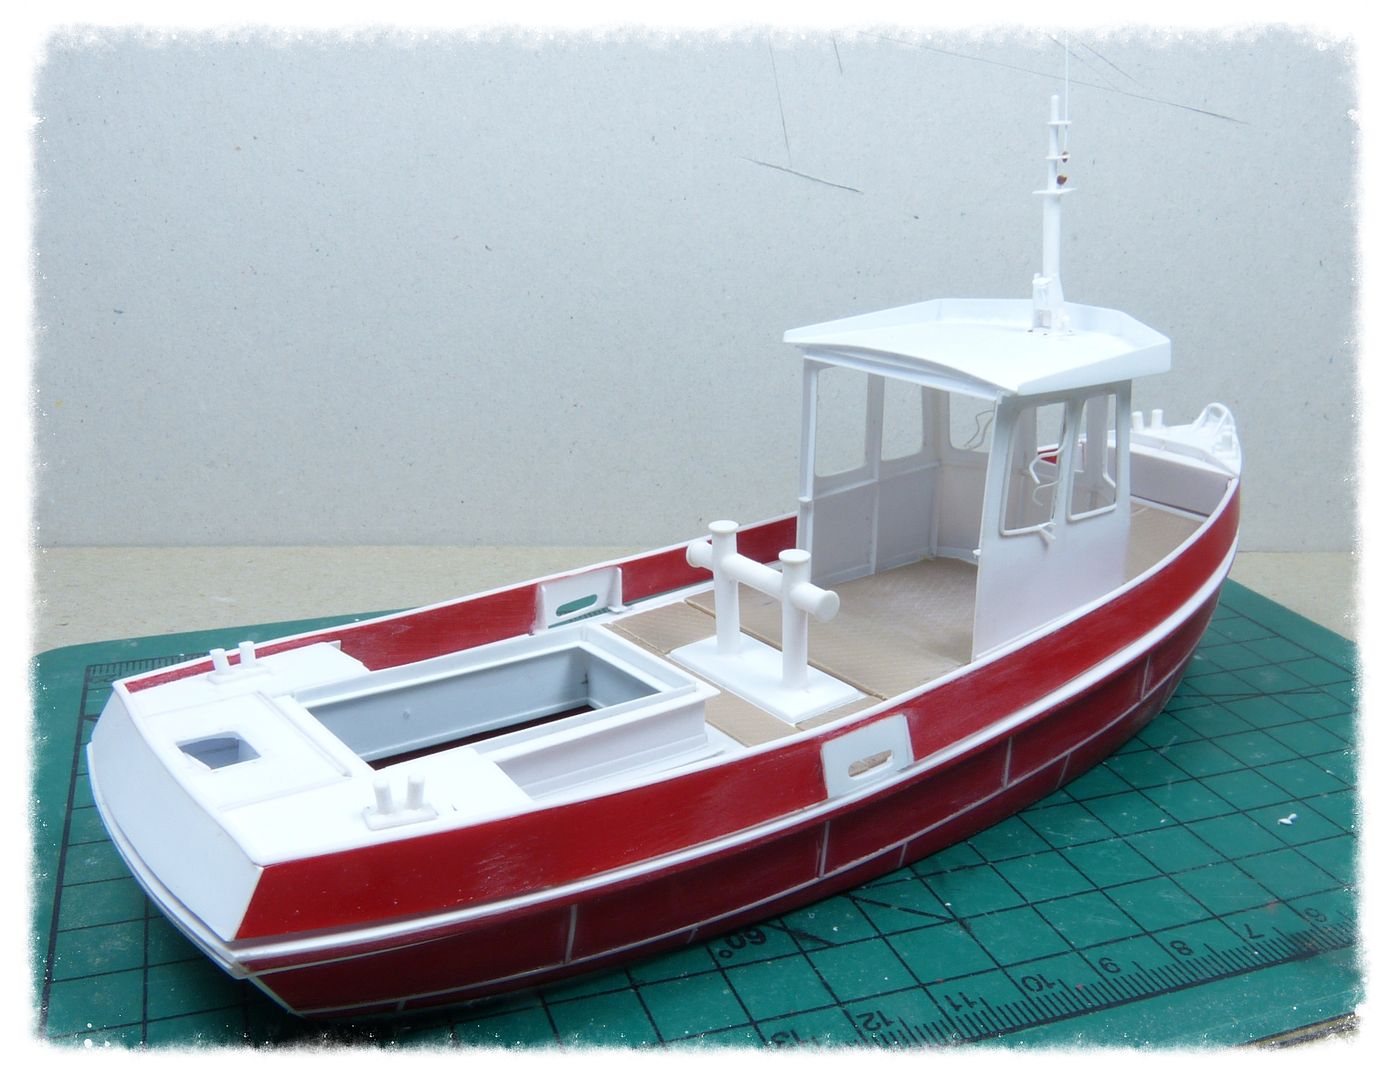 Thanks for looking |
|
|
|
Post by deafpanzer on Aug 12, 2014 14:29:21 GMT -5
Looking good! You have made Theo the Tugboat very proud... can't wait to see more.
|
|
|
|
Post by Leon on Aug 12, 2014 17:50:19 GMT -5
Nice scratch work on the tug Gordon.Looking really good.
|
|
Gordon Ferguson
Junior Member
 
Member since: April 2012
Posts: 85
Apr 3, 2012 10:22:22 GMT -5
Apr 3, 2012 10:22:22 GMT -5
|
Post by Gordon Ferguson on Aug 13, 2014 17:02:31 GMT -5
Decided I needed to put off the dreaded "paint" a bit longer so built the innards for the wheelhouse tonight ....... As the plan is for boat to be a derelict have gone for open drawers and cupboards as though sort of ransacked and all the instruments will gone , with just a few wires, etc left Again this built as sub assembly , makes painting easier and then can be slid into position at the end    |
|
johnt
Full Member
   Feb 2012 MoM and 2012 Model of the Year Winner
Member since: November 2011
Posts: 1,174
Nov 15, 2011 5:38:32 GMT -5
Nov 15, 2011 5:38:32 GMT -5
|
Post by johnt on Aug 14, 2014 8:58:19 GMT -5
Hi mate
Looking better and better!
Cheers
JT
|
|
|
|
Post by deafpanzer on Aug 14, 2014 10:10:40 GMT -5
Interior looks great... keep it coming!
|
|
|
|
Post by 406 Silverado on Aug 14, 2014 11:41:11 GMT -5
Man that looks to good to put paint on. Very nice scratch work.
|
|
Deleted
Member since: January 1970
Posts: 0
Dec 4, 2024 10:21:23 GMT -5
Dec 4, 2024 10:21:23 GMT -5
|
Post by Deleted on Aug 14, 2014 13:15:52 GMT -5
Very nice work indeed buddy, I like the build photos too  |
|
|
|
Post by wbill76 on Aug 14, 2014 14:21:55 GMT -5
Good idea on the wheel house, some nice work there for sure.
|
|
|
|
Post by Leon on Aug 14, 2014 18:21:35 GMT -5
Great idea on the wheel house Gordon.
|
|
Gordon Ferguson
Junior Member
 
Member since: April 2012
Posts: 85
Apr 3, 2012 10:22:22 GMT -5
Apr 3, 2012 10:22:22 GMT -5
|
Post by Gordon Ferguson on Aug 16, 2014 10:38:41 GMT -5
Primer on ........ Bit of tiding up needed, and a rethink on the weld lines experiment on the hull    |
|
|
|
Post by kaytermarram on Aug 16, 2014 12:20:30 GMT -5
Top notch build up so far, very detailed and clean build. When you go to paint, will you rust and dust it away like the other guys here?
Frank
|
|
Gordon Ferguson
Junior Member
 
Member since: April 2012
Posts: 85
Apr 3, 2012 10:22:22 GMT -5
Apr 3, 2012 10:22:22 GMT -5
|
Post by Gordon Ferguson on Aug 19, 2014 1:36:24 GMT -5
Hi Frank, yes it will be pretty dirty with a bit of rust  Waiting for delivery of some Archers resin transfers to sort out welds so started painting the engine room 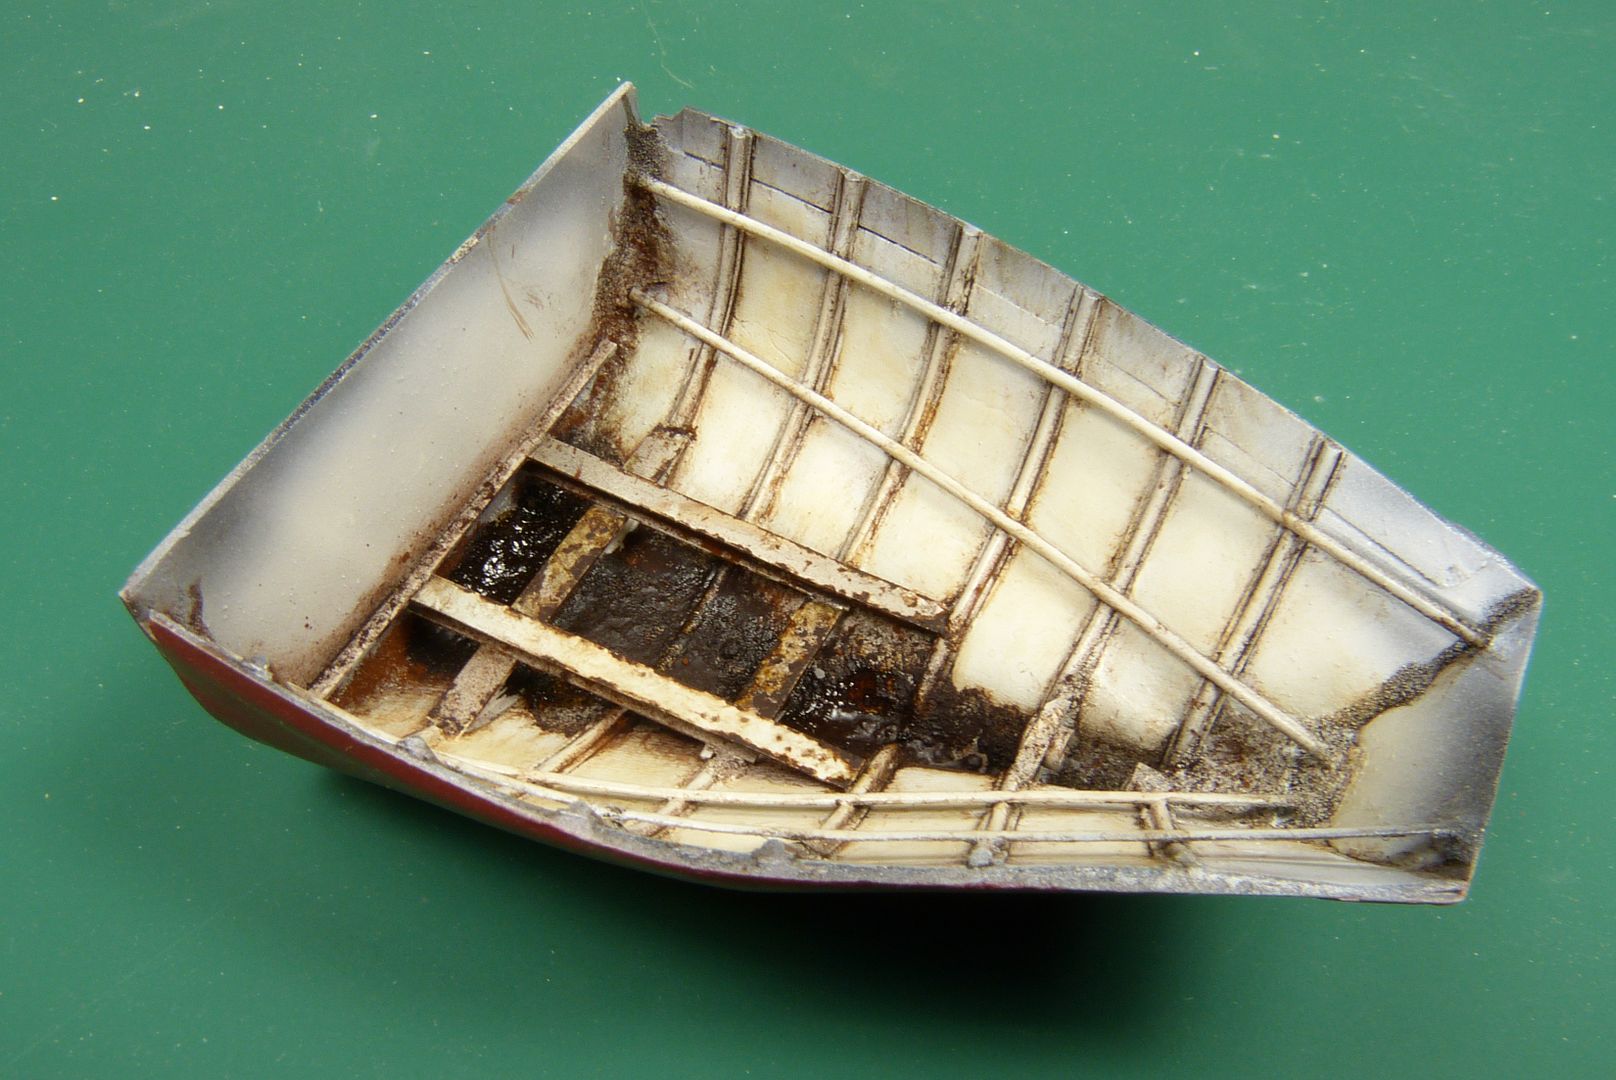 When in place you don't actually see that much but will add some fresh rust , more dirt and a few bits left over from the old engine, rags, etc 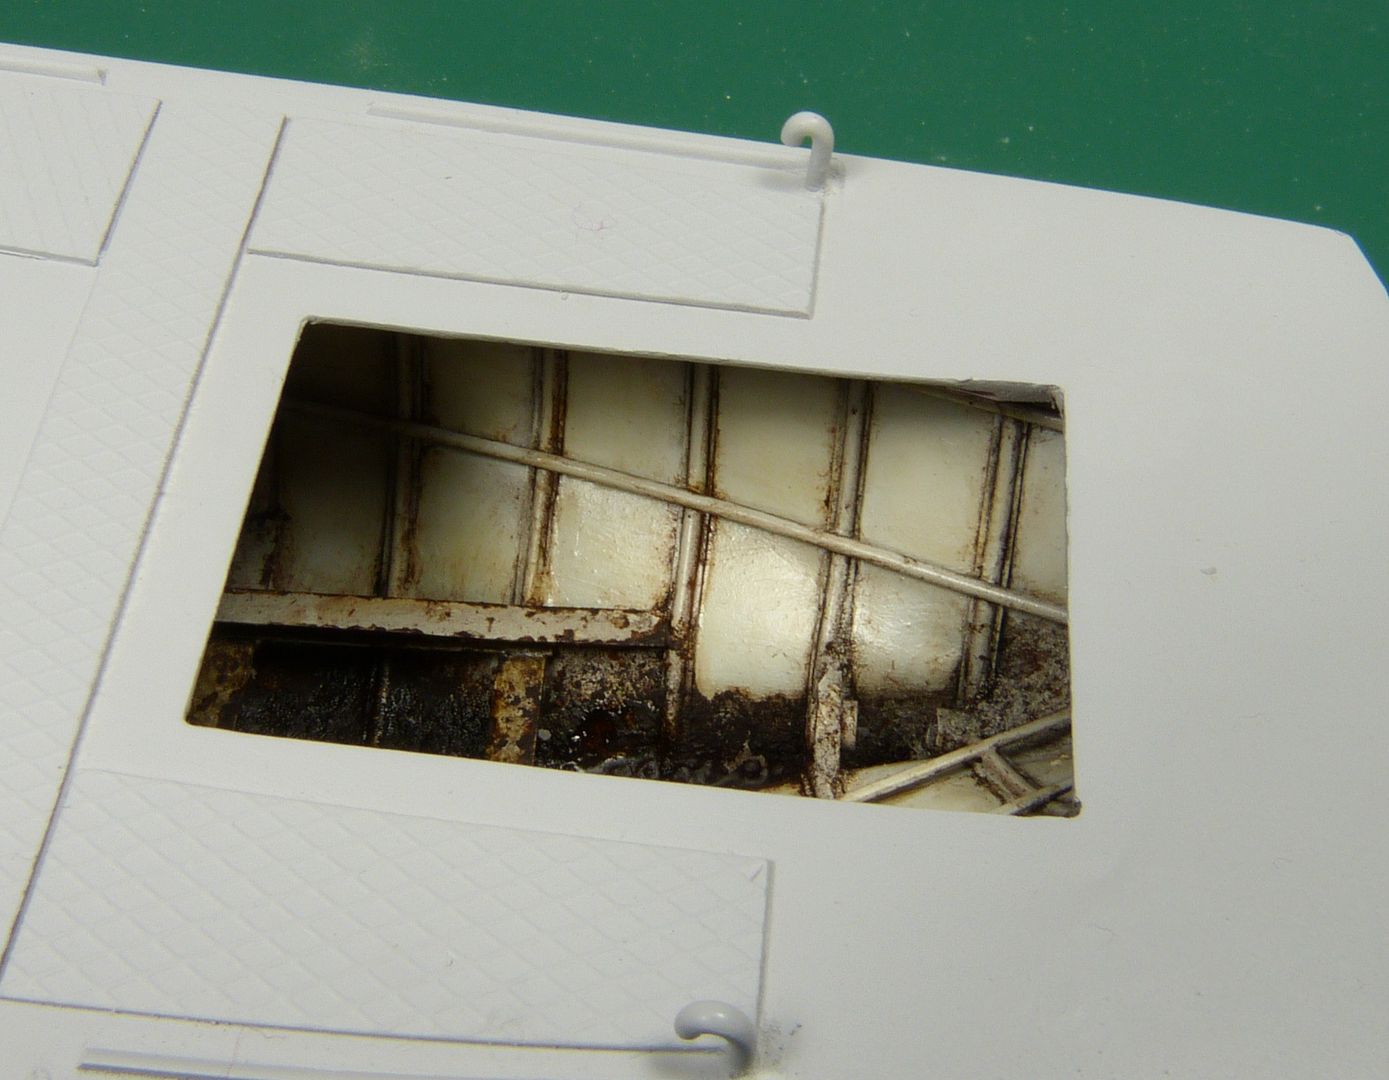 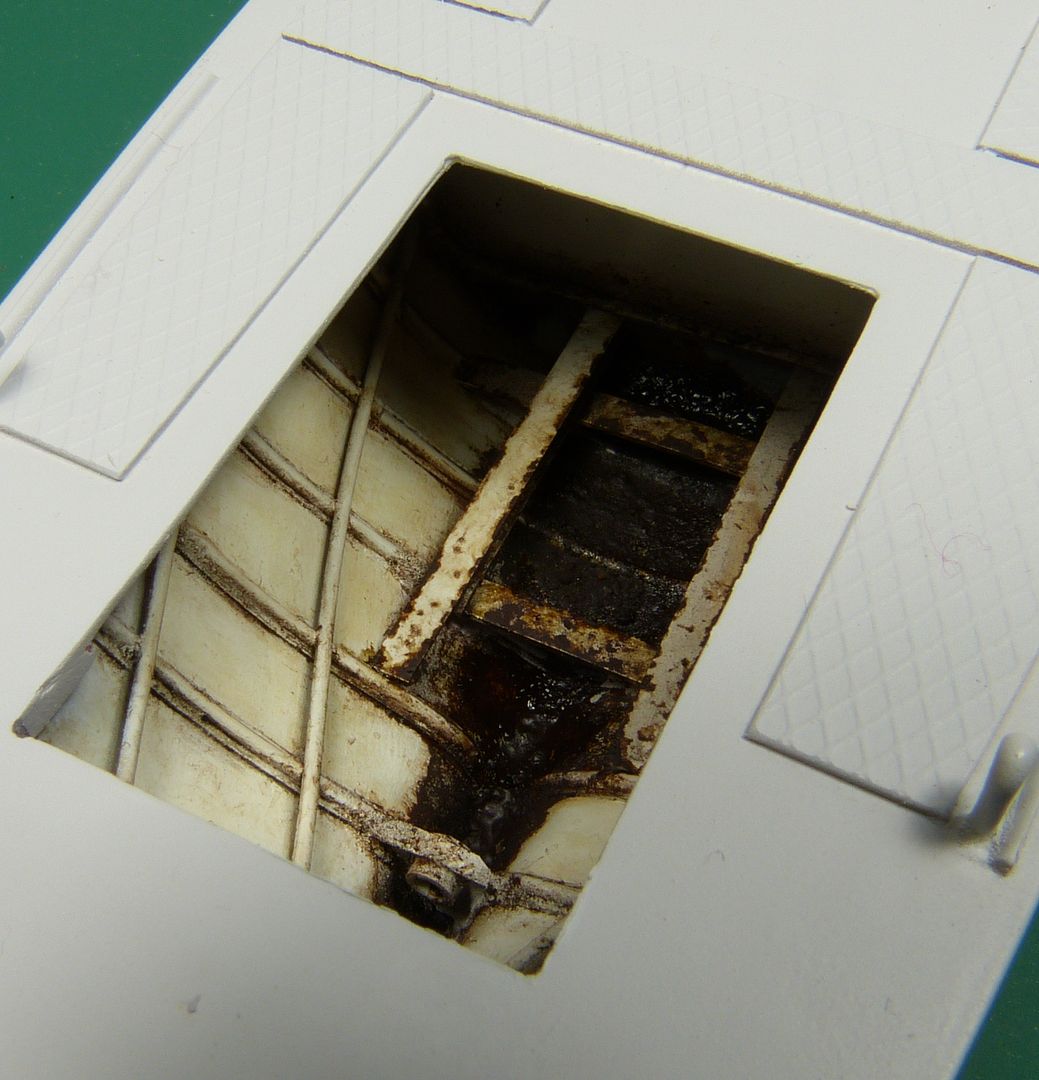 |
|
Gordon Ferguson
Junior Member
 
Member since: April 2012
Posts: 85
Apr 3, 2012 10:22:22 GMT -5
Apr 3, 2012 10:22:22 GMT -5
|
Post by Gordon Ferguson on Aug 19, 2014 7:01:36 GMT -5
Getting silly now, and apologises to all those I am quickly boring to death ........... But added propellor shaft, coupling and grease reservoir , along with a few paint chips & scratches/rust   |
|
|
|
Post by kaytermarram on Aug 19, 2014 12:42:58 GMT -5
Yep!! This looks really really cool and lovely (for dirt and rust lovers that means!) Can´t wait to see the progress!
Frank
|
|
|
|
Post by wbill76 on Aug 19, 2014 12:51:55 GMT -5
That's pretty cool Gordon! Can almost feel that grease and smell the diesel.  |
|
|
|
Post by deafpanzer on Aug 19, 2014 13:13:53 GMT -5
WOW! Little way too realistic I have to say... you nailed it!!!
|
|
|
|
Post by Leon on Aug 19, 2014 16:53:06 GMT -5
All of the above Gordon.Your doing a great job.  |
|