|
|
Post by wbill76 on Sept 21, 2014 10:08:55 GMT -5
In keeping with the WWI Centenary that's started this year, I picked up Meng's kit# TS-011 at a good price and decided it should be the next victim on the bench. 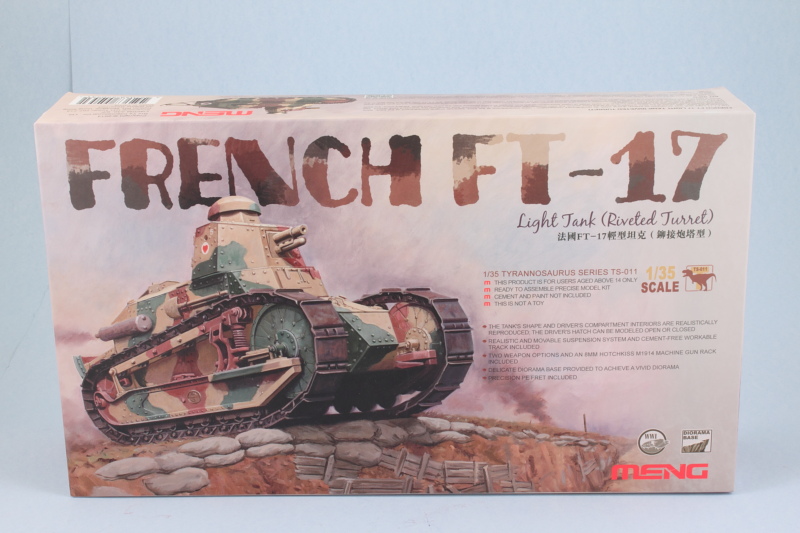 The kit comes with a nice little diorama base/display that I may or may not end up using depending but should be a fun little project all the same. Stay tuned for more on this one! |
|
|
|
Post by Tojo72 on Sept 21, 2014 10:13:24 GMT -5
Nice Bill, your really diverse this year.Going to Armorcon next week, I really need to look at some WWI stuff.
Looking forward to your build.
Sent from my SM-N900V using proboards
|
|
|
|
Post by Leon on Sept 21, 2014 10:19:48 GMT -5
Looking forward to you starting this.
|
|
doogsatx/
Senior Member
    Feb and Sept 2014_ MoM Winner
Member since: November 2012
Posts: 1,642
Nov 14, 2012 21:29:10 GMT -5
Nov 14, 2012 21:29:10 GMT -5
|
Post by doogsatx/ on Sept 21, 2014 13:00:19 GMT -5
Nice!
This is likely going to be my next armor project, as well. Unless I change my mind, which is entirely possible!
|
|
|
|
Post by TRM on Sept 21, 2014 18:26:13 GMT -5
Nice choice Bill!! Bring on the building!! Back on the armor I see!! Full Circle brotha!!
|
|
|
|
Post by wbill76 on Sept 21, 2014 19:11:15 GMT -5
Thanks for the interest gents! Back on familiar turf for the time being at least.  I started work on this little guy with Step 1 which deals with the hull floor plate and various elements of the driver's station and controls. As I'm contemplating painting the interior and leaving the access hatches open for this area, I left off the driver's seat cushion and control levers for the time being. 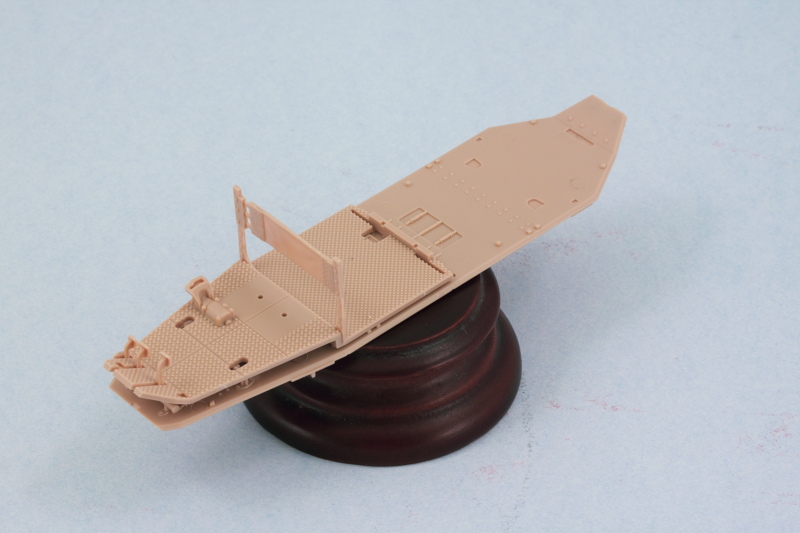 Next I cleaned up the hull sides and the nose and rear plates so I could get a good idea of how the hull would come together. Left side of the hull received the two-gauge instrument panel which was a little challenge to place since there aren't any locater marks or guides for where it should go beyond the one diagram in Step 2. 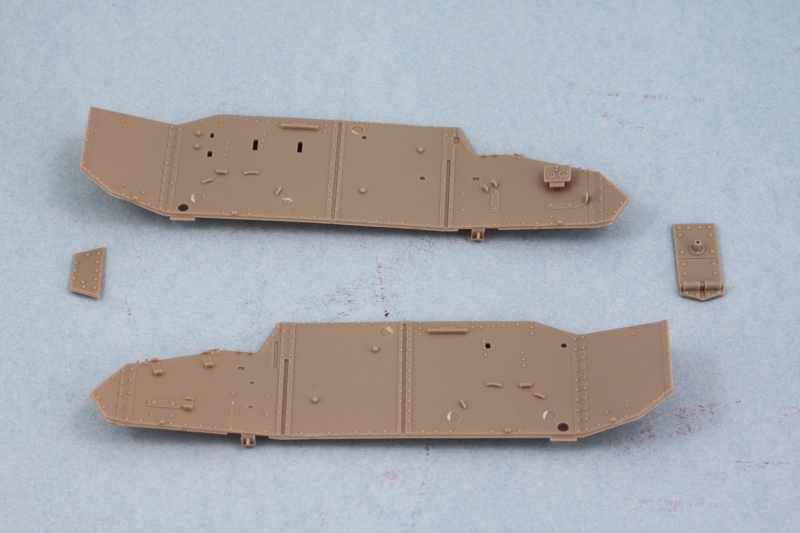 I assembled the hull roof plate as directed in Step 6 and added the angled side armor plates for the driver's view hatch outlined in Step 7. The nose plate, B8, was also installed on the hull floor. A quick check with some strips of masking tape let me mock up the hull and make sure that everything will fit together properly. The slight gap visible at the front of the hull roof is due to the limitations of the tape contact/tension in that area and not a fit flaw in the kit. 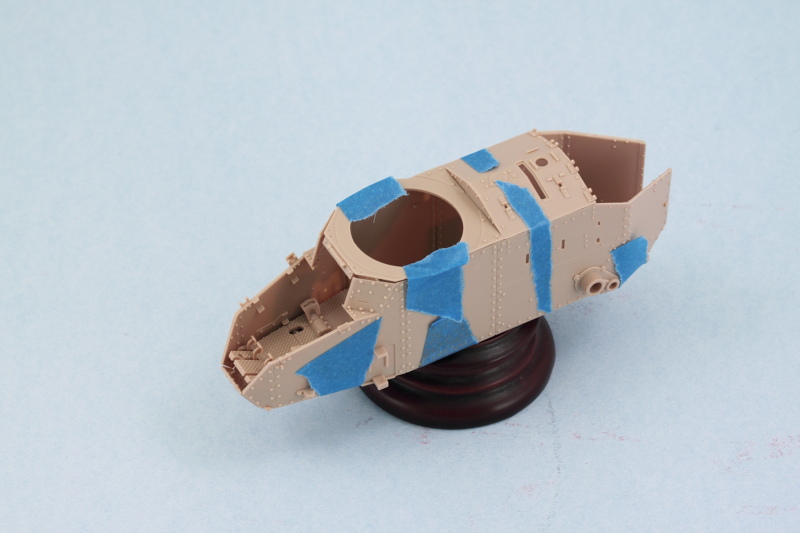 Skipping ahead a bit to Step 13, I cleaned up the driver's view hatch and the two access hatches and added their grab handles. 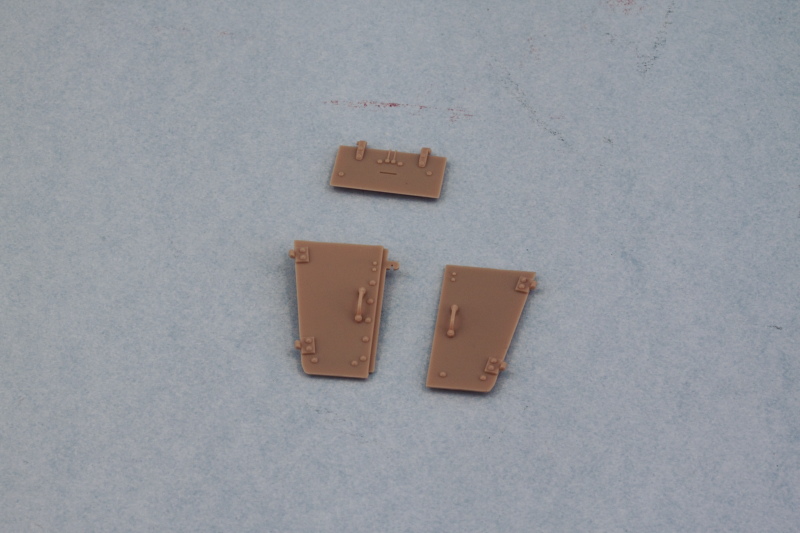 At this point I'm not 100% sure I will go ahead and leave the driver's area hatches open. This particular kit doesn't include any additional detail for the interior past the driver's seat back so I'm rethinking the notion. I may just pose the driver's vision hatch open instead...or just keep things simple and close it all up. Have to see how I feel about it and go from there I guess. |
|
|
|
Post by Leon on Sept 21, 2014 19:16:32 GMT -5
Nice start on the little guy Bill.  |
|
|
|
Post by wbill76 on Sept 21, 2014 19:24:03 GMT -5
Thanks Leon! Little is right...the whole thing fits in the palm of my hand!  |
|
afvfan
Senior Member
   
Member since: December 2012
Bob
Posts: 1,772
Dec 10, 2012 17:32:38 GMT -5
Dec 10, 2012 17:32:38 GMT -5
|
Post by afvfan on Sept 21, 2014 23:37:44 GMT -5
I just went to a show at the Army Heritage Center in Carlisle Pa. over the weekend. They had one of these in their museum. I tried getting pics, but couldn't get my camera to operate in the low light (no flash allowed).
|
|
doogsatx/
Senior Member
    Feb and Sept 2014_ MoM Winner
Member since: November 2012
Posts: 1,642
Nov 14, 2012 21:29:10 GMT -5
Nov 14, 2012 21:29:10 GMT -5
|
Post by doogsatx/ on Sept 22, 2014 9:37:45 GMT -5
This one's a Giraud turret, but still, interesting for dio possibilities is how tail-heavy these things were. Lots of potential for awesome overhangs and other weird angles.  |
|
Deleted
Member since: January 1970
Posts: 0
Nov 24, 2024 7:00:37 GMT -5
Nov 24, 2024 7:00:37 GMT -5
|
Post by Deleted on Sept 22, 2014 10:04:44 GMT -5
I'm loving this!
The USMC procured these for their fledgling armor battalion and sent them to China in the late '20's. Guess what I have in the stash?
I'll be watching closely Bill.
G
|
|
|
|
Post by wbill76 on Sept 22, 2014 11:59:43 GMT -5
Bob, that's a tough break on the no-flash rule, but I can understand why museums do that on multiple levels. It's amazing to me how widely used these were and how many survived intact over the years. I remember seeing one fully functional in an episode on the History Channel of the old 'Mail Call' show or something similar that R. Lee Ermey hosted. It's a tiny guy and slow...but for the time, it got the job done!
Doogs, that's a great shot for inspiration! They had an unditching 'tail' added for just that sort of problem. Considering the engine sat at the back, that's where most of the weight was on these guys even with the crew sitting forward in the hull and turret as a sort of counterweight.
G, glad to have you along as well! These guys saw service all over, even the Russians built them under license!
|
|
|
|
Post by deafpanzer on Sept 24, 2014 20:41:26 GMT -5
Sorry for being slow... think you knows why. Lucky Todd was nice enough to let me use wifi at his place so I can finally play catch up here. You definitely have my attention and I still think you should see your doctor... ASAP!!!  |
|
|
|
Post by TRM on Sept 24, 2014 21:37:07 GMT -5
Looks like you are settling into this one nicely Bill!! I like the 1/35 version better than the bench-stealing 1/16 I had!!
|
|
pantherf..-Email Not Valid
Full Member
  
Member since: July 2013
"Best Job I've Ever Had"
Posts: 1,253 
|
Post by pantherf..-Email Not Valid on Sept 25, 2014 7:16:08 GMT -5
Nice start here Bill but I'm with Andy and I'll stick my nose in where it might not belong and start sounding much like your Mom and say... go see the Doctor!We need you around bud!  Jeff |
|
|
|
Post by wbill76 on Sept 26, 2014 16:23:09 GMT -5
Andy, I don't think a doctor will help at all under these circumstances!  T T, I can see the advantages of building this one in 1/16 but it would still take up some significant real estate!  Jeff Jeff, no worries about me being around, Andy was just referring to the 'condition' of me not building something German when it comes to tanks. 
|
|
|
|
Post by wbill76 on Sept 28, 2014 14:48:24 GMT -5
After some back and forth I decided ultimately to go ahead and button up this little guy and not display the driver's hatches open. So with that decided, I set about assembling the hull. Since it's all separate panels, I used regular glue on the hull sides so they could have some stability and then followed that up with careful applications of liquid glue where needed along the bottom edges. 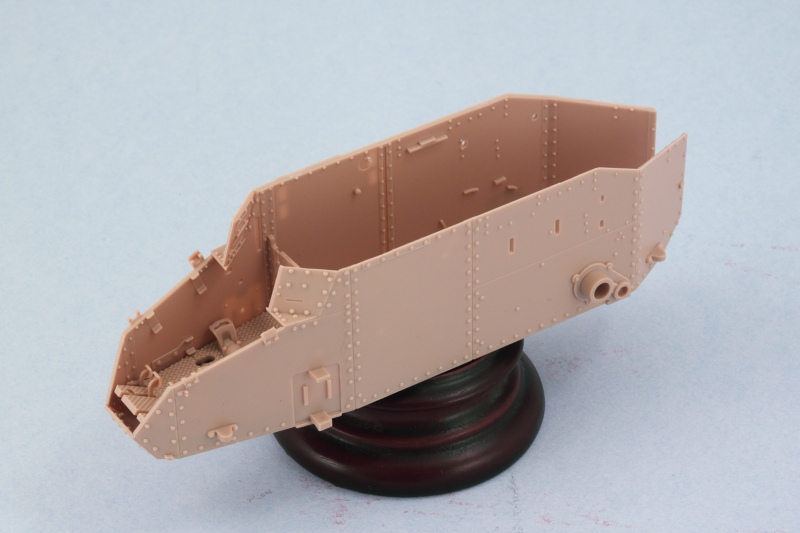 Then I added the roof plate next so I could use it to get the hull sides lined up square and the small driver's area side plates lined up with the view port hatch hinge and the top edges of the roof plate. This all requires some careful use of finger pressure and glue as the areas involved are tiny and rubber bands or clamps can't do the job. Then I added the angled top plate for the nose and the driver's access hatches since all three need to line up just so with each other to avoid issues or gaps. Last but not least, I added the driver's visor in the closed position. 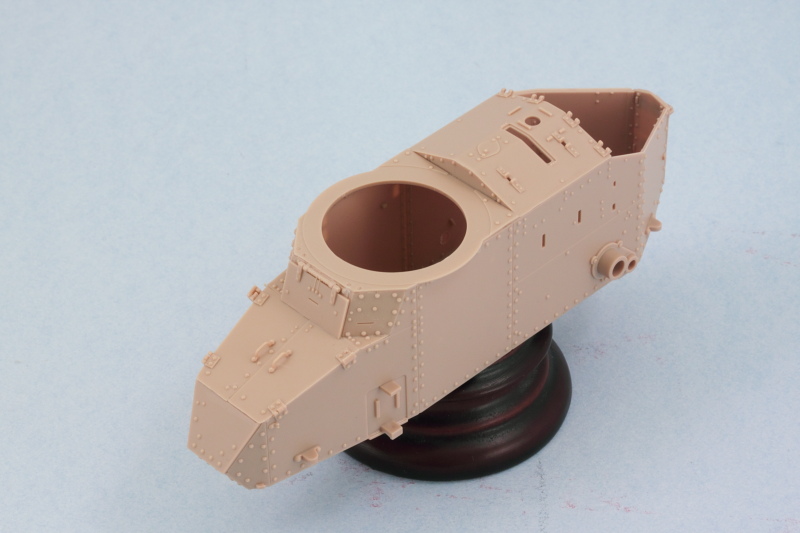 That got a chance to set up nice and solid overnight and attention turned to the engine deck area under Step 6. It's important to note (as the instructions do) that the sledgehammer is trapped in place by the little vent cover, B9, so that means it will have to be detailed in place later on. To help make that easier, I didn't glue the sledgehammer down, just placed it and am allowing B9 to hold it in place for now. In Step 7, the instructions would have you place part B11 and then add the engine bay hatches in Step 14. I found it easier to add them all together at the same time as B11 needs to be lined up very precisely in relation to the hatches for everything to play nice with each other here. This isn't a kit flaw or an engineering issue, quite the contrary...the engineering is very well done for these parts but since the vehicle itself is so small, fractions of a mm do matter in getting everything lined up correctly with all the plates/parts involved. 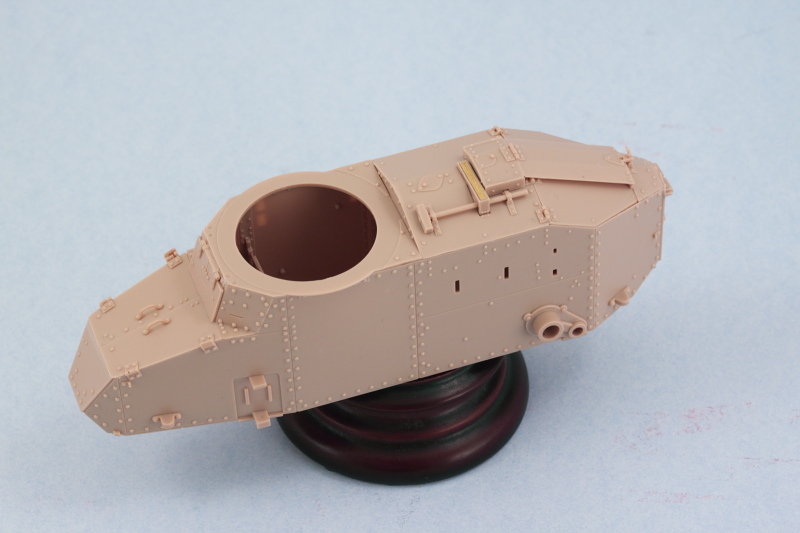 In preparation for working on the turret, I opted for the 37mm cannon version in Step 15. I assembled the gun as directed and used a drill bit to open up the cannon muzzle a bit more. The molding on the end of my barrel wasn't perfect, so some careful sanding and trimming was needed to get it into shape. I also installed it into the turret faceplate so that its all one module now and ready to go into the turret. 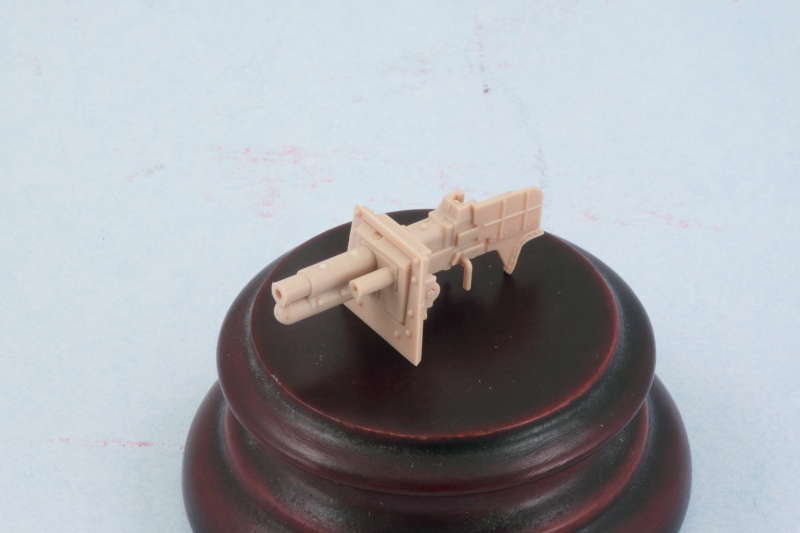 Since the turret assembles as a series of plates onto an octagonal base, that's going to require some careful attention to get all the plates together and lined up between the roof and base, so that will be what's on deck for the next round of effort |
|
|
|
Post by Leon on Sept 28, 2014 15:54:09 GMT -5
Making good progress Bill.Nice to see everything lined up properly for you.
|
|
pantherf..-Email Not Valid
Full Member
  
Member since: July 2013
"Best Job I've Ever Had"
Posts: 1,253 
|
Post by pantherf..-Email Not Valid on Sept 28, 2014 16:59:02 GMT -5
Jeff, no worries about me being around, Andy was just referring to the 'condition' of me not building something German when it comes to tanks.  Oh, okay. Certainly want to see ALL OF US around to the end!  Jeff |
|
pantherf..-Email Not Valid
Full Member
  
Member since: July 2013
"Best Job I've Ever Had"
Posts: 1,253 
|
Post by pantherf..-Email Not Valid on Sept 28, 2014 17:02:35 GMT -5
Oh, and nice progress shots too! I need to get "activated" on mine someday.  I thought maybe Todds magnificent FT would do it but maybe this will get me going. How is the fit on Meng kits? Any adjustments so far?  Jeff |
|
|
|
Post by wbill76 on Sept 28, 2014 19:31:24 GMT -5
Thanks Leon! Rolling along at a decent clip on this one.  Oh, and nice progress shots too! I need to get "activated" on mine someday.  I thought maybe Todds magnificent FT would do it but maybe this will get me going. How is the fit on Meng kits? Any adjustments so far?  Jeff Thanks Jeff! So far no complaints at all on this one. It's my first Meng kit as well and the fit/engineering has been spot on so far, just it's a tiny little guy!  |
|
|
|
Post by wing_nut on Sept 29, 2014 20:42:51 GMT -5
I like this little guy. I'll be watching. At least ill be trying
|
|
|
|
Post by deafpanzer on Sept 30, 2014 10:00:18 GMT -5
One thing I love so much about those tanks... big rivets!!!
|
|
|
|
Post by wbill76 on Sept 30, 2014 11:45:59 GMT -5
Marc, that's all one can ask for these days!  Andy Andy, not sure if the rivets are big or just the vehicle is small!  Either way, it's going to be fun working on this guy for sure when the time comes to weather/finish it.
|
|
|
|
Post by deafpanzer on Sept 30, 2014 14:20:21 GMT -5
LOL! Good one Professor Plunk!!! Streaks would look great on it...
|
|
|
|
Post by wbill76 on Oct 3, 2014 16:23:18 GMT -5
Made some great progress on this little guy in the turret department. Steps 16 and 17 cover the assembly and it's important to note that the base of the turret is an octagonal ring with notches for tabs at the bottoms of each of the plates. You can start wherever you want, but once you commit to the position of the front plate with the gun, you need to place all the other plates as the instructions point out. In anticipation of that, I removed each of the panels from the sprue, cleaned them up, and marked their part number on the inside face so I didn't accidentally place a plate in the wrong spot. 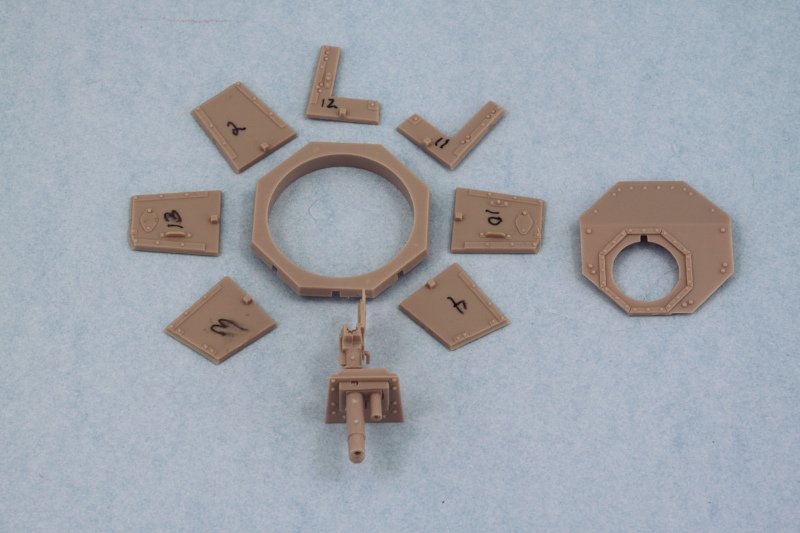 I opted for regular glue on the bases of the plates so they had a good grip, placed the front plate and gun first, then added the plates to either side, and so on until I had all the plates in position. I deliberately did not apply any glue to the areas where the plates met each other though until I was ready to install the turret roof plate. This made it possible for me to use the roof plate to help ensure all the side plates leaned in at the right angle and matched up as needed. I was impressed with the fit/engineering of all these parts...they all lined up nicely and only needed some slight finger pressure in a couple of spots to help the liquid glue grip and seal up the plate joins. 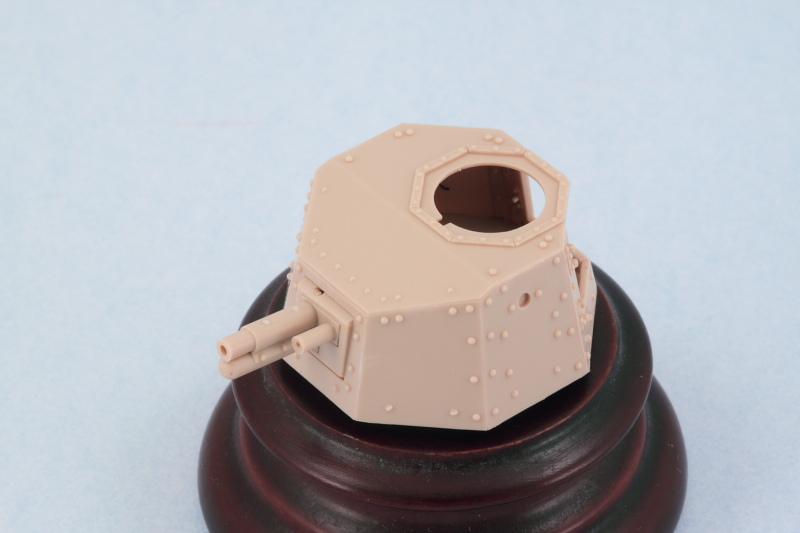 With all the plates in place, I added the rear turret hatches in the closed position. Then the three part cupola came next to round out things for the turret. 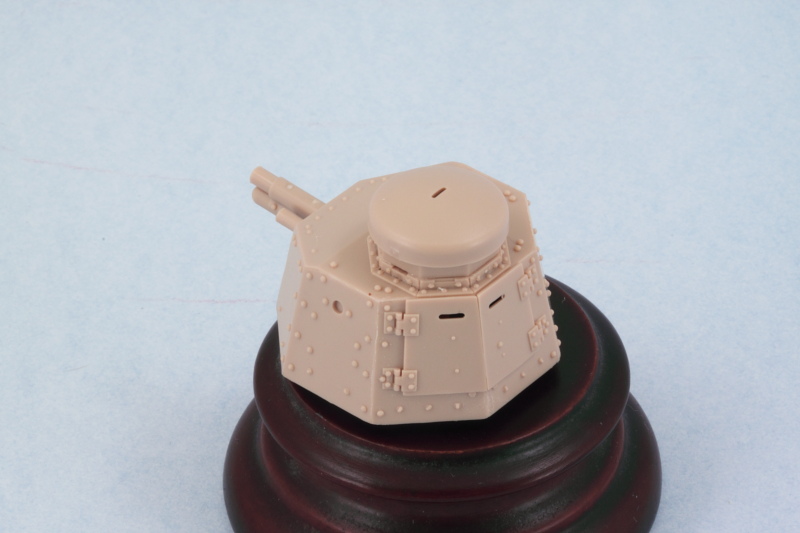 The turret base ring fits snugly into the hull roof opening, a nice friction fit that still allows the turret to rotate, so I'll have to be mindful of that when painting to ensure it stays that way. 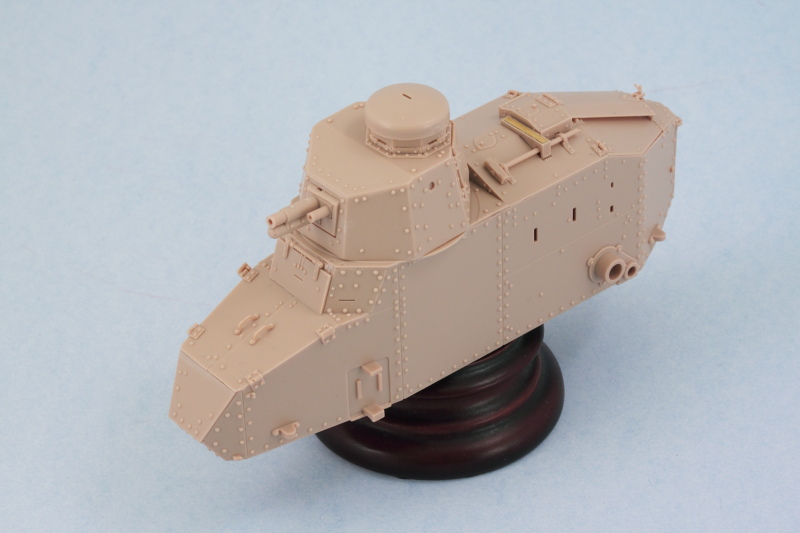 Next up will be tackling the suspension components, lots of small parts there so will take my time there as well. |
|
|
|
Post by TRM on Oct 3, 2014 16:28:37 GMT -5
Wow...you you figure they would have done the turret in one piece more or less like they did on the 1/16. You made short work of that Bill!! Looks great! Moving right along now!!
|
|
|
|
Post by Leon on Oct 3, 2014 16:43:07 GMT -5
Great work on the mini turret Bill!  |
|
|
|
Post by wbill76 on Oct 3, 2014 19:17:34 GMT -5
T, I think they did it this way to allow for the interior detail on those inside panels. Very hard to mold that any other way in this scale I imagine and if you open up those rear turret hatches it's all there to be seen!  Leon Leon, thanks as well! Mini turret is about right, it's roughly the diameter of a quarter! 
|
|
|
|
Post by deafpanzer on Oct 5, 2014 19:52:55 GMT -5
Man, so many parts for the turret but it looks perfect! Perfect fitting!
|
|