|
|
Post by rbaer on Oct 2, 2014 10:52:56 GMT -5
More "Super" stuff....... Since this particular Sherman variant was one that did not see combat with the US in WWII and only with the IDF, (far as I know, unless you count with the Japanese against Godzilla) I'm putting it in the "Post War" board......Mods, cool? Quickie: The IDF called the M4A1E8/76W the "Super Sherman" to distinguish it from the same thing but with VVSS, (M4A1/76W) known to the IDF as the "M1 Sherman". My model will be a kit-bash from the Tamiya M51 (for the hull and running gear), Academy's M4A2/76W (for the turret) and a Tamiya M4 "early" (for the lower hull back plate and engine deck pieces). I would have preferred using Tamiya's IDF M1 Sherman, but couldn't find one for a decent price, and everyone considers the Academy kit "not as desirable", read cheaper. Time frame is 1967, Six Days War. Last night I assembled the M51 lower hull but used the back plate from the M4, after removing the VVSS idler mounts. It was a drop-in, yay. One cut on each side and the upper M51 sides fit like they were supposed to be there. Yay again. Then the idler mounts were cut out of the M51 back plate and placed on the M4 plate, lovely fit again. Pic is with the M51 upper hull dropped on to ck fit, lovely again, yay again. 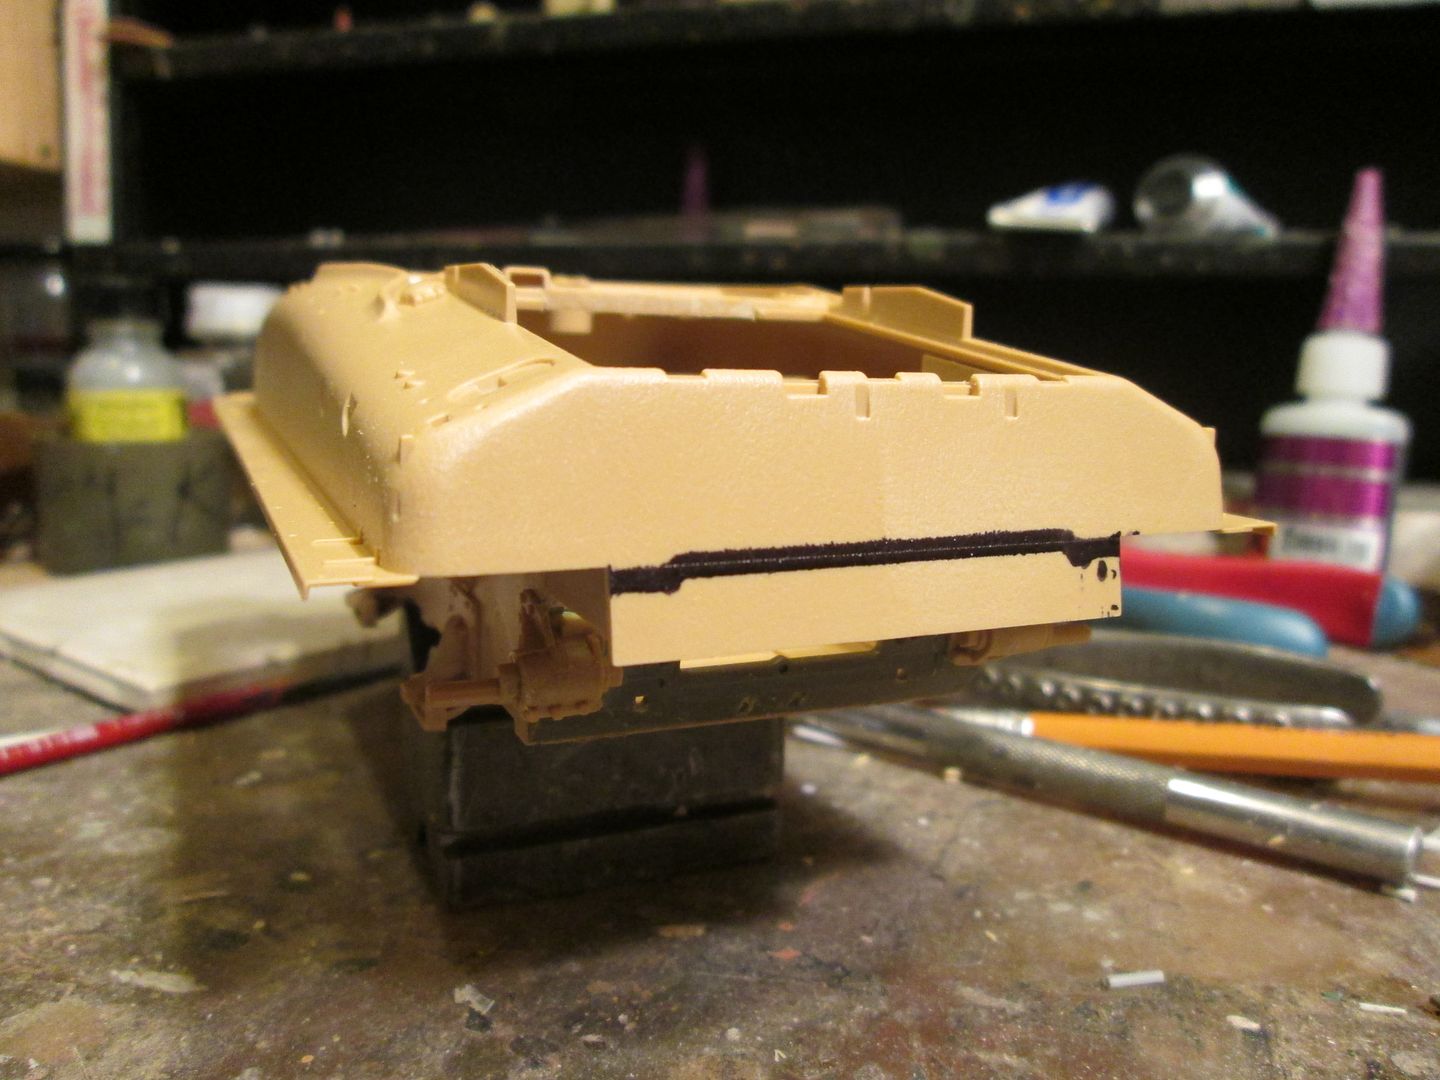 I've begun clearancing the M51 hull to accept the M4 engine cover pieces and have marked where the back of the upper will probably be cut, but need to check Son of Sherman first, the cut may go straight across. My goal here is to NOT re-invent the wheel. Good luck, I say to myself.... |
|
|
|
Post by TRM on Oct 2, 2014 11:14:22 GMT -5
Ohhh...I'm in!!  |
|
|
|
Post by tobias5555 on Oct 2, 2014 11:32:03 GMT -5
Interesting variant of the Sherman.
|
|
|
|
Post by rbaer on Oct 2, 2014 13:30:34 GMT -5
There's a guy over on Armordrama that did one, straight out of a Godzilla movie, pretty neat job. They're also monument tanks all over the place. Seems like the French got a bunch under MAP, and the IDF ended up with most of them. I have a couple of neat pics of them in Jerusalem, since having the 76mm gun they were kept out of the heavy stuff and used mostly for infantry support in the battle for Jerusalem. I've gotta dig it up and check, but I remember a pic of one on a basketball court, and another pic of one on a street corner, both times looking seriously out of place, and both good ideas for a display base....
Personally, I think it's one of the more "handsome", if you will, Sherman variants.
|
|
|
|
Post by wbill76 on Oct 2, 2014 19:39:37 GMT -5
Neat project as usual there Russ, looking forward to seeing this one come together.
|
|
|
|
Post by Leon on Oct 2, 2014 19:58:51 GMT -5
count me in Russ,this looks very interesting.
|
|
|
|
Post by dierk on Oct 3, 2014 4:42:10 GMT -5
Something tells me you have a weakness for Shermans  Do go on Thumbs Up! |
|
|
|
Post by rbaer on Oct 3, 2014 10:43:51 GMT -5
Grab a bottle and some stinky cheese, here we go!  Here's a pic of the rear plate into the M51 hull, golden: 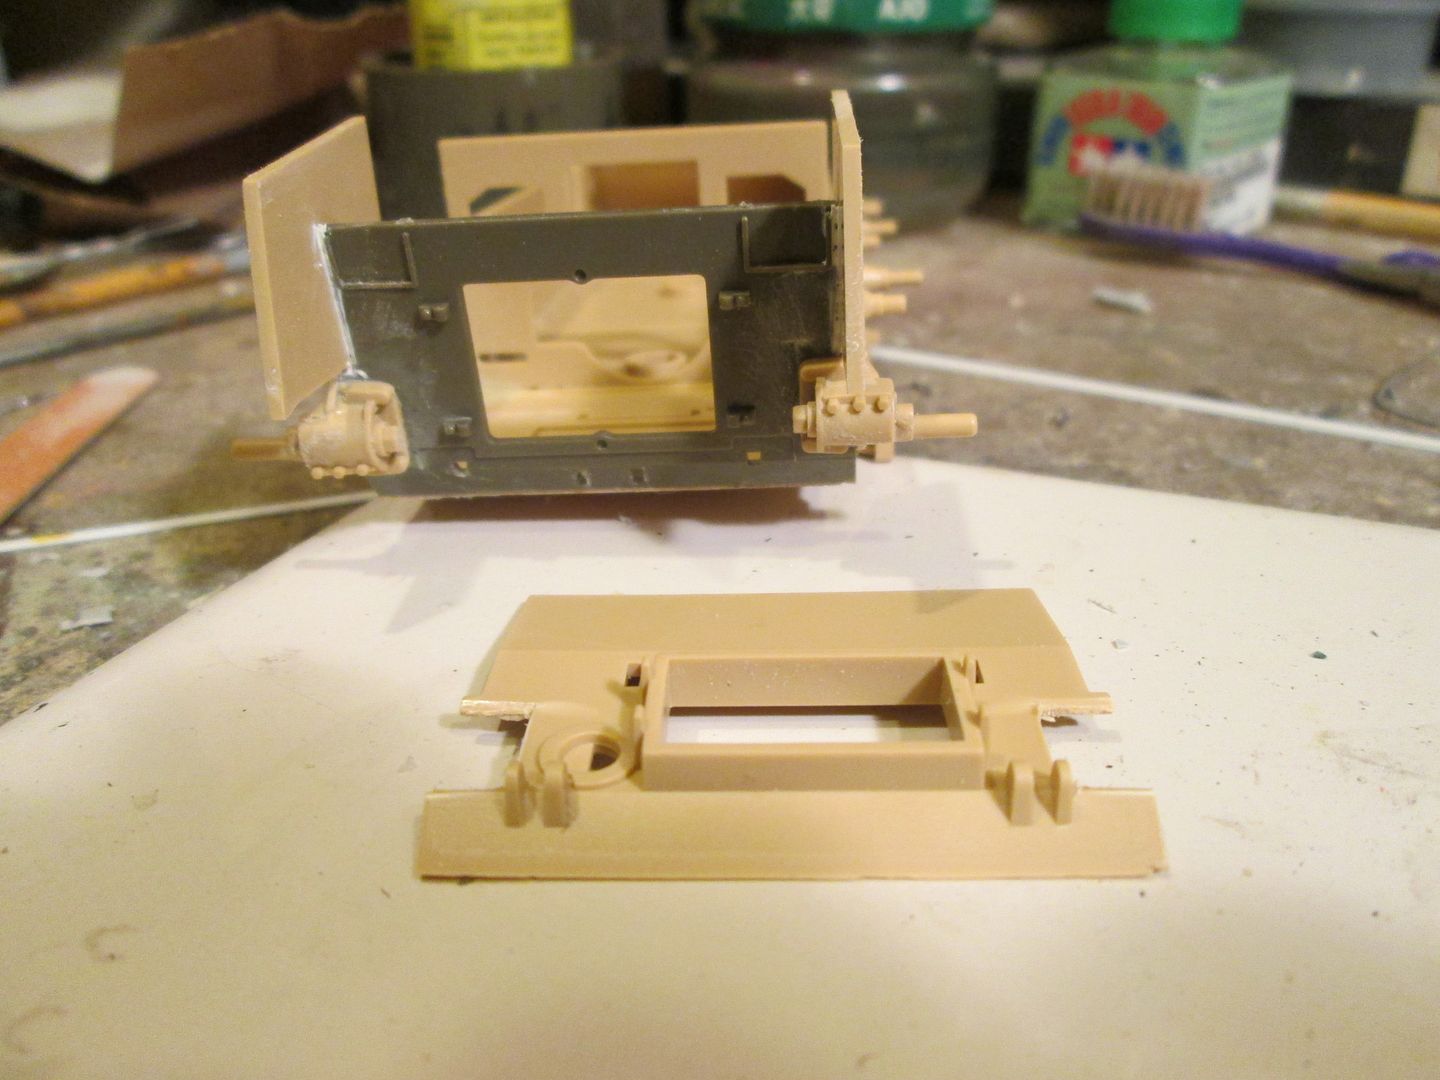 The white is this stuff, this is really good stuff..... 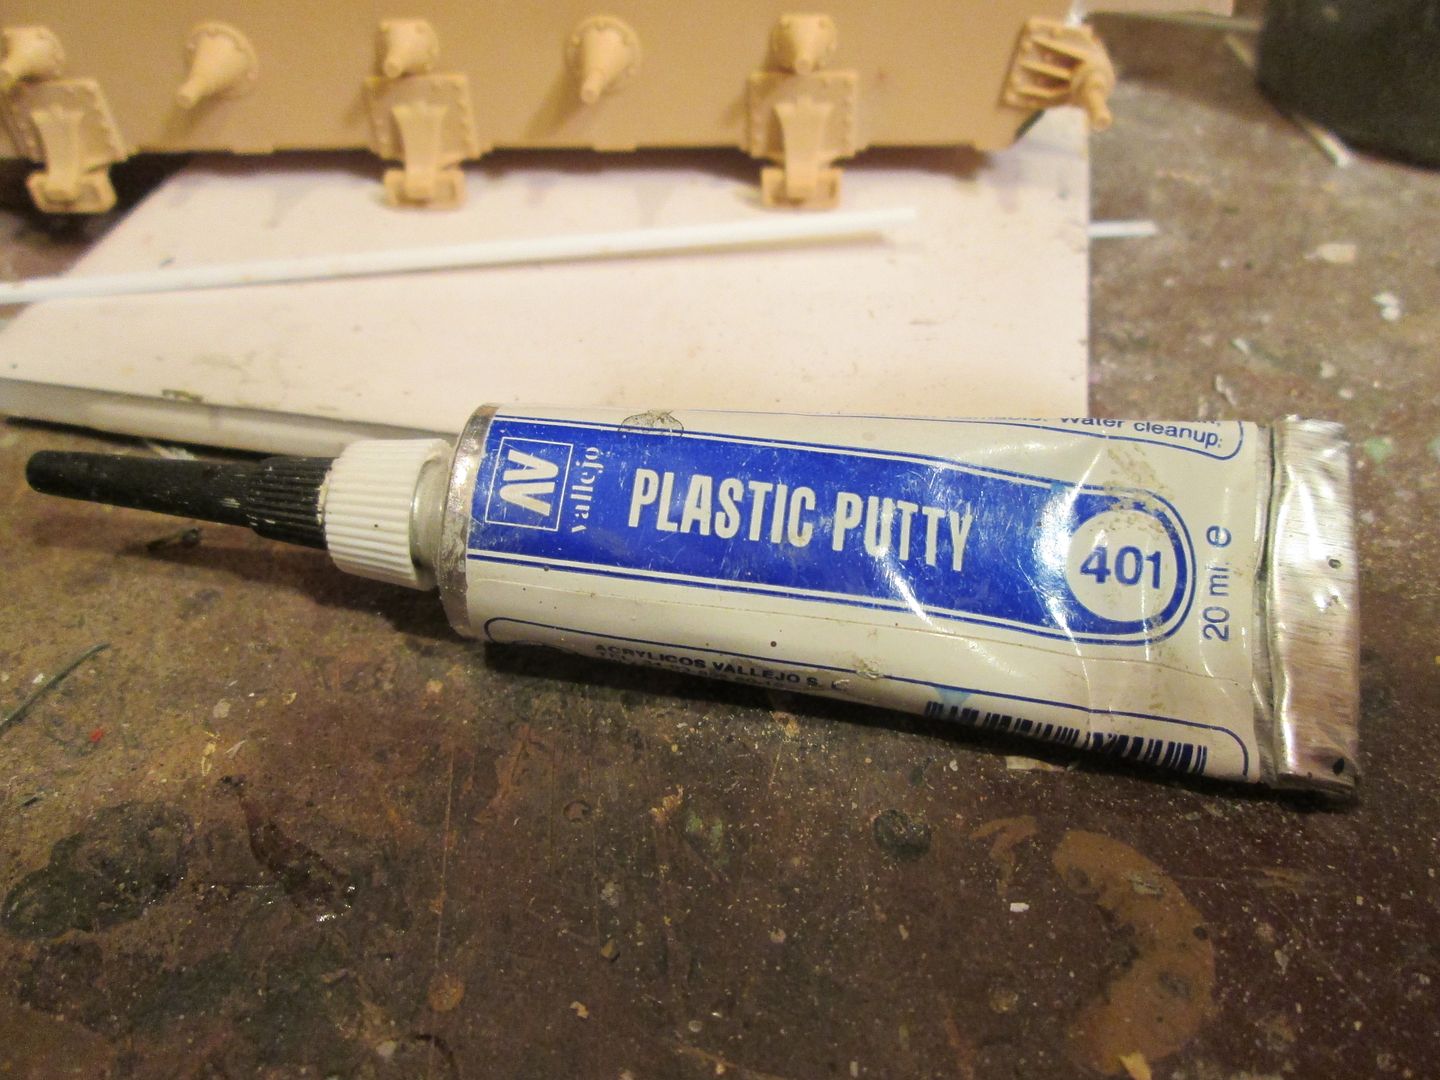 I can make weld beads, or squeeze it into a crack and wipe off the excess, no sanding needed. Awesome. And where my upper sides will probably need to be cut:  And here is after fitting the engine deck pieces and blending the rear-most piece into the hull, difference being the Tamiya M4 is a welded hull and I'm modeling a cast hull...... 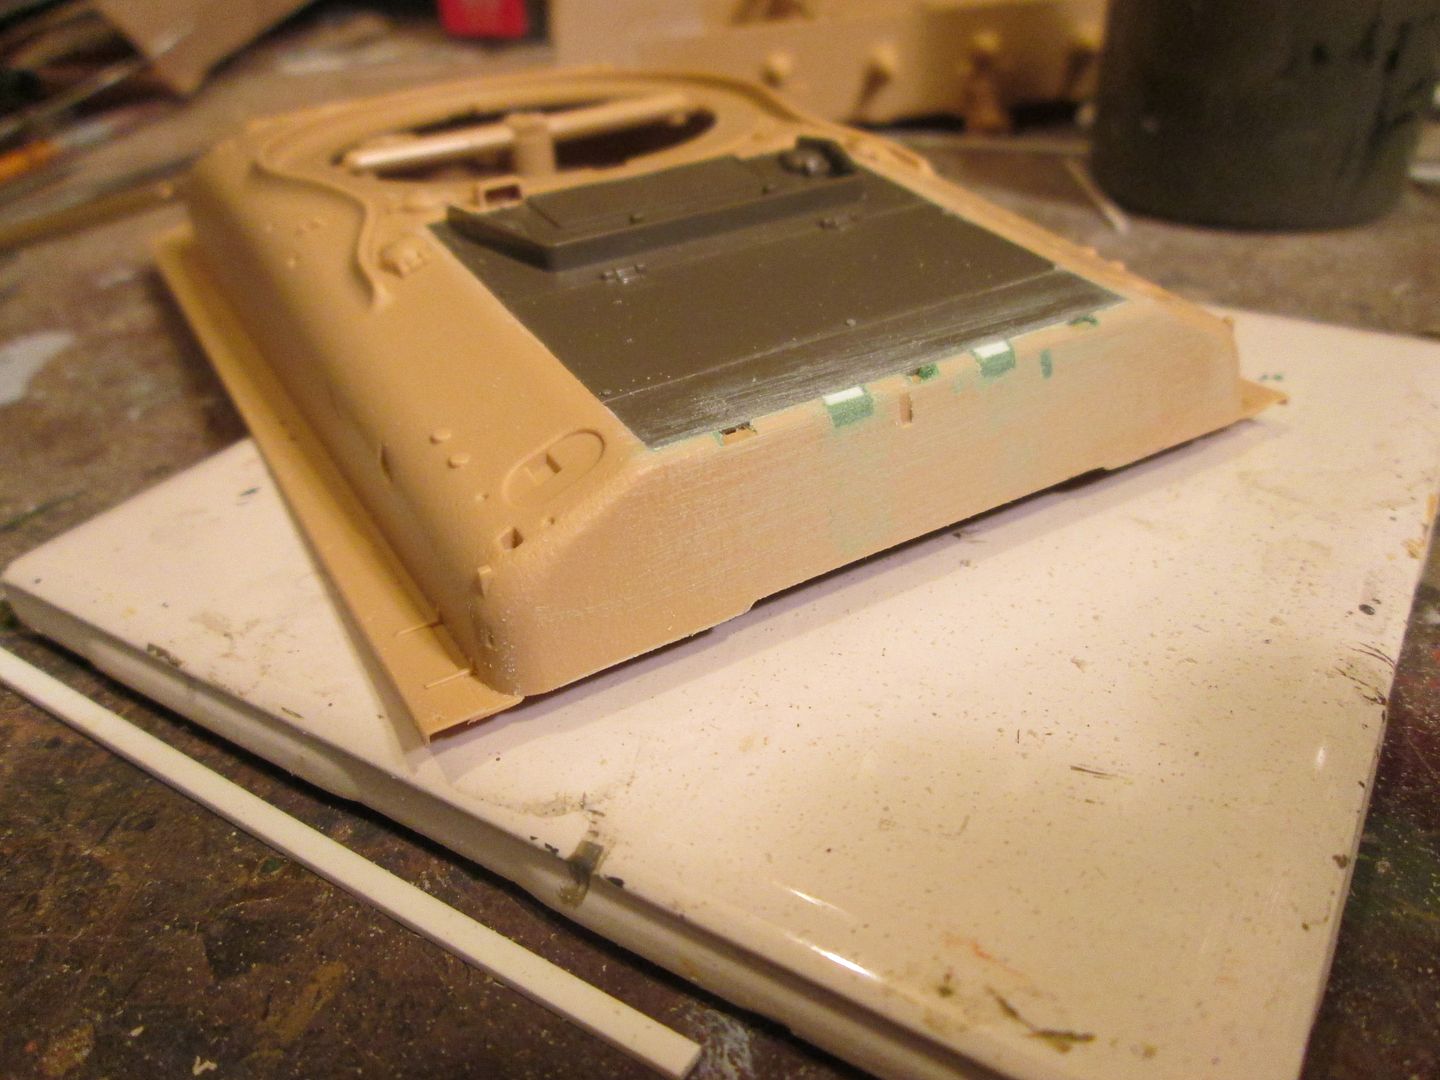 It has probably occurred to several of you that had I been able to score the Tamiya "IDF M1 Sherman" kit a lot of this would have been un-necessary, but where's the fun in that? I've also made the cut on the rear, per SoS for my particular variant, and filled and blended the notches for the M51 gun cradle. I suppose next I'll need to deal with the 32 or so pin marks on the hull lower sides, oh the joy. |
|
|
|
Post by deafpanzer on Oct 3, 2014 13:48:07 GMT -5
Looking sharp... never knew Vallejo also sells plastic putty! WOW Todd and Rob have to get busy and tell us what they have to offer...  |
|
|
|
Post by rbaer on Oct 3, 2014 16:04:19 GMT -5
It's a VERY useful putty. Latex based, (I think) dries quick, and not affected by later, added texturing with MrSurfacer, so I use it to fill lots of cracks and for doing welds in tighter places.
|
|
|
|
Post by TRM on Oct 3, 2014 16:26:05 GMT -5
Beautiful progression Russ!! Shaping up nicely!! Just picked up a couple version of the putty myself recently and used it the other night. It is nice stuff! Plan to play around a bit more with it soon! Keep plugging away on this one...good luck on the lower end!
|
|
|
|
Post by bullardino on Oct 4, 2014 12:21:31 GMT -5
I have the Tamiya M1, I will follow your build I will backdate it to a WW2 tank, so we're basially doing the opposite thing  |
|
|
|
Post by dierk on Oct 4, 2014 12:58:06 GMT -5
It's a VERY useful putty. Latex based, (I think) dries quick, and not affected by later, added texturing with MrSurfacer, so I use it to fill lots of cracks and for doing welds in tighter places. Is it just me, or do you like putting indelible pictures in people's minds? Thumbs Up! I'll just highlight my favourite bits: Latex based, (I think) dries quick, and not affected by later, added texturing with MrSurfacer, so I use it to fill lots of cracks and for doing welds in tighter places. (bounce) lol I'll just go and stand in the corner and do pennance, shall I? |
|
|
|
Post by rbaer on Oct 5, 2014 17:20:03 GMT -5
Dierk, sometimes I just can't help myself... So..... I'll refrain from saying anything about peeking up the old girl's skirt when I describe the work I did on the hull rear plate, and just show the pic.  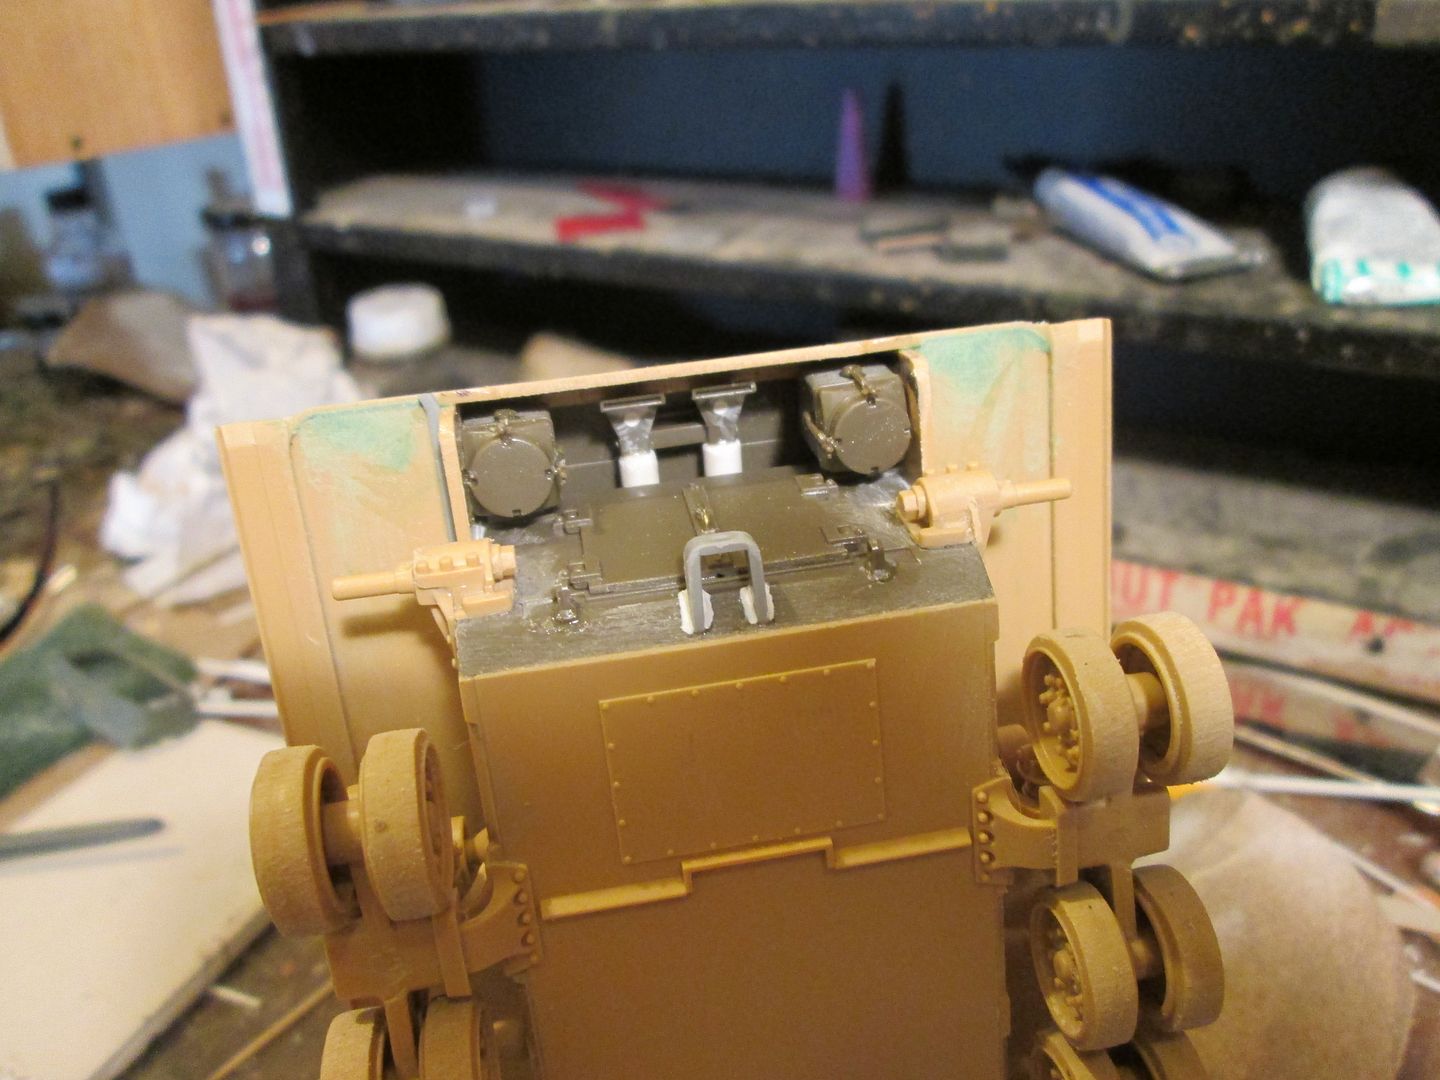 Green parts are from the M4, white is tube stock, since I thought it would look better if the exhaust tips were actually connected to something. And the top: 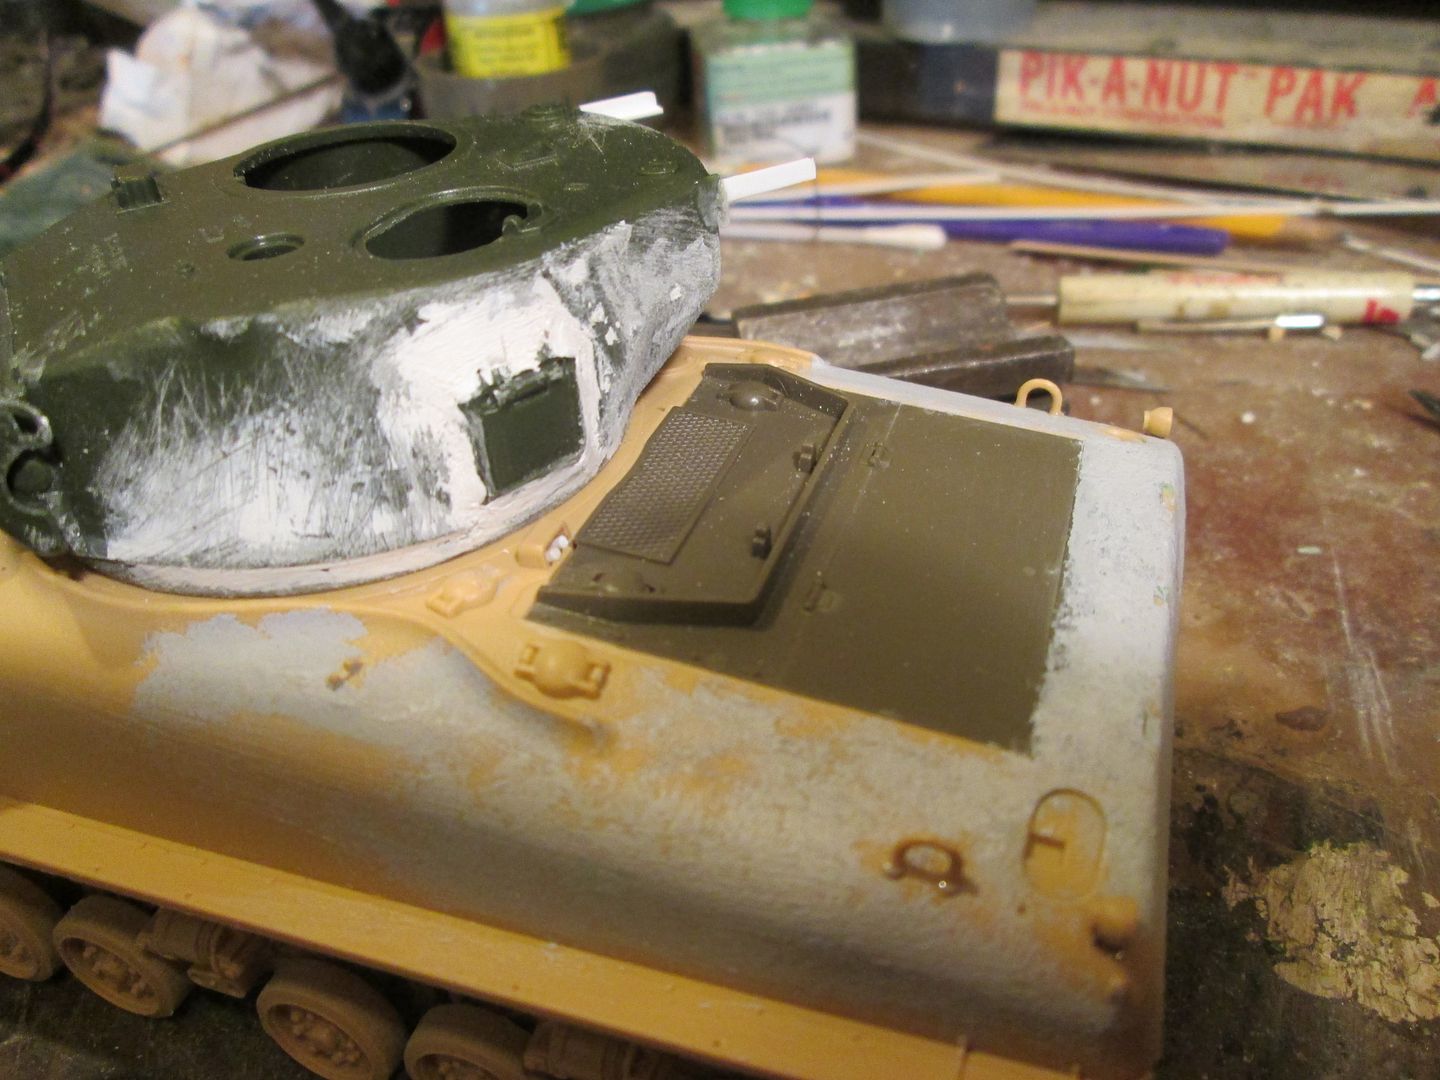 Also in this pic is the turret, not the best I've seen, but the shape appears to be good. Nothing some Mr.Surfacer can't fix. I used a Dragon gun tube and muzzle brake, and have started blending the shell ejection port with Tamiya putty. Also finished is the blending of the engine cover that needed to be part of the hull. Holes for tools are also plugged and blended, as are the two big indentations for the spare road wheel mounts on the left rear hull side. @ Luigi: I REALLY should have just bit the bullet and bought Tamiya's M1 Sherman, most of this would have been avoided. Bogies are together and on, final drive bolt heads on the hull sides on, some bits here and there. And the Academy turret only needed a .020" shim around the base's circumference to work in the Tamiya hull. 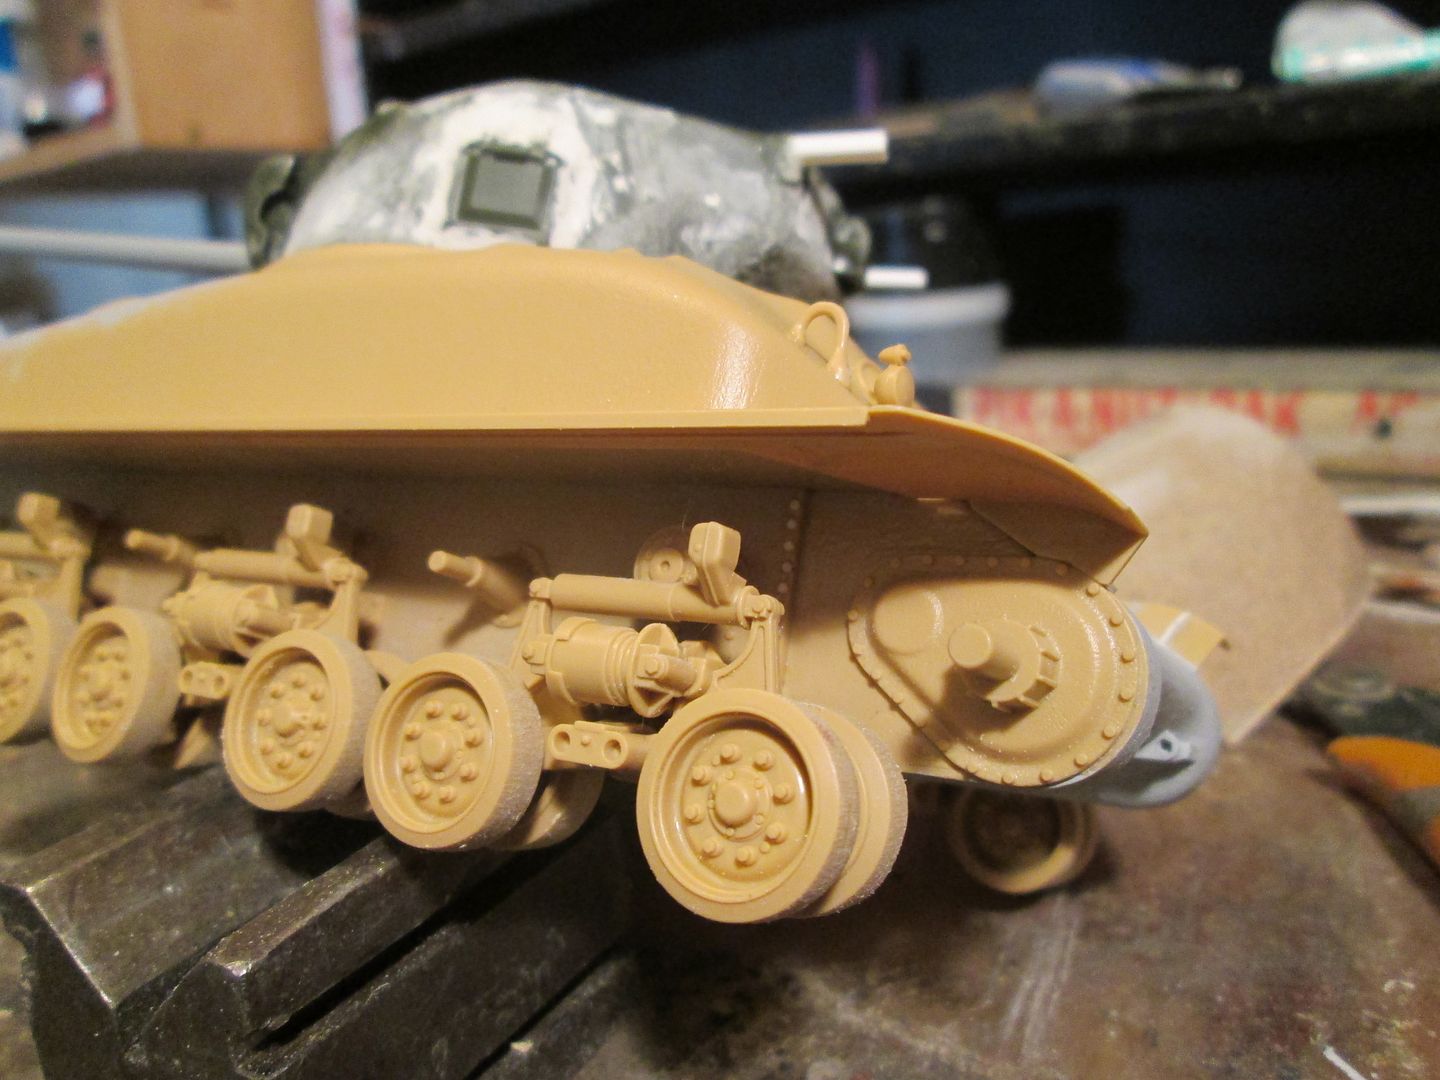 It's starting to look like a Sherman.... |
|
|
|
Post by TRM on Oct 5, 2014 22:30:49 GMT -5
That it is Russ!!! Snazzy!!
|
|
|
|
Post by rbaer on Oct 6, 2014 10:28:04 GMT -5
Just a little Shermanology, applied.
|
|
|
|
Post by mrt51 on Oct 6, 2014 11:08:04 GMT -5
Looking good!
Terry
|
|
|
|
Post by wbill76 on Oct 6, 2014 15:39:20 GMT -5
And so the transformation has begun! Looking good so far Russ.
|
|
|
|
Post by rbaer on Oct 6, 2014 17:59:23 GMT -5
Thanks guys!
|
|
|
|
Post by Leon on Oct 6, 2014 20:02:35 GMT -5
The Frankenstein Sherman is coming to life and really looking good Russ. |
|
|
|
Post by rbaer on Oct 7, 2014 10:26:46 GMT -5
Thanks, Leon. One of these days I'll build a Tasca Sherman, OOB, I can feel it. So last night I did the mantlet details, added dust cover fasteners to the turret front, textured the turret and did the hull hatches. Brass is from an old On the Mark Sherman set, no idea on how long it's been in the stash. This one is going too fast..... 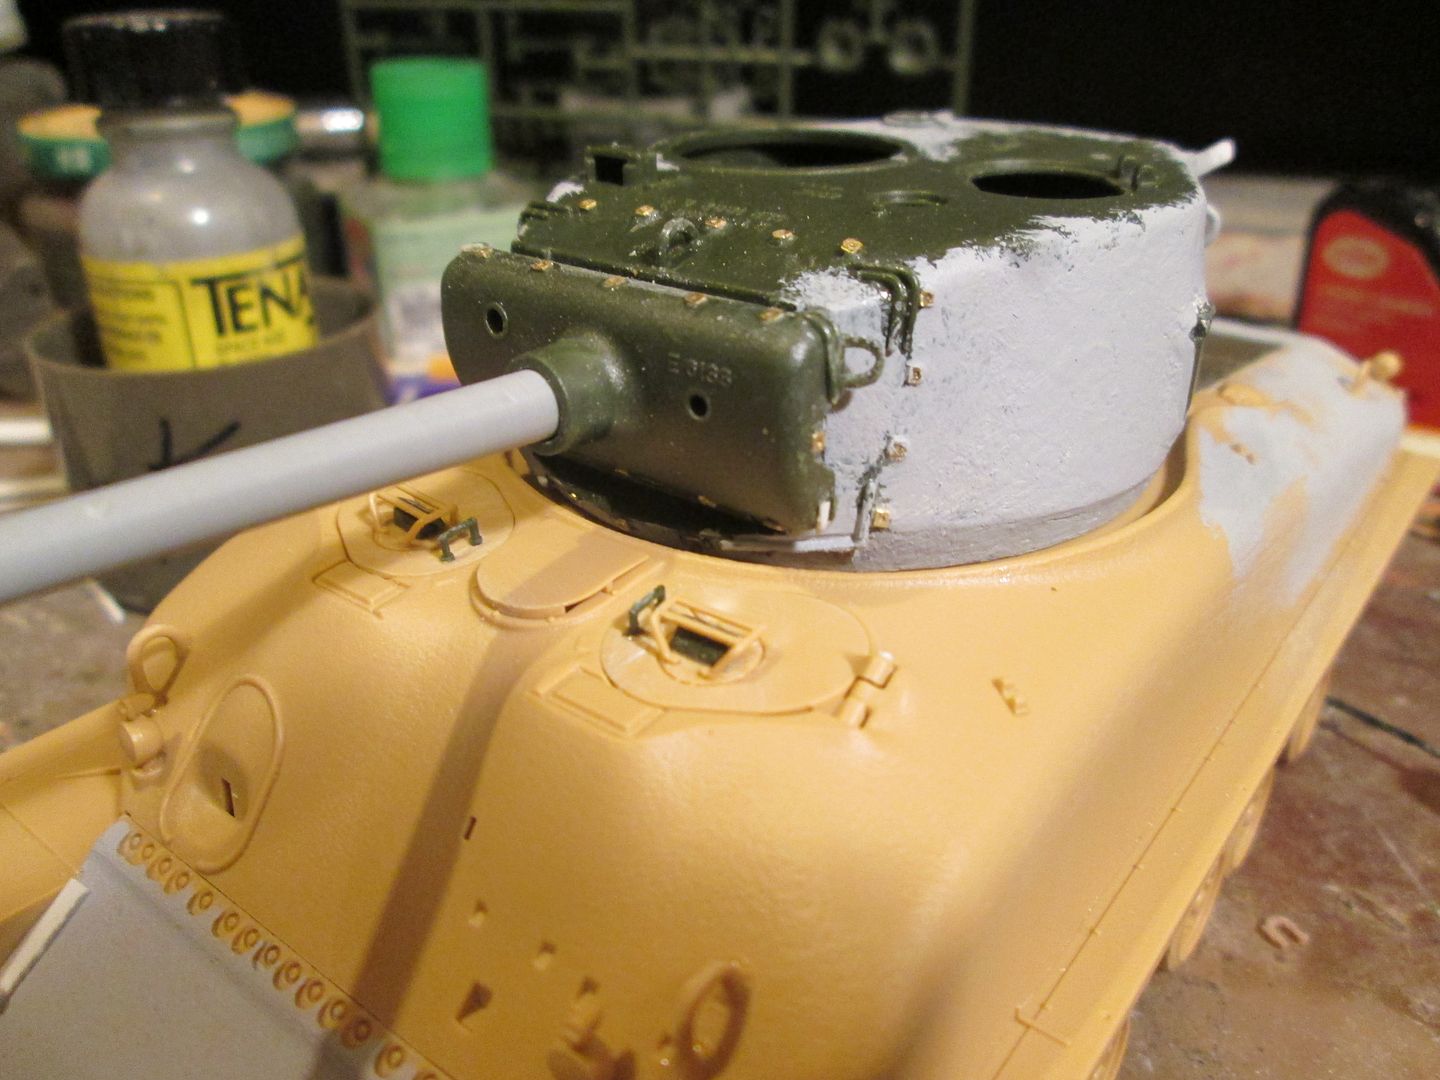 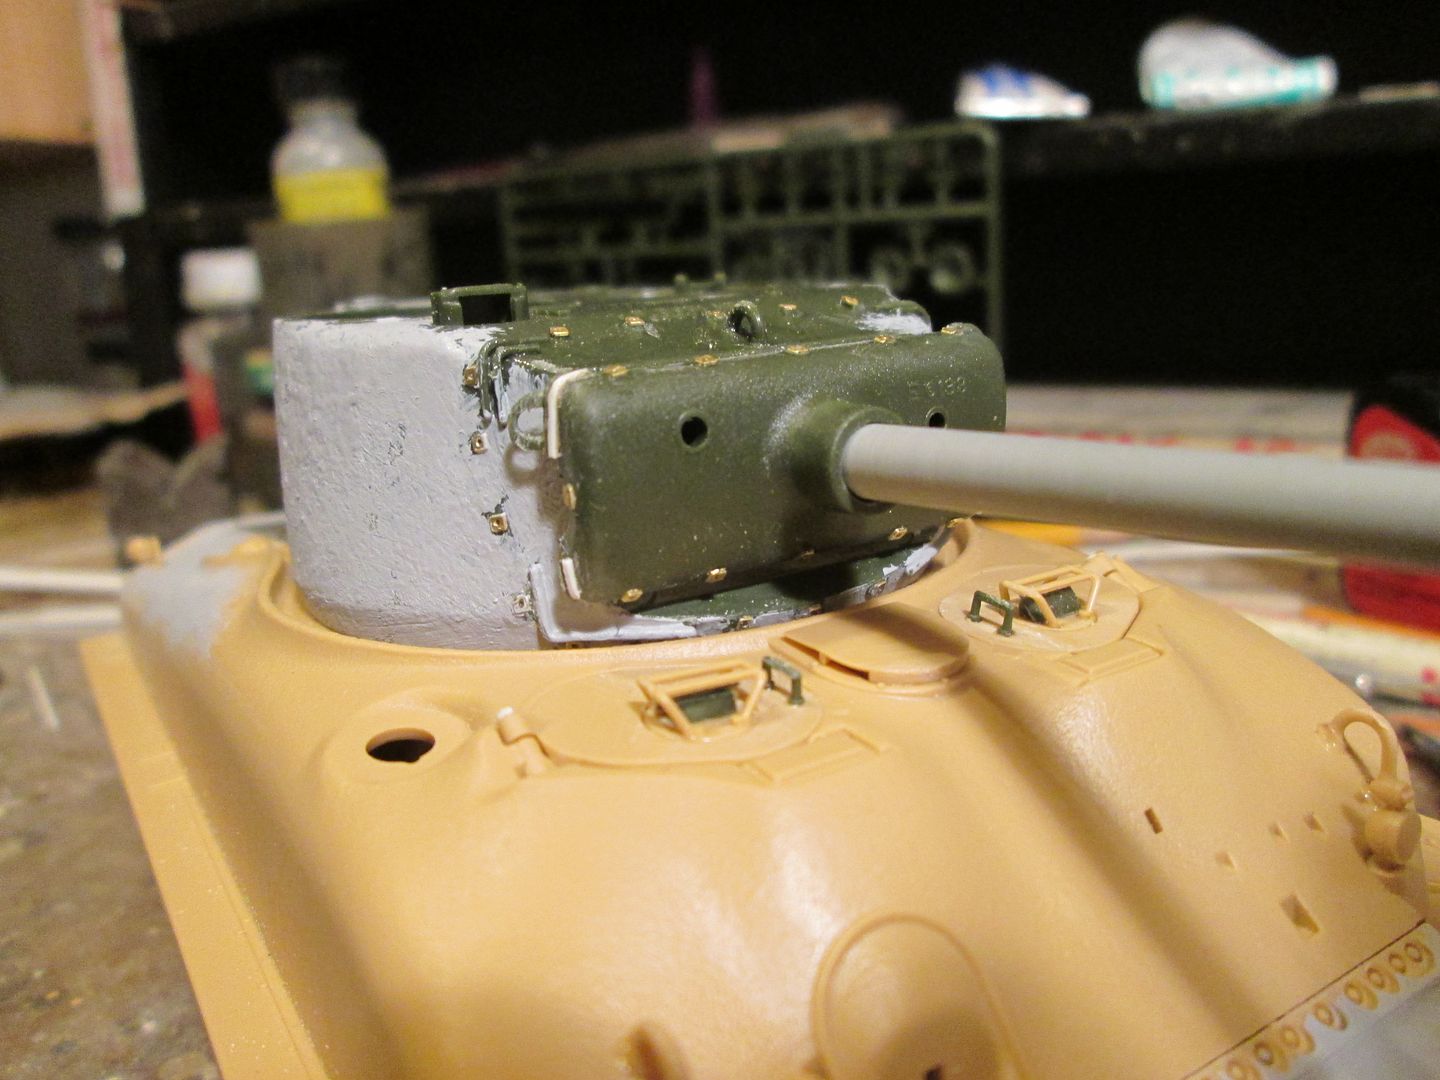 ....something must be going wrong, somewhere.  |
|
|
|
Post by dierk on Oct 7, 2014 12:27:27 GMT -5
"One of these days I'll build a Tasca Sherman, OOB, I can feel it" Keep telling yourself that - you might even start believing it rofl-roll
I'm enjoying this build immensly, do go on, please.
|
|
Mudbone
Junior Member

Member since: August 2014
Posts: 56
Aug 23, 2014 8:30:30 GMT -5
Aug 23, 2014 8:30:30 GMT -5
|
Post by Mudbone on Oct 7, 2014 12:44:37 GMT -5
Very nice Bear! The work of a surgeon, a doctor at least.
|
|
|
|
Post by deafpanzer on Oct 7, 2014 13:30:57 GMT -5
Looking sharp... I understand what you meant by doing Tasca next!
|
|
|
|
Post by rbaer on Oct 7, 2014 16:34:38 GMT -5
Dierk, I'm gonna do, fer sure.
Some day.
Thanks, 'bone. And Andy, I did your (was it you?) "how did you die in a previous life" thingie on FB, and I was a doctor.... that died treating victims of the Bubonic Plague. Lovely.
|
|
|
|
Post by TRM on Oct 7, 2014 17:02:04 GMT -5
Really enjoying watching you bring this together Russ!! |
|
|
|
Post by Leon on Oct 7, 2014 17:53:34 GMT -5
Just when I think it can't get any better ,you add more surprises.Keep up the excellent work Russ. |
|
|
|
Post by rbaer on Oct 8, 2014 10:09:15 GMT -5
It's all in a day's "work"..... So my wife said: "Honey, if you want to work on scale models (she always says "scale" models, no wonder why....) go ahead, I'm just going to watch TV". Hmmm..... So: 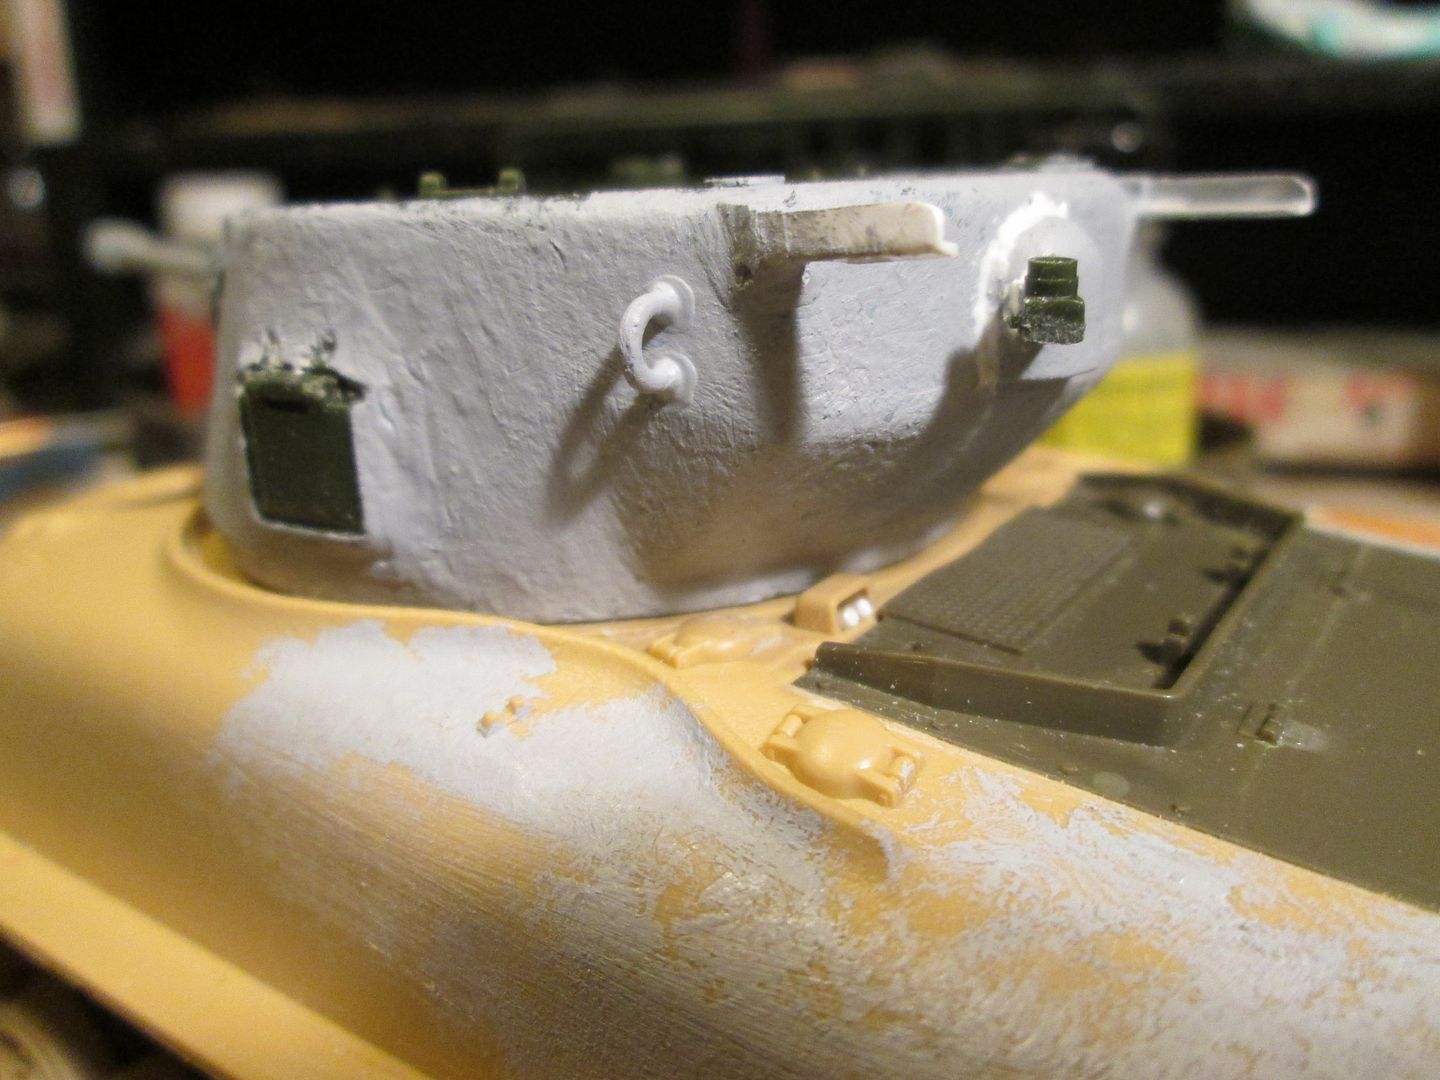 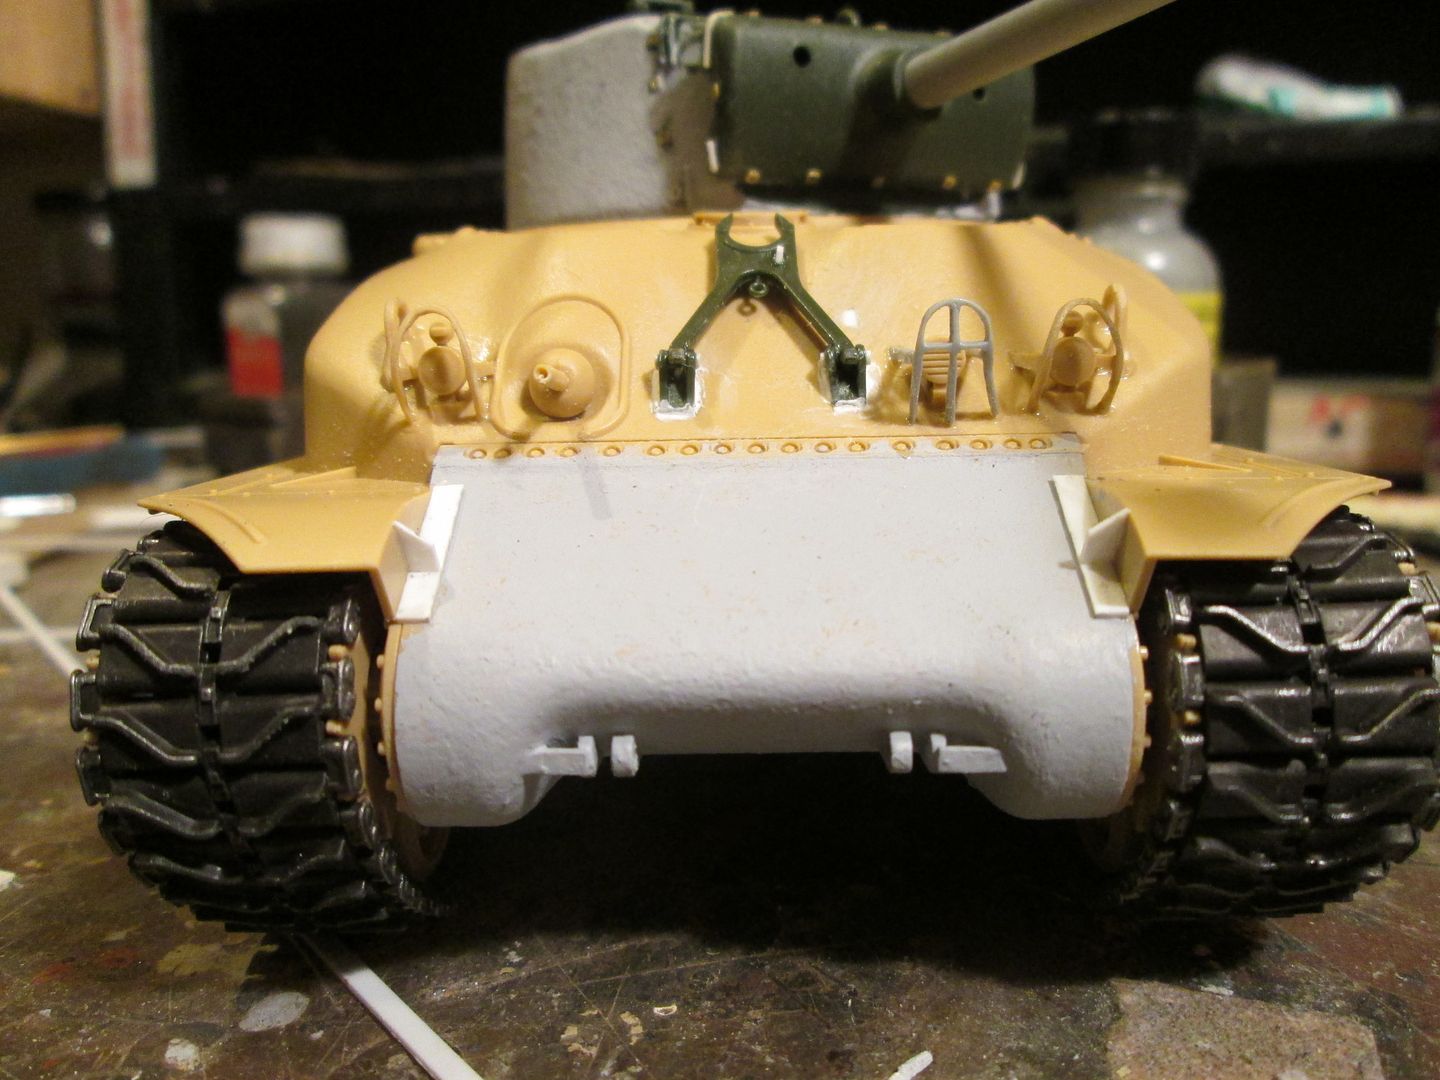 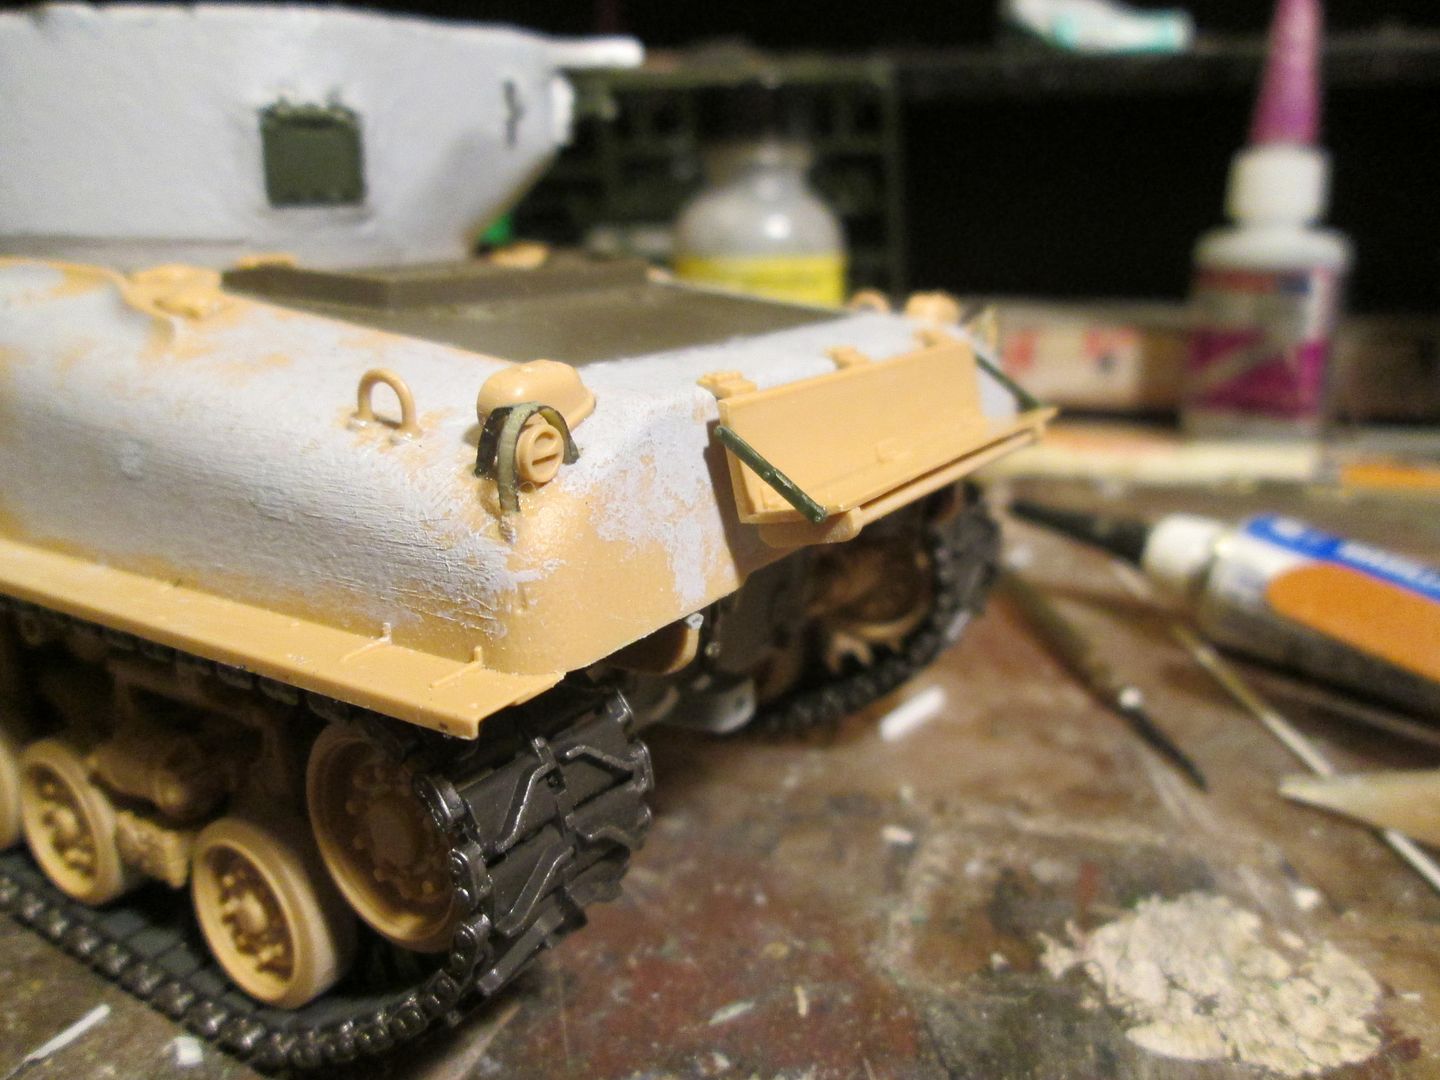 As much as I can and when possible, I'm sticking with kit parts. I've found that I can get a good result on Sherman brush guards by glueing them to a piece of .040" flat stock and then using file and knife to thin them. Since I'm royally etch-challenged, this works great for me, plus I have NEVER been able to assemble a PE siren guard for a Sherman. Personally, I think the etch guys are cruel pranksters.... Kit tracks are test-fitted, although I was pretty sure they'd work, I wanted to see it with tracks on. To do: tools, turret details, minimal stowage, and then primer.
|
|
|
|
Post by wbill76 on Oct 8, 2014 11:58:10 GMT -5
Looks like you've made the most of the 'free time' there Russ! Can't beat that. |
|
|
|
Post by rbaer on Oct 8, 2014 12:30:23 GMT -5
"Quality time" with a model.....
|
|


 Do go on Thumbs Up!