|
|
Post by dupes on Jun 2, 2015 20:03:50 GMT -5
Benching it? But it was just starting to look goooooood!
|
|
aeroaustin
Full Member
  
Member since: January 2015
Posts: 115 
|
Post by aeroaustin on Jun 2, 2015 22:03:36 GMT -5
Aws-fricking-ome! :-)
|
|
doogsatx/
Senior Member
    Feb and Sept 2014_ MoM Winner
Member since: November 2012
Posts: 1,642
Nov 14, 2012 21:29:10 GMT -5
Nov 14, 2012 21:29:10 GMT -5
|
Post by doogsatx/ on Jun 2, 2015 22:30:16 GMT -5
VERY INTERESTING.
I love and hate this kind of detective work.
I guess the major question is - what was the reason for this paint scheme? Was it joining two aircraft together (seems like a ton of work)? A repaint with limited paint stocks on hand?
|
|
|
|
Post by wbill76 on Jun 3, 2015 14:00:01 GMT -5
Glad to hear it's only a temporary benching...will be waiting patiently for it to resume its place once you've fulfilled those other obligations Marc!  Things like this are always fascinating, the more you dig, the more questions you get vs. answers. One more example of where it's hard to say 'this NEVER' or 'this ALWAYS' happened type of thing.  |
|
doogsatx/
Senior Member
    Feb and Sept 2014_ MoM Winner
Member since: November 2012
Posts: 1,642
Nov 14, 2012 21:29:10 GMT -5
Nov 14, 2012 21:29:10 GMT -5
|
Post by doogsatx/ on Jun 3, 2015 14:02:15 GMT -5
Things like this are always fascinating, the more you dig, the more questions you get vs. answers. One more example of where it's hard to say 'this NEVER' or 'this ALWAYS' happened type of thing.  ESPECIALLY with the Corsair. Seems there's an exception for every exception. |
|
bbrowniii
Full Member
  
Member since: March 2012
If you are not part of the solution, you are part of the precipitate.
Posts: 1,238
Mar 25, 2012 22:08:04 GMT -5
Mar 25, 2012 22:08:04 GMT -5
|
Post by bbrowniii on Jun 3, 2015 19:13:42 GMT -5
Marc Those pics are fascinating. Part of me looks at the pics and is convinced they HAVE to be different planes, but then you've got the number clear as day on the rudder. So many possibilities... maybe the top pic is earlier and, after that bird was lost, they scrounged the rudder and put it on your bird...?  Or one guys was painting the one side and another guy was painting the other and it came out like that funny pic that makes the rounds online of the two sections of a bridge that are offset by about four feet? wonderfulengineering.com/10-calculation-errors-that-proved-to-be-disastrous/As to the demarcation line, I think it is, as you said, a lighting thing. I'm not sure if it is simply not there (which would seem odd) and the darker color on the vertical stabilizer is from a shadow, or if it is washed out because of some direct sunlight and the rudder is at a slight enough angle to be shaded? Either way, it is a really interesting set of pictures. Love what you've done so far. Hate to see it benched.... hope it isn't there for too long. |
|
|
|
Post by wing_nut on Jun 3, 2015 20:59:09 GMT -5
Jeez that bridge pic can't be real. Can it?  It won't be benched too long. Had to make a fix just today. I like to put stuff on the sweater rack in the clothes dryer to speed dry paint. Works a treat to until you forget to turn down the heat real far for the thin plastic bits.  I melted, then broke, the forward mast. about 30 minutes of scraping and sanding to make a new one. 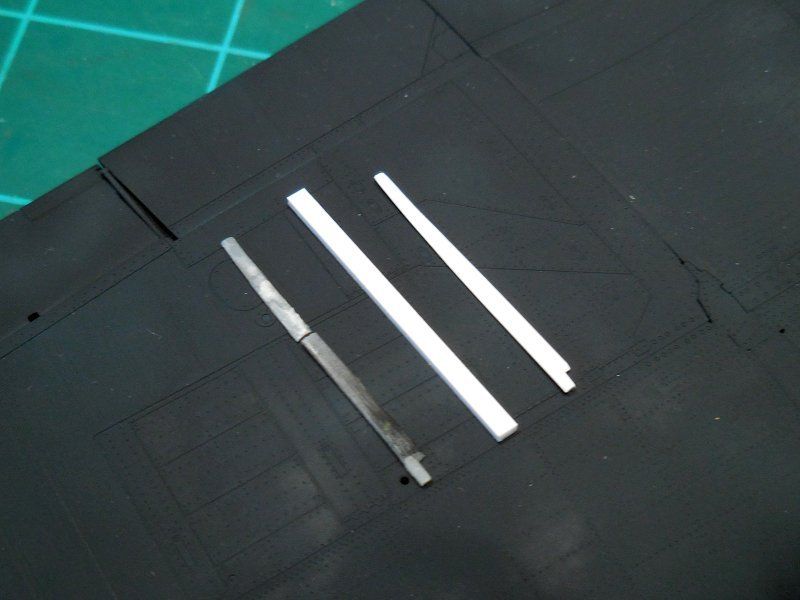 |
|
|
|
Post by JimD on Jun 3, 2015 21:10:55 GMT -5
Wait a minute...you're telling me you put models in the dryer?
|
|
|
|
Post by wing_nut on Jun 4, 2015 7:08:26 GMT -5
Yup all the time bro. The sweater/sneaker rack hold it safely in he middle the drum. In 99.99% of the cases the lowest setting is great for turning hours long drying time to minutes. No harm comes it. Unless, as I said, you forget to the heat off for the really thin and tiny bits. This is not a dryer I got at the same place as my giant penny. That's a 144th Fw190  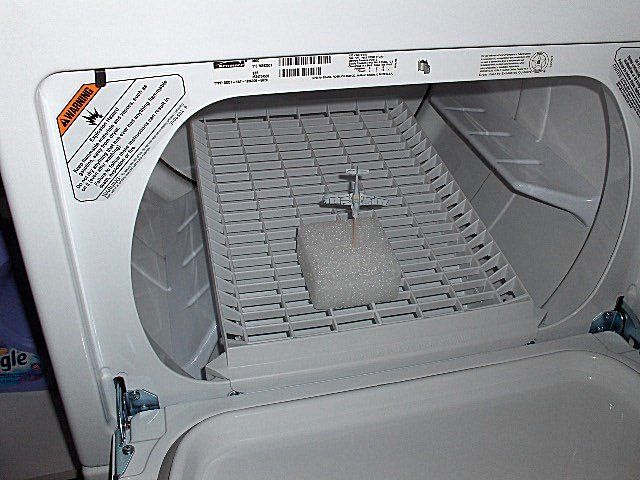 No, this is not the prop for Snidely Whiplash's private plane. Well... it is now. 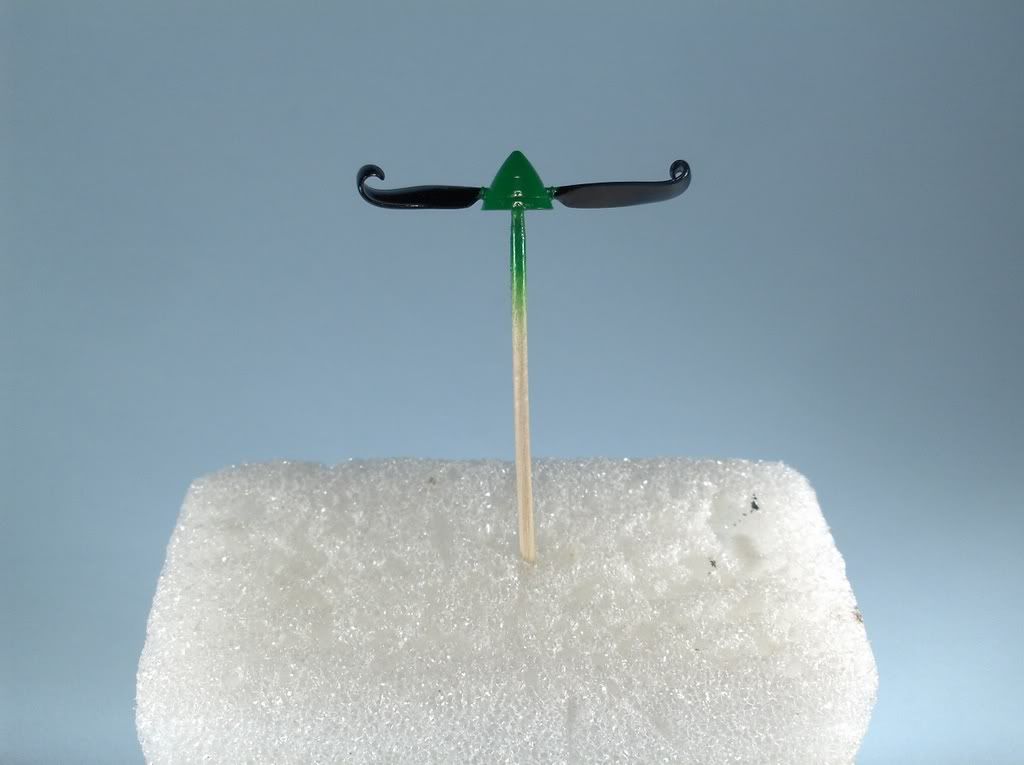 Scrapin', scrubbin' and chippin'. See Boyd... I said you wouldn't have to wait too long.  I was disappointed when I realized there wasn't ant chromate showing through. Beside the fact that was the "look" I wanted it would have added a nice little bit of color. I have to go back and look at the steps doogs took. I'm going to guess I missed a sealer coat on the chromate before the next layer of hairspray went down for the sea blue. Did the sea blue Corsairs have the black wing walks? Or a sometimes yes and sometimes no? 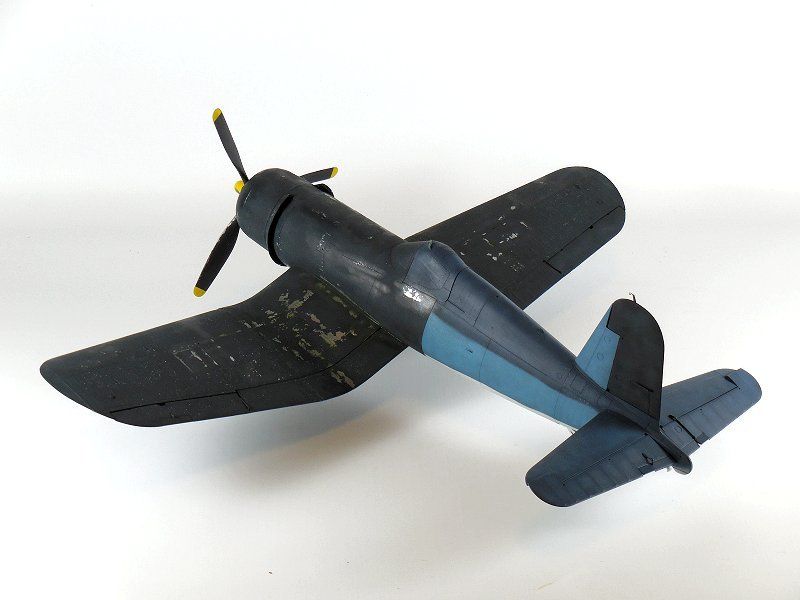 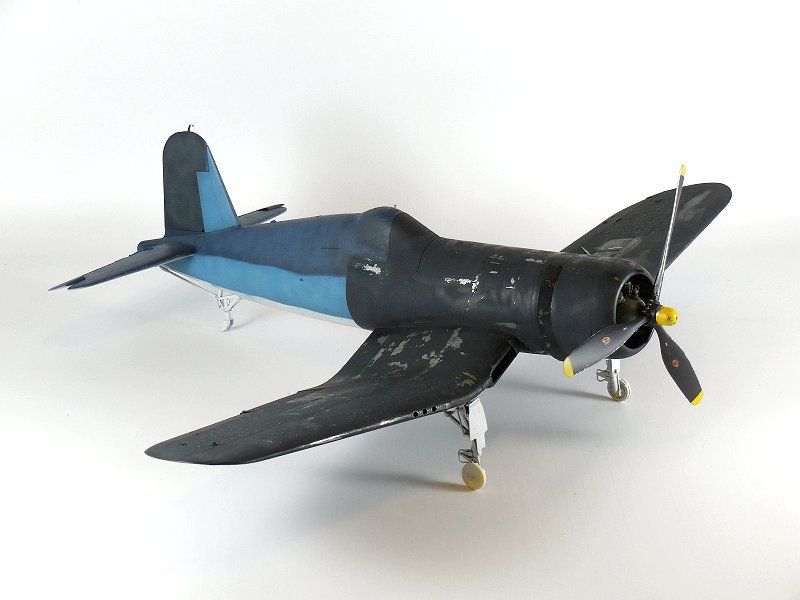 |
|
|
|
Post by wbill76 on Jun 4, 2015 14:26:27 GMT -5
Well that has to be the shortest benching in recent memory! And I have to laugh at the Whiplash propeller.  |
|
|
|
Post by wing_nut on Jun 4, 2015 15:44:55 GMT -5
Well that has to be the shortest benching in recent memory!Yeah tell me about it 
|
|
aeroaustin
Full Member
  
Member since: January 2015
Posts: 115 
|
Post by aeroaustin on Jun 4, 2015 16:30:14 GMT -5
This picture remind me of cartoon with big mustache, I can't figure which the cartoon show. I can't pin one of show.. I laughed when I saw this picture think of cartoon... |
|
|
|
Post by JimD on Jun 4, 2015 17:13:19 GMT -5
Can I ask what kind of paint you use that you find it necessary to dry like that? I know I skirt conventional wisdom and all but even with enamel I feel safe to mask in 24 hours and overspray with a clear in 48.
I'll mask lacquer within 1 hour. I usually won't coat it for at least 24.
I'm just curious. I'm working a lot with enamels right now on some "work" projects and wouldn't mind speeding things up there. That's for sure.
|
|
|
|
Post by wing_nut on Jun 4, 2015 17:53:04 GMT -5
I laughed when I saw this picture think of cartoonGlad you had a good laugh.  I didn't when it happened but I do now. I have not used enamels for a long time but when i did this was a HUGE time saver them. Fully cured in 15-20 minutes? No. But pretty way closer to what you are waiting a day for. I use mostly Tamiya acrylics now and they dry pretty fast. If you've ever noticed though even with those paint... it's dry to the touch but if you were to touch with the back of your hand is has that cool, under the surface damp feel to it. Best description i can think of. 5-10 minutes In the dryer and it's like it's been on the bench all night.I mostly use a hair dryer now but still use the dryer now and again. test the heat setting on a clunker 1st. I've used the dryer for decals too but not when I need them to really settle over details.
|
|
|
|
Post by JimD on Jun 4, 2015 19:38:27 GMT -5
I know exactly what you're talking about with Tamiya paints. I thin the enamel with lacquer thinner. I'm pretty sure it speeds drying. I don't know for sure. When I started using them that's what I thinned with. I've never sprayed them with regular enamel thinner. I do sometimes hit it with a hair dryer. I may try this idea though. Learn something new every day.  |
|
Deleted
Member since: January 1970
Posts: 0
Nov 22, 2024 23:43:27 GMT -5
Nov 22, 2024 23:43:27 GMT -5
|
Post by Deleted on Jun 5, 2015 12:17:19 GMT -5
I always put mine in a food dehydrator for drying. I took the individual layers of racks and cut the webbing out of them (except 1). So I can put something on the bottom and then on another layer.
|
|
doogsatx/
Senior Member
    Feb and Sept 2014_ MoM Winner
Member since: November 2012
Posts: 1,642
Nov 14, 2012 21:29:10 GMT -5
Nov 14, 2012 21:29:10 GMT -5
|
Post by doogsatx/ on Jun 5, 2015 12:20:35 GMT -5
I would be terrified of lint...
|
|
|
|
Post by wing_nut on Jun 5, 2015 16:26:36 GMT -5
I always put mine in a food dehydrator for drying. I took the individual layers of racks and cut the webbing out of them (except 1). So I can put something on the bottom and then on another layer. That's good idea too. I would be terrified of lint... You would think that would be a problem but never a speck of lint. |
|
|
|
Post by JimD on Jun 5, 2015 17:09:11 GMT -5
I would be terrified of lint... I don't think you're supposed to put your socks in with the model  |
|
|
|
Post by wing_nut on Jun 5, 2015 18:40:41 GMT -5
After some discussion and a recommendation to take the contrast down on the back of the fuselage I repainted the back half. I was pointed to a beautiful build of this aircraft and the builder mentioned the back half being an early 1A. With that in mind I went looking for other NZ Corsair I noticed they didn't have that stark contrast I had. The bone yard photo started to make sense. This is what I got and I like it much better. Another sharp eyed guy noticed that in the bone yard photo this plane has a welded steel tail wheel extension. It extended the tail wheel 6 inches lowering the thrust line 11.5 degrees to improve the pilots view on the ground. Goodyear made about 1000 of these while the forged extensions where being made I am going to scratch one for the tail wheel. He sent me a scan of what it looked like. Is it against copyright rules or something like that to post the photo? 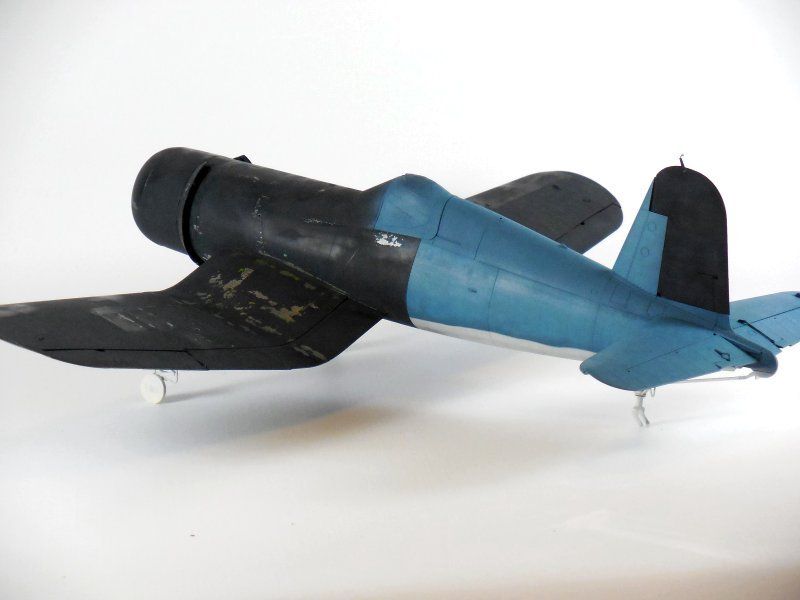 |
|
|
|
Post by Leon on Jun 5, 2015 19:22:35 GMT -5
Nice work on the paint redo Marc! I like it.  |
|
|
|
Post by deafpanzer on Jun 5, 2015 23:38:25 GMT -5
Really like what you have done so far and I can't wait to see more... catching up here!
|
|
aeroaustin
Full Member
  
Member since: January 2015
Posts: 115 
|
Post by aeroaustin on Jun 6, 2015 0:10:57 GMT -5
Much better, keep going, more picture!!
|
|
|
|
Post by wing_nut on Jun 6, 2015 8:08:29 GMT -5
Thanks Leon, it does look better. Really like what you have done so far and I can't wait to see more... catching up here!Well thank you sir. It's polite to say thanks. You should however go to the introductions area and introduce yourself to the community. How did you that ID? there was a guy here that used to use that name. I thought that ID was retired, like Mickey Mantle's number.  Thanks aero. No worries, more pics on the way. |
|
|
|
Post by wing_nut on Jun 6, 2015 11:39:20 GMT -5
1st time using Xtradecals. Won't be the last. They are "How are you not falling apart?" thin. The only problem I had was I used the wrong decal solution under the wings. The instructions says to wet the model with Micro Set, smooth out the decal, wait 5 minutes and apply Micro Sol. Under the wings I mixed them up and they starting to stick in place before i was done positioning. 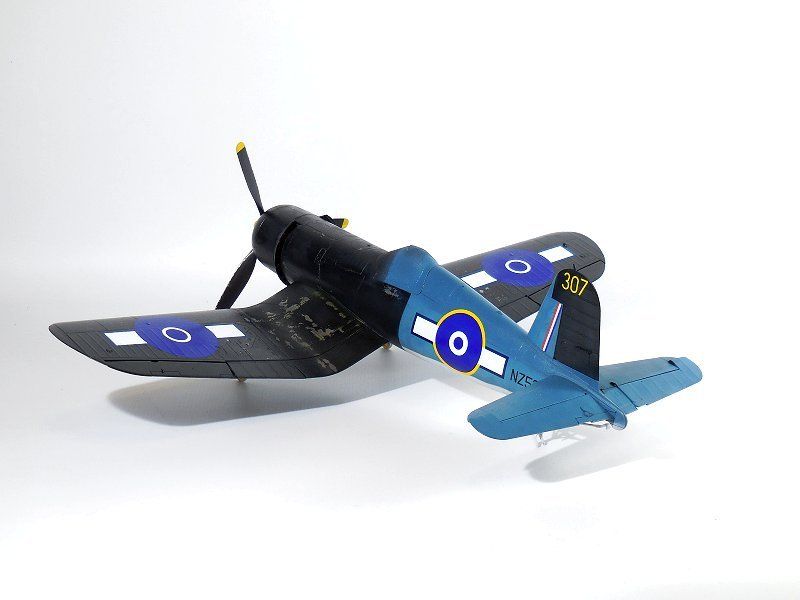 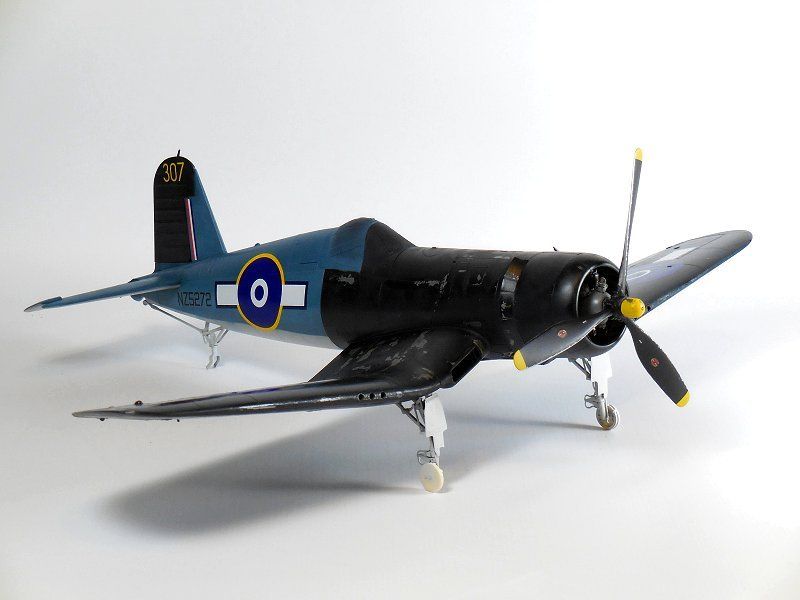 |
|
|
|
Post by Leon on Jun 6, 2015 14:30:02 GMT -5
Markings look fantastic Marc! They really stand out nicely against the base colors.  |
|
aeroaustin
Full Member
  
Member since: January 2015
Posts: 115 
|
Post by aeroaustin on Jun 6, 2015 16:37:07 GMT -5
WOW....
|
|
sabre
Full Member
  
Member since: September 2013
Posts: 414 
|
Post by sabre on Jun 7, 2015 10:14:12 GMT -5
Nice work there wing-nut, love the paint scheme.
|
|
|
|
Post by JimD on Jun 7, 2015 12:05:08 GMT -5
Wow man. You sure did pick one heck of a cool looking airplane. The markings just set it off...someone call the police cuz that's da bomb.
|
|
|
|
Post by wbill76 on Jun 7, 2015 18:52:42 GMT -5
Now that's really turning into an eye-catcher for sure! Very nice update Marc.  |
|