|
|
Post by wing_nut on Apr 10, 2015 7:13:25 GMT -5
The wicker plan looks like it gonna be more work and look as good as it did on my head. So wooden boxes... or resin  ... will be the way to go. Getting into the base a bit more. water putty applied, dry powder sprinkled over the whole thing and allowed to sit for a bit. Shake off the loose stuff to set the gun in place to make the impressions of its final position. Now just let it harden.(DON"T SAY IT!!  ) 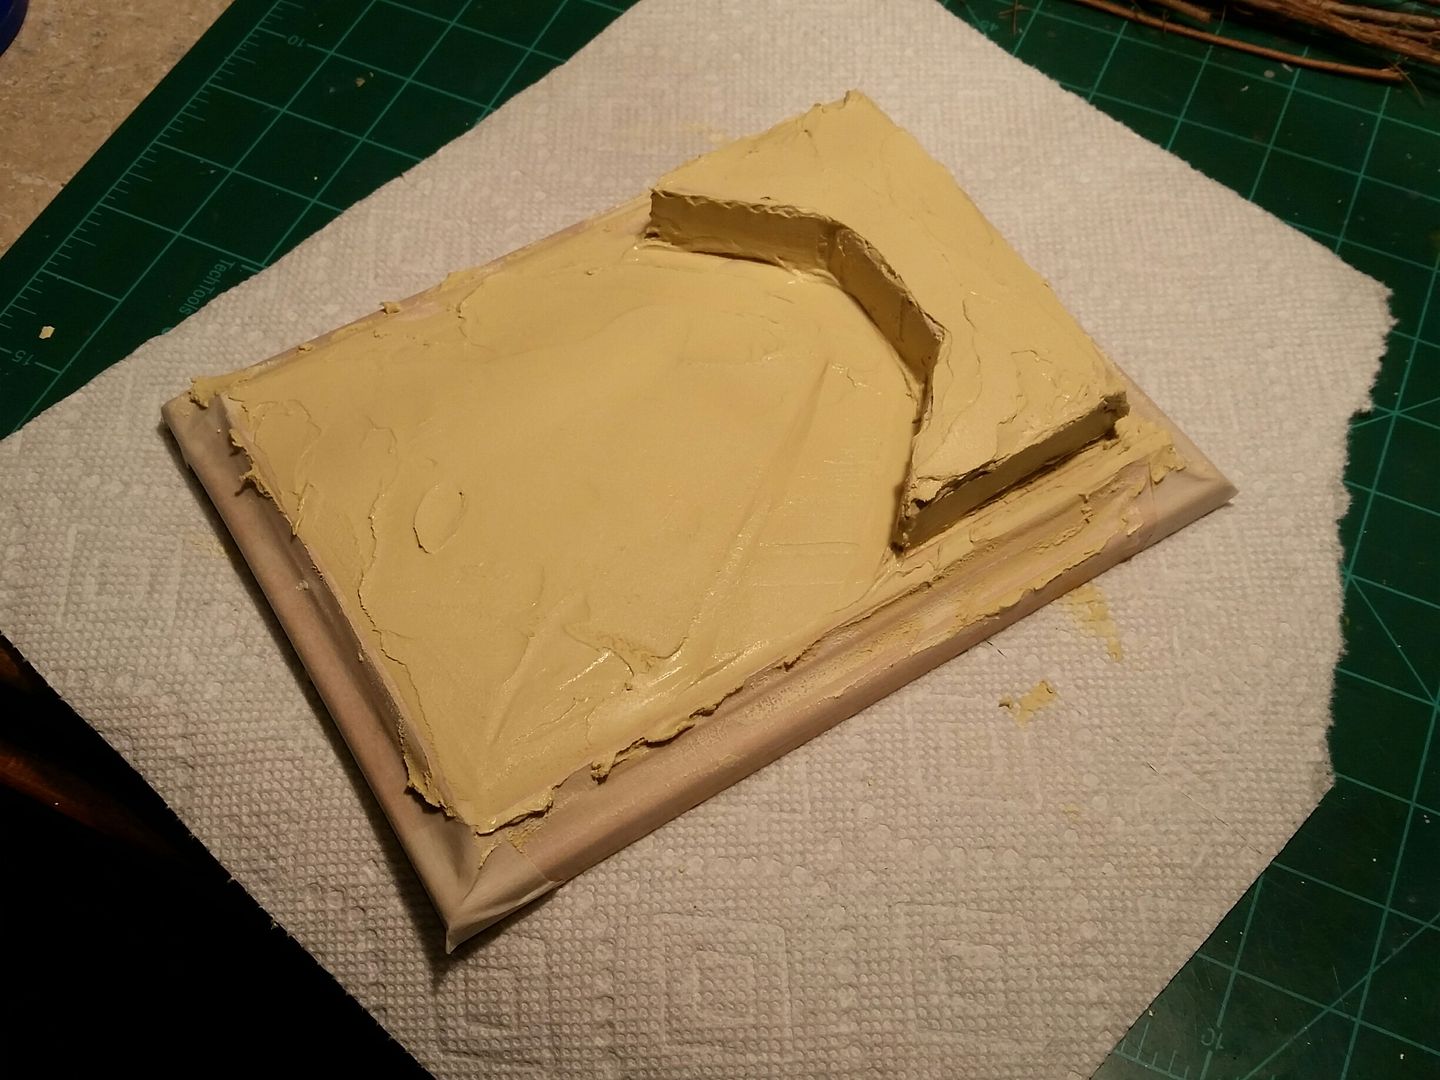 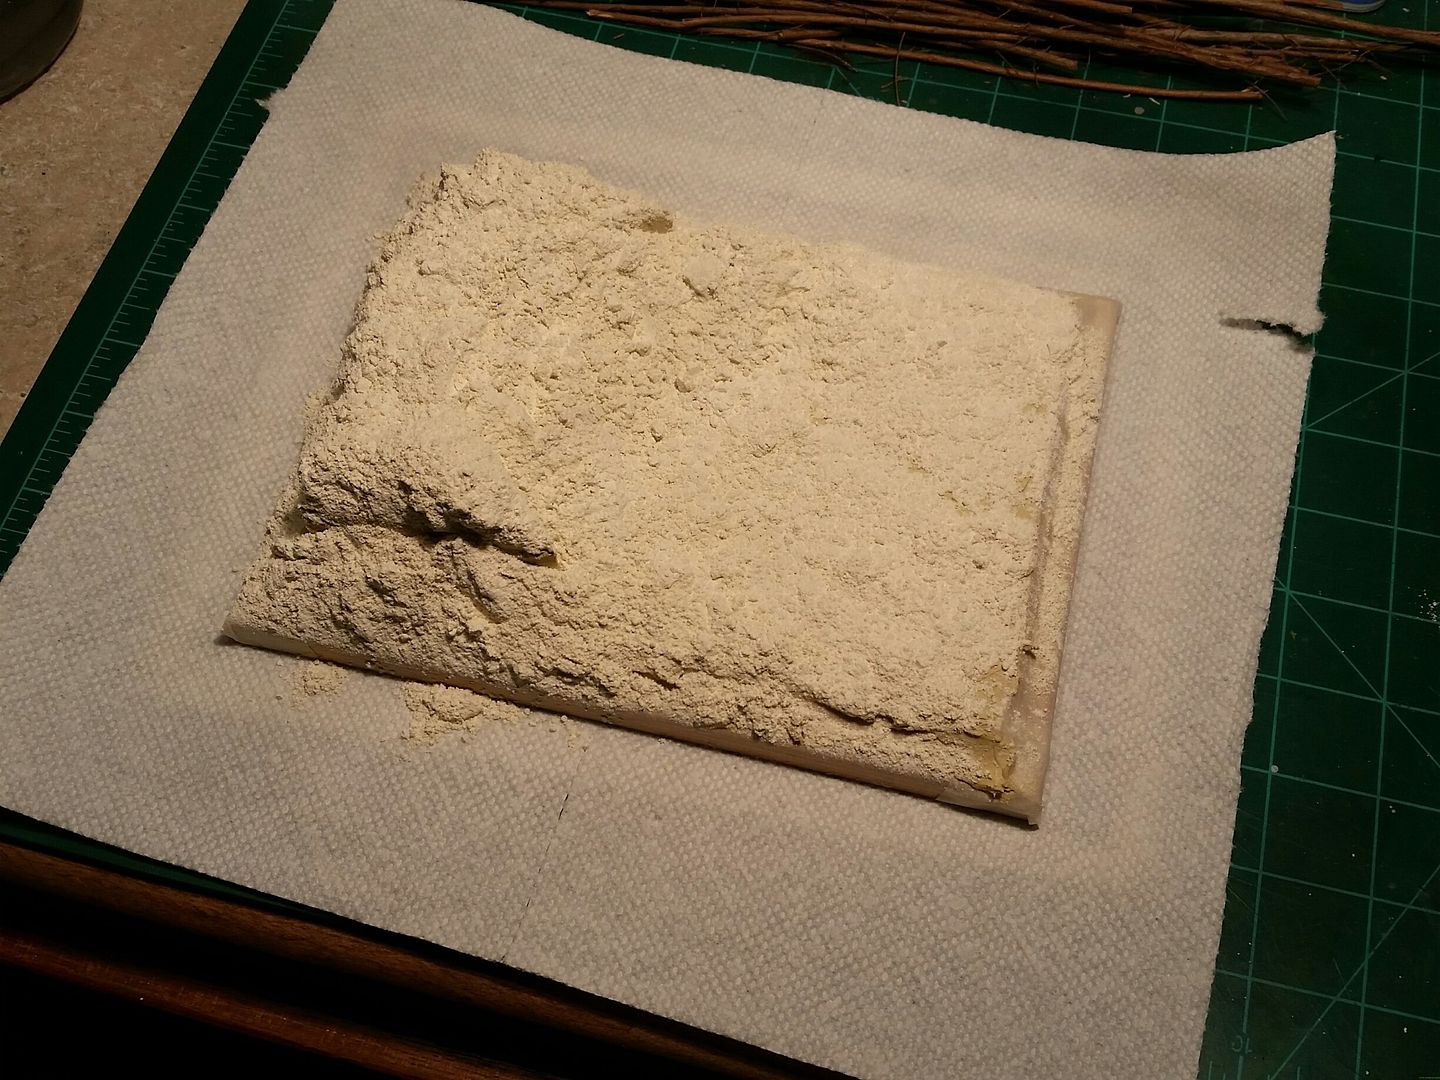 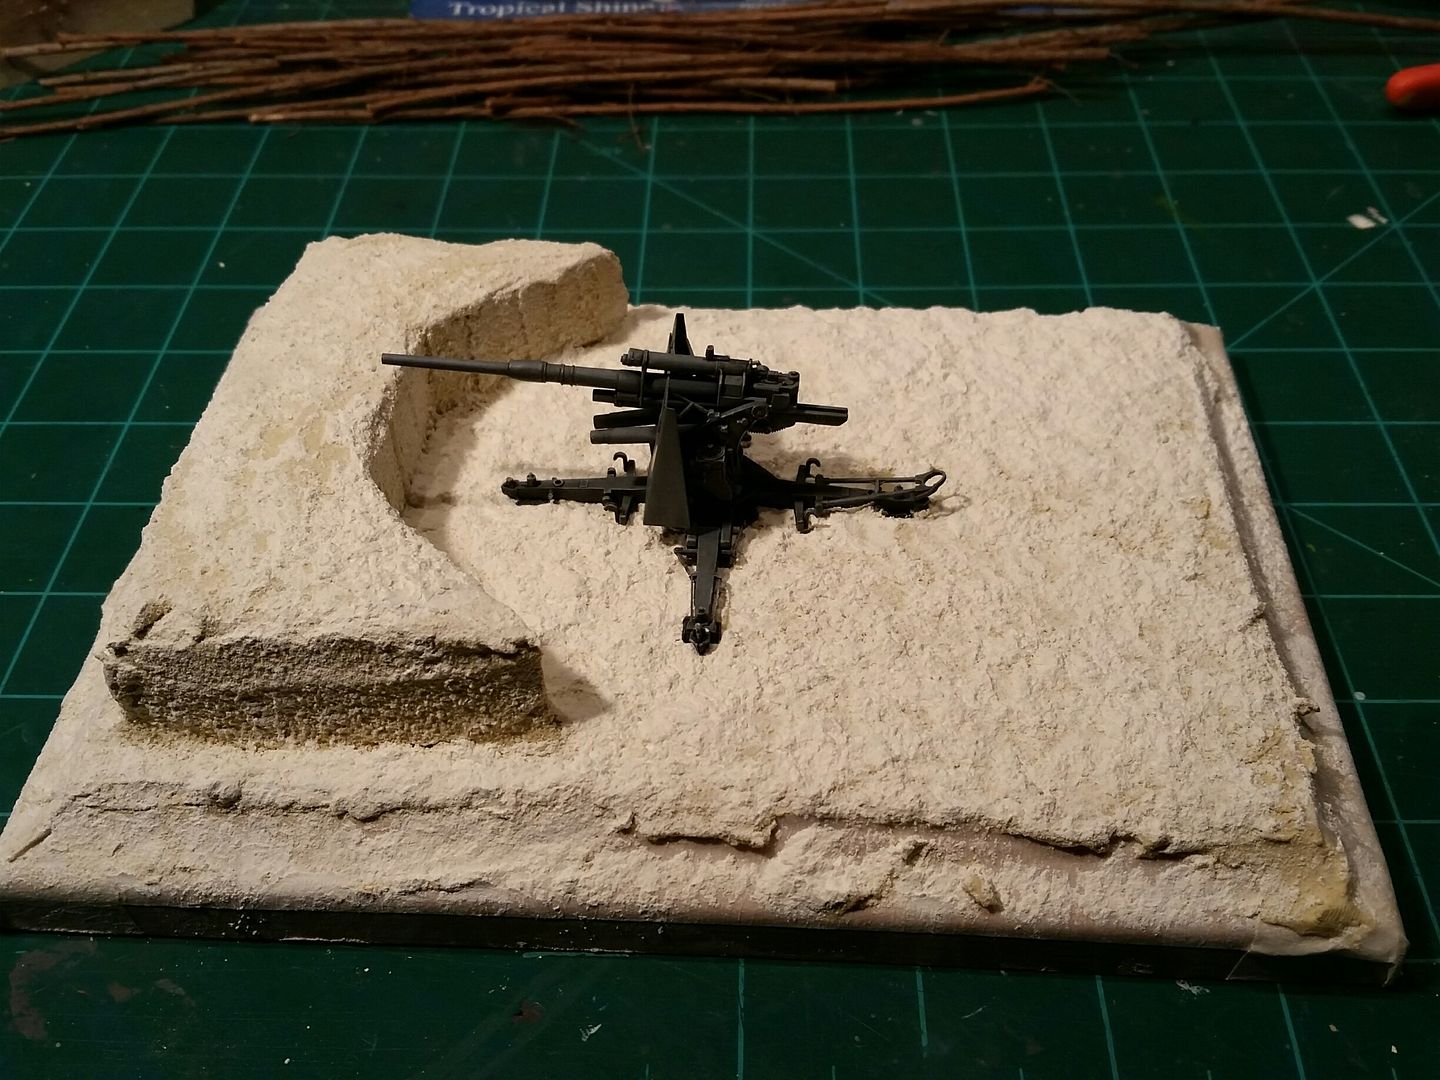 |
|
|
|
Post by wbill76 on Apr 10, 2015 12:59:58 GMT -5
Looks like the base is moving along nicely Marc. I imagine a wicker pattern in 1/72 would be pretty hard to pick out on the boxes. Either way, you'll figure out what you need I'm sure!  |
|
|
|
Post by TRM on Apr 11, 2015 9:03:41 GMT -5
Nice to see the base moving along Marc!! Looking good!!  |
|
|
|
Post by Deano on Apr 11, 2015 10:14:15 GMT -5
Great progress lads , like the base Marc ...will you be doing figures?
|
|
|
|
Post by Leon on Apr 11, 2015 10:16:05 GMT -5
Base is looking really good Marc!  |
|
|
|
Post by wing_nut on Apr 11, 2015 10:37:47 GMT -5
Thanks guys. Deano , yes I have been knocking that idea around but so far I've not a crew in 72 scale.
|
|
|
|
Post by wing_nut on Apr 12, 2015 10:00:20 GMT -5
What's that I see? OH yeah, it's the light at the end of the tunnel.  After the water putty hardens all the loose stuff it brushed/blown off. Working sections, the surface is dabbed with brown acrylic paint and sprinkled with dirt. This is real dirt to cuz if you want dirt to look like dirt you need to use dirt.  As soon as I got this on my boots one day I knew this was the good stuff. Real "feels good squishing through your toes" stuff. I scooped up a big pile, let it dry, then baked it at 500 in the oven for close to an hour to make sure any organisms were sent to the sweet beyond. The chunks were hen crushed and sifted. 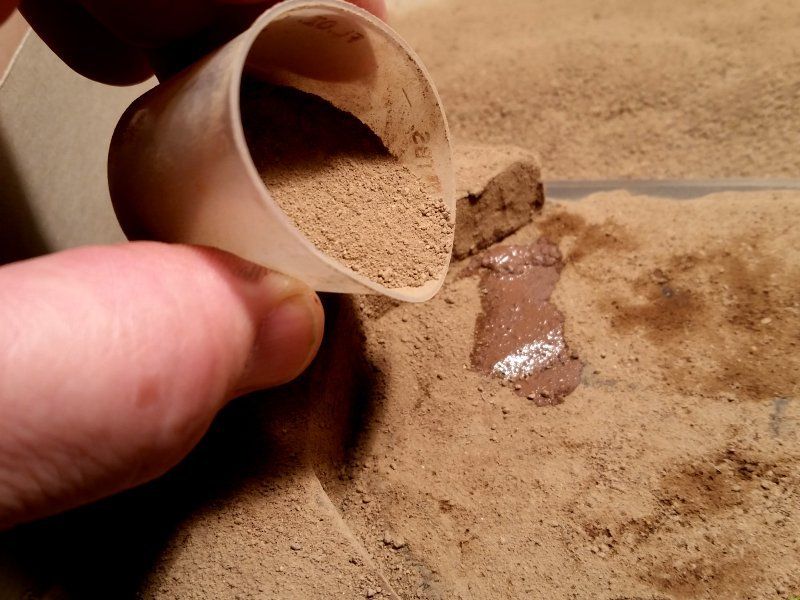 The logs are made from a craft broom I got at Micheal's Not sure what plant it is but I think is has a nice scale texture. The turf is done the same as the dirt... paint, sprinkle, let dry and blow off the excess. 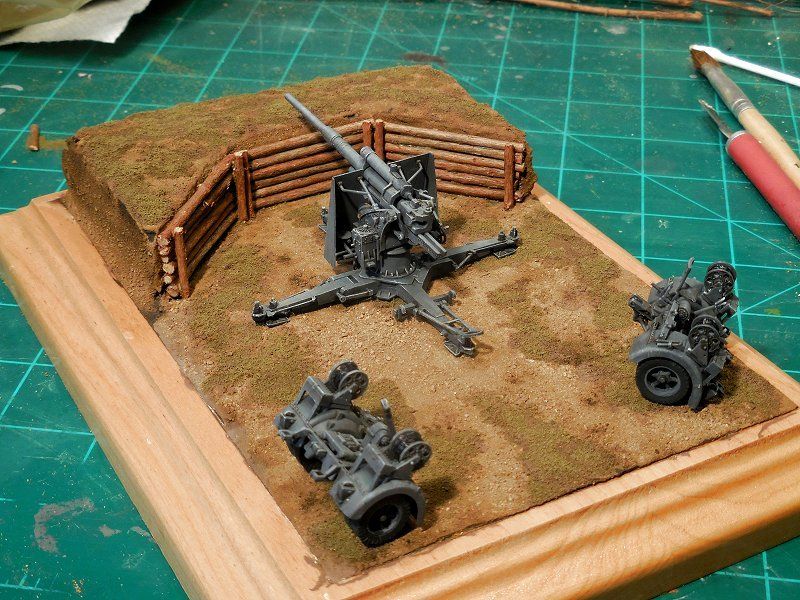 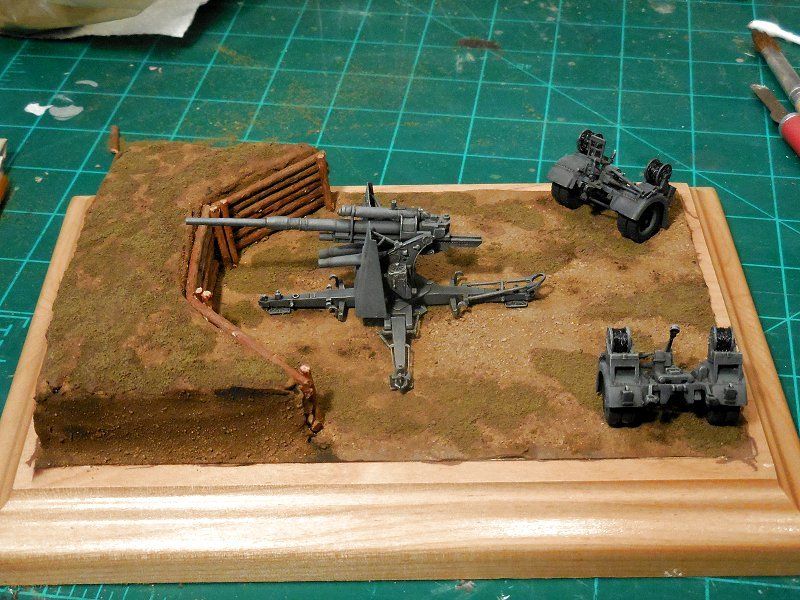 |
|
|
|
Post by deafpanzer on Apr 12, 2015 10:04:22 GMT -5
Catching up here... the base looks fantastic!!! The ground looks ferkin' way too real...
|
|
|
|
Post by wing_nut on Apr 12, 2015 18:10:06 GMT -5
Glad you're all caught up and thanks.
|
|
|
|
Post by wbill76 on Apr 12, 2015 18:16:55 GMT -5
Got to love dirt that looks like real dirt!  Base is looking pretty good there Marc.  Now all you need is to create a set of 1/72 feet so you can feel it squish between the toes properly.  |
|
|
|
Post by wing_nut on Apr 12, 2015 18:21:56 GMT -5
Sounds like a challenge!!! Hmmm? No.  |
|
|
|
Post by Leon on Apr 12, 2015 18:41:49 GMT -5
Awesome job on the ground work Marc!  Looks fantastic.  |
|
|
|
Post by wing_nut on Apr 12, 2015 20:40:54 GMT -5
Thanks Leonardo, appreciate the comments.
|
|
desertrat
Full Member
  
Member since: October 2013
Posts: 934 
|
Post by desertrat on Apr 14, 2015 12:03:37 GMT -5
base looks great, like the wooden poles,
|
|
reserve
Senior Member
   
Member since: July 2012
Si vis pacem para bellum
Posts: 2,372
Jul 11, 2012 9:11:45 GMT -5
Jul 11, 2012 9:11:45 GMT -5
|
Post by reserve on Apr 14, 2015 16:02:58 GMT -5
Youse guys are makin the teeny stuff look too easy
Fantastic work the both of ya
Regards,
Mark
|
|
|
|
Post by wing_nut on Apr 14, 2015 21:43:00 GMT -5
Thanks Leonardo, appreciate the comments. Leon, BTW, that was some sort of auto correct thingy. Didn't mean to call ya Leonardo.  Desertrat, reserve... thanks fellas. I put it off long as I could. Started on the ammo boxes. Going with the wooden ones... easiest. Found some Evergreen stock that was the right size and just needed to be cut to length, about 13mm. Drilled 3 holes and will eventually make the wood covers that came completely off and likely thrown into a pile somewhere in the emplacement. In a lot of photos of the 1:1 gun I see some rounds laid out ready to be handed to the loader. Plastic rod glued into the same brass tube I used for the spent shells, trimmed to length, chucked in a Dremel and sanded to a point. Added a little brass dot I punched out of some PE fret. 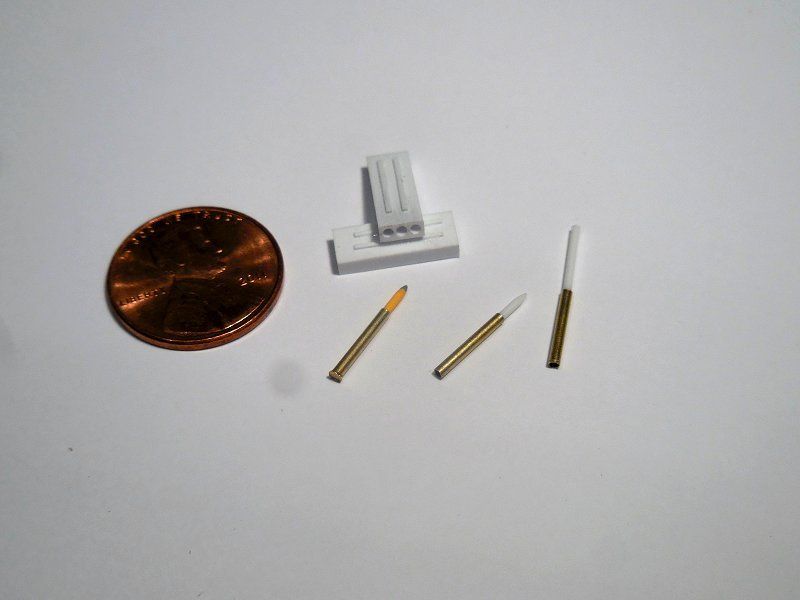 |
|
|
|
Post by dupes on Apr 14, 2015 21:55:10 GMT -5
Look at that...it IS a second placer under there.  Base looks superb! Love it! |
|
|
|
Post by wing_nut on Apr 14, 2015 23:34:25 GMT -5
Thanks Marc.
We had a bunch of extras at MosquitoCon one year and I grabbed some. Wish I had grabbed more.
|
|
|
|
Post by Leon on Apr 15, 2015 2:55:20 GMT -5
Great idea on the ammo and boxes Marc! They look great.  |
|
petros
Full Member
  
Member since: February 2014
Posts: 361 
|
Post by petros on Apr 16, 2015 7:42:09 GMT -5
Great work on both gun and diorama base!
|
|
|
|
Post by wbill76 on Apr 16, 2015 13:53:08 GMT -5
Nice looking set of boxes and rounds. Dremel + rod = ammo! love it!
|
|
|
|
Post by wing_nut on Apr 17, 2015 10:25:21 GMT -5
Lean, Petros, Bill... thanks fellas. I put a few rounds on the base and wasn't hpappy with the looks of the ammo. The business end of the round w looked too thin. The diameter is the same where it mounts to the casing. So here's a redo. The 1.2 mm brass tune is the perfect scale size but hollow so it can be shaped to a point. A 1'16 brass rod it too think and it would have been tough to get that down to the right thickness. I ended up sticking a piece of solider in the end of the tube and melting with the tip of my soldering iron. Not only did that fill the end to shape it to a point, it was like sharpening a pencil so it made a tiny little silver point. Left unpainted it became the fuse. I scribed a small groove at the base of the shell. The end on the tube filled. 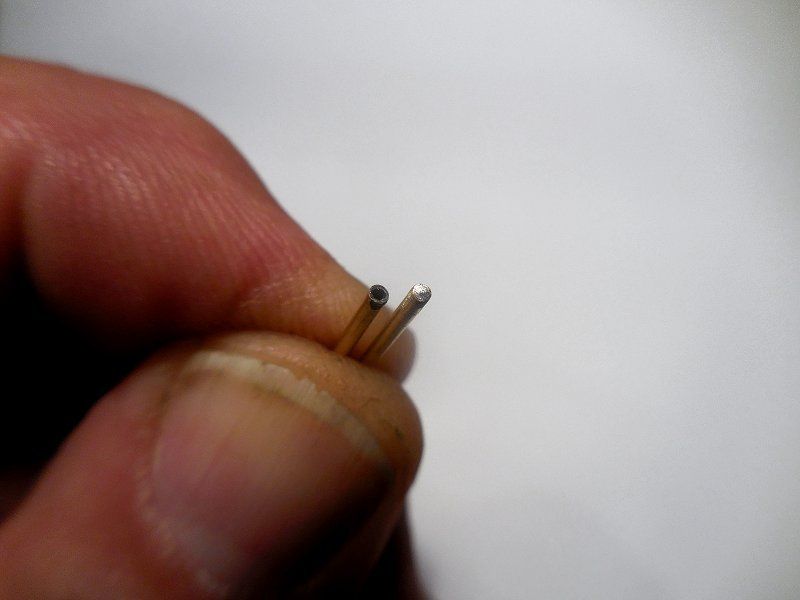 Tough to see but you can just make out the silver tip. 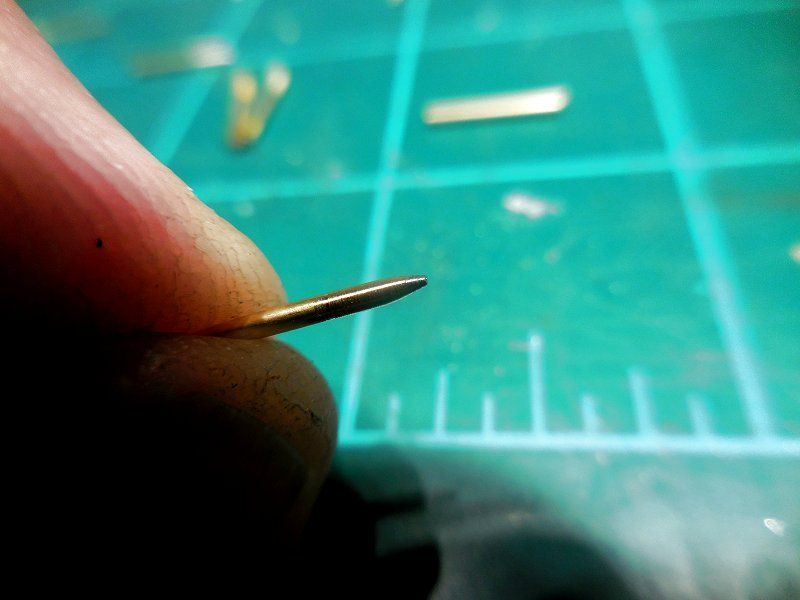 Painting was easy by touching the brush to the slowly spinning round still in the Dremel. The round on the left was from the 1st production run  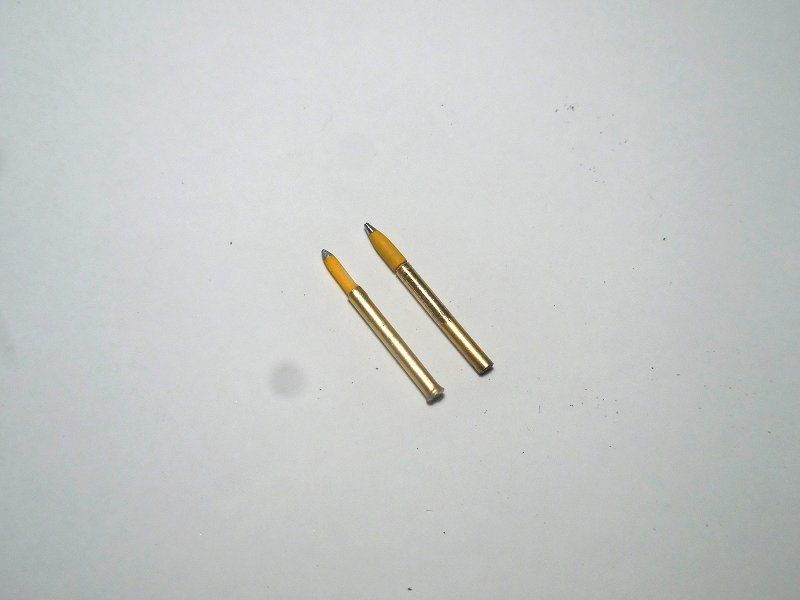 |
|
|
|
Post by wbill76 on Apr 17, 2015 15:18:02 GMT -5
Now that's a brilliant solution Marc! And a very realistic end result too. Wow!
|
|
|
|
Post by wing_nut on Apr 17, 2015 17:07:02 GMT -5
Thanks Bill. I'm pretty happy wit the results. Still, a good thing I didn't have to make too many. the head could have been a tiny bit longer.  |
|
|
|
Post by wing_nut on Apr 18, 2015 11:14:13 GMT -5
I've started to place the little bits and pieces on the base trying to keep a logical placement based on where the figures will likely go. I made box covers to "throw around". There is more empty casing but i don't want to get to far ahead before the figgies arrive. I am thinking about removing the shield from the front. Most of the pics of guns that are in dug in emplacements don't have the shield. There's a seat on the left side and the crewman sits with his back toward the shield, no clue what he's doing, but he's in there. No way to get that figure n here with the shield in place i don't think. 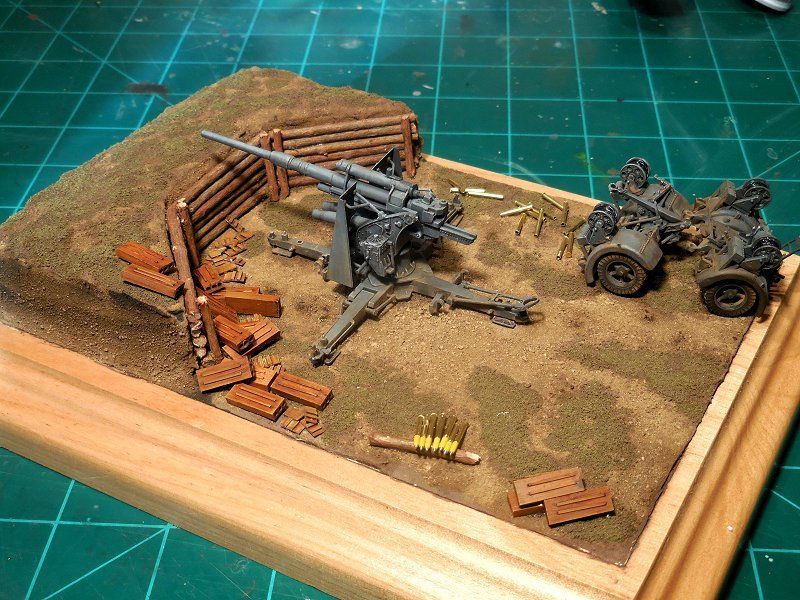 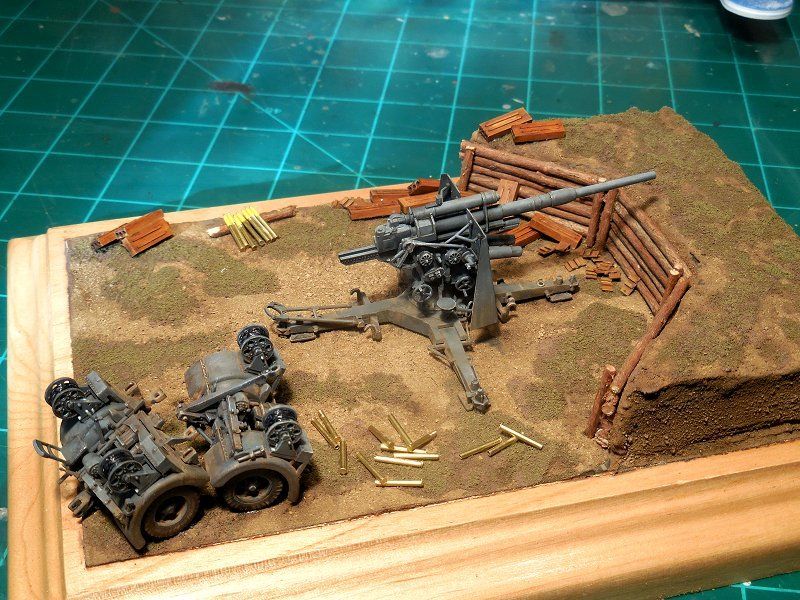 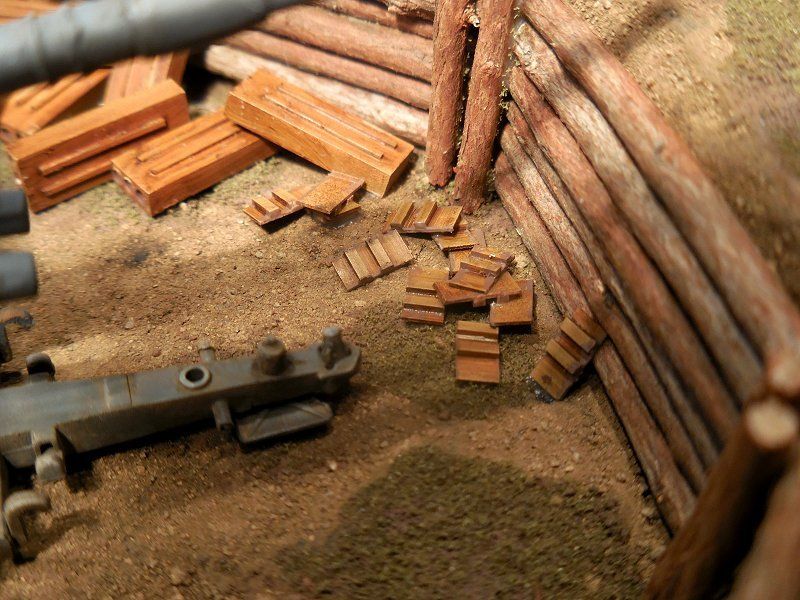 |
|
|
|
Post by Leon on Apr 18, 2015 12:40:19 GMT -5
Nice re work on the shells Marc! The base is really looking sharp now.  |
|
|
|
Post by wbill76 on Apr 18, 2015 15:04:28 GMT -5
Looking good Marc, love how the scene is all coming together! That mystery guy's job is to set the fuses on the shells. That's what that little area on the left side is for, it has an analog computer that sets the altimeter in the fuse so it will burst at the right height for AA battery fire.  I don't imagine he'd be there in a ground-role emplacement for obvious reasons and instead would be used as another shell-humper to feed the gun.  |
|
desertrat
Full Member
  
Member since: October 2013
Posts: 934 
|
Post by desertrat on Apr 18, 2015 15:12:42 GMT -5
brilliant little dio, like what you've done with the shells, ..this is still the 1:72nd build is'nt it? lol
|
|
|
|
Post by wing_nut on Apr 18, 2015 15:31:44 GMT -5
Thanks Leon. It's coming together. never been too much of a base/dio guy but this one has been fun. Bill, Thanks for the great and timely info. Makes sense that guy would not be jammed in there. Now I don't have to takeoff the shield WOOHOO. Thanks DR. Yupper, 1/72. Guess I'll to drag out the giant penny again. It so heavy though  |
|
|
|
Post by wbill76 on Apr 18, 2015 18:32:59 GMT -5
Glad to have saved you some trouble there Marc!  The giant penny will count as your cardio for the day.  |
|