Jeff the 57th
Full Member
  
Member since: February 2014
Posts: 432 
|
Post by Jeff the 57th on Mar 22, 2016 14:04:09 GMT -5
Hello again. Finally found a little bench time after 2 months of pandemonium at the house. Cracked open this little beauty from the Mrs. 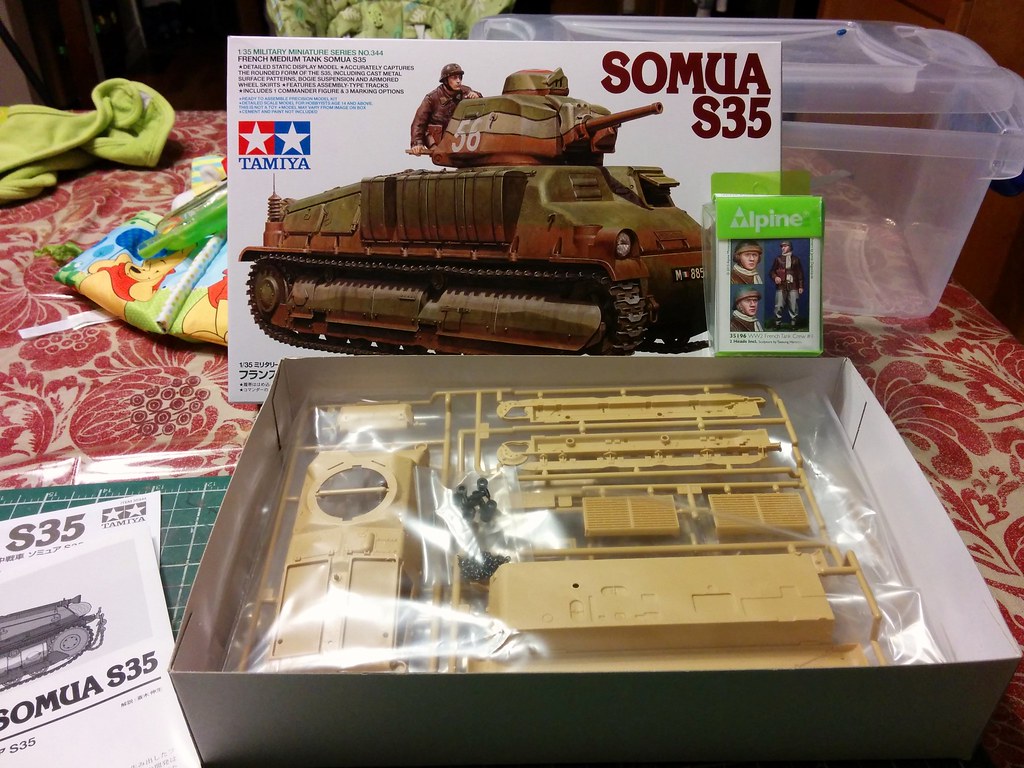 (The model kit, not the Winnie the Pooh book  ) I just finished a French Sherman and didn't plan on building another French subject back to back. But I love the looks of the Somua and with spare time at such a premium now I just wanted something that would build quickly and cleanly. This fit the bill perfectly. Two hours in and the suspension is 95% finished and considering what a slow builder I am that's amazing. 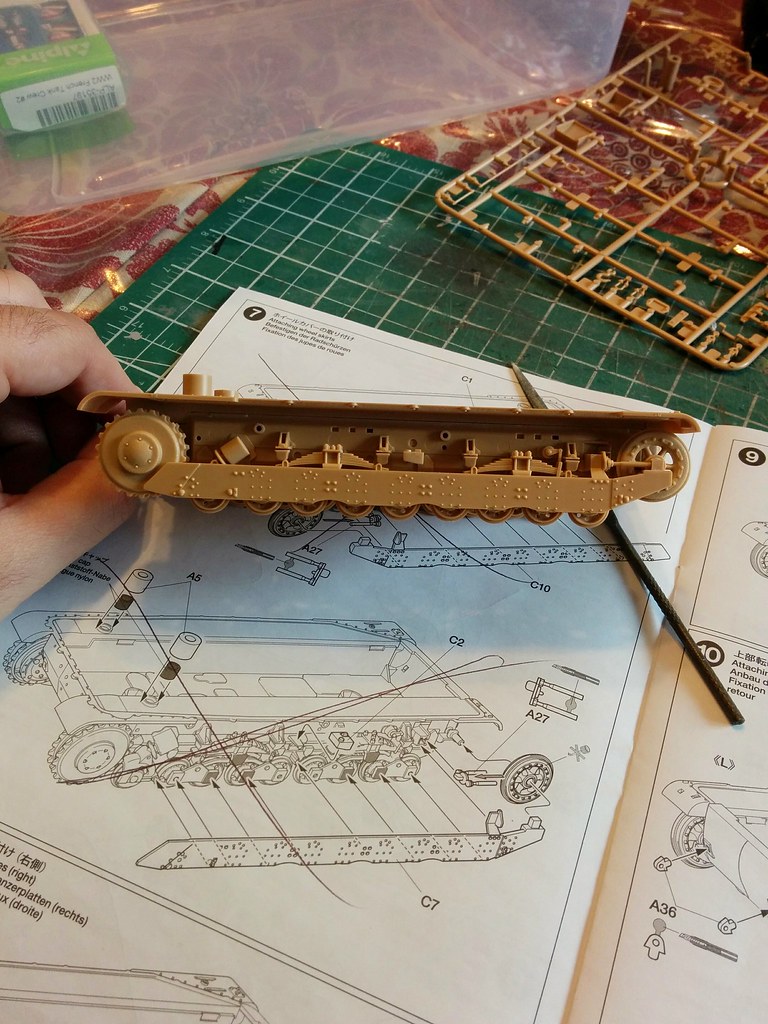 The suspension builds beautifully and is very nicely detailed. Then of course... 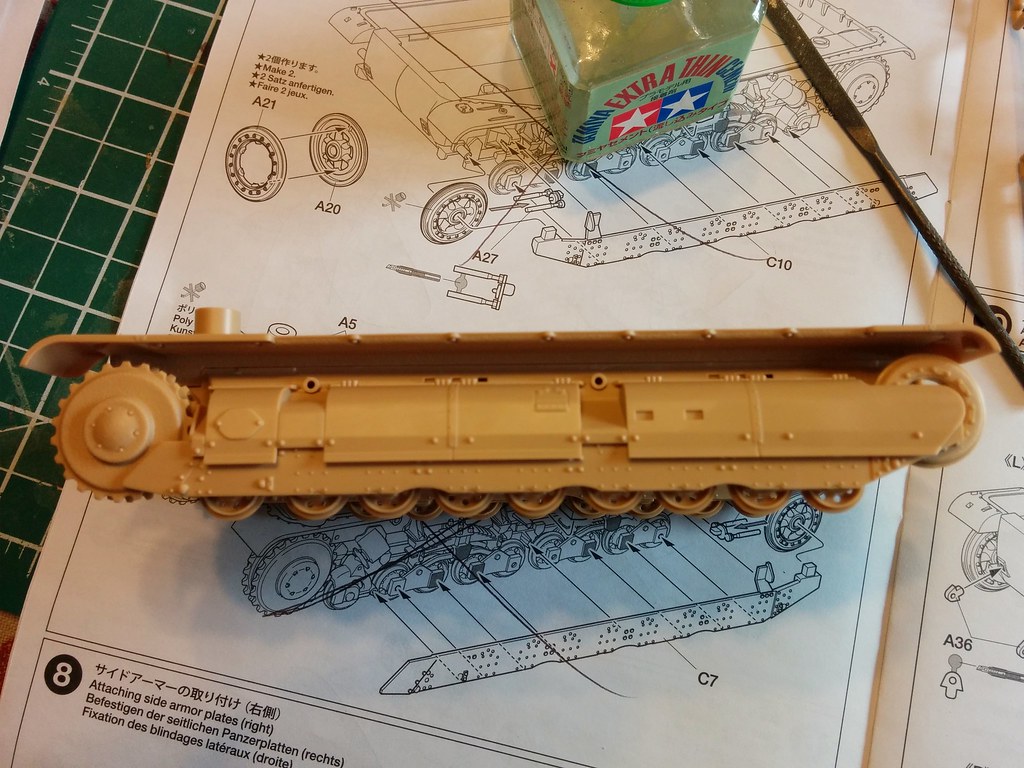 It immediately vanishes. The kit is really growing on me and Im beginning to like the idea of parking a 1940 French AFV next to its 1944 replacement. Thanks for looking. Jeff |
|
jsteinman
Full Member
  
Member since: March 2013
Posts: 735
Mar 24, 2013 9:29:10 GMT -5
Mar 24, 2013 9:29:10 GMT -5
|
Post by jsteinman on Mar 22, 2016 14:12:23 GMT -5
 And and Alpine figgie - oh yes! |
|
|
|
Post by wbill76 on Mar 22, 2016 14:40:24 GMT -5
Pulling up a chair for this one Jeff.
|
|
|
|
Post by deafpanzer on Mar 23, 2016 10:13:31 GMT -5
That kit is definitely on my wish list... I still have that old Heller kit. LOL I see great details on the newer kit... have fun!
|
|
|
|
Post by tobias5555 on Mar 23, 2016 10:40:27 GMT -5
Good start.
|
|
|
|
Post by dierk on Mar 23, 2016 11:31:14 GMT -5
Great choice of subject and good start! Can't beat Tammy for ease of assembly.
|
|
modsrule1976
Junior Member
 
Member since: December 2015
Posts: 98 
|
Post by modsrule1976 on Mar 23, 2016 12:37:30 GMT -5
Very nice so far
|
|
|
|
Post by Leon on Mar 23, 2016 15:41:52 GMT -5
Looking good Jeff!  |
|
Deleted
Member since: January 1970
Posts: 0
Nov 28, 2024 19:19:05 GMT -5
Nov 28, 2024 19:19:05 GMT -5
|
Post by Deleted on Mar 23, 2016 16:47:32 GMT -5
|
|
Jeff the 57th
Full Member
  
Member since: February 2014
Posts: 432 
|
Post by Jeff the 57th on Mar 23, 2016 18:52:25 GMT -5
Thanks for the encouragement guys. Finished up the lower suspension and got a start on the upper hull last night. I had planned on a totally OOB build, but the LHS had a small Voyager P/E set in stock that I kind of couldn't resist. "Just running in for some paint.." strikes again. I wanted to replace the original engine access panel pull handles. Didn't like how they looked molded on. I'm sure a Dragon version of the S35 would include the pull handles in photo etch, but I'm also sure the instructions from that kit would tell me to glue them to the barrel or something. So chisel to remove them and Mr.500 to replace the cast texture. 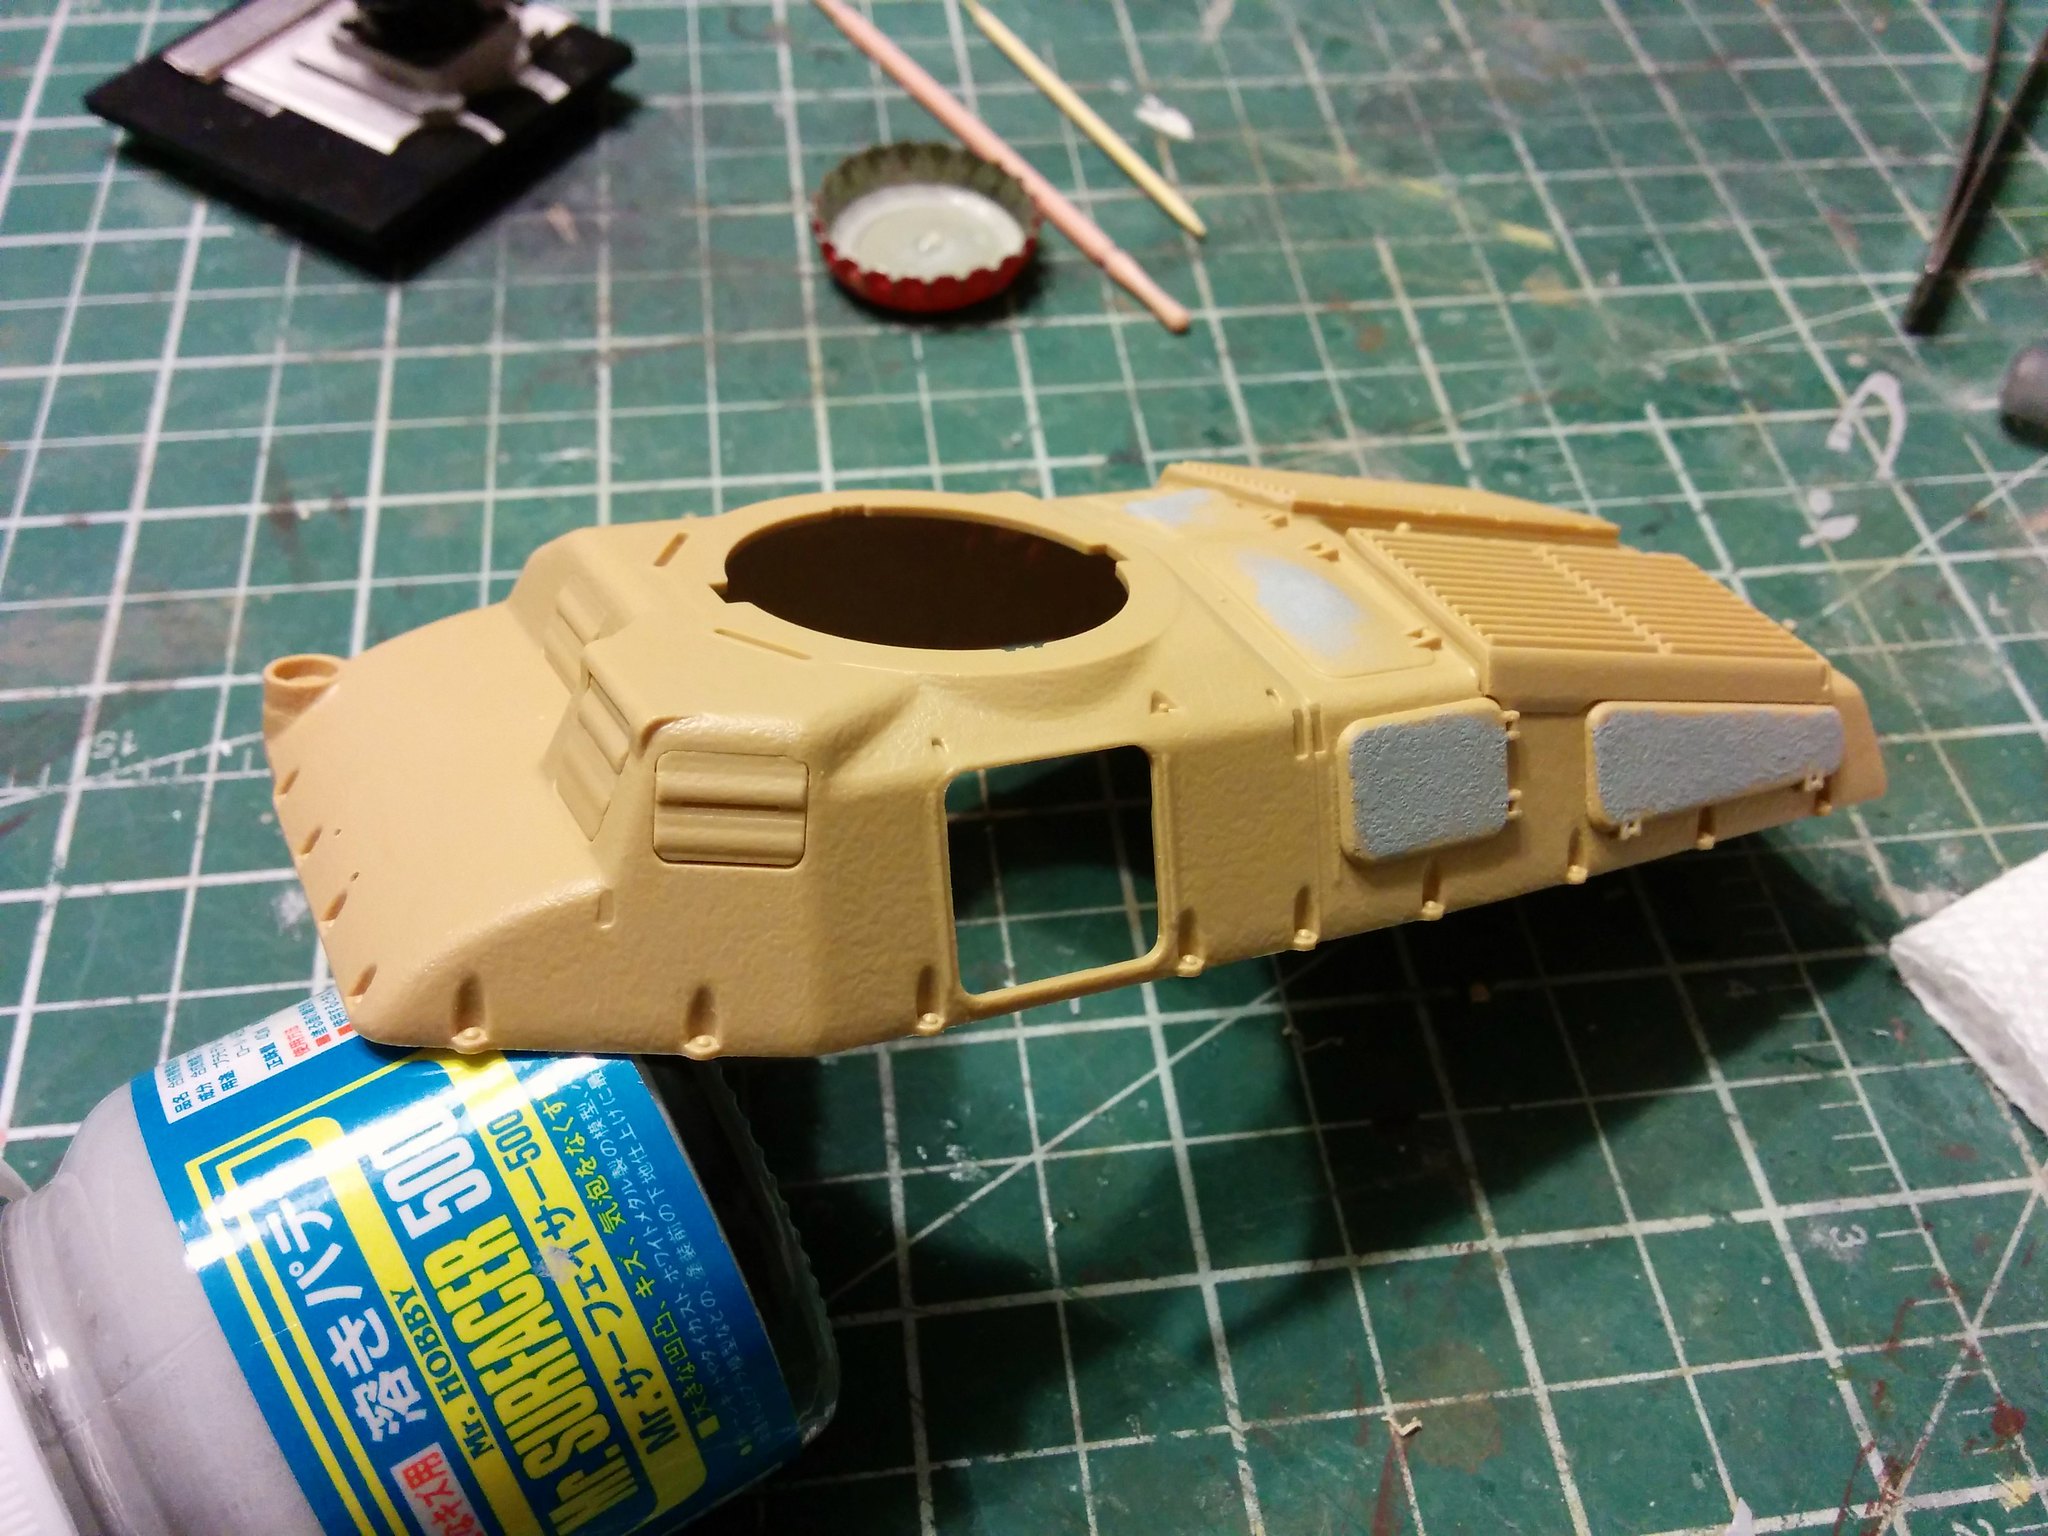 I found a lot of period photos of the S35 missing a few access panel pull handles, so I might lose a few for interests sake.  That's probably all for me tonight, but hopefully I can hit it again tomorrow. Jeff |
|
|
|
Post by dierk on Mar 24, 2016 3:05:00 GMT -5
Good progress Jeff! I'm afraid the times of goody-laden Dragon kits is a thing of the past - seems they have come up with a new strategy: you get to pay more for less  |
|
jsteinman
Full Member
  
Member since: March 2013
Posts: 735
Mar 24, 2013 9:29:10 GMT -5
Mar 24, 2013 9:29:10 GMT -5
|
Post by jsteinman on Mar 24, 2016 8:00:09 GMT -5
|
|
Deleted
Member since: January 1970
Posts: 0
Nov 28, 2024 19:19:05 GMT -5
Nov 28, 2024 19:19:05 GMT -5
|
Post by Deleted on Mar 24, 2016 9:09:19 GMT -5
Nice touch. 
|
|
Jeff the 57th
Full Member
  
Member since: February 2014
Posts: 432 
|
Post by Jeff the 57th on Mar 25, 2016 22:09:46 GMT -5
Hull is starting to come together. 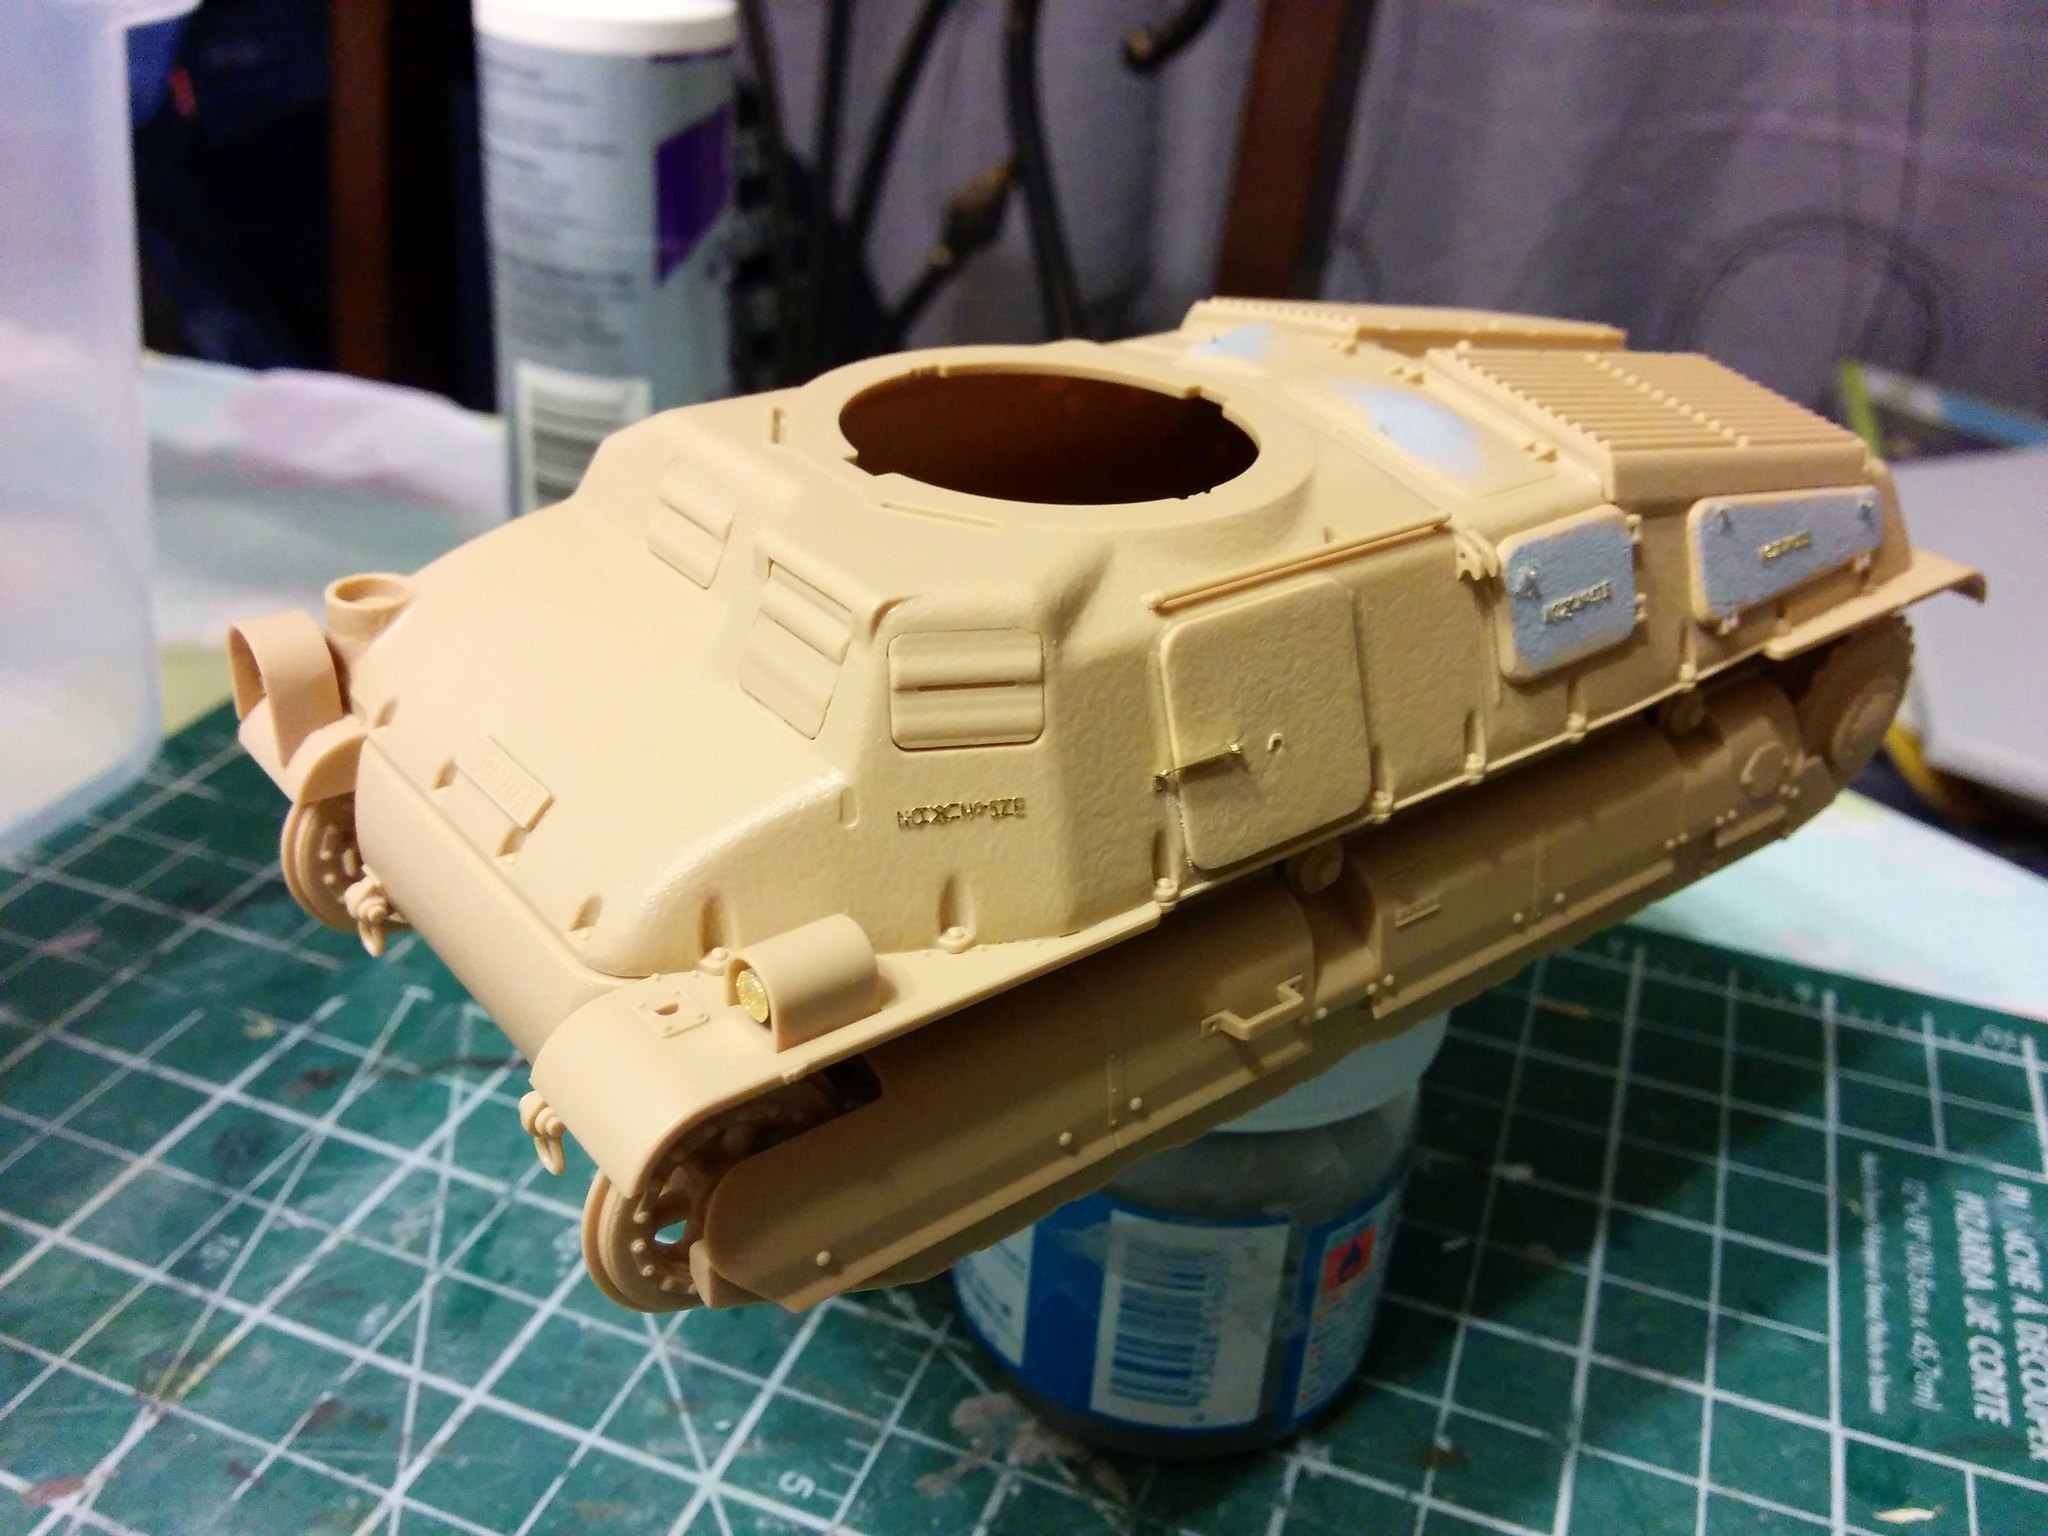 I was a little nervous cutting off the molded on door hinge because I thought I'd make a mess of the P/E replacement but I'm ok with it. The Voyager set also came with some casting numbers to add. They were placed so randomly around the hull I thought they had to be wrong, but the Aberdeen Somua photos seem to mostly agree so I rolled with it. I'll finish the actual engine access pull handles later in the build because I'm sure they'd get buggered up if I did them now. Happy Easter to all that partake if I'm not back on before that. Cheers Jeff |
|
afvfan
Senior Member
   
Member since: December 2012
Bob
Posts: 1,772
Dec 10, 2012 17:32:38 GMT -5
Dec 10, 2012 17:32:38 GMT -5
|
Post by afvfan on Mar 25, 2016 22:17:52 GMT -5
You did the right thing with the PE purchase, Jeff. As nice as this kit is, it still benefits a lot from a little detailing.
|
|
|
|
Post by wbill76 on Mar 26, 2016 11:21:47 GMT -5
Looking good so far Jeff!
|
|
Jeff the 57th
Full Member
  
Member since: February 2014
Posts: 432 
|
Post by Jeff the 57th on Apr 1, 2016 14:45:40 GMT -5
Finally back at it a bit. Our 6 month old who was doing great, suddenly decided that sleeping through the night was for chumps and bench time disappeared. He seems to be back to normal and was able to make a little more progress tonight. 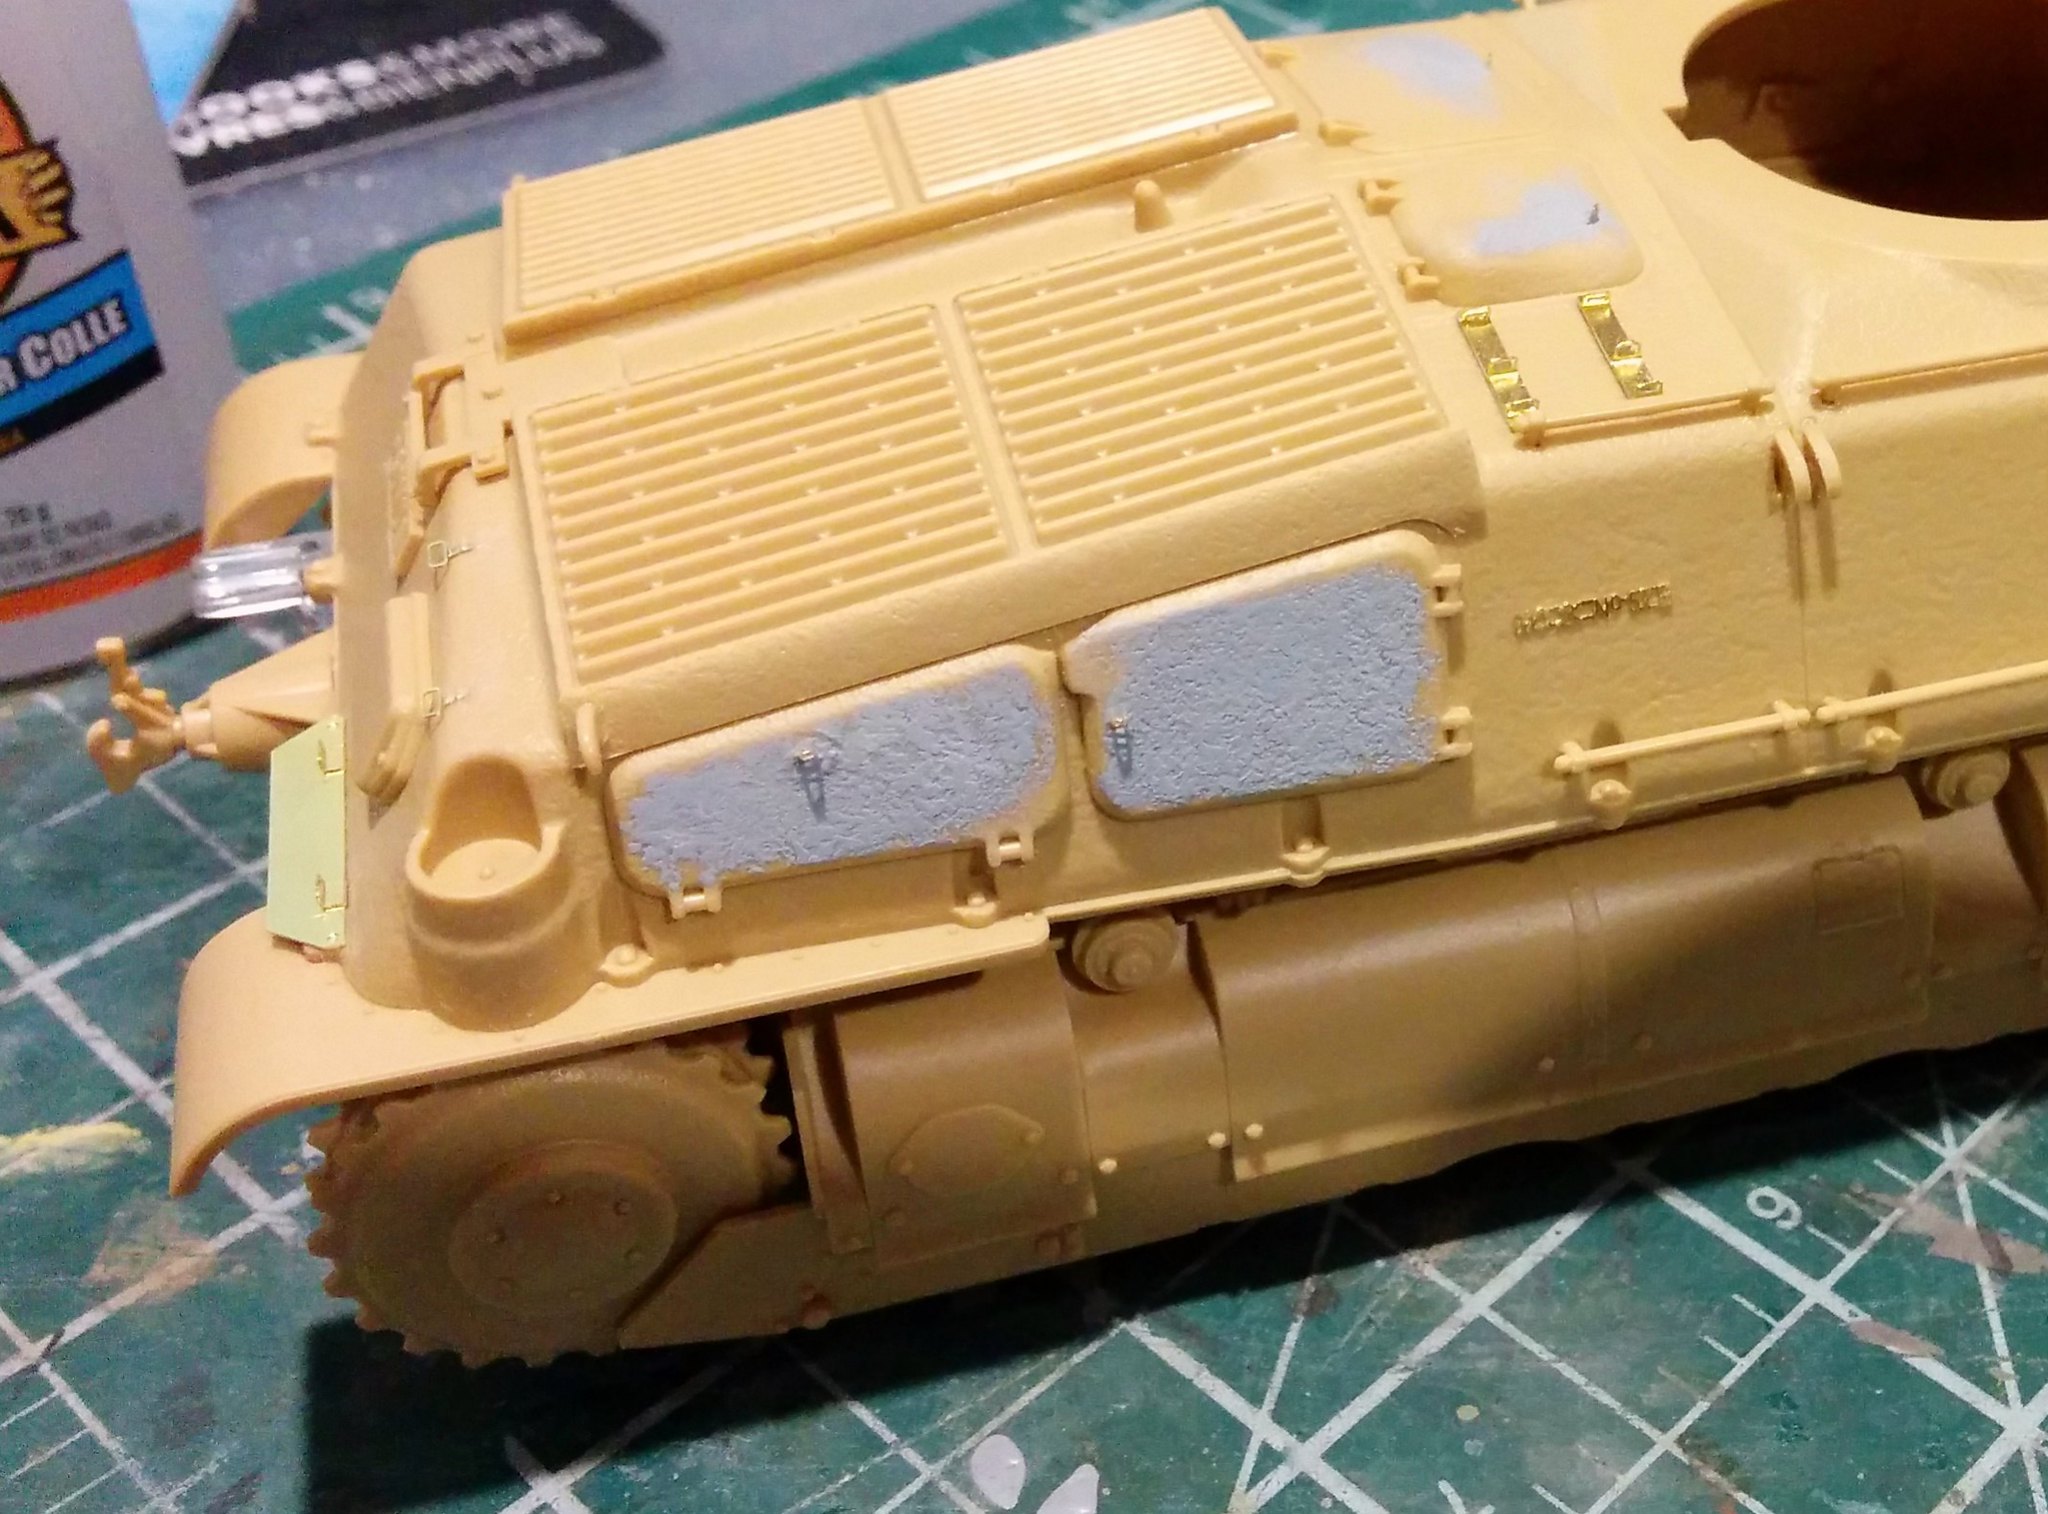 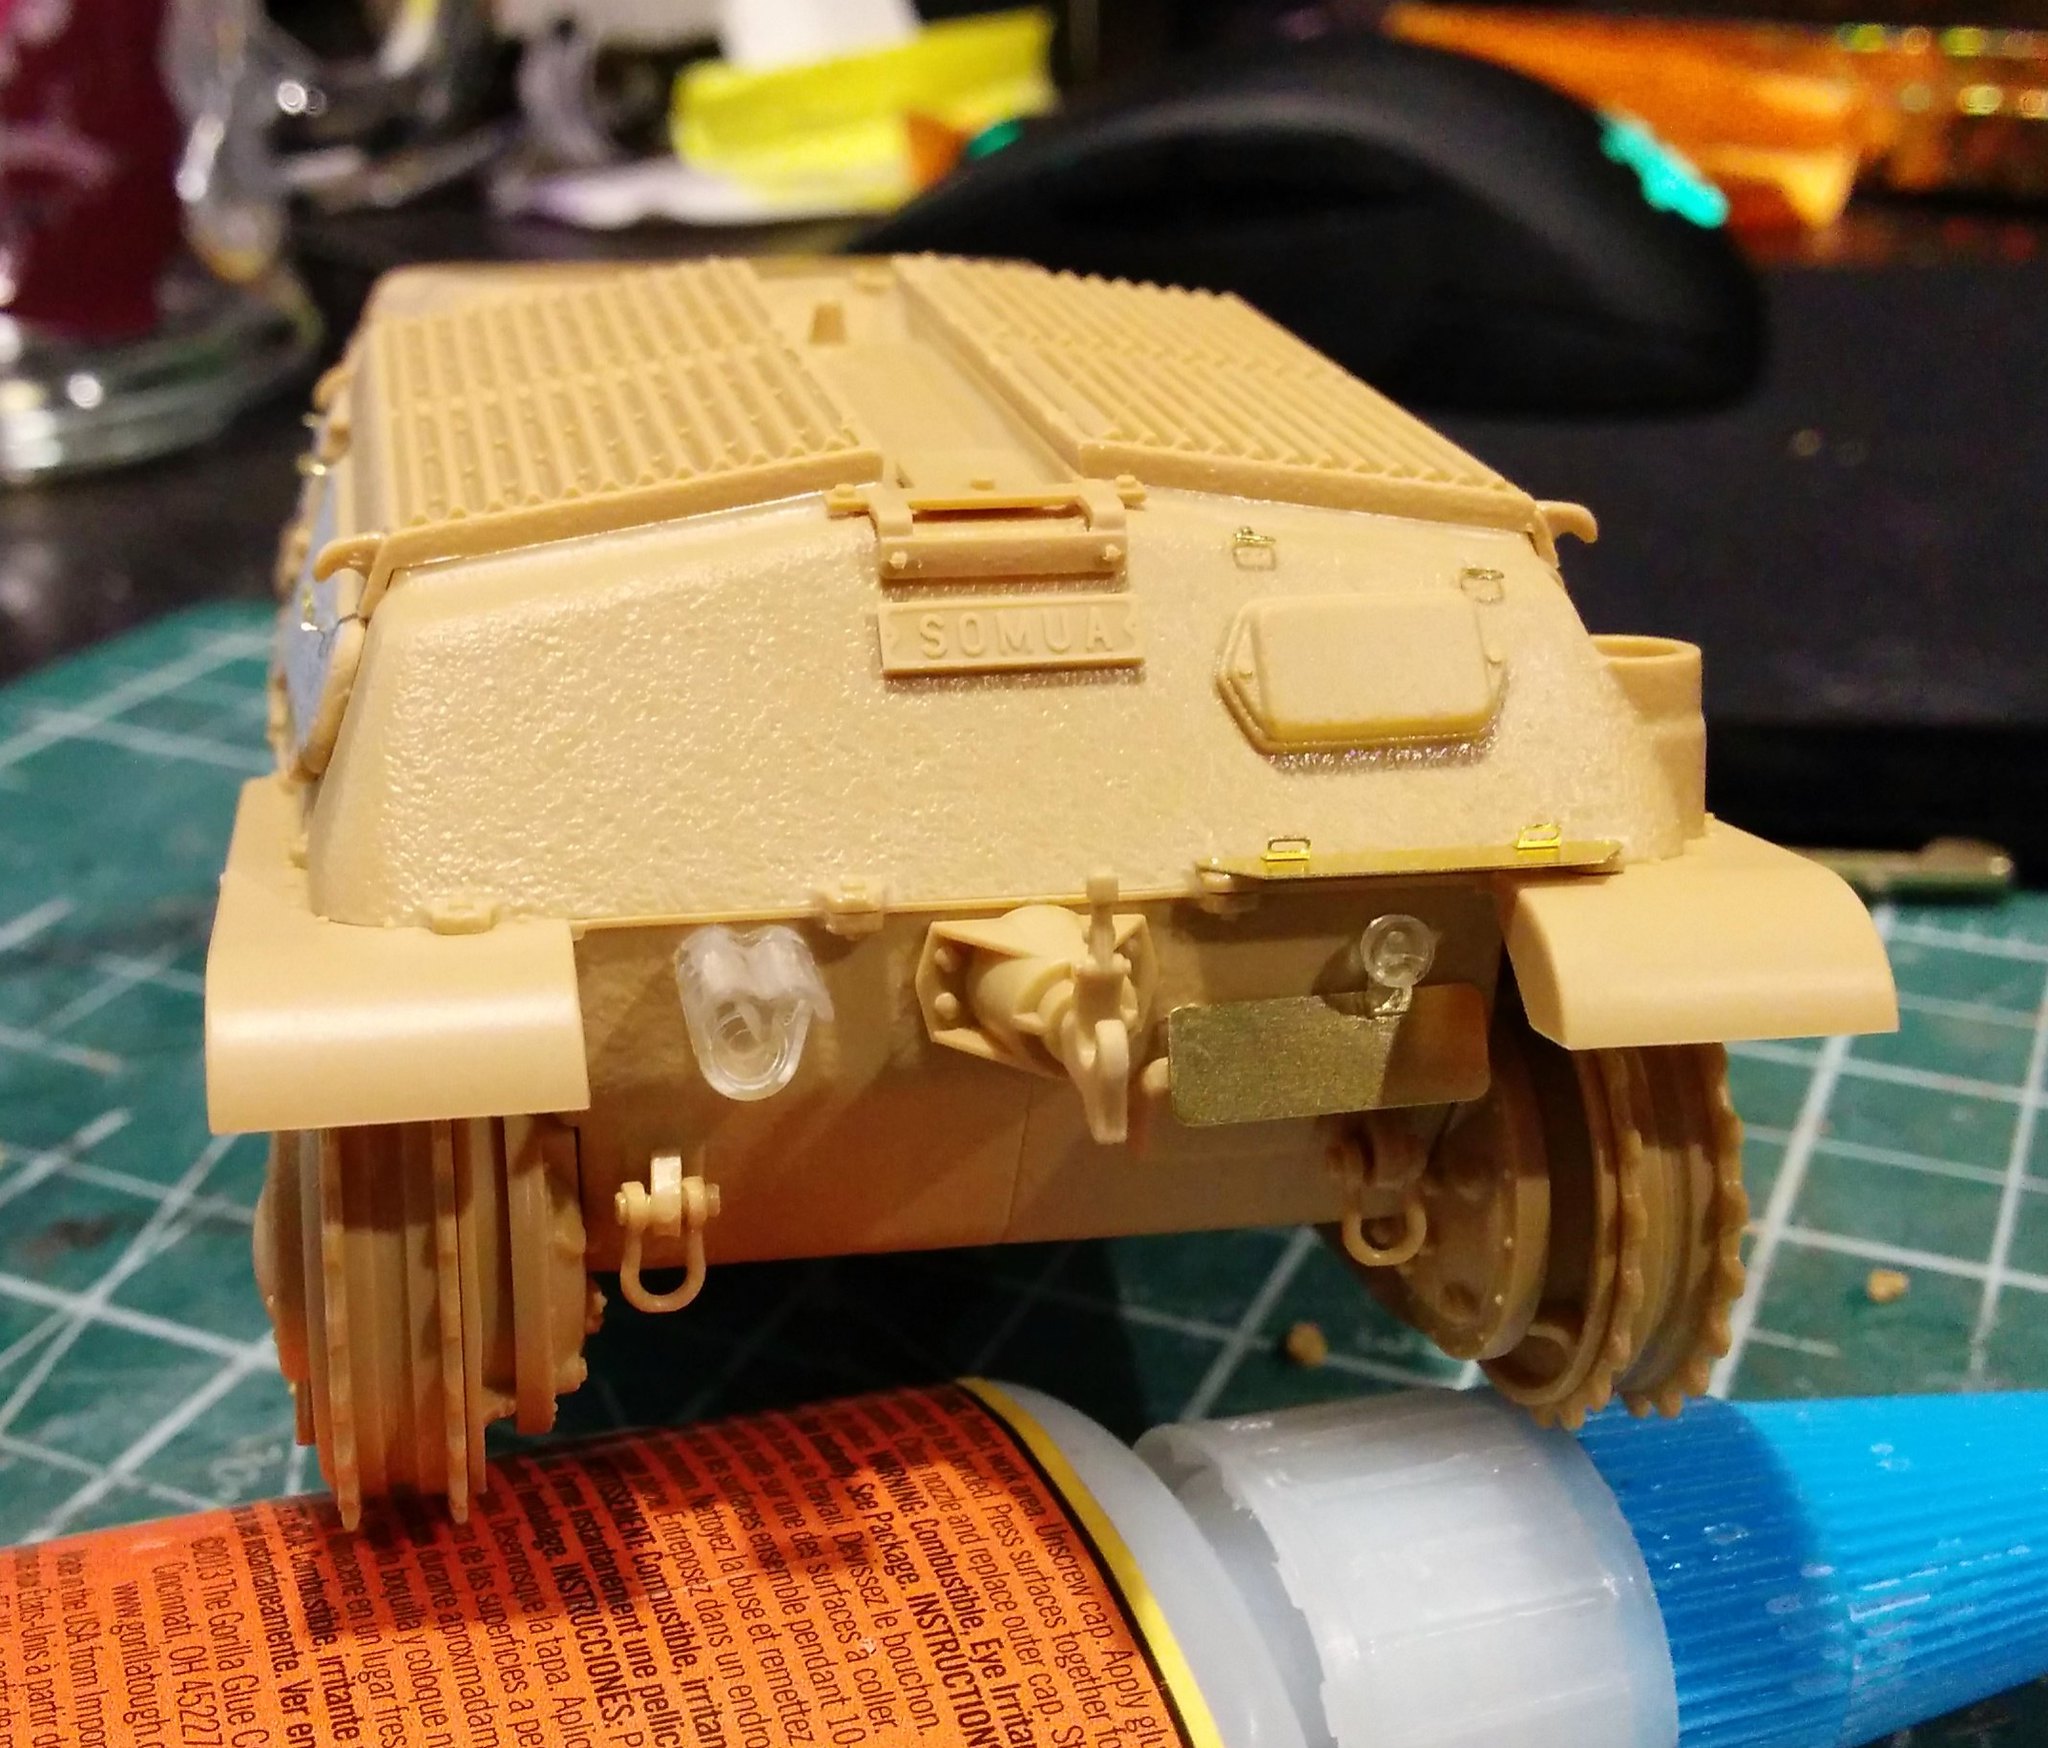 Need to add the tools, a few handles and strapping, but hull is done otherwise. I'm planning on leaving off the stowage bins. I think the S35 has a neat asymmetrical shape that the bins sort of hide.  Hopefully updates will come a little quicker from here. Thanks for looking. Jeff |
|
|
|
Post by wbill76 on Apr 1, 2016 18:27:38 GMT -5
Here's to hoping you can get a more regular sleep schedule and bench time to go with it Jeff!  |
|
|
|
Post by Leon on Apr 1, 2016 20:52:55 GMT -5
Nice PE work there Jeff! Looking really good.  |
|
Jeff the 57th
Full Member
  
Member since: February 2014
Posts: 432 
|
Post by Jeff the 57th on Apr 4, 2016 16:19:54 GMT -5
A little further down the road with the build. I don't usually like to build vehicles entirely buttoned up, but I thought I might do myself a favour considering how tricky the paint job is going to be. 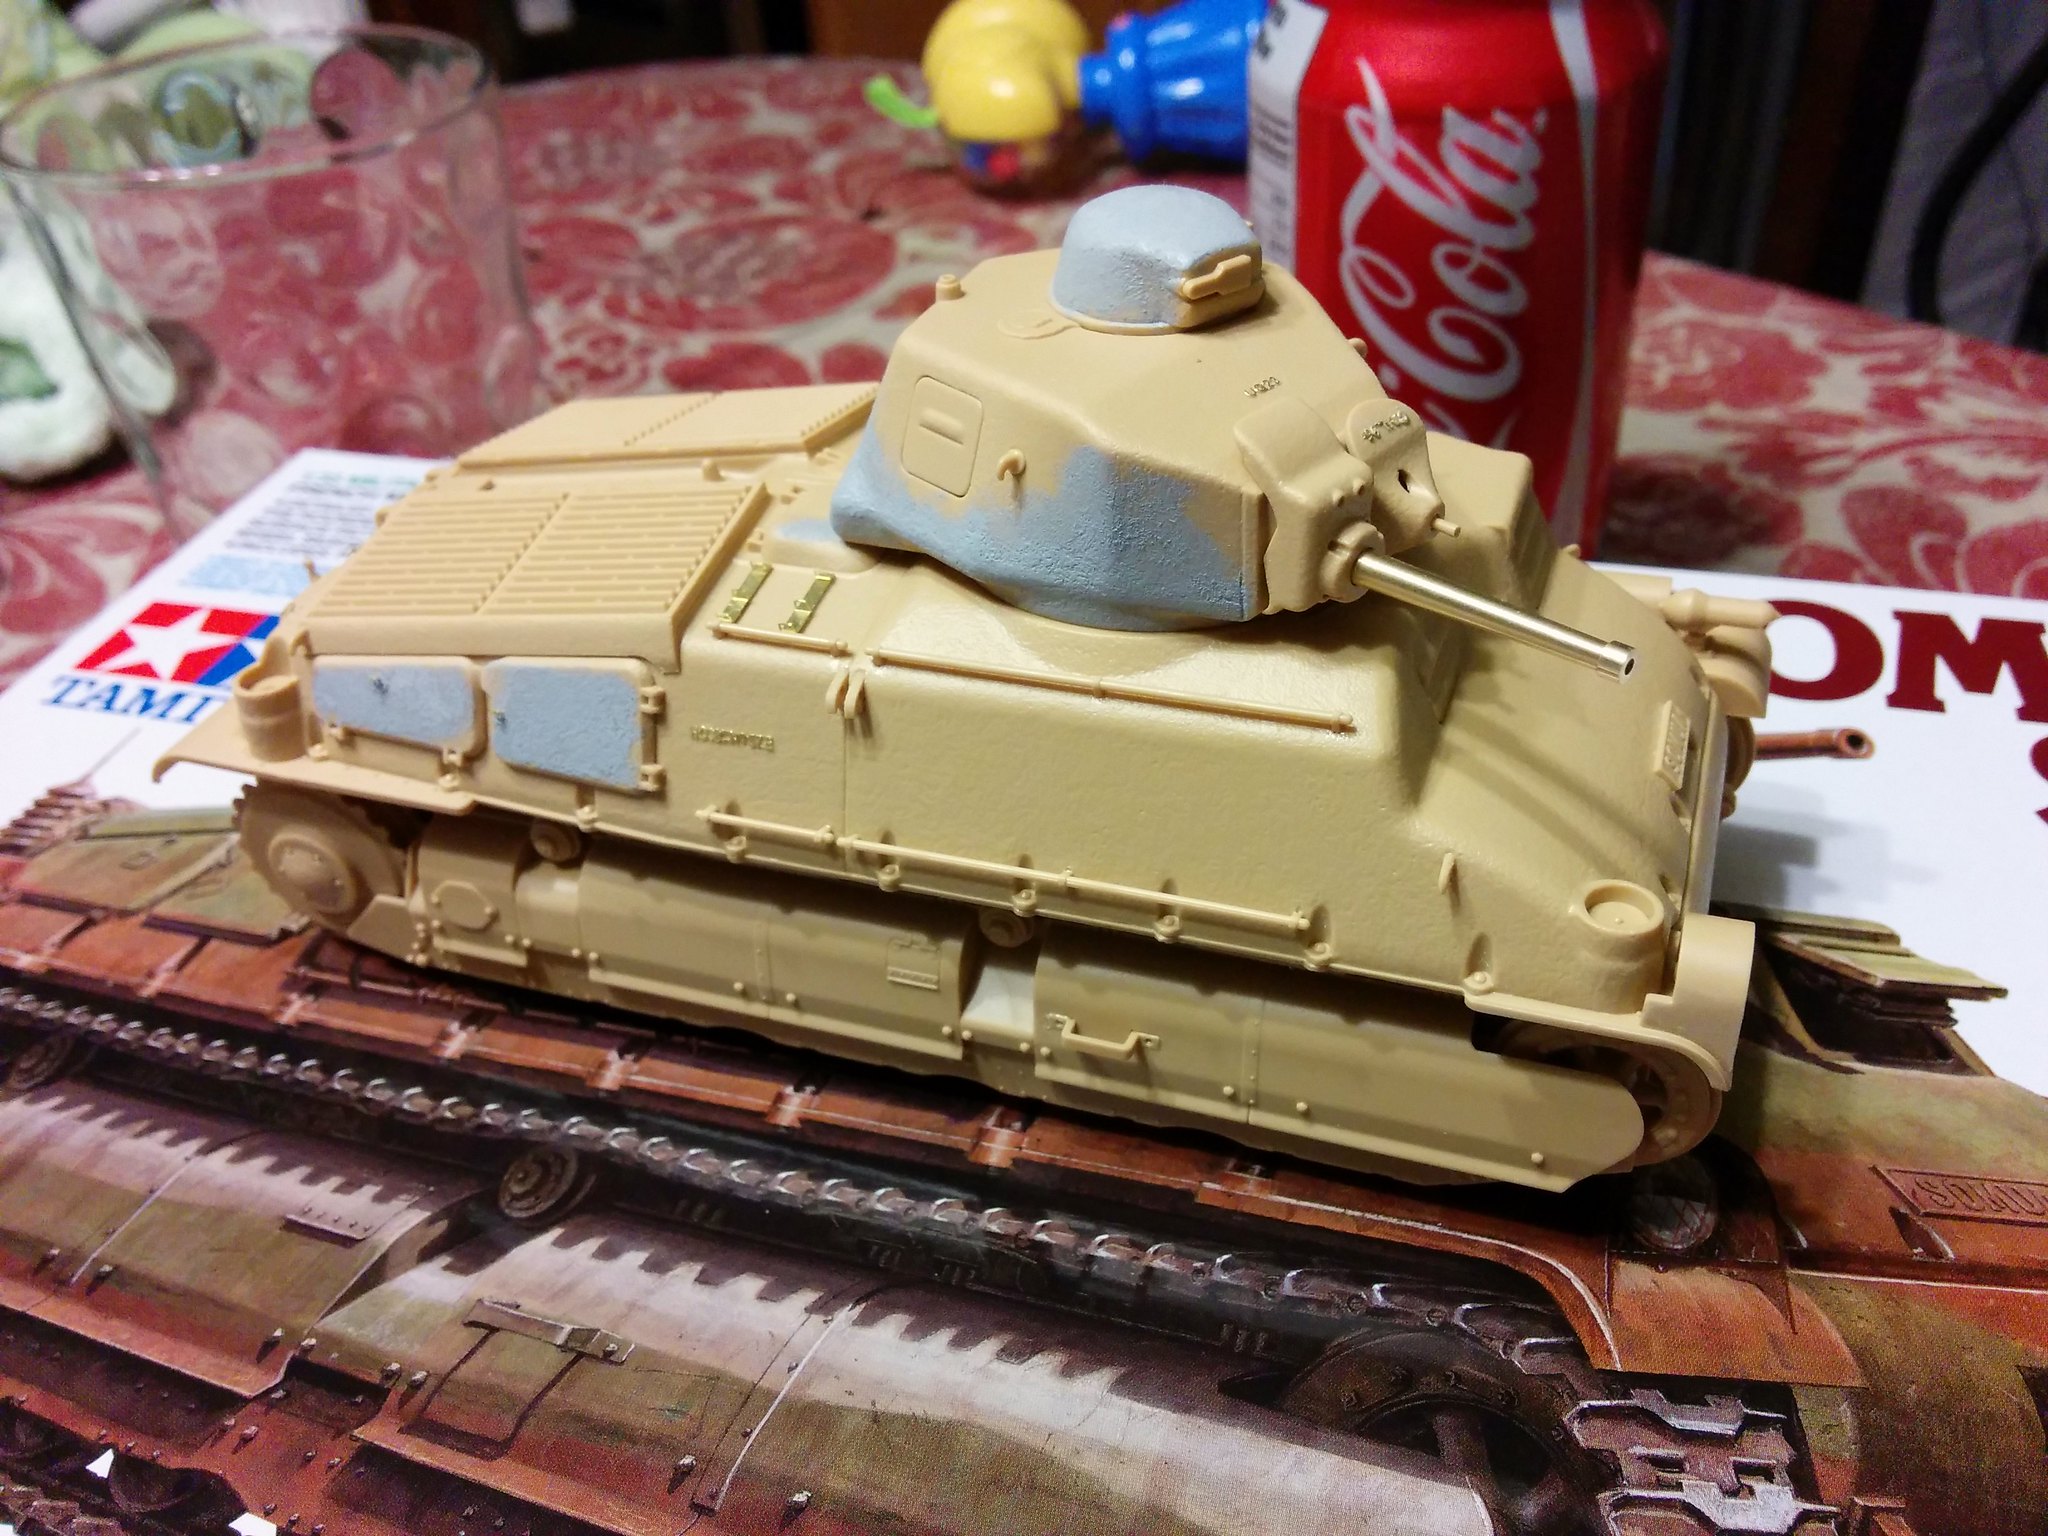 Most of the work is done but there is still a little more work detail wise I need to address. I hope I can bang it out in a night or two and the primer can start flying. 1st time using a voyager P/E set and I have to say for the price they're great. Two minor complaints about the kit. 1/ The antenna mount it kind of bad. Inside this section where the antenna connects is a raised dimple and the antenna needs to connect to that dimple with a butt joint. I ended up drilling out the dimple to create a more positive connection. The antenna might sit a mm lower then it should, but it shouldn't break off a 100 times after it's installed. 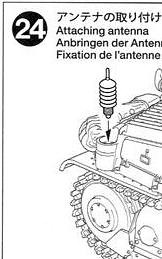 2/ The turret will graze the starboard engine access hatch when you rotate it. Not a big deal usually (except maybe rubbing off paint over time), but my aftermarket P/E access panel handle mounts are too big. A .8mm assembled size it's just too big for the gap. I'll live with it. More updates to come soon I hope, thanks for looking. Jeff |
|
Jeff the 57th
Full Member
  
Member since: February 2014
Posts: 432 
|
Post by Jeff the 57th on Apr 8, 2016 15:13:17 GMT -5
Worked on a few detail items and then it was primer down. Left a few items off the tank to paint separately. 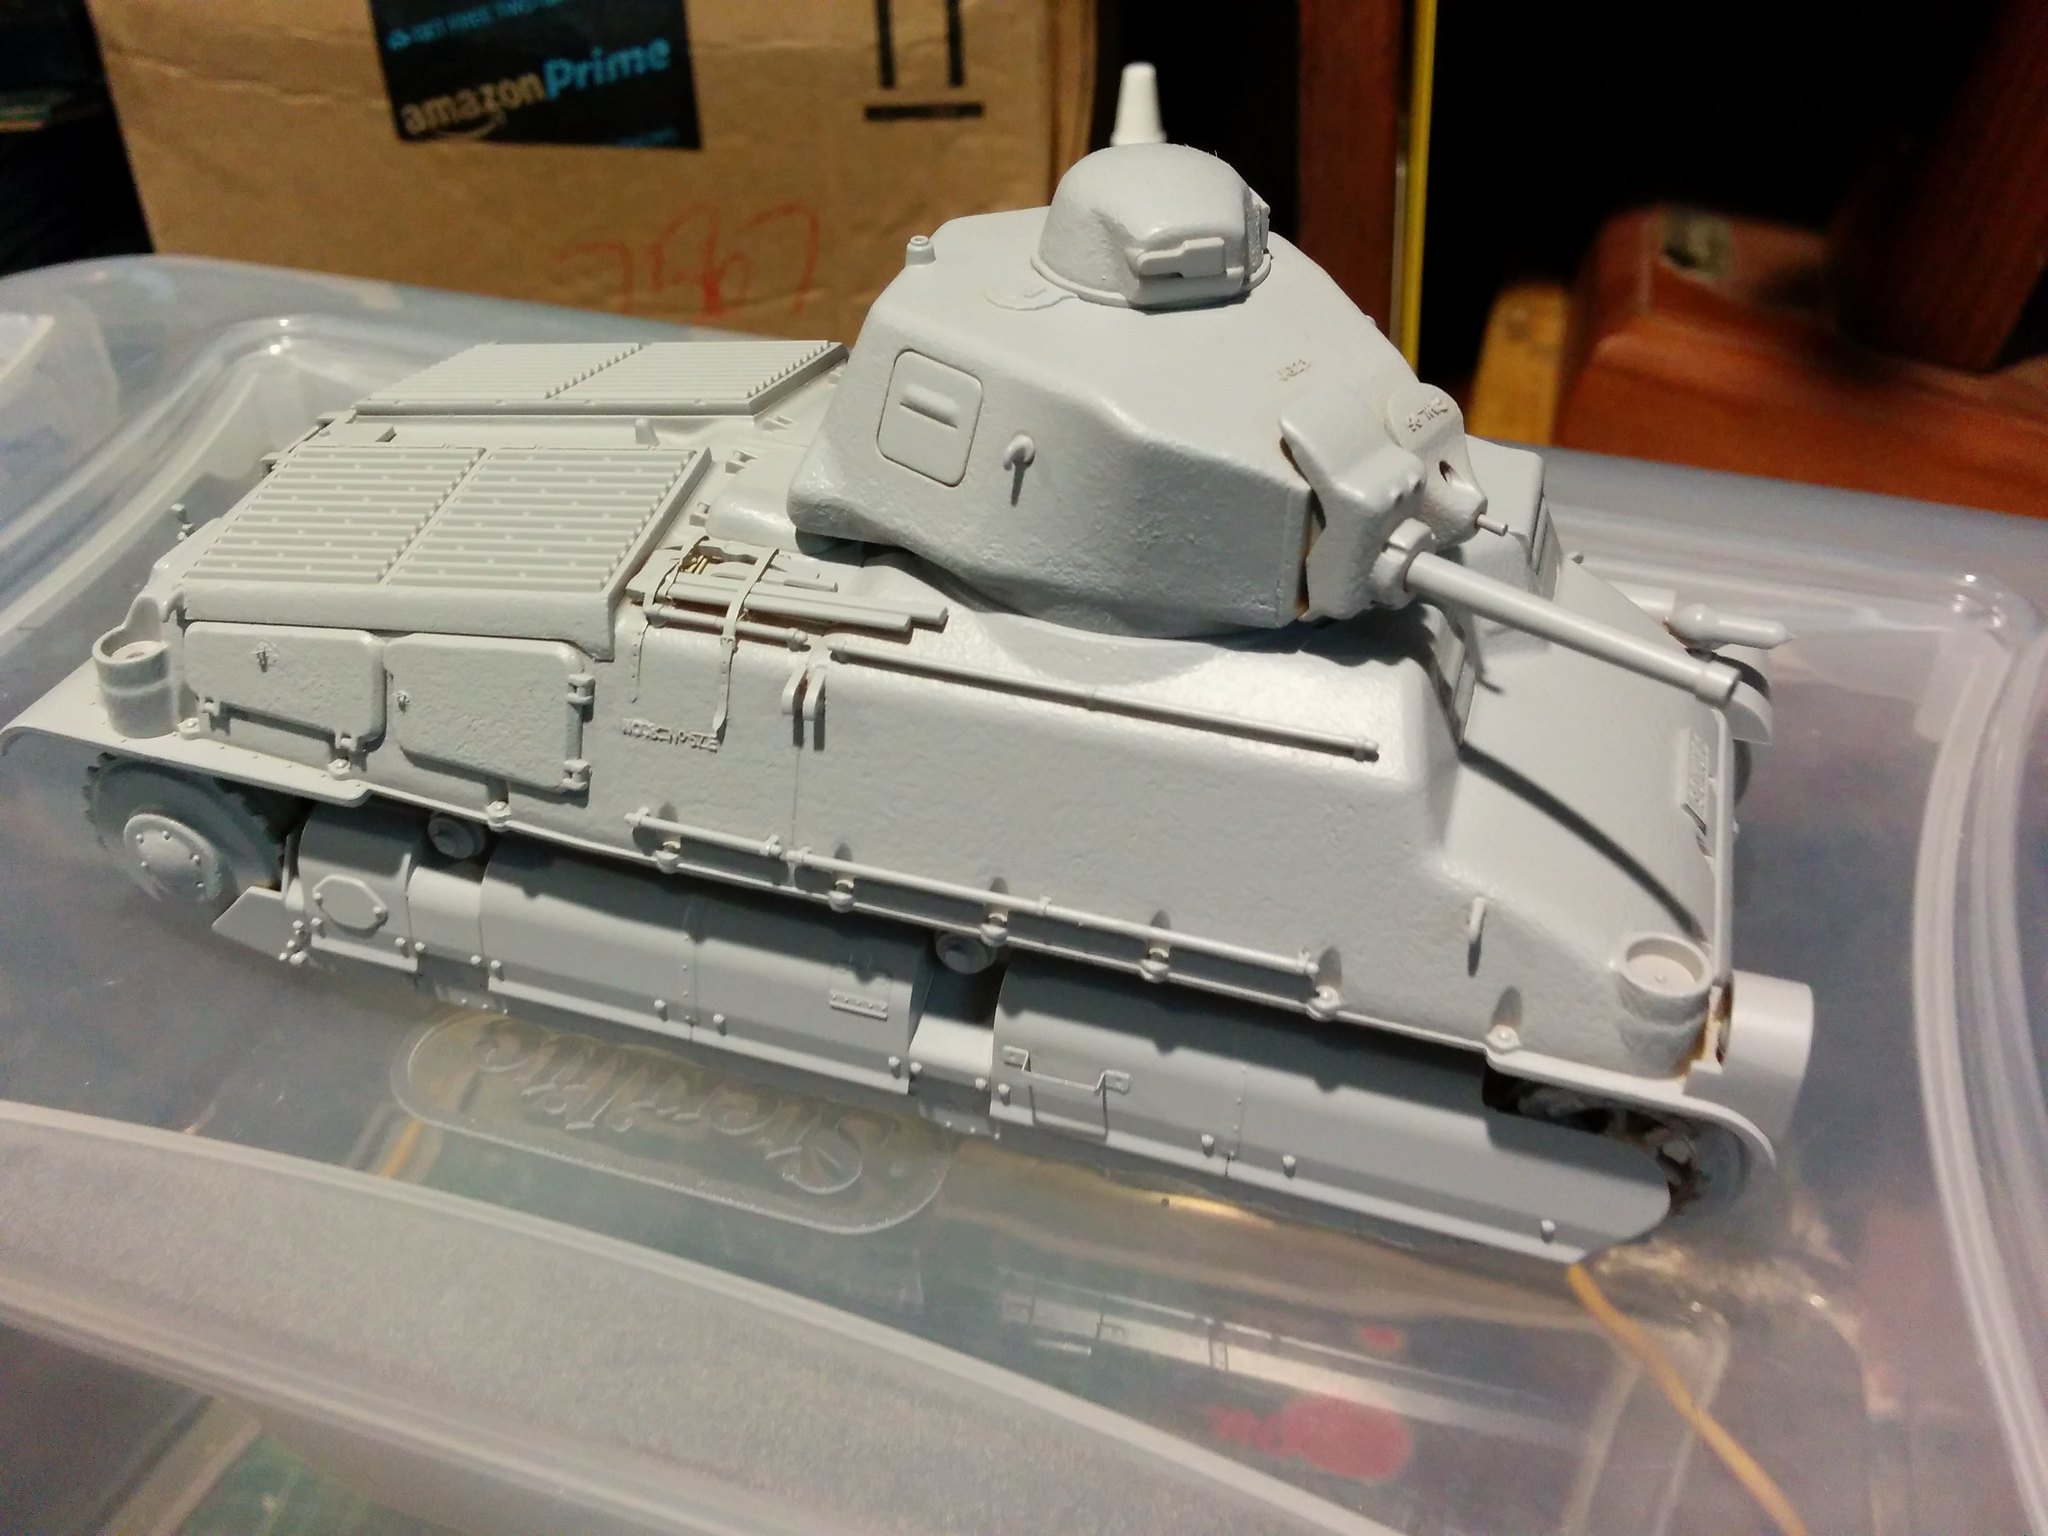 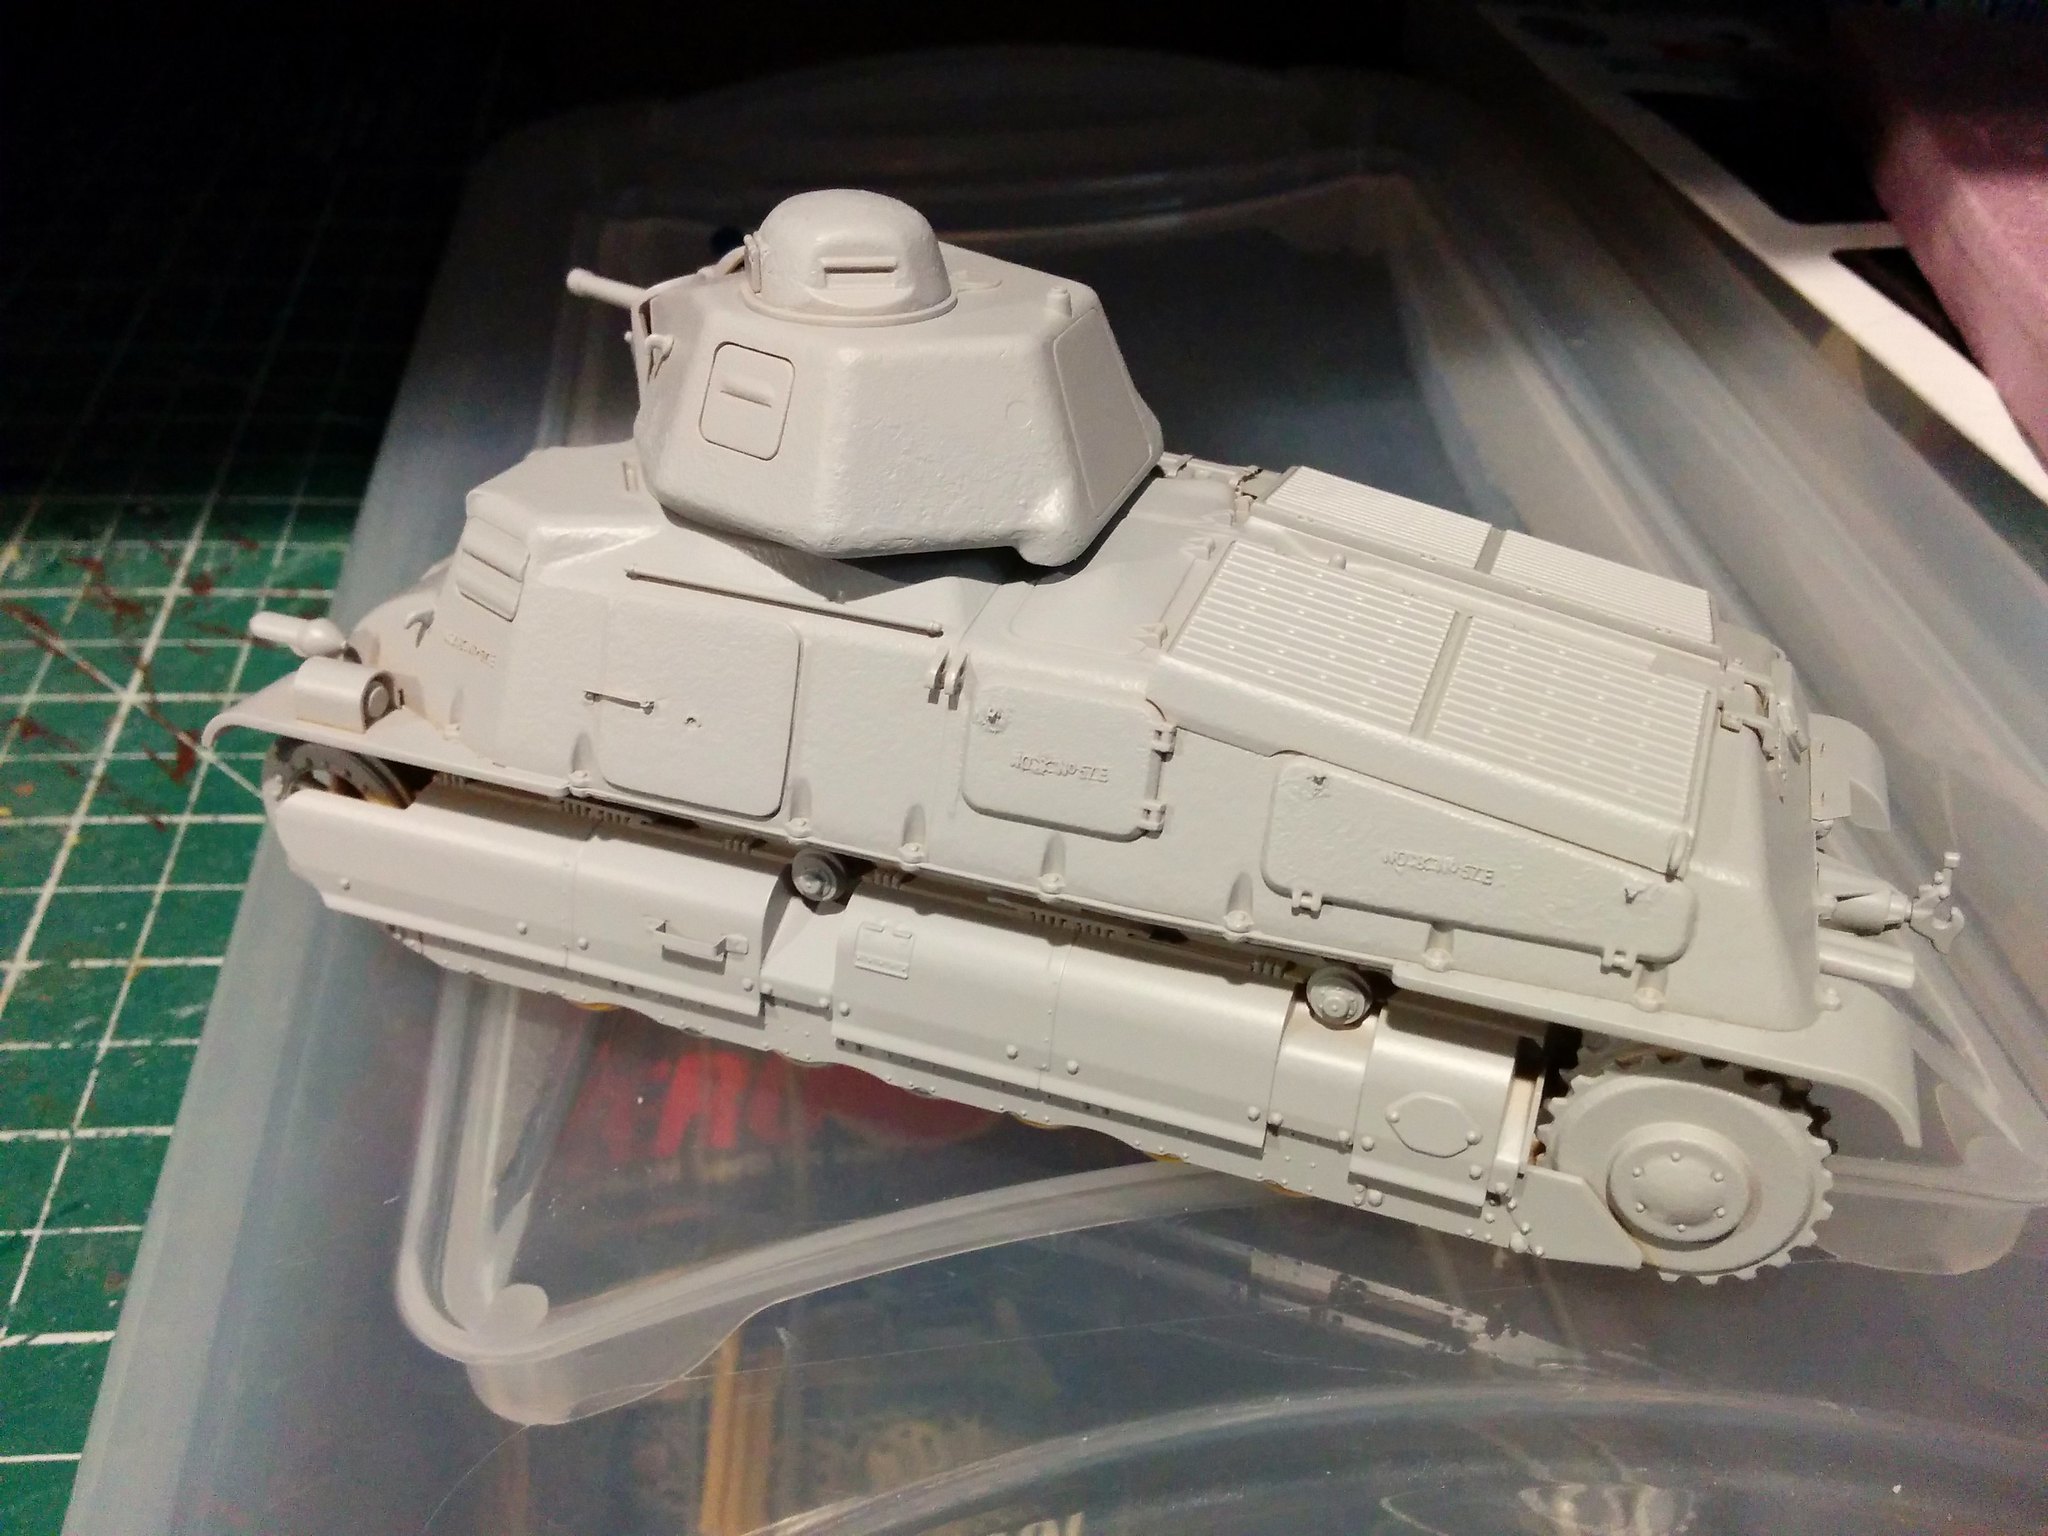 I promised myself I wouldn't use rattle can primers anymore. So of course I did exactly that. Not really happy with the results. Obscured some details more then I'd like. Lesson learned (hopefully). Oh well I should be able to correct it, then move on to the base colours. Thanks for staying tuned. Jeff |
|
|
|
Post by wbill76 on Apr 8, 2016 17:30:57 GMT -5
Sometimes we have to remember that the voice in our heads is usually right Jeff!  Hope you can fix it without too much trouble. |
|
|
|
Post by wing_nut on Apr 8, 2016 17:39:51 GMT -5
I've heard wonderful things about this kit. Looks like your making them all true too.
|
|
Jeff the 57th
Full Member
  
Member since: February 2014
Posts: 432 
|
Post by Jeff the 57th on Apr 8, 2016 20:12:23 GMT -5
Thanks for the encouragement. A 8 hours later it is looking a little better. The tamiya spray primer did level out and shrink down quite a bit more then I expected. I guess if I was going to use a rattle can at least I used a good one. The next fun project will be figuring out how to paint this sucker.  I love this scheme but masking might be tricky. I may have to take a crack at hand painting the camo like Gary did in this old Tamiya type 97 build. modelerssocialclub.proboards.com/thread/3486/type-97-shinhoto-chi-ha?page=3Is Gary still around? I miss his build logs. Thanks for looking, Jeff |
|
|
|
Post by wing_nut on Apr 8, 2016 20:44:25 GMT -5
The hull should be easy to do with tape cut in a wavy fashion. For the turret maybe what i did on Char. Tape templates, easy to cut out, then outlined with a black fine point marker. 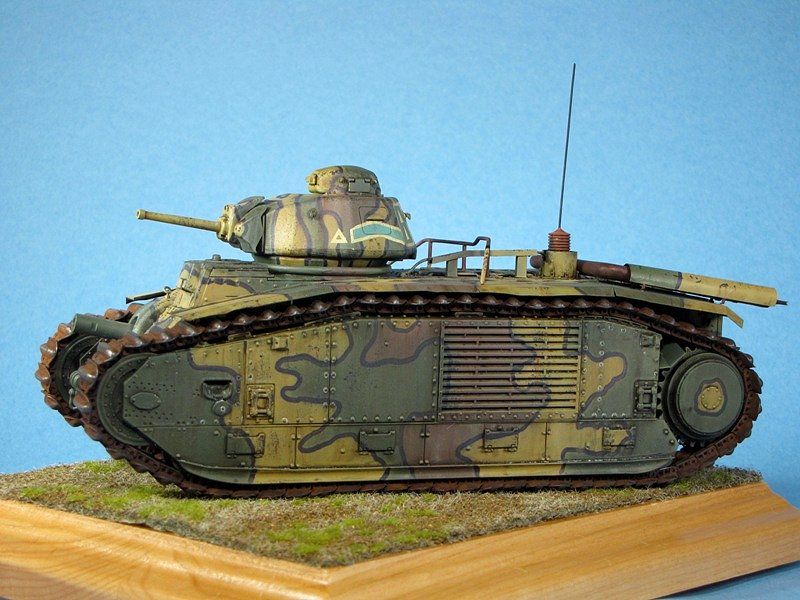 |
|
|
|
Post by Leon on Apr 8, 2016 20:59:28 GMT -5
Primer looks good Jeff! Looking forward to you tackling the camo.  |
|
Jeff the 57th
Full Member
  
Member since: February 2014
Posts: 432 
|
Post by Jeff the 57th on Apr 8, 2016 21:05:22 GMT -5
Thanks for the tip. I was thinking of making a go of it with silly putty, but I like your results. I'm usually a pretty dyed in the wool olive drab guy so hard edged three tone camo is pretty virgin territory for me. I half want to check my airbrush's manual to see if it's compatible with shades besides green.
Jeff
|
|
Jeff the 57th
Full Member
  
Member since: February 2014
Posts: 432 
|
Post by Jeff the 57th on Apr 10, 2016 15:57:02 GMT -5
Base coat down. 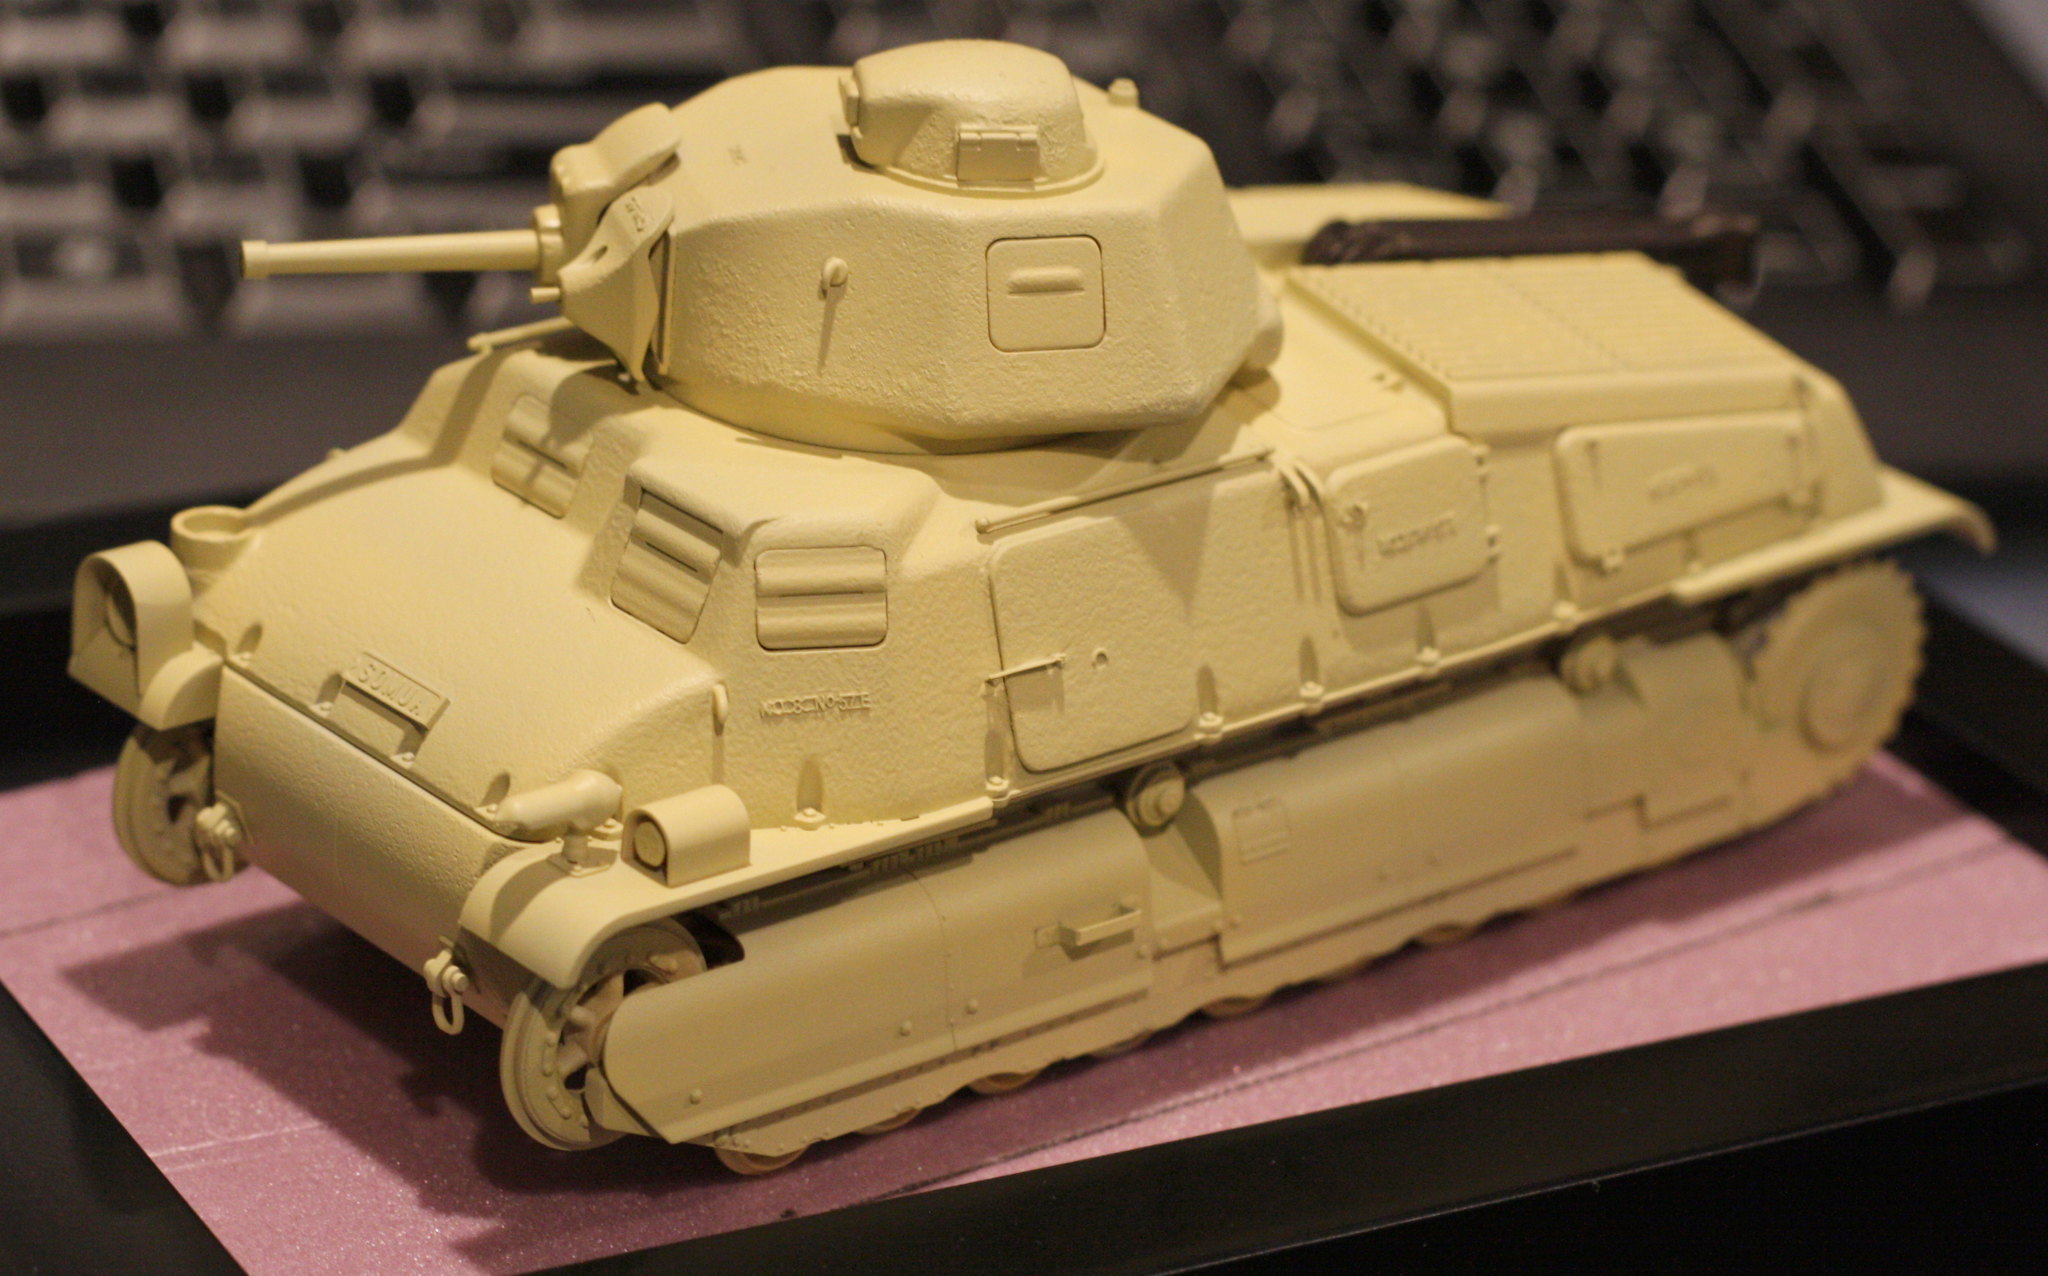 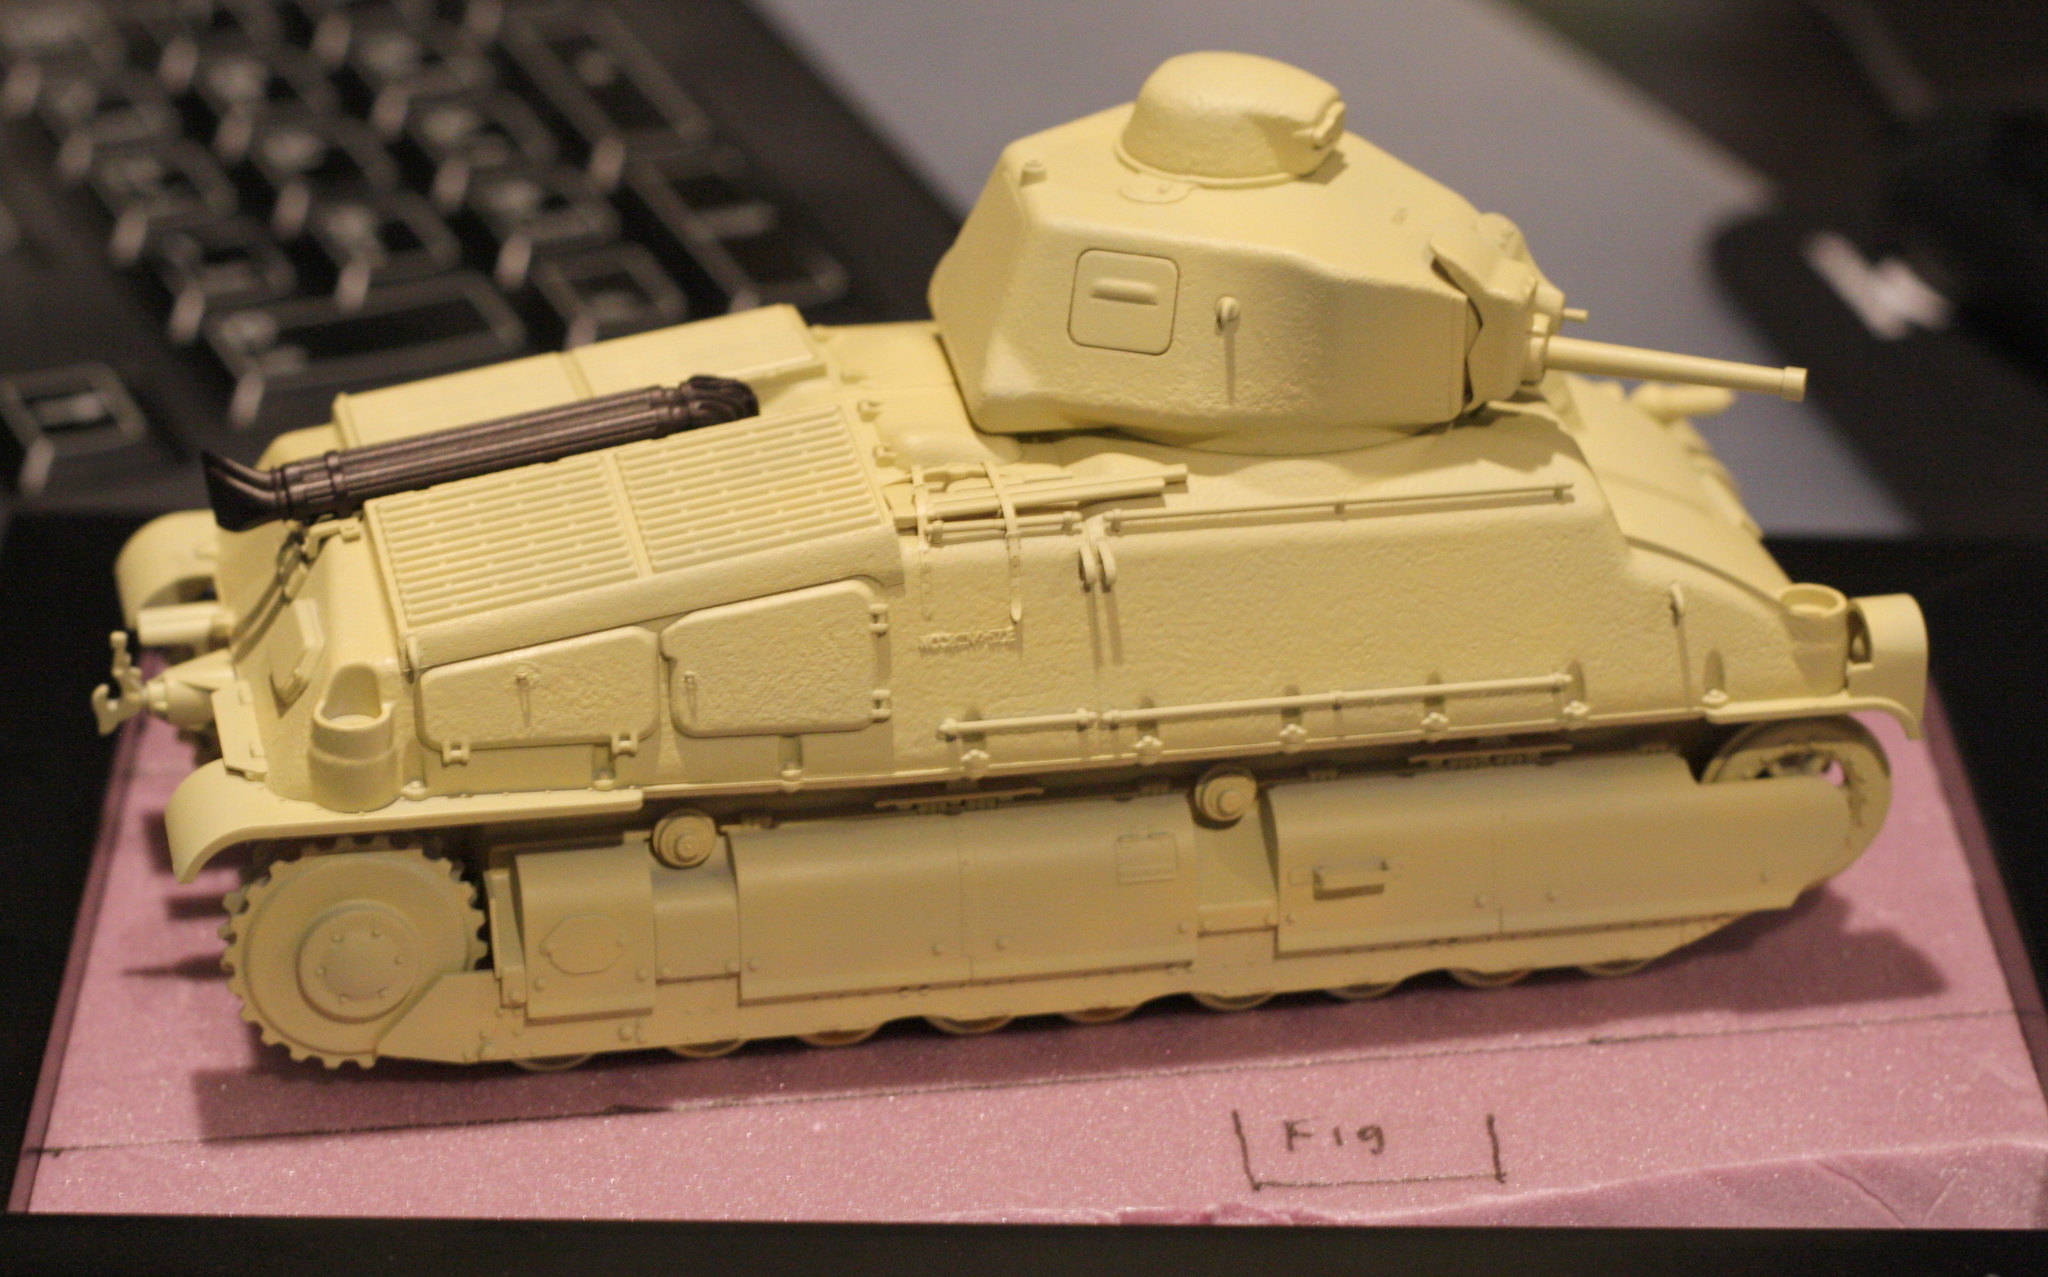 And what a pain in the @#$ colour it was to pick. Seems like there is a lot of disagreement on paint shades, especially if the lightest colour is a light grey or yellow ochre. RAF Sky (which the instructions called for) seemed too greenish to be either or those things so I just went with a colour close to what Mike Rinaldi used on his Char B1. It's a little yellower in these photos compared to in person. After some weathering it should be close to the restored Saumur S35 and some period colorized photos. Neither of those are really accurate sources, but hey artistic license.  .jpg) First time airbrushing Ammo paint, I like them better then Vallejo model air so far. Painted the exhaust with Alclad exhaust manifold colour and plan on doing the hairspray technique to chip it in the base colour. Thanks for looking. Jeff |
|
|
|
Post by Leon on Apr 10, 2016 16:43:56 GMT -5
Base coat looks good Jeff!  |
|
|
|
Post by wbill76 on Apr 10, 2016 19:43:10 GMT -5
I'd say you had a nice solid foundation to work from there Jeff! Doesn't surprise me that there's yet another 'true shade' discussion/debate out there...why should the French schemes be immune?  |
|