|
|
Post by eastrock on Nov 23, 2012 23:19:58 GMT -5
Gag, you got the hand of a fabricator, amazing scratch building.
Happy Thanksgiving!
|
|
|
|
Post by TRM on Nov 23, 2012 23:54:10 GMT -5
Hey Gag!! Looking spectacular!! Love watching you plaster on all the details!!!  |
|
venom1
Full Member
  
Member since: October 2012
Posts: 1,369
Oct 10, 2012 2:40:03 GMT -5
Oct 10, 2012 2:40:03 GMT -5
|
Post by venom1 on Nov 24, 2012 6:10:36 GMT -5
Dude, you and Dicky have GOT to get together! You would be an unstoppable force in the world of modelling!! ;D Outstanding work, my friend!  Cheers, Sam  |
|
Deleted
Member since: January 1970
Posts: 0
Dec 10, 2024 21:23:32 GMT -5
Dec 10, 2024 21:23:32 GMT -5
|
Post by Deleted on Nov 24, 2012 6:40:52 GMT -5
Holy hell this is outstanding, im going back for a better look,
Mack
|
|
thenylongag
Full Member
   Sept2013 MoM Winner
Member since: June 2012
Yes, we have 'NO' bananas
Posts: 304
Jun 7, 2012 11:20:57 GMT -5
Jun 7, 2012 11:20:57 GMT -5
|
Post by thenylongag on Dec 3, 2012 15:08:40 GMT -5
Thank you so much for the positive comments Just a quickie to show the hitch assembly i was working on before, with a bit more done. Agonized over the design for, what seemed like, forever but i think it turned out quite nice. Cut out my central supports 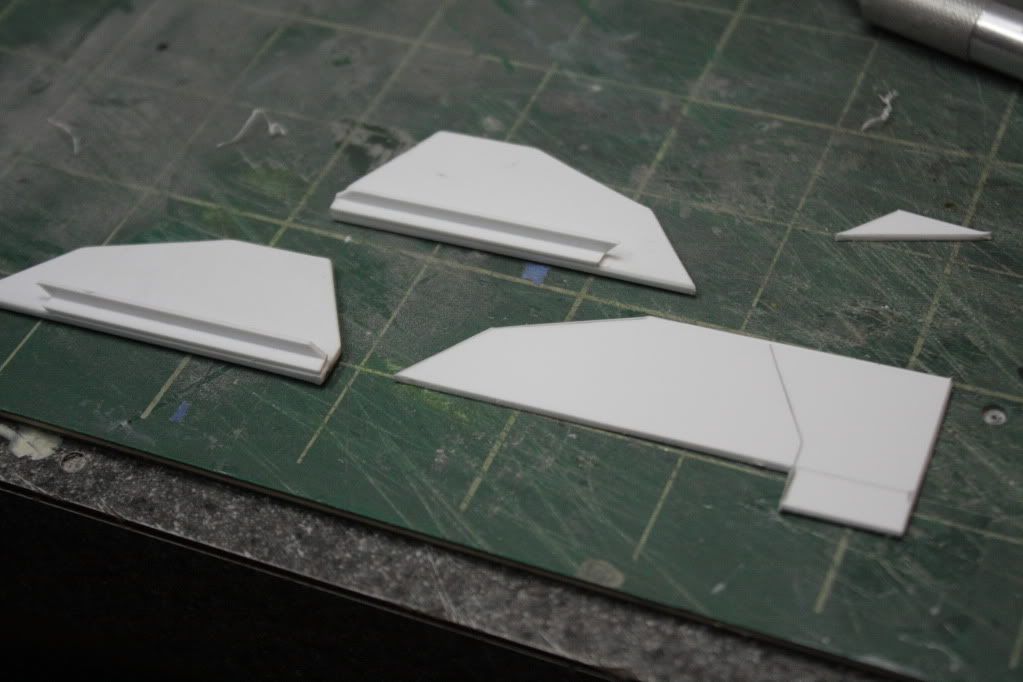 Drilled a hole and inserted a tube 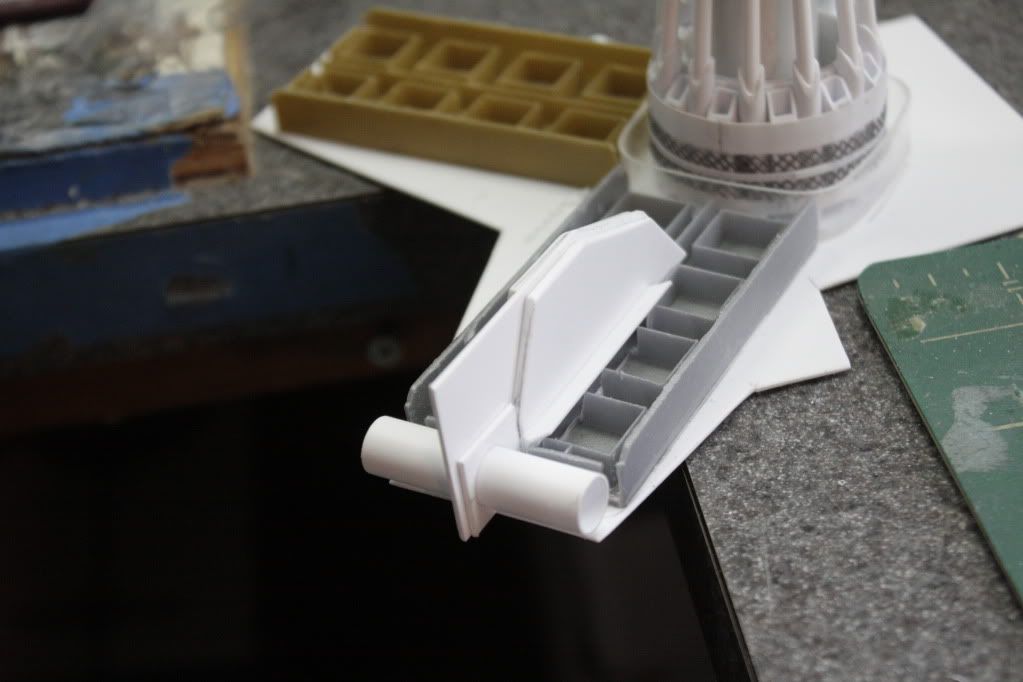 Shaped and glued 2 side supports 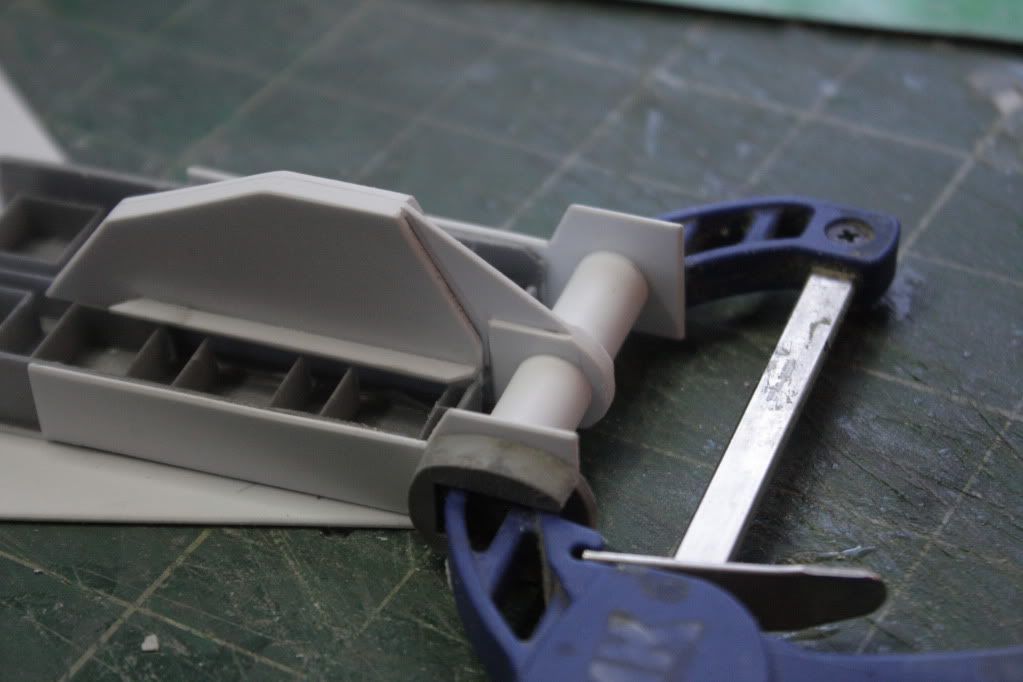 Mounted 2 damper boxes 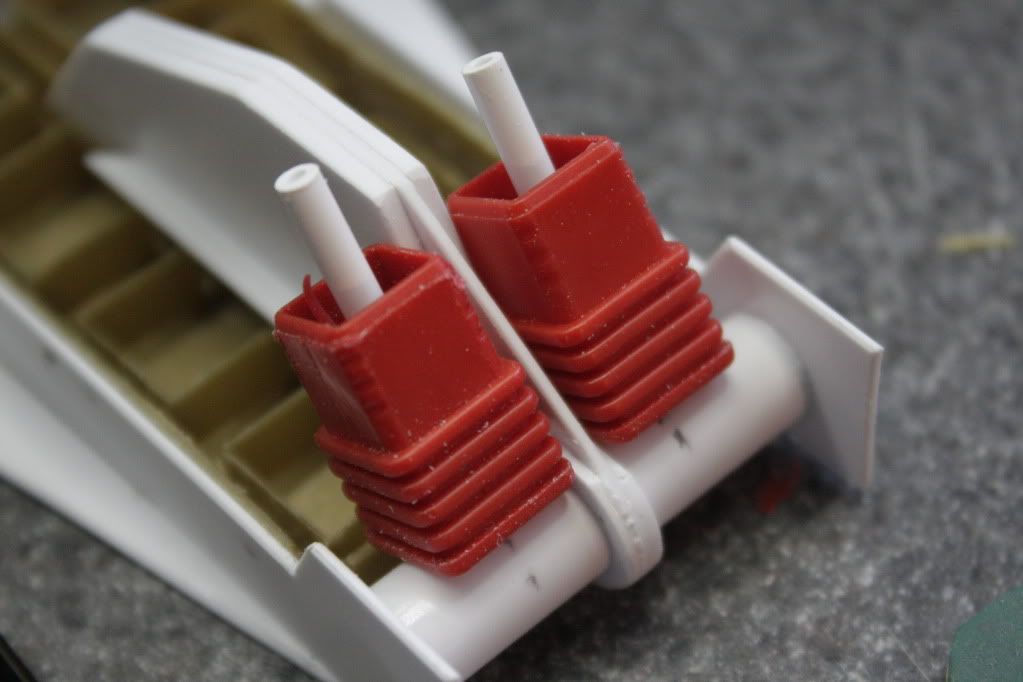 Got the piston/actuator assemblies together 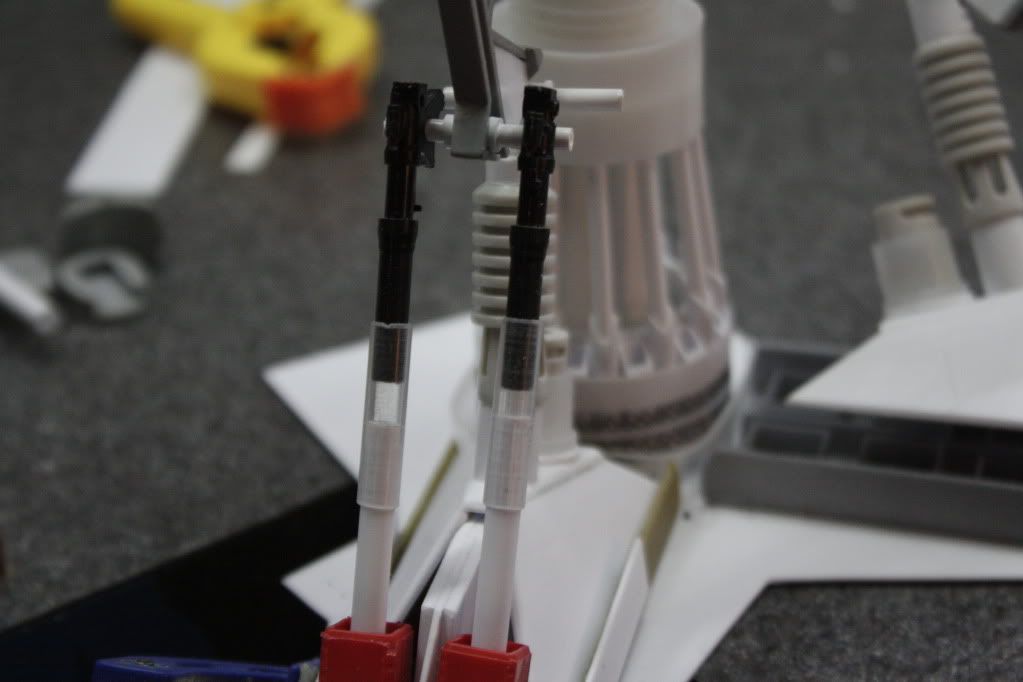 I shaped the side supports and dry fit everthing together including the magnetic vacuum pads. 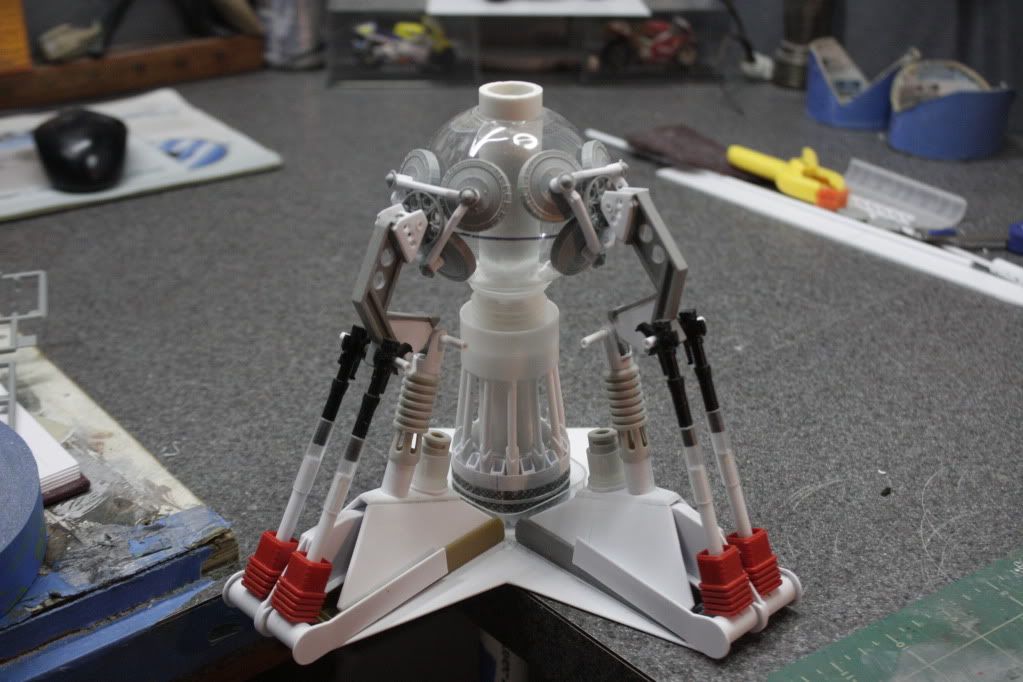 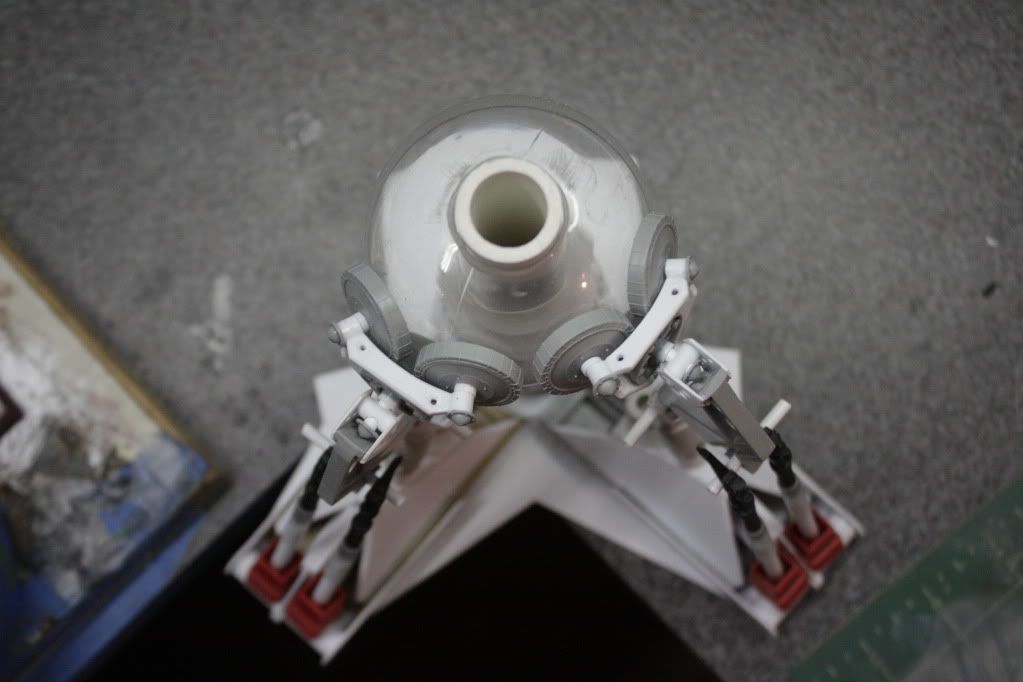 Even a quick video Hope you like what i've done so far, still have wiring, hydraulic lines, detailing and some additional supports. Thanks for stopping by Gagster |
|
|
|
Post by bullardino on Dec 4, 2012 9:39:21 GMT -5
Apart from the looks of the thing, absolutely believable and up to museum standards, you amaze me with your ability to produce tons of identical pieces...
|
|
thenylongag
Full Member
   Sept2013 MoM Winner
Member since: June 2012
Yes, we have 'NO' bananas
Posts: 304
Jun 7, 2012 11:20:57 GMT -5
Jun 7, 2012 11:20:57 GMT -5
|
Post by thenylongag on Dec 10, 2012 22:57:17 GMT -5
Evening All, Thanks for the comments guys, Had all day Friday to model after I'd made a run to the nearest model store (about 45 mins away) and got three new greeblie donors. 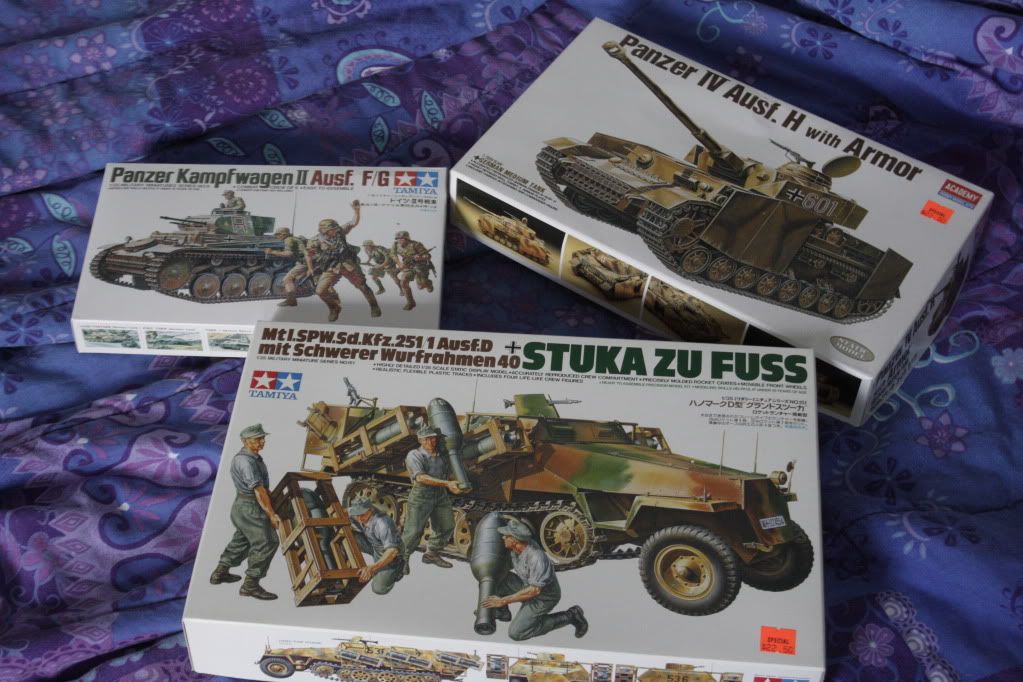 Made a detail pod for under the back end for a tool holder and an assortment of greeblie from my new donors. 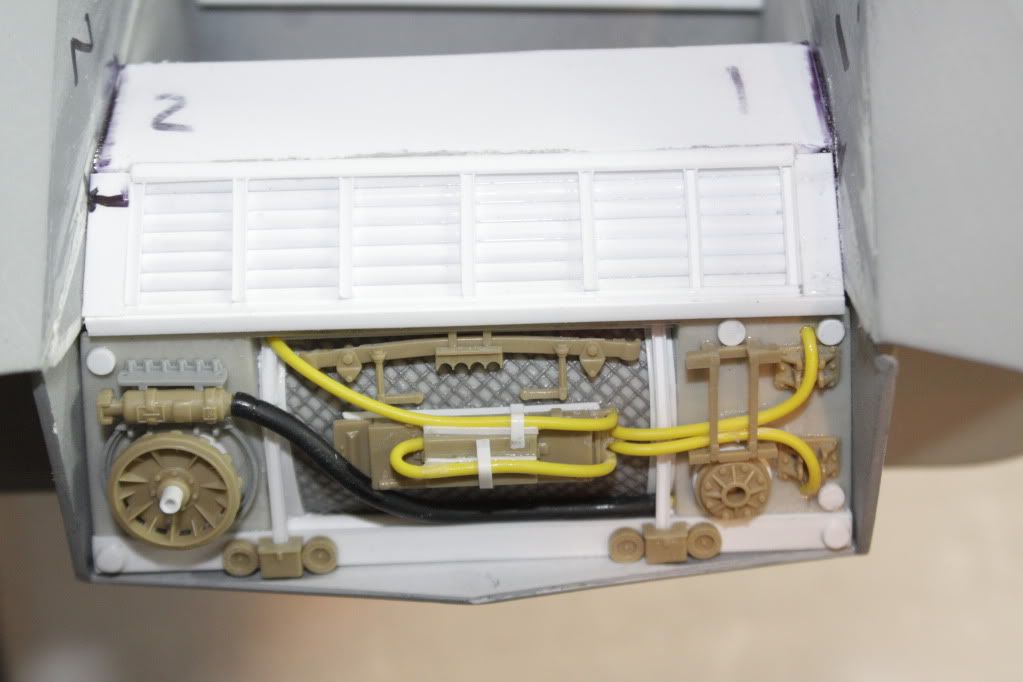 Then i returned to the hitch, Fabricated the top supports for the upper clamping arms of the hitch 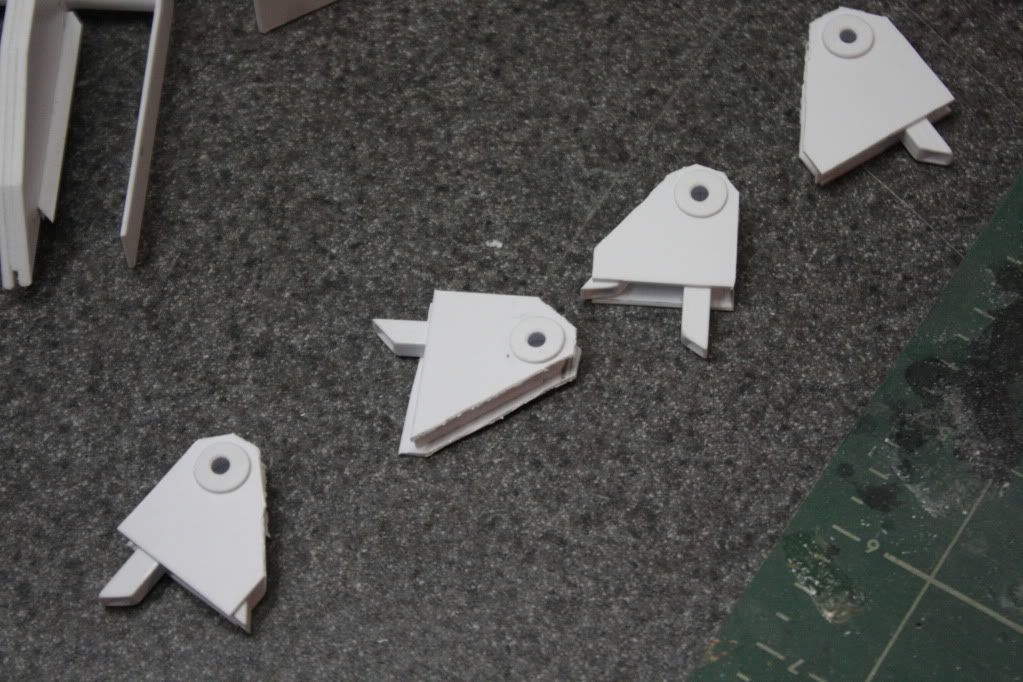 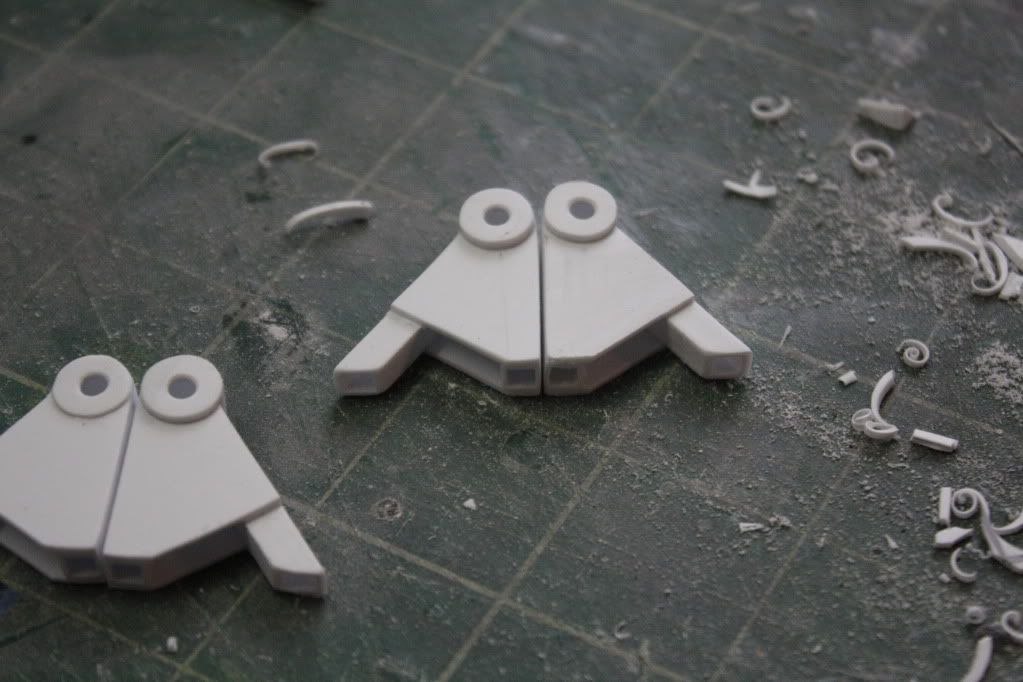 The completed assembly dry fit together, not 100% convinced i like it yet. 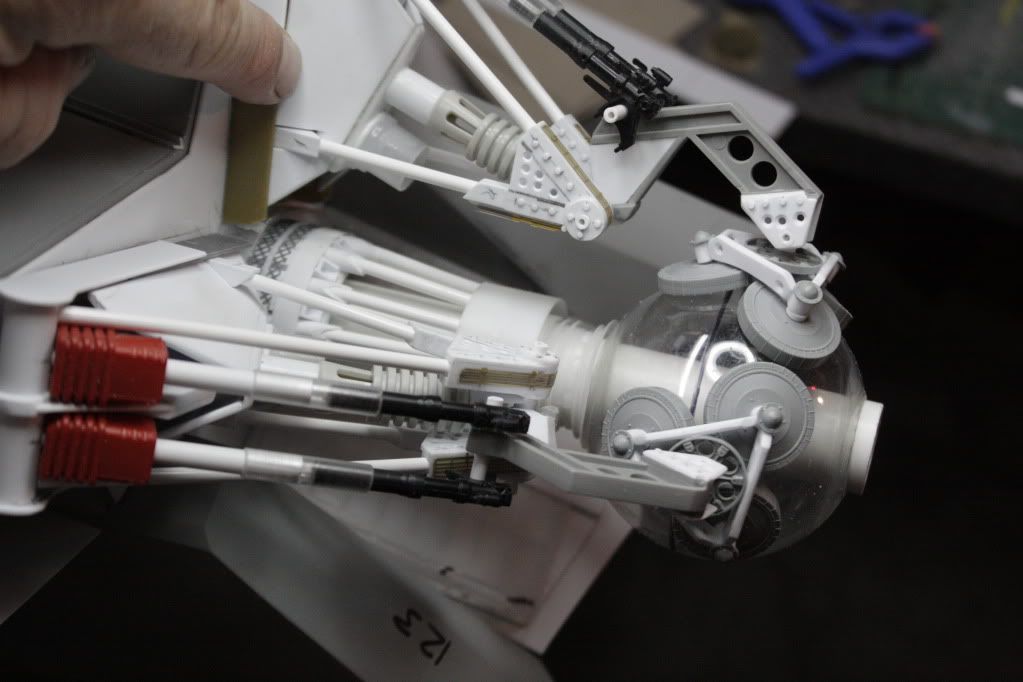 I then moved on to the fixed bottom element of the hich assembly, First made pads 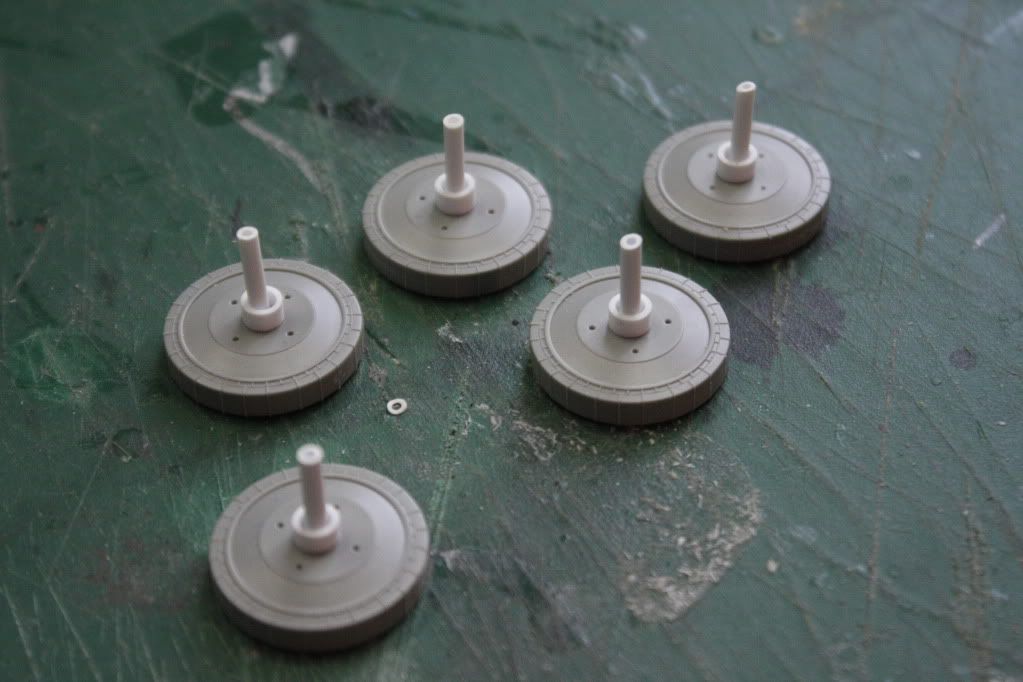 Then a cross support 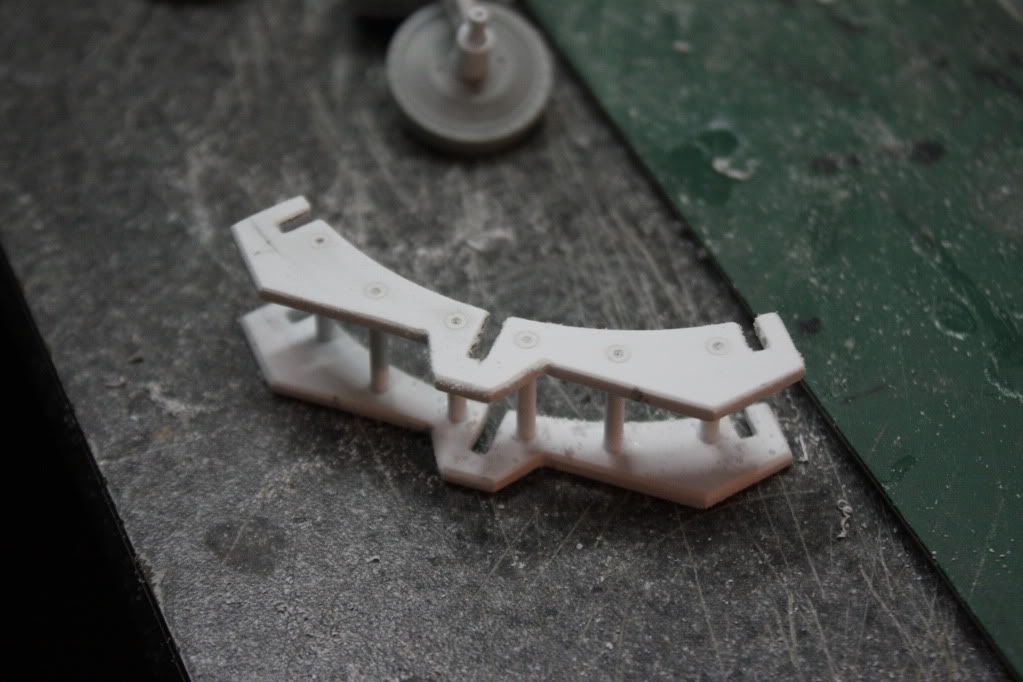 Then pad joiners 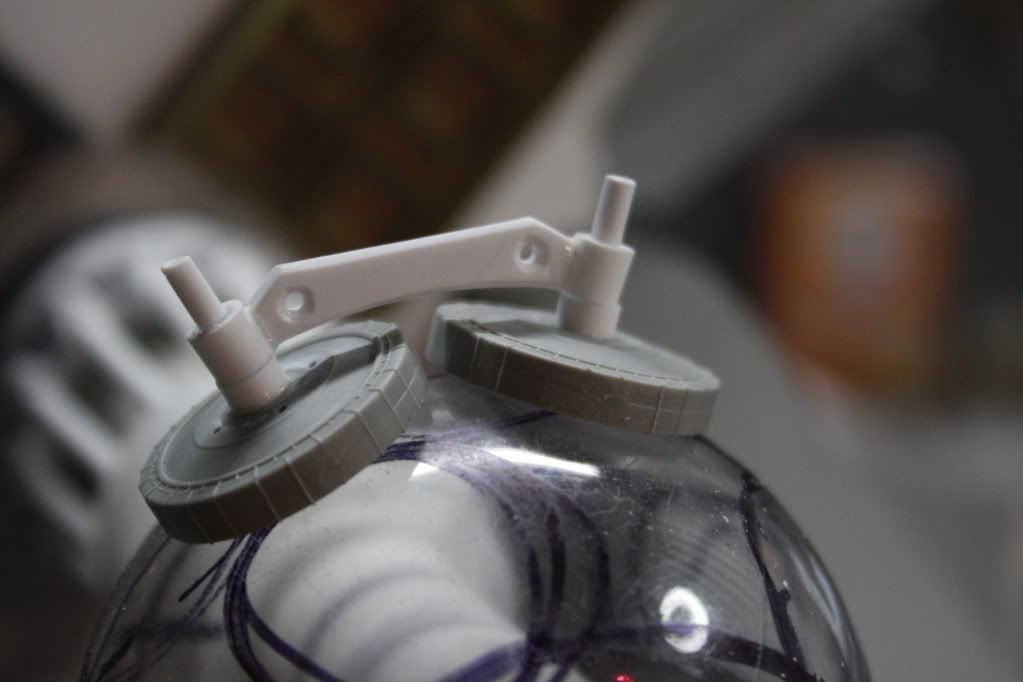 Then dry fit it all together with the external spacing wire and the main supports to the ship 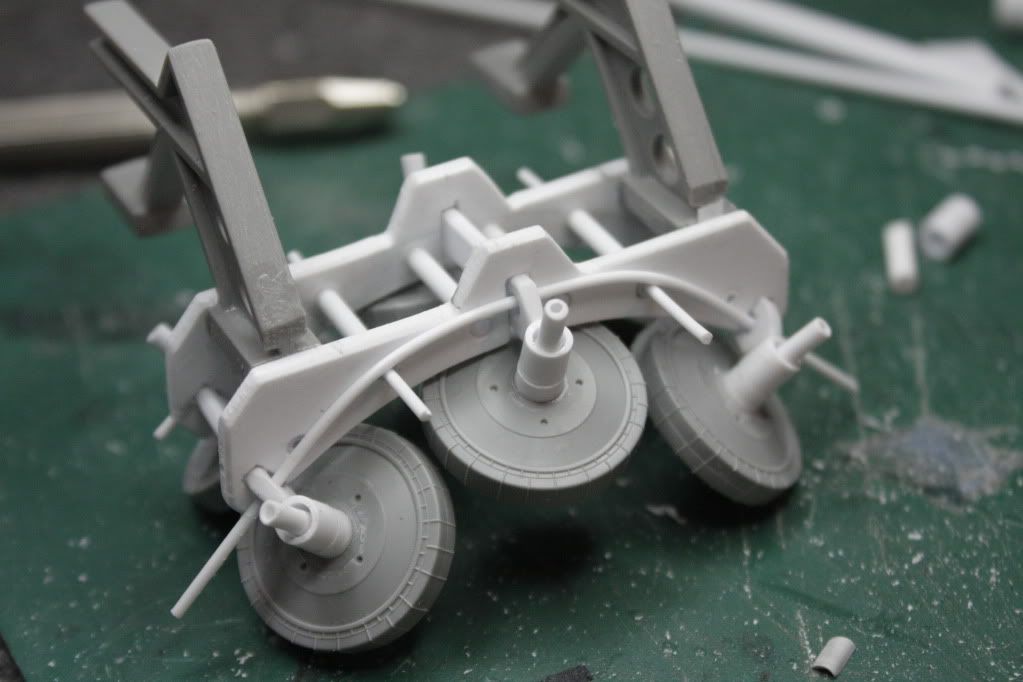 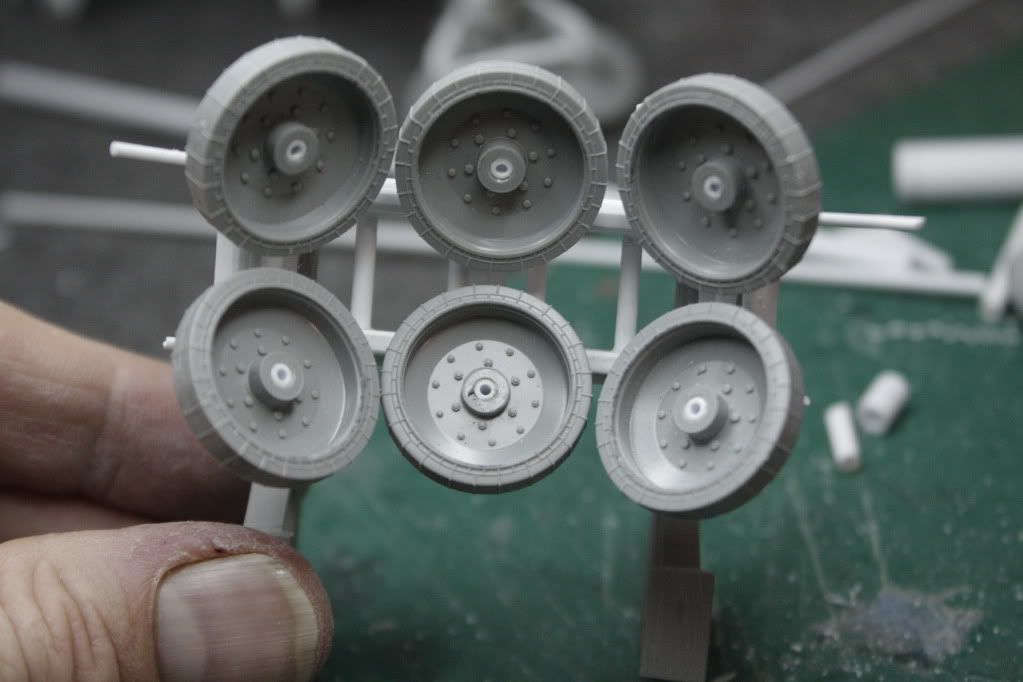 And in position on the ball 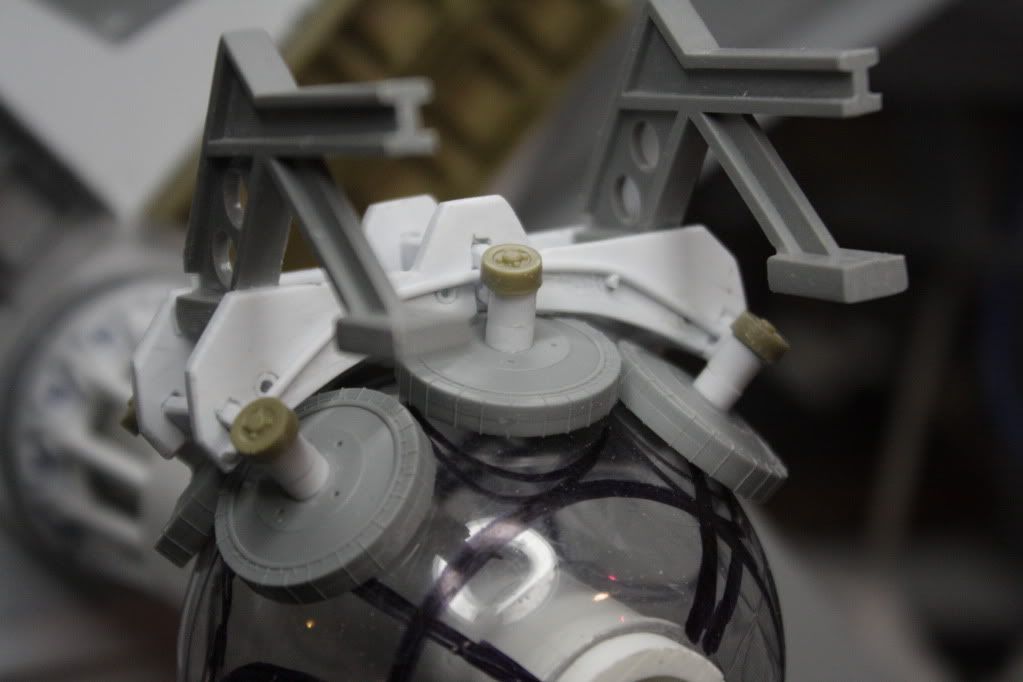 Thats all so folks. More tomorrow, hopefully. Take care Gag |
|
|
|
Post by `Boots` on Dec 13, 2012 17:24:50 GMT -5
|
|
multicam
Senior Member
   
Member since: January 2012
Nate
Posts: 2,039
Jan 10, 2012 14:35:41 GMT -5
Jan 10, 2012 14:35:41 GMT -5
|
Post by multicam on Dec 14, 2012 18:55:09 GMT -5
Awesome! Period:)
|
|
|
|
Post by dupes on Dec 14, 2012 23:46:37 GMT -5
Wow...just, wow.
|
|
thenylongag
Full Member
   Sept2013 MoM Winner
Member since: June 2012
Yes, we have 'NO' bananas
Posts: 304
Jun 7, 2012 11:20:57 GMT -5
Jun 7, 2012 11:20:57 GMT -5
|
Post by thenylongag on Dec 19, 2012 20:44:02 GMT -5
My Friends, Detail is the order of the day, hitch detail. But first i must say, the positive feeling i get from your post's is truly inspiring, i will respond to everyone individualy tomorrow but tonight i just want to get my report in.......? The donor kits have been a great help in the progression of the hitch section......Pix, I posted before i was not convinced by the hitch assembly, so i replaced the round bar with square tube and it fit much better. I then started work on the out side frame work which was to solid to me and needed some "enhancing" I added a frame a cut out and some mesh details. 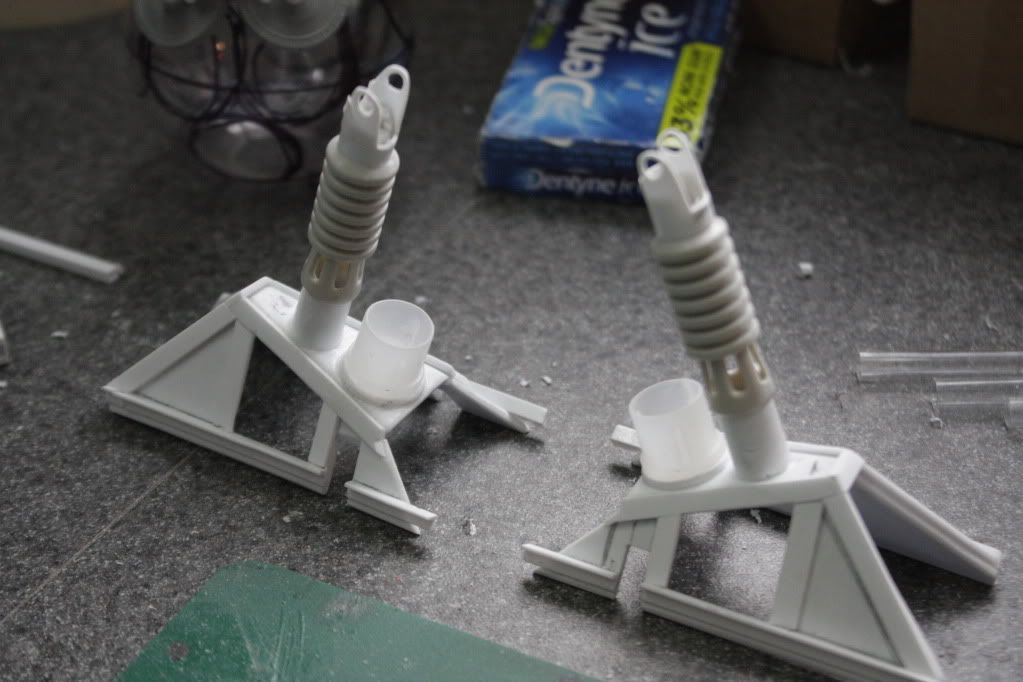 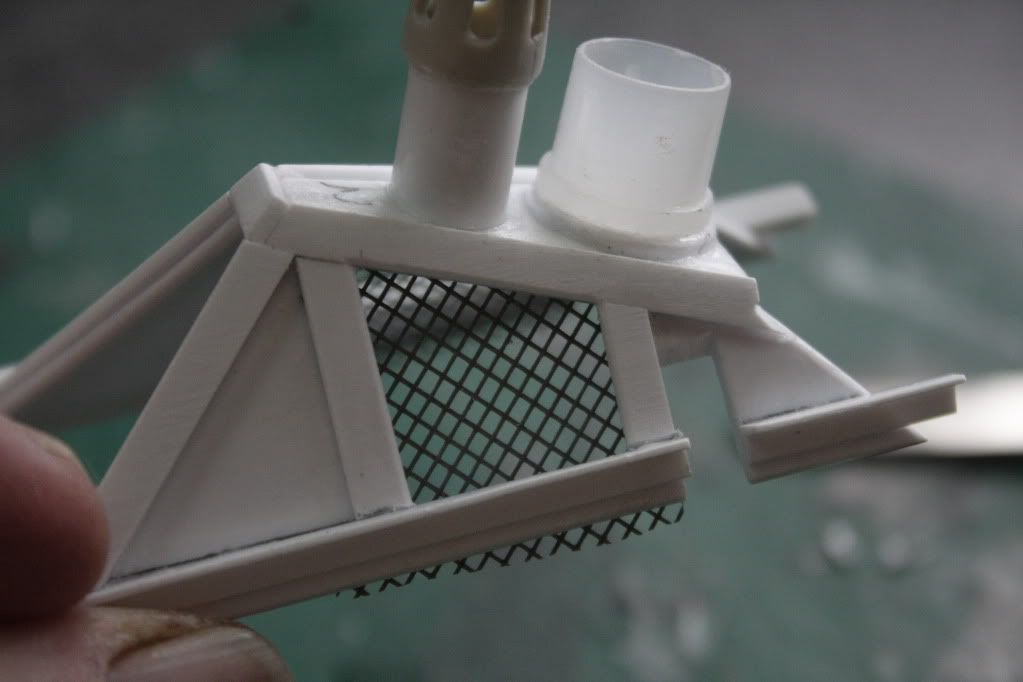 Added some detail to the inside support beam 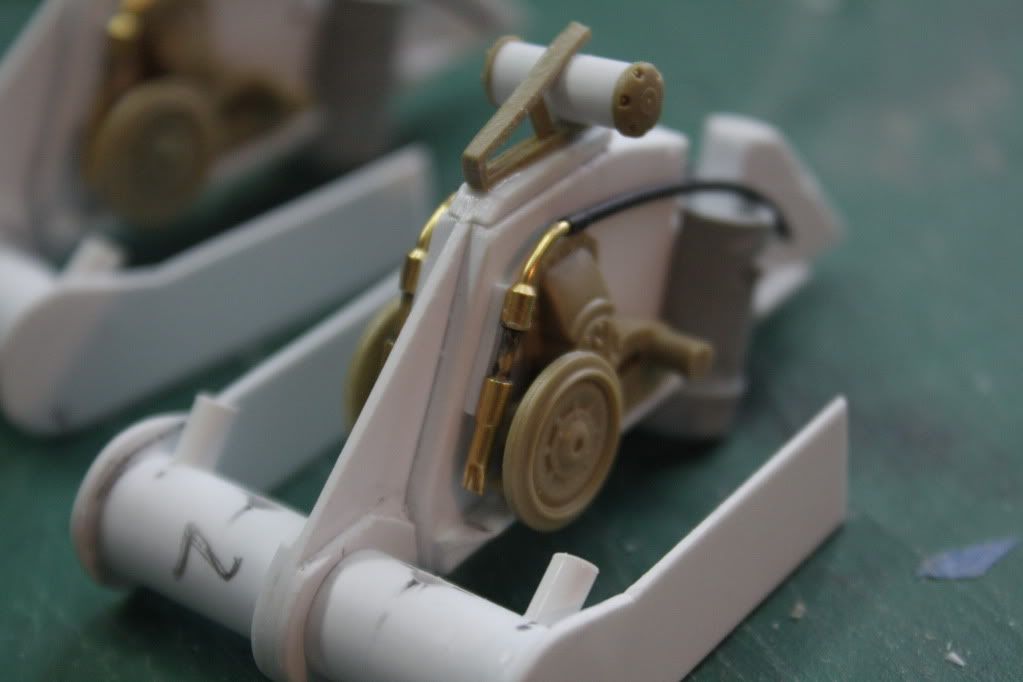 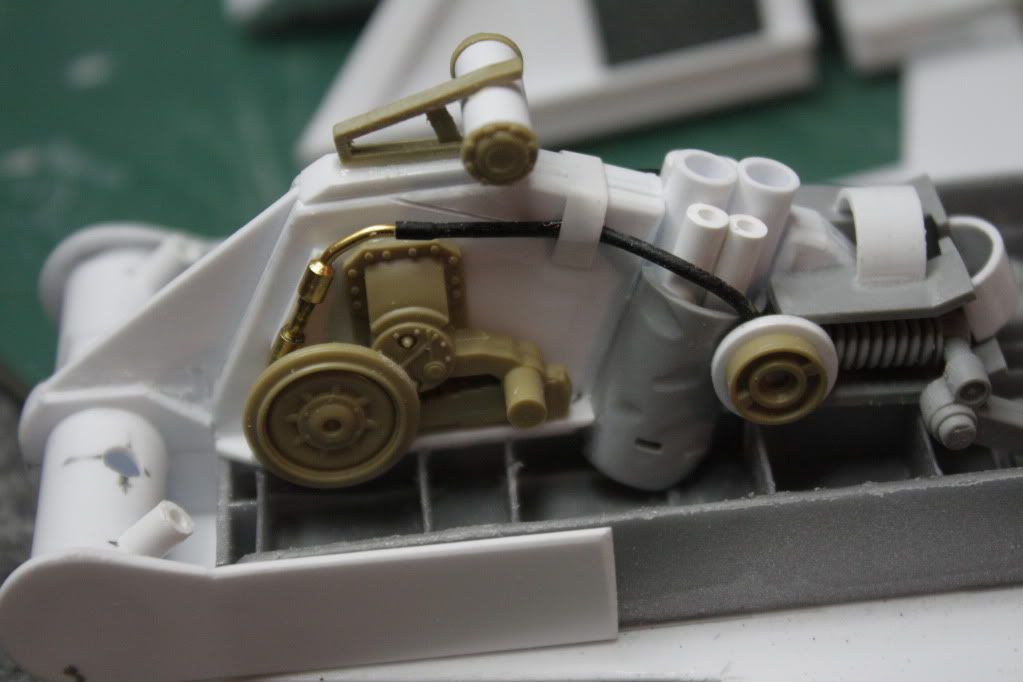 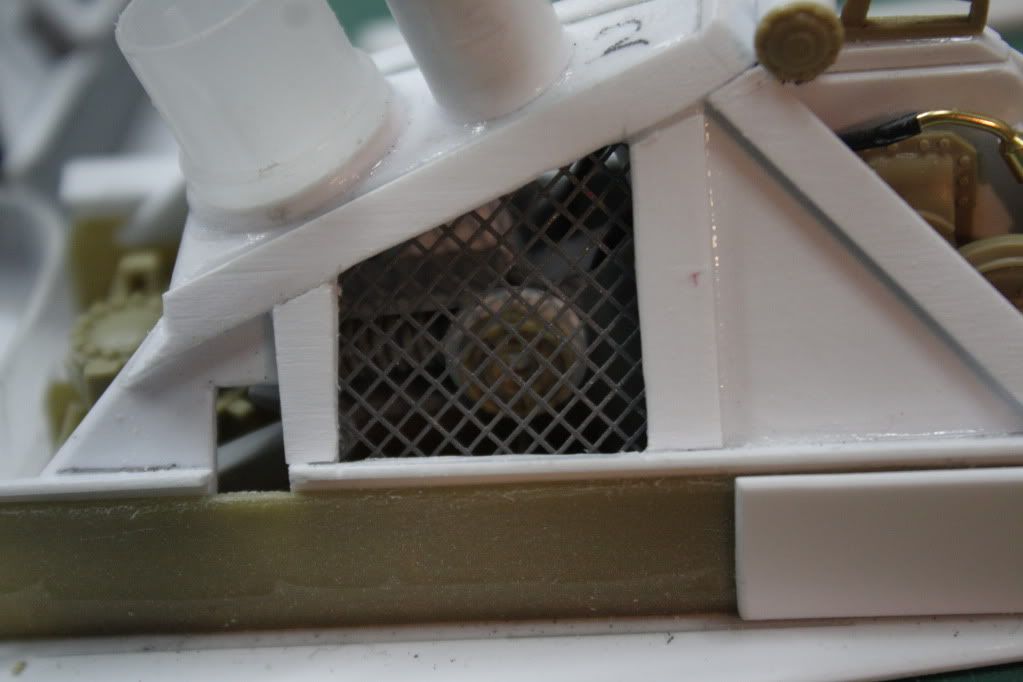 added some more control cables to the magnetic vacuum pods 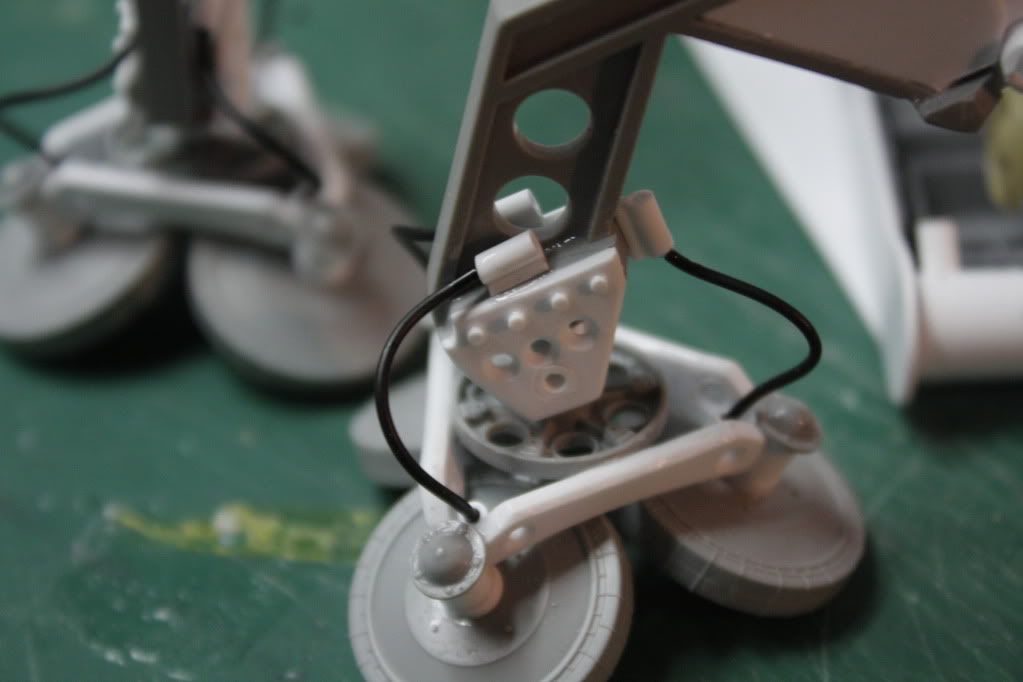 Then had another test dry fit 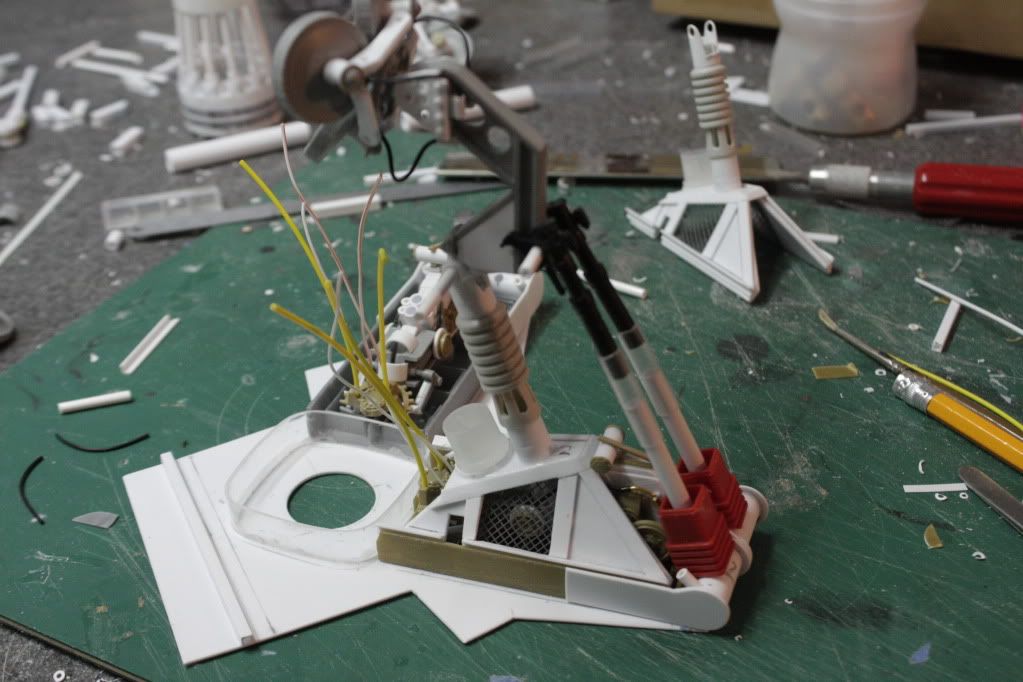 The hitch is turning out to be very complicated indeed, but i just can't cut corners and simpilfy it, i keep hearing my fathers voice saying "it has to look functional" and this drives me to make it so....! I have a few more things to do regaring the hitch, i have all friday to spend focused, so i will report then.. Gag |
|
|
|
Post by deafpanzer on Dec 19, 2012 22:24:52 GMT -5
WOW! This is so SICK!!! Loving everything you have done even those small details...
|
|
thenylongag
Full Member
   Sept2013 MoM Winner
Member since: June 2012
Yes, we have 'NO' bananas
Posts: 304
Jun 7, 2012 11:20:57 GMT -5
Jun 7, 2012 11:20:57 GMT -5
|
Post by thenylongag on Dec 22, 2012 20:02:32 GMT -5
Ello Peeps Thank you for commenting Mr Deafpanzer it means alot when you guys take the time to comment. You are too kind Dicky, coming from someone as talented as you i take that as a real compliment, thank you  Now on to tonights report......lets dooooooooooooooooo it. PIX Added detail around the back plate for the hitch assemby 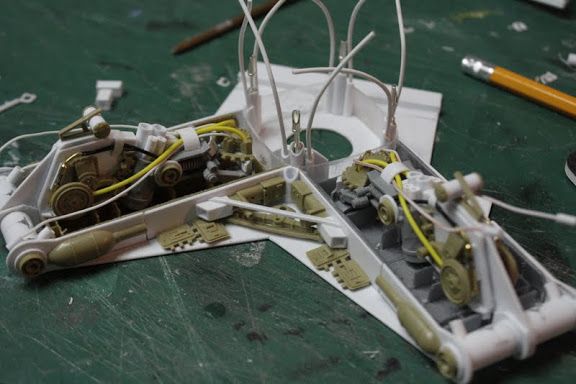 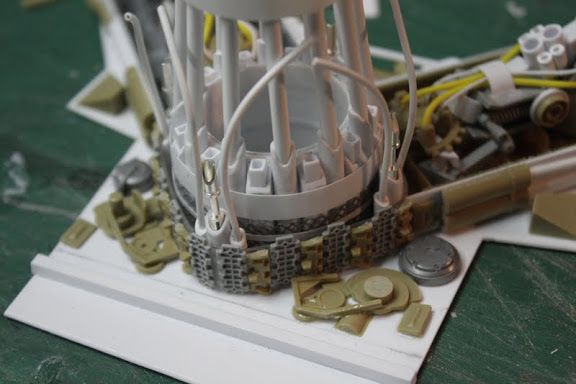 Had another dry fit, this time in position with the upper hitch arms in position also 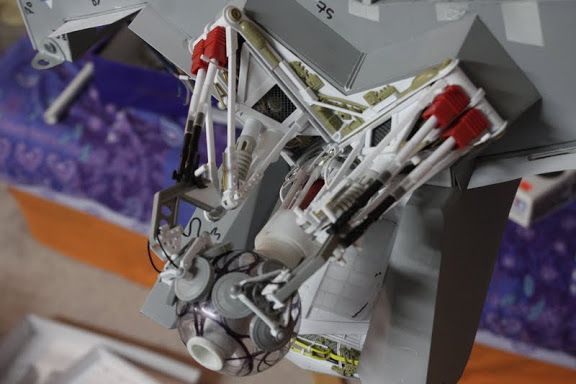 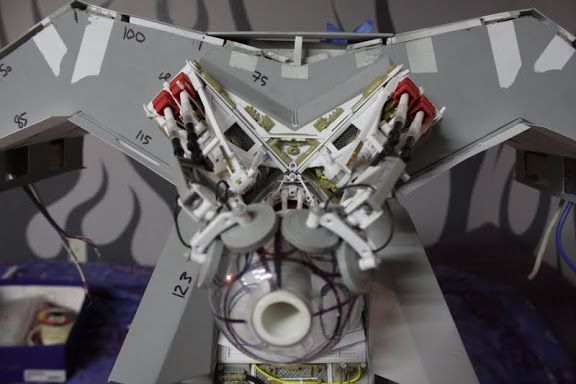 Added wiring to the detail tubs 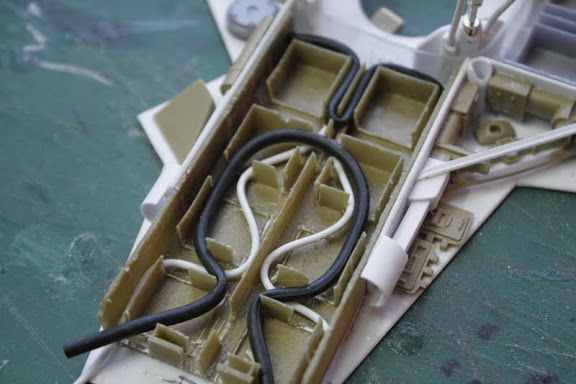 Fitted the support details in the tubs and ran the last of the wires 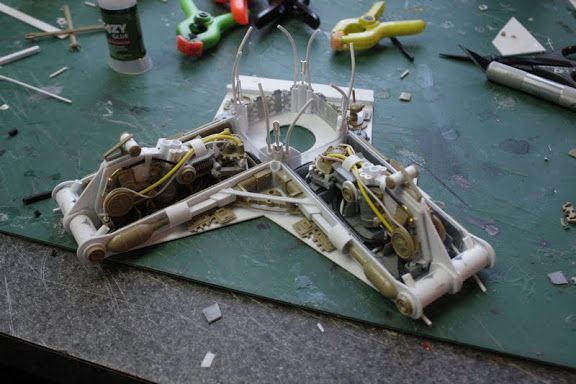 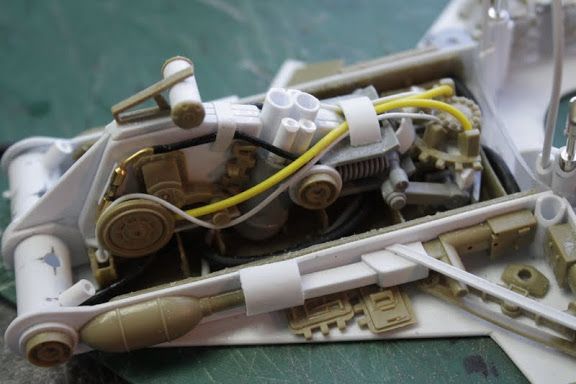 Another dry fit in position 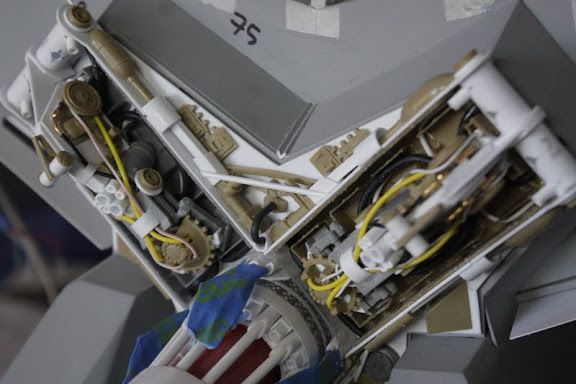 And......Primer. Mmmmmmmmmmmmmmmmmmmmmmmmmmmm Primer 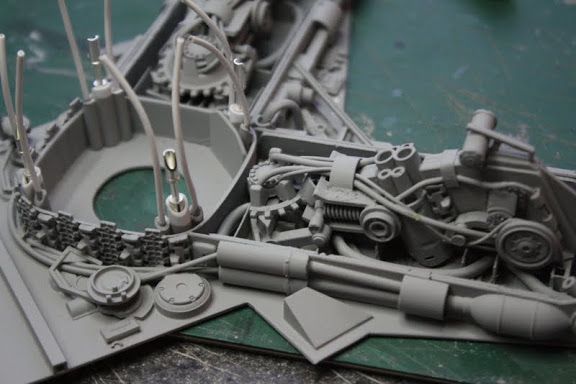 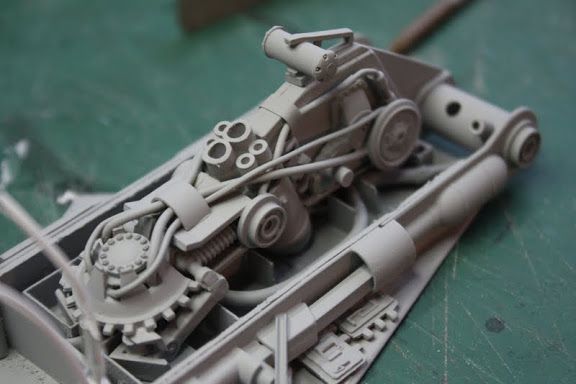 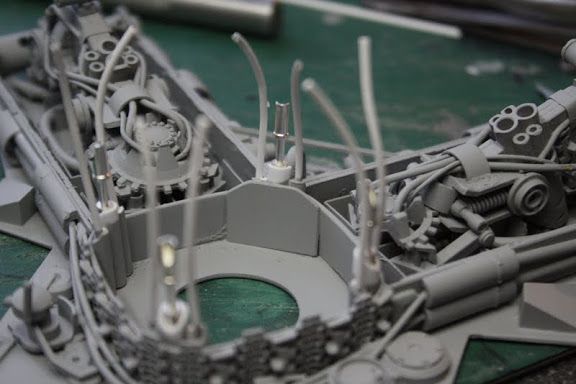 And finally, in position 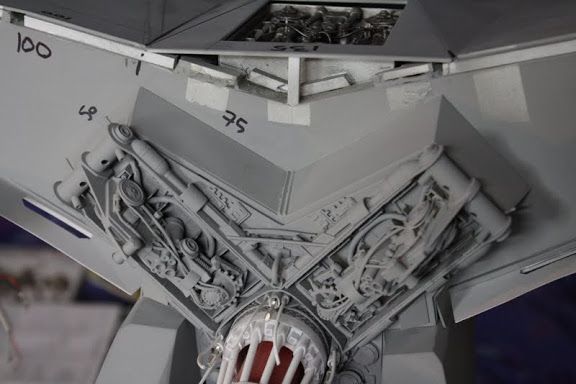 Thats all for today, next is figuring out how the bottom hitch support attaches to the ship. Thanks for stopping by, if i don't post again before, I want to wish everyone a Very Merry Chrismas Peace on earth my friends. The Nylon Gagsterman |
|
|
|
Post by deafpanzer on Dec 22, 2012 22:58:46 GMT -5
Once again I like everything what you have done so far! Keep it coming buddy!
Merry Christmas too!!!
|
|
|
|
Post by `Boots` on Dec 23, 2012 15:51:57 GMT -5
Each time i pop in here i see an array of parts which evolve into something absolutely magnificent...............stunning work Gag i gotta say, keep up the brilliant and imaginative work buddy and merry xmas ;D
|
|
thenylongag
Full Member
   Sept2013 MoM Winner
Member since: June 2012
Yes, we have 'NO' bananas
Posts: 304
Jun 7, 2012 11:20:57 GMT -5
Jun 7, 2012 11:20:57 GMT -5
|
Post by thenylongag on Dec 28, 2012 12:10:22 GMT -5
Mornin All, Thanks for the comments Guys Hope everyone had a nice Christmas. Yesterday i was building from about 9:30am until way pass 11pm, this is what i managed to get done........PIX First started working on the underside of the hitch support  Found the right buffer 'look' i was after   Next i started work on detailing the surrounding area   And in position, still only dry fit 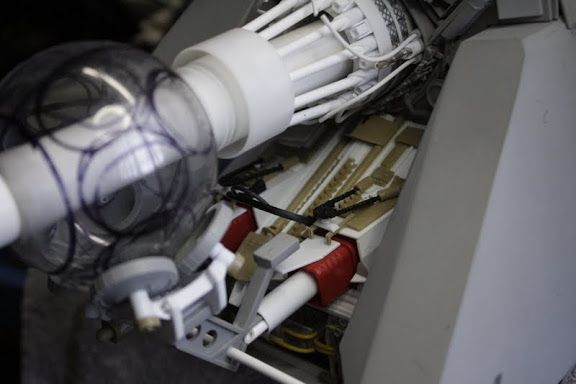 Wired up the vacuum magnetic pads 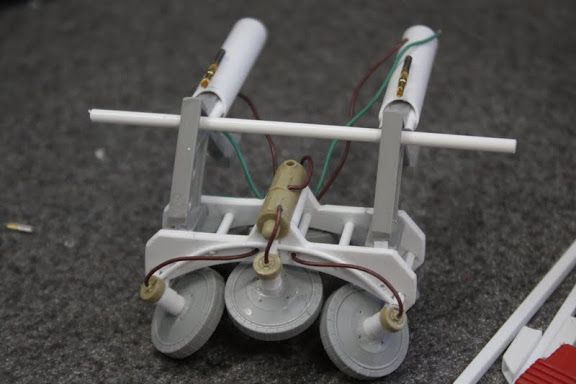 Then started the fine positioning booster thrusters, first the internal nozzles 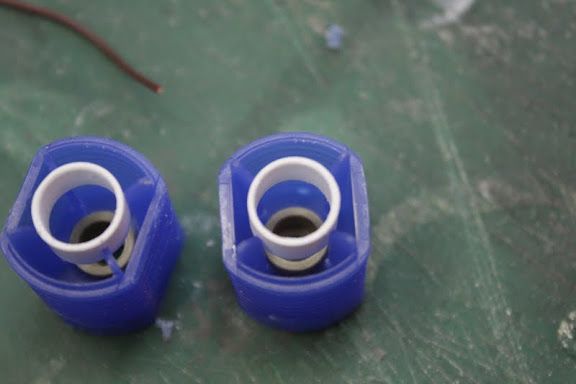 Then the main nozzle, the frame is for the steering vanes. 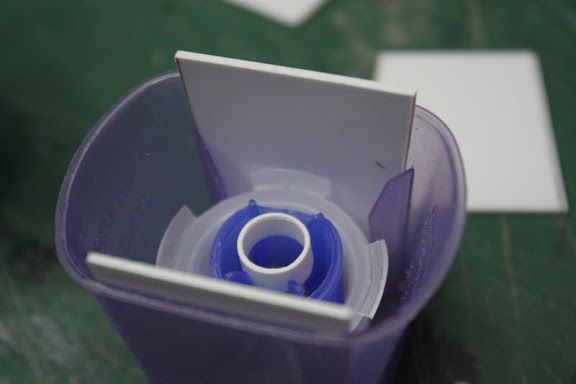 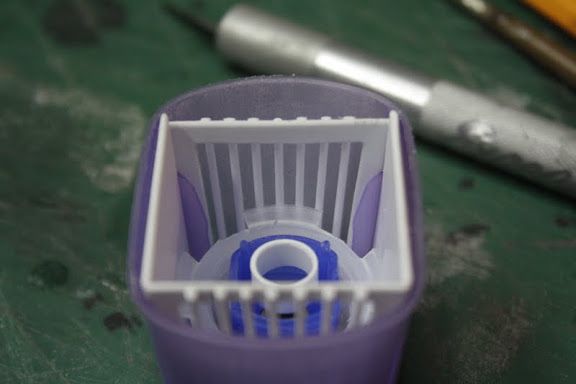 That's was all last night, now will get back to it for another couple of hours today. Thanks for stopping by. See ya Gag |
|
thenylongag
Full Member
   Sept2013 MoM Winner
Member since: June 2012
Yes, we have 'NO' bananas
Posts: 304
Jun 7, 2012 11:20:57 GMT -5
Jun 7, 2012 11:20:57 GMT -5
|
Post by thenylongag on Dec 30, 2012 17:10:55 GMT -5
Afternoon All, Thanks for the positive feedback Dicky, very motivating. Well after my marathon build day, i managed to get some serious bench time the next couple of days also, put in a couple of 8 hour days. If only i could do this for a job, don't think my better half would like it some how, but anyhoo, lets see what did i manage the last couple of days.........PIX Continued building the cages that will support the steering vanes 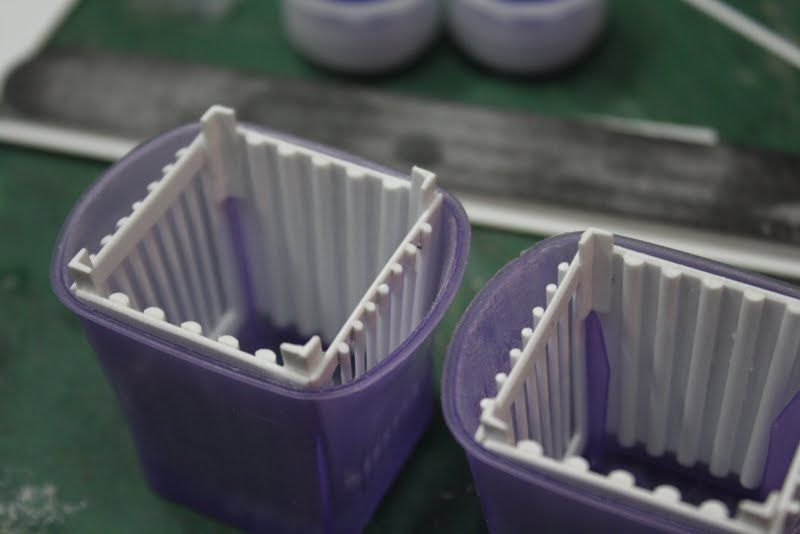 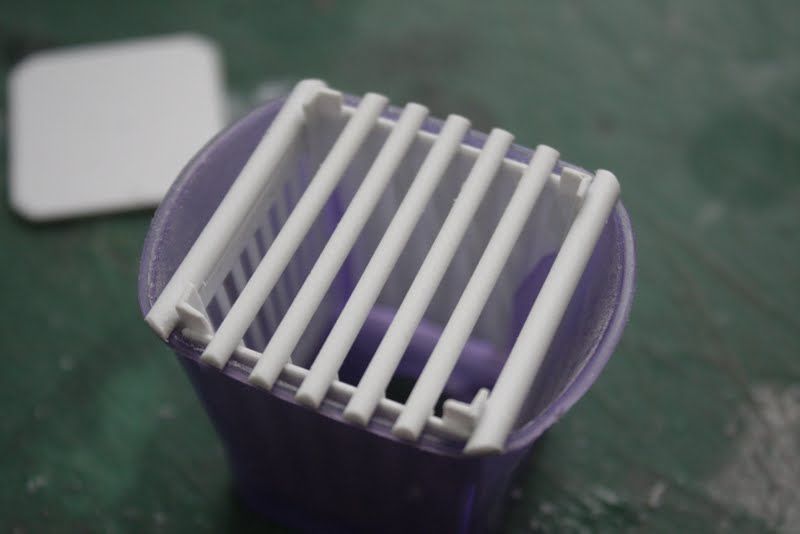 Made detail and a back plate for the nozzle 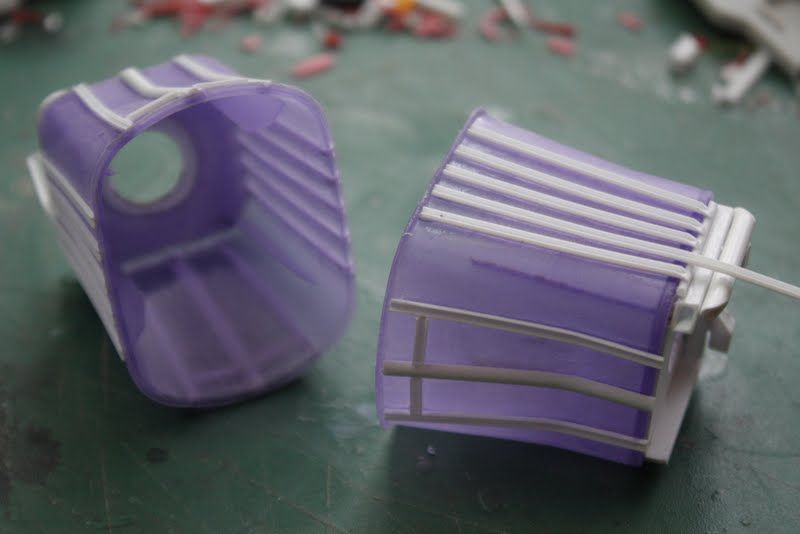 Hinges and steering vanes 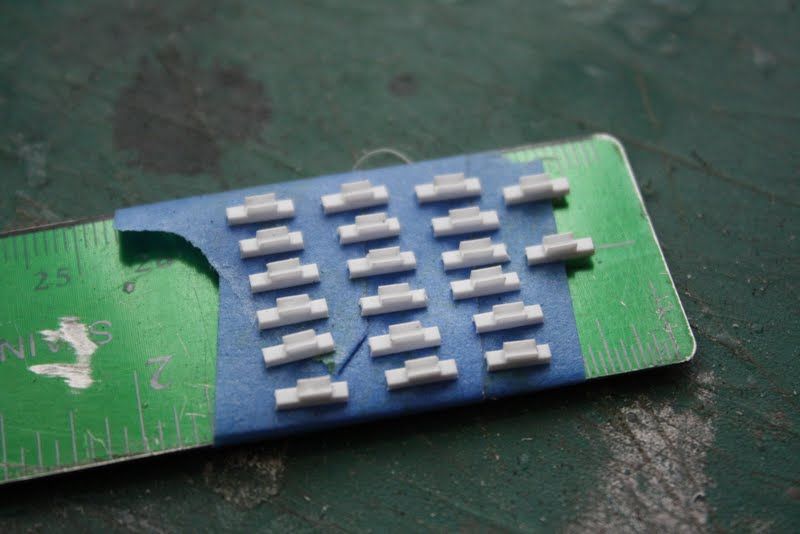 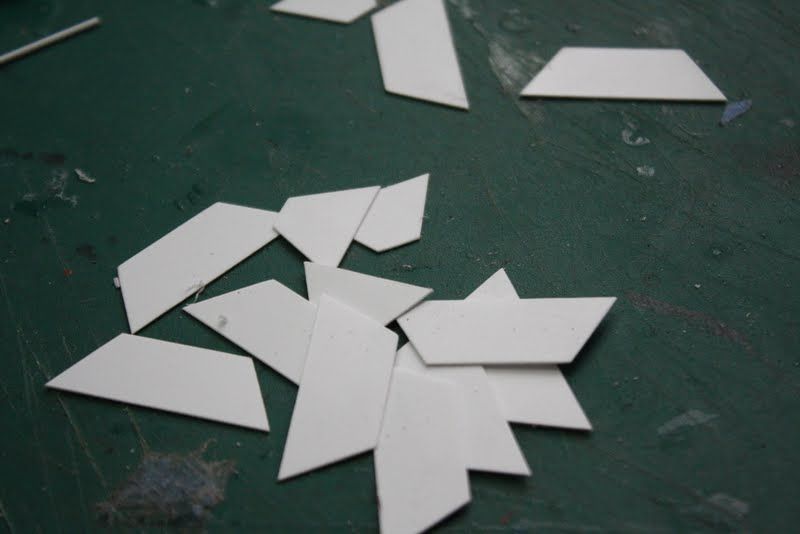 Assembled 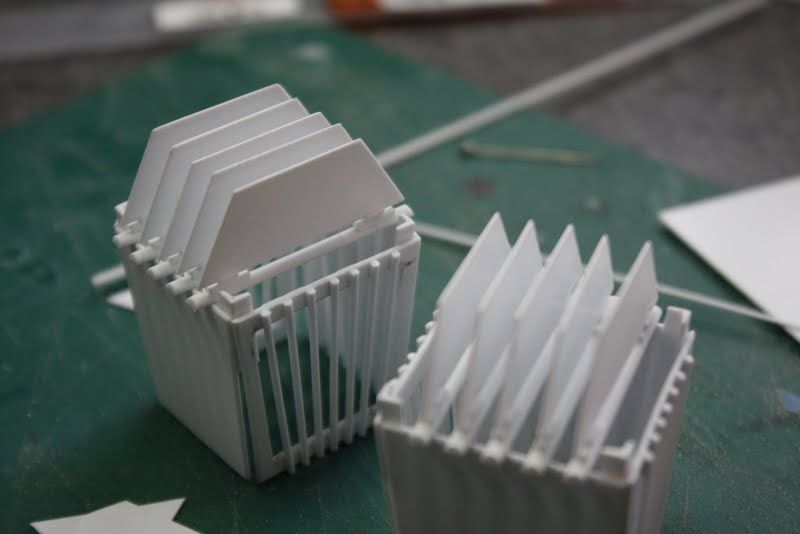 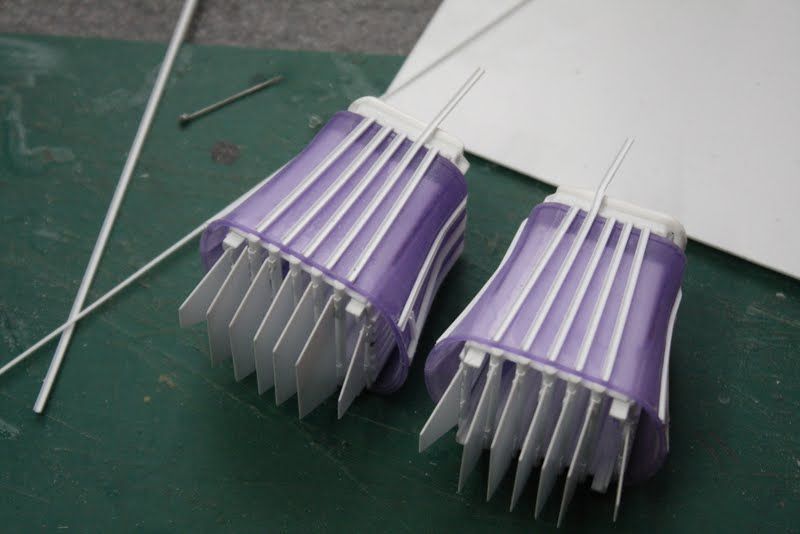 And primered 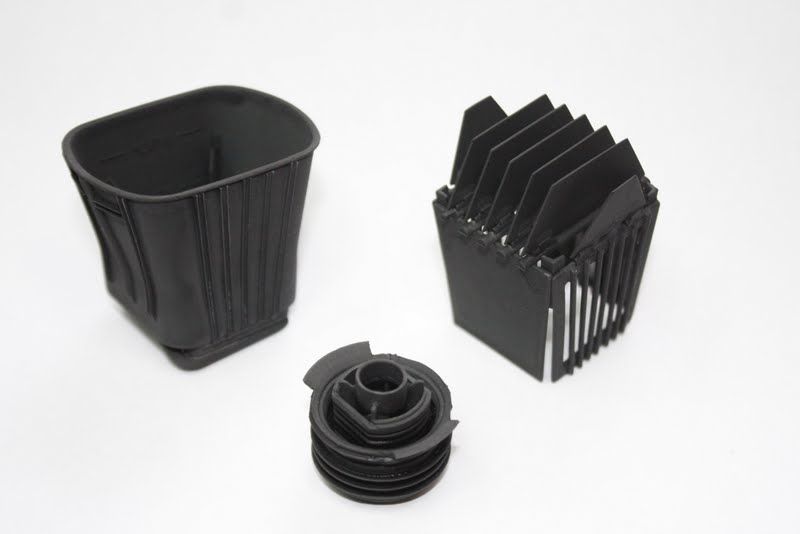 This next piece i was building at the same time as the nozzle assemblies and was one of the hardest i have done so far. The fit was tremendously tight and for some reason i glued it in place before I'd finished the whole assembly. But in the end it turned out good. These were the pieces i wanted to use  Marked and drilled holes for the cut down frame to fit in 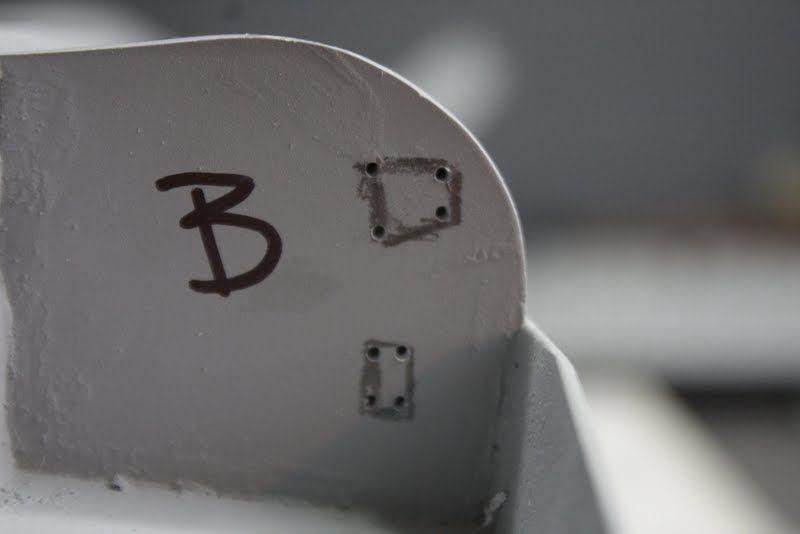 Cut and assembled the card board tubes, this is a functioning joint    Tested the look of the assembly 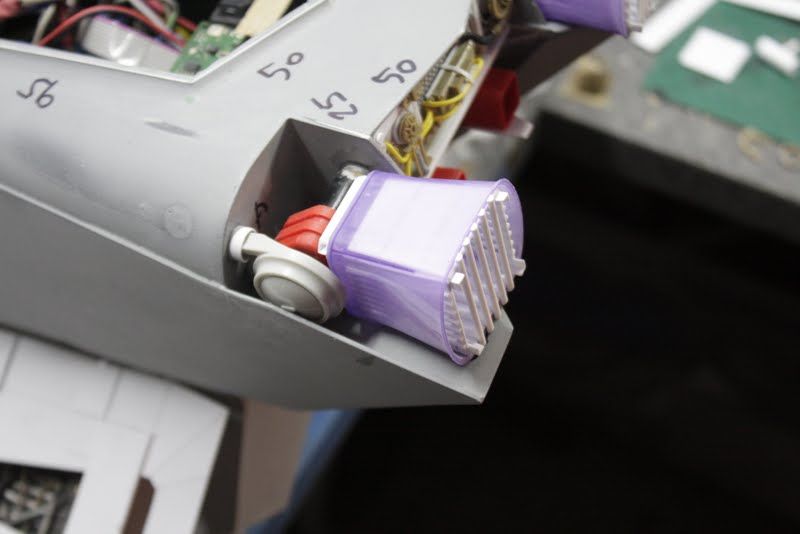 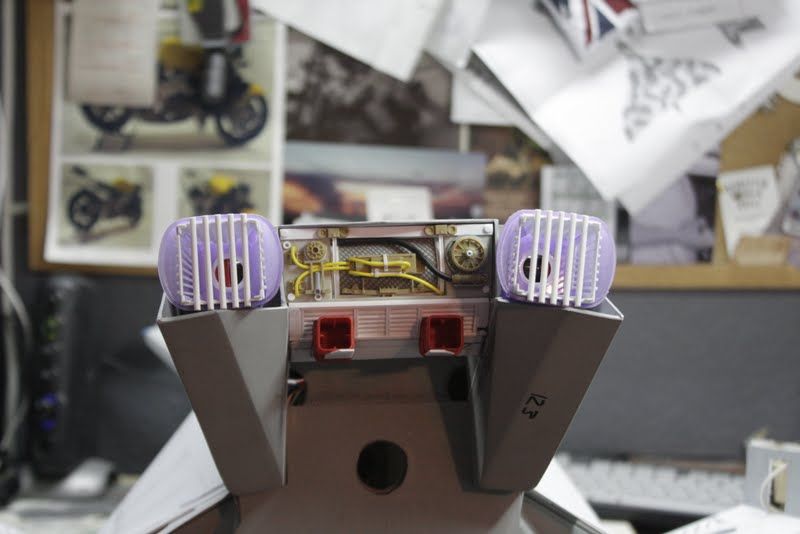 Then i added some detail to make the cardboard tubes look better, all this was done with everything in position, very fiddly 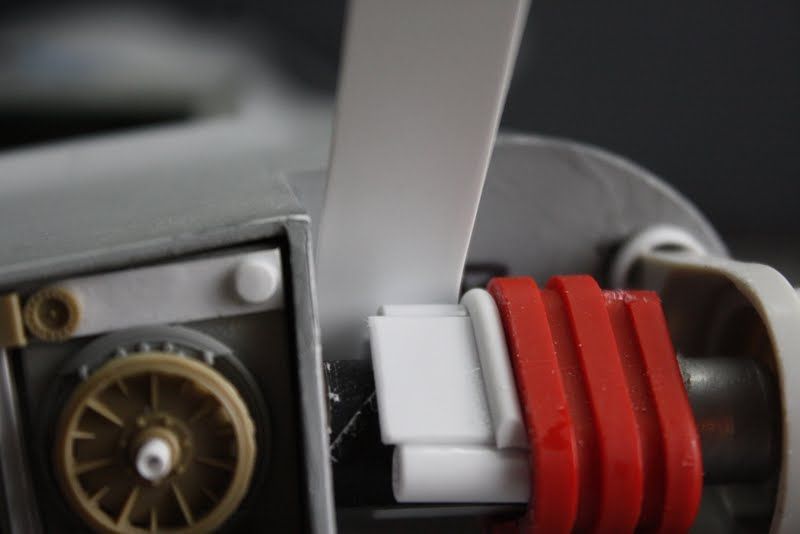 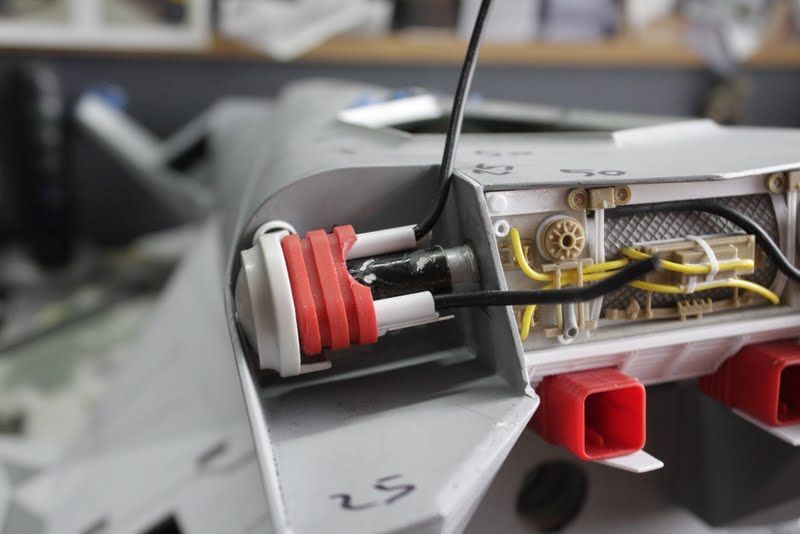 And finally with its coat of primer 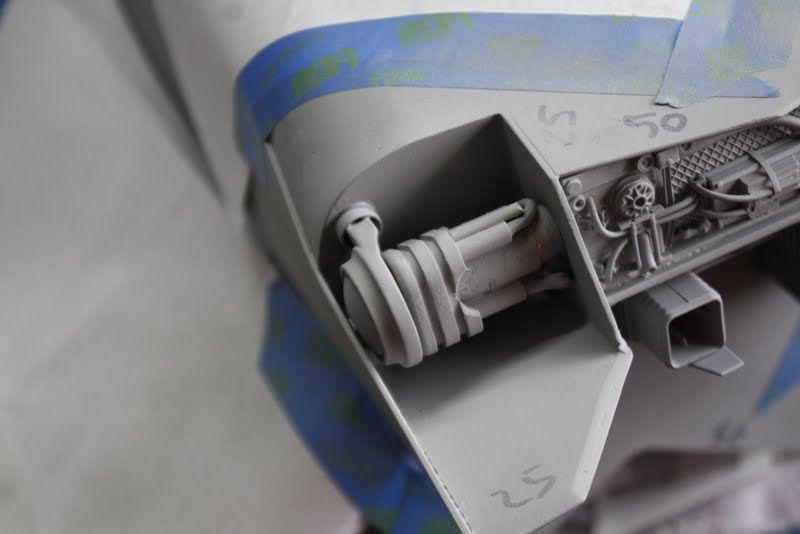 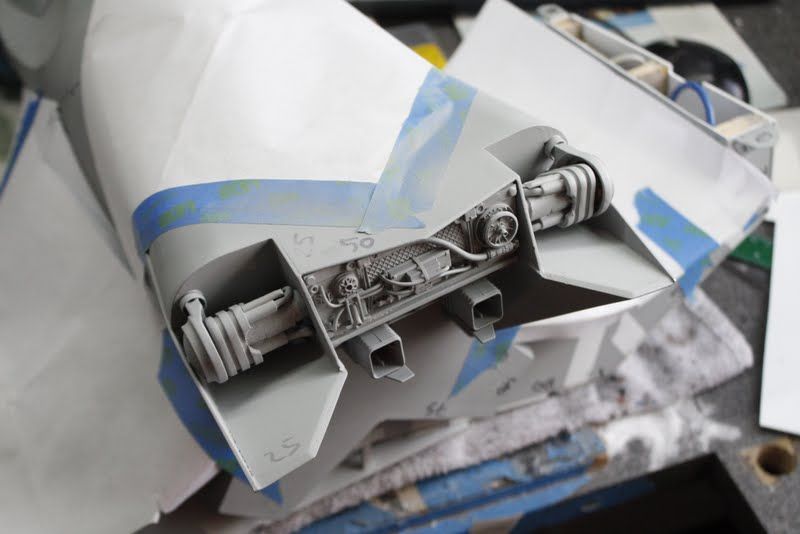 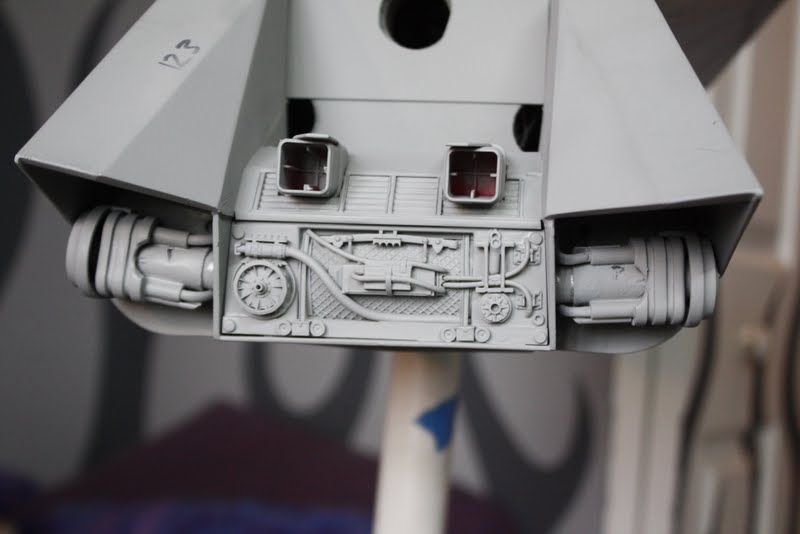 That's the story so far, just gave the whole hitch assembly a coat of primer. Not sure of the final colours yet. Need to start the detail on the back of the main wing but that ties in with the skinning of the upper wing surfaces, i want to incorporate some steering flaps on one of the upper wing surfaces at the back and i need to think about how i want it to look before i start, so i need to think about it for a while. I do have another detail tub to do for the top of the wing, just behind the radar/cannon cut out that will be some kind of pumping hub/distribution area, so i might start on that next. Stay tuned folks Thanks for stopping by Gagster |
|
|
|
Post by Leon on Dec 30, 2012 20:35:31 GMT -5
Gag that is totally awesome.Waiting for more updates
Leon
|
|
thenylongag
Full Member
   Sept2013 MoM Winner
Member since: June 2012
Yes, we have 'NO' bananas
Posts: 304
Jun 7, 2012 11:20:57 GMT -5
Jun 7, 2012 11:20:57 GMT -5
|
Post by thenylongag on Jan 8, 2013 19:49:59 GMT -5
Evenin all, Well, Tuesday night is model night......well, this week anyway. In 2012 i had been keeping an approximate tally of the hours i spent at the bench, 875 hours  . Its not an exact figure because i had to average it a bit, but its pretty close, i think. ;D Sooooooo, whats been doin then.......PIX Made the center pumping hub/distribution detail tub for the top area behind the Radar/Gun cutout. When this is attached there will be lots of lines running to various points on the wings surfaces. 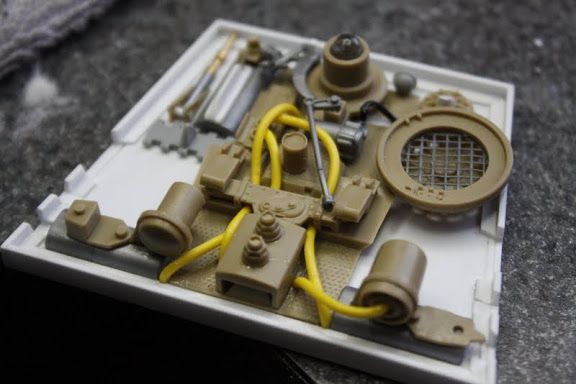 Then i did a bit of painting, base coating the hitch assembly components with chrome silver after first primering them with black. 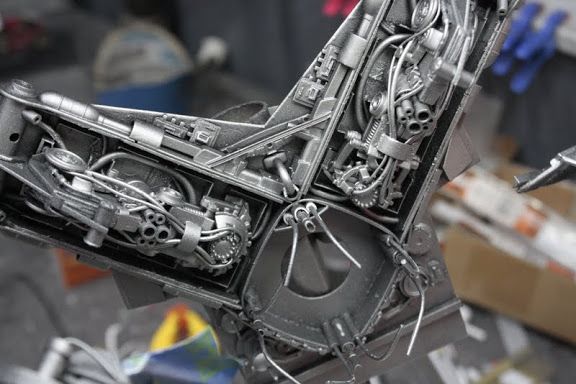 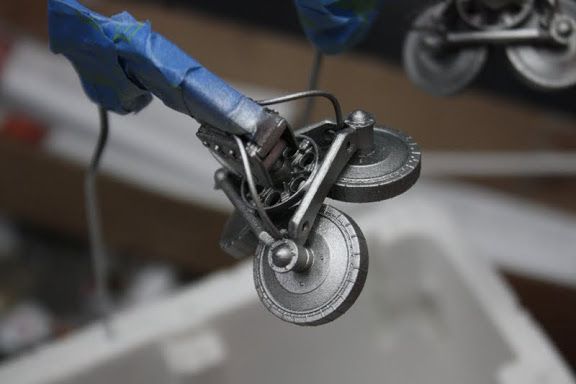 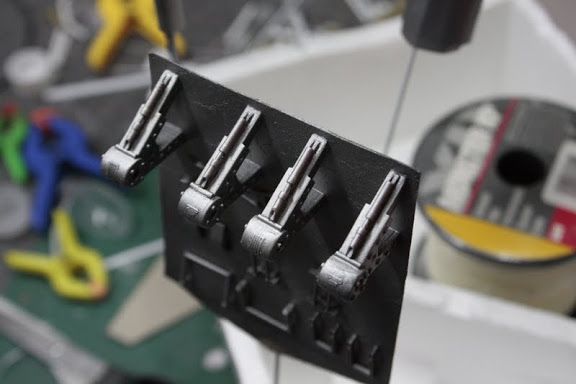 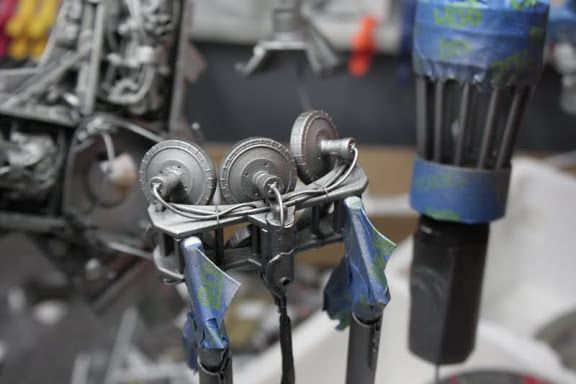 I then moved on to the back flaps that will be on the top rear edge of the wing, this first part looks a little out of place but it is setting the style for the rest of the upper flaps so trust me, I'm a doctor? ;D 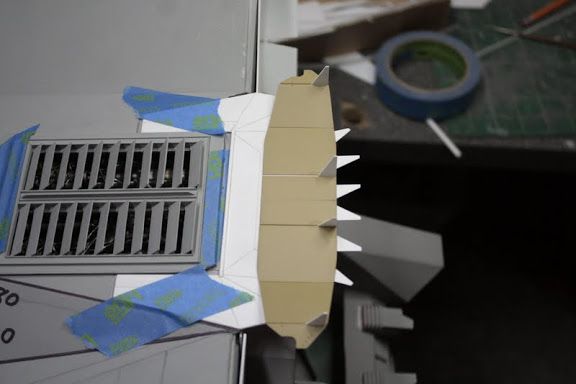 Then it took forever to line the back of the wing with 1mm styrene and get this detail piece lined up how i wanted it, again its just the base, it will have a lot more detail added over the top 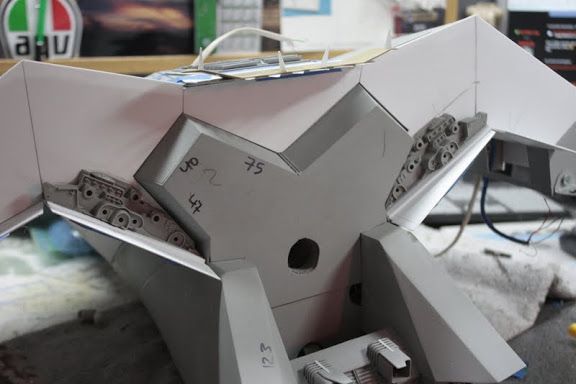 That's all for now, still working on the upper wing flaps so stay tuned my friends Gag |
|
|
|
Post by bullardino on Jan 9, 2013 17:08:50 GMT -5
I'm waitinig to see the hyperdrive schemes, so I'll build my spaceship and roam around the solar system. Because this is a real spaceship, and it'll fly away when finished, am I right?  |
|
|
|
Post by bullardino on Jan 10, 2013 2:20:27 GMT -5
According to the Star Trek story, the first hyperdrive spaceship was built out of rubbish in a junkyard, so let's wait to see if it flies  |
|
thenylongag
Full Member
   Sept2013 MoM Winner
Member since: June 2012
Yes, we have 'NO' bananas
Posts: 304
Jun 7, 2012 11:20:57 GMT -5
Jun 7, 2012 11:20:57 GMT -5
|
Post by thenylongag on Jan 11, 2013 8:17:13 GMT -5
Its true, Star Trek is so made up, now Star Wars, thats real.  . Right  Gag |
|
|
|
Post by bullardino on Jan 11, 2013 8:59:50 GMT -5
Its true, Star Trek is so made up, now Star Wars, thats real.  . Right  Gag No, the only real one is Battlestar Galactica   |
|
|
|
Post by Mence on Jan 12, 2013 6:36:17 GMT -5
Wow, been a while since I last dropped in and what progress! This is looking so good, makes me want to phone Dicky and get him to build me one!
|
|
thenylongag
Full Member
   Sept2013 MoM Winner
Member since: June 2012
Yes, we have 'NO' bananas
Posts: 304
Jun 7, 2012 11:20:57 GMT -5
Jun 7, 2012 11:20:57 GMT -5
|
Post by thenylongag on Jan 14, 2013 14:52:23 GMT -5
Welcome my friends, Thanks for the comments guys, i appreciate everyone taking the time to comment, it means alot. Had a couple of deliveries this week 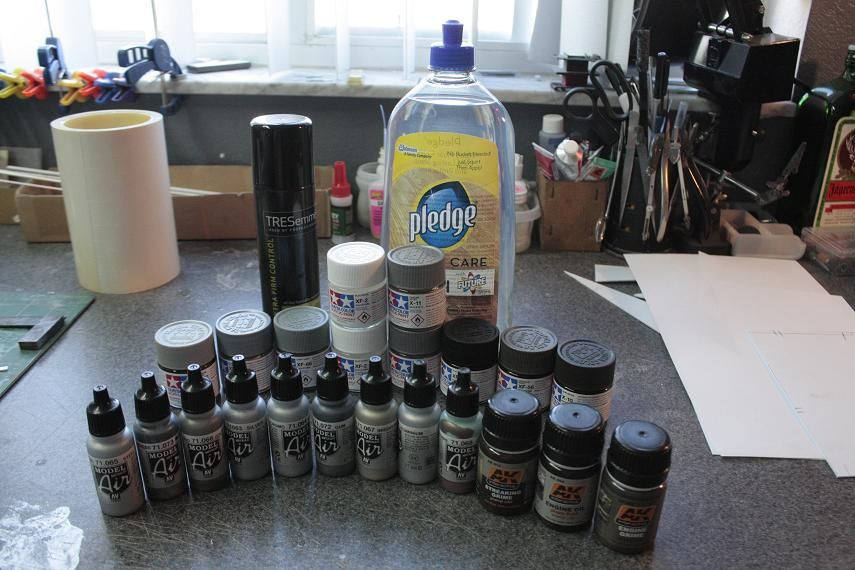 Had been dabbling on and off in the mid-week but then Friday came and the wife was away all evening until very late so, i hit it hard on Friday, one of those 'set your alarm so you remember to eat deals'. Had to pop into work for a few hours Friday morning but sat down at the bench at 11am and didn't leave until 12.30am Saturday morning, smashing. I was working on the rear flaps for the upper wings, i wanted the flaps and the airbrakes to work, sometimes i make it so hard for myself but boy, was it worth it on Sunday when i put it all together. This is going to go fast so pay attention, there will be a quiz... Basic shape 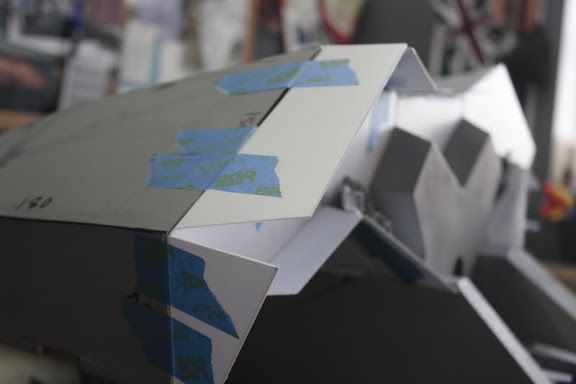 Cut out wing and removed airbrake portion 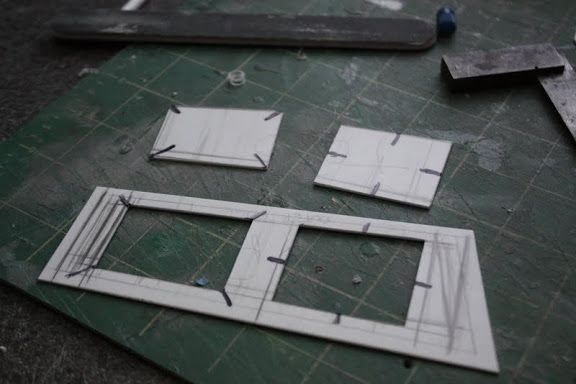 Cut, punched and shaped the various components. Wing Struts 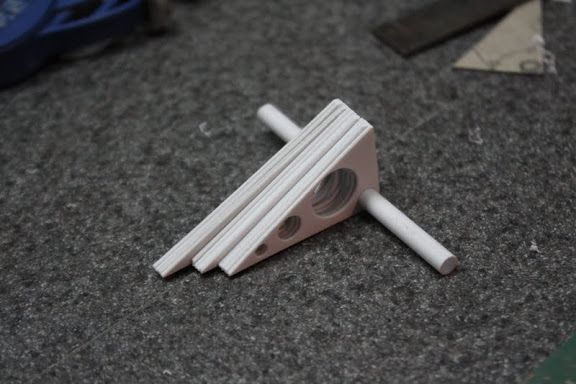 Airbrake arms. 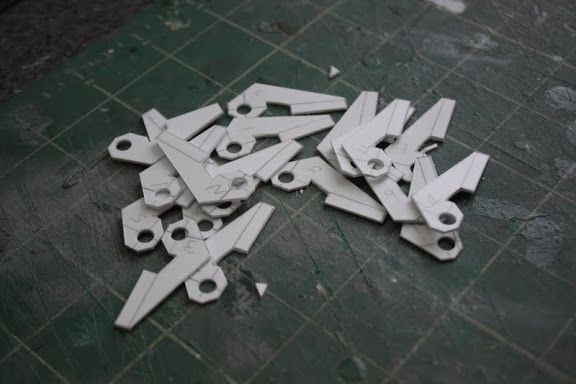 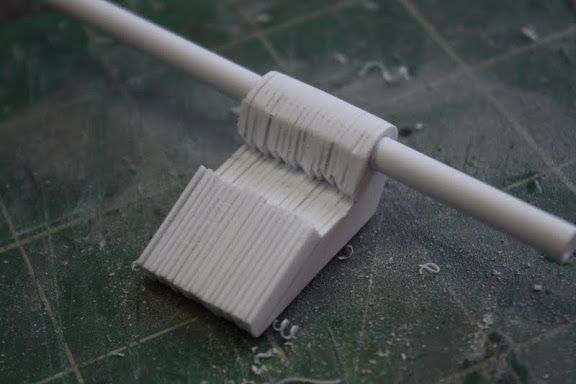 Basic hinge shapes 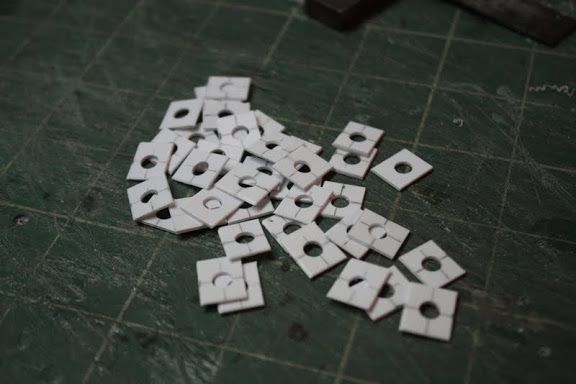 I used clear plastic tubes i found for spacers between the various struts, and glued it all together. This was after much cutting, adjusting, correcting, swearing, tantrums etc....... 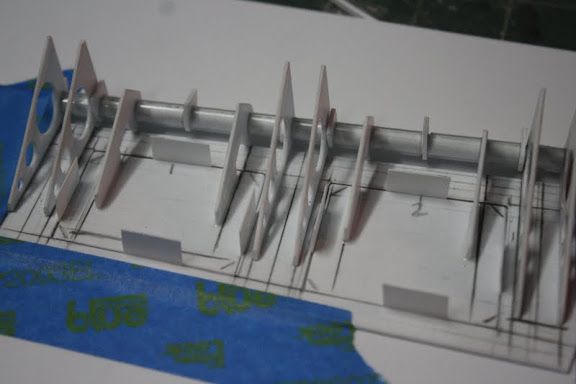 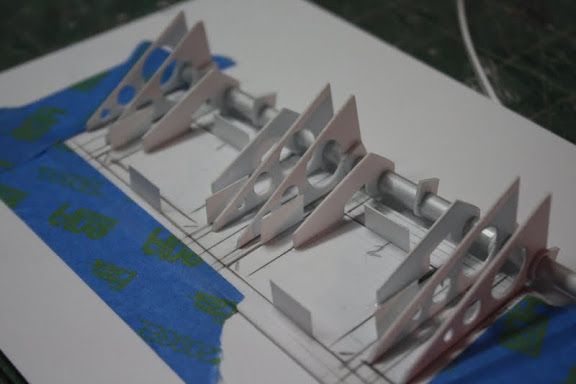 The first test and it works. ;D 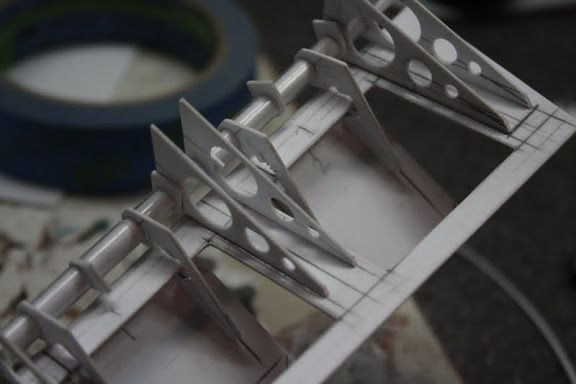 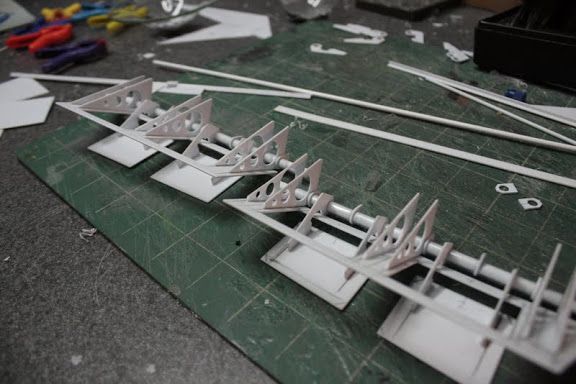 Then basically the same process with the smaller inner wings, these would not move but the airbrake flaps would still operate. 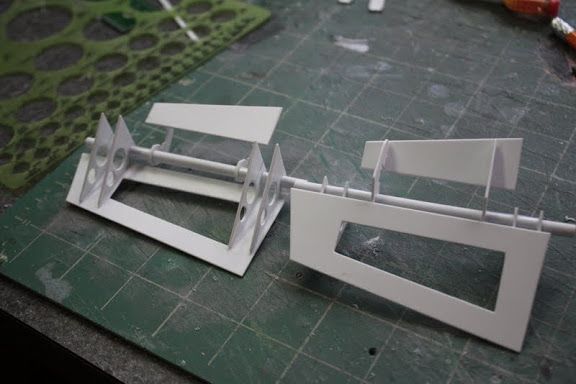 Then fitted each airbrake flap with a larger outer flap 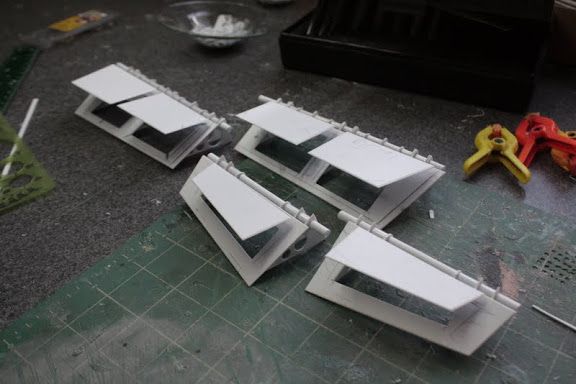 I then went about attaching the flap assemblies to the main wing back detail plate First, small alignment hinge back plates 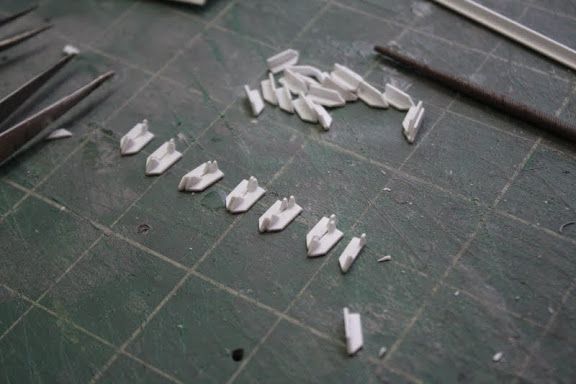 These were attached to the main wing back plate at the correct spacing. 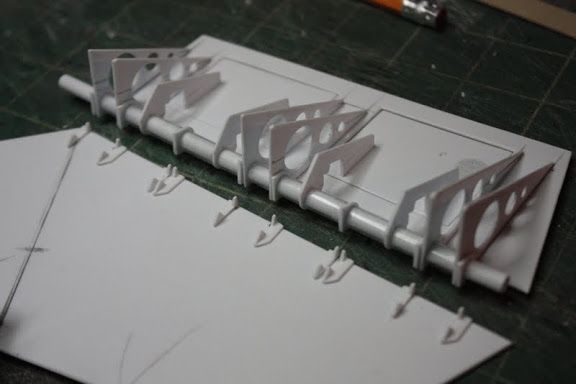 The small hinge was then attached to these alignment back plates, being careful not to use to much glue so the whole thing got stuck. 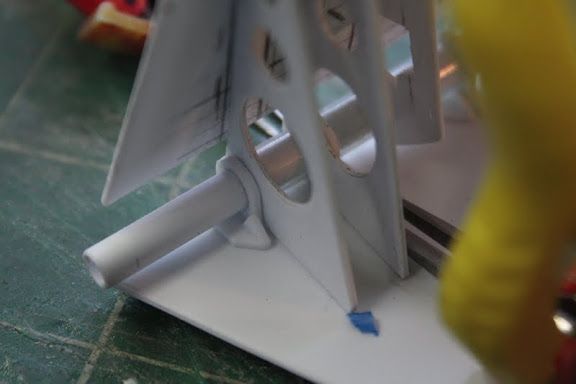 Test in position. 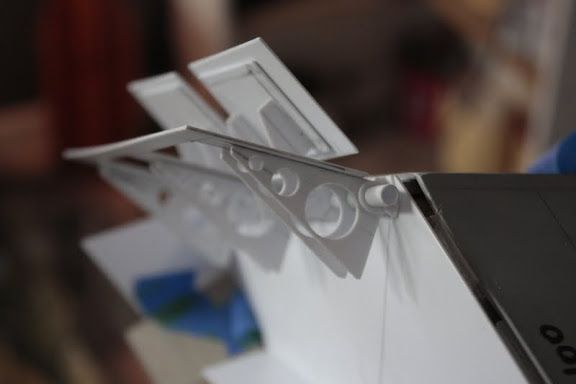 Are you still with me...............good. I ran into an interference problem between the large and smaller inner flaps. but a small modification solved this, i can dress it up a bit later with detail. The smaller inner flaps were attached straight to the detail back plate , no hinges needed 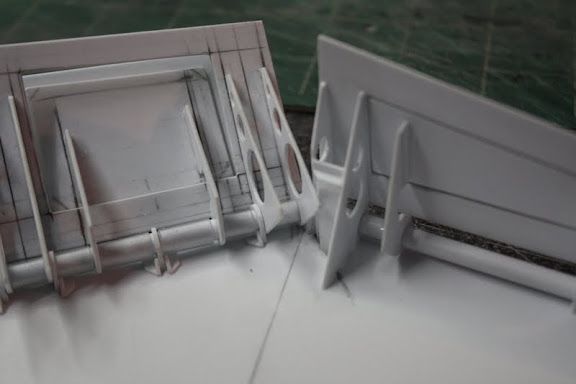 Everything was then put in position on the ship 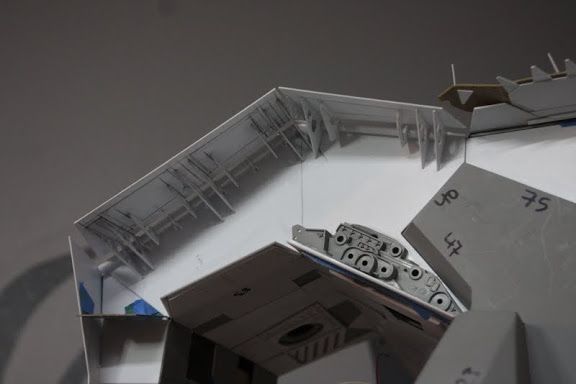 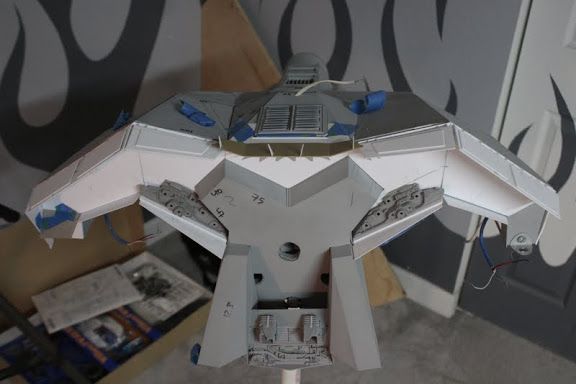 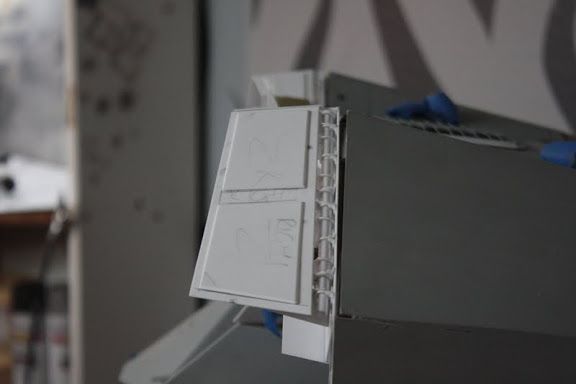 And tested the flaps. 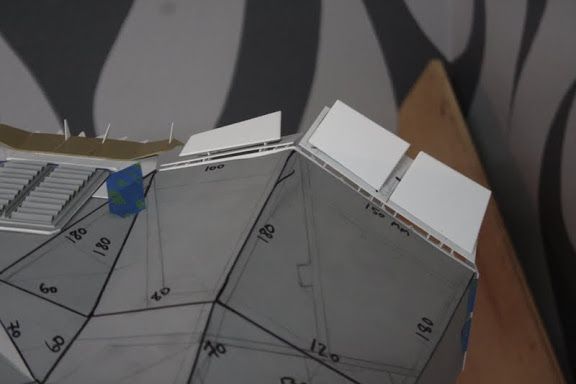 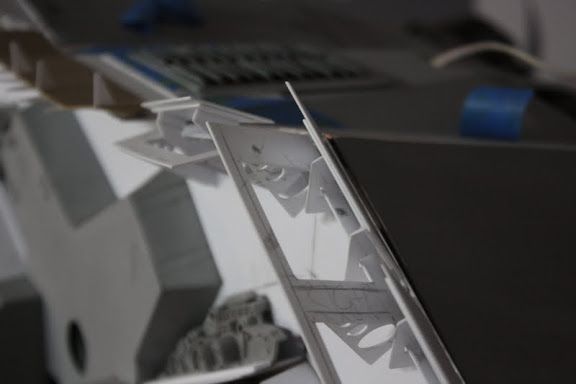 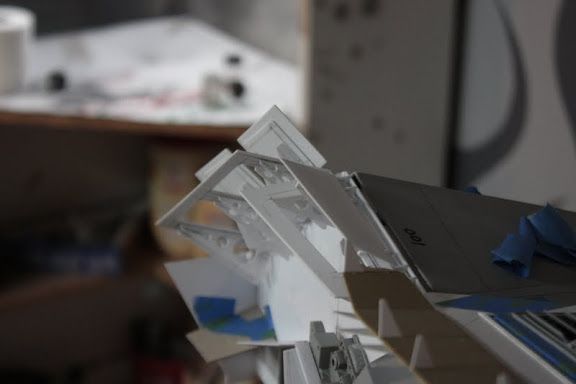 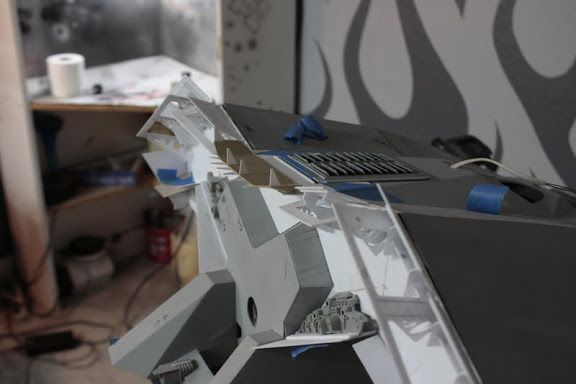 And breath. I am so happy with how it turned out, i think it looks perfect with the rest of the wing assemblies and the ship. The flaps will be detailed later when i skin the outer surface of the wing. Now its on with the detailing of the main wing back plates so stay tuned That's all folks Take care my friends Gag |
|
|
|
Post by Leon on Jan 14, 2013 19:21:52 GMT -5
Gag just got caught up on your progress.Looking sweet.
|
|
thenylongag
Full Member
   Sept2013 MoM Winner
Member since: June 2012
Yes, we have 'NO' bananas
Posts: 304
Jun 7, 2012 11:20:57 GMT -5
Jun 7, 2012 11:20:57 GMT -5
|
Post by thenylongag on Jan 14, 2013 21:39:07 GMT -5
I thought I had it bad........this is great stuff Gag - yer make it look very straightforward. Is this build purely personal or is it aimed at something particular competition or article wise? I do have a bit of a plan/idea in the works but i can't confirm anything at this point.?  At the moment i am building it purely for personal pleasure. I would like to enter it in some competitions when its finished but the problem is i live so far down in Florida that i would have to travel quite along way to get to any shows. I think the closest one would be the IPMS show in Orlando but that is 5 hours away. If money were no object i would love to fly to some other parts of the U.S.A and maybe take her home to Blighty, but with ticket prices in the thousands of dollars for me and the wife i can't see it happening any time soon. I would have to build a pretty large flight case for it though. I have extensive photo's from day one, so if anyone wanted an article in the future i could do it. I'm just really enjoying the build process . ;D Gaggles |
|
|
|
Post by fightnjoe on Jan 15, 2013 0:15:03 GMT -5
well sir i bow to another master builder.
absolutely incredible work on this. everything fits. meaning it all looks the part.
joe
|
|
heiner.
Full Member
  
Member since: December 2012
Posts: 111
Dec 18, 2012 11:12:39 GMT -5
Dec 18, 2012 11:12:39 GMT -5
|
Post by heiner. on Jan 15, 2013 15:06:38 GMT -5
I really love your work ... that`s amazing !!!!!!!!!!!!!!!
Heiner
|
|
Deleted
Member since: January 1970
Posts: 0
Dec 10, 2024 21:23:32 GMT -5
Dec 10, 2024 21:23:32 GMT -5
|
Post by Deleted on Jan 15, 2013 16:16:43 GMT -5
Inspirational, simples:-D
|
|