thenylongag
Full Member
   Sept2013 MoM Winner
Member since: June 2012
Yes, we have 'NO' bananas
Posts: 304
Jun 7, 2012 11:20:57 GMT -5
Jun 7, 2012 11:20:57 GMT -5
|
Post by thenylongag on Jan 17, 2013 9:23:12 GMT -5
Thank you guys
Last night I was working on the rear upper wing flap actuators and was so excited it worked I made this little video.
I will post a full report and photos soon
Comments always welcome.
Gag
|
|
Deleted
Member since: January 1970
Posts: 0
Dec 10, 2024 21:22:41 GMT -5
Dec 10, 2024 21:22:41 GMT -5
|
Post by Deleted on Jan 17, 2013 9:26:50 GMT -5
Very cool!
Will these work when it's painted up?
|
|
thenylongag
Full Member
   Sept2013 MoM Winner
Member since: June 2012
Yes, we have 'NO' bananas
Posts: 304
Jun 7, 2012 11:20:57 GMT -5
Jun 7, 2012 11:20:57 GMT -5
|
Post by thenylongag on Jan 17, 2013 9:36:04 GMT -5
I hope so, any suggestions?
|
|
Deleted
Member since: January 1970
Posts: 0
Dec 10, 2024 21:22:41 GMT -5
Dec 10, 2024 21:22:41 GMT -5
|
Post by Deleted on Jan 17, 2013 11:04:43 GMT -5
Other than masking off the internals of the rams or painting the whole thing closed leaving them white! Other than that im just watching some awesome work matey!!!
|
|
|
|
Post by deafpanzer on Jan 21, 2013 9:53:57 GMT -5
This is CRAZY stuff! Missed your last update... loving this! Can't wait to see more...
|
|
thenylongag
Full Member
   Sept2013 MoM Winner
Member since: June 2012
Yes, we have 'NO' bananas
Posts: 304
Jun 7, 2012 11:20:57 GMT -5
Jun 7, 2012 11:20:57 GMT -5
|
Post by thenylongag on Jan 22, 2013 21:59:25 GMT -5
Let me ask: Do you have pics of more stuff you have done? This cannot be the fist build up you have done, isn´t it?? Amazing!! Frank Well Frank, it is the first scratch build i have ever done, the last model i made was a Honda NXS 500cc GP bike, i made it for a friend just before i moved to the U.S.A. in June of 2002. I consider this my return to the hobby after 10 years, all my old kits were left behind in England and have probably been thrown away by now because i made most of them when i was a kid so they weren't that good. Gag |
|
reserve
Senior Member
   
Member since: July 2012
Si vis pacem para bellum
Posts: 2,373
Jul 11, 2012 9:11:45 GMT -5
Jul 11, 2012 9:11:45 GMT -5
|
Post by reserve on Jan 25, 2013 10:51:29 GMT -5
Since this is not my genre I have been blissfully ingnorant of what's been happening here, just managed to stumble on it. I am struck nearly speechless by this build...the level of creativity, talent, hours, determination, gabble gabble is off the scale.
This is one of the most awesome things I've ever seen and unlike some I do not use the word lightly. I'll be eyeing this one for sure
Regards,
Mark
|
|
venom1
Full Member
  
Member since: October 2012
Posts: 1,369
Oct 10, 2012 2:40:03 GMT -5
Oct 10, 2012 2:40:03 GMT -5
|
Post by venom1 on Jan 25, 2013 11:40:13 GMT -5
|
|
thenylongag
Full Member
   Sept2013 MoM Winner
Member since: June 2012
Yes, we have 'NO' bananas
Posts: 304
Jun 7, 2012 11:20:57 GMT -5
Jun 7, 2012 11:20:57 GMT -5
|
Post by thenylongag on Jan 28, 2013 9:21:21 GMT -5
Morning Everyone, Thank you so much for your comments, I really appreciate you stopping by and leaving me a message, thanks buddies. ;D Well after working on the design for the main hydraulic actuators for the flaps it was onto the airbrake actuators. Wanted to make them a bit smaller, with a different design from the main ones, most of my time was spent experimenting, constructing, adjusting and fabricating quite a few sets of actuators. I also positioned a brace with a central pivot for the airbrake actuators to attach to.   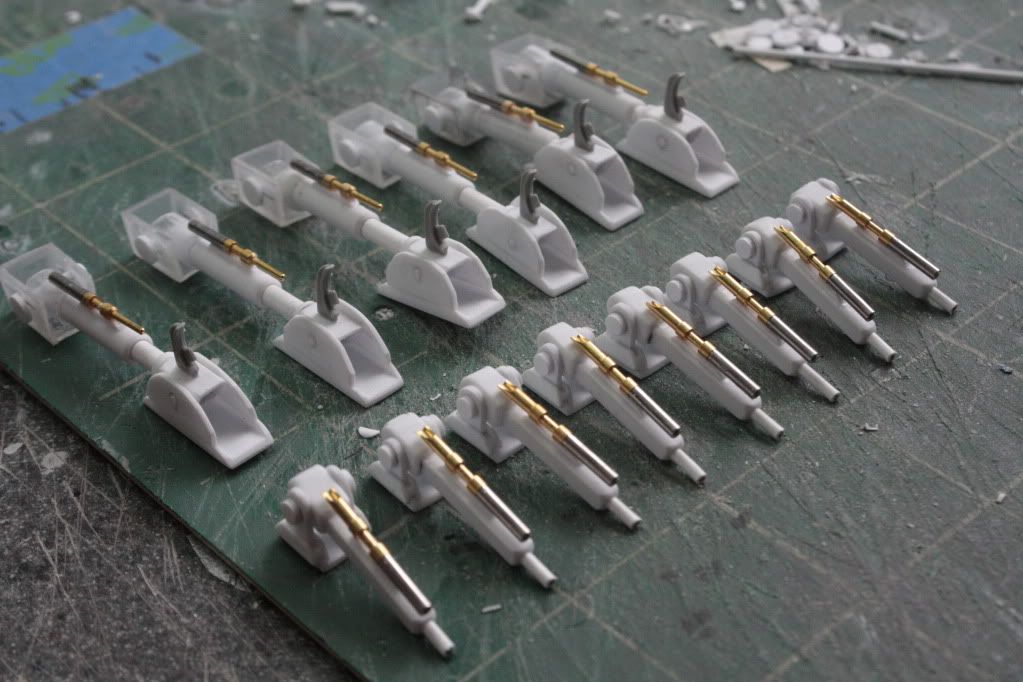 Used small diameter bar to make braces for the back of the wings, then trimmed and sanded them. 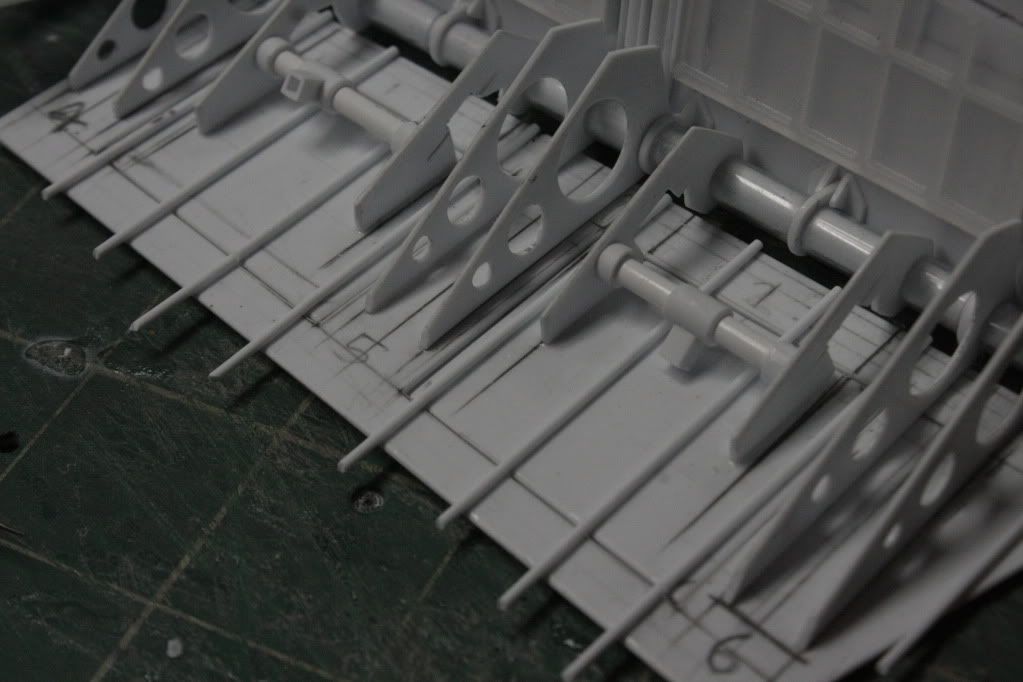 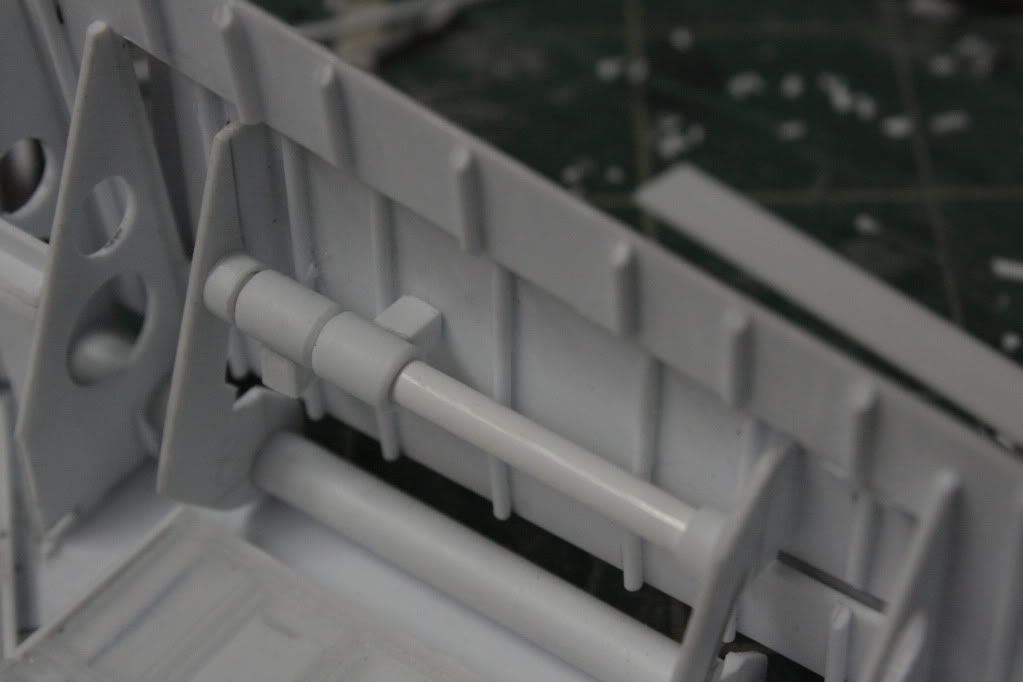 Made a smaller airbrake actuator for the small fixed side wings, very little room to work in this area. 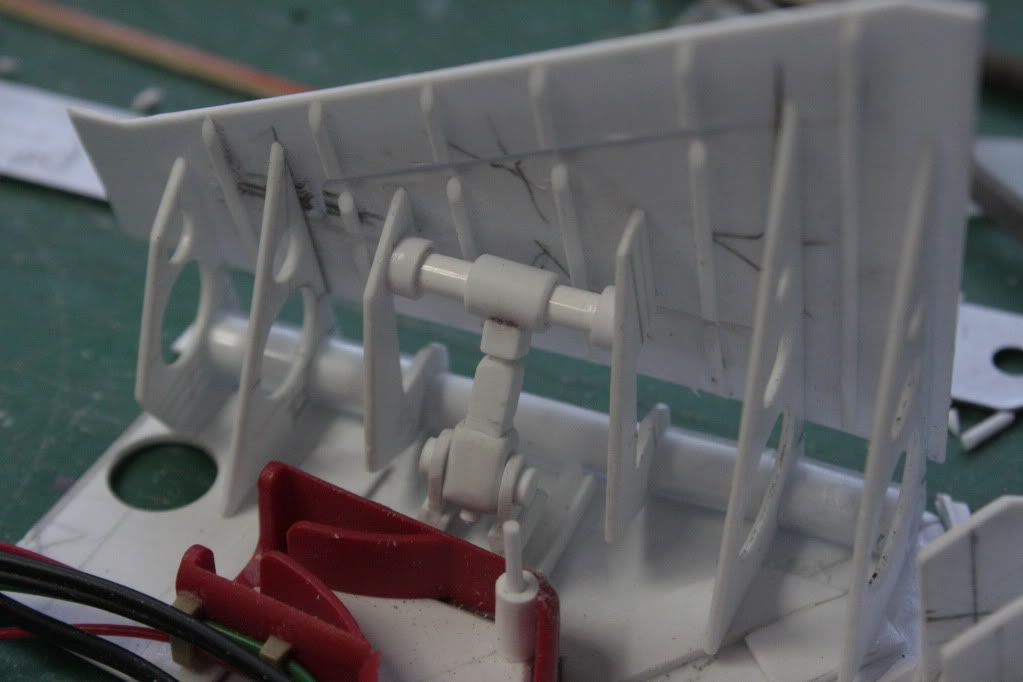 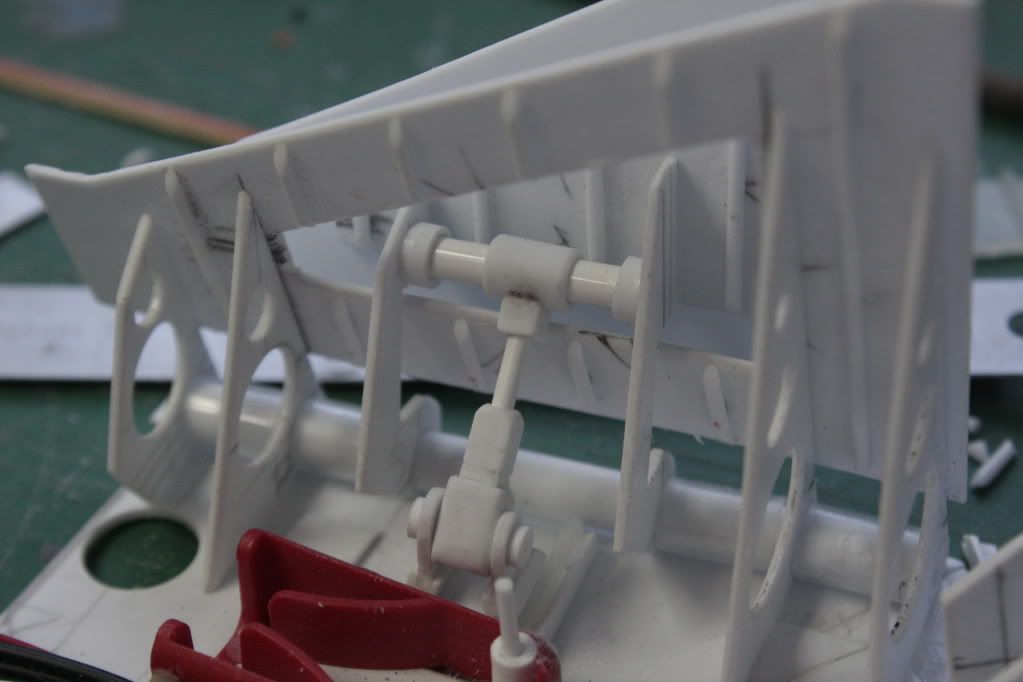 Started on a small wiring hub for the back section, will be adding more details to this later on. 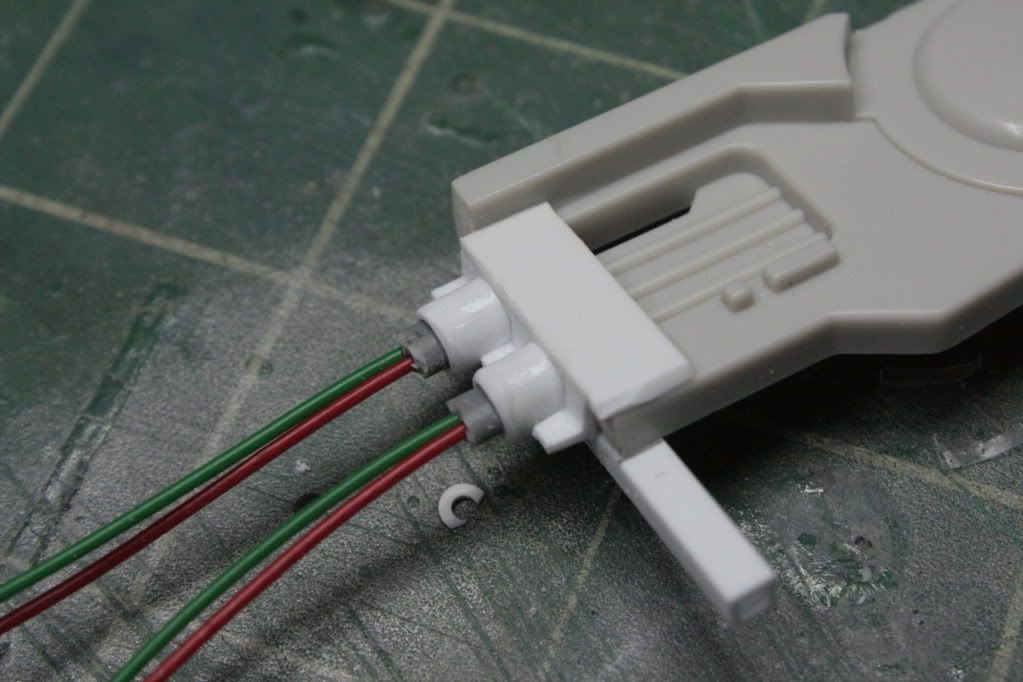 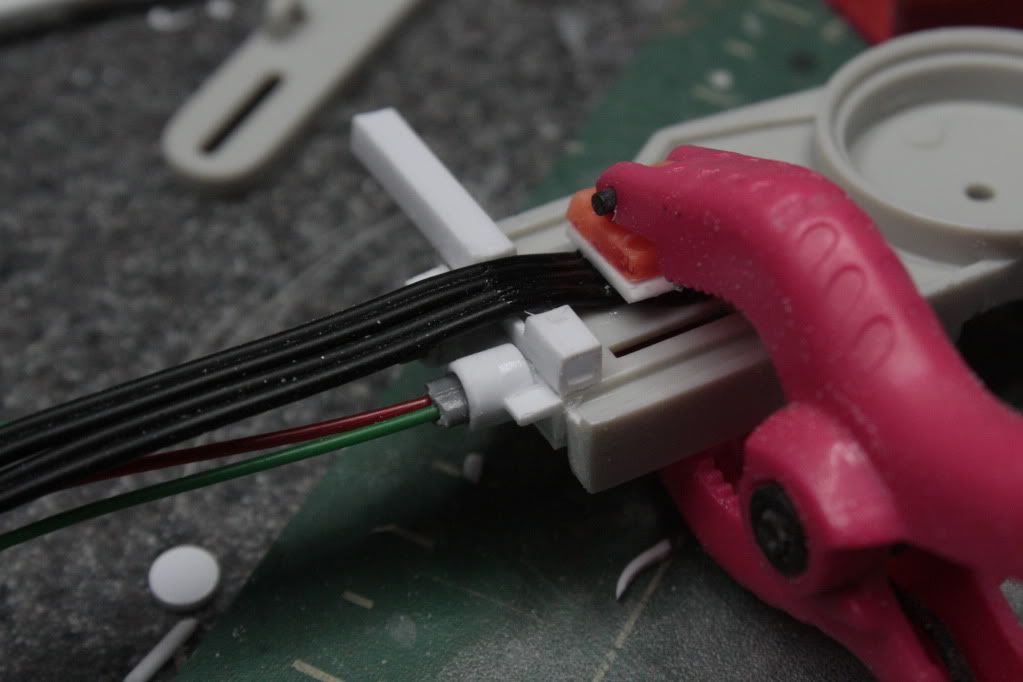 This is where i'm currantly at, I feel like i've made very little progress in the last few weeks, the planning process is very slow sometimes and you just have to be patient and try lots of different options then all of a sudden something clicks into place and then that gives you another idea, then another and then your off and running again, but i think i will have to make some various detail pieces as i don't seem to be finding what i need in my bits box. 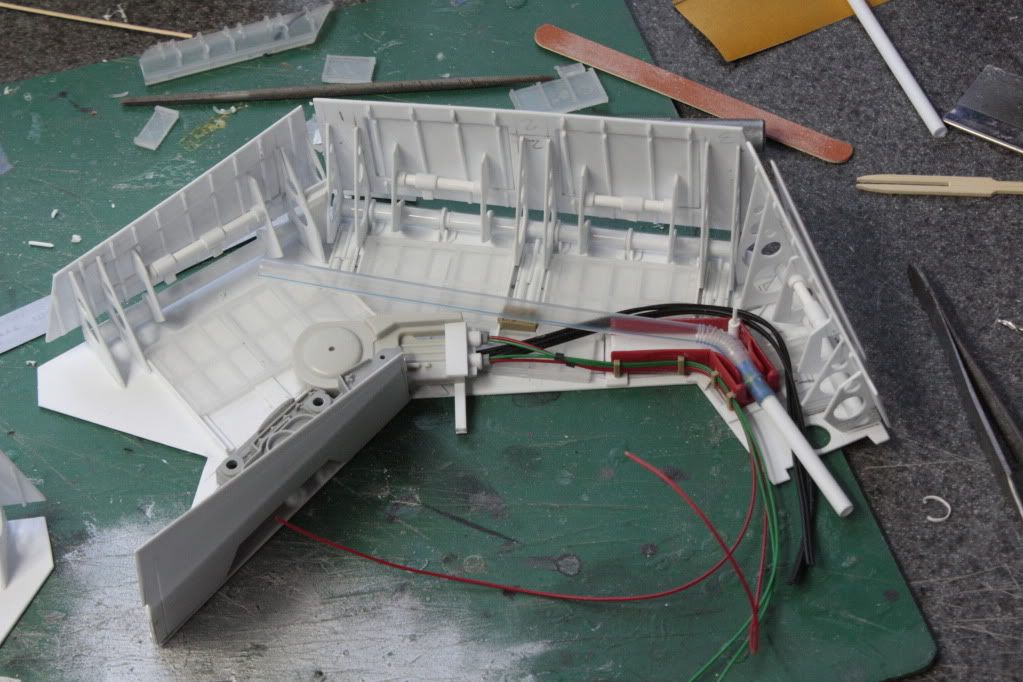 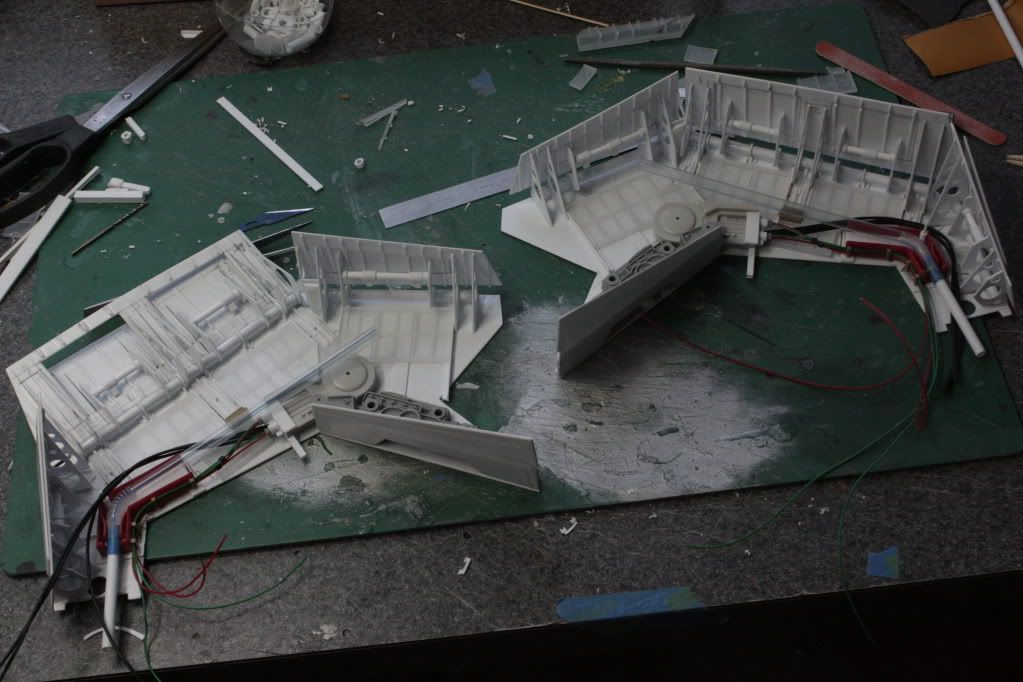 Going to add more wiring and pipe lines next. I might have to buy a few more donor kits if i can't make it work with what i've got, but we shall see. Take care Gag |
|
Deleted
Member since: January 1970
Posts: 0
Dec 10, 2024 21:22:41 GMT -5
Dec 10, 2024 21:22:41 GMT -5
|
Post by Deleted on Jan 28, 2013 13:00:04 GMT -5
Now your just showing off, ace stuff!
|
|
|
|
Post by Mence on Jan 28, 2013 15:12:49 GMT -5
This is truly incredible, I'm lost for words.
|
|
|
|
Post by deafpanzer on Feb 3, 2013 12:57:51 GMT -5
I am speechless either!!! Keep it coming...
|
|
thenylongag
Full Member
   Sept2013 MoM Winner
Member since: June 2012
Yes, we have 'NO' bananas
Posts: 304
Jun 7, 2012 11:20:57 GMT -5
Jun 7, 2012 11:20:57 GMT -5
|
Post by thenylongag on Feb 3, 2013 16:58:13 GMT -5
Thank you guys for stopping by and giving your positive feed back, it is what drives me forward with this build. Soooooooo, What's it been all about then. I've been doing alot of thinking about my details this week, yes the smell of burning rubber was coming from me. ;D At the start of the week I really couldn't seem to make anything 'go' together on the back of the wings, then one idea came then another and another and we were off and running again. The starting point was this little vent 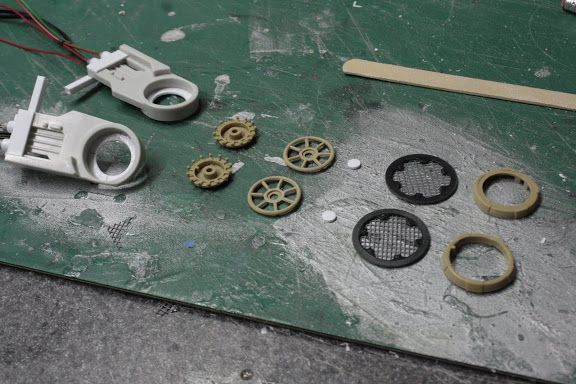 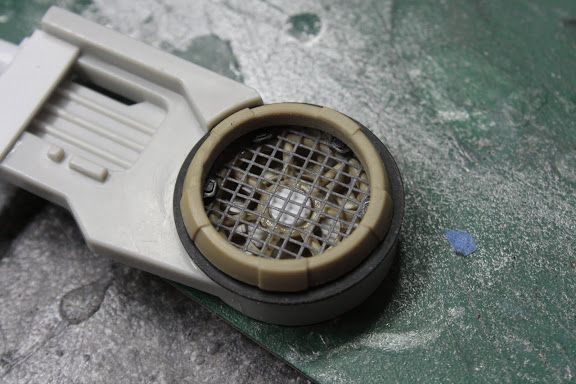 Then I added a few more details 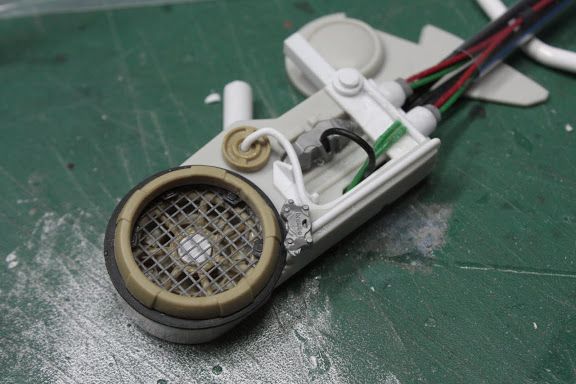 Then it was just one idea after another, the cabling came first 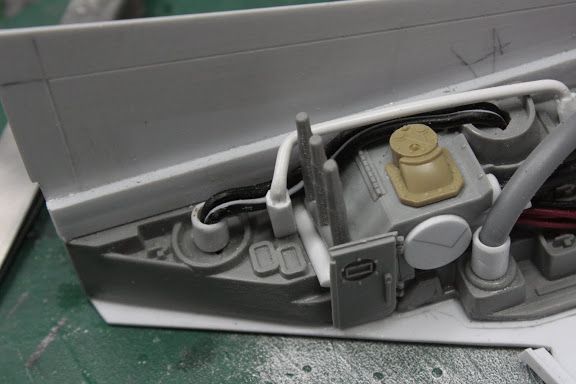 Added other smaller assemblies until the whole area took shape. 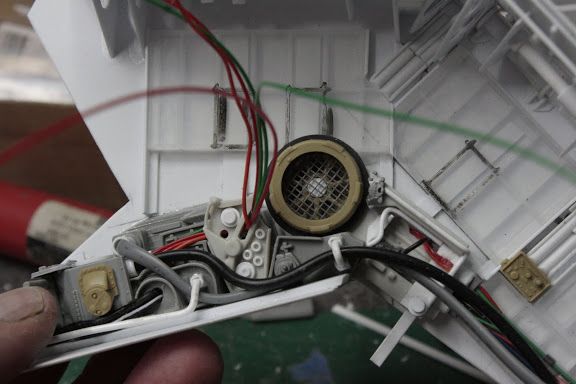 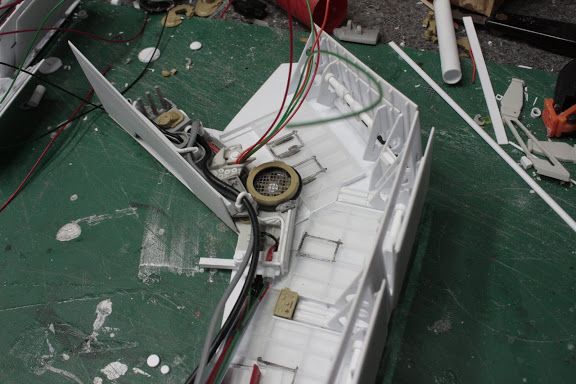 I used some bendy straws and various styrene tubing for the main fuel line delivery assembly 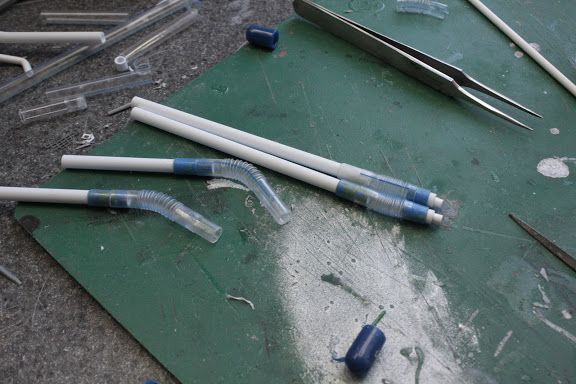 Added an additional control box as one of the destinations for some wires and figured out the paths of the actuator control lines. 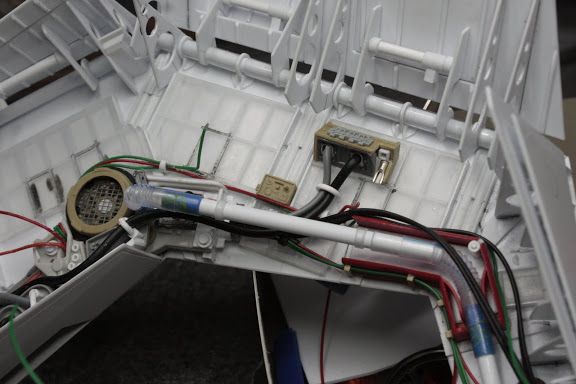 i also made a heat shield for the main fuel delivery line 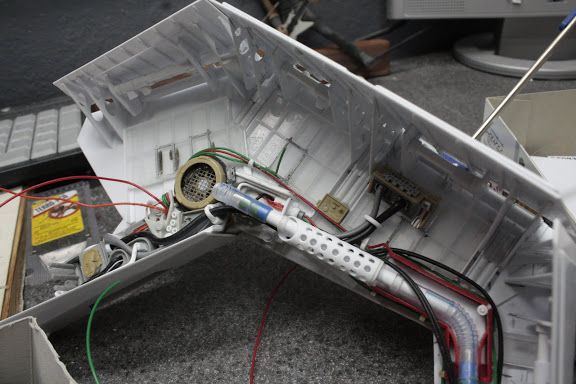 I then gave the actuators a coat of black primer and then a crome silver top coat. 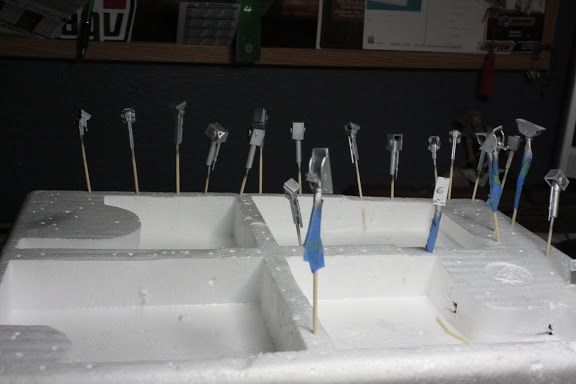 Added some more details to fill gaps in the back area 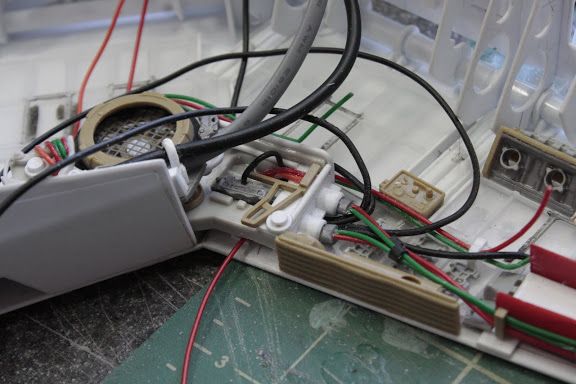 I then put both rear detail panels on the back of the ship to see what it looked like. I'm very pleased with it. 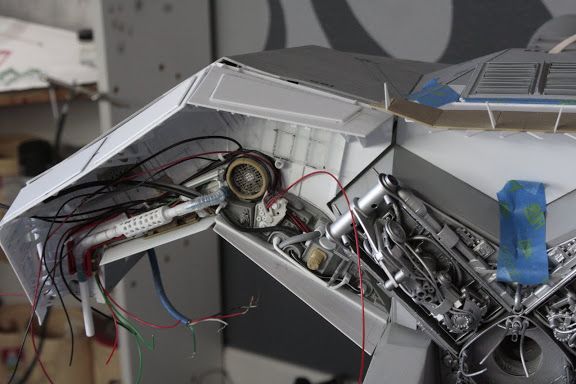 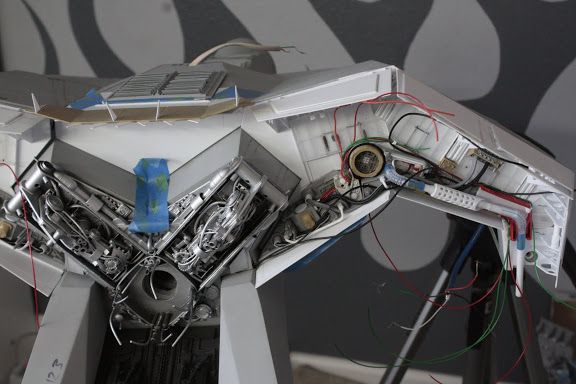 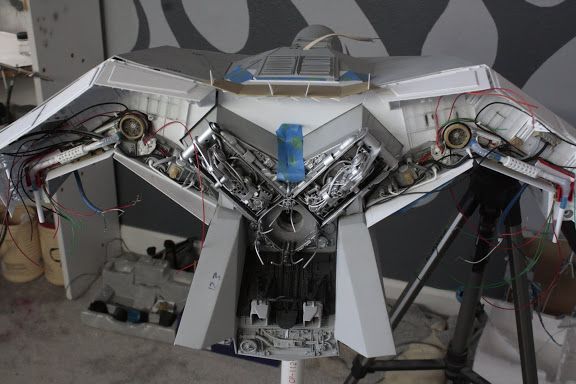 And thats about as far as i've got. Still more detailing to do on the rear panels but I've been having a serious shortage of donor kits this week, then on Wednesday a member from TheRPF contacted me and donated 5 various scale tank models to my build, very generous of him. He said he added some extras in the parcel along with the tanks, it's like Secret Santa, very excited to see what he's sent me. I'll keep you posted. Its nice to know that there are still good guys left in the world, he wouldn't take anything for them in return, what a nice bloke. I'm sending him a little something on Monday. Thanks for stopping by folks Gagsterman |
|
|
|
Post by deafpanzer on Feb 3, 2013 17:16:17 GMT -5
This is SO SICK!!! I never see anything like this... please do keep posting your updates here.
|
|
thenylongag
Full Member
   Sept2013 MoM Winner
Member since: June 2012
Yes, we have 'NO' bananas
Posts: 304
Jun 7, 2012 11:20:57 GMT -5
Jun 7, 2012 11:20:57 GMT -5
|
Post by thenylongag on Feb 3, 2013 17:16:27 GMT -5
More superb modelling there fella and no mistake!  Coming from you Dicky that means alot sir, thank you  Gag |
|
|
|
Post by Leon on Feb 3, 2013 18:54:44 GMT -5
WOW Gag this keeps getting better and better
|
|
reserve
Senior Member
   
Member since: July 2012
Si vis pacem para bellum
Posts: 2,373
Jul 11, 2012 9:11:45 GMT -5
Jul 11, 2012 9:11:45 GMT -5
|
Post by reserve on Feb 4, 2013 1:44:22 GMT -5
Well I've looked at the recent developments and have stepped on my tounge again...is it possible to do a series of pics of the whole thing to date?
Regards,
Mark
|
|
thenylongag
Full Member
   Sept2013 MoM Winner
Member since: June 2012
Yes, we have 'NO' bananas
Posts: 304
Jun 7, 2012 11:20:57 GMT -5
Jun 7, 2012 11:20:57 GMT -5
|
Post by thenylongag on Feb 4, 2013 13:32:47 GMT -5
Thanks mate, Sick is definately the look i was going for.  Cheers buddy  Thank you sir, i appreciate your kind words. I took these pictures on the 23rd of December last year when i put it together just to get an overall view of my progress so far. 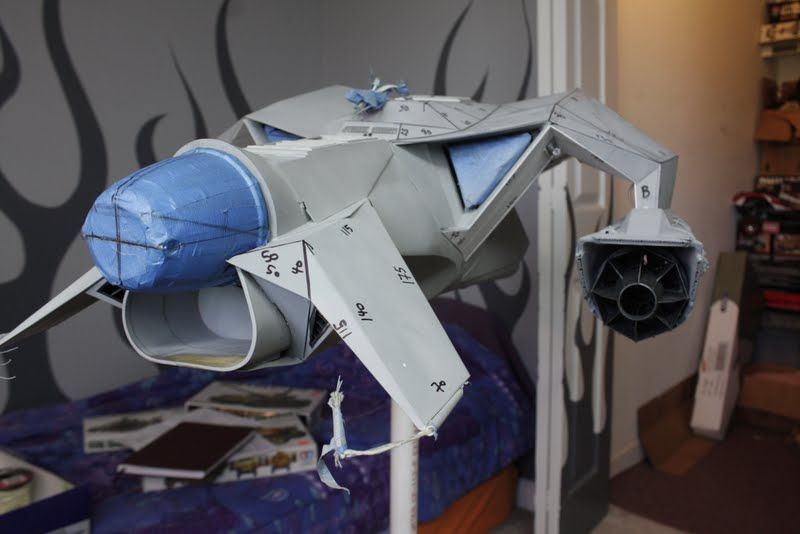 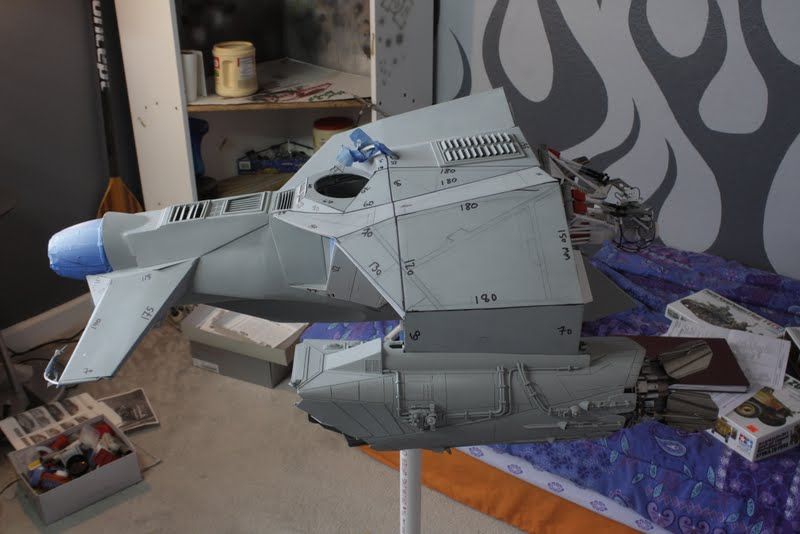 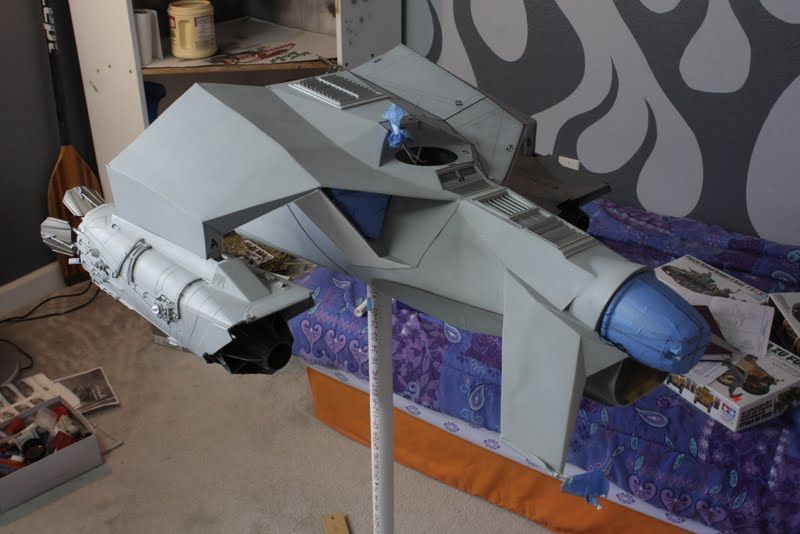 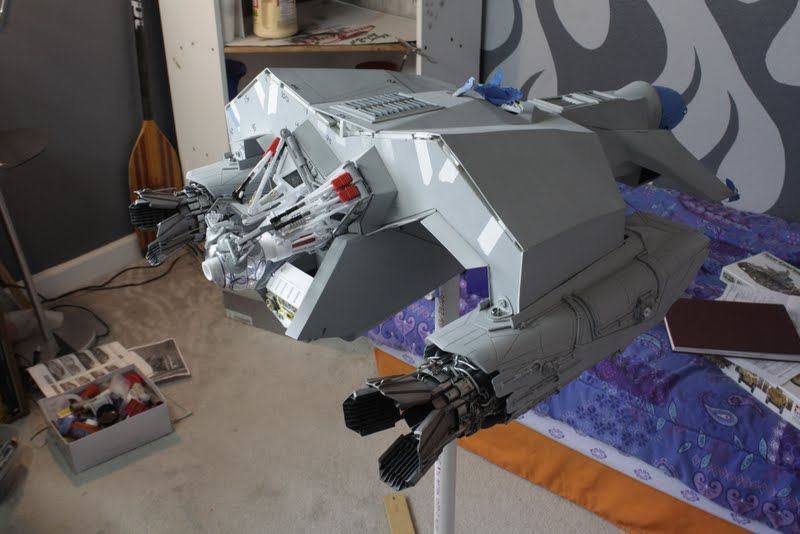 Let me know what you think of the overall look. Gag |
|
Deleted
Member since: January 1970
Posts: 0
Dec 10, 2024 21:22:41 GMT -5
Dec 10, 2024 21:22:41 GMT -5
|
Post by Deleted on Feb 4, 2013 13:39:12 GMT -5
Superb scratch work Gag, the use of 'normal' household items in your build is real inspiration  Can't wait to see those air brakes fix up detail is sublime. |
|
thenylongag
Full Member
   Sept2013 MoM Winner
Member since: June 2012
Yes, we have 'NO' bananas
Posts: 304
Jun 7, 2012 11:20:57 GMT -5
Jun 7, 2012 11:20:57 GMT -5
|
Post by thenylongag on Feb 4, 2013 18:19:26 GMT -5
Thanks Buddy, in my house if its not glued down its goin on the model  So, I came home from work today and there was a package from my RPF donor, Mike J. WOW, this guy is a TOP bloke. Look what he sent me..... 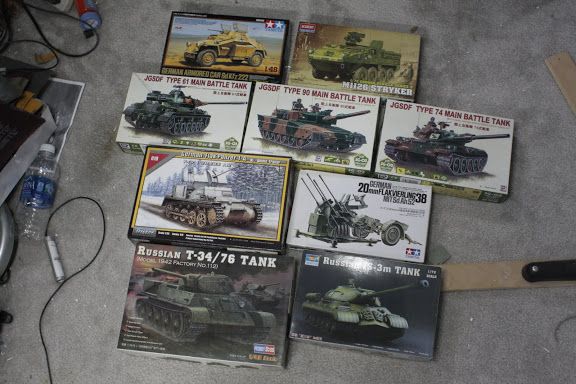 This is so generous of him, i am just speechless, and that doesn't happen often. I just can't believe it. I had a quick look through and I now have so many greeblies to choose from i don't know what to use first. A very happy Gagsterman |
|
|
|
Post by Leon on Feb 4, 2013 18:26:32 GMT -5
You'll find something im sure
|
|
reserve
Senior Member
   
Member since: July 2012
Si vis pacem para bellum
Posts: 2,373
Jul 11, 2012 9:11:45 GMT -5
Jul 11, 2012 9:11:45 GMT -5
|
Post by reserve on Feb 5, 2013 10:54:59 GMT -5
Overall look and porportion appears excellent to me. I'm hardly an authority on what something like this is supposed to look like but to me it seems right, it's not difficult to imagine a small, let's say Darth Vader emerging from it and choking me with his finger. Magnificent!!!
Regards,
Mark
|
|
|
|
Post by bbd468 on Feb 5, 2013 11:04:39 GMT -5
WOW Gag....im kinda speechless right now.......Jaw dropping fella, that came to mind! Impressive Gag.  |
|
|
|
Post by Mence on Feb 6, 2013 6:08:24 GMT -5
Looking most excellent, quick question, how big will it be when finished?
|
|
|
|
Post by Mence on Feb 7, 2013 5:12:44 GMT -5
Fair enough buddy, lets just settle on hoooooge!
|
|
|
|
Post by bullardino on Feb 7, 2013 5:18:58 GMT -5
Are you sure it's not something built for a motion picture studio? It has so many details it could be surely used for a film. I can easily imagine it crossing the screen at a slow pace, like Star Wars battleships...
|
|
thenylongag
Full Member
   Sept2013 MoM Winner
Member since: June 2012
Yes, we have 'NO' bananas
Posts: 304
Jun 7, 2012 11:20:57 GMT -5
Jun 7, 2012 11:20:57 GMT -5
|
Post by thenylongag on Feb 8, 2013 16:15:30 GMT -5
Afternoon Everyone, Just a quick post during lunch break. Thanks for the comments guys, I can't believe how much positive feed back i'm getting. Thanks guys i really appreciate your interest. It really is just for fun and not for some up and coming Sci-Fi film. As for the size of it, all the numbers you see are the sizes in MM, overall length of the towing ship is about 815mm, width is about 660mm. The trailer will be pretty big if i ever get around to it. I might take a break after i finish the towing ship as I have 3 other projects lined up that will involve facuum forming, mold making and roto casting. I have never done any of these things so stay tuned for future updates. Sooooooooo, on with the MK1. After receiving my donor stash on Monday i've spent this week detailing the rest of the back end. It's a very time consuming process. What do you think? 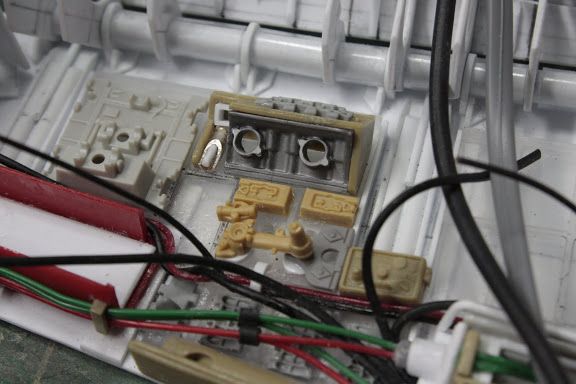 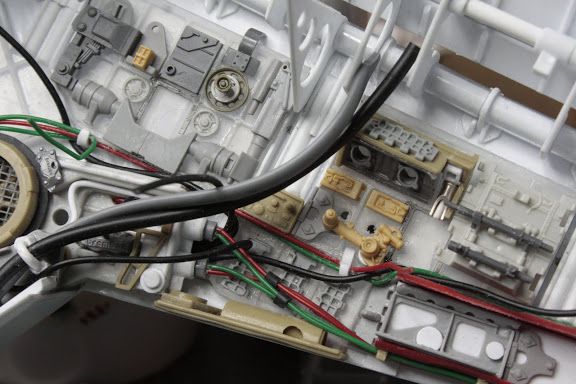 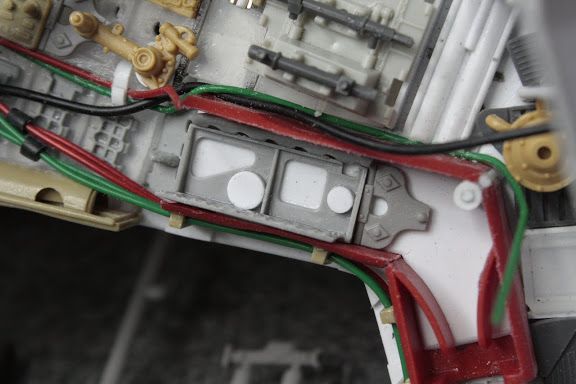 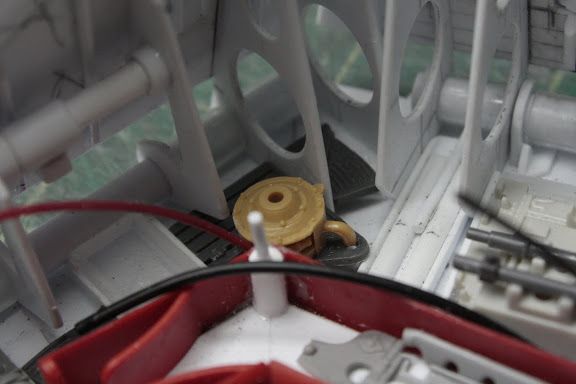 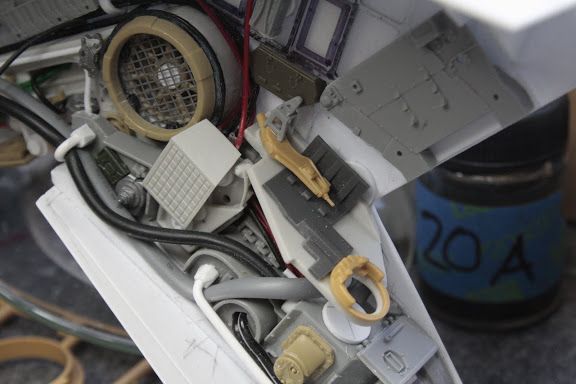 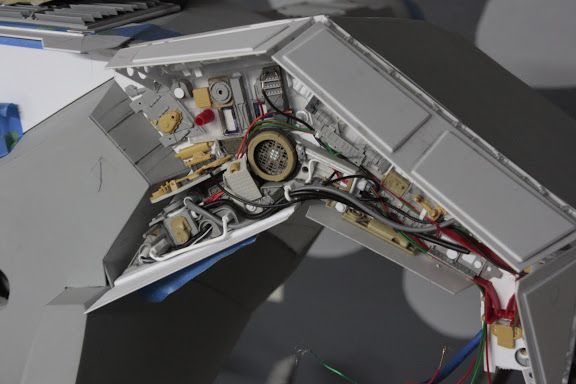 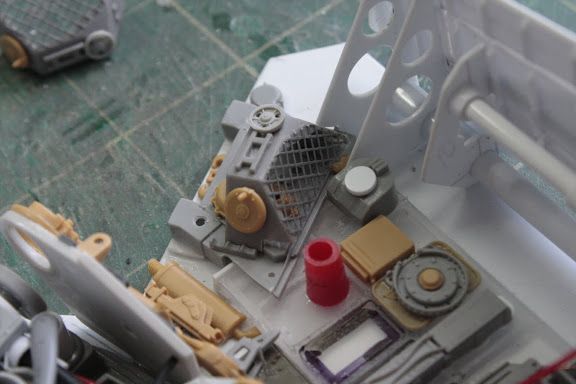 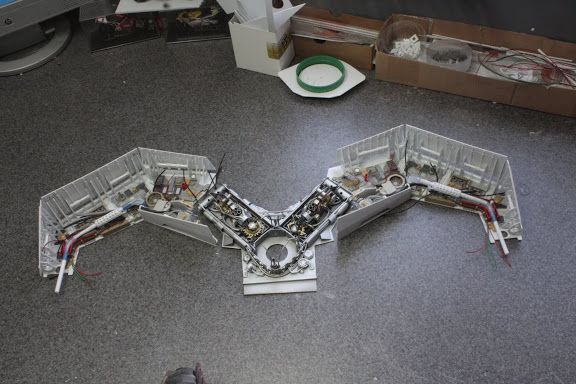 Thats about all so far, just going to finish my lunch then get it ready for primer, will post pics later if everything goes to plan.  Gag |
|
thenylongag
Full Member
   Sept2013 MoM Winner
Member since: June 2012
Yes, we have 'NO' bananas
Posts: 304
Jun 7, 2012 11:20:57 GMT -5
Jun 7, 2012 11:20:57 GMT -5
|
Post by thenylongag on Feb 8, 2013 18:53:43 GMT -5
This is for you DickyF  Mmmmmmmmmmmmmmmmm Primer 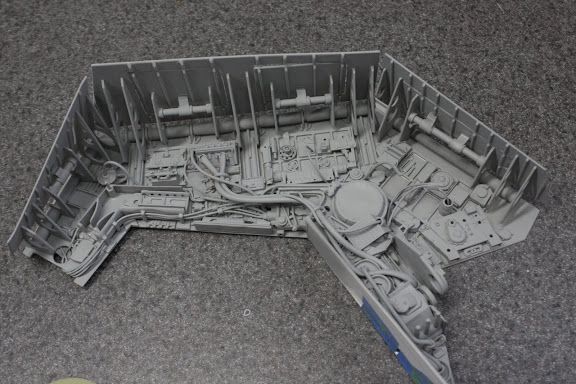 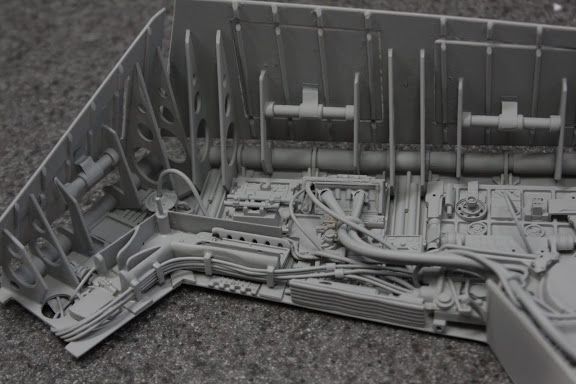 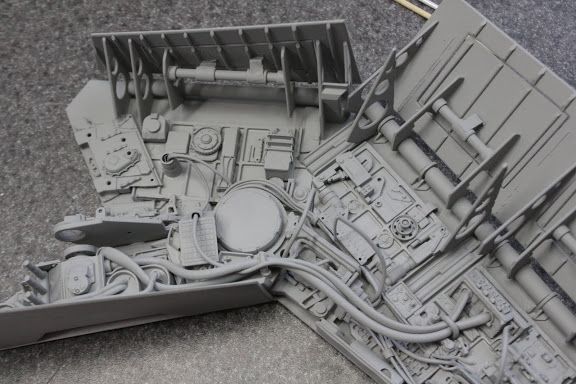 Happy Birthday Dicky, You can stop dancing now. I'm very happy with it, what do you think? Gag |
|
|
|
Post by deafpanzer on Feb 8, 2013 19:38:50 GMT -5
Holy smokes! Now it is looking like a starship!!! Can't wait to see more...
|
|
thenylongag
Full Member
   Sept2013 MoM Winner
Member since: June 2012
Yes, we have 'NO' bananas
Posts: 304
Jun 7, 2012 11:20:57 GMT -5
Jun 7, 2012 11:20:57 GMT -5
|
Post by thenylongag on Feb 8, 2013 20:42:16 GMT -5
I must admit I did wonder the same thing Gagsworth when you mentioned the workable bits.......TBH I can't see how you'd get round it.....yer gonna lose paint OR yer gonna be leavin' it in my fave shade   I think i figured it out.  After you said this Dicky, i started to experiment, these are the results. The shaft was masked off and the foot was given a thin coat of black primer, i tried to move it as soon as i could so it didn't dry stuck. You can also see the bases in this picture, same process. 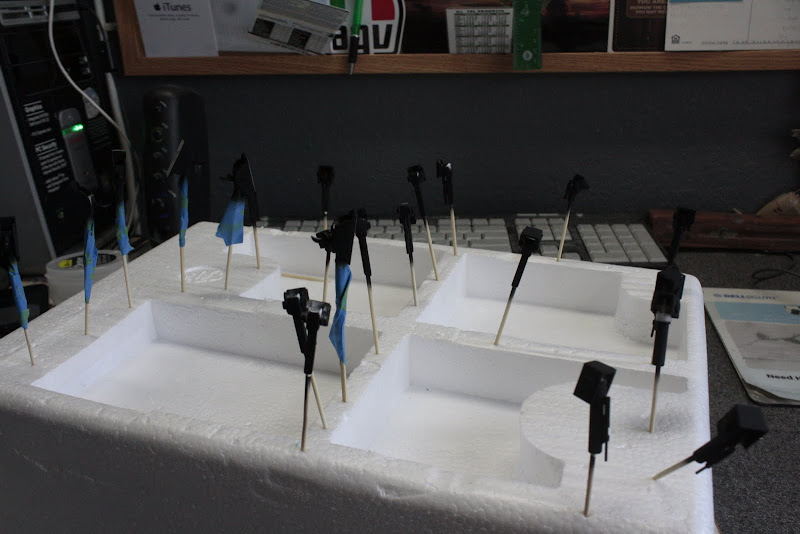 Then a thin coat of Tamiya Chrome Silver X-11, again moving it as soon as possible.  The masking tape is then removed from the shaft, then i sanded it down with 200 grit paper, always going in the same direction, away from the foot. 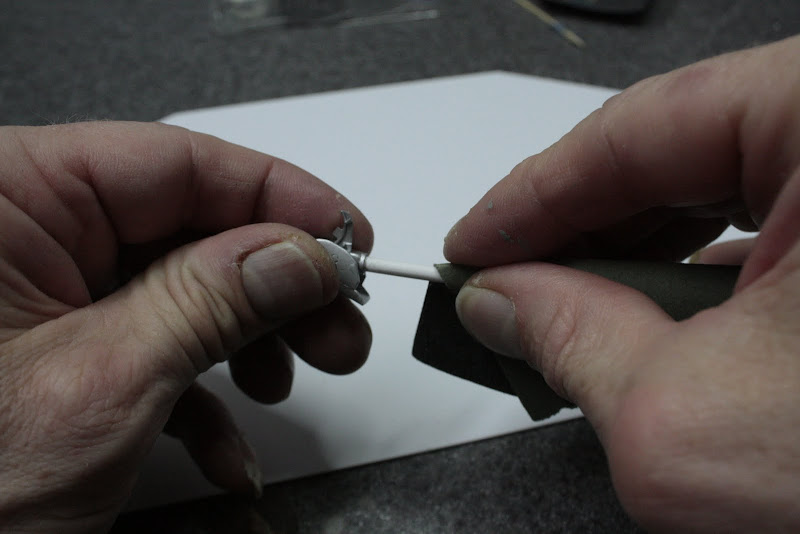 I then got some Graphite powdered Lubricant, (in the handy puffer dispencer) and put it in my paint tray. If you can't get this then just sand the lead of a pencil and use the dust.  Then a tin of Shoe polish. 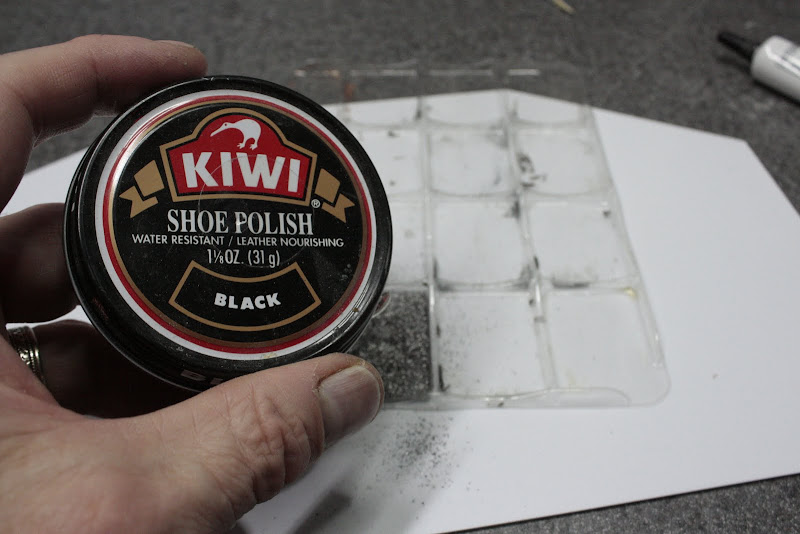 Got an old brush nicely coated in polish. 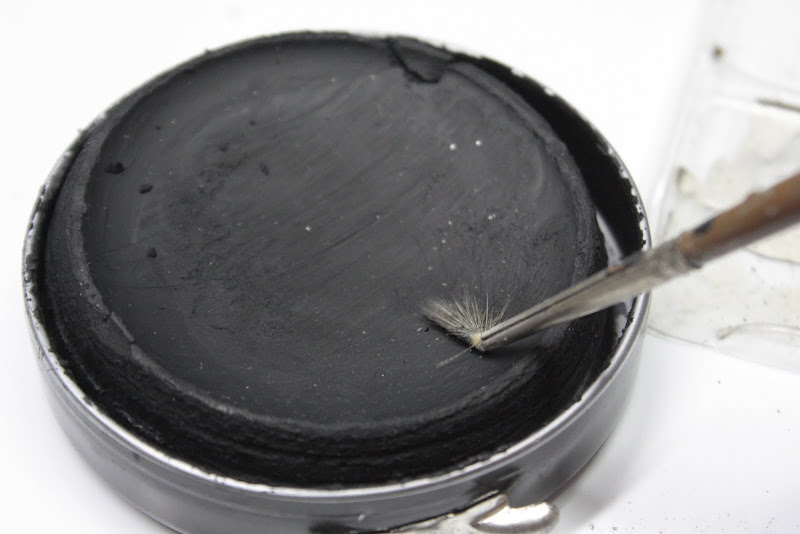 Then into the Graphite powder, getting the brush pretty gunked up. 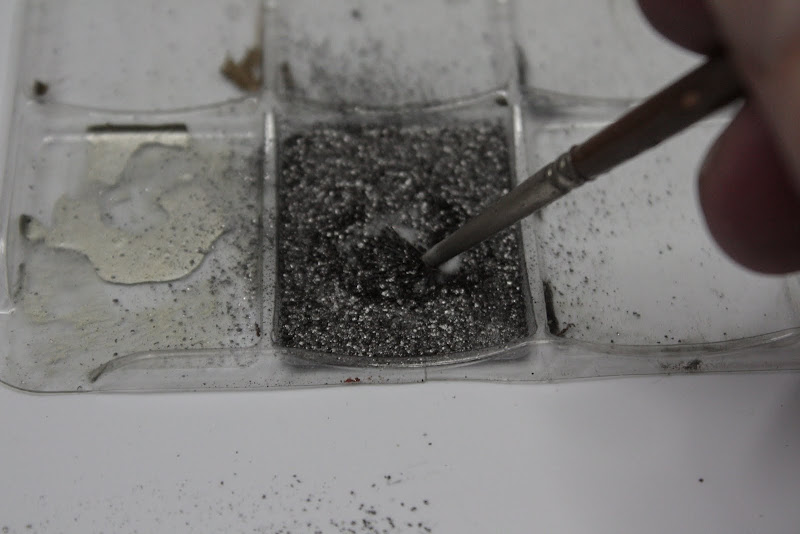 Then onto the shaft, again, brushing away from the foot. 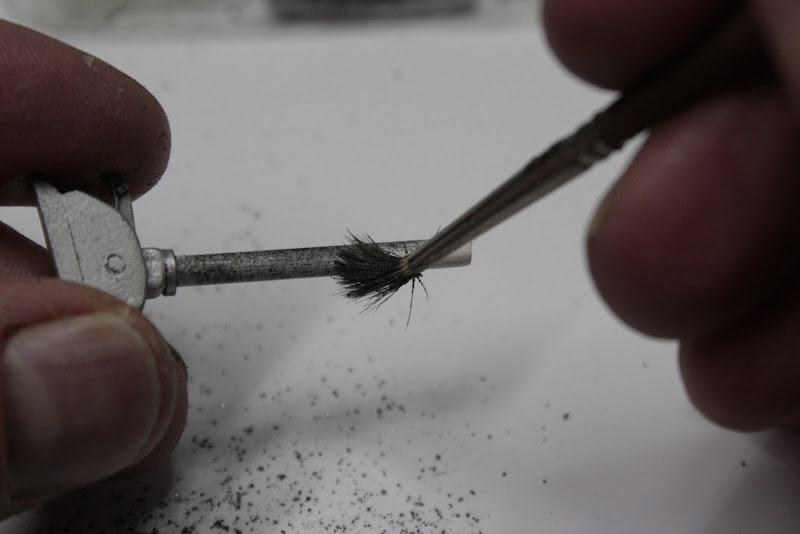 Then give it a polish with a soft rag. 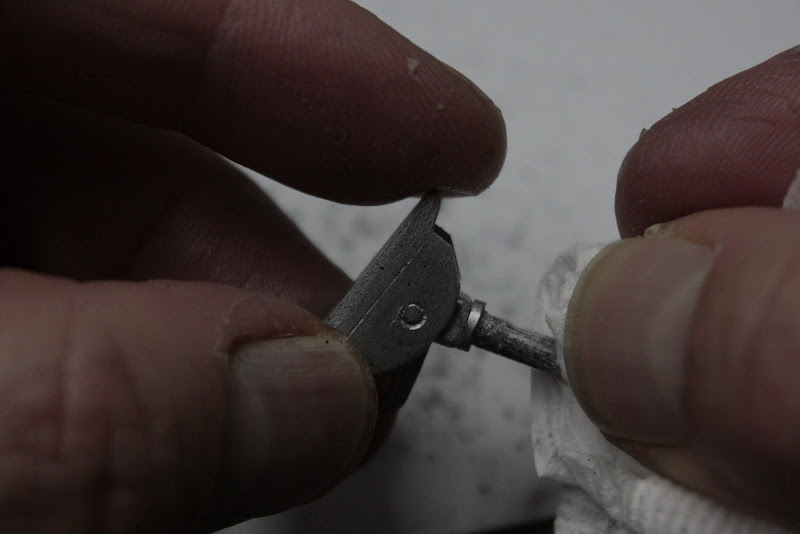 Before and after. 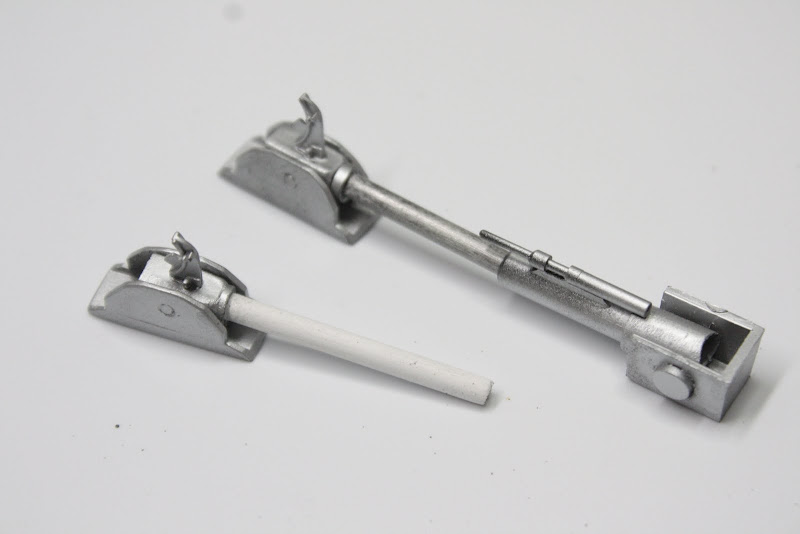 The Graphite 'lubricates' the shaft and also gives it a bit of a sparkle and the polish sticks the graphite to the shaft. The more you polish it the lighter it gets but also it seems to get more ground into the shaft. Give it a go and let me know what you think? Gag |
|