|
|
Post by fightnjoe on Feb 8, 2013 21:16:33 GMT -5
what do i think?
hmmmmmm...................
think i will take up stamp collecting.
outstanding work.
joe
|
|
|
|
Post by Leon on Feb 8, 2013 21:36:21 GMT -5
Gag is there going to be a sequal to this?
|
|
thenylongag
Full Member
   Sept2013 MoM Winner
Member since: June 2012
Yes, we have 'NO' bananas
Posts: 304
Jun 7, 2012 11:20:57 GMT -5
Jun 7, 2012 11:20:57 GMT -5
|
Post by thenylongag on Feb 13, 2013 17:34:39 GMT -5
I don't think i'm going to do the trailer next but some other things first, but i might do another twin one day may be  Evenin Peeps, Thanks for the comments guys, Next..... Masking, painting, removing masking, sanding, repainting, apply new masking, painting again, Remasking, re-repainting, removing masking, sanding, repainting, apply new masking, painting again.........you get the idea. Painting isn't my favourite thing, mainly because i'm very impatient so I usually can't wait and i mess with them before they are dry and then their rubbish. But, i'm really trying to be patient. I'm not very good at patient  Black primer, X-11 chrome silver first, then future, then hairspray, some sea salt and two coats of the X-8 Lemon yellow. 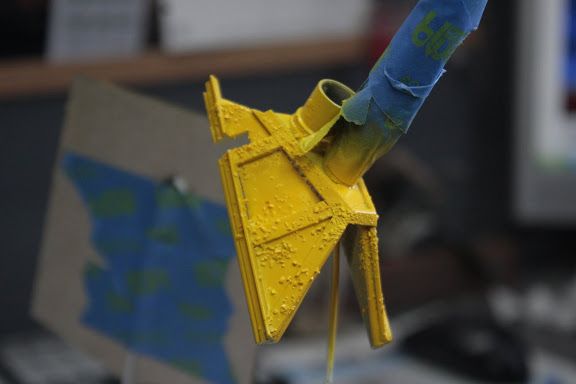 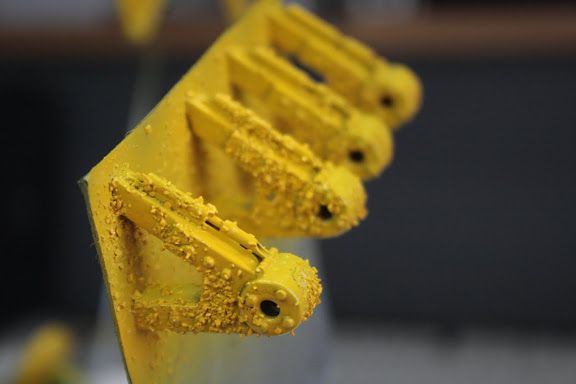 And removed the salt and then attacked them with a tooth pick, i still have to give them washes and some other stuff. 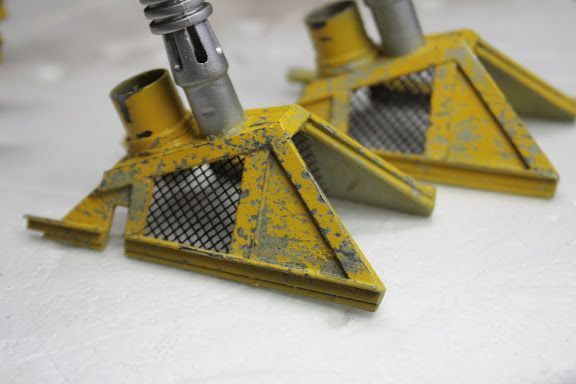 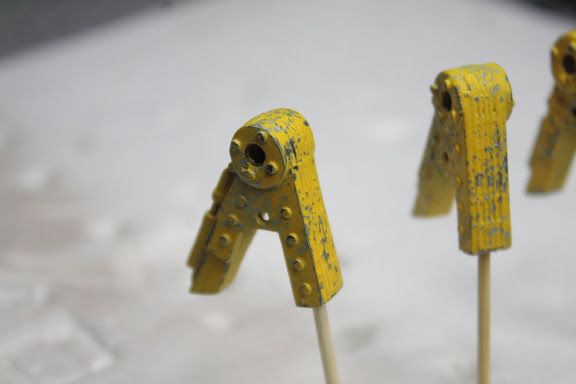 And various other pieces i painted this week. 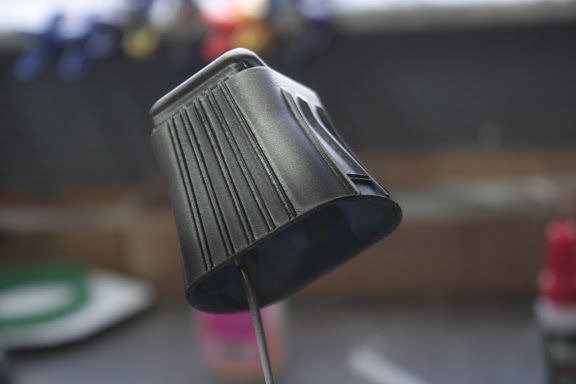 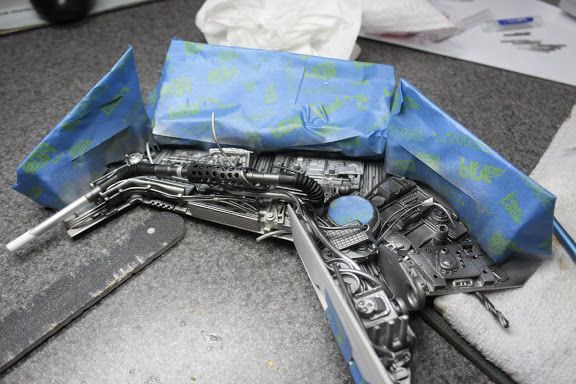 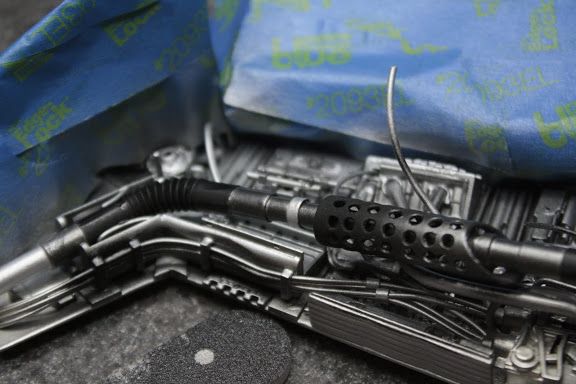 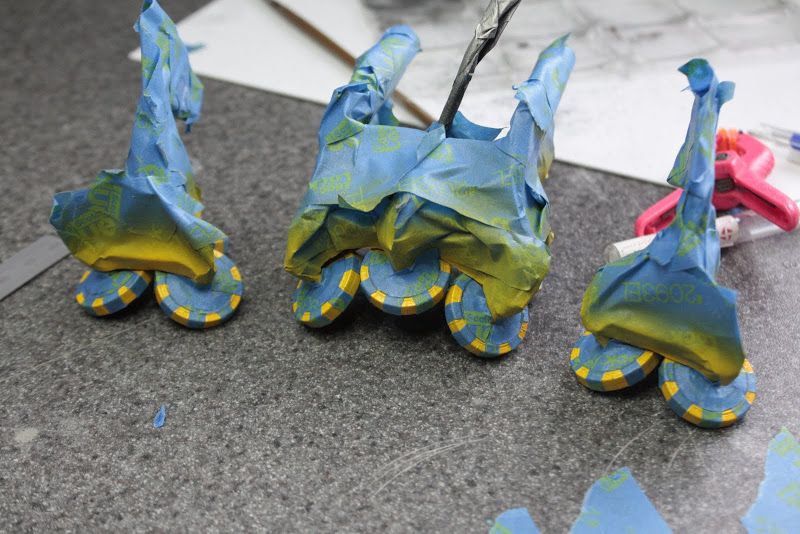 I have been thinking about the skin layout for some time, I wanted to keep the bottom layer very straight forward and fairly basic, because there will be another layer of some simple tubing runs and small details on top of this layer. 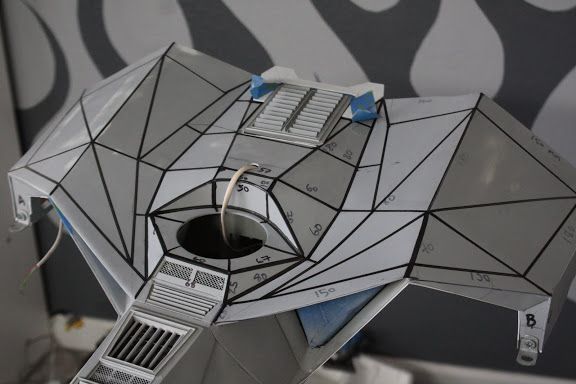 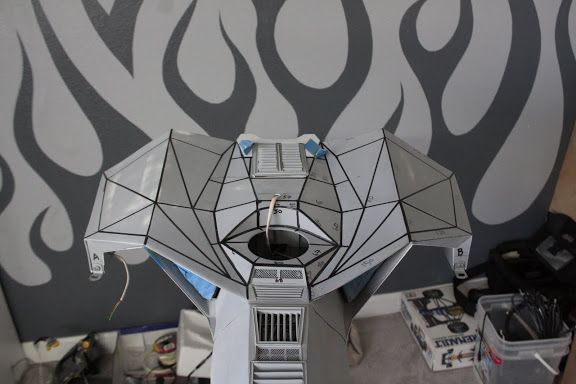 Some areas will definately need a extra detail, but I think i got a good balance, it looks right to me. What do you think? Gag |
|
multicam
Senior Member
   
Member since: January 2012
Nate
Posts: 2,039
Jan 10, 2012 14:35:41 GMT -5
Jan 10, 2012 14:35:41 GMT -5
|
Post by multicam on Feb 13, 2013 18:32:28 GMT -5
Outstanding work, Gag! this is inspiring! Nod to Mike J. for sharing those kits with the happy gagster! Great stuff all around:) Love the progress on this! Truly awesome!
|
|
thenylongag
Full Member
   Sept2013 MoM Winner
Member since: June 2012
Yes, we have 'NO' bananas
Posts: 304
Jun 7, 2012 11:20:57 GMT -5
Jun 7, 2012 11:20:57 GMT -5
|
Post by thenylongag on Feb 16, 2013 15:23:43 GMT -5
Afternoon Everyone Thanks for the comment, I appreciate you taking the time Multicam to write something. Skinned the top center bits of the wings using 0.020" styrene sheet. These are just taped into rough position for now.  Next, i started work on the radar system. This is the main base to the ship, the skin surround and some of the internals.  Assembled with the radar base, which is a bike wheel, the rim sanded away and with an additional back plate added.  I then started a frame for the main dish supports  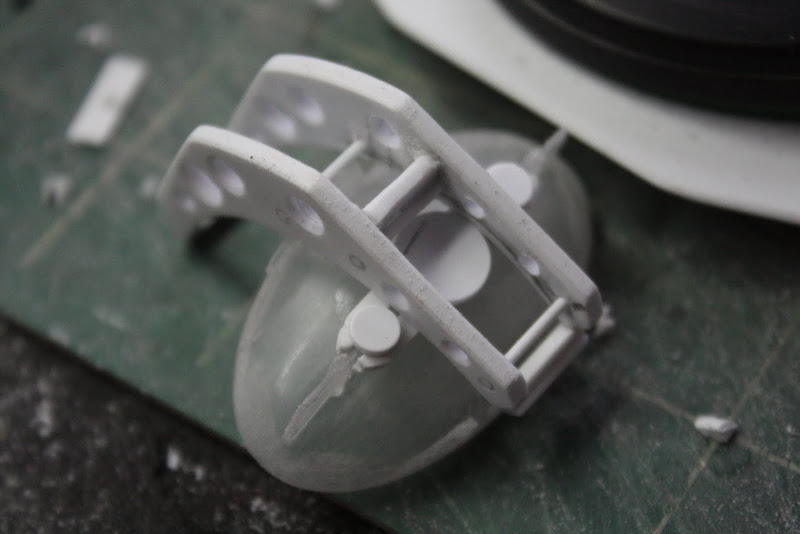 Then i attached the main dish elements which are made from three bike radiators  Then the LNB, can you guess what it's made from?  I then just started layering more small details all over   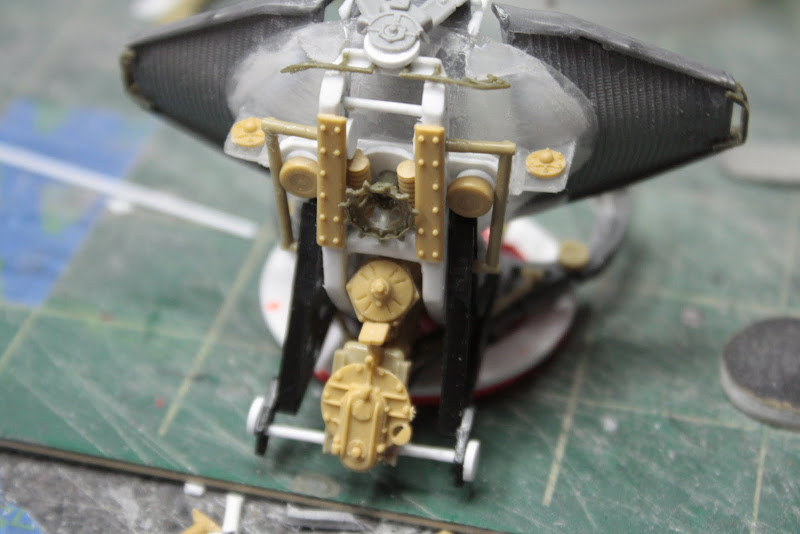 And in position, does it look too big to you?     Maybe with a primer coat it will blend a bit better. Back to masking, painting, removing masking, sanding, repainting...........etc. More soon Gag |
|
|
|
Post by deafpanzer on Feb 16, 2013 16:32:42 GMT -5
WOW! I think I quit... no way I can do better than this. Really enjoying this very much... please do keep posting!
|
|
|
|
Post by Leon on Feb 16, 2013 18:18:15 GMT -5
Gag that is truly awesome work there.Thanks for sharing.
|
|
reserve
Senior Member
   
Member since: July 2012
Si vis pacem para bellum
Posts: 2,373
Jul 11, 2012 9:11:45 GMT -5
Jul 11, 2012 9:11:45 GMT -5
|
Post by reserve on Feb 17, 2013 10:48:40 GMT -5
I'd say the size of the dish is about right, not that I'm an expert on deep space radar but it looks right to me. This one still makes my head spin am enjoying the project immensly
Regards,
Mark
|
|
Deleted
Member since: January 1970
Posts: 0
Dec 10, 2024 20:56:27 GMT -5
Dec 10, 2024 20:56:27 GMT -5
|
Post by Deleted on Feb 17, 2013 12:37:11 GMT -5
Superb progress and SBs for the graphite trick  this is a build that would make the good old fashion movie model builders beam with joy  CGI pha!  |
|
thenylongag
Full Member
   Sept2013 MoM Winner
Member since: June 2012
Yes, we have 'NO' bananas
Posts: 304
Jun 7, 2012 11:20:57 GMT -5
Jun 7, 2012 11:20:57 GMT -5
|
Post by thenylongag on Feb 17, 2013 21:06:32 GMT -5
Mmmmmmmmmmmmmmmmmmmmmmmm Primer 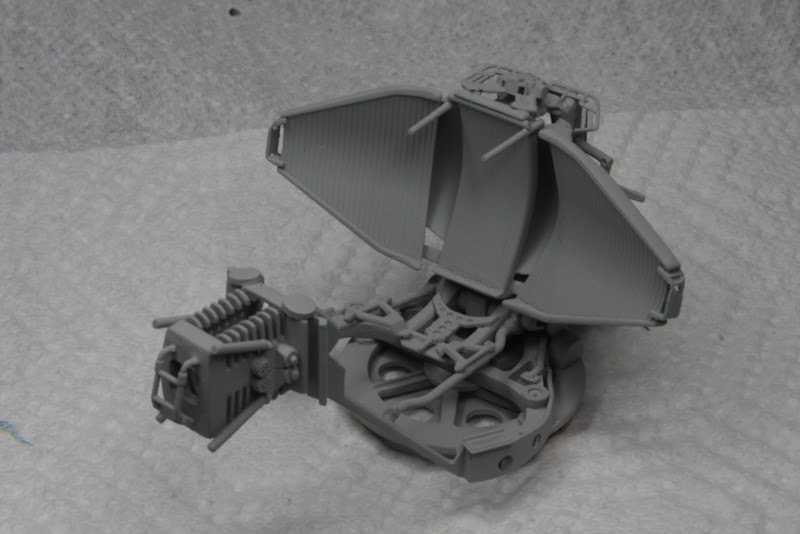    I'm Happy now, the size is perfect. Gag |
|
thenylongag
Full Member
   Sept2013 MoM Winner
Member since: June 2012
Yes, we have 'NO' bananas
Posts: 304
Jun 7, 2012 11:20:57 GMT -5
Jun 7, 2012 11:20:57 GMT -5
|
Post by thenylongag on Feb 18, 2013 15:21:20 GMT -5
Hmmmmm what do I think?   What DO I think?.............  WHAT do I think?............  If this was the 16th century yer'd definitely be burnt at the stake I reckon!!!!! Now please answer these questions: 1. Where the hell did yer find Graphite Powdered Lubricant???  2. How the hell did yer decide to mix it with SHOE POLISH?  ?  3. Have any other of yer alchemy experiments reaped any rewards?? Great work Gagster....this build has really opened my eyes to a whole new world of scratchtential!! Yer a clever fella....weird but clever!!! lol  Peeps Question 1; Graphite powder is used as a lubricant for locks, if its not at your local hardware/DIY store try a locksmith, if you still can't find it PM me your address Dicky and i'll send you a couple of tubes to distribute Blighty side, its really useful stuff, it can also be brushed over metallics to give them a bit more 'sparkle'.  Question 2; When i inherited my Dads Tools it included the polish for some reason. He used to make GWR 'O' Gauge Trains and carridges from PE that he had etched himself (this is in the mid 70's so he was well ahead of the times), these 'kits' were then soldered together, maybe he used the polish for cleaning mating surfaces of the brass, I'm not sure. (His kits were so good and so sought after that he started a buisness, CPL Products, eventually branching off into all kinds of PE and train related accessories.) I just saw a guy on another site use the powder for adding sparkle to metallic surfaces, initially i used pencil graphite which also worked, but when he said it was used by locksmiths as a dry lubricant and knowing how once you have drawn with a pencil on natural styrene that it just doesn't come off, and seeing the polish and thinking, well maybe the polish will stain the styrene shaft and mixed with the graphite which will also colour it, the penny kind of lodged close to an idea. To be honest i hadn't even thought about painting the actuators until someone mentioned it, i was just so chuffed that they worked.  Question 3; Simple answer No. But i did want to say that this technique will only work on natural unpainted plastic, if there is any paint on it at all i don't think it will work. Maybe just the Graphite powder will be enough to lubricate a painted shaft, my research didn't go that far. Thank you everyone for your always kind and encouraging words, i find it tremendously motivating to read comments from such a talented group of people, It really means alot to me, Thank you my friends. Gagsterman McGee (Toe) |
|
thenylongag
Full Member
   Sept2013 MoM Winner
Member since: June 2012
Yes, we have 'NO' bananas
Posts: 304
Jun 7, 2012 11:20:57 GMT -5
Jun 7, 2012 11:20:57 GMT -5
|
Post by thenylongag on Feb 22, 2013 17:52:42 GMT -5
|
|
|
|
Post by TRM on Feb 22, 2013 18:20:03 GMT -5
That is just Sick! Period!! Need to get my jaw reattached!!!  |
|
|
|
Post by Leon on Feb 22, 2013 21:55:50 GMT -5
i'm with T
|
|
thenylongag
Full Member
   Sept2013 MoM Winner
Member since: June 2012
Yes, we have 'NO' bananas
Posts: 304
Jun 7, 2012 11:20:57 GMT -5
Jun 7, 2012 11:20:57 GMT -5
|
Post by thenylongag on Feb 25, 2013 10:06:06 GMT -5
Morning Folks, Very nice of you to comment, i really appreciate it. Not much doing just a quick coat of primer for the Emergency line socket.  Primer for some other small detail pieces. 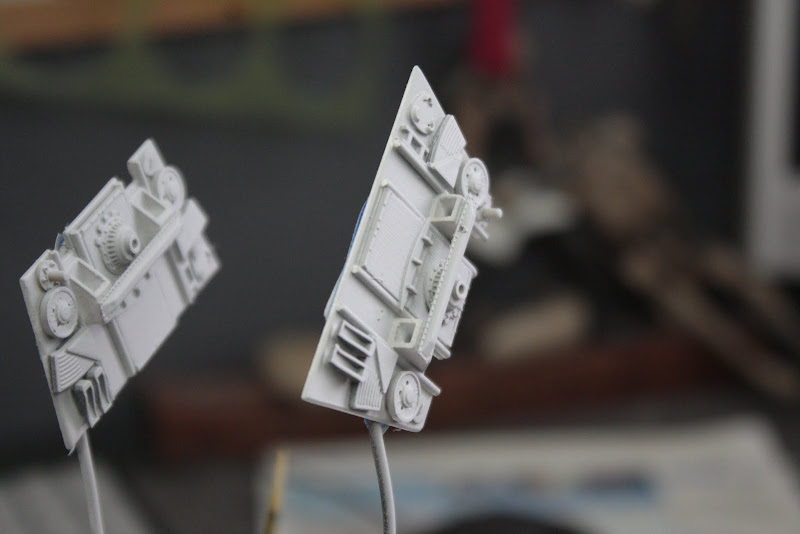 Then it was on to fixing the skins on to the top surface of the wings, very time consuming to get a good fit for all the sepatate pieces.    Then the side of the body.  Then i moved on to the front winglets   This is the complete story so far.   I think i will be skinning the underside next, and adding a few more details. Thanks for looking. Stay tuned Gag |
|
|
|
Post by Mence on Feb 25, 2013 10:36:59 GMT -5
Brilliant, stunning!
|
|
Deleted
Member since: January 1970
Posts: 0
Dec 10, 2024 20:56:27 GMT -5
Dec 10, 2024 20:56:27 GMT -5
|
Post by Deleted on Feb 25, 2013 12:17:49 GMT -5
What he said  any other words are wasted  |
|
|
|
Post by deafpanzer on Feb 25, 2013 12:28:29 GMT -5
Gosh, did somebody ever tell you that you are one sick man! I am LOVING everything about this. LOL You have to enter this into MoM contest here when it is done... one of best scratch-building I have seen...
|
|
|
|
Post by deafpanzer on Feb 25, 2013 13:27:48 GMT -5
Dicky, you have made me a strong believer now that we are not "alone" in our galaxy and beyond...
|
|
thenylongag
Full Member
   Sept2013 MoM Winner
Member since: June 2012
Yes, we have 'NO' bananas
Posts: 304
Jun 7, 2012 11:20:57 GMT -5
Jun 7, 2012 11:20:57 GMT -5
|
Post by thenylongag on Feb 25, 2013 14:29:25 GMT -5
Puny Earthlings.  Gag
|
|
|
|
Post by Leon on Feb 25, 2013 16:38:02 GMT -5
LOL WE'VE BEEN INVADED.Gag i'm out of words.Fantastic work.
|
|
thenylongag
Full Member
   Sept2013 MoM Winner
Member since: June 2012
Yes, we have 'NO' bananas
Posts: 304
Jun 7, 2012 11:20:57 GMT -5
Jun 7, 2012 11:20:57 GMT -5
|
Post by thenylongag on Mar 2, 2013 11:59:31 GMT -5
Morning Everyone, Thanks for your comments, very much appreciated. This week i've only been skinning, like i said before very time consuming because I first have to establish how I want the panelling to look, this is constantly changing and evolving as i go from section to section until the pieces look right together. You have to fit each piece, one at a time. First I make a cardboard template to get the basic shape then cut it out of 0.020"(1/2mm) sheet then I sand and chamfer the edges until it fits. I then glue the panel in position and hold it fimly in place with masking tape. Tried to keep it simple stupid, on the design. I may scribe some additional details later, I will have to see how it looks when everything is in place. I made a small cowling to go around the central support, also made a tube so i can block this hole if required. Used my trusty Vodka bottle pouring spouts  Skinning  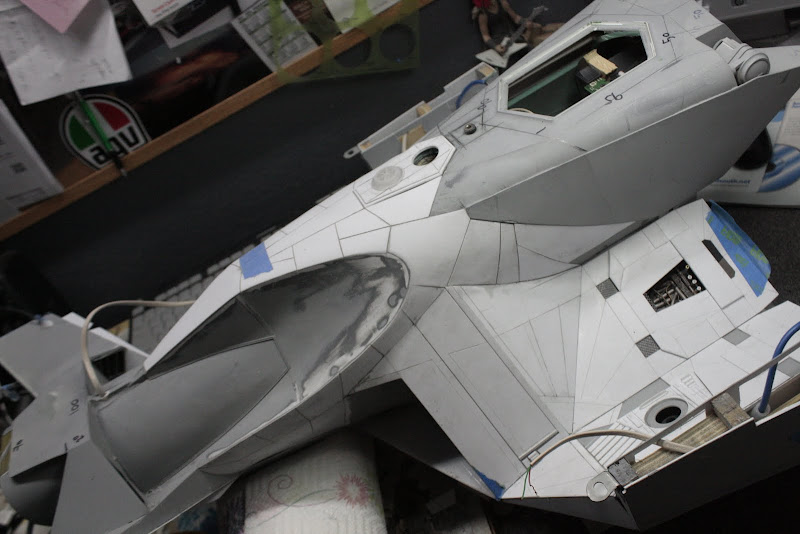 The support cowl in position.  With tube.  Then moved on to the back section.     That's it for now, hopefully i will post another update tommorrow Take care Gagster |
|
|
|
Post by TRM on Mar 2, 2013 12:03:50 GMT -5
That is Sick!! LOL...I love the plating!! A bottle of vodka and some AK products and I would be in heaven weathering the S**T out of this!!! Keep it coming!! Like modeling porn!!
Awesome!!
|
|
reserve
Senior Member
   
Member since: July 2012
Si vis pacem para bellum
Posts: 2,373
Jul 11, 2012 9:11:45 GMT -5
Jul 11, 2012 9:11:45 GMT -5
|
Post by reserve on Mar 2, 2013 12:15:25 GMT -5
Hey aren't aliens supposed to have three fingers? Trying to pull a fast one on us, eh?
The hull skinning is great, what's the plan for final color(s) on this beast?
Regards,
Mark
|
|
|
|
Post by Leon on Mar 2, 2013 15:32:17 GMT -5
Jaw dropping amazing.No other words for it.
|
|
|
|
Post by deafpanzer on Mar 2, 2013 16:29:16 GMT -5
Please tell us you didn't pour vodka out of the bottle just to use the spouts?!?!? It would be a shame... be sure to invite us over for drinks next time. Can't wait to see more of this...
|
|
thenylongag
Full Member
   Sept2013 MoM Winner
Member since: June 2012
Yes, we have 'NO' bananas
Posts: 304
Jun 7, 2012 11:20:57 GMT -5
Jun 7, 2012 11:20:57 GMT -5
|
Post by thenylongag on Mar 3, 2013 10:02:38 GMT -5
Mmmmmmmmmmmmmmmm Primer  Gag |
|
|
|
Post by Leon on Mar 3, 2013 10:11:19 GMT -5
Progressing nicely Gag.  |
|
thenylongag
Full Member
   Sept2013 MoM Winner
Member since: June 2012
Yes, we have 'NO' bananas
Posts: 304
Jun 7, 2012 11:20:57 GMT -5
Jun 7, 2012 11:20:57 GMT -5
|
Post by thenylongag on Mar 7, 2013 19:14:15 GMT -5
Evening Friends, How is everyone?  Thanks for that chaps This week i've been concentrating on the front end. First underneath. Cleaned up an edge with a piece of half round and sanded it off.  Cleaned up the leading edge on the top and added some tubing work for the External Data Systems Probes (EDSP) these monitor the external atmospherics of a planet and measure its magnetic polarity deviations and also power the hot and cold running water for the down stairs bathroom   Added some small side vents with some tank track greeblies in the back.  Filled them with Squadron Putty on the bottom and CA and backin soda filler on the top edge  Sanded them and added some side skins.  Heated a piece of flat styrene until it curved to the shape of the cockpit window. It secures itself in slots cut on either side.  Started work on the outer skin of the main tube, first made a top vent from a motogp bike tail piece and a piece of random PE  Added some side details.  This was the front at the end of this detailing process.  I was unsure if i needed more details, so i gave the whole front end a coat of Mmmmmmmmmmmmmm Primer to see how we were looking, this would also flatten everything out and give me additional directions to go........maybe.   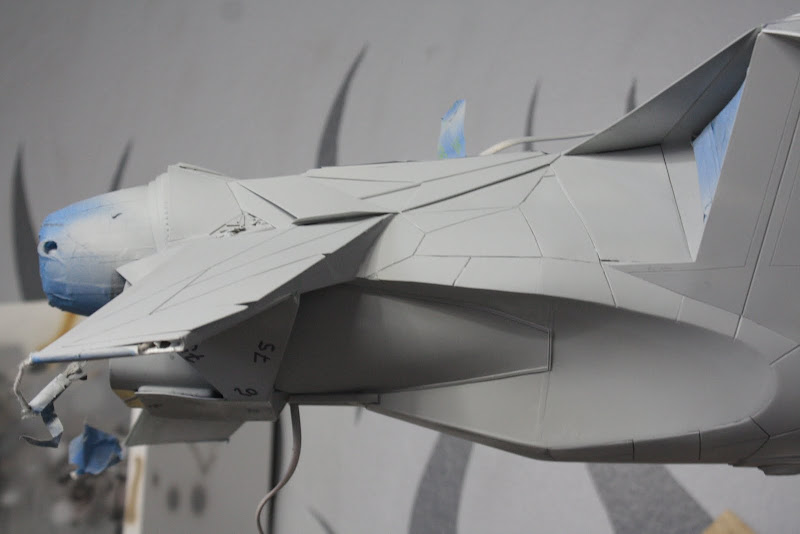  And thats where i'm at right now.  It's going to be a bench packed few days. My wife has gone away with her job until Sunday AM.  I don't work on Fridays.  I don't have to leave the house until 7PM Satarday to go to a party.  So until then, if i'm not sleepin or eatin, i will be at the bench, i may even be eating at the bench  So i will do an update on Sat night. Take care Gagstermodeltasticator Man |
|
|
|
Post by Leon on Mar 7, 2013 20:46:57 GMT -5
Holy Cow Gagster,I am enjoying every minute of this build.Going to hate to see it come to an end.   |
|